DIY Leather Armor: Fantasy Gorget Armor
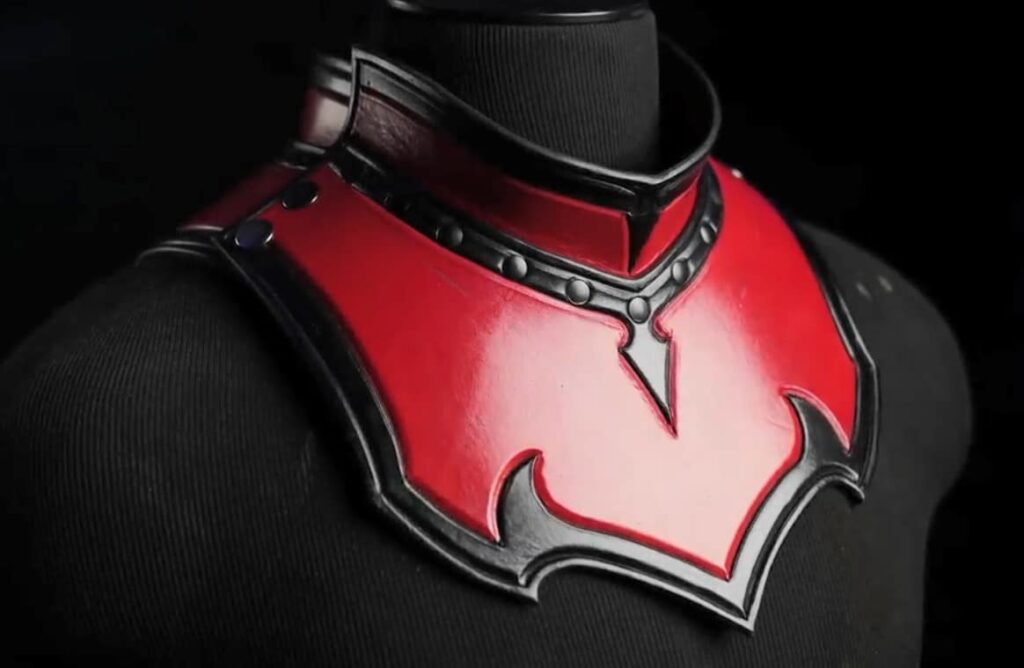
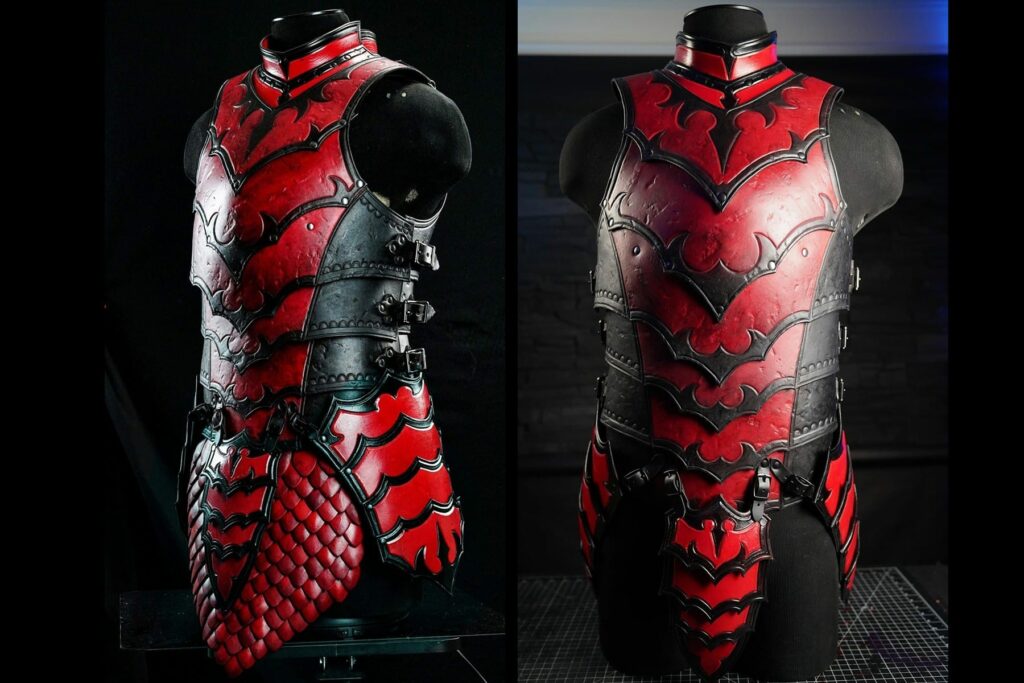
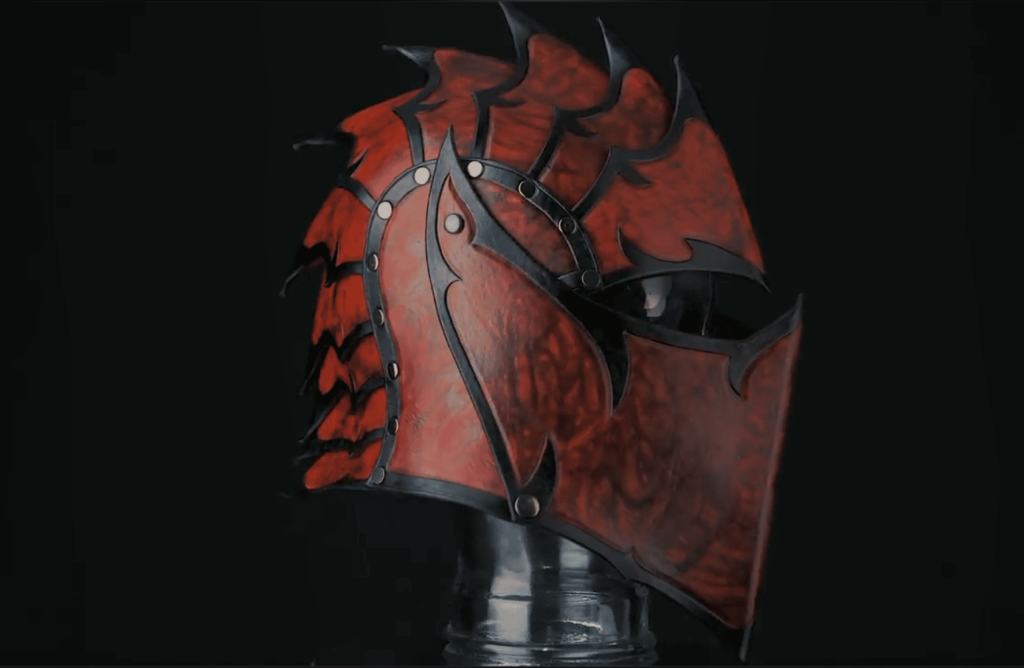
Let’s make a gorget to match the breast plates and make things cooler.
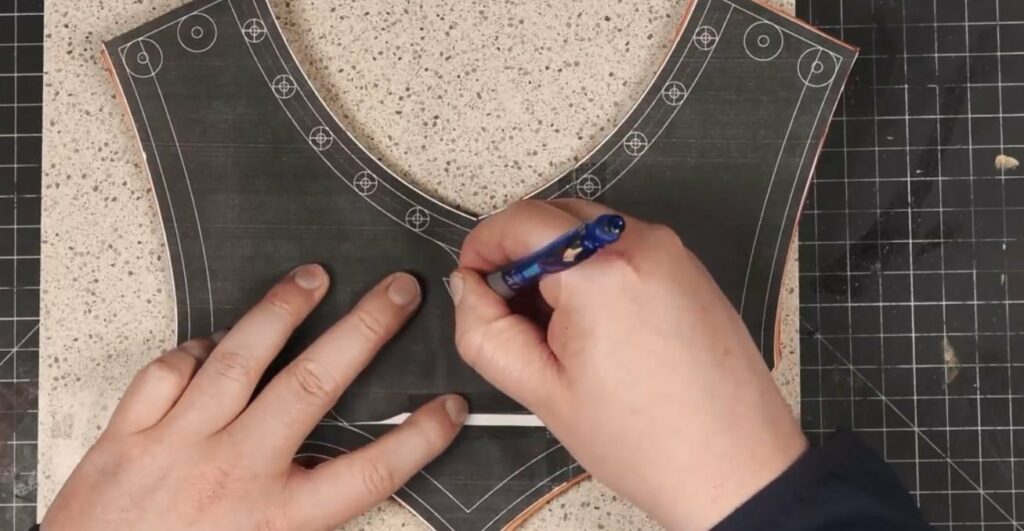
First print the patterns using the tile page option and cut them out.
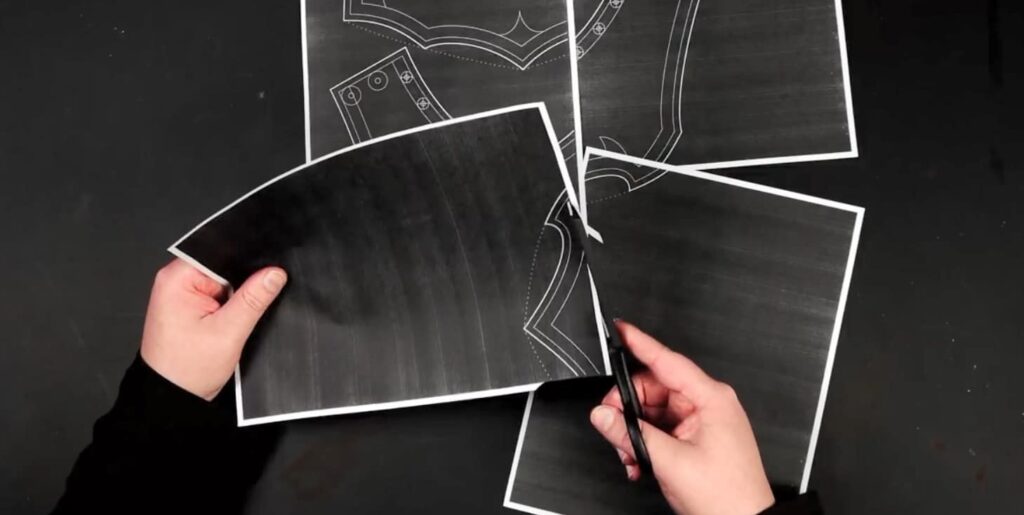
Tip: Do a paper mock up before committing it to the leather.
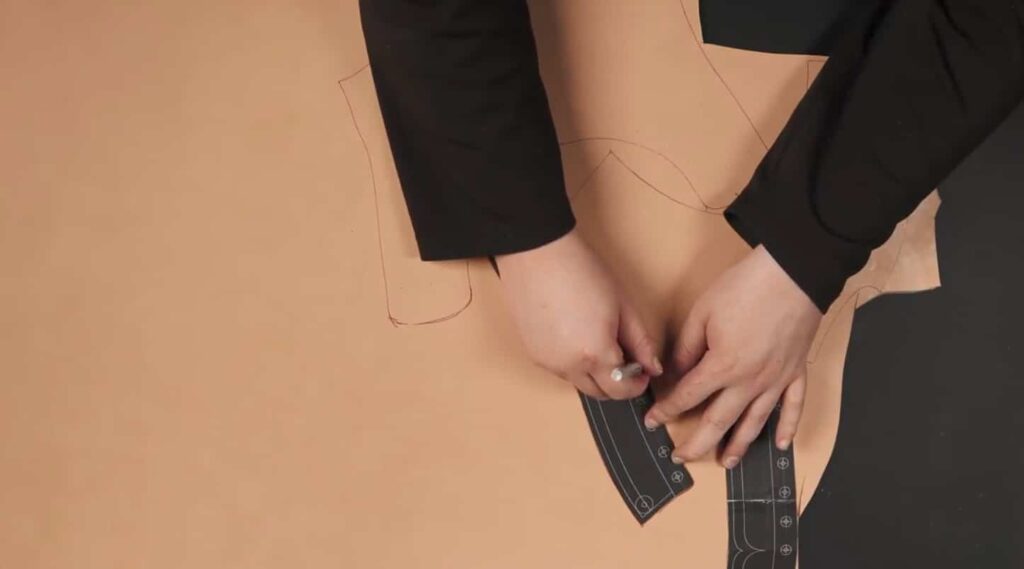
Then transfer the patterns to the leather using a point marker.
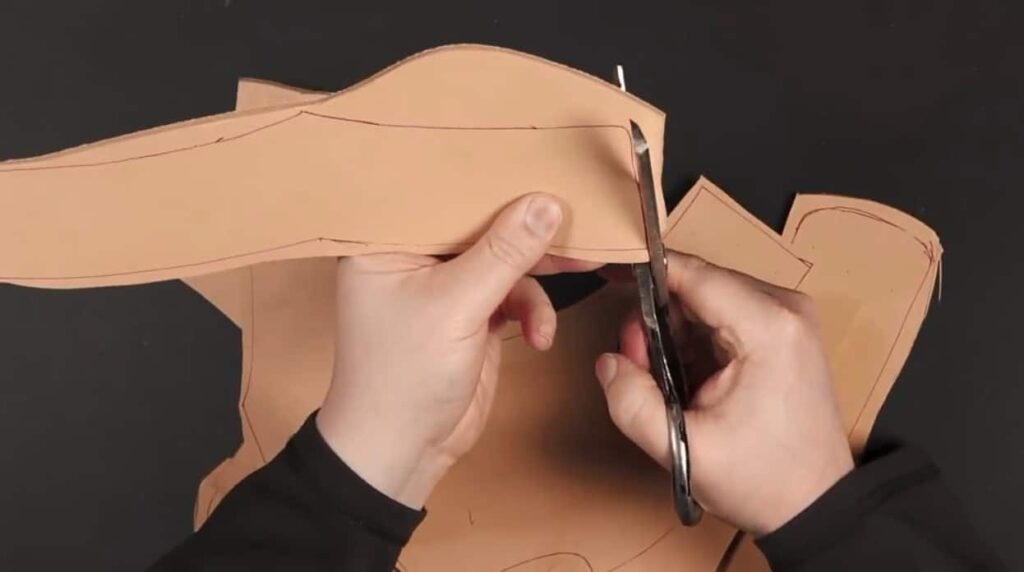
Using a box cutter cut the leather into manageable pieces and then using a tool of choice cut out the patterns from the leather.
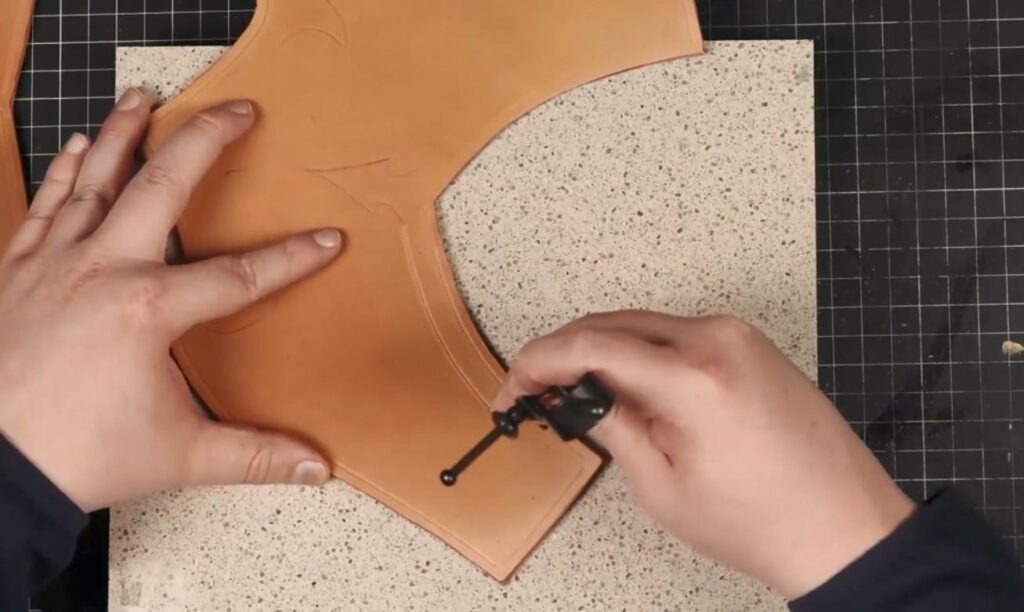
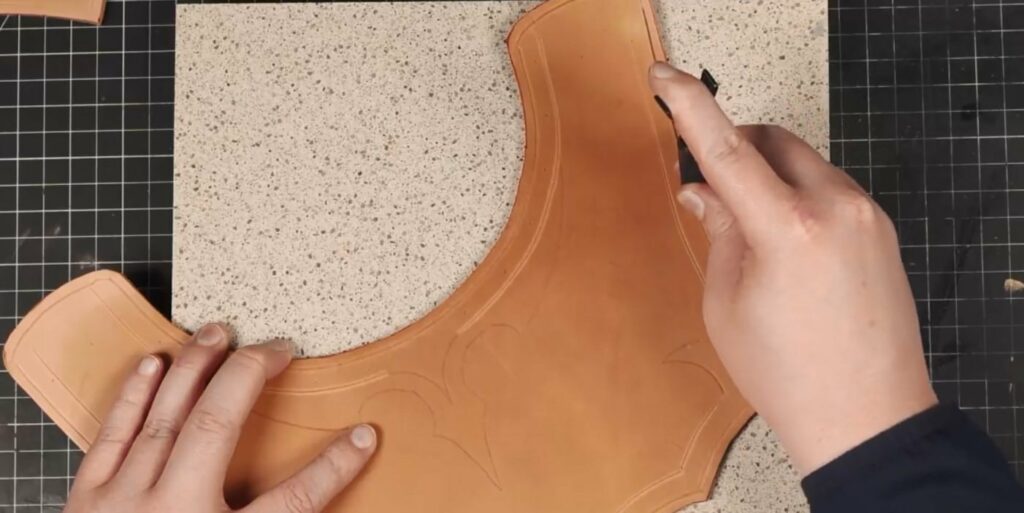
Then transfer the decorative lines from the pattern using a ballpoint pen or stylist. Using a compass or an edge groover makes a consistent line of decorative designs.
Then dampen the leather and carve the man with a swivel knife.
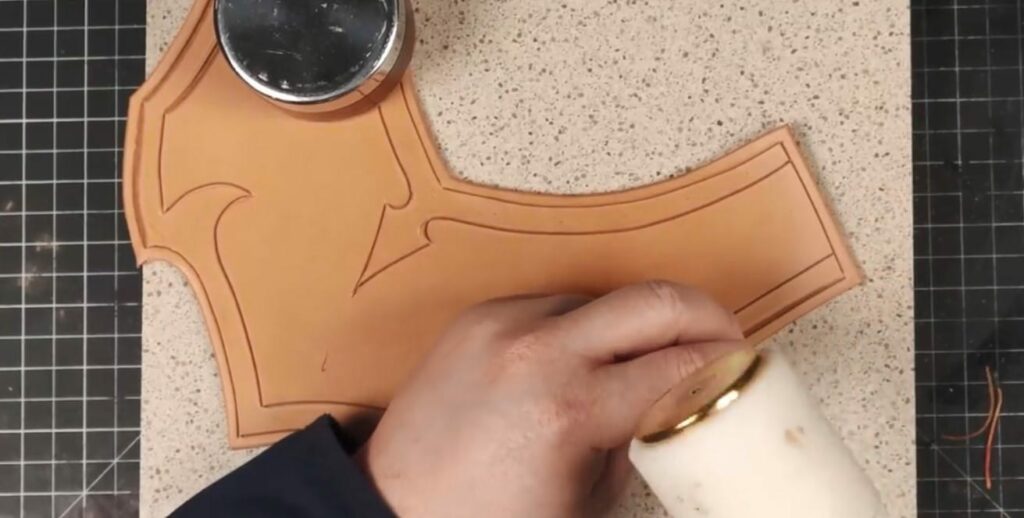
While the leather is still damp, burnish the edges slightly with a hand slicker.
Using a design tool add a choice of design to the gorget.
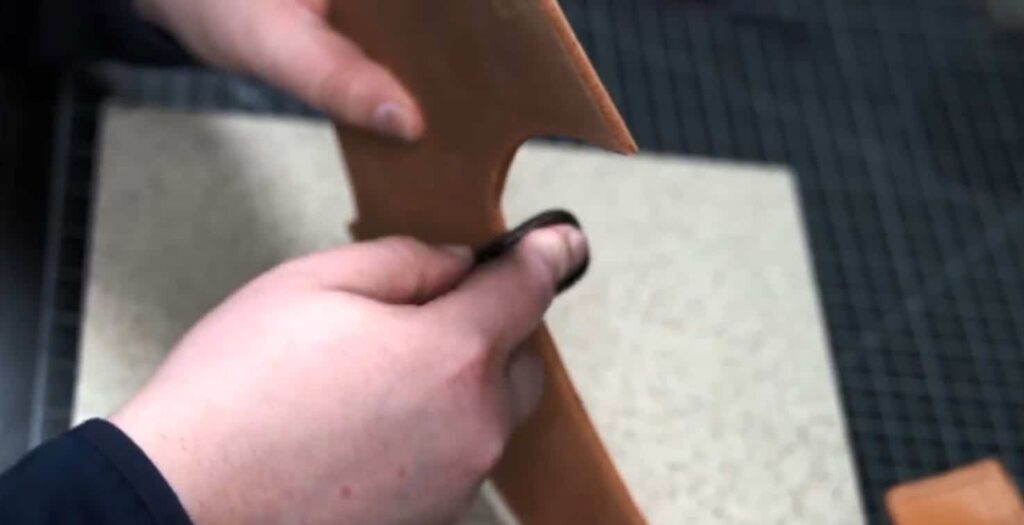
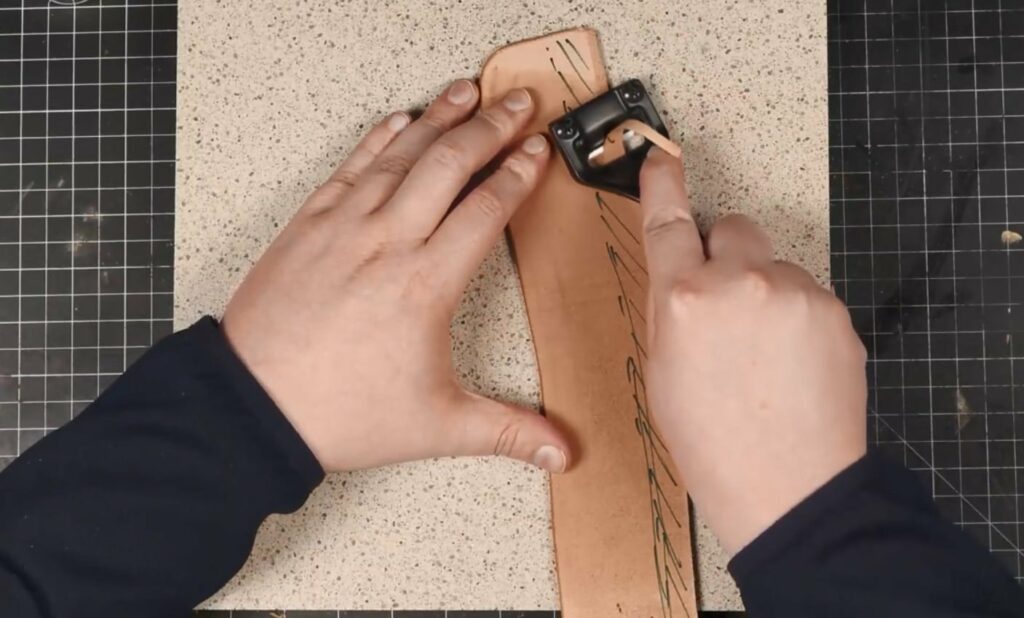
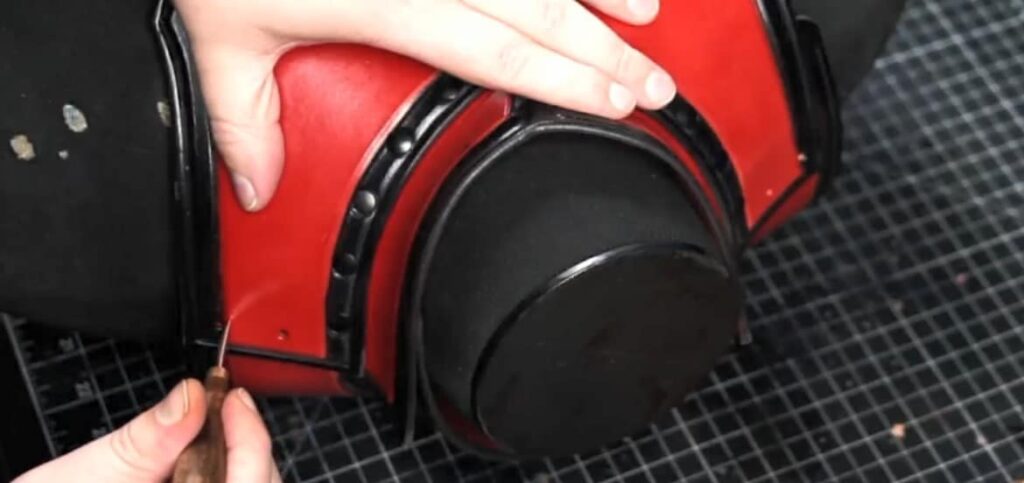
To make later assembly a bit easier and to make the gorget a bit more comfortable to wear, by scraping the edges of the collar down.
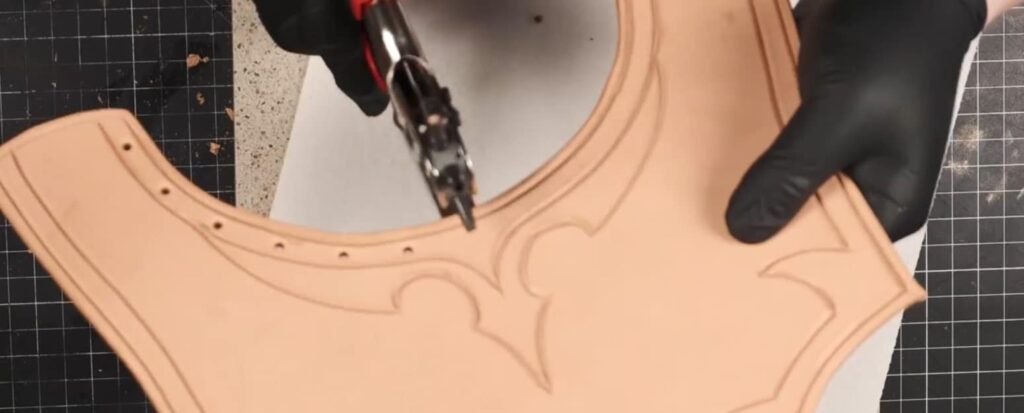
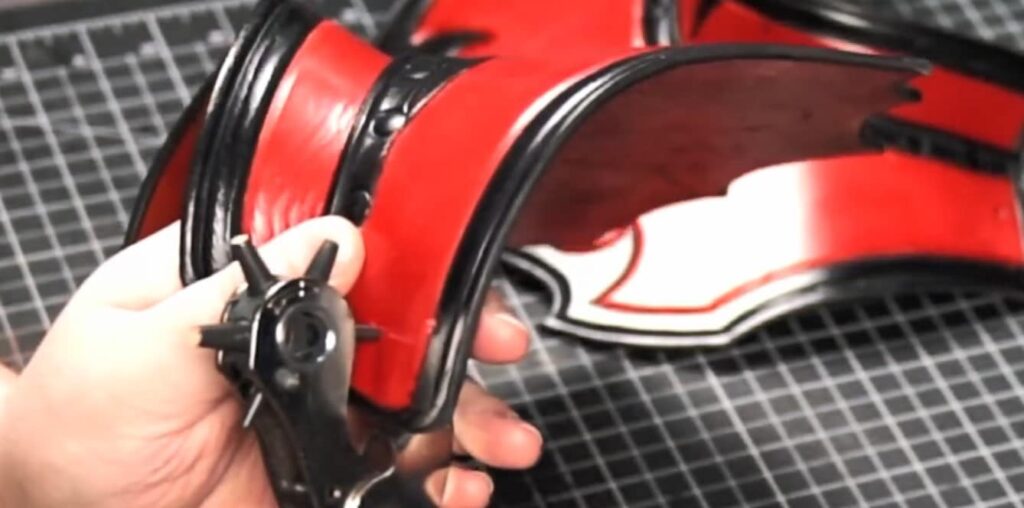
Using a hand hole punch makes the necessary holes on the top piece first.
Tip: marking the holes for the pieces that attach underneath manually since leather can shift while working it
Tip: Temporally attach the middle holes and mark the rest of them and make holes.
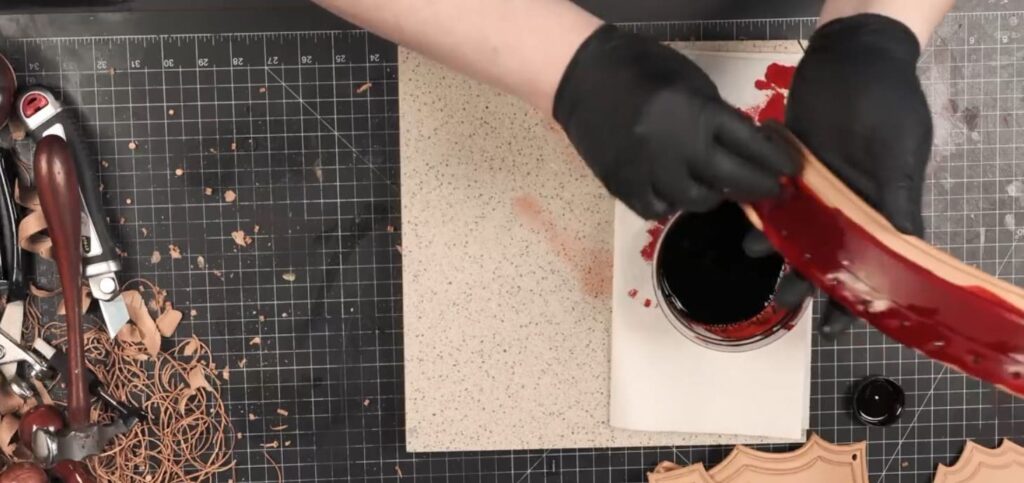
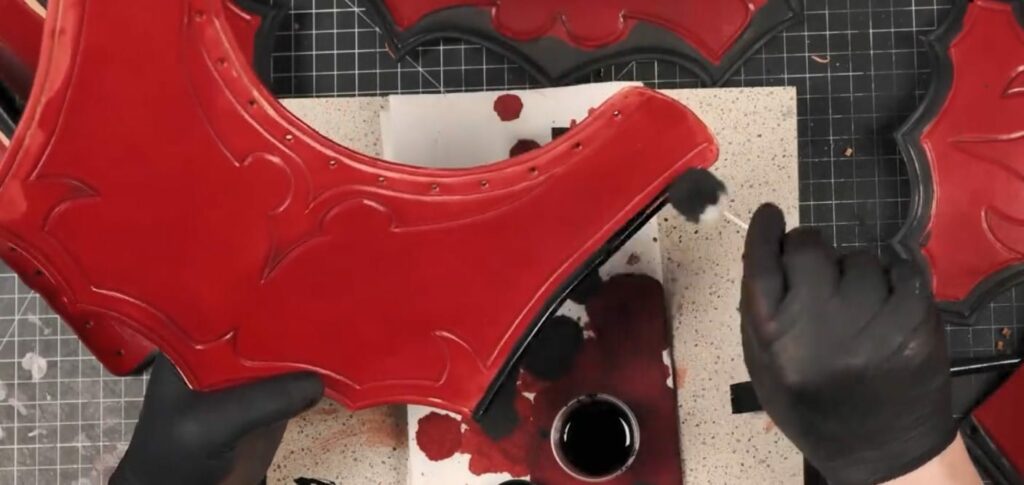
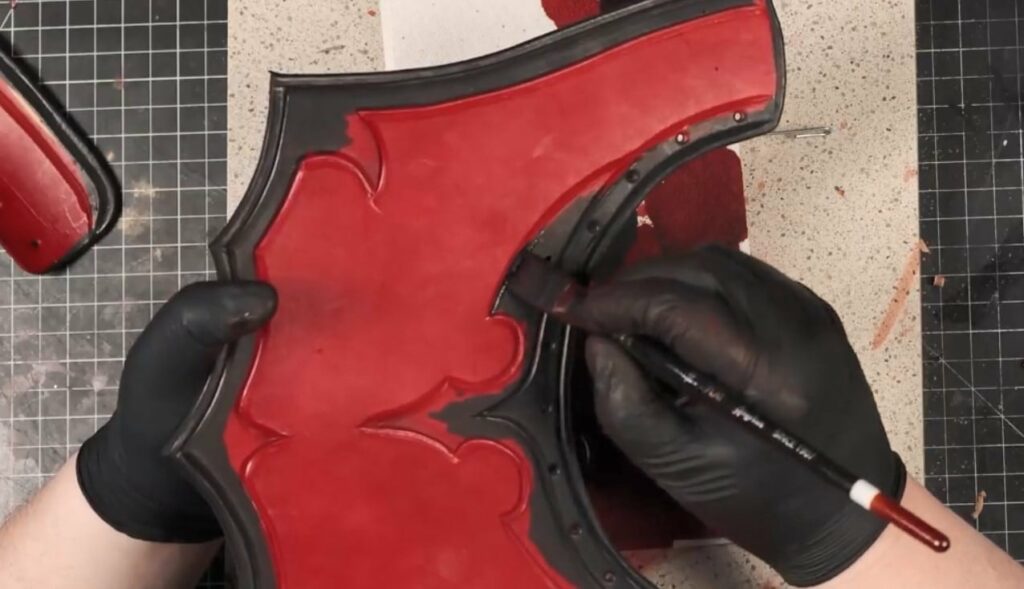
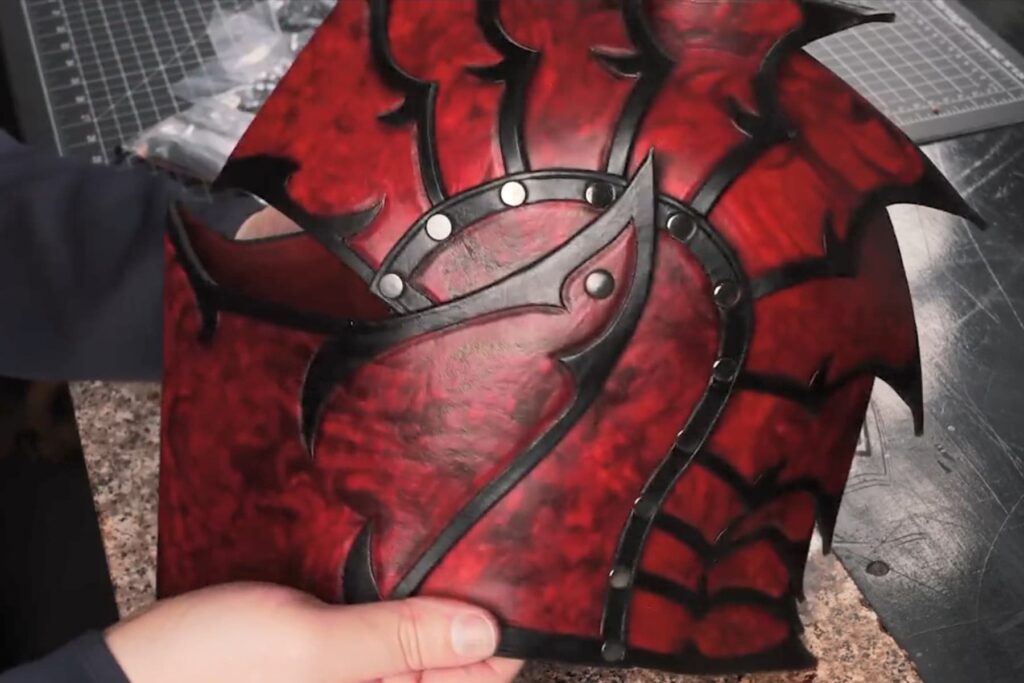
Then using a high density sponge apply the color of your choice. As here the two tone die effect is used to color. For that first apply the lighter color and then the darker. To apply darker color use a wool dauber and a brush.
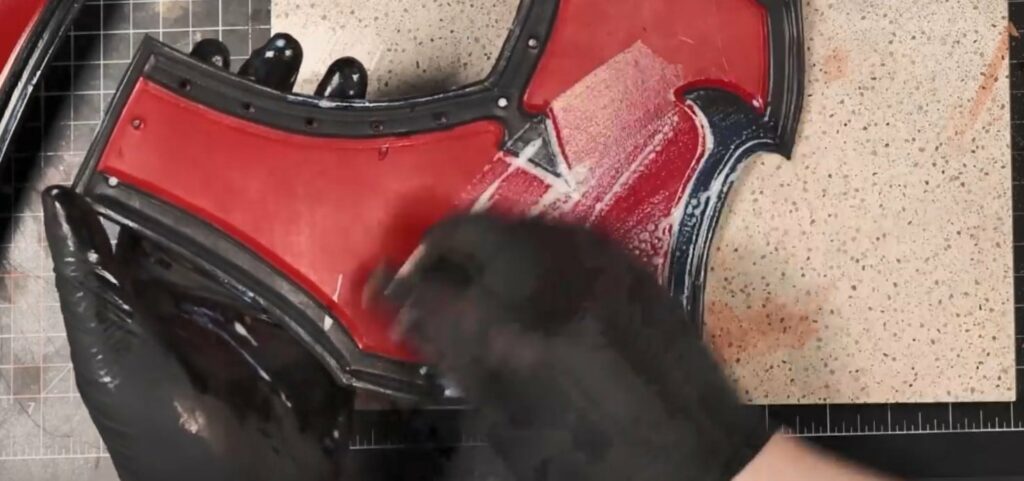
Then using weaver’s tough coat to finish and seal the leather colors.
Then comes the assembling phase here start from the decorative center and move your way up.
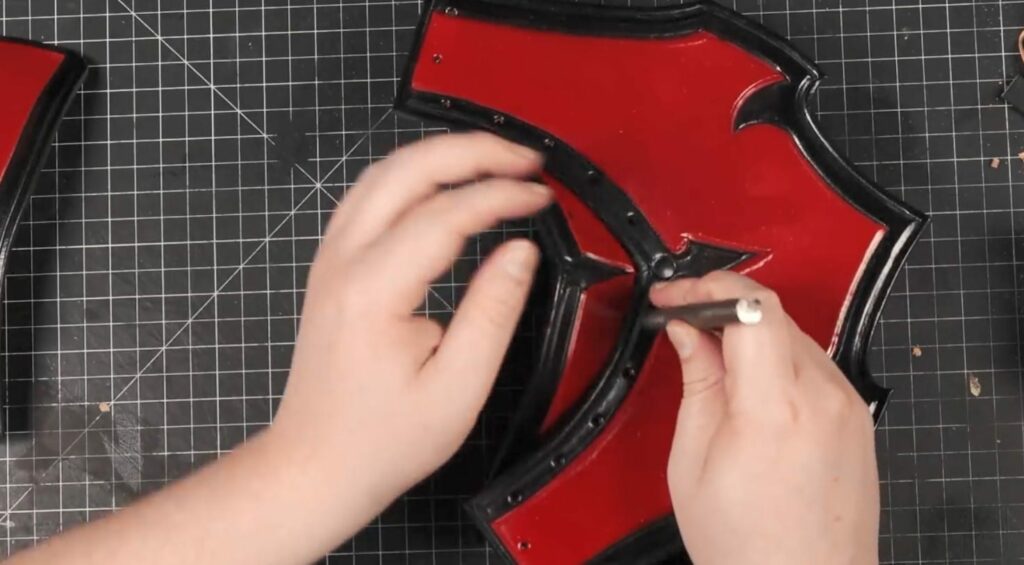
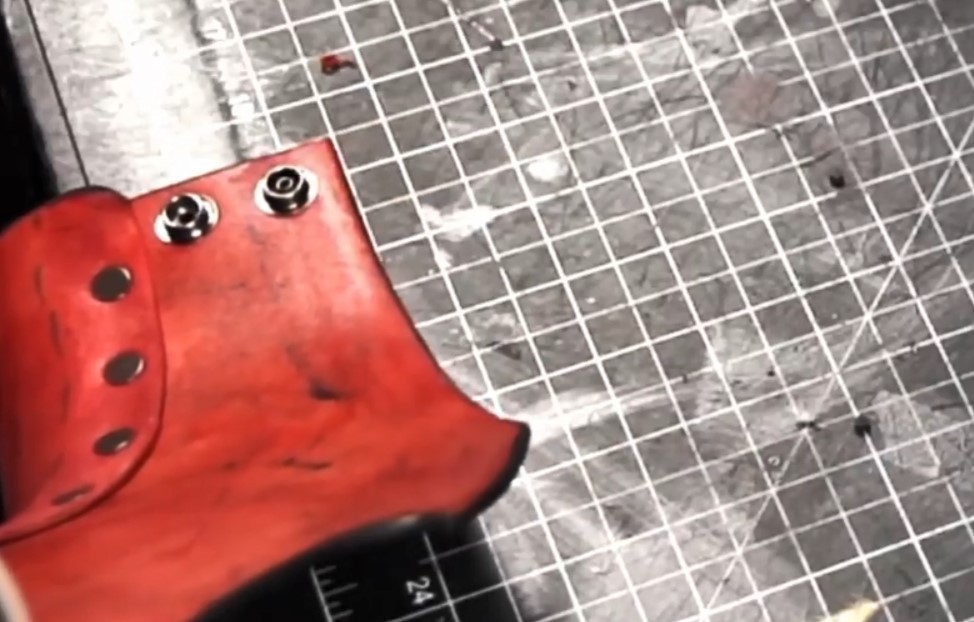
Then after clearly marking the holes after a fit drill the holes and attach snaps to the gorget.
–



Responses