DIY Leather Armor: Fantasy Breastplate Armor
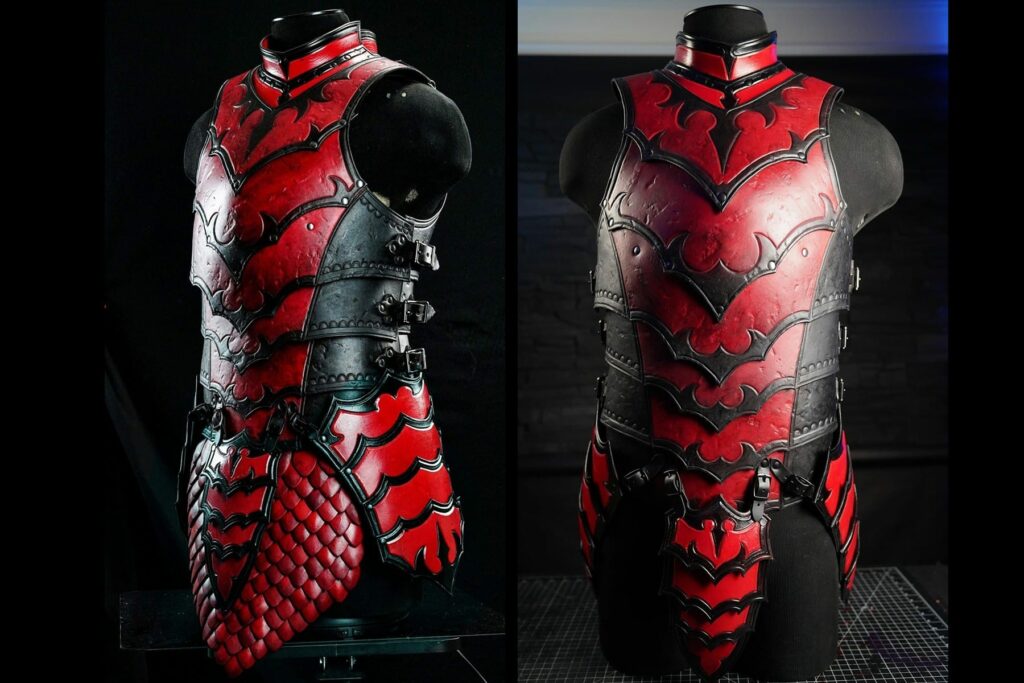
How to make a fantasy breastplate or cuirass
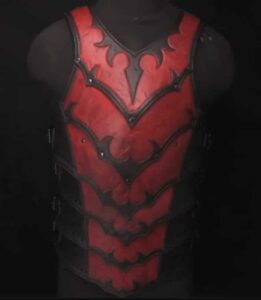
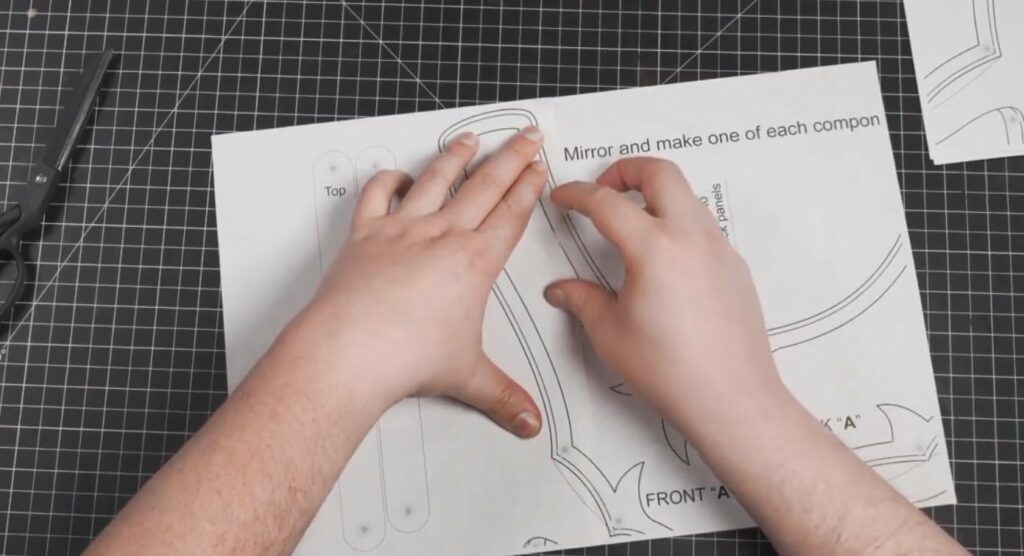
The first step of this amazing project will be to print out the patterns on paper and cut them out. The one shortcut is to your patterns print with margins is to trim the areas where the lines will connect
so that it is easier to piece the pages together accurately. I also like to tackle the pages and smaller bits of tape first if I need to adjust the alignment before taping all the seams.
Tip: suggest making a mock-up with the patterns before committing to more expensive materials. You don’t want to commit to materials until you’re confident the fit is good.
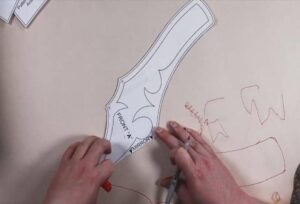
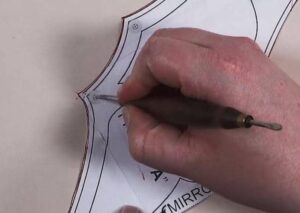
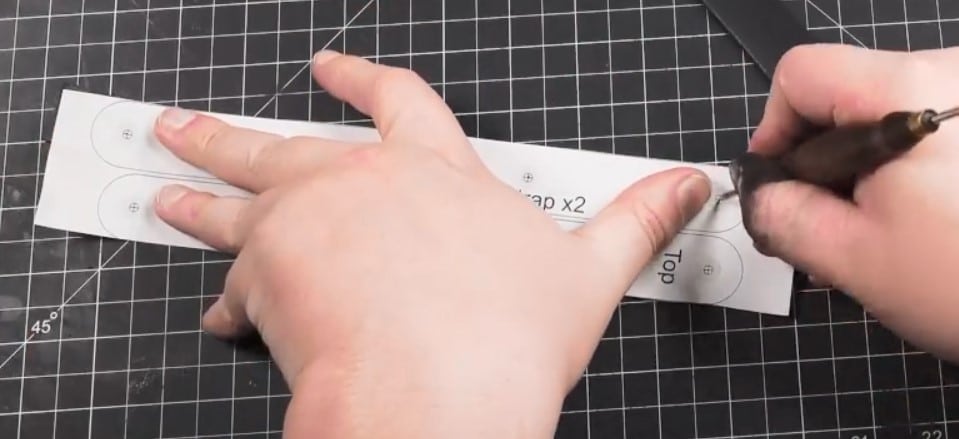
Adjust the patterns according to your needs and after the fit is good, start marking it on leather. Transfer all the patterns and their mirror to leather (as shown in the diagram below). But before that, make sure that you buy leather that is 9oz thick or what feels firmer. After the selection, draws the cutout patterns using a fine point sharpy so that the edges and tight lines will be followed accordingly. To transfer patterns to leather, use a fine-point marker so it will clearer. Something solid and pointy on hand to stab in the reference marks for the holes you will need to punch out later.
Tip: Before cutting out the parts, using a utility knife, cut the leather into manageable parts easily.
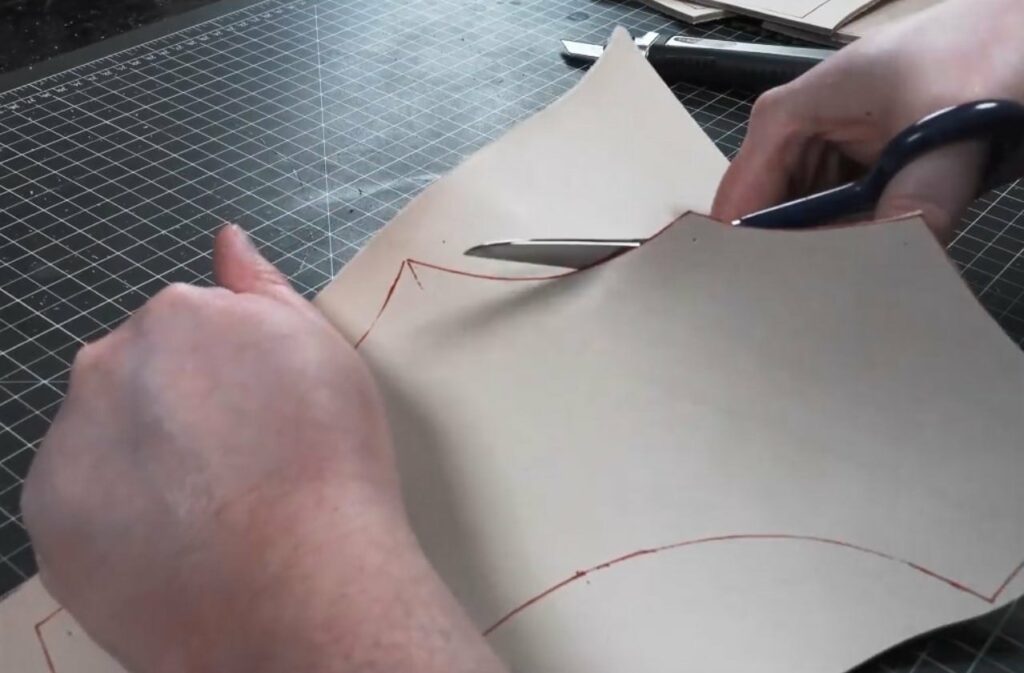
By using Craftool Shears, cut out the leather patterns.
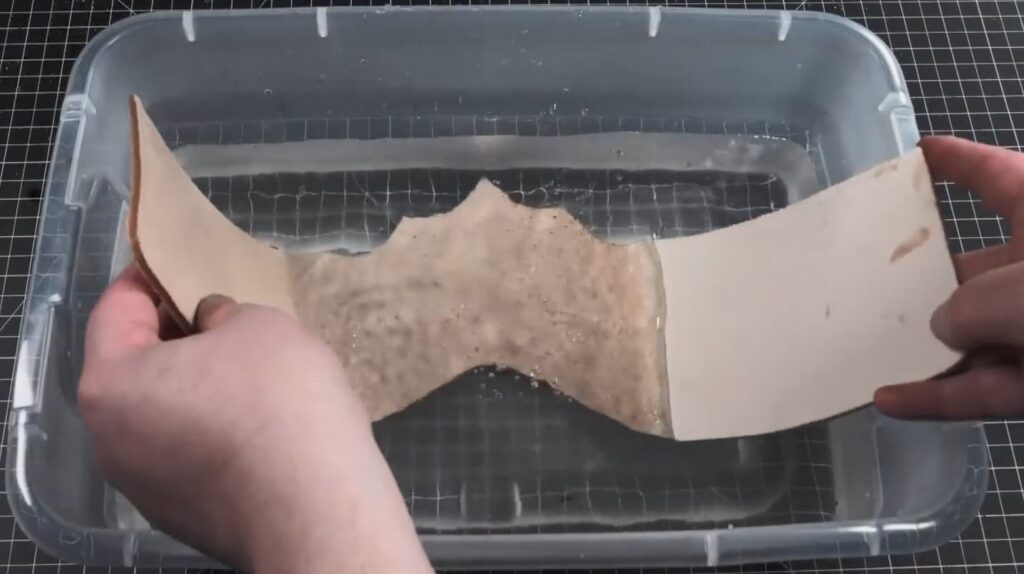
Since this is a larger project, pre-soaking the leather at this point, the core will be adequately saturated.
Tip: Submerging the leather into warm water and feeding it through, there are about three seconds of contact with the water.
Bonus tip: if you are trying to use shears but finding it difficult, you can do this stage first to make it much easier when cutting.
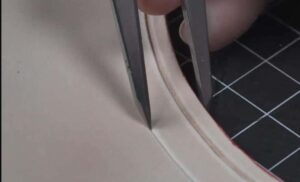
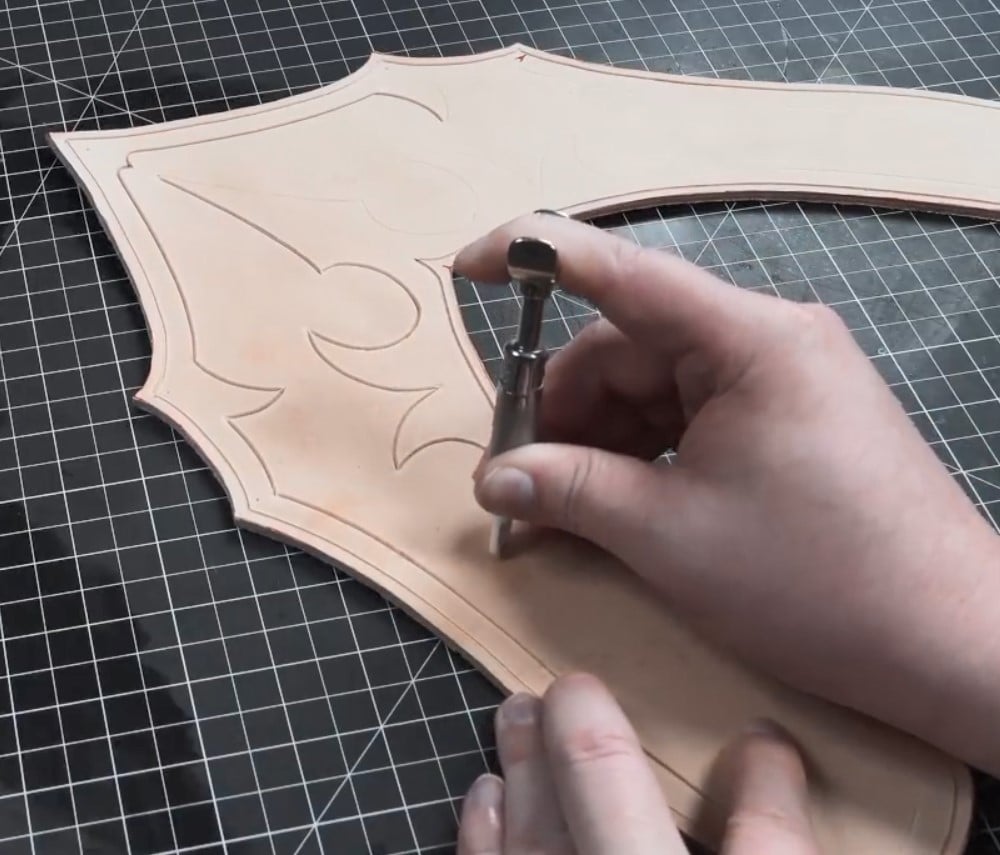
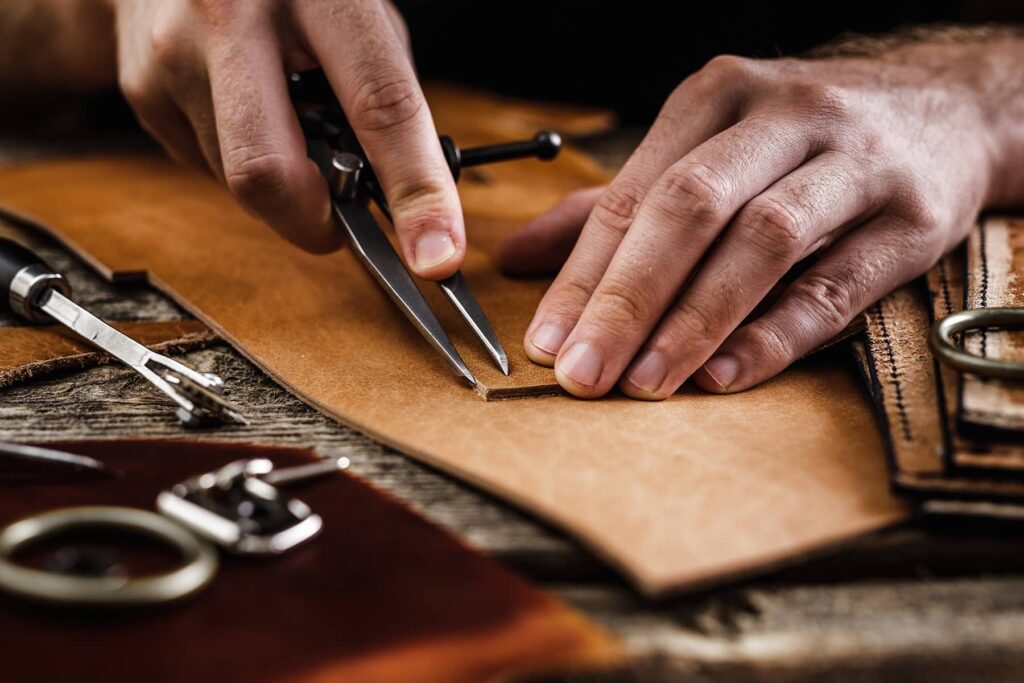
Next, after the leather is dry enough, transfer the leather patterns using a stylus or a ballpoint pen. Transfer the barbed design elements and avoid transferring the longer spans of the border. That process is better done with an adjustable compass to ensure a consistent line.
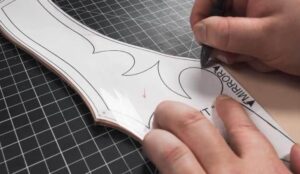
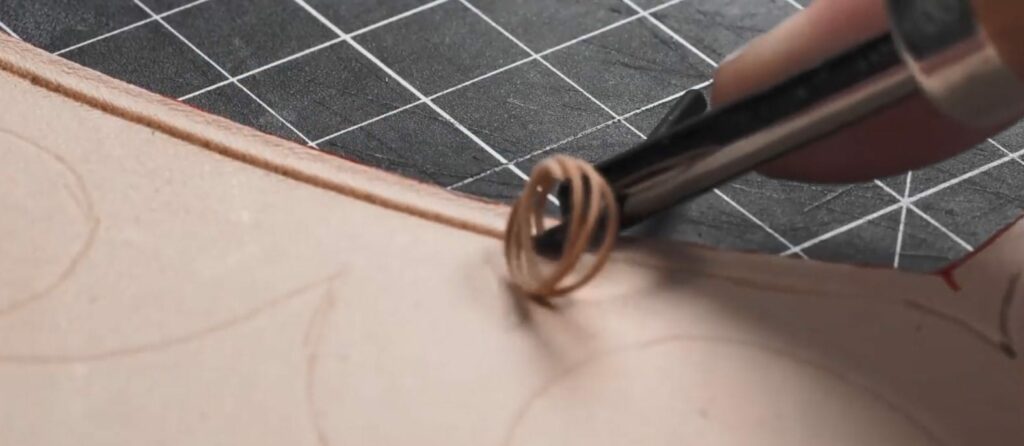
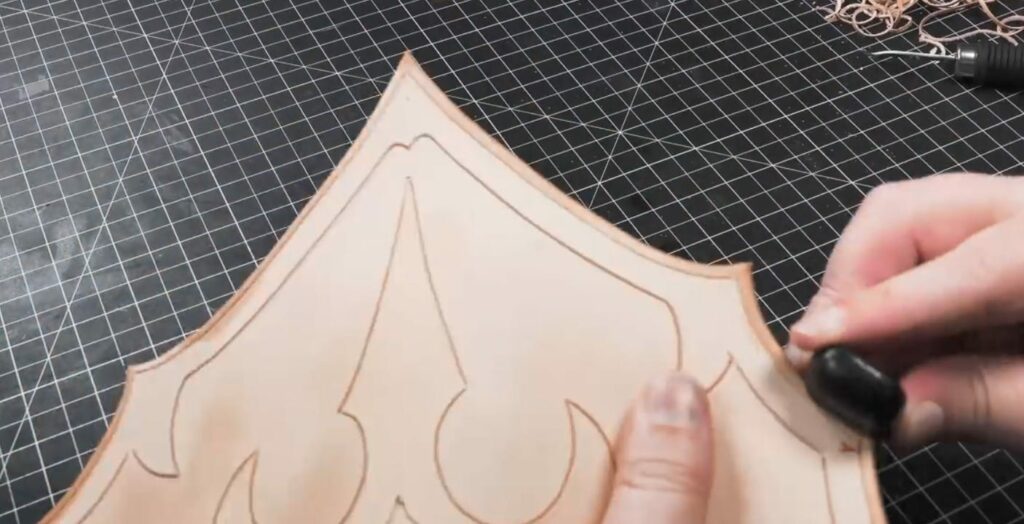
The next step is optional. If you do it, it will give a great outlook; for the outer-most border, I am using a small edge stitch groover that will cut away a strand from the leather’s surface and leave behind a nice groove. Applying an even pressure as you drag it along the edge.
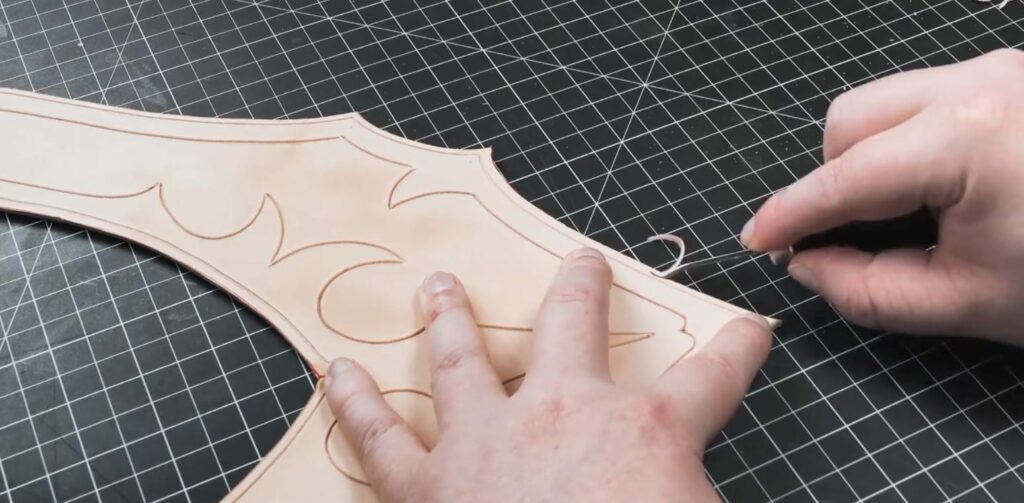
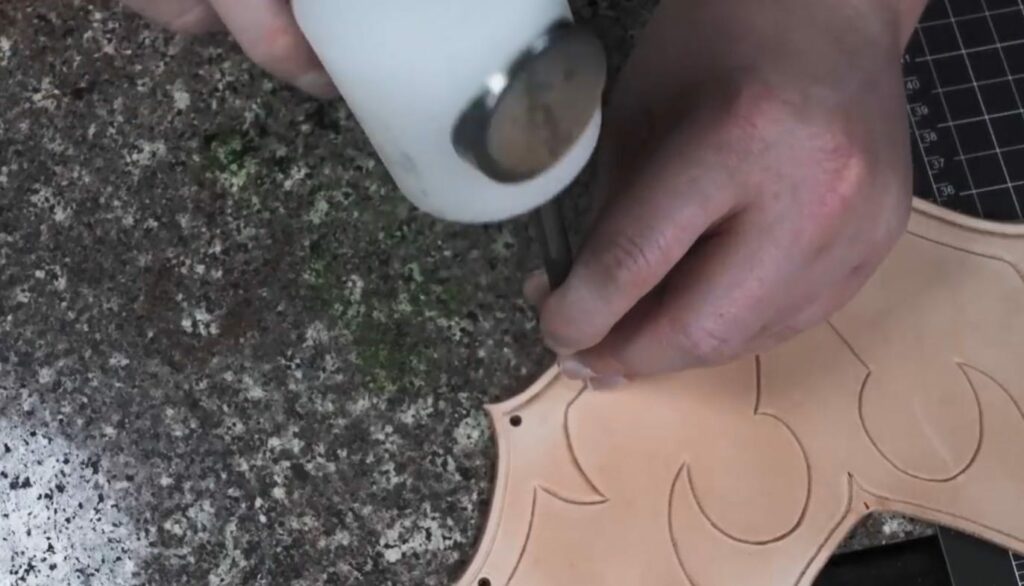
Then carve the drawn design using a swivel knife. Sharp it before using it, as always.
Tip: the carving is only half, so it will not affect the leather.
Using a number one Craftool Beveler to trim the edges from all the pieces’ tops and bottoms.
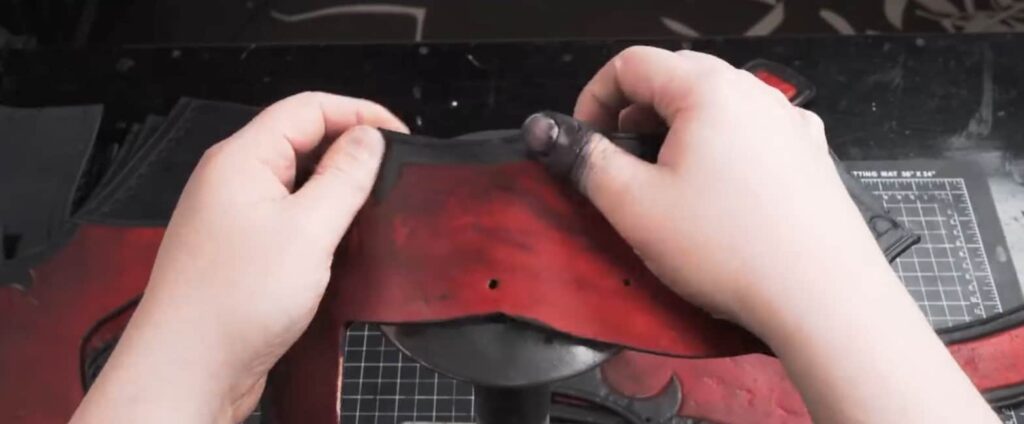
The next step will be burnishing. For that, first, you have to damp the edges and, using a slicking tool, burnish the edges of the pieces.
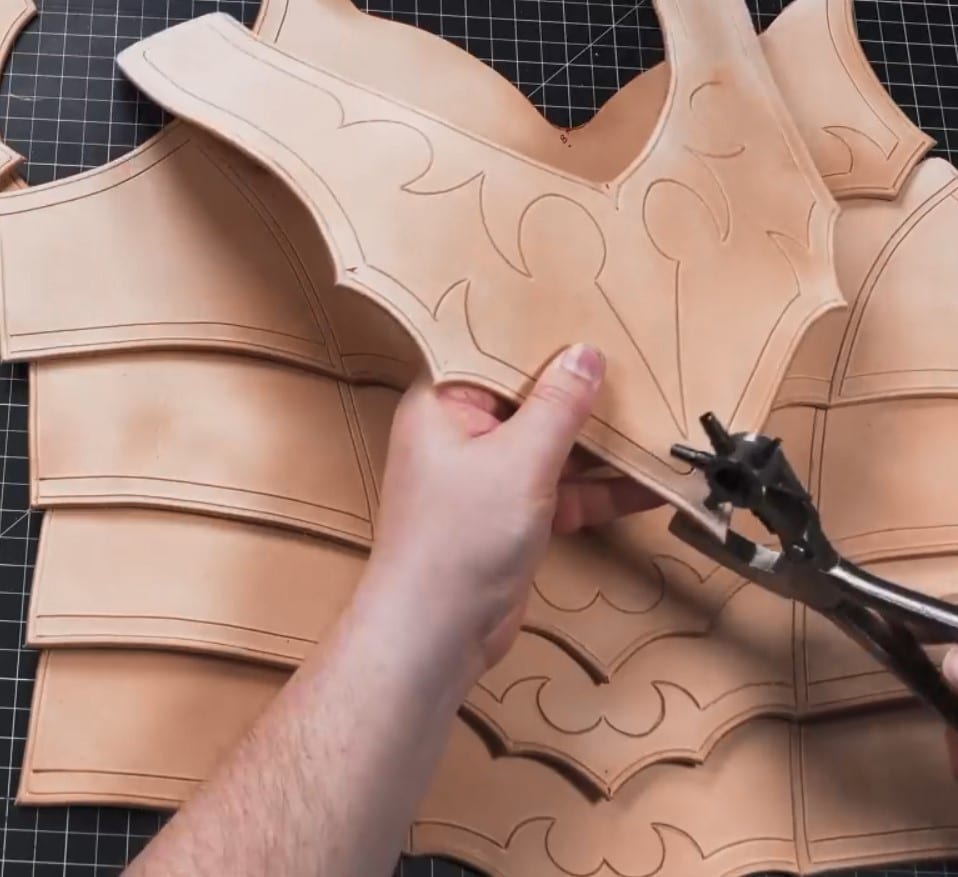
Using a rotary hand punch to make the holes for the piece. Only a few holes will remain. The rest can be done with a typical hole punch.
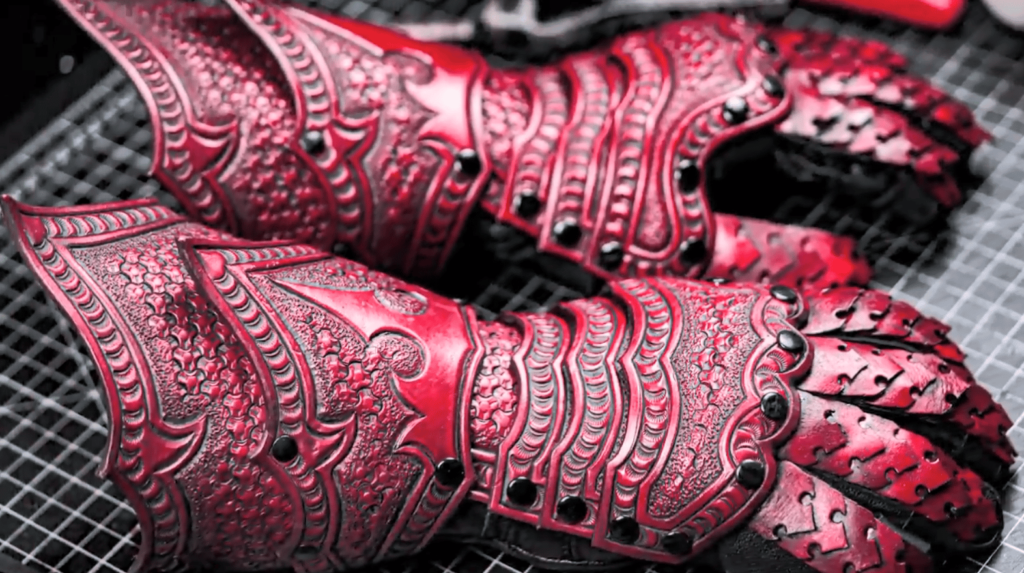
Then go with smooth beveling stamps all around the borders and design lines. To give it a slight pillow-embossed look.
Tip: it comes down to your preference as to what, if any, tools you want.
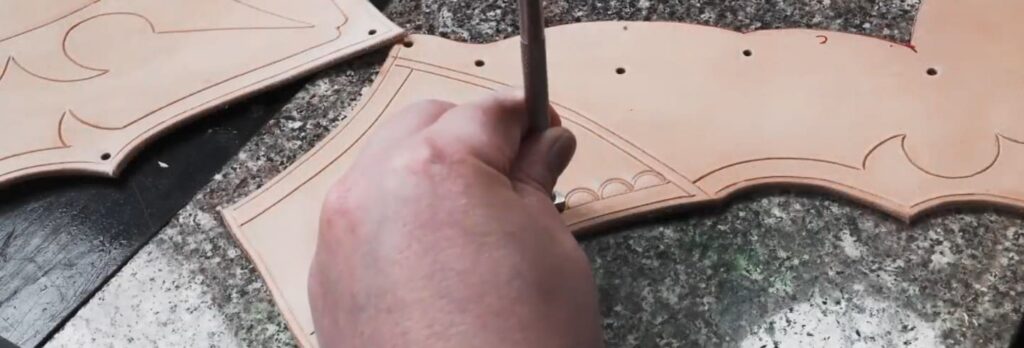
Using a border tool, add some extra decoration in the horizontal banding on the lower plates. This is also optional.
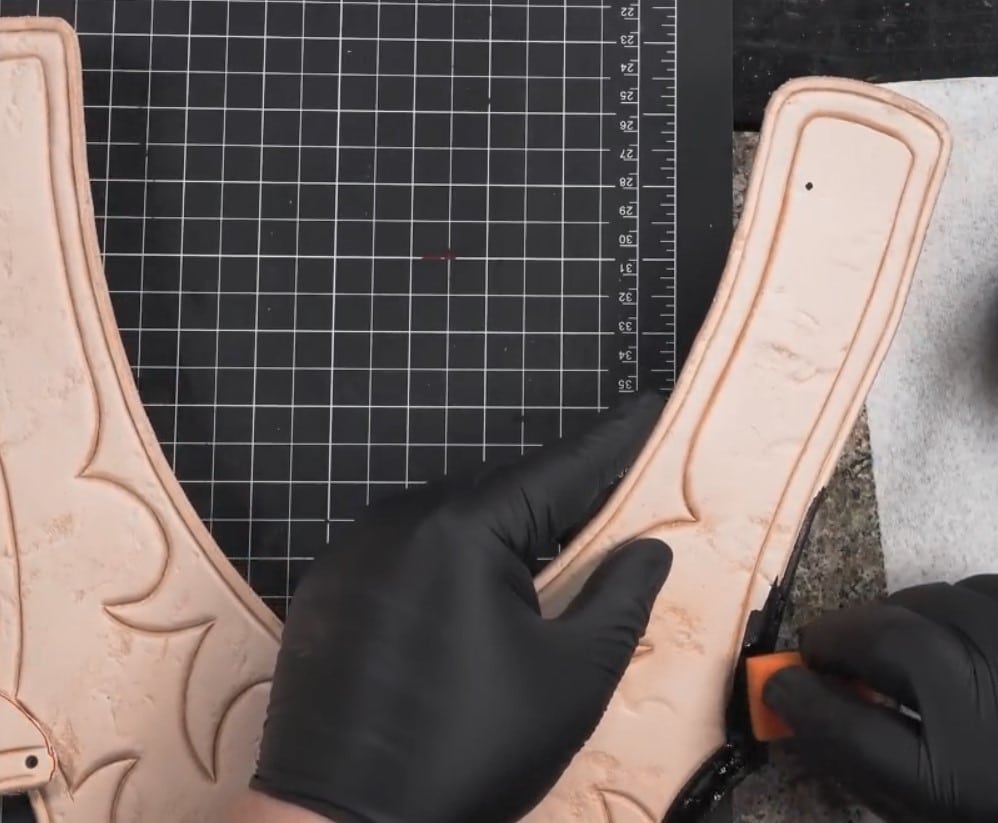
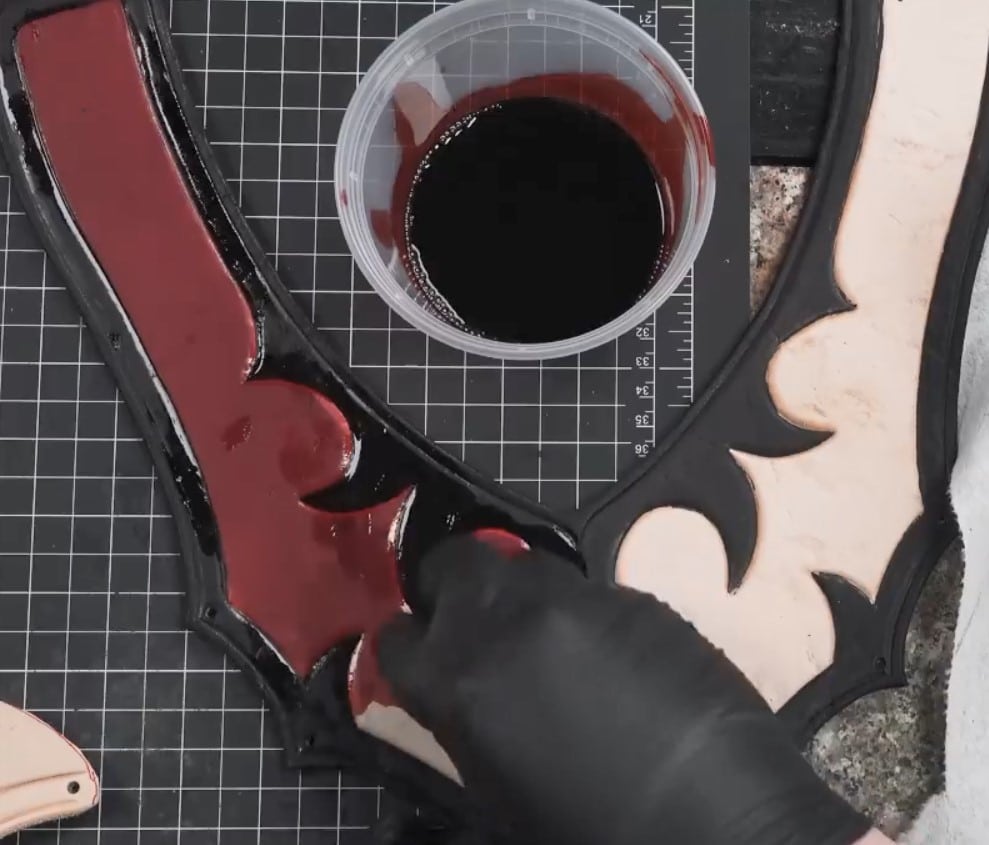
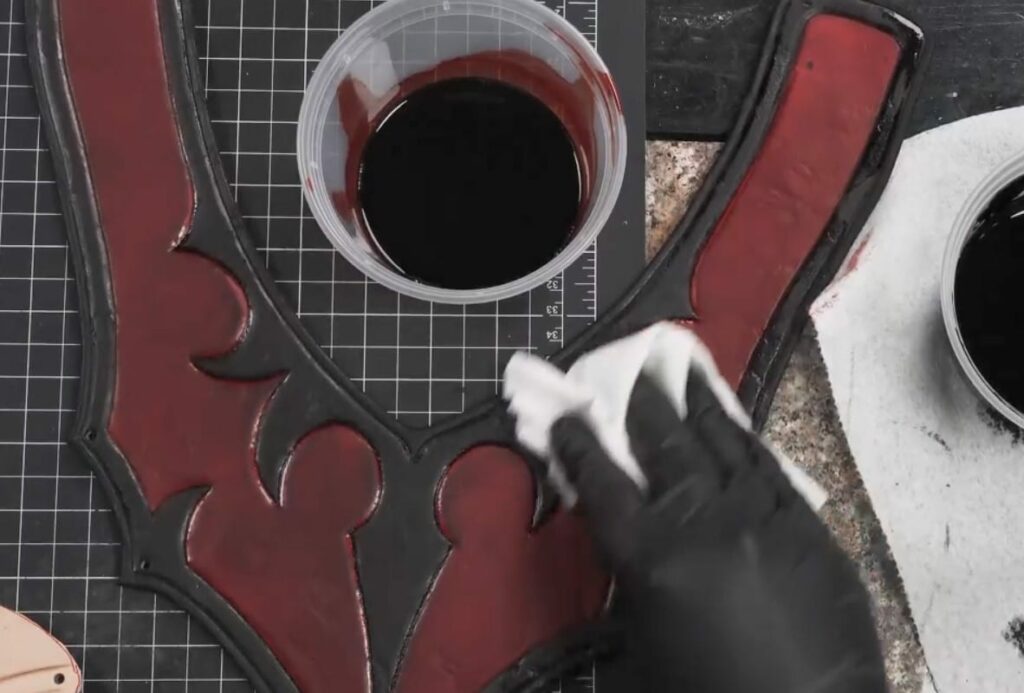
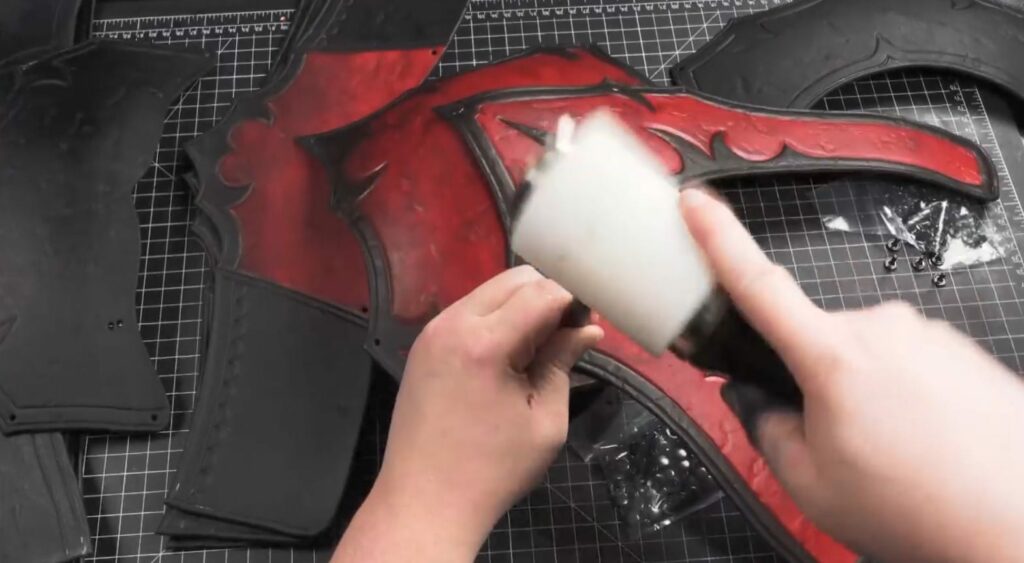
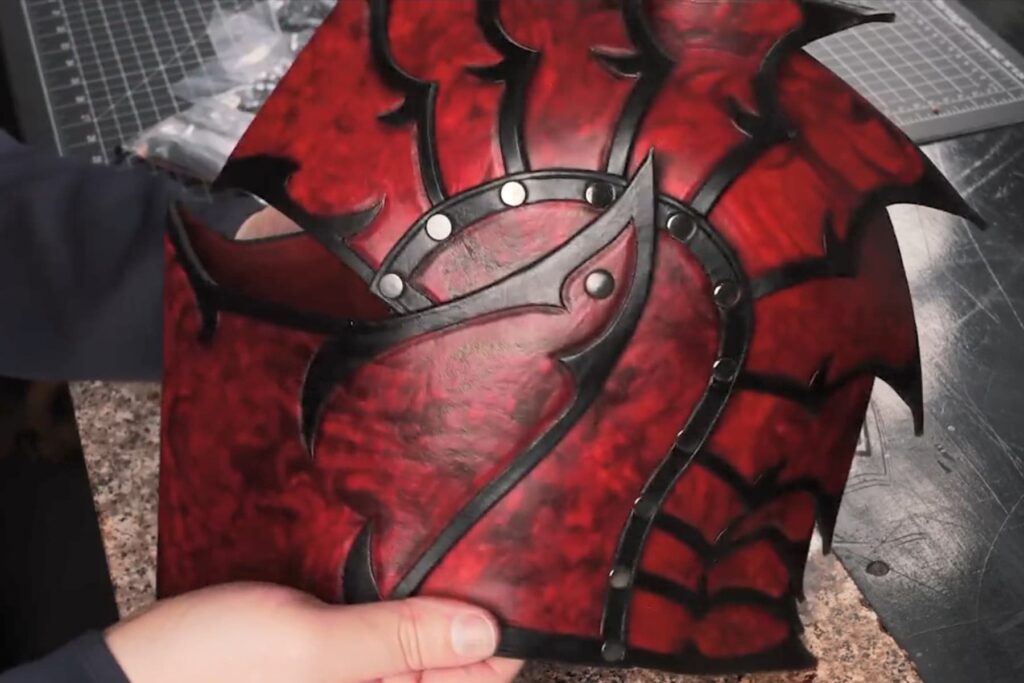
Then comes the coloring part of the piece. Here Fiebing’s Pro Oil Dye red and black are used. It can be your preference. Start with black using a piece of sponge and a brush so that it can be controlled. Central area with the red. Buff out some of the excess pigment with a paper towel.
Tip: use separate towels for the two-color if you don’t need a blend in both colors.
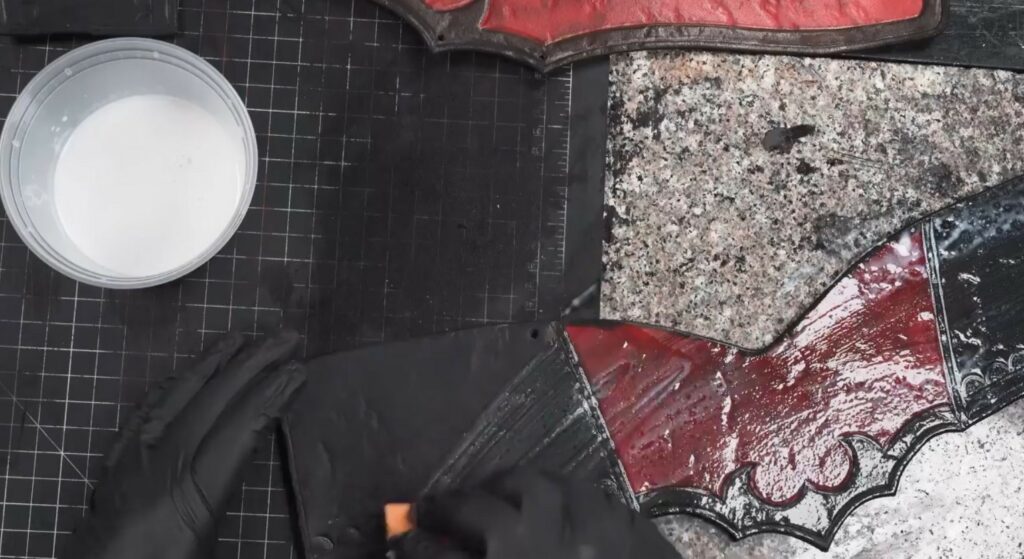
Finish using Satin Shene, which is an acrylic product. Apply a generous coat with a sponge on both sides. (to help it firm up and also to prevent dye from bleeding)
After this, shape the leather pieces while it is still damp with the Satin Shene. As it will be easy to work with while it is damp.
Tip: don’t expect everyone to have a dedicated forming tool. Be creative and use something like a softball or a bowling ball or find something cheap online like an acrylic hemisphere.
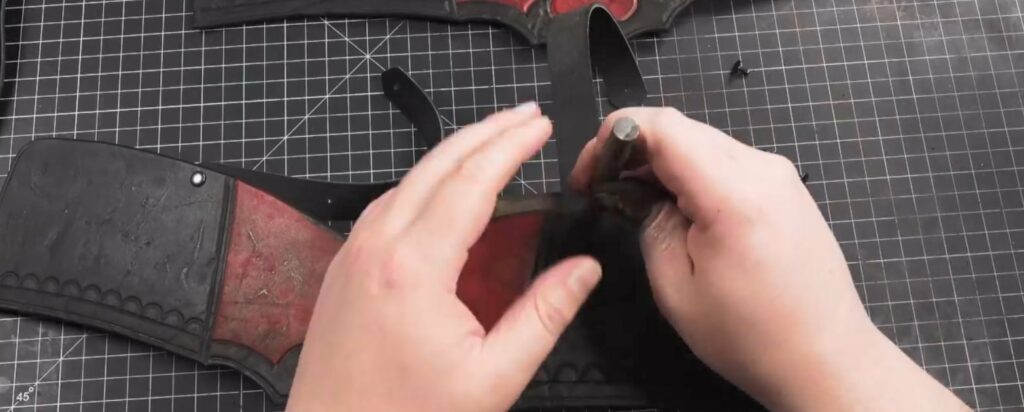
Then the riveting begins. To set the rivets, you’ll either have to turn the piece over and set it flat, or if you want to use a rivet setter for a more domed rivet appearance, you’ll have to elevate your surface with something like this mini anvil or some other striking face.
Tip: You can start either from the middle and work your way out or from the outside and work your way to the center.
To connect all of the components, a retaining strap is used.
Tip: use a thin and supple piece of leather
Once finish making the front and back straps start to connect all the components with the rivets.
Easiest is to start with the bottom plates and always double-check your order of components before committing the rivets.
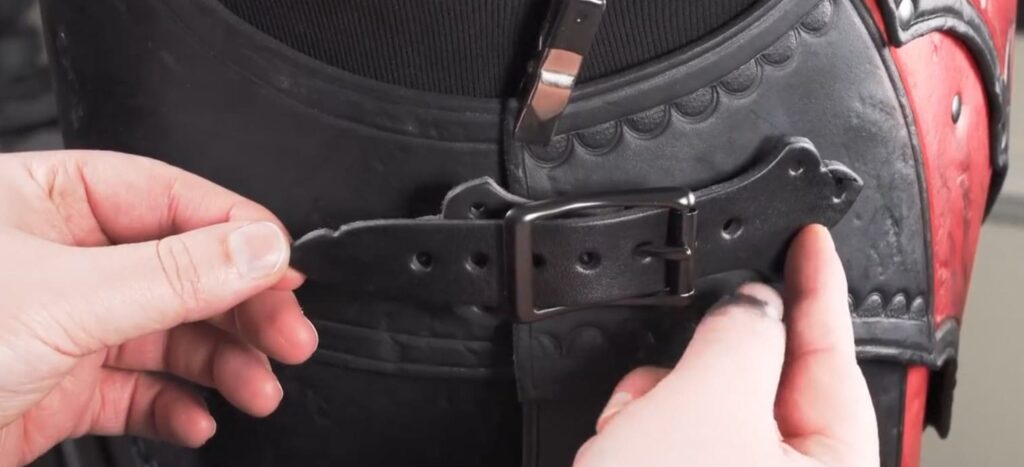
The final step is the buckle placement. Mark the reference marks in the buckles with the help of a friend or family. And make the holes aligned.
The buckles can be chosen to your preference.



Responses