Fantasy Armor Helmet Written Tutorial

How to make a fantasy armor helmet.
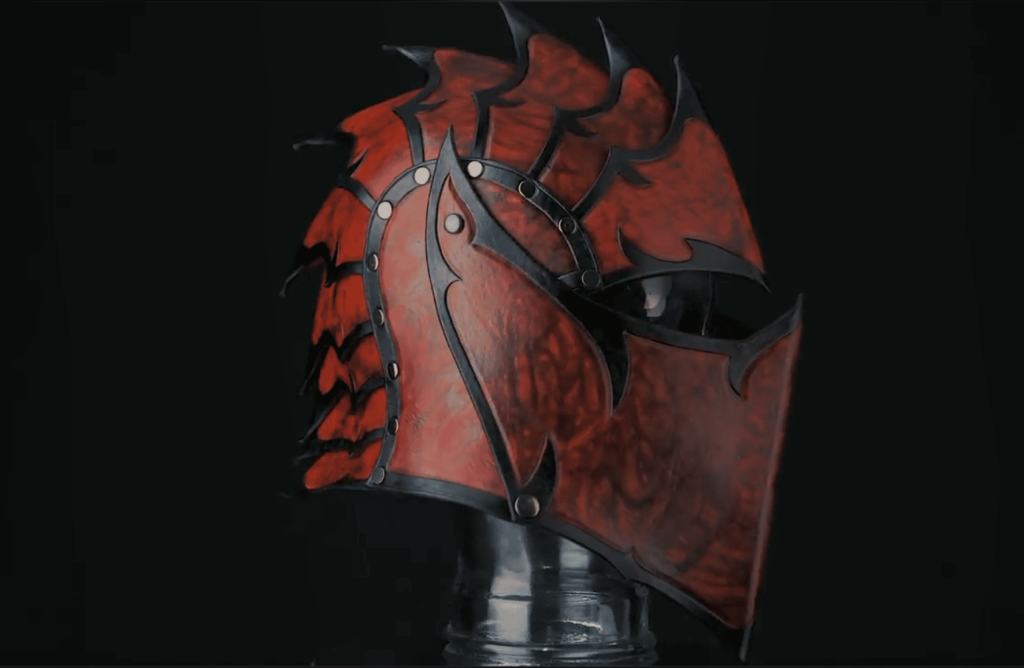
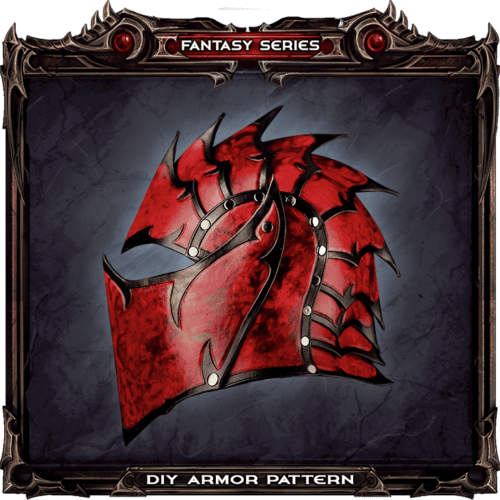
You can be an amazing owner of the following fantasy armor helmet that will be made with your own hands.
-
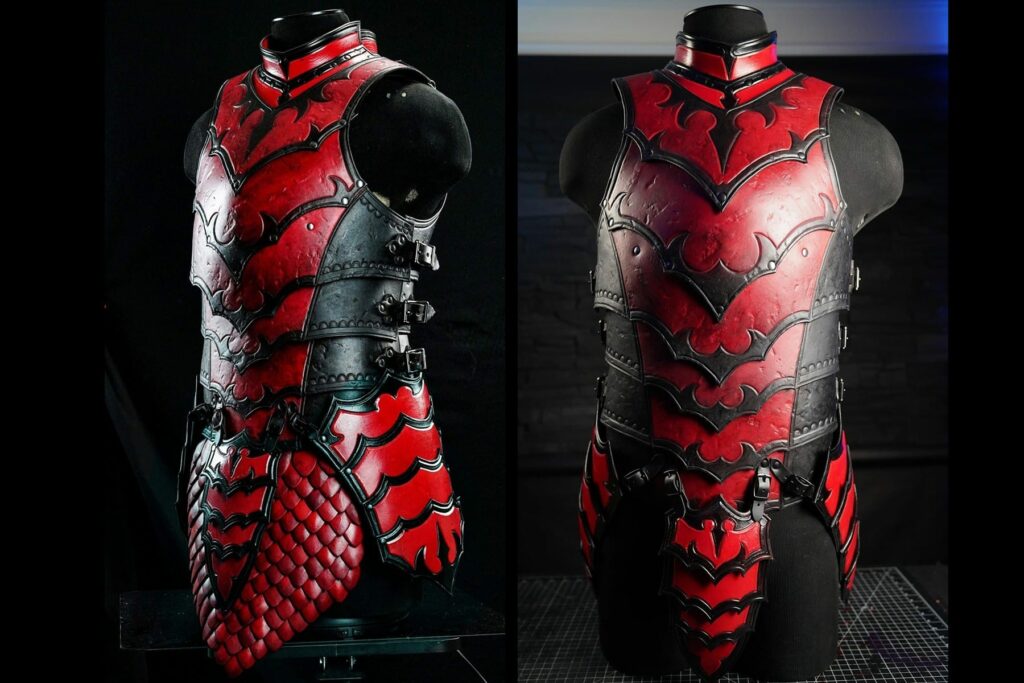
Imperial Knight Helmet Pattern$15.00
-
Fantasy Helmet Pattern$15.00
First of all, you have to print the pattern on paper. If the paper is heavier, weigh printer paper, or even get some tagboard/poster-board and use one of those school glue sticks to reinforce easier tracing patterns. Then cut out the pattern of the helmet from it. If the same pattern repeats, you can use the same pattern that you cut out, but if it is a typical printer paper, make sure to have an extra copy or two.
After cutting out the patterns, you have to transfer all the patterns to leather. But before that, make sure that you buy leather that is 9oz thick or what feels firmer. After the selection, draws the cutout patterns using a fine point sharpie so that the edges and tight lines will be followed accordingly.
Next, when you finished transferring the patterns, cut out the leather using an “Al Stohlman knife” or a standard box cutter or utility knife.
When you finished cutting the pattern-outs off, the leather sheets separate parts. Then you have to cut along the lines of the patterns using leather shears. If you can’t access toa leather shear, use a utility knife or box cutter.
Tip: polish or strop your blade even if it is a brand new one.
The next step is transferring the designs to the cutout leather. For that, first, you have to damp the leather lightly and then, using a ballpoint pen without ink, trace over the lines of the pattern.
Tip: just trace the main protrusions, like those little carves of the design, and then by using a wing divider, ensure a consistent band along the edge.
Use a hole punch to transfer the hole marks through the pattern to the gently
leather.
To tool, the border trims the leather, have to be wet. The moisture makes the leather fibers malleable, using a high-density sponge to saturate the surface of leather. Do this to every piece that was cut out, allow the leather to soak out the moisture, do a quick pass again with the sponge.
Then the carving process starts. Here using a swivel knife with a ceramic blade to make cuts into the leather. Suppose you do not have this use a sharp blade that is strop. As you work through the pieces, you will have to refresh the moisture on the leather’s surface.
The next step is optional, but it is highly recommended. It is beveling the edges of the leather pieces. It will give a cleaner and more professional, smooth edges will help later, and mainly it will be comfortable to wear. Using a number two, Craftool Pro Edge Beveler can cut the edges of the pieces. Do this while the leather is a little bit wet. It will be easy. Do not do it while the leather is too wet. Then burnish the leather.
The next step is to punch a hole in the sheets, for that there are few methods;
- using a plyboard
- using a rubber mat
- rubbery hole punch
using any of the above methods punch the wholes.
Tip: wait to punch the holes on the side plate so that it will attach the faceplate. And recommend you also wait, so you can test the fit and see if you’re happy with the position.
The inventive step comes next, where you will need a cross-hatch beveling tool. You can skip this step if you want.
Then the shaping of the leather starts; this step needs the leather to be a bit wet. When doing this folding method, the leather needs to be moderately damp, especially along the edges, so that the folding is easy. First, fold the piece in half and then carefully hammer with a medium firmness on both sides of the ridge to compress the leather along the fold. When unfolding the pieces, there should be a subtle ridge left behind. From there, bend and form the pieces by hand slightly to bring them closer to the final shape.
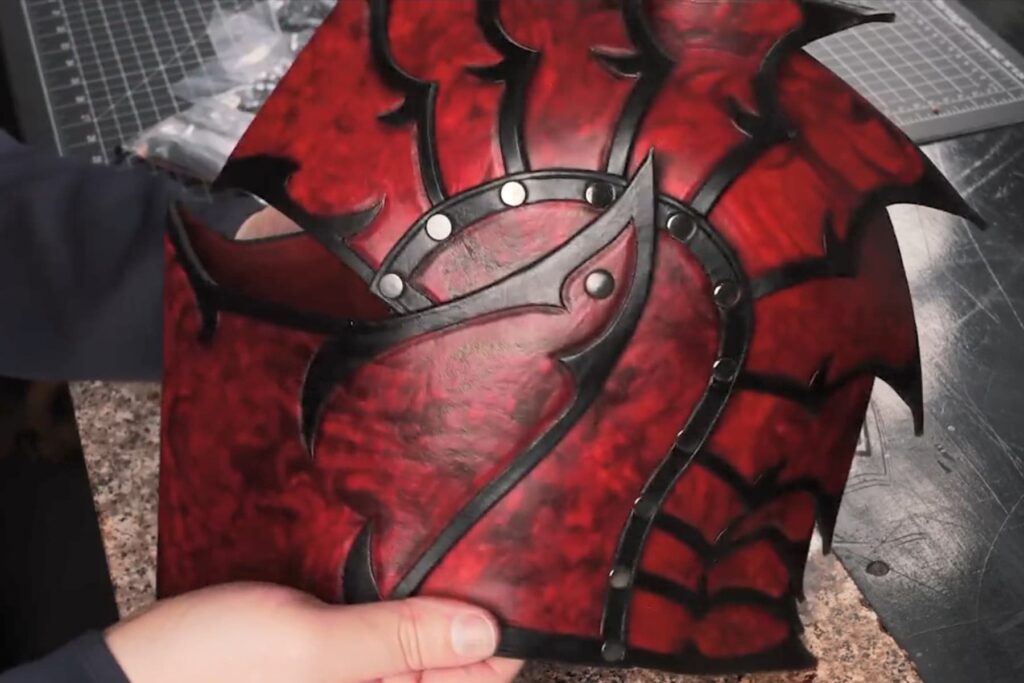
Next will be coloring the leather, for this was used Red Eco-Flo Waterstain. The coloring process can be adjusted to your preference. Here the first step was applying a generous coating in medium-sized circles with a large wool dauber and leaving many excesses behind.
The next step of the process is to add a finer texture after the first layer is dried completely. For this, I simply grabbed a napkin, wadded it up in an artisanal way, and used it to apply a thick randomized texture. And let it dry completely.
For the final step of this coloring, the process is to apply the black trim. Using some “Black Fiebing’s Pro Dye” for this, it will easily dominate any previous color. Using a small wool dauber to get a clean, consistent border on the side and back edge and filling in the rest with an angled brush.
After everything is dried, give everything a quick buff using a cotton rag to remove any excess pigment.
When it comes to surface finishes using “Tandy’s Satin Sheen.” The primary coating done for both sides uses a high-density sponge to apply the finish. If you prefer a more rugged look, you can stop at the first coat. The second pass will give a cleaner look.
The final stage of the fancy helmet starts from this step, where you assemble the helmet. For this, you can use a double-capped rivet. There are many possible methods, but this is easy and quick. Using medium for first and last rivets as they only go through two layers of leather and for others, long metal gun rivet.
All you have to do is hammer the rivets so that they will not come apart from a hammer. Start the riveting process from one side, complete all the panels, and then move to the other side. When you finish the remaining side, then the core of the helmet s finishes.
Tip: When hammering use, a straight down with a solid blow.
Tip: When hammering the east side, be careful of the limited space you have.
To attach the faceplate, as the side whole was left so the faceplate can adjust to the preference, keep the plate and mark the location on both sides of the helmet. Then using a drill, make the holes. By using “Chicago screw” for the top points of the faceplate, you can use rivets for this as well.
For bottom holes use snaps, to undone to raise faceplates.
And there it is. It’s all done!


Responses