FANTASY GAUNTLETS – HOW TO (For LARP, Cosplay, Ren, etc)

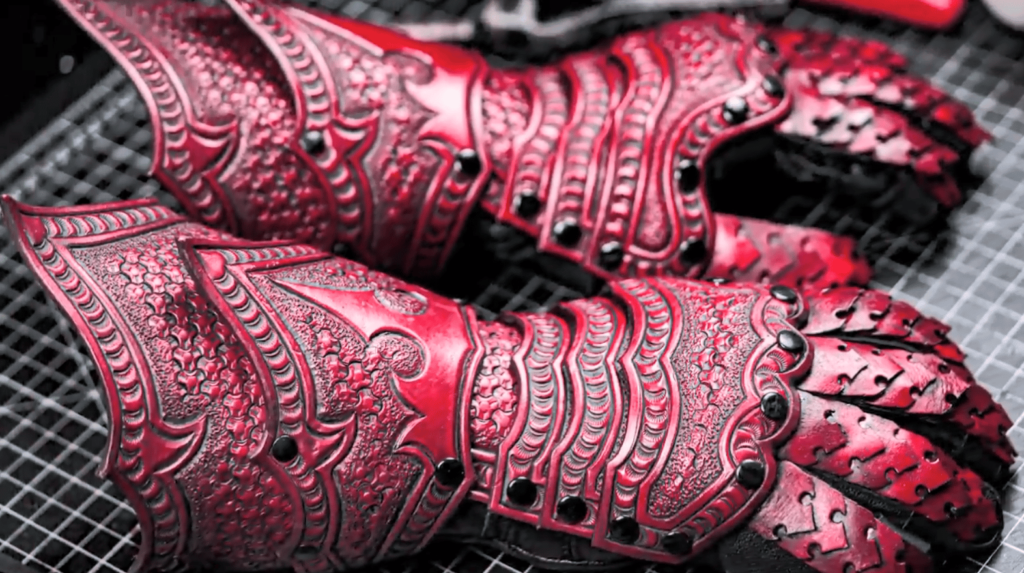
Gauntlets from leather.
-
Fantasy Gauntlet Pattern$15.00
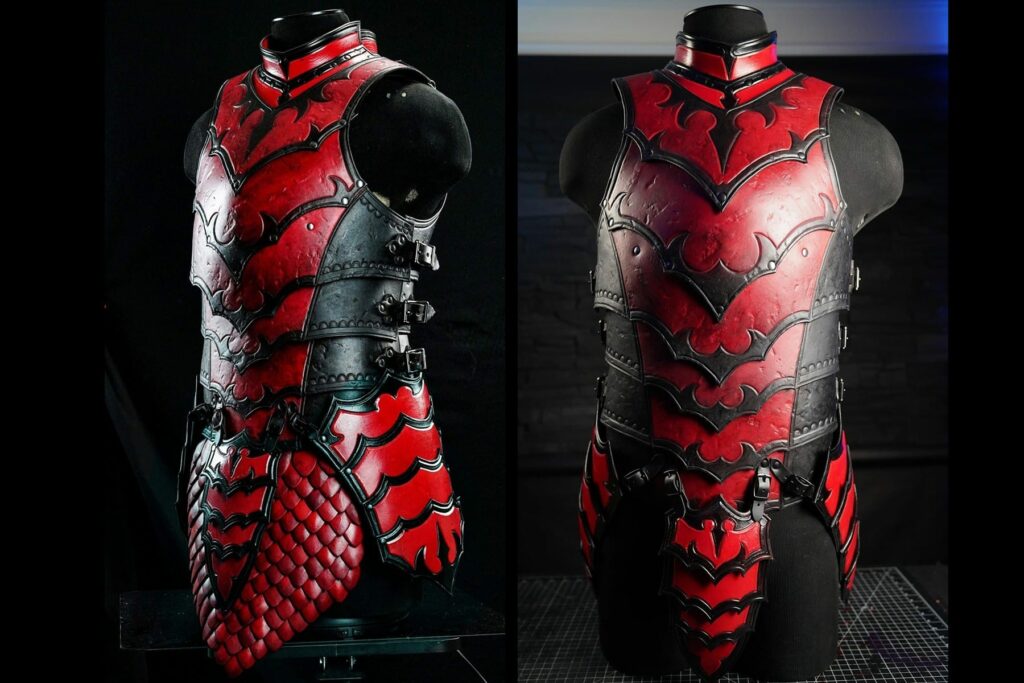
The final of the fantasy armor series is the gauntlets. As you have been making leather armor with us let’s finish it with the gauntlets. The first step is as always to print and cut out the patterns from the paper.
Tip: print out the hand and cuff portions of the design that can be scaled to fit the finger portion unless you need to make a large adjustment. It is recommended to print at a fixed 100 scale and adjust the length by adding or removing finger segments.
Then lay out the patterns and trace them to the leather, use leather which is around 10 oz. For fingers use a lighter leather than 10 oz.
Wet the leather so that it will be easy to cut. Using a shear cut out the traced patterns.
Next transfer all the designs and holes on the paper to the leather using a ballpoint pen.
Using an edging groover in reverse to mark the narrow border and using a compass for the inner border. Anyone of the above can be used to mark both borders.
Then using a swivel knife to cut in my borderlines.
Then when the leather is still a bit wet, using a Weaver’s edgers bevel the leather on both sides. After that burnish the edges slightly with a hand slicker.
With the border and decorative lines cut, make them pop by tooling them with a smooth beveling stamp.
Then punch holes using a tool of preference.
To achieve a nicer look on the gauntlets, do some wet forming at least on the bottom of the hand shield to give a little shape to each knuckle.
Then comes the coloring, using a color of your choice. Here the immersion dyeing method is used. If you have the parts that are small enough or if you have a container that’s big enough you can get a very solid even covering
To finish the pieces by using the weaver’s clear tough coat. Do it the same way that we use to paint the leather but keep your eye and make sure the parts that cannot be soaked are coated from a sponge.
When the coat is dried out. Add some contrast using some black fiebing’s antique finish. Use a dauber to apply in and a shop towel to remove it before it dries out.
Tip: avoid normal paper towels that leave a mess of fibers behind.
Tip: Do not apply too much pressure when removing pigment with a towel.
After this, the assembling starts by using double cap rivets. Start from cuffs.
Tip: at this stage if you do not have any tools to help you set rivets like the anvils or foot press you can always set them flat from the inside.
Attaching the wrist parts and Chicago screws. fit together in the same order they are laid out in the pattern pdf.
Tip: wait until finished and happy with the final assembly a bit.
So now we have to move to the fingers part. For this use, leather which is very thin, or you can also grab some five to six-ounce pre-dyed leather or even normal vegetable tan leather just to avoid anything stretchy or weak. Then cut 1-inch straps according to the requirement.
Tip: mark 1 finger section and use it to mark others.
Tip: test out each finger at least on one hand just to be sure. If you are using a glove make sure to wear it while testing.
Then the scales are being cut out using a strap-in cutter.
Tip: trace all of the pieces in a more substantial manner like either poster board thin cardboard or reinforce the paper pattern with tape.
Then transfer the holes in the pattern to scales. Only 10 pieces need the additional top hole for the Chicago screw.
Then have a loose assembly to see the fit, at least in a few of the fingers. Then color them by dipping in the color.
Then cut out some finger loops to fit in the fingers and test them.
In assembling parts as small rivets at the base of the finger strap then attaching one end of the finger loop and topping off the sandwich with the finger scale. Then repeat it on the other side of the same scale. Then move downwards.
Tip: Start from the top. The one with the extra whole must be the last to attach to this.
Then using a Chicago screw attach them at the knuckle.
To get an extra bit of firmness in the gauntlet. Using the kangaroo leather, the easiest way to do this is to make a hole on a longer piece of the strap then attach it to one side of the hand then snug the strap across the palm and mark where the second hole in the strap will foam. For the thumb strapping using the screw on the second segment and snuggle the strap up over the thumb.
Tip: this is important so take your time.
Using snaps add some sort of closure for the cuff.
Then add some antiques to the fingers like in the other parts.


Responses