How To Make A FEMALE BREASTPLATE in Leather! – LARP and Cosplay Armor Tutorial

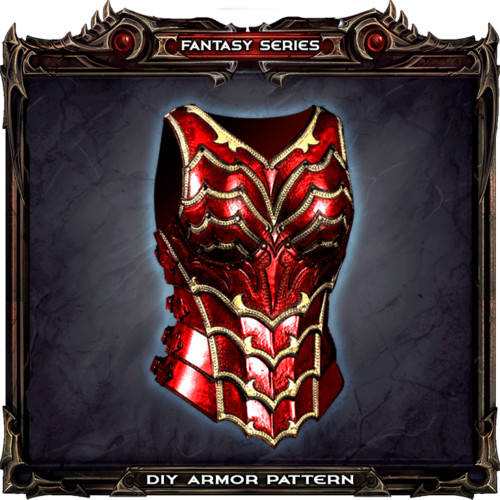
Female Cosplay armor
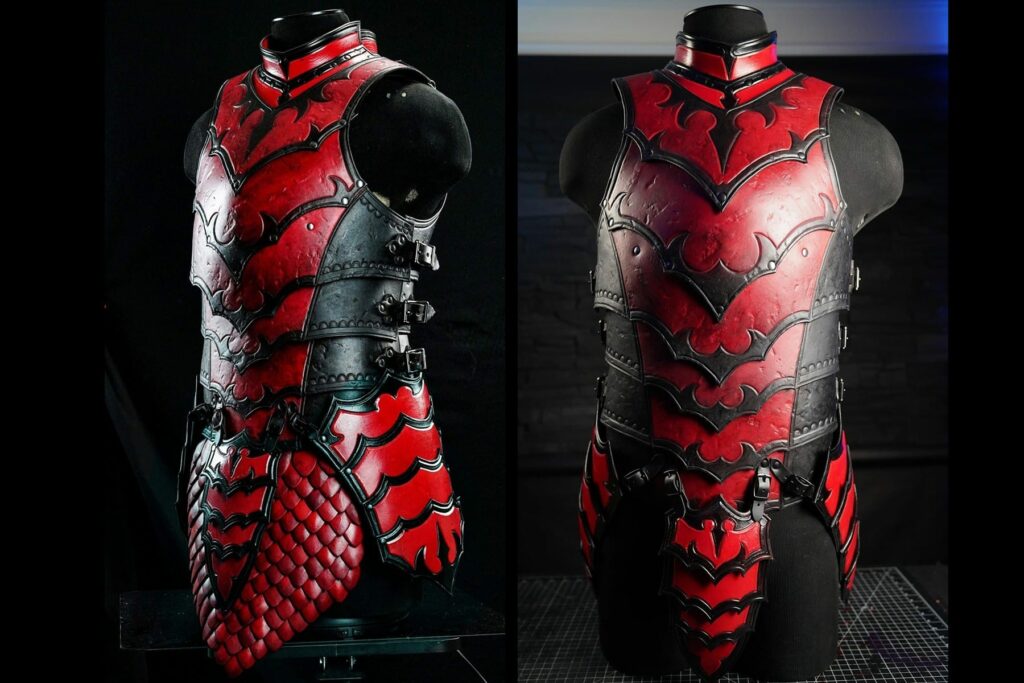
Let’s make female body armor and give it to your loved one as a present
.
The first step will be, printing out the pattern pieces and combining them into one larger-sized pattern. And then cut out the patterns from the print.
Tip: Just make sure you check the option to print as tiled pages.
Tip: before you transfer these patterns to leather markup a mockup and see how it fits.
The leather that is used is 10oz Herman Oak leather. This can be chosen according to your preference for heavier or lighter weights.
The next step will be transferring the cutout patterns to the leather, make sure to leave yourself room to mirror the front and back pieces.
Then separate the leather into manageable pieces with a utility knife. Submerged
the pieces into the water for about four seconds per piece to aid in cutting and upcoming steps.
Then using a cutting tool cut out the patterns. Make sure to cut the patterns clean and perpendicular.
Then after the cutouts have been over, start transferring the patterns and designs to the leather using a ballpoint pen. Patterns are optional and you can get innovated and designed as you like.
Use an edging groover for borderlines.
Tip: do not transfer all of the borders, can use a compass to mark a more consistent borderline.
Then using a rotary hand punch to punch holes in the leather pieces that are needed to assemble. There be times where the hole is too far in and you just have to use a normal punch.
Next, will be committing the design lines. Go to tool for this is a swivel knife with a ceramic blade.
Tip: make sure your blade is sharp and strop it before beginning.
The next step is beveling the edges of projects, with a size of two or three beveling tools. Do this to both sides.
Then burnish the edges of the leather to get compresses and smooth the edge fibers.
Using elaborate tooling makes the patterns look cooler as this is a female armor this will help a lot make a nice outlook.
Then you have to shape the leather, for this leather should be wet up to medium dampness. A few of the cut pieces require a sharp upward bend in the leather so that it can be cleanly
paired with the bodice base. The method for this is to use a pair of pliers and leverage it along the line.
To make the forming process easier, find some sort of spherical object, whether it’s a dedicated
forming a tool or a baseball or softball or acrylic hemisphere.
Tip: Start from the smaller pieces.
Tip: use clamps and placeholder rivets to double-check the fit and alignment of everything.
Next will be coloring the pieces. For this project, colors will be purple with a subtle
darkened edge gradient and finished up with metallic gold trim. The color choice is up to anyone’s imaginations. Using some dressing fleece apply the die to both sides.
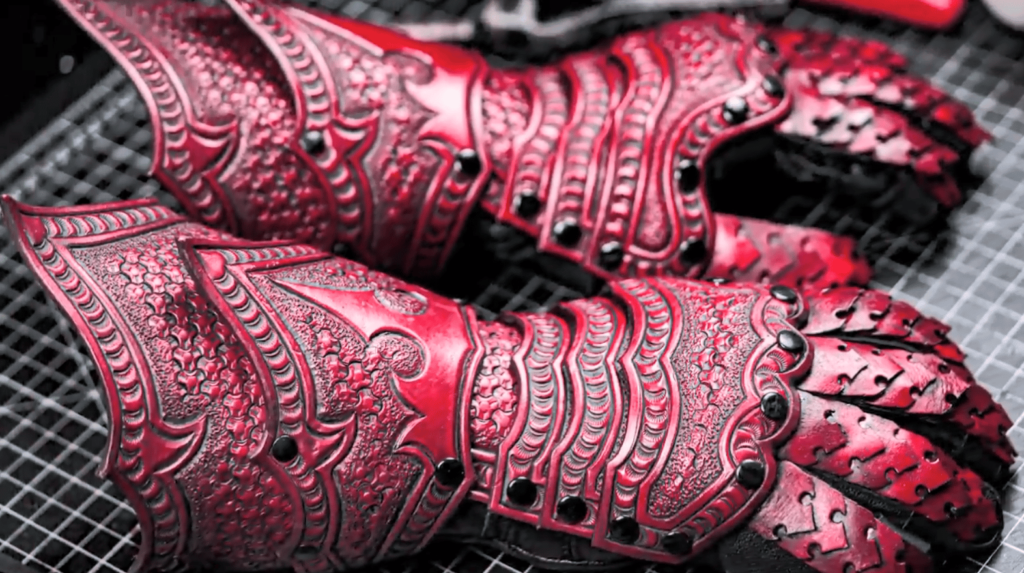
If you chose the color purple, you will have noticed the gloves have a yellow-golden hue. If you see this hue do not worry about it. It will go away when you apply your leather finish.
Then use the dressing fleece, start saturating the outer edge first and build up the dark.
And start dabbing from the edge and go in bit by bit.
Before applying the metallic gold trim do the leather finishes, by using a piece of sponge.
Using a round brush to apply the metallic gold paint will be easy.
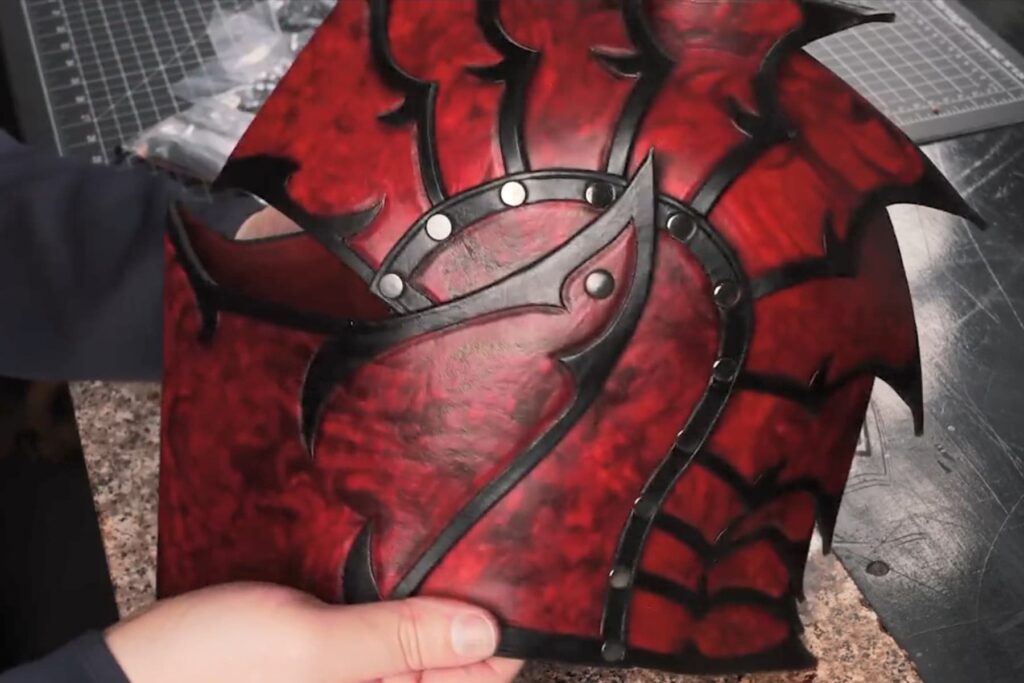
Then the assembling process begins, using long and medium rivets.
Tip: smaller cut pieces and work my way out from there.
Tip: work on the assembly phase while the leather is still a little damp from the finish stage.
Skiving some of the overlapping areas to make it a bit easier to rivet and also to reduce sharp edges on the inside that would be uncomfortable when worn.
Next is to cut out the retaining strap to connect all the segmented layers and let everything compress and twist and allow easy mobility.
Tip: use something firm but supple.
Tip: Start from the bottom and move your way up the plate by plate.
Then assemble the buckles to the buckle straps.
Tip: one possible time-saving route to figure out the placements of the buckles is to first go ahead and attach all the front tongue ends to the front breastplate pieces, then feed all of your buckles ends onto the tongues at a suitable middle point on the strap.
As a side point, if you intend to wear this over your skin and no other garb, you might consider lining the leather with something soft to increase comfort.



Responses