
⚔️ FANTASY GREAVES – How to make lower leg leather armor

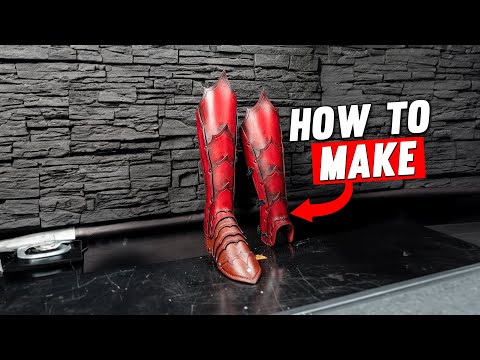
Let’s make the Fantasy Greaves.

First of all, print out the patterns with the tiled page option and cut them out.

Tip: first print 100% and then decide whether to scale up or down according to your fit.
When you are happy with the fit then trace the patterns into the leather which is 10-11 oz using a marker.

Layout the patterns efficiently and cut them into manageable cuts. Then using a tool of choice cut the patterns out.

Then mark the holes from the pattern design to punch holes. Then punch hole using a preferable tool.


Decoration can be a self-choice but here double-channel borders are used to match the Greve. Using an edge groover mark the double channels in the leather.

Then when the leather is still a bit wet, using a Weaver’s edgers bevel the leather on both sides. After that burnish the edges slightly with a hand slicker.


Then start moulding while the leather is still wet. First piece is the small trim piece that’ll sit over the foot. This needs to be bent into a horseshoe shape with the back lip upturned to seat nicely into the bottom of the greaves. Then the backside panels.

Normally the next step is coloring but here we do assemble first. Using black medium double capped rivets.

Tip: start with the center front piece and work my way up.
Tip: Once the pieces have been joined, finesse the shape a bit more.

Finally assemble both front and back from one side. Just make sure that you are attached and mirrored on the opposite grave.
Then comes the dye and finish. The dye is applied using a sponge.

Then an antique effect is added using a cheap brush with stiff bristles. Then wipe it off before it dries.


Tip: use acrylic paint to water to give the heavy antique finish. The water will give you the extra time.
Using Tuff Kote from Weaver apply an acrylic finish.

Finally attach the buckles, feel free to use the same or decide the size and quantity according to your preferences.

Tip: as the parts are assembled use a drill to punch the holes.


 54")


Responses