UPPER LEG ARMOR – How to Make Cuisses & Knees
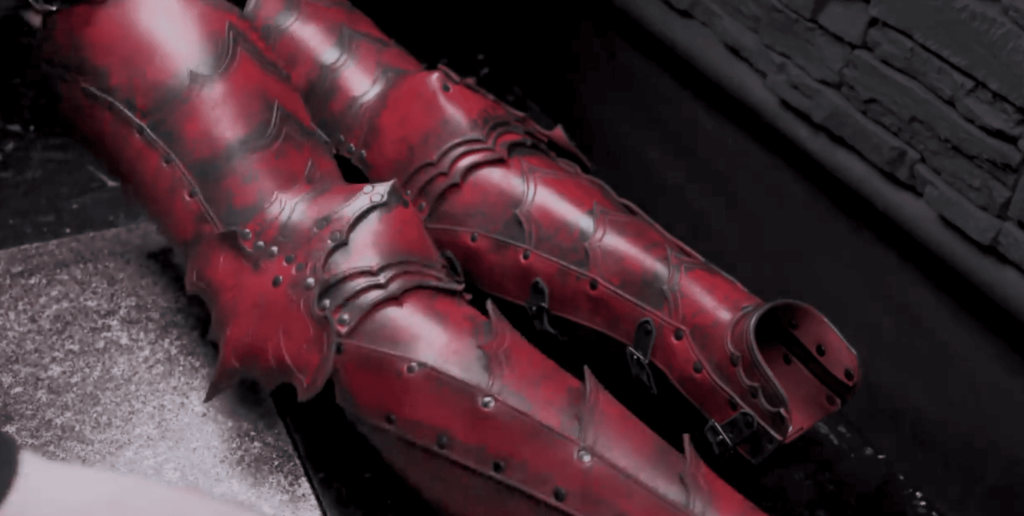
Upper leg armor
-
Product on saleFantasy Upper Legs & Knees PatternOriginal price was: $15.00.$12.75Current price is: $12.75.
Using a compatible pdf reader to print tile versions of the patterns, get them printed and then cut out the patterns.
Tip: always use a paper markup to check whether the patterns fit your size.
When the patterns are cut out trace them using a marker into leather and then cut out the leather to manageable sizes using a box cutter. Use a 10-11 oz leather for this project.
Damp the leather slightly and using a cutting instrument of choice cut out the patterns.
First, mark the holes in the leather using the pattern. Then punch the holes in the cutout patterns.
Note: Chicago screws need a bit bigger hole than double cap rivets.
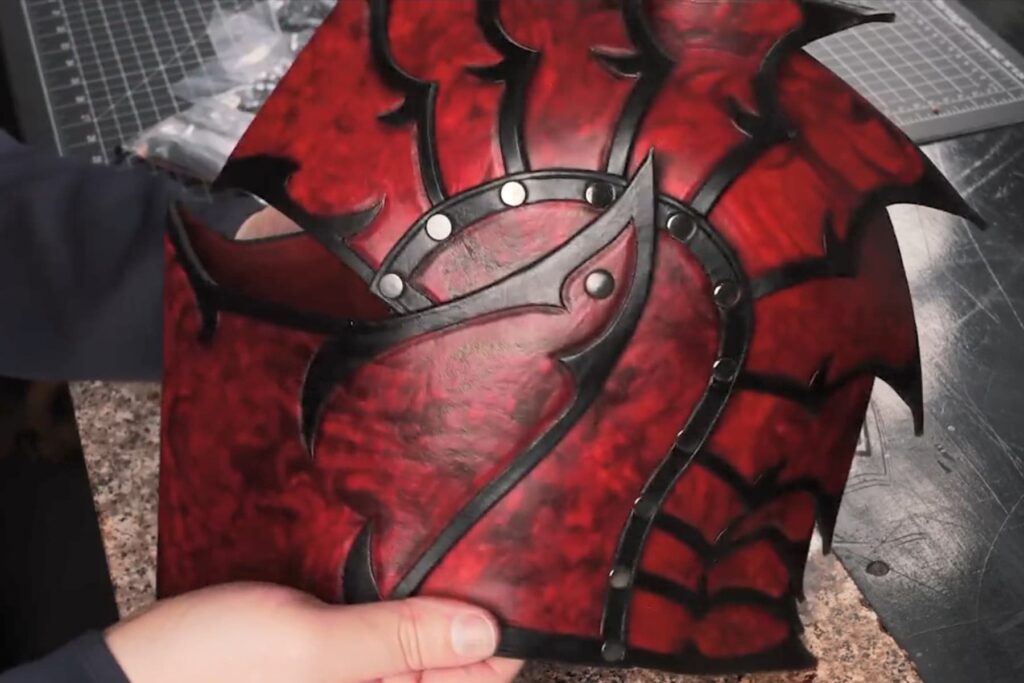
Decoration can be a self-choice but here double-channel borders are used to match the Greve. Using an edging groover mark the double channels in the leather.
Then when the leather is still a bit wet, using a Weaver’s edgers bevel the leather on both sides. After that burnish the edges slightly with a hand slicker.
Then carve the simple decoration on the printed patterns to the leather using a ballpoint pen.
Then using a swivel knife to cut in my borderlines.
Then comes the coloring part. The color is a self-choice here it is done by using a Pro red oil dye. Using a sponge apply the die to the leather.
Tip: The only piece that needs shaping is the fan piece, so do a little bit of forming by hands.
To finish the leather a Weaver’s tough code is applied using a sponge.
Then assemble the parts.
Note: to assemble the knees you have to join all of the lames (smaller segments to the knee cop) and the lames to the upper and lower section of the leg you also need to attach a small retaining strap along the pieces to prevent anyone joins from opening to wide and leaving a gap or binding but it will still leave enough flexibility so you can collapse the leg for storage or transport the trick is thinking through the order of operations to make life a little bit easier
Tip: assemble the side fan to the knee cap first then attach the retainers strap to all the pieces and then attach the Chicago screws when attaching the retaining strap.
Tip: The easiest way to start is with the Greaves increase and work inward then attaching the lames then finishing at the knee this allows more access as you set each rivet starting with the knee and working out.
Tip: always remember to put a drop of glue or Loctite in the threads or they will certainly work themselves free over time but before doing this do a dry run make sure that the final result is good.
Next using a double D-ring setup for the inner knee as well as for the top portion of the crease. This will help to
Then attach the buckles to the upper leg pieces as shown.
Tip: don’t advise attaching this upper strap directly to your breastplate. It would normally be attached to something like a gambeson or arming jacket, or a belt is worn under the armor at the waist.
The last step is to add the weathering effects so that it matches the Greaves, first, apply some antique black using a brush to the edges of each piece (not throughout just some patches) and then using a towel remove the excess pigments in the paint it will give the look (do it before the paint dries out).



Responses