5 Tips For Making Leather Armor

Have you ever seen an amazing piece of armor in a movie or tv show and wished you had something like it to wear at your next con or event? Even if you’re someone who already crafts their own costumes, you may have felt that making armor was out of reach for anyone without a whole lot of specialized equipment.
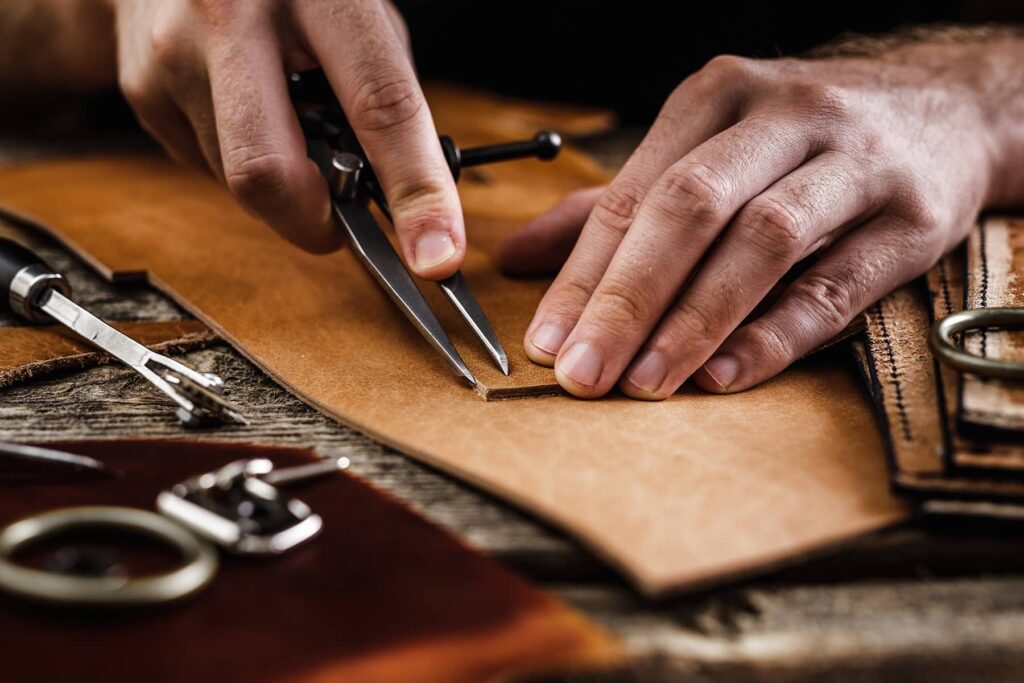
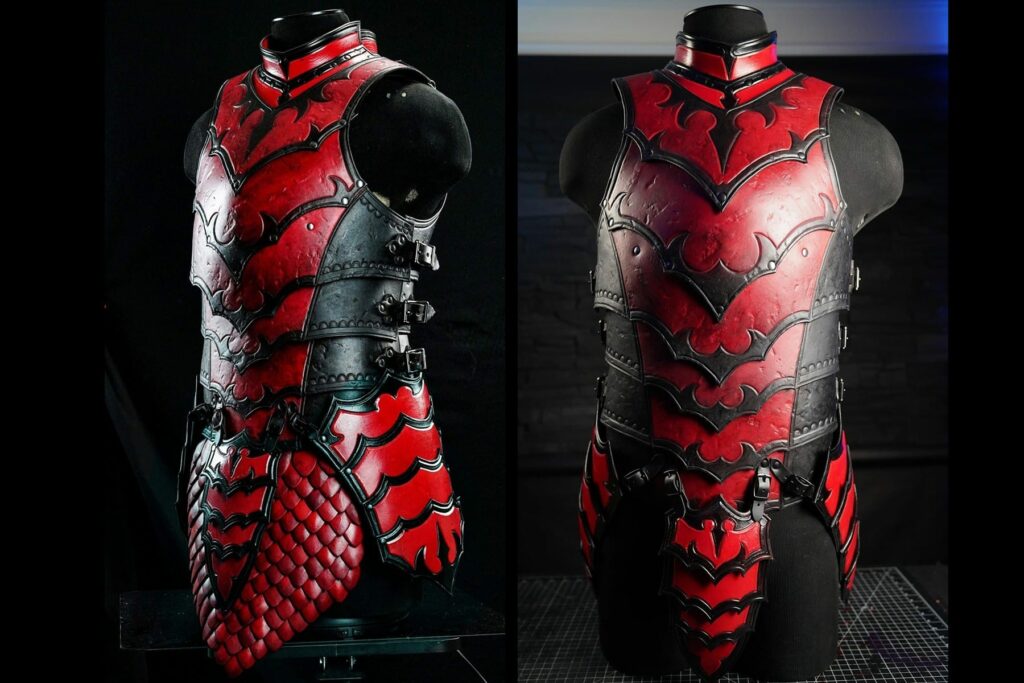
Fortunately, armor doesn’t have to be forged out of metal to look amazingly real: you can make it out of leather. Flexible, sturdy, and full of character, leather is a great material for making armor for performance, cosplay, larping, and more. The 5 tips below will tell you how to get started making armor out of leather, even if you’ve never made anything like it before.
Why Use Leather To Make Your Costumes?
If you already make your own costumes or armor you may already have all of the skills needed to start making armor out of leather. While leather can be expensive compared to some other materials, it is also incredibly sturdy and can be worn for years. It can also be finished in infinitely different ways and has flexibility that makes it much more comfortable to wear for cosplay, larping, or performances.
Tip #1: Get The Right Leather
There are a lot of different kinds of leather out there, and they are good for different things. The last thing you want when starting a new project is to realize you’ve spent money on the wrong materials, so it’s smart to be prepared.
The kind of leather used to make custom armor is called Vegetable Tanned (or Vegtan) leather and it comes in many thicknesses. You will want to get 9-10 oz leather for most of the leather armor patterns available from Prince Armory, or a bit thicker such as 11-12 oz if you’re planning on making mock combat or LARP armor. Get the grade of leather you can afford, and look for firm pieces with minimum surface markings or flaws.
(Video set to start at specific time.)
Tip #2: Start With The Essential Tools
Getting into a new craft can feel overwhelming when you’re trying to figure out what tools and supplies you need, and making leather armor is no different. There are a lot of specialized tools out there for working with leather, but by focusing on the essentials you can get started without breaking the bank.
Leather armor patterns involve a lot of pieces to cut out, and getting clean cuts is really important. However, you don’t need a fancy round knife or leather knife to get started, a utility knife or box cutter works great for cutting thick leather.
A good way to make whatever knife you have cut better is to strop the blade (even a new blade) before starting. For smaller pattern pieces you may also find a pair of sharp shears works better. Take your time cutting and focus on keeping your cuts as smooth and accurate as possible – speed will come with time.
(Video set to start at specific time.)
Tip #3: Make Your Pattern Pieces Easier To Handle
Before you start cutting into your leather to make your leather armor you’ll need to cut out all of your pattern pieces so they can be laid out and traced. Standard printing paper is thin and can be too flimsy to trace easily.
To make the patterns sturdier and easier to handle, print on heavier paper or use a glue stick to glue your pattern to a layer of cardstock or another heavy paper. This will be especially useful for pieces that need to be cut out multiple times or for patterns you plan on making more than once. Take the time to layout your pattern pieces carefully to get the most out of your hide with less waste.
(Video set to start at specific time.)
Tip #4: Separate Your Leather Pieces To Make Them More Manageable
When making articulated leather armor, you’re often creating a number of differently sized individual pieces that will come together in your final product. That being said, trying to wrestle a large hunk of heavy-weight leather to make detailed cuts can be a struggle.
Do yourself a favor and make the project more manageable by separating the pieces before you make your detailed cuts. Although you want to get the most out of your leather, leaving a small gap of space between your tracing lines can give you room to separate the individual pieces. This allows you to be more precise when cutting out your leather templates.
(Video set to start at specific time.)
Tip #5: Dye Your Leather, Not Yourself
Leather dye, whether it is water or spirit-based, is messy stuff and can easily stain clothing, skin, and surfaces. Anyone who has ever worked with leather dye probably has a story of a disastrous spill. Plan ahead and wear protective gloves, cover your work surface, and be careful when pouring dye out of larger containers. A good way to make the pouring process neater is to buy cone-shaped disposable cups, cut out the bottoms, and use them to make handy disposable funnels.
(Video set to start at specific time.)
Final Recap
Leather armor is sturdy, impressive, and comfortable to wear. It may seem like you’d need to have a ton of time and money to get started in leather, but by focusing on the essential materials you’ll be amazed at how accessible leatherworking is.
Just get started, even if you don’t have all the tools. Join a leather forum or Facebook group, or go to a leather store and get some help. There are so many resources out there to inspire you, take the leap, and make something amazing out of leather.
Prince Armory is now offering a digital apprenticeship program that will provide everything you need to learn to make stunning leather armor yourself.


Responses