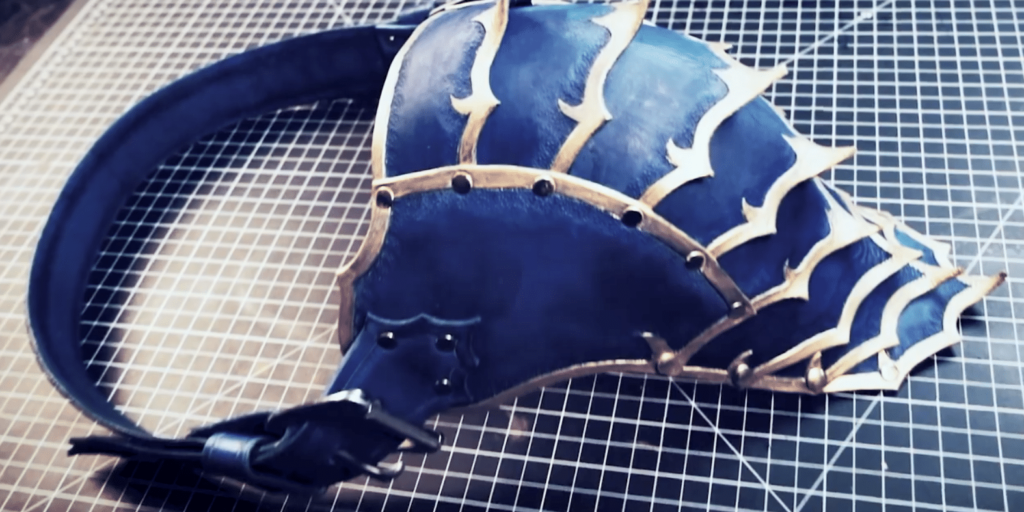
HOW TO MAKE ARMOR AT HOME – FANTASY SPAULDERS ?️ Leather Shoulder Cosplay Armour _ Pauldrons DIY
-
Fantasy Spaulders Pattern+$15.00
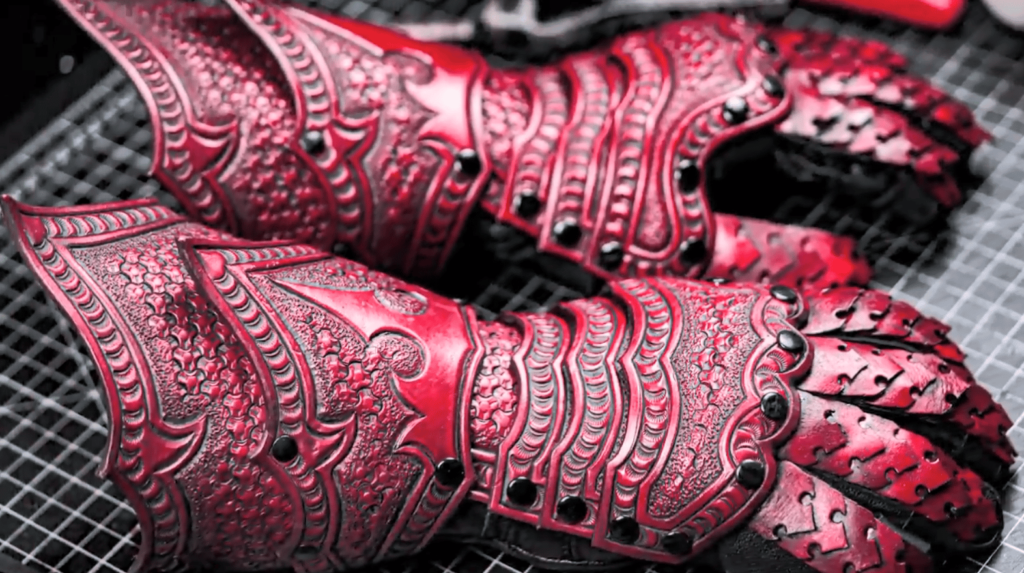
Leather shoulder cosplay armor
First of all, the printed patterns should be cut out.
Then from the cutouts trace the outlines to the leather of your choice and use a tracer.
Most importantly make sure to keep 2 inches wide and 1 inch wide strips. So, plan accordingly.
Tip: If you resize the patterns do not resize the strap patterns.
Then cut out the patterns using a cutting tool (box cutter, utility knife, or any tool).
Important: In this stage, it is important to make two large holes and cut this space between them with an Exacto knife.
Then you have to damp the leather slightly so that you can transfer the designs to the pieces. The transfer can be done using a ballpoint pen. Using a wing divider draws consistent lines so that it will look amazing.
Special Note: only one of the center plates that will sit at the top needs to have both sides transferred and tool.
Then using a ceramic weighing carve your lines. Make sure that your leather is not too wet or too dry.
Using a beveling tool bevel both sides of the leather. Then burn the leather.
Then punch holes to the leather that were marked according to the designs using a preferred tool. But note that there should be a small size for the ribbon holes, a medium size for the Chicago screw holes, and a larger size for the belt tongue holes.
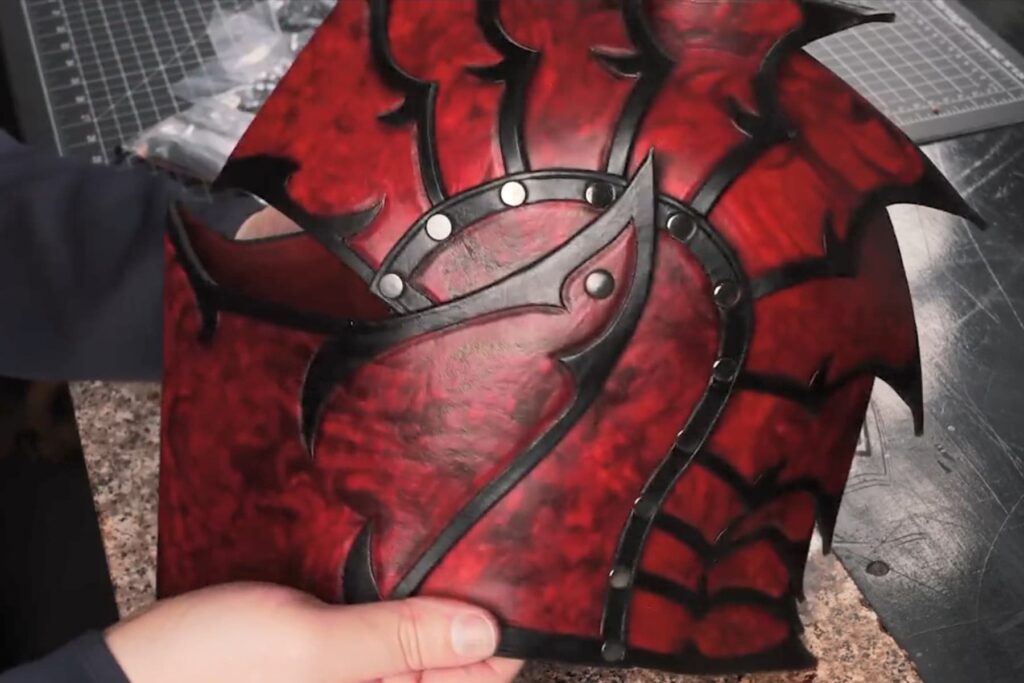
Using a peddler stamping tool do the designs according to your choice of style.
Instead of pounding a heavy crease, do a basic pinch mold and then add a little bit of roundness into each piece.
Tip: To give this Spaulder some extra fullness, dish the side plates slightly just using your hands.
Then using a high-density sponge apply a color of your preference.
Then to finish the leather apply a generous coding of Satin Sheen with a small section of sponge.
Then the buckling should be set up. For this chose to go with the two-inch-wide buckle, and design the strap in to go with it.
Tip: measure the length needed or wait until the Spaulder pieces are assembled, and then measure the strap then.
Then you have to make a keeper loop. For this you can use either stitching or heavy-duty staples or overlap the seam and set it with a rivet.
Then using double cap reverts start by attaching the strap into the side plates since it will be easier to attach now while it’s still mostly flat.
Tip: attach the bottom pieces using Chicago screws, which will give the piece a minor bit of articulation.
Finally, attach the chest strap by testing and adjusting.
To give this piece a bit of extra embellishment, decided to go with metallic gold trim for this
one. You can choose the color according to your preference.



Responses