



Leather Breastplate Build Guide: Warrior Armor from a Flat Pattern

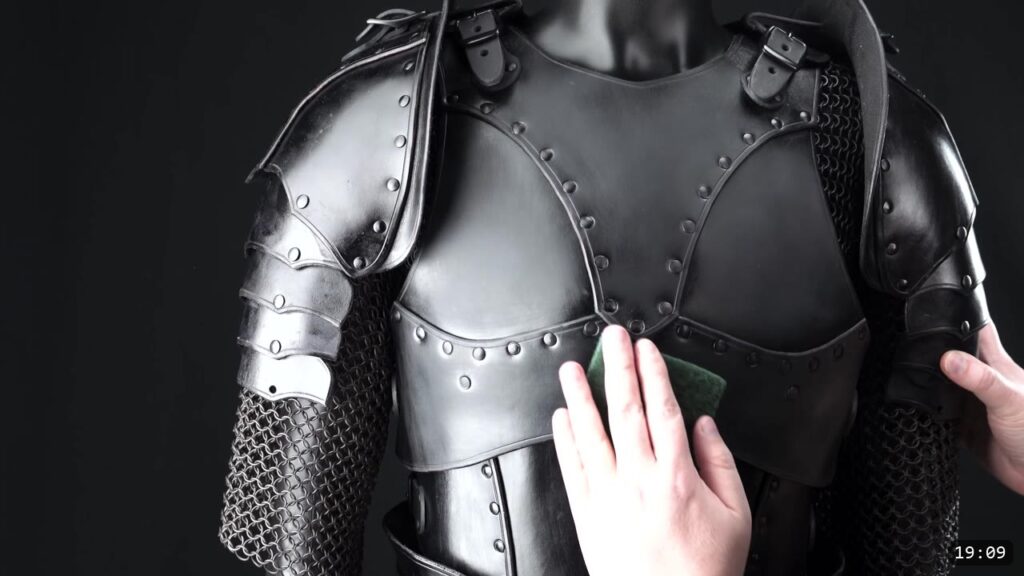
You can build a real leather breastplate from a flat printed pattern with a hammer, some rivets, and a few buckles. The Warrior breastplate is a beginner build: you trace the parts onto vegetable-tan leather, rivet the panels together so the chest shape emerges on its own, dome the plates while they are damp, then dye, seal, and strap the whole thing together. This guide walks the build alongside the video, so you can watch each step and read the details the video moves past quickly.
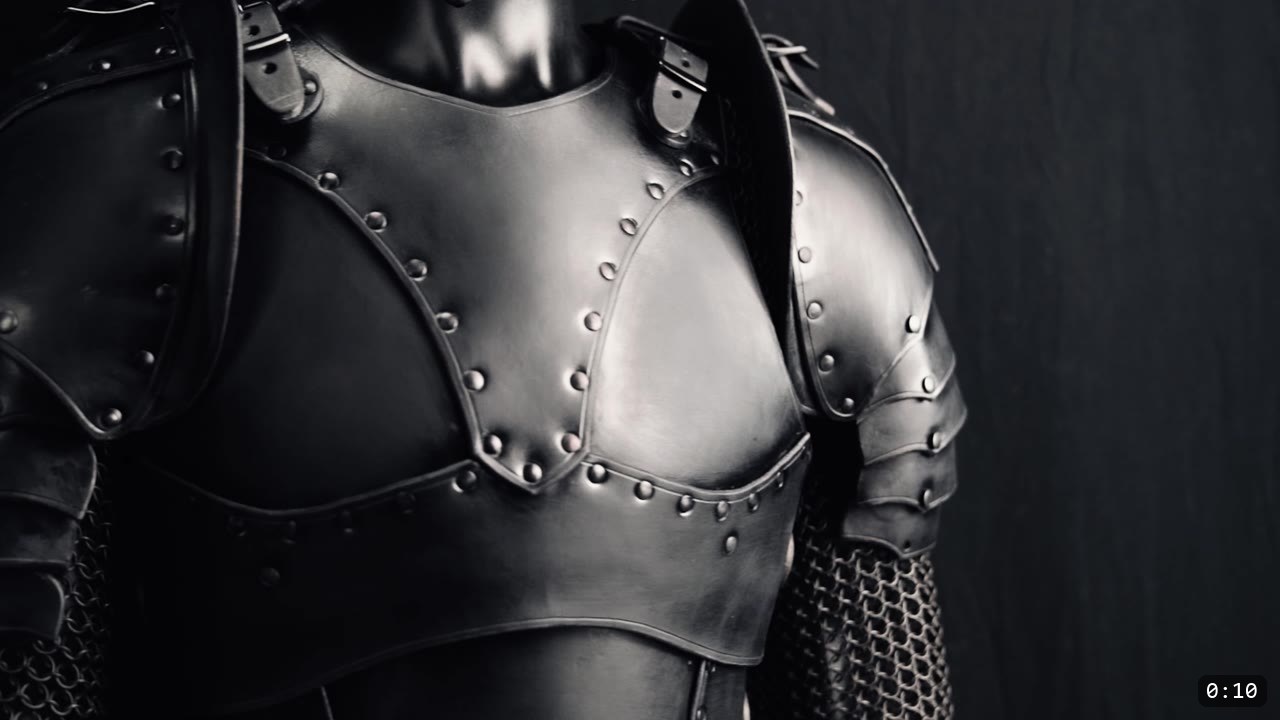
What you are building, and what it takes
This is the pattern build, part of the Warrior series that starts with the helmet. It is designed for a first-timer. There is no tooling or carving required, the design forces the chest shape as you rivet, and the only real tool you need is a hammer.
You cut and shape everything yourself, so grab the Warrior Breastplate pattern, or the discounted Warrior Armor Bundle if you want to build the full suit.
What you need
- Leather. 9 to 10 oz vegetable-tan. The video uses veg-tan from Weaver Leather. Veg-tan matters here because the plates rely on holding a molded shape.
- Rivets. Medium double-cap rivets for most of the assembly.
- A hammer. That is the core tool. A rivet setter costs a dollar or two and gives cleaner sets, but you can set rivets flat with the hammer alone.
- Cutting and hole tools. A utility knife, shears, an edge beveler, an optional stitching groover for a border line, and a rotary or interchangeable-head hole punch.
- Water, for keeping the leather damp while you shape it.
- Dye and finish. Black Pro Oil dye and an acrylic finish, brushed on.
- A few buckles and a short flexible strap for the connections. The video uses a thin re-tanned or kangaroo strap; veg-tan works if that is all you have.
Step 1: Print and trace the pattern
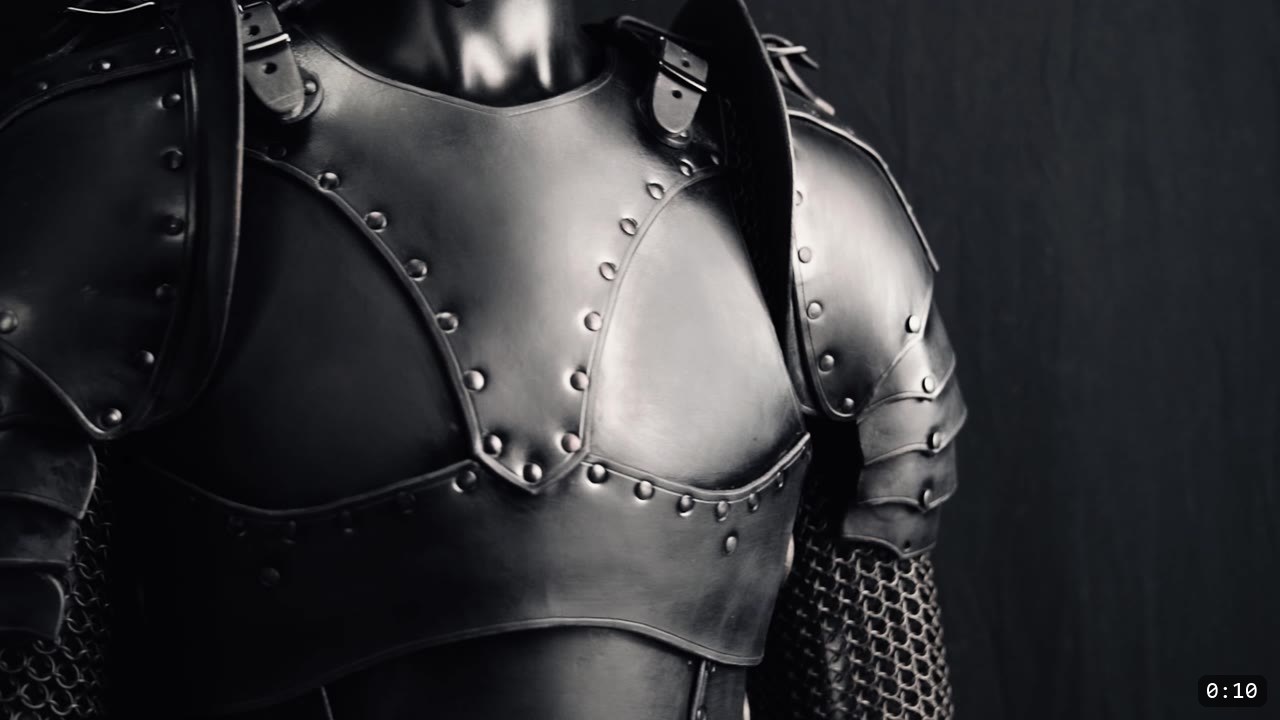
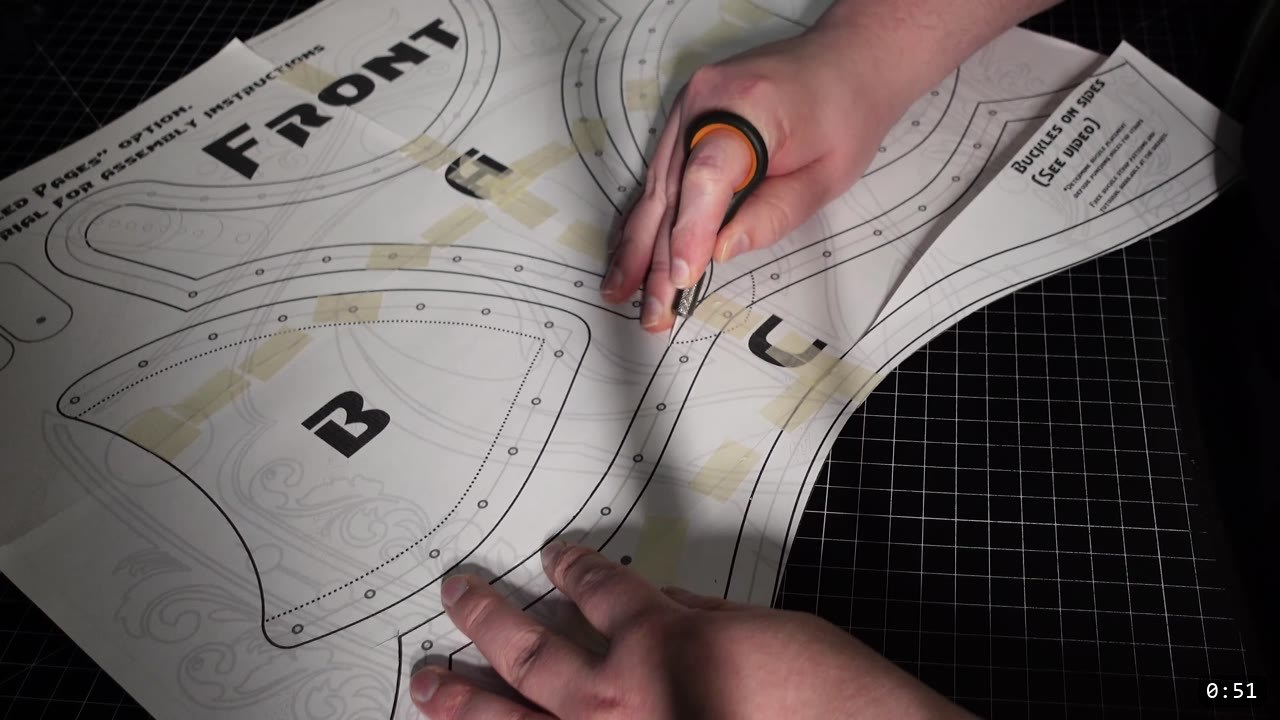
Print the pattern, then trace every piece onto the leather. Do a test fit and a mock-up before you commit real material to your own project, because sizing is easier to fix on paper. I trim the printed pages down and lay them out on the hide to plan the cuts.
Step 2: Cut the leather
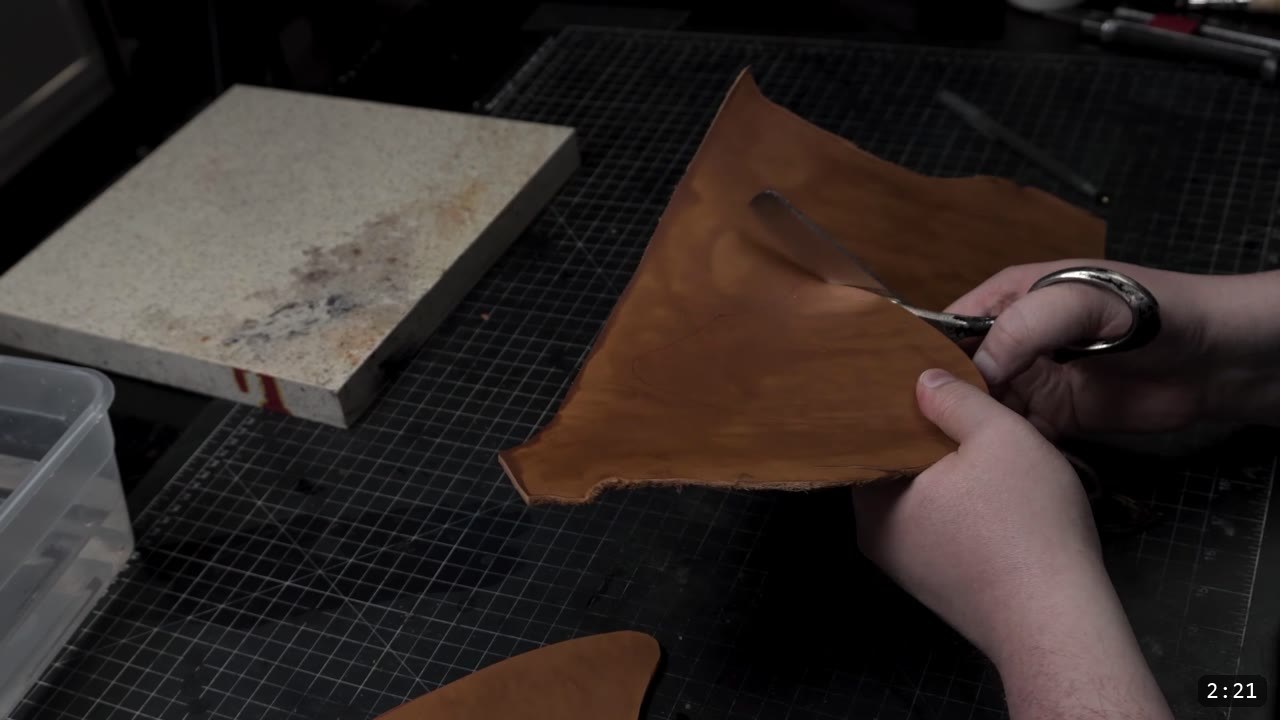
I separate the hide into smaller chunks with a utility knife first, then cut the rest with shears from there. Take your time on the cuts. Clean edges here save you work at every later step.
Step 3: Bevel, groove, and punch
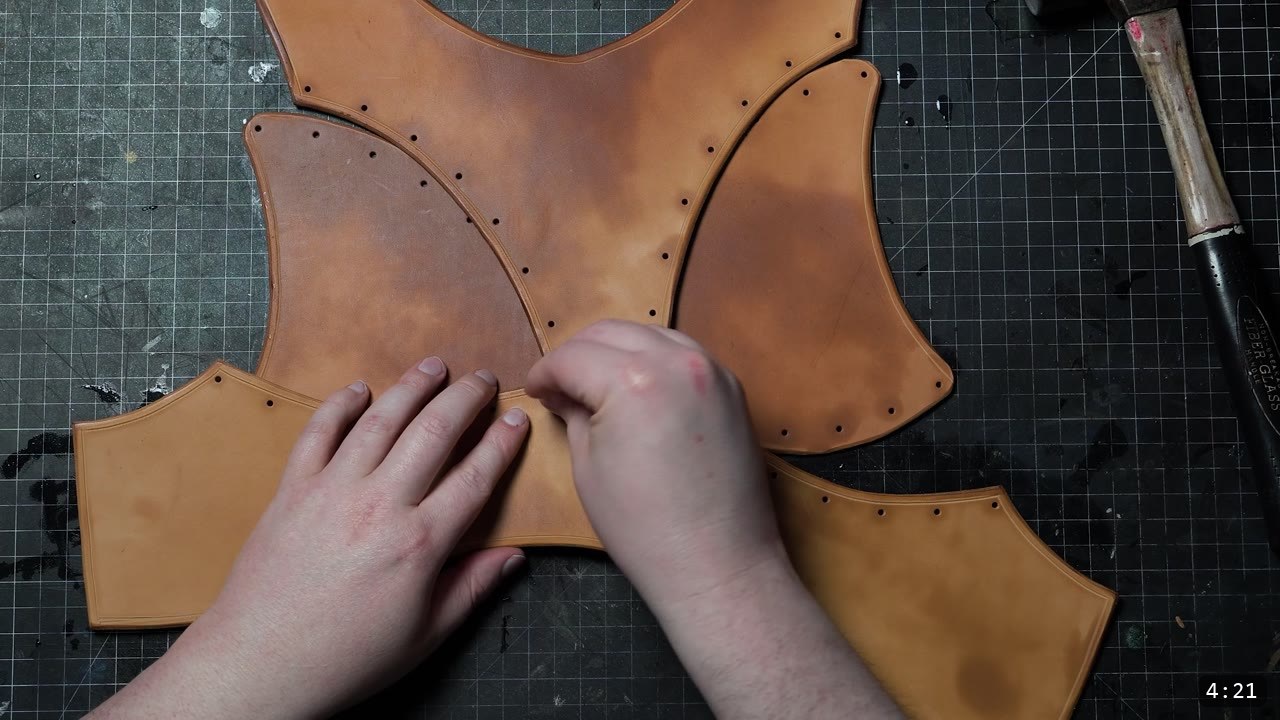
This series stays plain, so I skip elaborate tooling. If you want to carve or tool your own design, go for it, but at a minimum bevel the edges so the piece looks finished. You can run a stitching groover for a simple border line too. Then mark and punch all the holes with a rotary punch or an interchangeable-head hole punch. There are four main components: the chest plate, the back plate, the lower abdominal plate, and the lower back plate.
Step 4: Rivet the chest plate
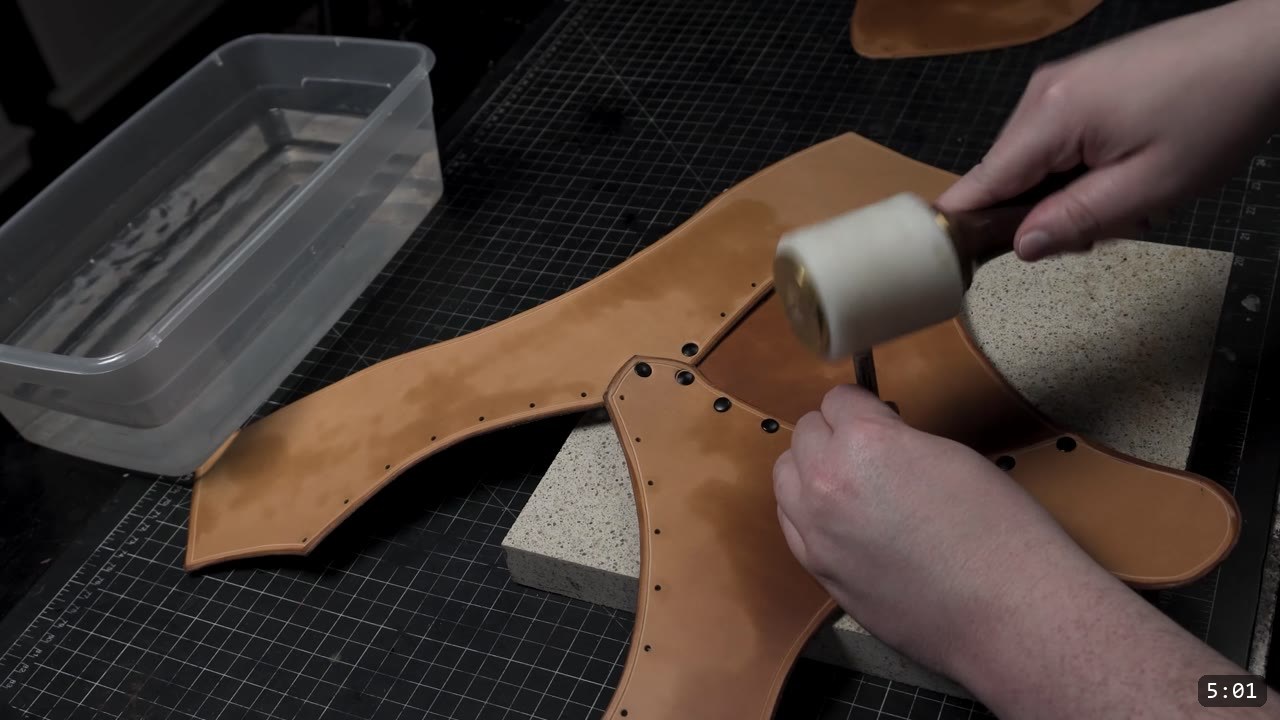
Start by riveting the center points of parts A and C together. Use medium double-cap rivets for most of the assembly. Snap each rivet into place along one side of the pectoral piece (B) and set them all in one go, then do the same on the other side. Set the rivets against something dense and solid, and keep the leather damp while you assemble.
Step 5: Coax the shape, then clean it up
As the pieces come together, a bit of chest shape starts to emerge on its own. If you set the rivets from the front with a setter, the shape ends up inverted, so just flip it the right way when you are done. If a rivet does not set well, drill it out from the back and replace it. For a cleaner look, use the flat face of the hammer to planish the leather between the rivets. That averages out the lines and kills the wavy trim I call bacon edges.
Step 6: Assemble the abdominal and back plates
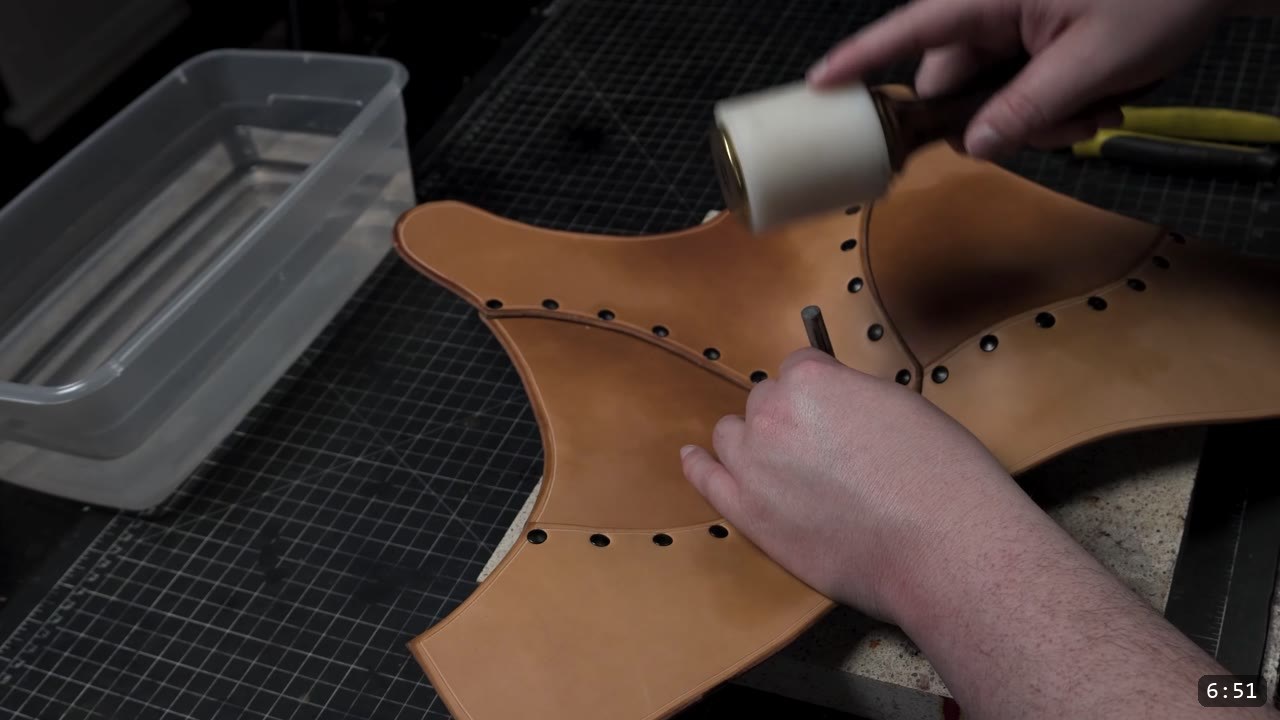
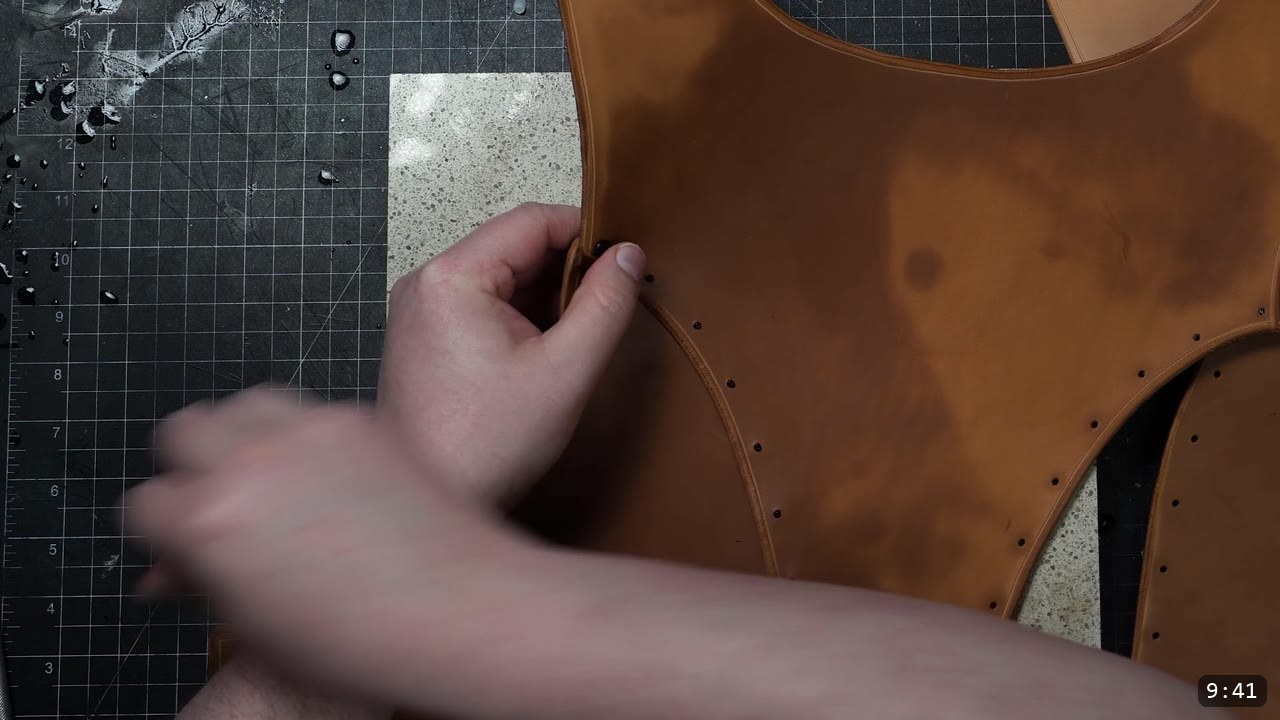
The lower abdominal plate assembles with the side plates overlapping the middle plate. Pre-snap the rivets so you can set them all in one go again. The back plate is the same idea in reverse: the center overlaps the side panels, and you set the rivets at once. The lower back plate is built basically identical to the front, with the sides overlapping the middle plate.
Step 7: Dome each plate while it is damp
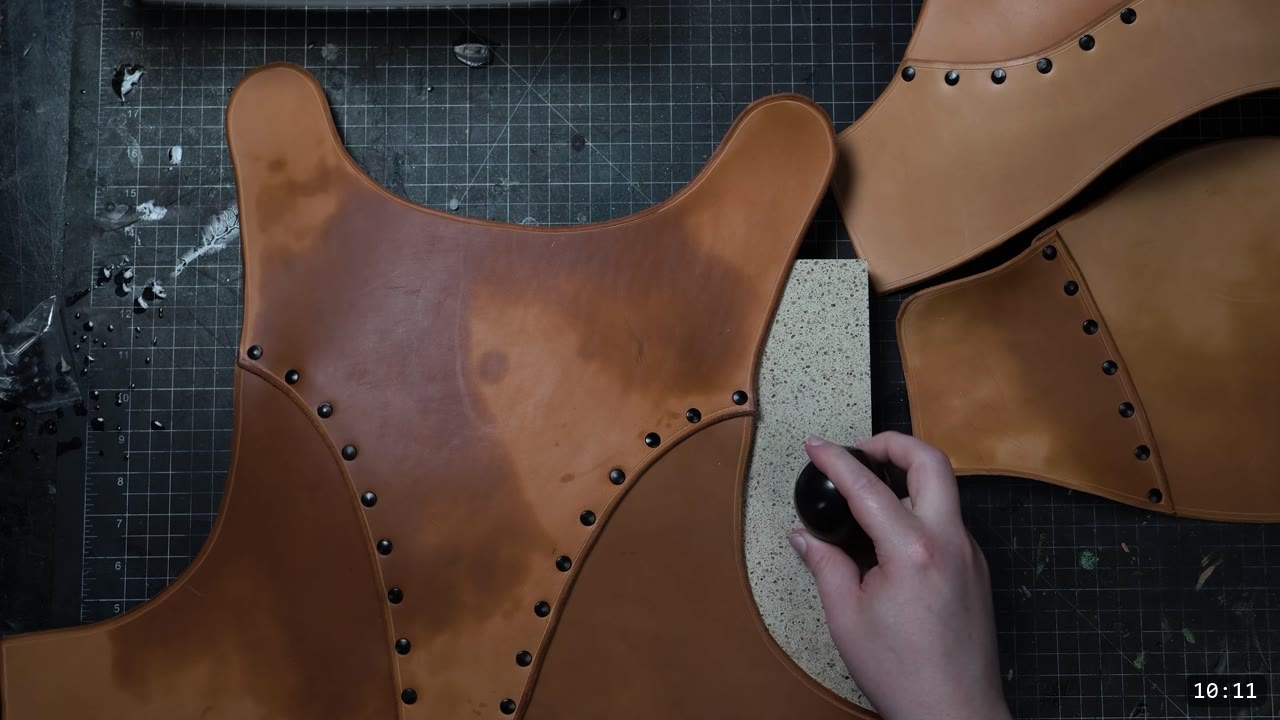
A little shaping goes a long way. While the leather is still damp, press a firm ball or any domed object into each plate to give it a shallow dome. Do this on the chest and back plates. This is your shaping window. Once the leather is dyed and sealed the finish resists water, so it will not fully re-wet or reshape after that. Do all your doming and shaping now, before you color.
Step 8: Dye and seal
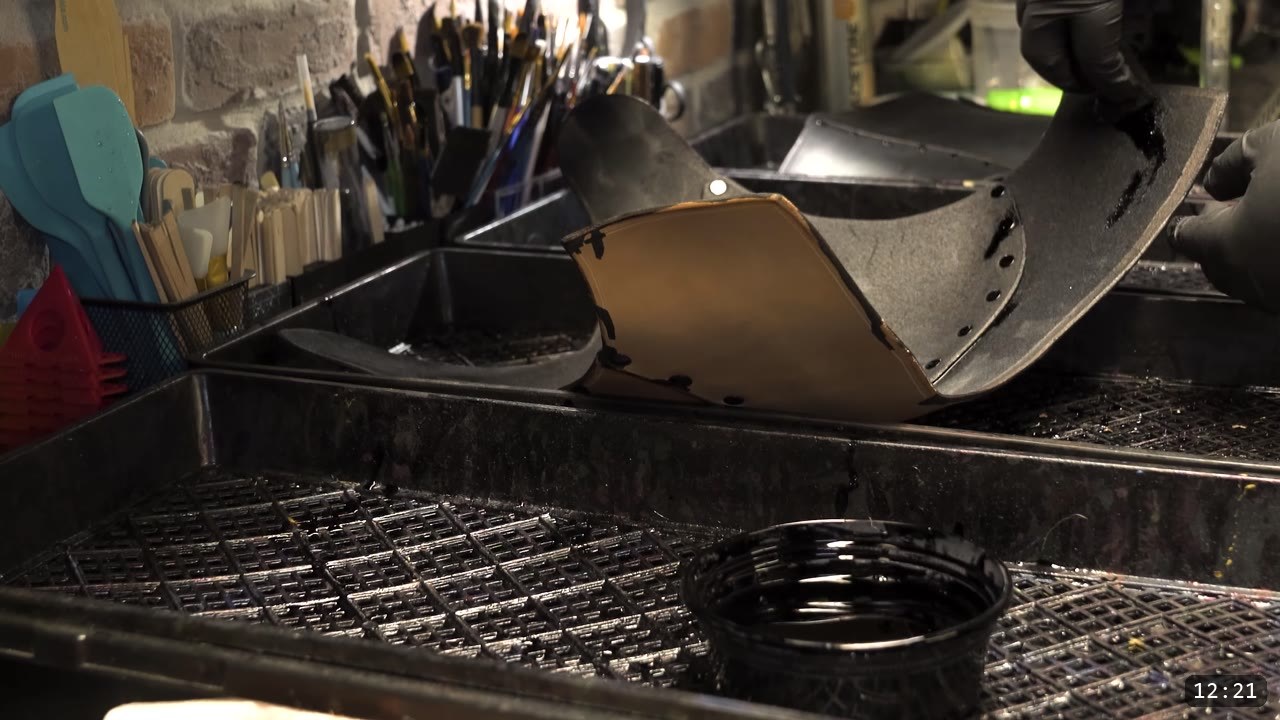
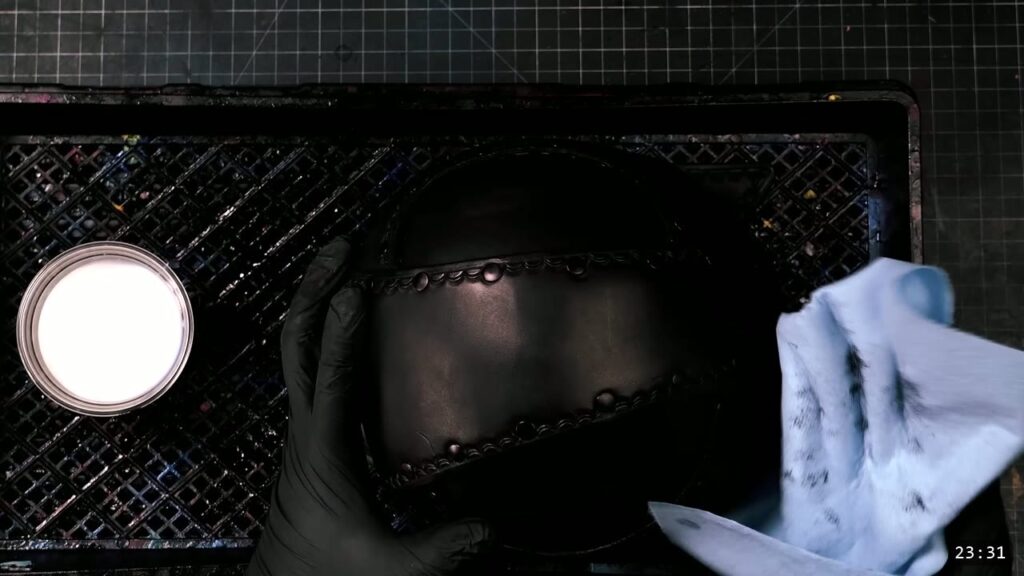
I dye the parts while they are still manageable, before the final strap and buckle assembly. The video uses a black Pro Oil dye, sealed with an acrylic finish brushed on. Test your color first, on scrap or on the underside if this is your first piece and you have no scrap. As a speed shortcut you can build from Latigo or another pre-dyed leather and skip the dye and finish steps, but the tradeoff is that those leathers do not accept tooling and shaping very well.
Step 9: Connect the top and bottom with a flex strap
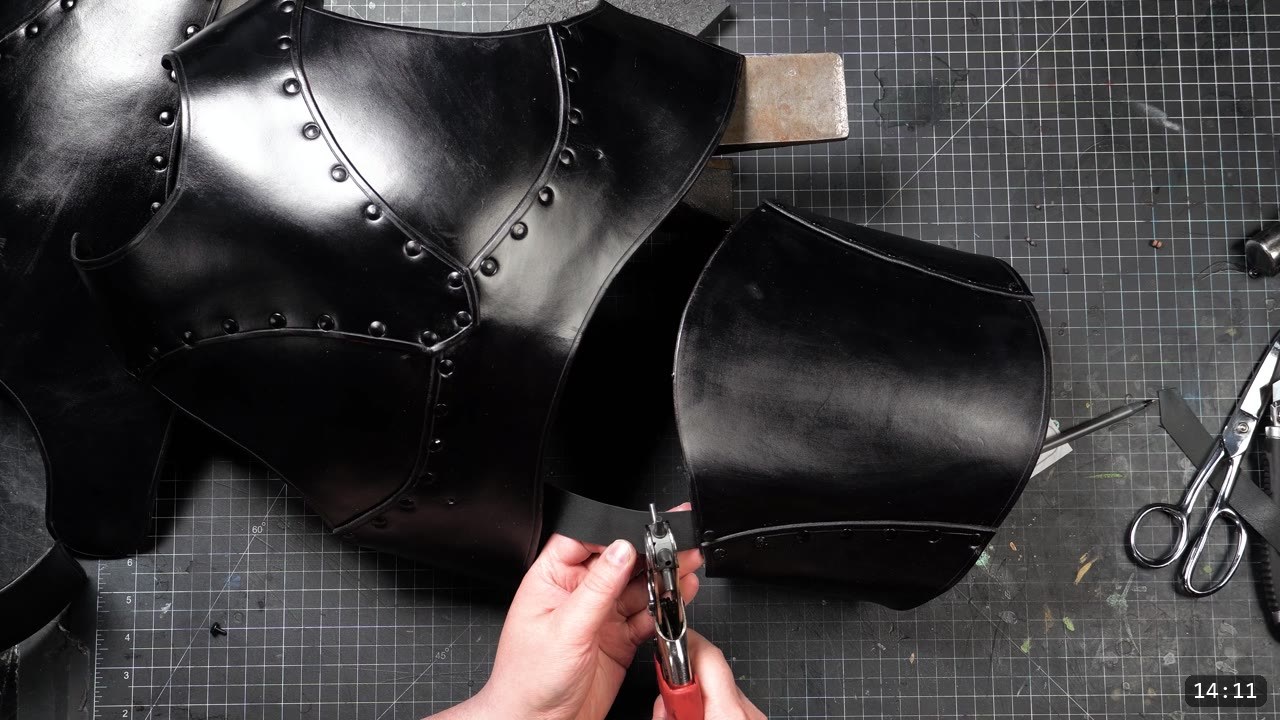
The top and bottom components are joined with a small re-tanned strap that adds a little flexibility. If this is your first project, do not buy a whole hide for one strap. Use veg-tan, or a scrap of something more supple. The video uses thin kangaroo leather, which is very thin but still strong. Rivet each strap to the bottom plates first, then connect it to the top plates.
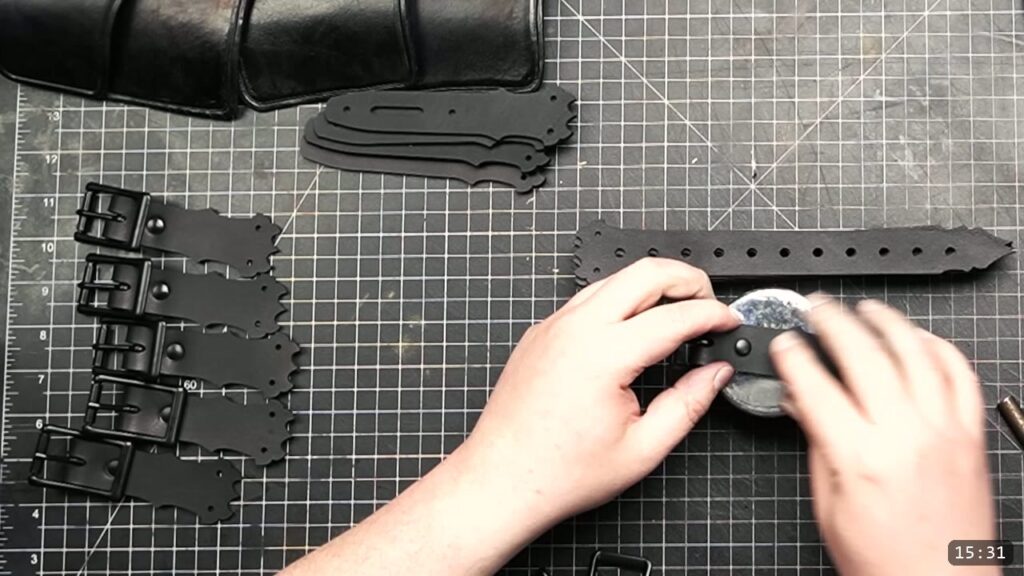
Step 10: Add the side buckles
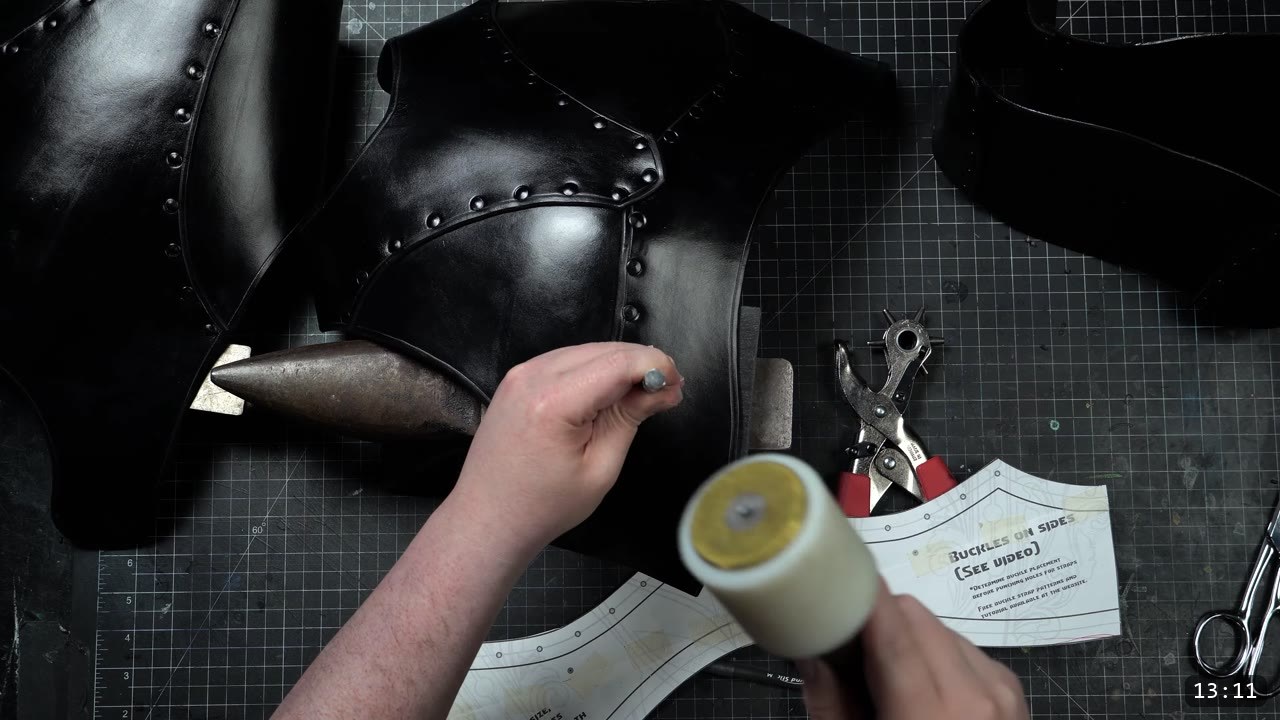
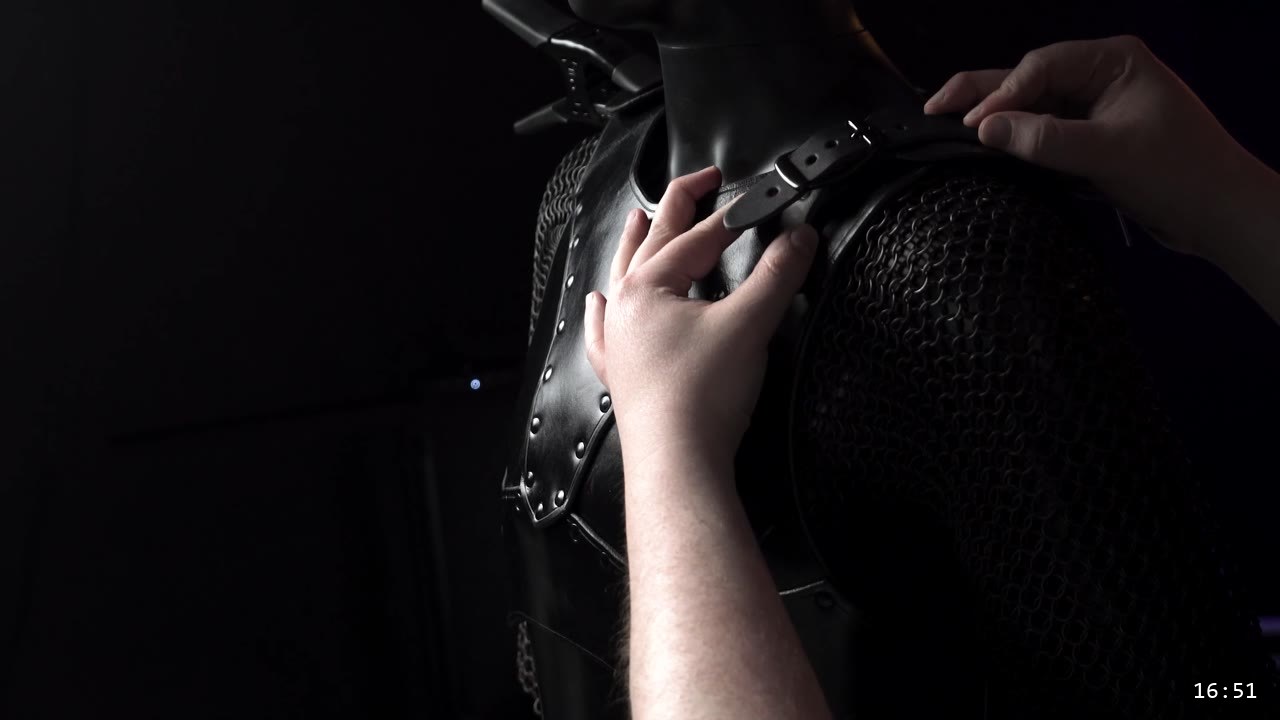
The front and back plates connect with buckles on the sides near the top, which gives you adjustability. Determine the buckle placement before you punch the strap holes. If you are not sure how to make buckle straps, watch How to Make Leather Buckle Straps for Armor, which comes with a free pattern pack of assorted strap styles.
Step 11: Set the buckle placement on the body
To place the buckles, either wear the piece and have someone help you mark the holes, or put it on a mannequin with similar dimensions to yours and mark them yourself. Then punch and set.
Step 12: Knock down the sheen and call it done
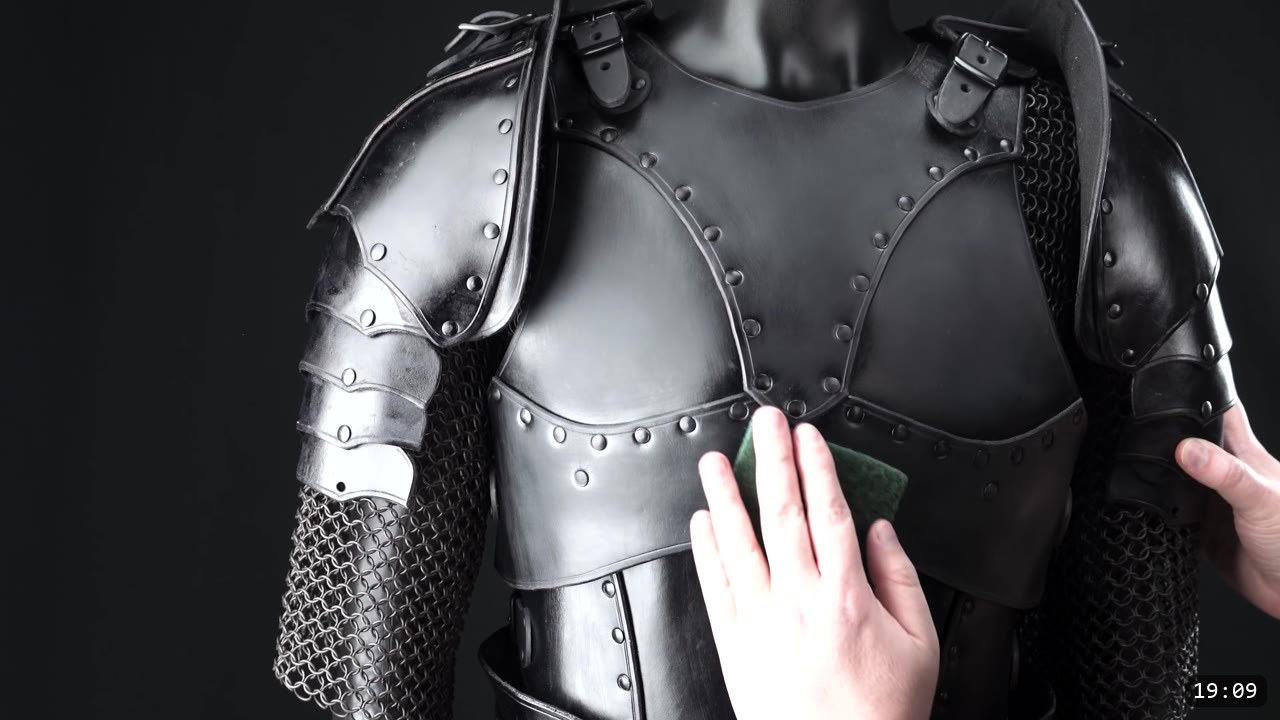
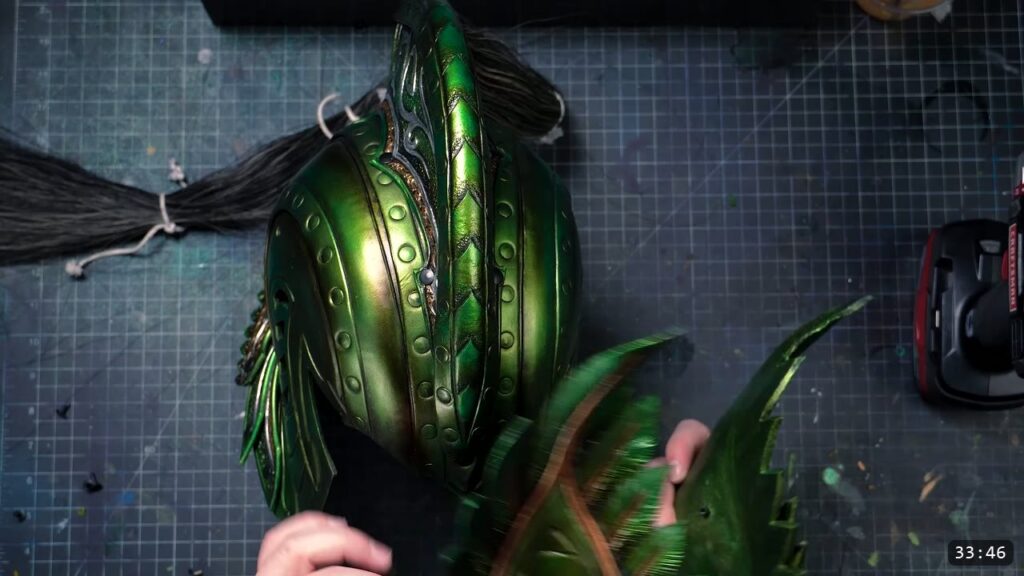
For the finishing touch, scuff the gloss down from a shine with a Scotch-Brite pad to soften the sheen. That same technique is shown more fully in the Warrior helmet build. That is the breastplate. Next in the Warrior series are the shoulder pauldrons.
FAQ
Is this a beginner project?
Yes. The Warrior series is built for first-timers. There is no required tooling or carving, the design forces the chest shape as you rivet, and the core tool is a hammer.
What leather should I use?
9 to 10 oz vegetable-tan. Veg-tan matters because the plates rely on holding a molded shape while damp. A pre-dyed leather like Latigo lets you skip the dye and finish steps, but it will not tool or shape as well.
What tools do I need?
A hammer, medium double-cap rivets, a cutting tool, an edge beveler, and a hole punch. A rivet setter is a dollar or two and makes cleaner sets, but it is optional.
When do I shape the leather?
While it is damp, before you dye and seal. Dome the plates with a ball or a domed object as you assemble. Once the leather is dyed and sealed, the finish resists water and the plates will not fully re-wet or reshape, so do all the shaping first.
How are the plates held together?
Rivets for the panels, a short flexible strap connecting the top and bottom sections, and buckles on the sides near the top for adjustability.
Where to go next
- Get the pattern: Warrior Breastplate pattern.
- Building the full kit? The Warrior Armor Bundle is the beginner path through the whole suit.
- New to leather armor? Start with 5 tips for getting started with leather armor.
- Want to go deeper on shaping? Watch Hand-shaping Leather for Armor Making.
- Next in the series: the DIY Leather Pauldrons attach right to this breastplate.
- Saw the sheen-scuffing trick? It is shown in full in the Warrior Helmet build.
- Built one? Share it and tag Prince Armory Academy and Weaver Leather; we feature student work.




Responses