



Articulated Leather Breastplate Build Guide: A Fantasy Cuirass That Moves


You build an articulated leather breastplate and backplate, also called a cuirass, from a flat printed pattern. You trace the mirrored pieces onto oak-tanned leather around 9 ounce, cut and pre-soak them, transfer and carve the design, tool and dye the plates, then shape them with a slight dish. The part most builds skip is the retaining strap: a thin, firm strap on the inside that ties the plates together and lets them compress and twist as you move. This is a pattern build, not a kit, but the techniques are kept simple. This guide walks the whole thing alongside the video, so you can watch each step and read the details the video moves past quickly.

What you are building, and what it takes
The finished piece is a fantasy cuirass: a front chest plate and a back plate, each built from stacked plates that overlap and pivot. Because the plates are joined with a retaining strap on the inside and buckles on the sides, the armor flexes with your body instead of sitting like a stiff tube. The tradeoff for a pattern build is that you cut and shape everything yourself. The reward is a fitted set you sized to your own chest.

What you need
The pattern. The Fantasy Breastplate Pattern prints across tiled pages that you trim and tape into full templates. The default size fits about a 40 inch chest, with a decent margin either way depending on where you set the buckles. The sides can be added to or trimmed, and the whole set scales up or down. The pattern download includes a sizing document with extra tips.
Leather. A superior oak-tanned side around 9 ounce, from Tandy in the video. You can go lighter or heavier to taste. This pattern mirrors every component symmetrically, and the build in the video used roughly three fifths of a side. Buy a hide with room to work around natural defects and brands.
Tools.
- Cutting: a utility knife to rough the hide into manageable pieces, then craft-tool shears to finish the cuts. A utility knife alone works too.
- Marking: a stylus or a ballpoint pen, something solid and pointy to stab the hole reference marks, and an adjustable compass for the long border lines.
- Design: a small edge stitch groover, and a swivel knife for the carved lines.
- Edges: a number one beveler, plus a sponge and a slicking tool for burnishing.
- Holes: a rotary hand punch, and a standard hole punch for the spots the rotary cannot reach.
- Tooling: smooth beveling stamps, and any border stamp you like for the banding.
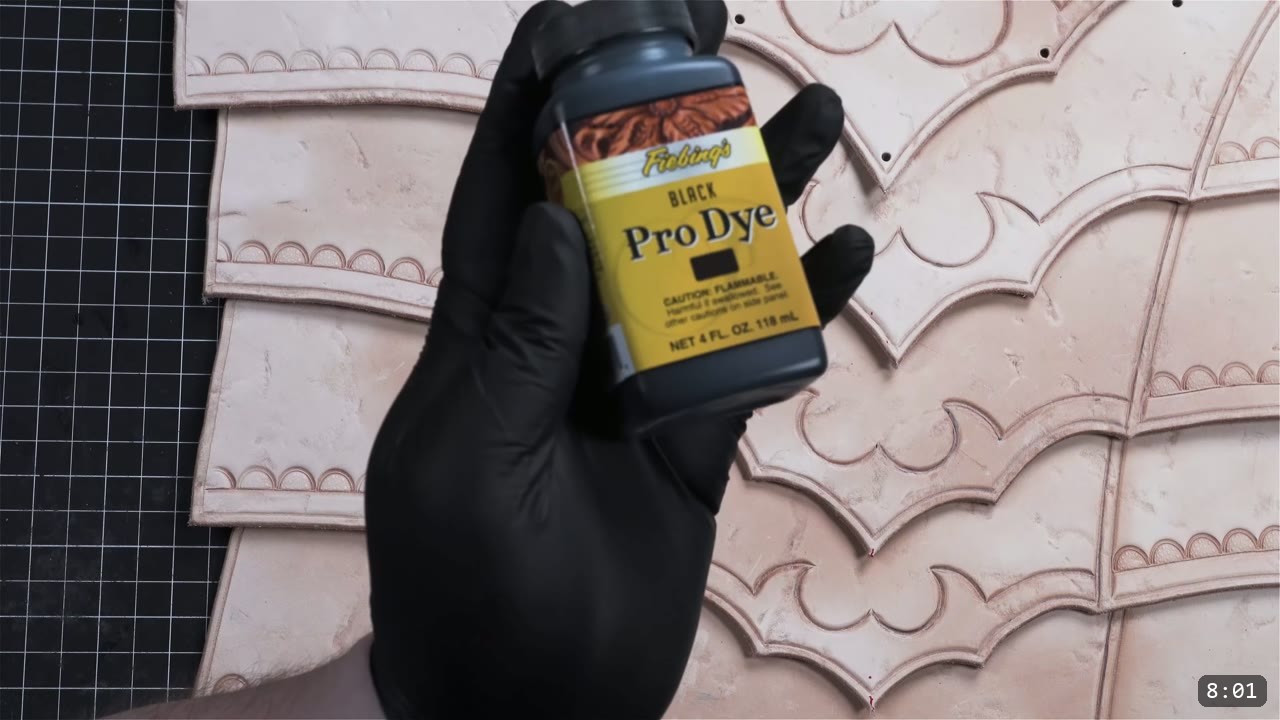
- Color and seal: Fiebing’s Pro Oil Dye in black and red, a sponge, a brush, paper towels, nitrile gloves, and Satin Sheen acrylic finish.
- Shaping: a dedicated forming tool if you have one, or a softball, a bowling ball, or a cheap acrylic hemisphere.
- Assembly: a hammer, a rivet setter, a small mini anvil or raised striking face, medium and long double cap rivets, and buckles.
Step 1: Print, mock up, and size the pattern
Print and cut the patterns. If your printout has margins, trim the areas where the lines meet so the pages piece together cleanly, and tack the sheets with small bits of tape first so you can adjust the alignment before you commit. Before you cut real leather, make a mockup. Trace the printouts onto poster board and hold it together with brass plated fasteners. It goes together fast and lets you confirm the fit before you spend money on the hide. The default fits about a 40 inch chest, and you can add to or trim the sides or scale the whole set.

Step 2: Trace onto the leather and cut
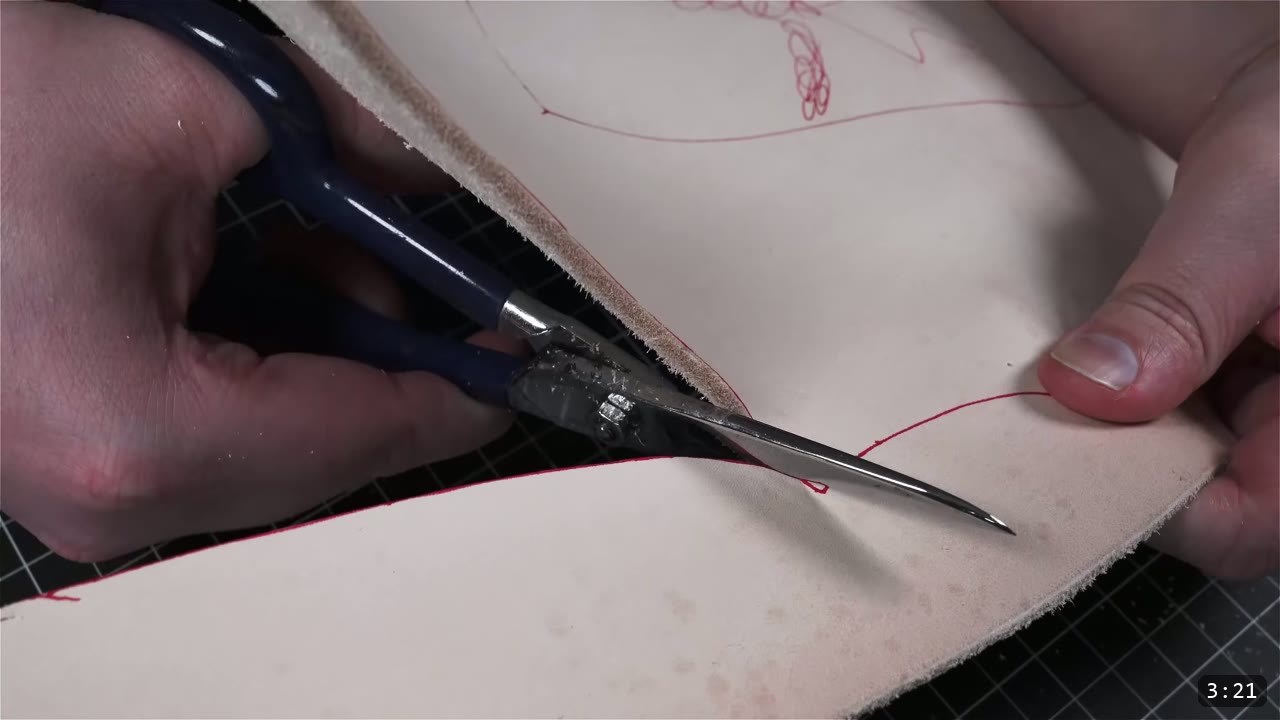
Lay the pieces out and trace them, mirroring every component symmetrically. Scrutinize the hide first and mark any blemishes or brands so you can work around them. While the pattern is on the leather, stab a reference mark at every hole location so you can punch them accurately later. Separate the hide into manageable pieces with a utility knife, then finish the cuts with craft-tool shears. Take your time on the cuts. Clean edges here save you work at every later step.
Step 3: Pre-soak the leather
This is a big project with large pieces to tool, so pre-soak now to get the core saturated. Feed each piece through warm water for about three seconds of contact, enough to wet the core without soaking it to mush. A bonus reason to do this first: if the shears are fighting you, damp leather cuts much easier. Keep the pieces damp as you work through the next steps. Re-wet any time you need to, up until you dye and seal.

Step 4: Transfer the design, groove the border, and carve
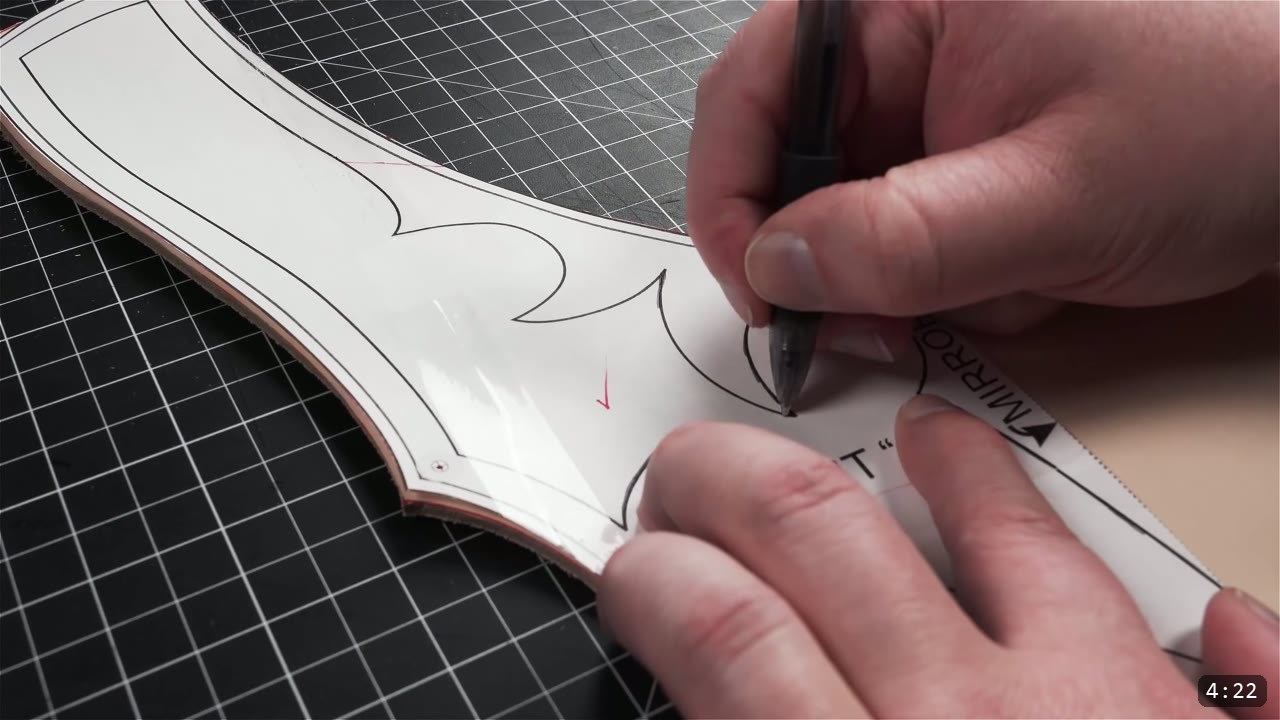
With the leather damp but the surface dry enough not to soak through the paper, transfer the design features with a stylus or ballpoint pen. Trace the barbed design elements, but skip the long spans of border; those come out more consistent with an adjustable compass. Run the outermost border with a small edge stitch groover, which lifts a thin strand off the surface and leaves a cosmetic groove. Then commit the design lines with a swivel knife. Strop a sharp blade first so it glides. The lines here are broad and sweeping, good practice for building muscle memory. Cut only about halfway through the leather, which keeps the stronger connective fibers intact. Keep the piece damp while you carve.
Step 5: Bevel, burnish, and punch the holes
Run a number one beveler along the tops and bottoms of every piece to round the edge profile. Then burnish: dampen the edges with a sponge and water and work a slicking tool with a rounded groove along them, using friction to compress the fibers. The edge comes out smoother and more comfortable against the body. Punch the holes with a rotary hand punch where it reaches, and a standard hole punch for the few spots it cannot.
Step 6: Tool the borders
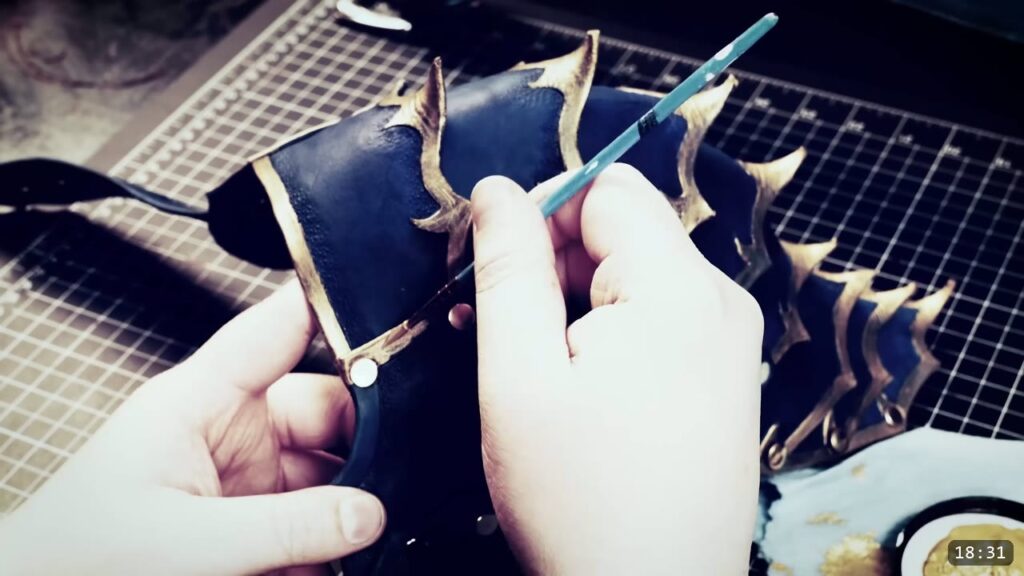
Tooling is optional and down to taste. In the video the borders and design lines get smooth beveling stamps for a subtle pillow-embossed look. You could push a louder effect for the same effort. A second border stamp adds decorative banding along the horizontal plates on the lower sections. Experiment on scrap to find effects you like. The heavier distressed weathering shown on the finished piece is a separate technique the video splits into its own tutorial.
Step 7: Dye red and black
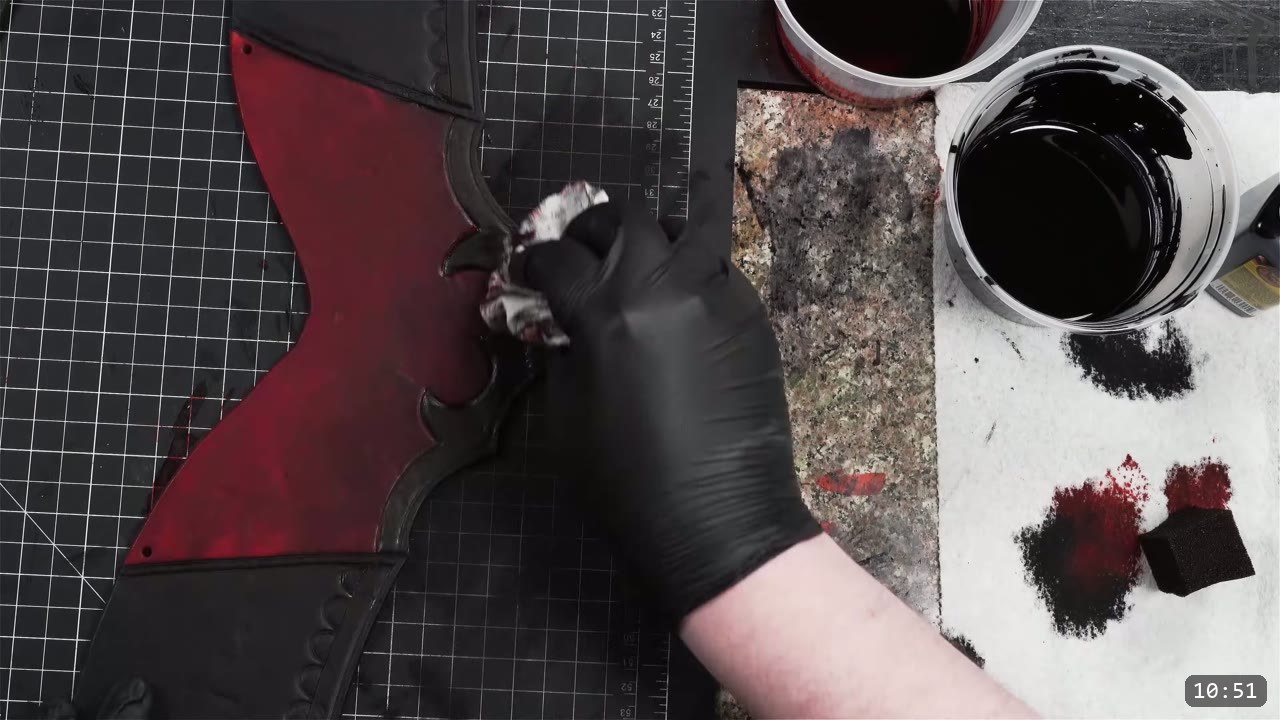
Color with Fiebing’s Pro Oil Dye. Start with black along the design lines, applied with a sponge and a brush so you can control where it lands, then move to red across the central areas. Buff the excess pigment with a paper towel. The look in the video is intentionally distressed, so some black bleeding into the red is welcome; for a cleaner separation, buff each color with its own towel. The back pieces in the video were dyed all black. Test your color on scrap first, or on the underside if this is your first piece and you have no scrap.

Step 8: Seal with Satin Sheen
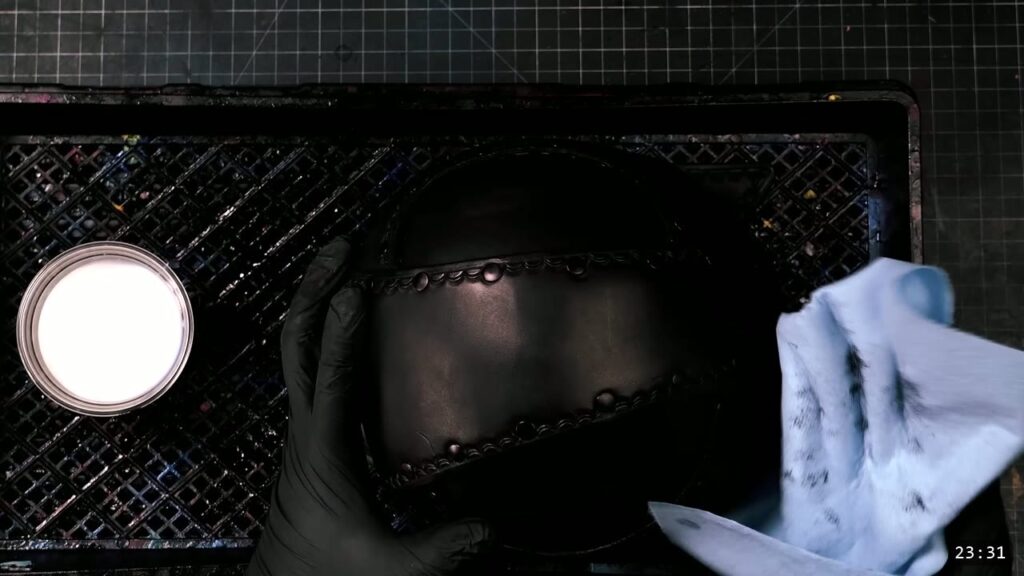
Seal the leather with Satin Sheen, an acrylic finish. It has less gloss than Super Sheen, which suits this look better. Apply a generous coat with a sponge on both sides. The finish absorbs in to help the leather firm up, and it keeps the dye from bleeding later. This is the last leatherworking step for the surface. Once it is on, the leather resists water and will not fully re-wet or reshape, so do your real shaping before this point.
Step 9: Shape the plates
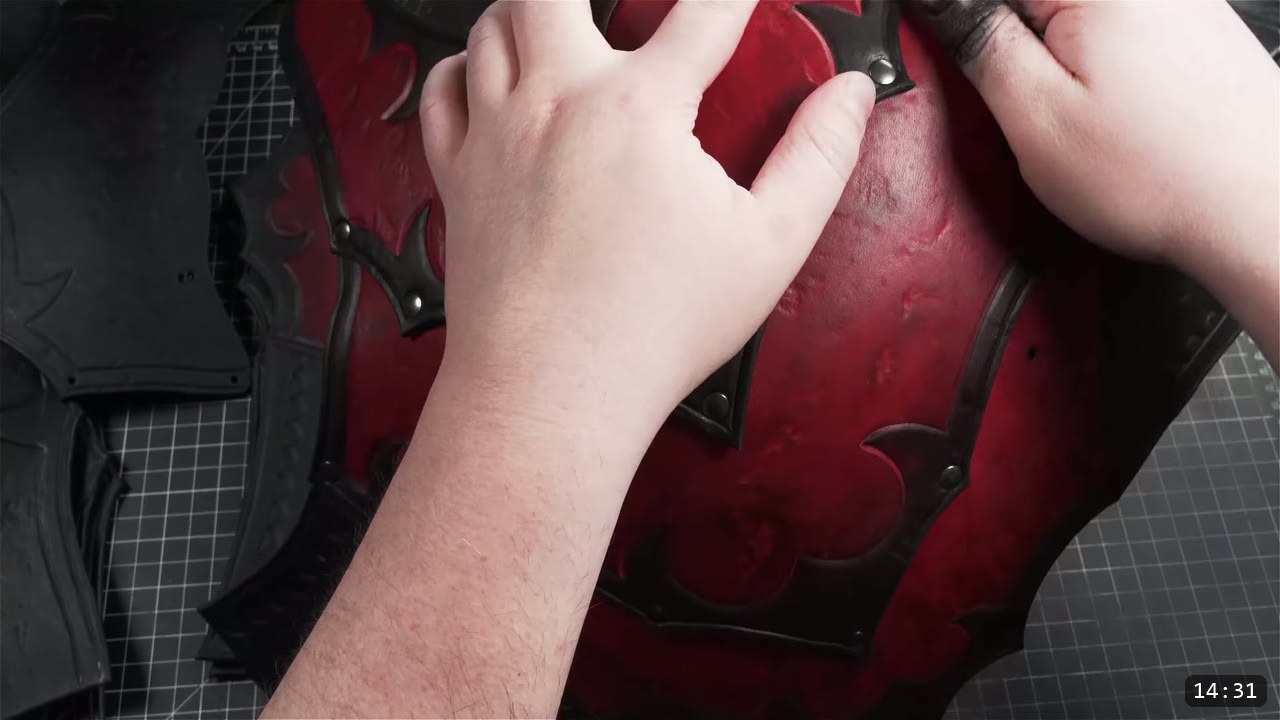
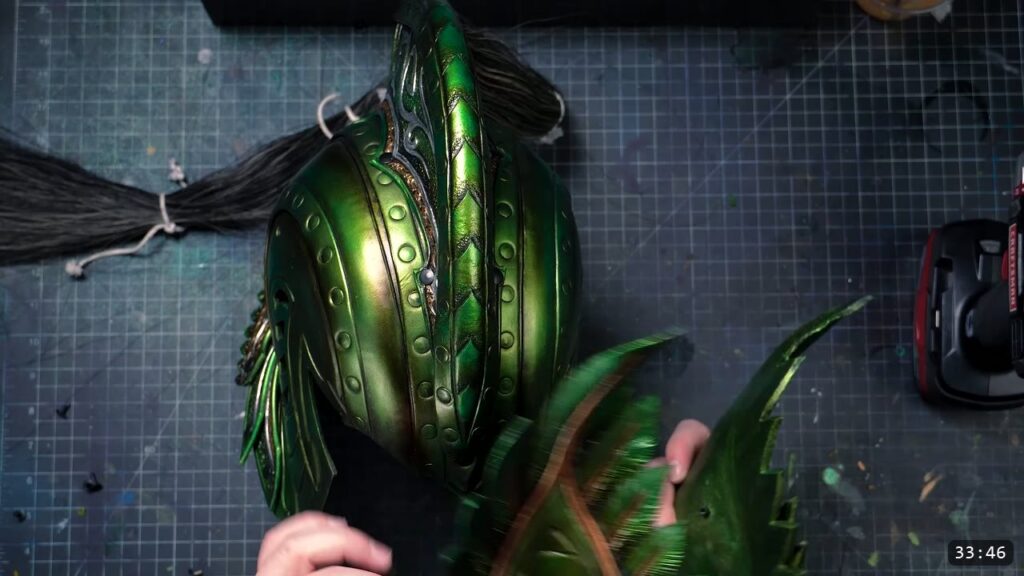
Add the shape before the rivets go in. Do this before you dye and seal for the reliable result, because the leather is easiest to work then and the finish will lock whatever form it has. The piece only needs a subtle shape, so the video adds it while the pieces are still damp from the sheen; treat that as a light touch-up, not the main forming pass. All the top pieces of the breastplate get a slight dish. On the back plate, focus the shape around the shoulders. On the front, aim for a smooth dome across the whole plate. On the bottom back pieces, add a shallow valley bend to accentuate the spine. Press the damp leather into a forming tool, a softball, a bowling ball, or a cheap acrylic hemisphere. Do not go extreme; you can tweak the shape again after assembly. If you skip forming entirely, the rivets are harder to line up and the plates can look lumpy.
Step 10: Set the rivets
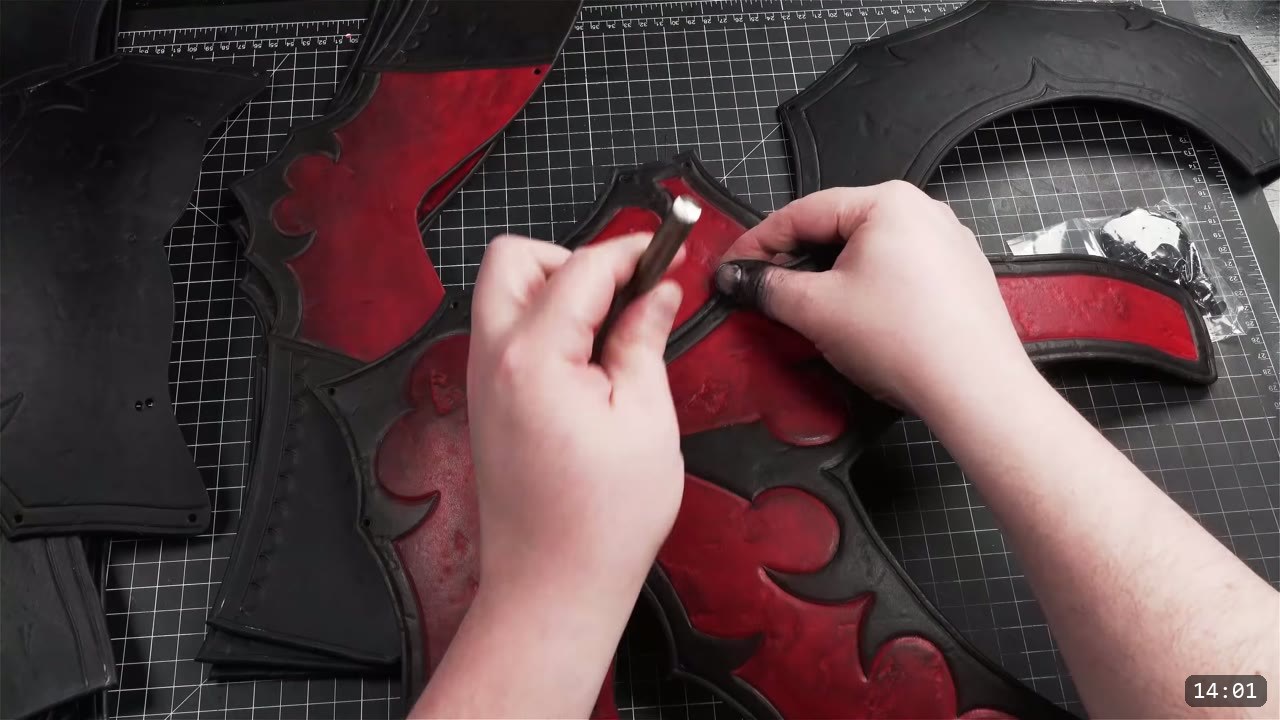
Because the plates are shaped, setting rivets takes a little planning. To set a flat rivet head, turn the piece over and strike it flat. For a domed rivet head, raise your striking surface with a mini anvil or a small striking face so the dome has room. Work either from the middle out or from the outside in. Expect some holes to fight you: tooling can stretch the leather, over-forming shifts things, and any imprecision in tracing or punching adds up. Wrestle the leather to coax a hole into line, and if you must, migrate a hole slightly. Move it on the underside layer when you can, so the visible layer keeps its symmetry.
Step 11: Make the retaining straps
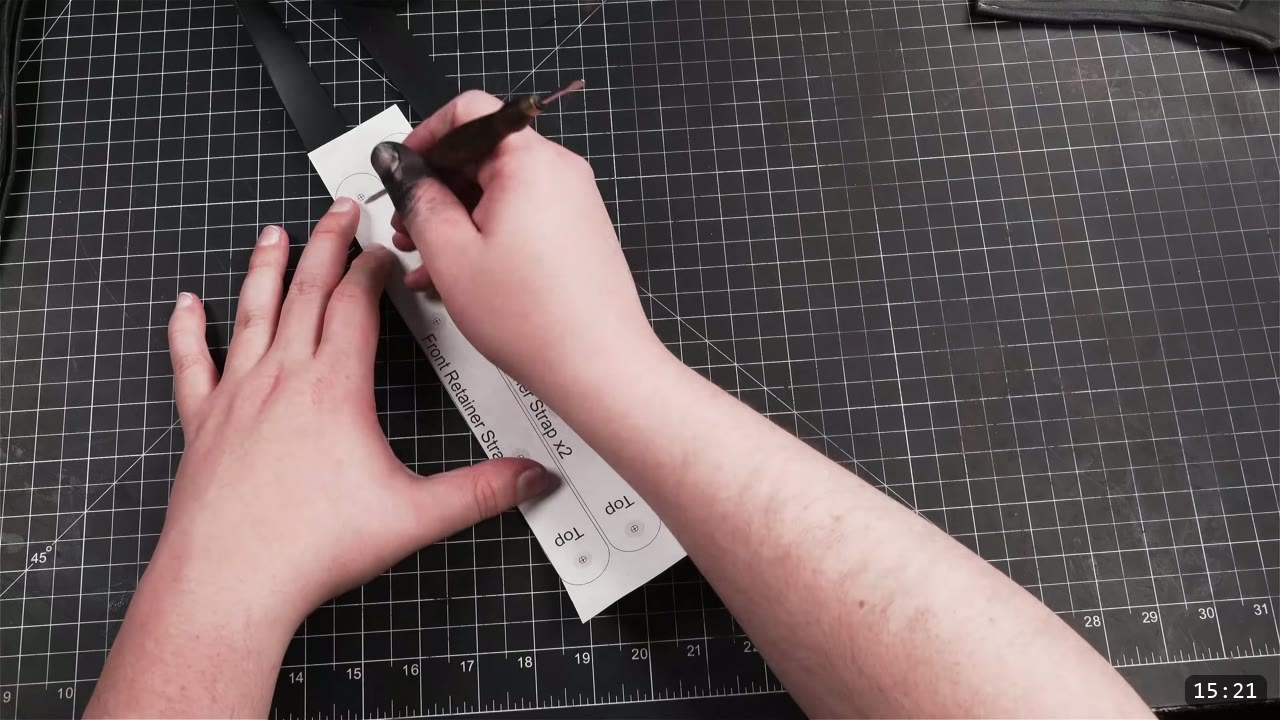
The retaining strap is a simple technique that most builds skip, and it is the difference between a breastplate that moves and a stiff tube of leather. It lets the plates compress and twist with you. Use a thin, supple strap that does not stretch. Most chrome-tan leather is out here, because you do not want it stretching out over time. The video uses pre-dyed leather of medium firmness and weight. The pattern includes the strap pieces, marked front and back retaining strap, with the hole positions and a top indicator.
Step 12: Connect the plates with the straps
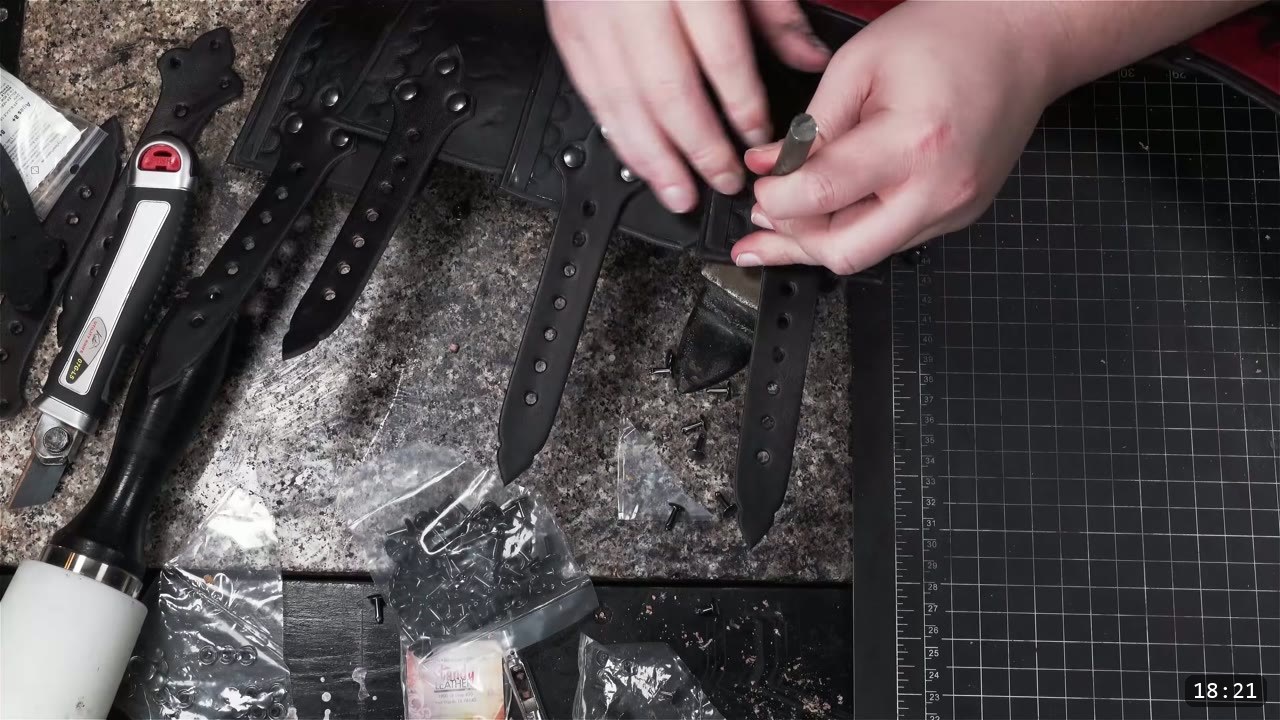
Rivet the plates to the retaining straps to assemble each panel. Start with the bottom plates and work your way up, connecting the plates in order. Double-check the order of the components before you commit each rivet, because the pieces are easy to mix up. Take the strap rivets in sequence so the plates end up spaced evenly and pivoting cleanly.

Step 13: Fit the buckles and hardware
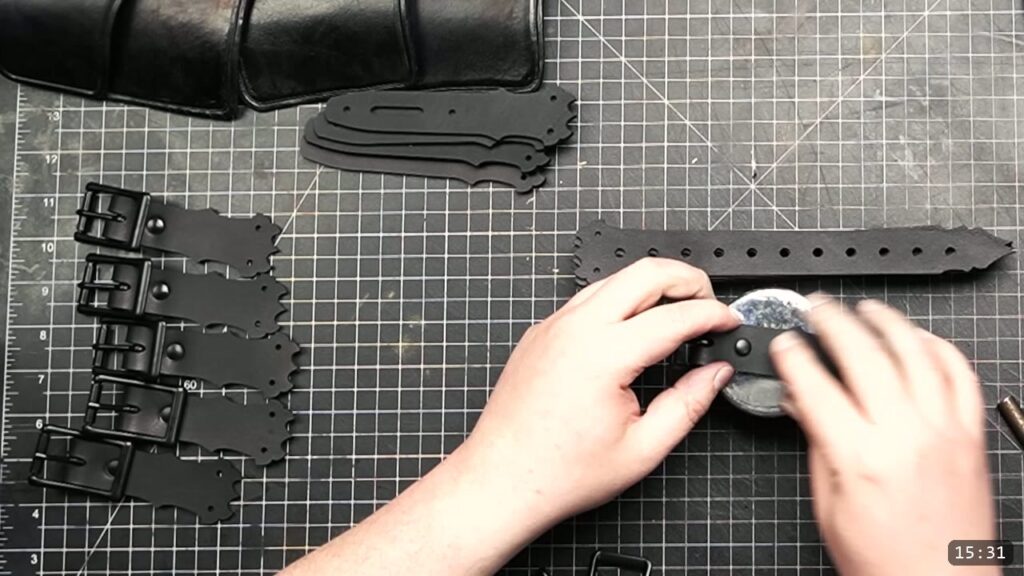
Buckles connect the front and back panels on the sides and at the top, and they set the fit. Making the buckle straps is covered in a dedicated tutorial with its own guide and free pattern pack, linked below. Make the straps three quarter inch to one inch wide, at a length you choose. Where you place the buckles decides how it fits, so plan for whether you want it loose or snug and whether you will wear an arming gambeson underneath. Do not wear a breastplate too tight; slightly snug lets the plates keep flexing. To mark the holes, use a form close to your size, or have a friend hold the pieces on you. Start at the top and add the buckles that join front to back, then match the sides from there. Mark one side evenly, then transfer those marks to the other side with a paper pattern. For hardware the video uses medium and long double cap rivets and darker antique buckles to suit the distressed look. One upgrade: if you build the shoulder pauldrons from the pauldron tutorial, you can add a strap or two at the top of the breastplate and suspend it from the shoulders instead of the big chest strap, which improves mobility.
FAQ
Is this a beginner project?
It is a pattern build, so you cut and shape everything yourself, but the techniques are kept simple. If you have made a kit or a simpler molded piece, you can handle this. If you are brand new, start with a kit first, then come back and size this one to your chest.
What leather should I use?
A veg-tan or oak-tanned side around 9 ounce works well. You can go lighter or heavier to taste. Because you mirror every piece, plan for roughly three fifths of a side, with extra room to work around defects.
How do I make the breastplate actually move?
The retaining strap. It is a thin, firm strap riveted to the inside that ties the plates together and lets them compress and twist. Use a supple strap that does not stretch; most chrome-tan leather stretches out over time, so avoid it here.
When do I shape the plates, before or after dyeing?
Shape before you dye and seal. The leather is easiest to form then, and the finish locks the shape once it cures, so the plates will not fully re-wet or reshape afterward. The plates only need a subtle dish, so a light touch-up while the sheen is still damp is fine, but do the real forming first.
How do I get the red and black distressed look?
Fiebing’s Pro Oil Dye, black along the lines with a sponge and brush, red across the center, then buff the excess with a paper towel. Let some black bleed into the red for the distressed effect, or buff each color with its own towel for a cleaner split. Test on scrap first.
What size does the pattern make?
The default fits about a 40 inch chest with margin either way depending on the buckles. You can add to or trim the sides, and the whole set scales up or down. Make a poster board mockup before cutting leather to confirm the fit.
Where to go next
- Get the pattern: Fantasy Breastplate Pattern.
- Building for a different fit: the Fantasy Female Breastplate Pattern is the same idea shaped differently.
- Making the buckles: How to Make Leather Buckle Straps for Armor, with a free pattern pack.
- Going deeper on shaping: Hand-shaping Leather for Armor Making.
- Another breastplate to study: the Warrior Armor breastplate build.
- New to leather armor? Start with 5 tips for getting started with leather armor.
- Built one? Share it and tag Prince Armory Academy; we feature student work.



Responses