



Leather Elven Helmet Build Guide: Visor, Comb, Tail, and a Green Metallic Finish

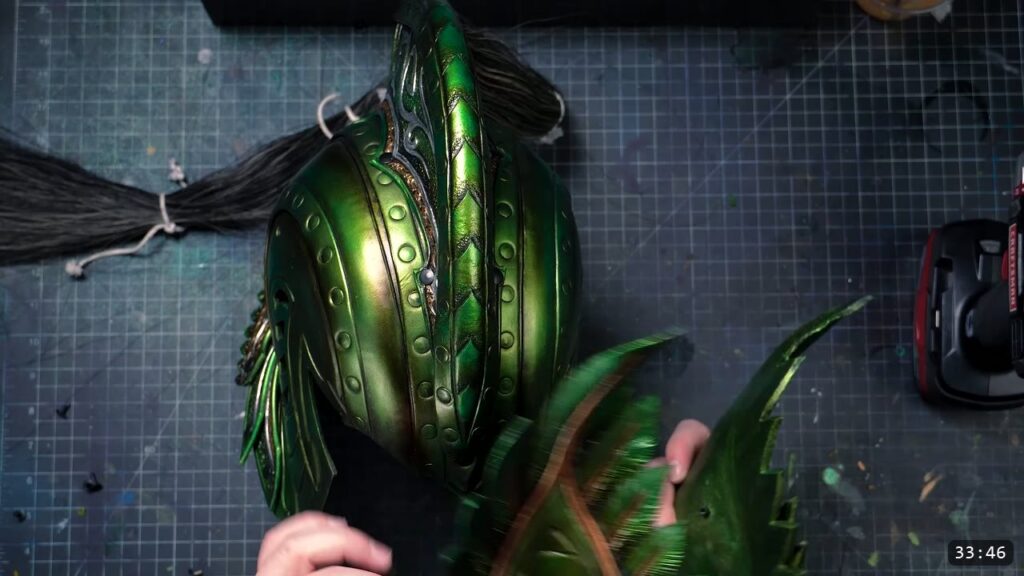
This is part two of the Elven Lord helmet. The core was built in a previous video, and here you build the three remaining parts, the visor, the comb, and the tail, then color and finish the whole helmet. It is an advanced pattern build in 9 to 10 ounce Herman Oak vegetable-tan leather. You tool and carve every piece while it is damp and before you cut it out, wet-form the parts to shape, rivet and Chicago-screw them together, then immersion dye the helmet green and seal it with acrylic to harden it and lock the shape. This guide walks the whole thing alongside the video, so you can watch each step and read the details the video moves past quickly.
What you are building, and what it takes
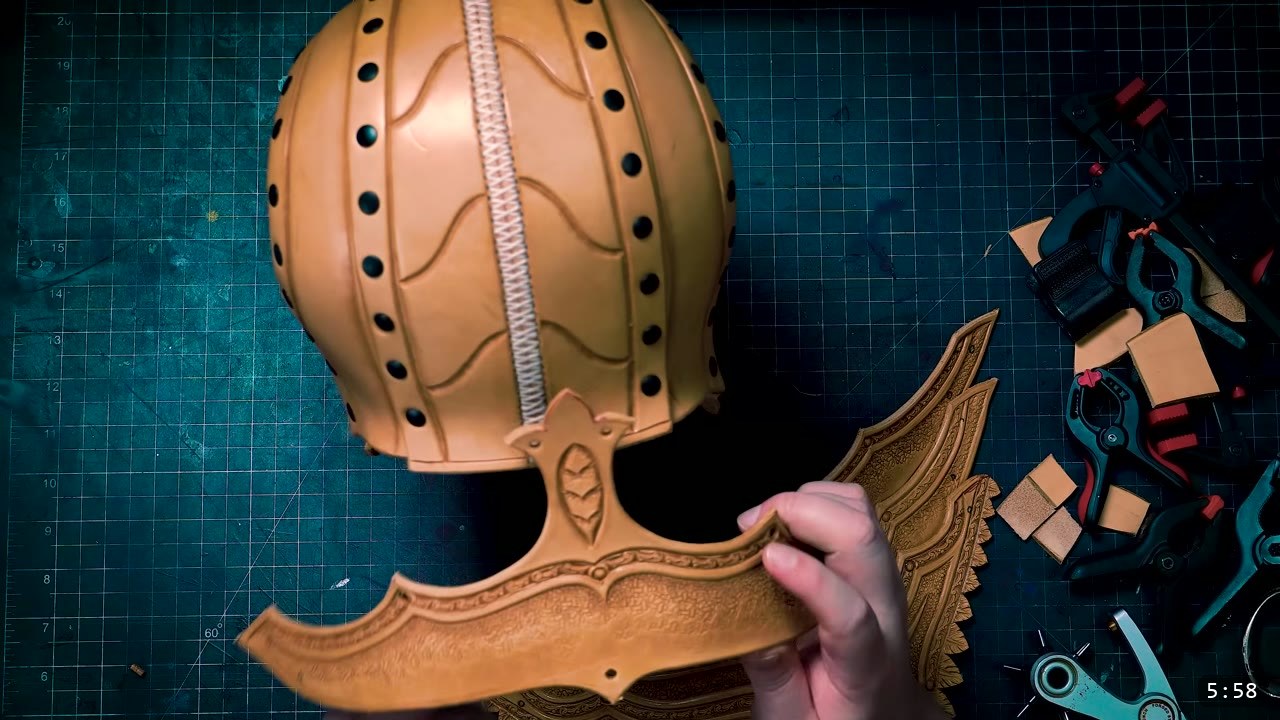
The helmet core is already assembled from the earlier video, so this build is the visor at the front, the comb (also called the crest) on top, and the articulated tail at the back, plus all the tooling, color, and hardware that ties them together. The reward is a full carved Elven Lord helmet with a feathered comb and a metallic green finish. The tradeoff is that it asks for real leatherwork: carving, beveling, wet forming, riveting, and stitching. Prince says outright not to make this your first project. Work through the Warrior, Fantasy, and Imperial series first, because the Elven series assumes you already have the basics.
What you need
The pattern. The Elven Lord Helmet pattern covers the full helmet. The core has its own Elven Lord Helmet Core pattern, which is the step before this one. The tail pattern comes with four segments; the build in the video uses three for a slightly shorter tail, which is your call.
Leather. Natural vegetable-tan, 9 to 10 ounce Herman Oak in the video. It is a premium option chosen for how well it tools and molds. Veg-tan is what lets the leather take carving and hold a formed shape.
Tools.
- Marking and layout: a compass or wing divider, two of them set to different widths so your border bands stay consistent, plus a stylus for transferring lines.
- Carving and tooling: a swivel knife, a wide smooth beveler, a texture or pebble tool, and a large circular spot tool for camouflaging pattern breaks in corners.
- Cutting and edges: a utility knife, an edge skiving tool, and a slicker for burnishing.
- Assembly: a drill for holes in the already-assembled core, office brads for test fits, medium double-cap rivets, longer rivets for three-layer spots, a mini anvil or any solid backer to set rivets against, a smooth-faced hammer for planishing, Chicago screws for moving joints, and a stitching awl.
- Gluing and stitching: PVA or leather glue or contact cement, glue spreaders, clamps, and either a stitching machine or hand-stitching needles and thread. Scrap leather makes a good shield against a machine presser foot.
- Color and seal: Green Angelus alcohol-based leather dye, nitrile gloves, Weaver’s Tough Coat acrylic finish, and blue shop towels.
- Optional paint: Jacquard acrylics (the Blue Mirror metallic line, metallic olive green, Lumiere metallic bronze, Lumiere metallic emerald green, and a green shimmer), Jacquard Neopaque black for antiquing, Createx brown airbrush paint, a Molotow silver, Createx clear gloss, an airbrush, sponges, rags, and brushes.
Step 1: Trace the pattern and separate the pieces
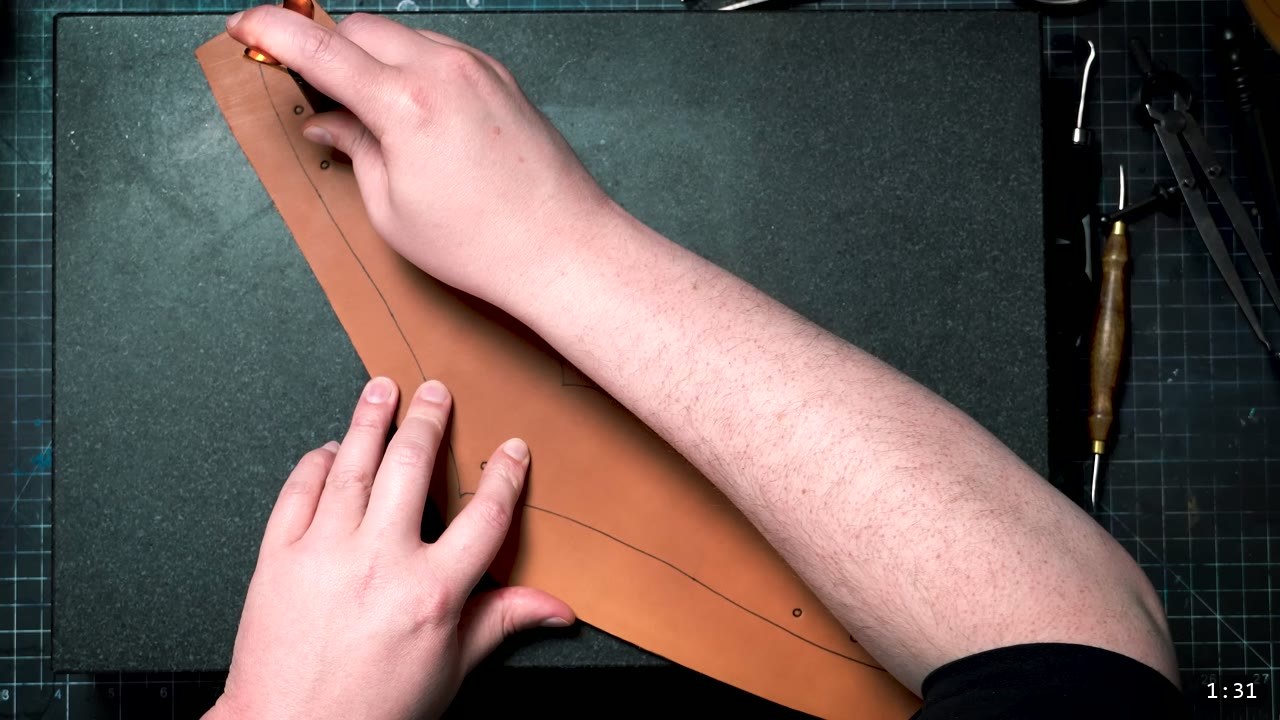
Trace the pattern onto the leather, but leave a little more space around each piece than you normally would. On a heavily tooled project the extra room keeps the leather from stretching out as much and leaves you space for extra tooling and cutting. Do not cut the pieces all the way out yet. Just separate them from the hide with a utility knife, because you carve and tool first on this build.
Step 2: Wet the leather, then carve and bevel every line
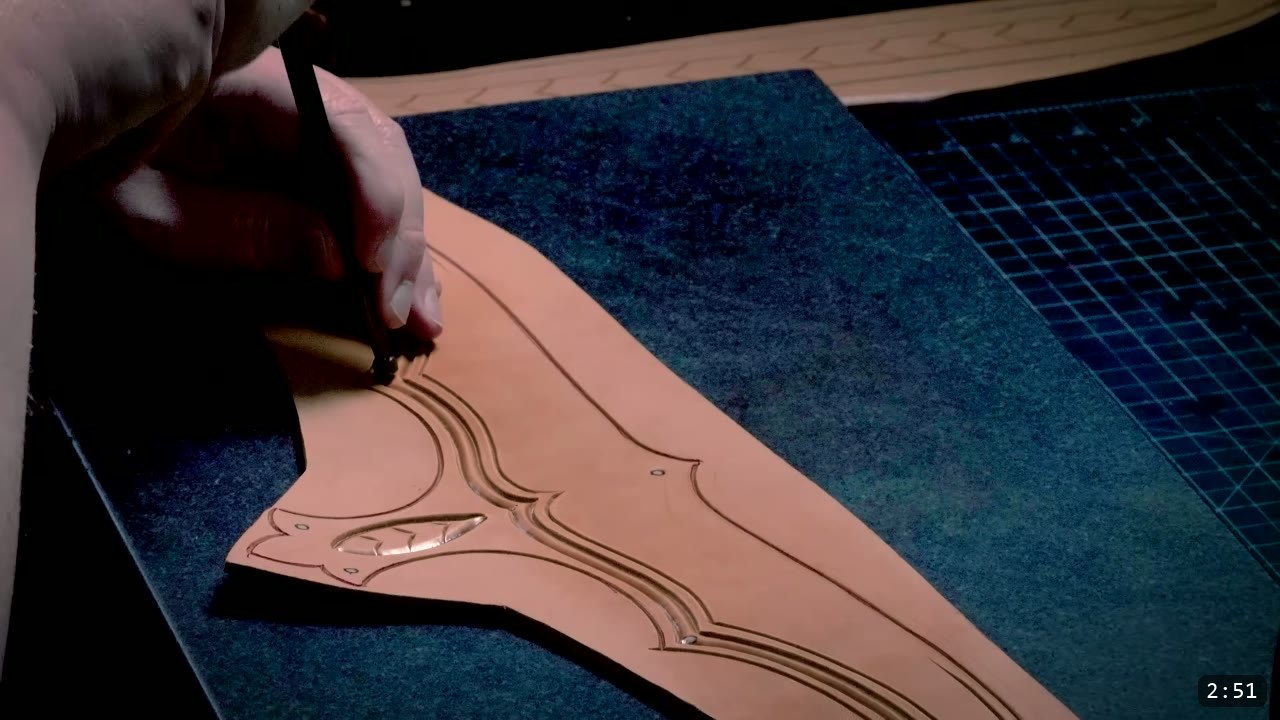
Dip the leather in water to make it workable, which is what lets you carve, tool, and shape it; when it dries it holds those details. On a piece this complex, carve and tool the whole thing before you cut it out, so the final cuts are cleaner and easier. Set your border widths with the compass or wing divider. Prince runs a narrow outer border first, freehands the internal points, then adds a wider band inside that, and a narrow band of repeating geometric pattern to frame the tooling. This is also the moment to transfer any design lines and rivet marks, while the damp leather takes an impression easily. Then bevel both sides of every line with a wide smooth beveler. Go slow here to save cleanup later; when you angle the piece to the light, the bevels should glisten smoothly.
Step 3: Texture, scroll-tool, then cut out and burnish
Add texture to the inner areas. Start with a firm strike next to the border lines, keep the tool from overlapping itself too much so the texture stays chunky, then fade it out with softer strikes and light taps. A pebble tool with a flat spot cleans up a crisp edge along the borders. Fill the beveled band with your scroll design. Repeating geometric patterns break up on tight curves, so in the corners a large circular spot tool reads like a false rivet and hides the transition. Only after the tooling is done do you cut the piece out. Because you already carved and beveled the outer line, your knife just follows the groove. Knock the sharp edges off with an edge skiver and burnish them with a slicker.
Step 4: Preassemble the articulated tail
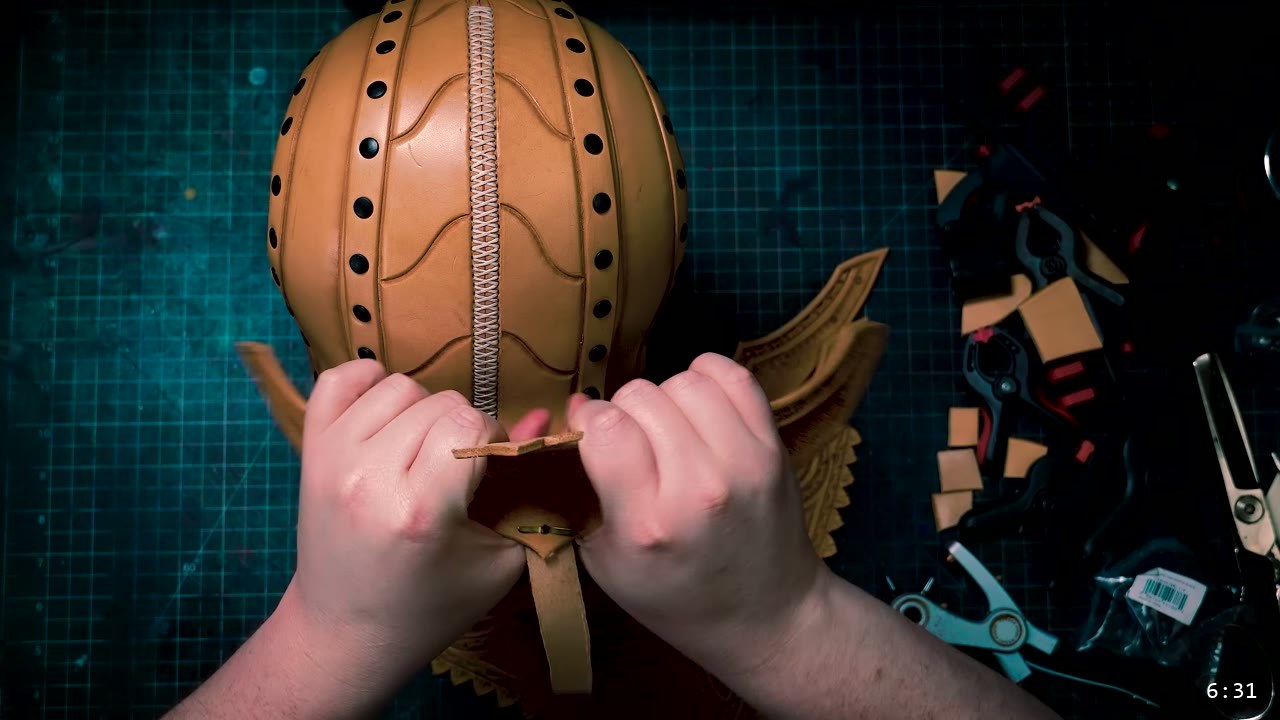
The tail sits at the back and is made of a few articulated segments that collapse a little, joined down the center by a small retaining strap. Keep the pieces slightly damp so they hold a bit of shape rather than sitting dead flat. Office brads are handy for checking fit and for temporary mockups before you commit to holes. Because the core is already assembled, a drill is the easy way to make the holes in it. Do not punch every hole up front. Leather stretches as it is tooled and formed, and your leather may differ from Prince’s, so verify the fit first. Mark and punch the overlapping piece, then adjust or add a hidden hole in the piece underneath.
Step 5: Rivet the tail band to the core
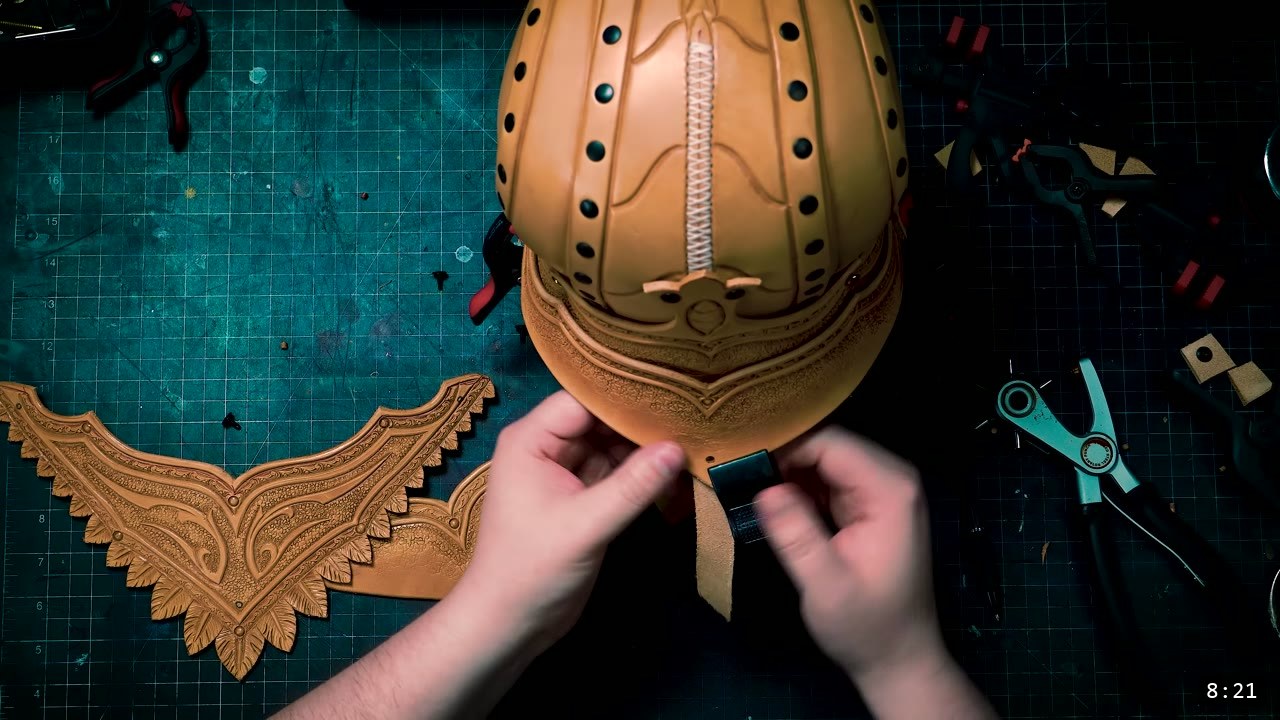
Clamp the base of the tail to the helmet, using scraps of leather under the clamps so you do not deform the damp surface. Rivet it up. When you attach all the segments they should still move and collapse a little; if you want a different spread, change the hole placements and the retaining strap.
Step 6: Build and fit the comb
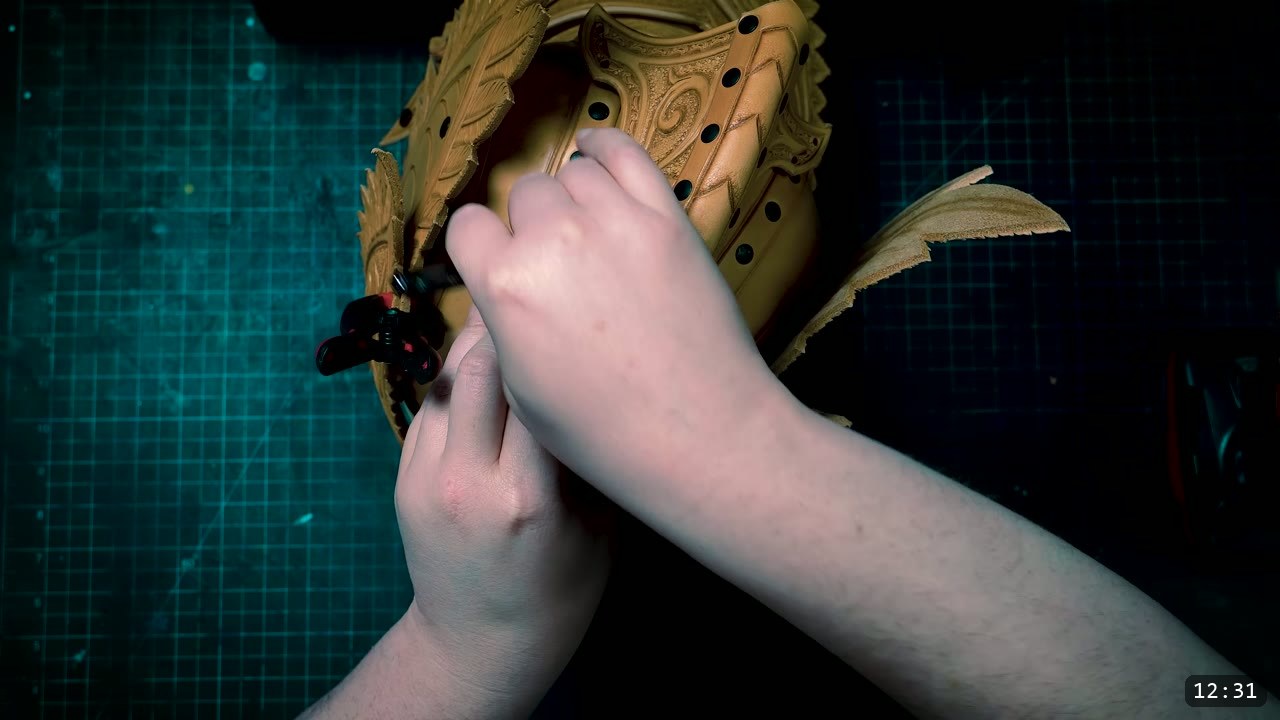
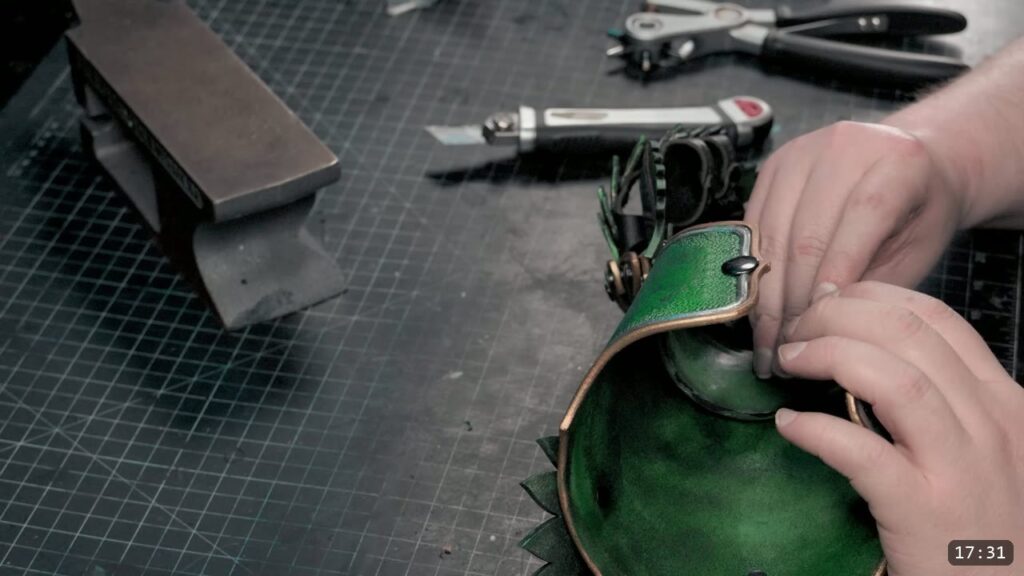
The comb, which Prince also calls the crest or cone, is a set of tooled side pieces joined by a topmost piece that needs a compound curve. For that top piece the leather has to be damp but still firm. Too wet and it will not hold the stretch and turns out lumpy; too dry and it will not stretch at all. Fold it into a U along its length, then work it into a crescent while keeping that bend, pressing it against a flat surface to keep it even. Get it close and the rivets will pull it the rest of the way. Skive the inside of the side parts along the top to debulk them, which makes assembly much easier, and refresh the moisture to relax the leather. Snap the rivets in along one side first, then set them against a mini anvil or any solid backer you can wedge behind the rivet; a foot press works too. Planish the sides with a smooth-faced hammer to clean up the bacon edges, the ripples left by rivets and wet molding. Then fine-tune the crest so it makes even contact with your core and line its point up with the point of the core.
Step 7: Pre-fit the visor on its pivot
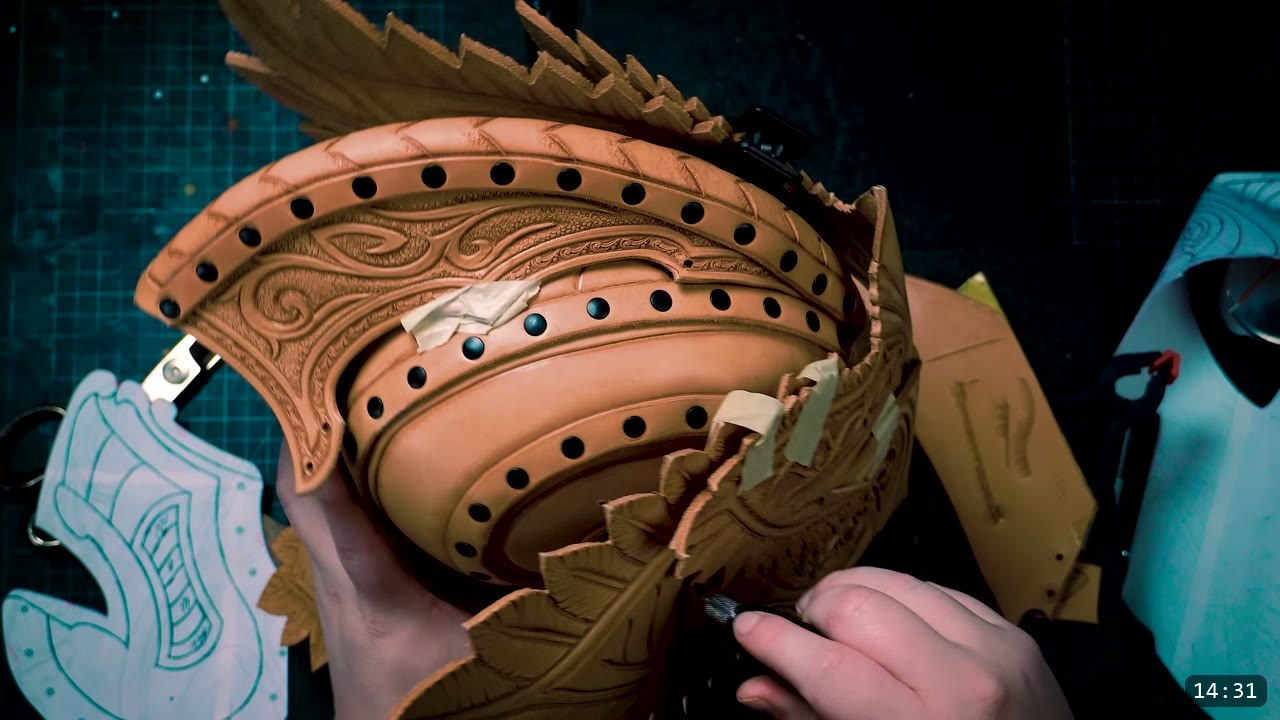
The visor swings open on a pivot, so the fit matters. The faceplate has filigree cutouts that look good and also help with airflow. Tape the pieces together to test the swing. The pattern marks a zone for the Chicago screws, but verify it yourself, because with this much shaping and this many parts your helmet will vary. Prince found the pivot by stabbing a stitching awl through both layers at the pivot point on each side; the decorative side plates hide that area, so you can relocate it if you need to. The correct fit is where the faceplate sits snug against the front of the core and still pivots smoothly over the comb. To keep both sides symmetric, transfer the hole to the paper pattern and mirror it across.
Step 8: Glue and stitch the visor trim and filigree
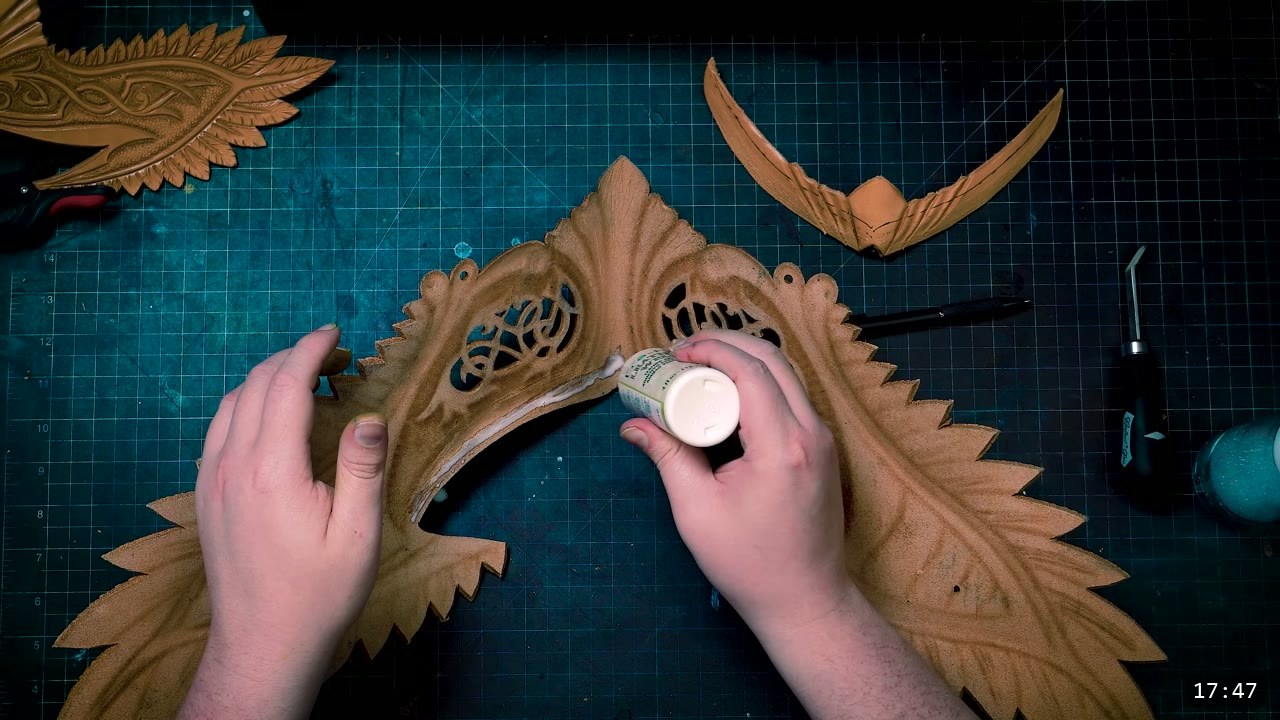
The faceplate has a small trim piece; skive its back to remove bulk. Tape it in, mark a reference line, and rough the contact area so glue grips. This trim is not load-bearing, so PVA, leather glue, or contact cement all work; it just holds steady while you stitch. Spread an even coat, clamp, and let it dry. Then stitch along the beveled line, by machine or by hand. A trick worth stealing: glue the bevel groove before stitching and burnish the bevels after, and the stitch line nearly disappears. For the top visor piece, mist a little water over both parts to see exactly where they overlap, then rough only that inner area so the detailed edges float over the surface instead of being glued flat. Clamp, dry, and stitch inside the beveled lines.
Step 9: Immersion dye everything green
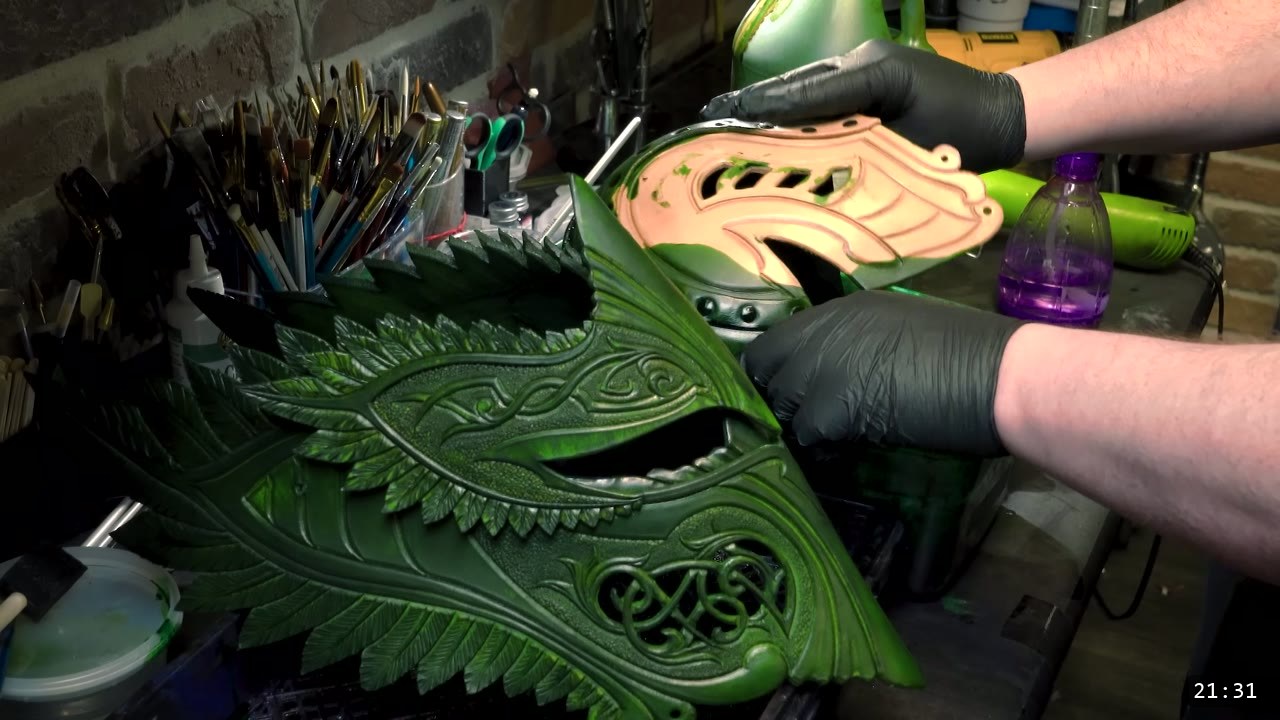
Now the color. The dye in the video is Green Angelus, an alcohol-based dye that gives a vibrant base, applied by immersion. Immersion uses a lot of dye and it is messy, but it is fast and penetrates deeply. Dyeing a green base first pays off even though paint goes on later: when the paint eventually scratches, a similar color underneath keeps the wear from showing. Dye also firms the leather, which you want for armor. Immersion makes pieces sag a little as they dry, so tend to them and reshape them slightly back to true before they dry completely.
Step 10: Seal with Tough Coat to harden and lock the shape
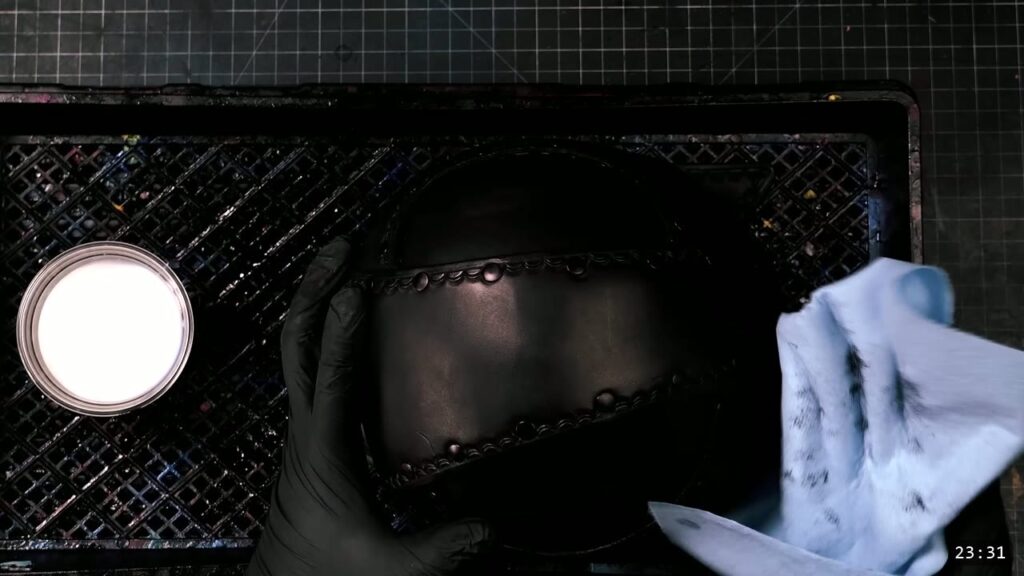
Seal with Weaver’s Tough Coat, again by immersion. Prince uses the acrylic deliberately as a hardener, not just a topcoat. Wet forming firms the leather, the dye firms it more and starts to lock the shape, and a heavy seal that soaks into the internal fibers makes the piece hard while keeping some give, so it resists cracking and does not go soft in the sun. Even the finish out with a blue shop towel, and let the pieces that stick out, like the side panels, soak a bit more so they can support their own weight. This is the point of no return for shape. Tend the pieces as they dry and do any last shape corrections before they set, because once they are dyed and sealed the form is locked and they will not fully re-wet or reshape. Do all your forming before this step.
Step 11: Paint the metallic layers and antique
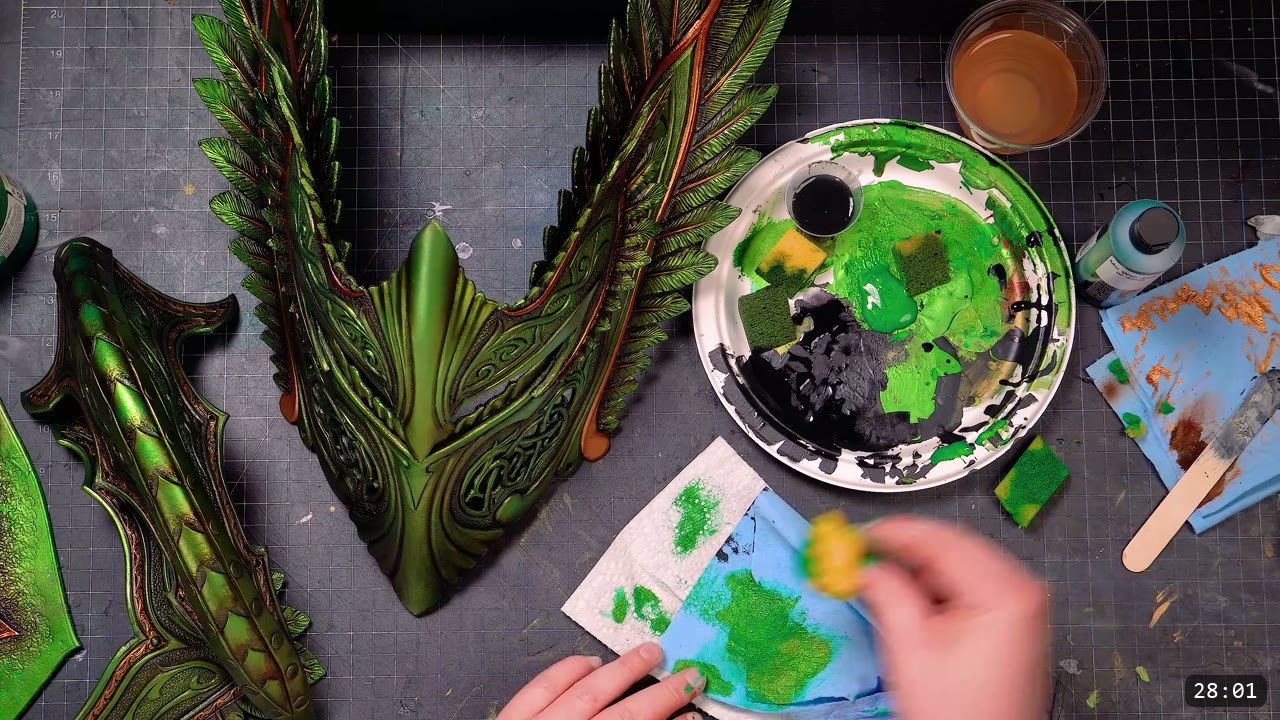
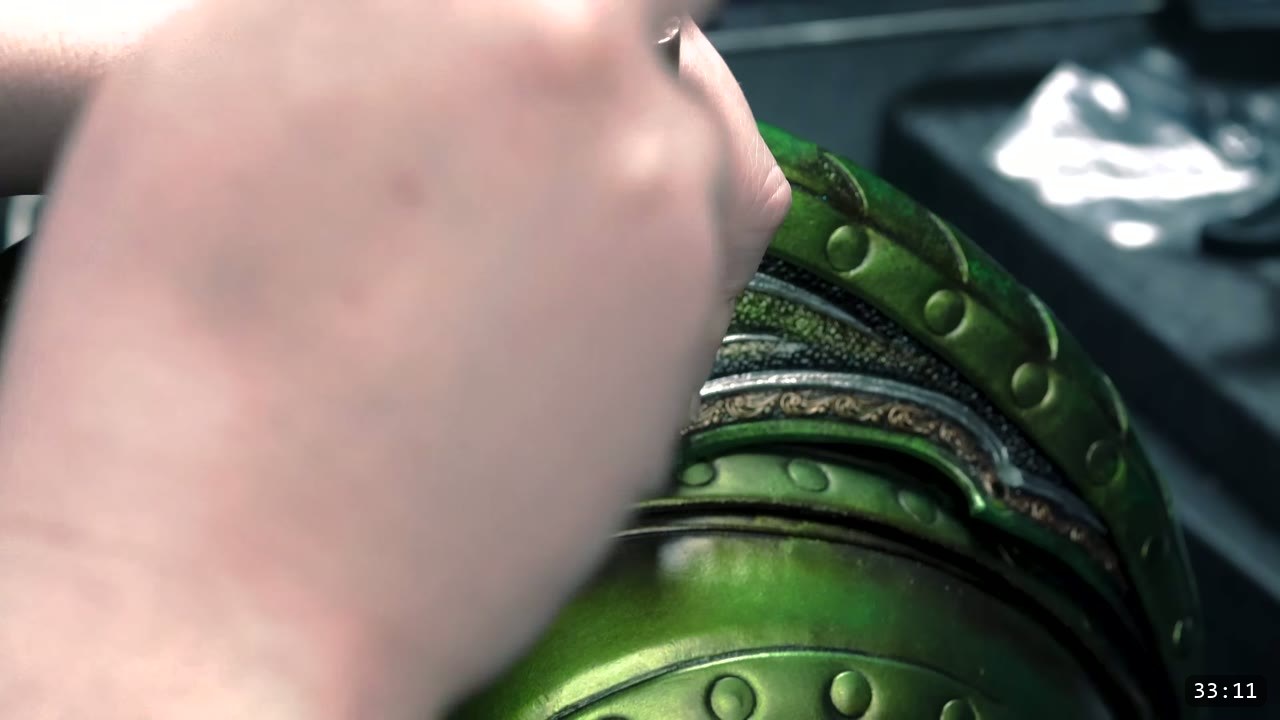
Painting is optional; dye alone is a finished look. If you paint, build it in thin layers so you do not fill the tooling. The video uses Jacquard acrylics from the Blue Mirror metallic line, starting with a light coat of metallic olive green off a sponge. For antiquing, tint Jacquard Neopaque black with a few drops of a brown airbrush paint, dab it into the recessed tooling and along the edges with a torn sponge for texture, then wipe the surfaces with a rag so the dark color stays down in the recesses. A brush strengthens the gradient along the edges. Leave some of that black texture behind on purpose.
Step 12: Detail the trim
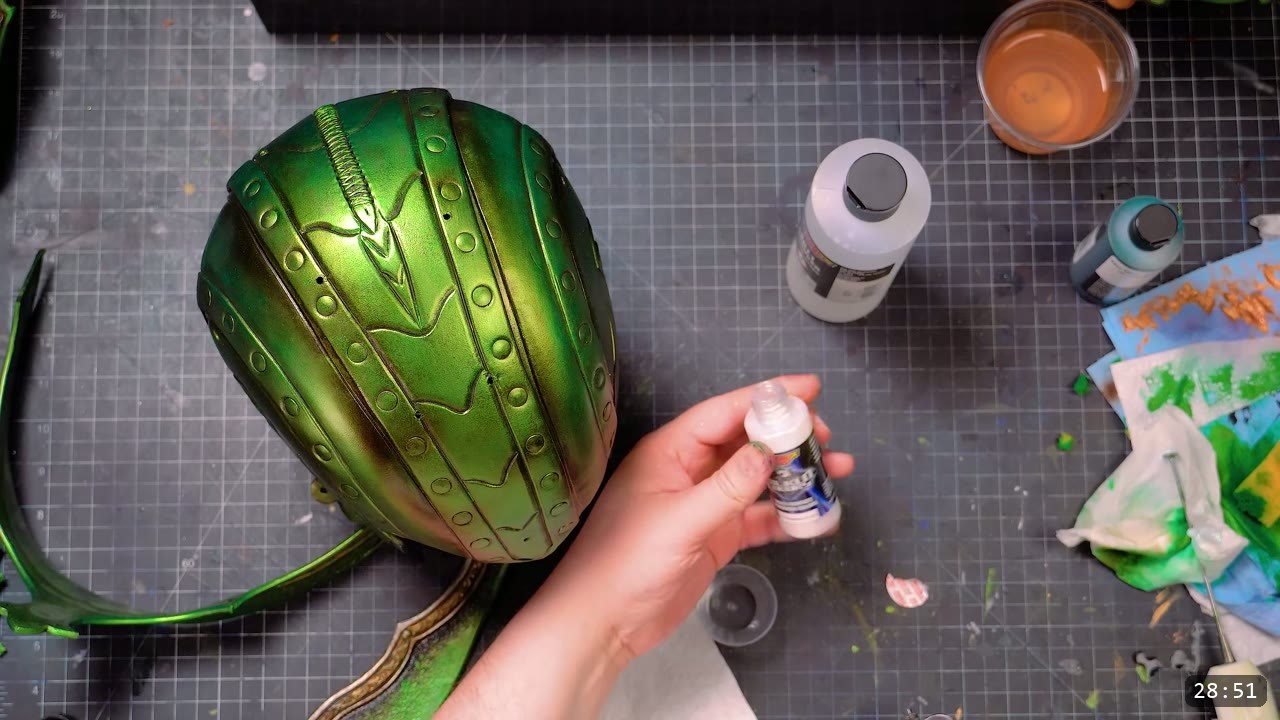
Bring the trim up over the base. The video lays down Lumiere metallic bronze, airbrushes a dirt-track brown for shading and a slight gradient, then darkens either side of the trim with a finer brush for contrast. Brighten the piece with Lumiere metallic emerald green dabbed on with a sponge, concentrating on the brighter parts of the gradient and the central features without covering everything you already did. A light coat of green shimmer adds subtle sparkle, and a light clear gloss goes over the top. Because sealers dull the luster of metallics, come back over the bronze with a light dry brush, and use a Molotow silver for the silver trim.
Step 13: Final assembly
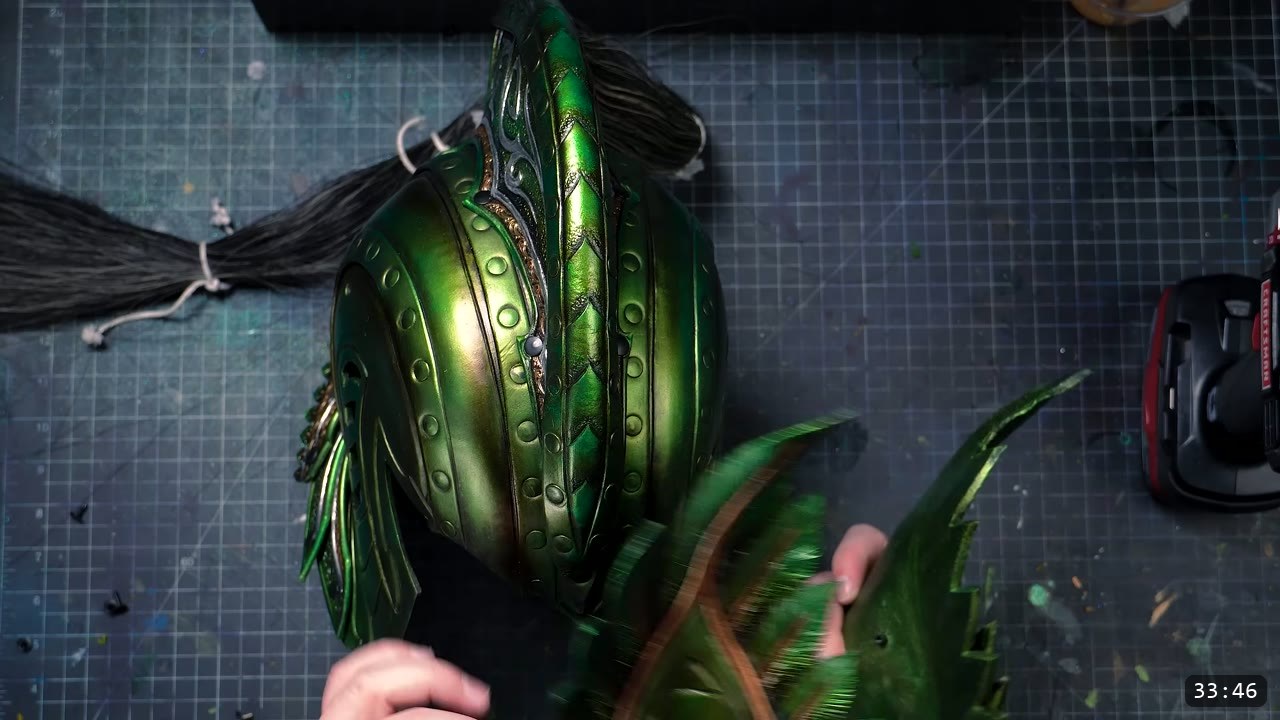
If you got the fit right in preassembly, this goes fast. Start with the tail, still using medium double-cap rivets; the dry pieces are firm, so you may have to leverage them into place when the holes do not line up easily. The retaining strap limits how far the articulated sections move. Use Chicago screws anywhere pieces need to keep moving, and glue the threads when you are done so they do not back out. On the comb, use medium rivets through two layers of leather and long rivets through three. Mount the visor last: one Chicago screw on each side is all it takes, which lets the whole visor hinge up. To hold the faceplate down when you do not want it to move, add a loop on top and a snap on each side at the bottom. The horsehair plume seen at the back is not attached in this video. Prince covers it in the premium content included with the pattern bundle.
FAQ
Is this a beginner project?
No. It is an advanced pattern build, and it is part two of the Elven Lord helmet, so it assumes you have already built the core. Prince recommends working through the Warrior, Fantasy, and Imperial series first, because the Elven series assumes you know the basics.
What leather should I use?
Natural vegetable-tan. The video uses 9 to 10 ounce Herman Oak, chosen because it tools and molds well. Veg-tan is what lets the leather take carving and hold a formed shape.
Do I tool the leather before or after cutting the pieces out?
Before. On a piece with this many complex shapes, carve and tool the whole thing first, then cut it out. Your cut follows the groove you already carved, so it is cleaner and easier.
How do I get the green metallic color?
Dye a green base by immersion with an alcohol-based dye like Green Angelus, then optionally build metallic layers with acrylic paints and antique the recesses. Seal with Weaver’s Tough Coat. Do all your shaping first, because the dye and seal lock the form and will not reshape after.
Can I stop after dyeing?
Yes. Dye alone is a finished look. The paint layers add depth and are extra effort, so it is your call.
How is the visor attached so it opens?
On a Chicago-screw pivot, one screw on each side, so the whole visor hinges up. A loop on top of the faceplate and a snap on each side hold it down when you want it fixed.
Where to go next
- Get the pattern: Elven Lord Helmet pattern.
- Start with the core first: Elven Lord Helmet Core pattern, the step before this build.
- Go deeper on the tooling: Advanced Leather Tooling, Elven Helmet.
- Want the whole set? The Elven Lord Bundle collects the full armor patterns and lessons.
- New to leather armor? Start with 5 tips for getting started with leather armor.
- Struggling with shaping? The Hand-shaping Leather for Armor Making walkthrough goes deep on wet forming.




Responses