



Leather Warrior Helmet Build Guide: Flat Pattern to Finished Piece

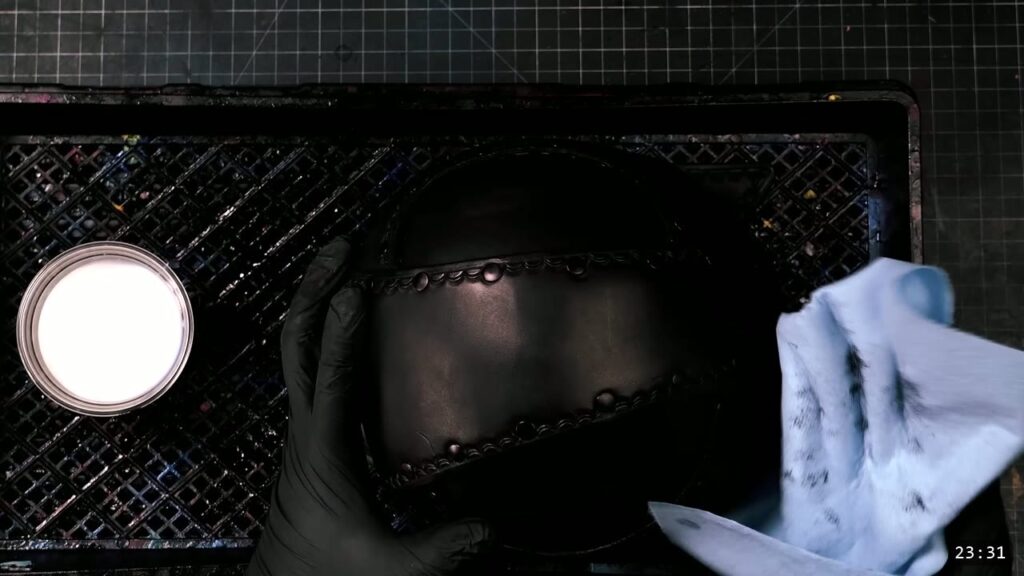
You build a leather warrior helmet from a flat printed pattern and a side of vegetable-tan leather, not from a kit. You trace the pieces, cut them out, punch the rivet holes, wet form the top pieces into shallow domes, then rivet the panels together and dye and seal the finished helmet. The only tools you truly need are a hammer, a hole punch, and a cutting tool. This is a beginner-friendly build and the first piece in the Warrior series. This guide walks the whole thing alongside the video, so you can watch each step and read the details the video moves past quickly.
What you are building, and what it takes
This is the pattern version of the Warrior Helmet. You cut and shape every piece yourself, which is the reason the design also comes as a pre-cut kit for people who would rather skip the layout work. If you want the shortest path with the least gear, build the kit and follow the Warrior Helmet kit guide instead. If you want to learn the fundamentals of leather armor, trace and cut, hole punch, edge work, wet forming, and riveting, the pattern build is the better teacher.
What you need
The pattern. The Warrior Armor Helmet Pattern prints across pages you assemble into a full template. For printing, sizing, and scaling, check the primer video that accompanies the series.
Leather. Nine to ten ounce vegetable-tan. Prince uses 9 to 10 oz veg-tan from Weaver Leather. This firm, dense weight holds a molded shape and suits armor. Veg-tan matters here because the wet forming step relies on the leather taking and keeping a dome.
Tools.
- Cutting: heavy-duty shears handle the curves well, and a utility knife or box cutter works too. Use whatever you already have.
- Marking: a fine-point marker to trace the outlines.
- Holes: a rotary punch is fast and clean, but a cheap hole punch with interchangeable heads costs a few dollars and does the job.
- Edges: an edge groover, which Prince calls a channeler, plus a burnisher or slicking tool and water.
- Optional tooling: a leather stamp or two. A crescent stamp along the border is a good first tooling exercise.
- Shaping: a dome stake, or any spherical object like a baseball, and a smooth-face hammer.
- Hardware: a bag of medium double-cap rivets, plus a few long rivets for the spots that go through three layers.
- Color and seal: black Fiebing’s oil dye, Weaver’s Tough Coat Clear finish, and a sponge or blue shop towel. Optional: a Scotch-Brite pad for a matte look.
You do not need a rivet setter or a bench anvil. Hammering the rivets flat from the inside works with just a hammer and a hard surface.
Step 1: Print the pattern and trace it onto the leather
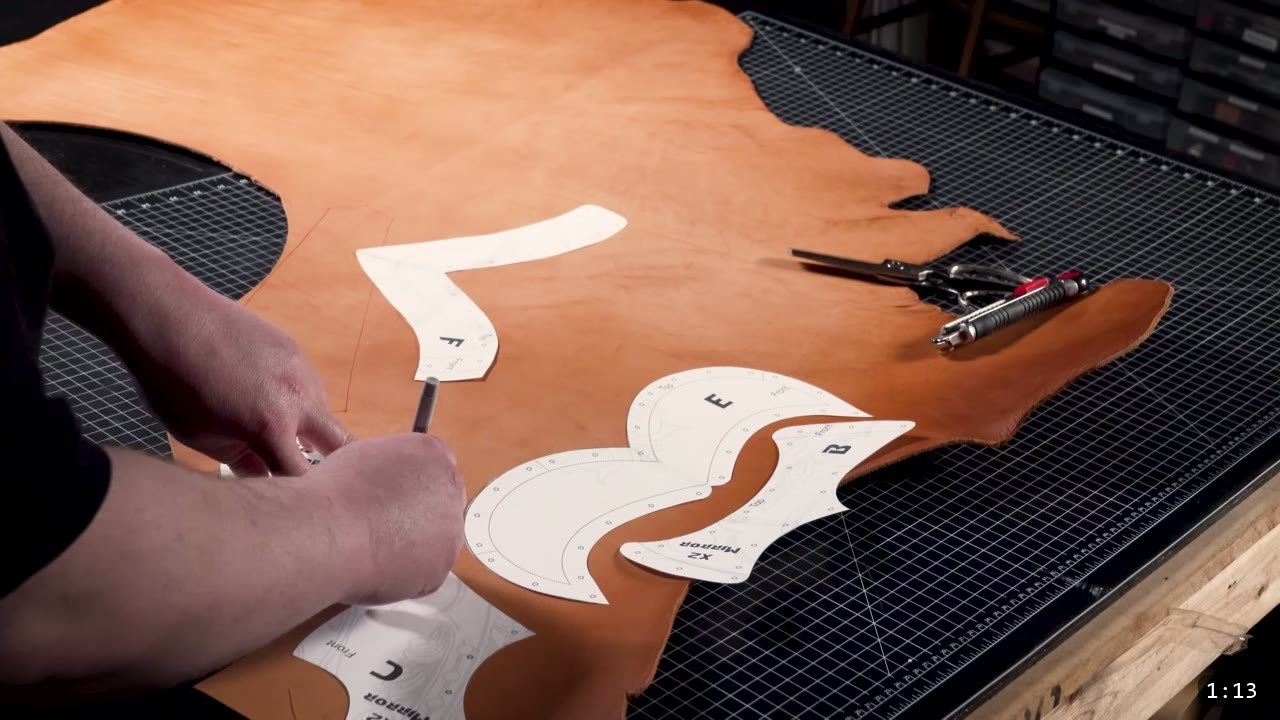
Print and assemble the pattern, then lay the pieces out on the leather and trace each outline with a fine-point marker. Some pieces flip or mirror, so watch for that. The pattern carries reference marks for assembly. You can copy those marks onto the leather as you trace, or keep the paper handy for reference later. Notes on the back of the leather are fine too.
Step 2: Dip the pieces in water
Before you cut everything free, use a knife to separate the sheet into manageable chunks. Then give each piece a quick dip in water. Damp leather cuts easier, and it preps the piece for the tooling and shaping steps that need some moisture. Re-wet any time you need to, right up until you dye and seal. Once a finish is on, the leather resists water and will not fully re-wet or reshape, so keep all your shaping ahead of the finish.

Step 3: Cut out the pieces
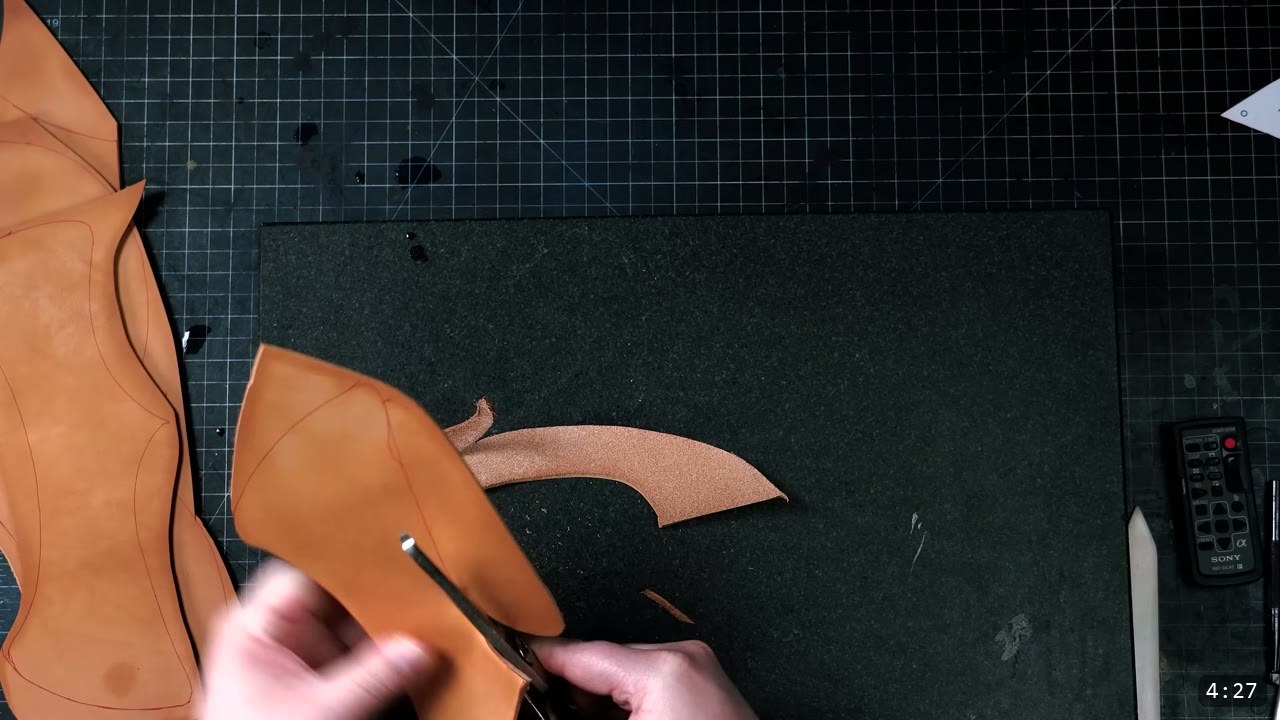
Cut the pieces to your traced lines. Prince prefers heavy-duty shears because armor pieces have a lot of curves that shears handle cleanly, but a utility knife or box cutter is fine. Take your time. Clean cuts here save you fussing at every later step.
Step 4: Mark and punch the holes
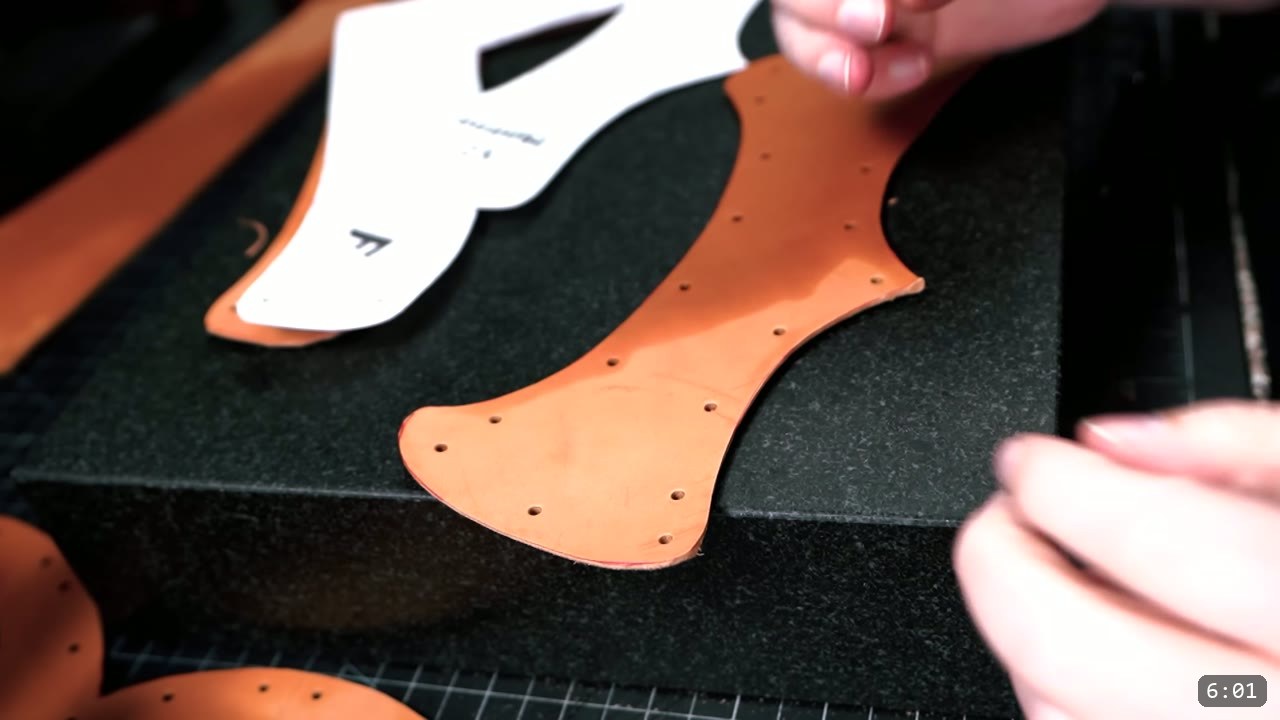
Transfer the hole markings from the pattern to the leather. Because the leather is damp, you can jab the pattern and it leaves an impression to punch to. Then punch every hole. A rotary punch is comfortable and quick, but if you are starting out, a small interchangeable-head punch for a few dollars will get you through.
Step 5: Groove and tool the edges
This is where you decide how finished you want the piece to look, and most of it is optional. For a clean, simple result, run an edge groover around the borders to add a crisp line, then give every visible edge a pass with a burnisher. With good leather and the right moisture, water and a slicking tool get you a solid edge, and more time gets you a better one. If you want to try tooling, a crescent stamp repeated along the border is an easy, good-looking first step and good practice for reading the leather’s moisture and your hammer force.

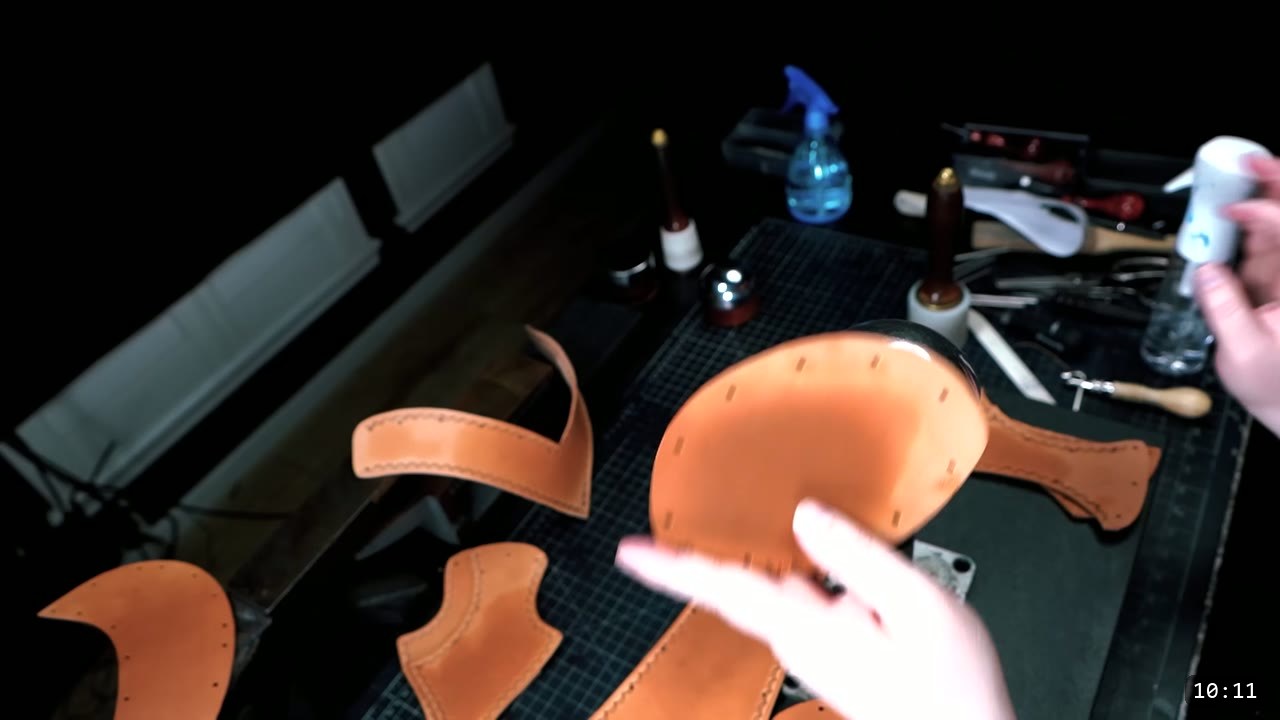
Step 6: Wet form the top pieces into domes
This step is optional but it makes the assembly easier and the helmet look better. Wet the top pieces and stretch a dome into each one. Prince uses a metal dome stake, but any spherical object like a baseball works. The trick is the moisture window. Too wet and the leather stretches but will not hold the shape; too dry and it will not stretch at all. You do not have to nail the shape now. You can come back and fine-tune it after assembly. Wet forming is the core skill of leather armor. To go deeper, watch Hand-shaping Leather for Armor Making.
Step 7: Learn the rivet, then you know the assembly
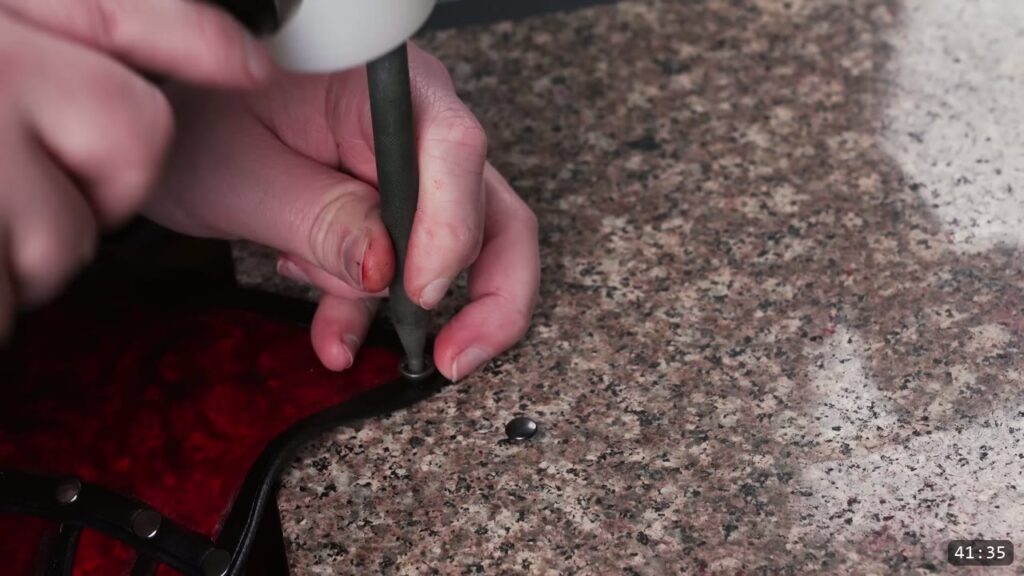
The whole build is double-cap rivets. Snap the cap and post together by hand to hold parts in place, then strike firmly to set. Use medium rivets for most of it and keep a few long rivets for the three-layer spots. If you have a metal-forming stake you can set against it, but the easy method with no special tool is to hammer the rivet flat from the inside. Follow the assembly order below and you can reach every rivet.
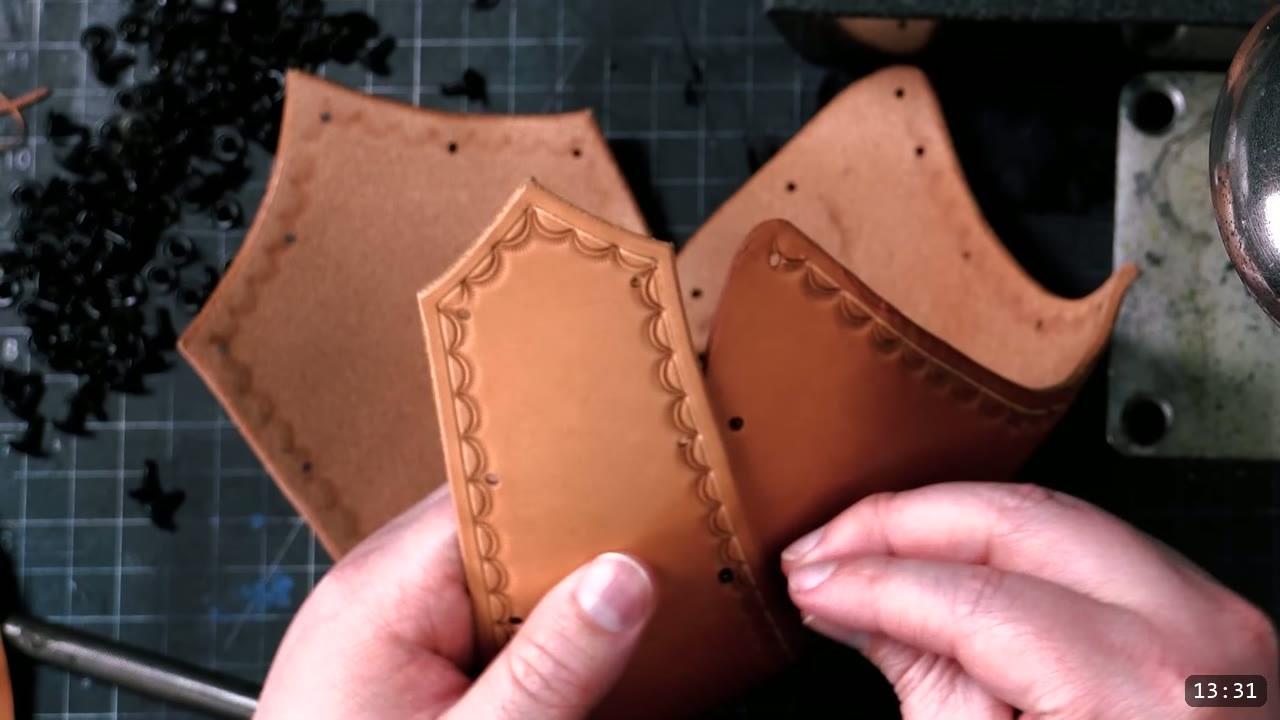
Step 8: Rivet the crown
Take the center top piece labeled A and rivet it to the side pieces labeled B. Part B carries labels for top and front orientation, so check those before you commit. Set all three rivets on the front side. At the back, set only the top two rivets for now and save the bottom hole, because it later goes through the back panel and the top of the dome.
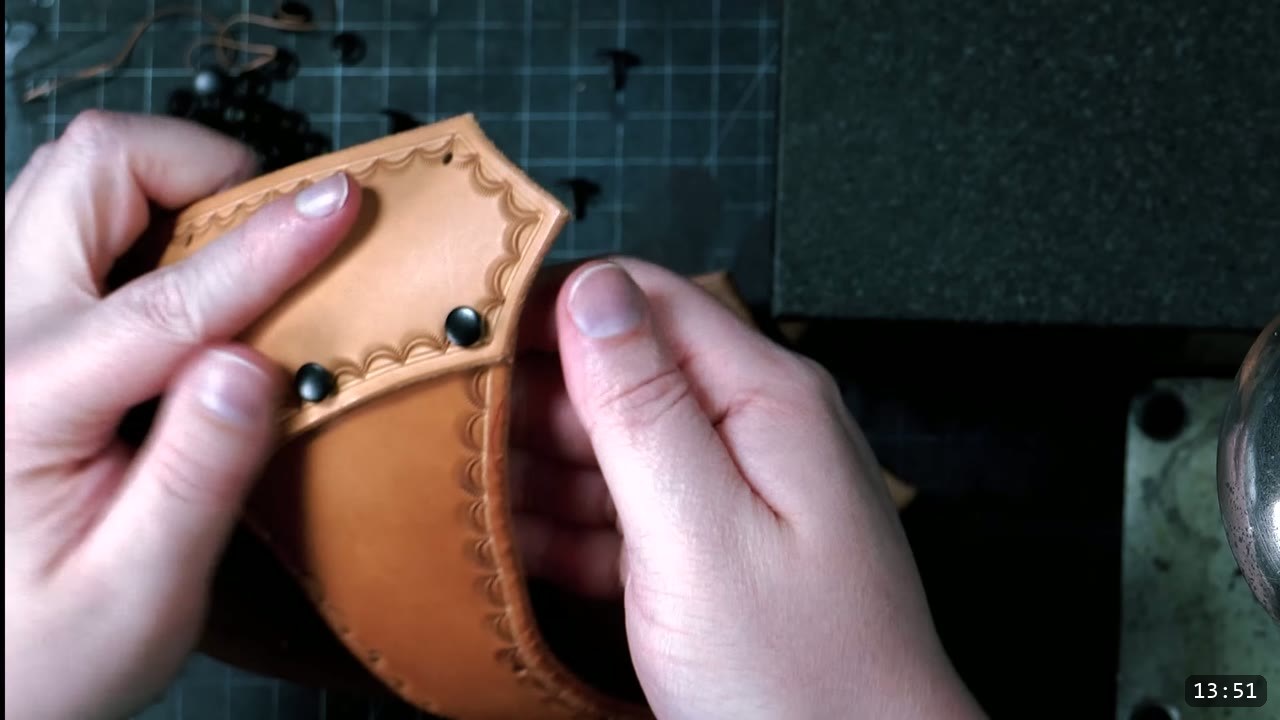
Step 9: Add the inner panels and the back
Add the inner panels labeled D and set their rivets. Then add the back panel labeled E to the dome, starting in the middle and working out toward the front. Leave the last hole open. If holes are stubborn and will not line up, wet the area a little and use something like an awl to stretch them into place.
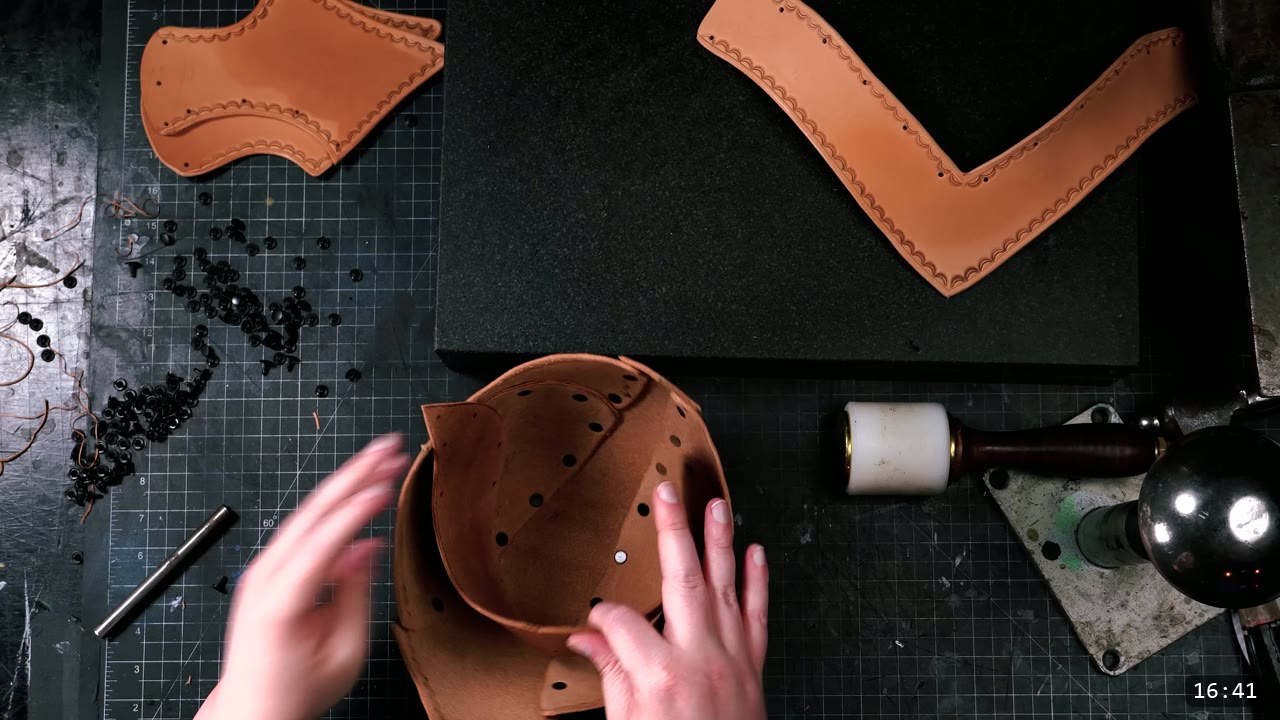
Step 10: Attach the cheek pieces and the tail
Add the cheek pieces labeled C. Then add the tail at the base of the helmet, labeled F. Flaring the shape of the bottom and middle pieces a little blends the transition and gives the tail its look. Start riveting again at the middle and end by connecting the tail to the cheek. The three-layer spots here are where the long rivets earn their place.
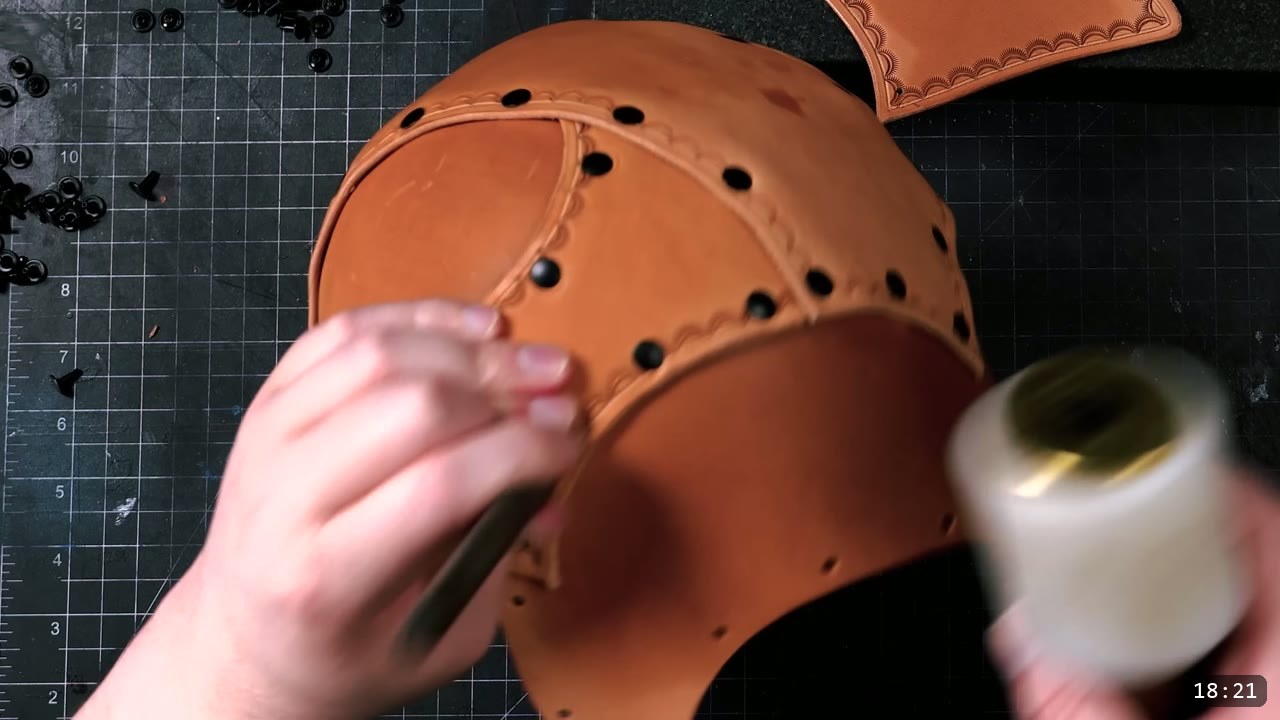
Step 11: Fit and connect the flared tail
Work the flared tail and cheek pieces together so the seams sit right. Because these strips connect curved panels, they can warp along the seam line if you rush them.
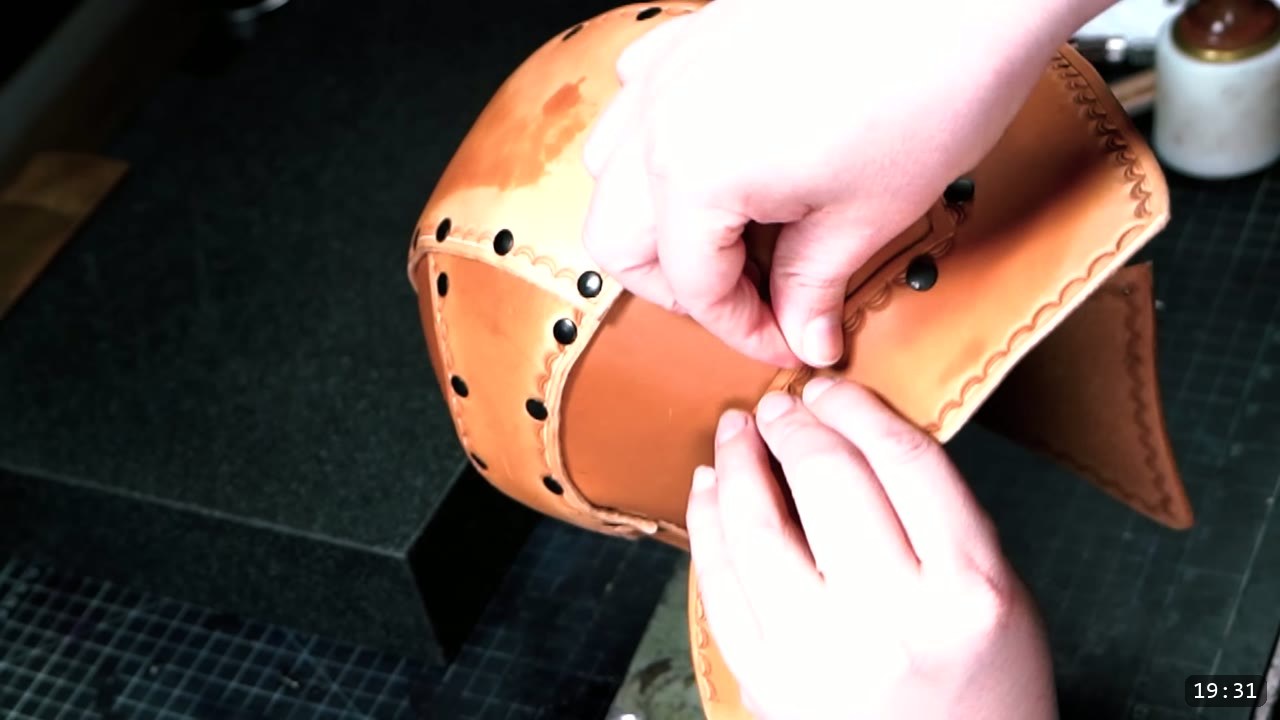
Step 12: Blend the seams
Once it is all together, blend the shapes so the transitions look smooth and uniform. Connecting strips like these can give the seam a warped, wavy look that Prince calls bacon edges. A smooth-face hammer tapped along those edges compresses and blends the lines. If you shaped as you went, this is quick.
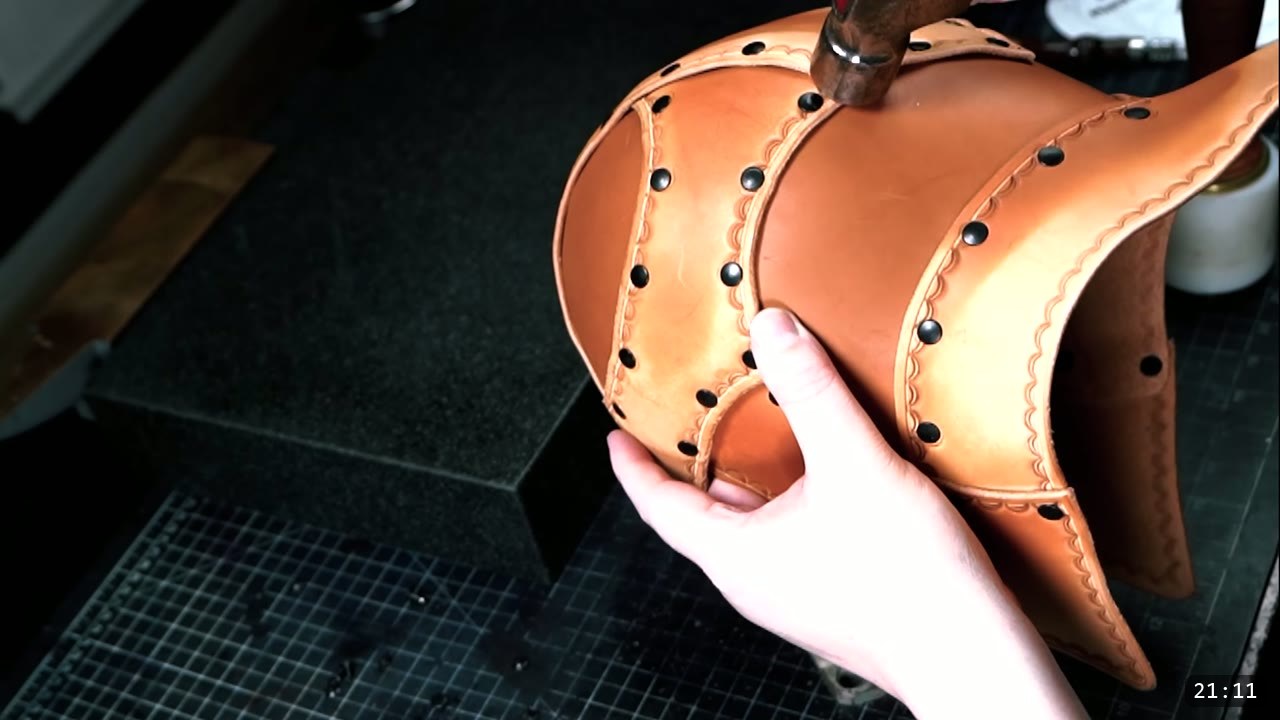
Step 13: Dye it
This build goes simple, all black with Fiebing’s oil dye. There is not much to it. Saturate the leather with a sponge or other applicator. Test your color first, on scrap, or on the underside if this is your first piece and you have no scrap.
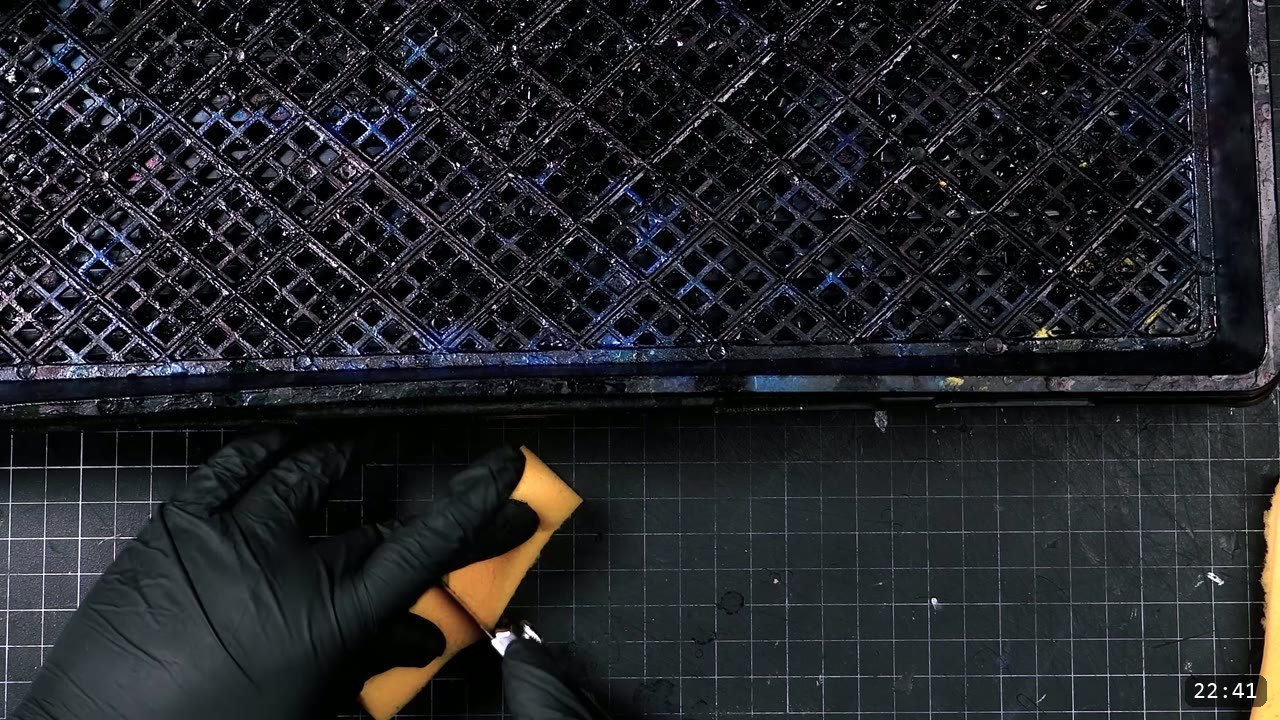
Step 14: Seal it, and choose your sheen
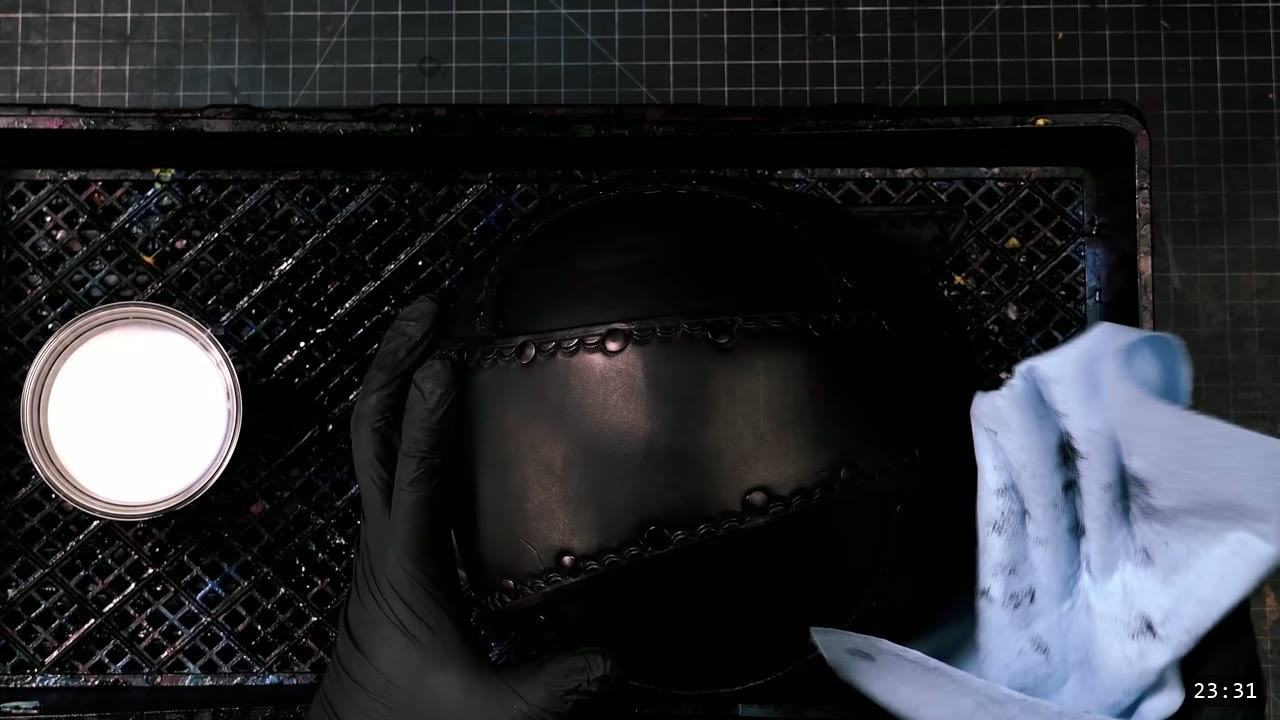
Seal the helmet with Weaver’s Tough Coat Clear. It protects, shines, and firms the leather, and a generous coat on the inside firms it up the most. Apply with a high-density sponge or a blue shop towel, which does not shed fibers. This is the last leatherworking step, because once the piece is dyed and sealed it will not fully re-wet or reshape. If you want a matte look instead of gloss, buff the sealed surface gently with a Scotch-Brite pad.
FAQ
Do I need leatherworking experience to build the warrior helmet from the pattern?
No. This is a beginner build and the first piece in the Warrior series. It introduces the basics: trace and cut, punch holes, edge work, wet forming, and riveting. If you would rather skip the cutting and punching entirely, the same helmet comes as a pre-cut kit.
What leather should I use?
Nine to ten ounce vegetable-tan. This firm, dense weight holds a molded shape, which the wet forming step needs. Veg-tan is the right choice for armor here.
What tools do I actually need?
A hammer, a hole punch, and a cutting tool. An edge groover, a burnisher, and a stamp make it look better, and a dome stake or a baseball helps with shaping, but none of those are required to finish the helmet.
How do I rivet through three layers?
Use the long rivets for those spots. Medium double-cap rivets handle the rest. You do not need a rivet setter; hammering the rivet flat from the inside against a hard surface works fine.
Should I dye before or after assembly?
Either works. Prince assembles first, then dyes and seals, but you can dye and finish the flat pieces first if you prefer. Just do all your shaping and tooling before the finish goes on, because dye and seal lock the leather and it will not reshape after that.
Kit or pattern, which should I build?
The kit is pre-cut and pre-punched, so it is the fastest path and needs the least gear. The pattern teaches you to cut, punch, tool, and shape from a flat sheet, which are the skills every later armor piece uses. Weaver produces a kit for this design, so watch for it if you want the shortcut.
Where to go next
- Get the pattern: Warrior Armor Helmet Pattern.
- Rather skip the cutting? Build the pre-cut version with the Warrior Helmet kit guide (video Beginner Friendly Leathercrafting KIT, Warrior Helmet).
- Ready for the full set? The Warrior Armor Bundle is the beginner path through breastplate, bracers, greaves, pauldrons, and the rest.
- New to leather entirely? Start with 5 tips for getting started with leather armor.
- Want to go deeper on shaping? Watch Hand-shaping Leather for Armor Making.
- Built one? Share it and tag Prince Armory Academy and Weaver Leather; we feature student work.





Responses