



Leather Breastplate Build Guide: The Imperial Knight, Cut by Hand

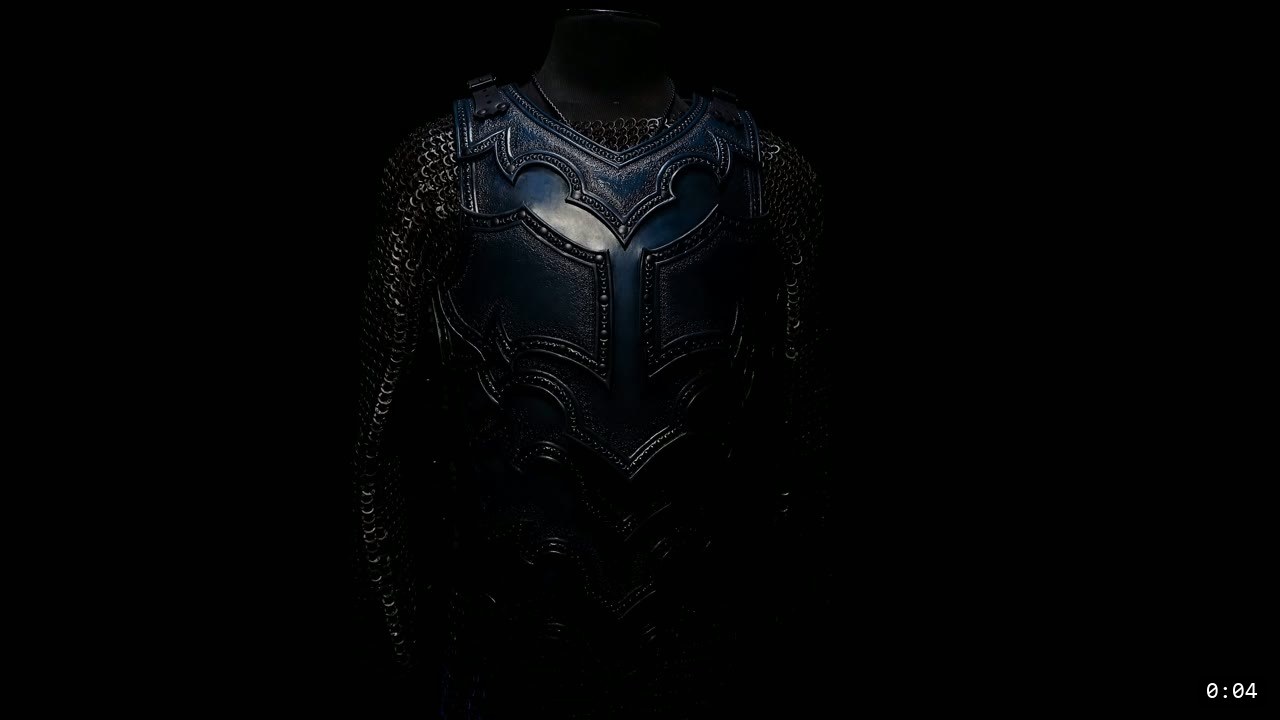
You build a leather breastplate from a printed pattern, not a kit. You scale and print the pattern, trace it onto vegetable-tan leather, cut the panels, case them in water, tidy the edges, then color, rivet the plates together, and link them with a retaining strap and adjustable buckle straps. This is the Imperial Knight breastplate, the second suit in the series, and it is a middle skill-level build. It uses hand tools you likely already own, plus rivets and buckles. This guide walks the whole thing alongside the video, so you can watch each step and read the details the video moves past quickly.
What you are building, and what it takes
This is a pattern build, so you cut and shape everything yourself. The reward is a full torso piece with clean geometric lines: a front chest plate, side panels, a back, a retaining strap, and buckle straps that make it adjustable. The tradeoff is that it asks for real leatherwork. If you are brand new, start with a kit or a simpler piece, then come back to this one.

What you need
The pattern. The Imperial Knight Breastplate Pattern prints as one large layout. It scales to almost any size, so print it, make a paper mockup, and check the fit before you cut leather.
Leather. A natural strap side of 9 to 10 ounce vegetable-tan from Weaver is what the video uses, and most of that side ran closer to 11 ounces. For the retaining strap, use something thin but firm that will not stretch out over time. The video uses 2 to 4 ounce kangaroo leather cut about 1 inch wide. For the buckle straps, an 8 ounce pre-cut section from Weaver works well.
Tools.
- Printing: any everyday printer, plus the Print Tile Large Pages option. If your PDF app does not have it, try Adobe Acrobat or Foxit Reader.
- Marking: a fine point sharpie, a hole punch to mark hole locations, and a straight edge.
- Cutting: a utility knife for long straight runs and heavy-duty shears for the curves. The video uses Weaver shears.
- Edging: a wing divider and a swivel knife, or an edge groover, plus an edge beveler and a wooden handheld slicker.
- Water: a tub for dunking and casing the pieces.
- Color and seal: Fiebing’s Blue Dye and Black Oil Dye, and a leather finish to seal.
- Assembly: medium double-cap rivets in black, a rivet setter, a mallet, and something to raise or back up your rivet setting surface.
- Buckles: Z150 roller buckles in black. A laser cutter such as a Glowforge is optional for the straps.
Step 1: Print and prep the pattern
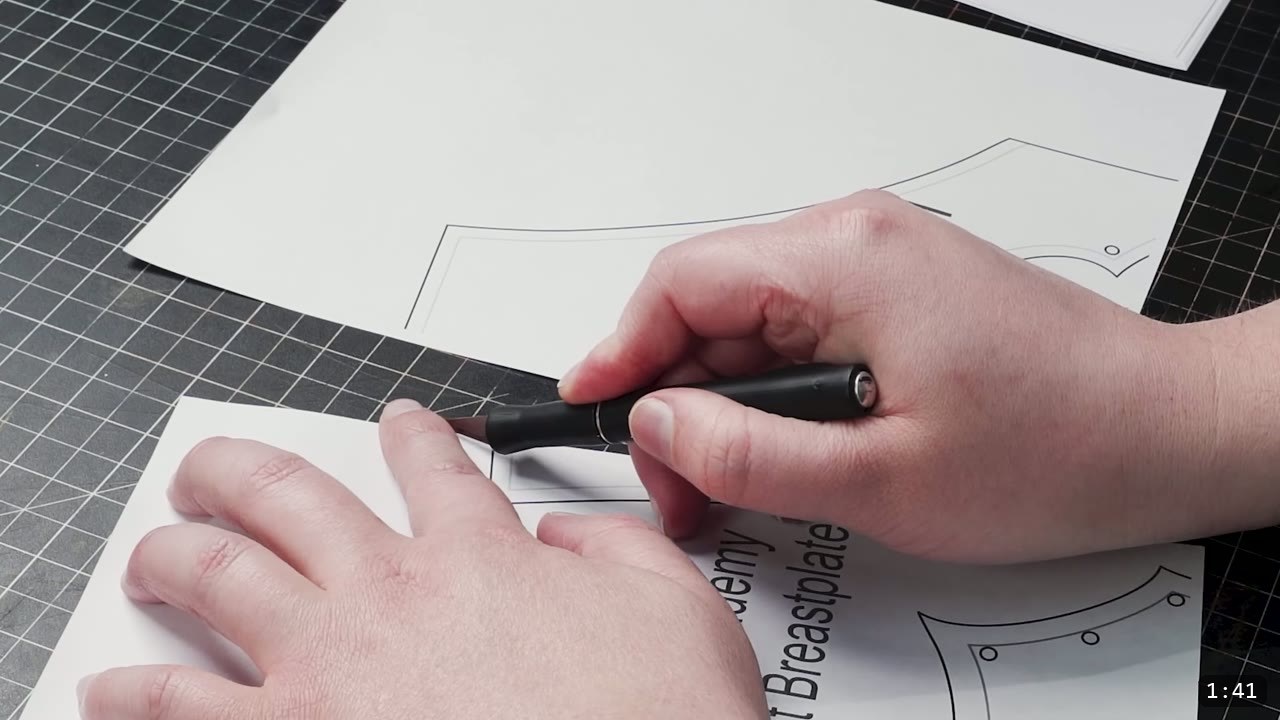
Print the pattern using the Print Tile Large Pages option so it spreads across common paper. This lets you scale the whole thing up or down to fit. Most printers leave a margin, so trim the margins where the lines will meet and tape the pages into one template. Print the pattern first and build a paper mockup to check the fit before you commit leather. Scale for a close fit, then fine-tune by adding or removing from the side panels. You can also drop the bottom plate to shorten the breastplate.
Step 2: Trace onto the leather and mark the holes
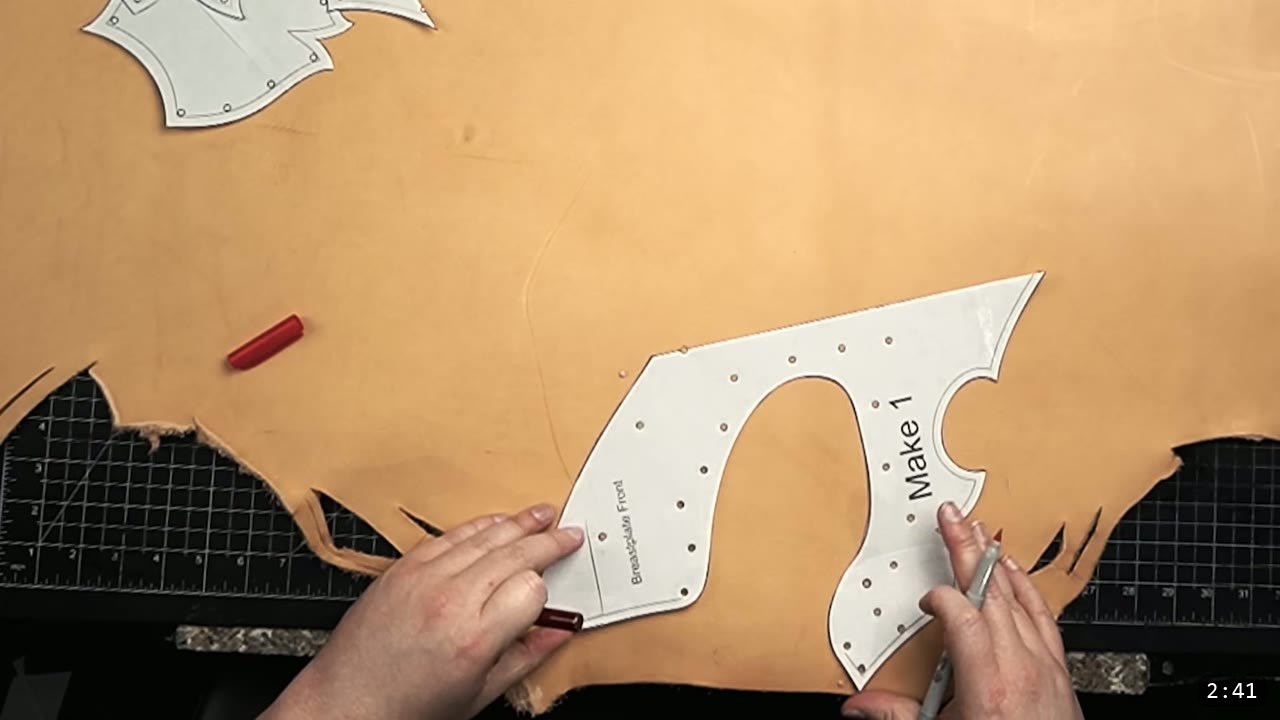
Trace the pattern onto the leather with a fine point sharpie. The center pieces are drawn as half patterns, so mirror them while you trace to complete the shape. If the printer paper is too flimsy to trace against, transfer the pattern to something stiffer like poster board first, which is worth doing for the mockup anyway. Mark the hole locations with a hole punch. A punched mark is precise and will not get lost later under tooling or dye. Lay your pieces out with the hide in mind: put the center parts along the firmer back and spine of the side, and keep the side pieces further in on the softer areas.

Step 3: Cut the pieces
Use the utility knife to loosely separate all the pieces first so they are easier to handle. Knock out the long lines and simple straight cuts with the knife, then move to the shears for the more complex curves. Good shears make easy work of thick, dense leather.

Step 4: Case the leather
To make cutting and later tooling easier, quickly dunk the pieces in water. This cases the leather and primes it for tooling. Damp leather is what lets you tidy the edges and put shape into the pieces, so work while it is still moist.

Step 5: Finish the edges
Clean edges lift the quality of the whole project. For the side panels the video keeps it simple with a single border line: score a guideline with a wing divider and carve it with a swivel knife, or use an edge groover for a similar look. Then bevel the top and bottom edges and burnish them with a wooden slicker. A little water is usually enough to get a smooth edge. Fibrous or flimsy leather may need edge dressing and extra work.

Step 6: Tooling and color
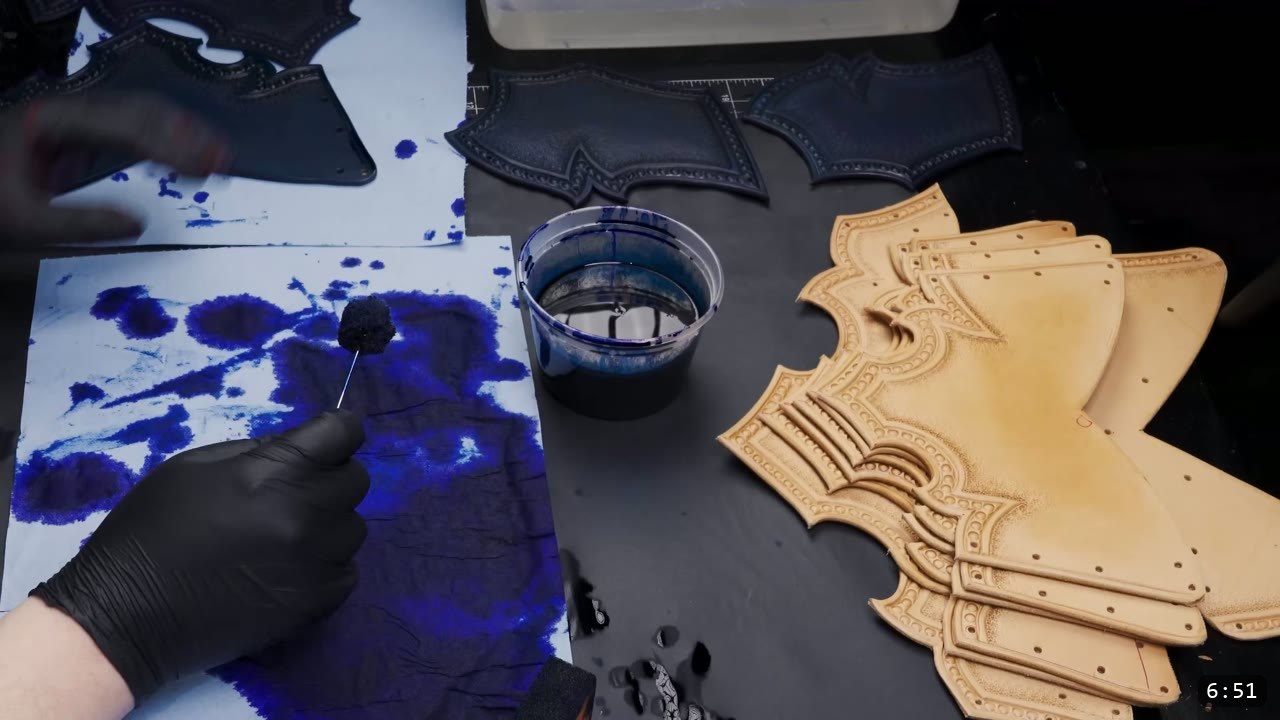
The tooling and coloration are yours to choose. This theme uses blue and black: Fiebing’s Blue Dye and Black Oil Dye. Test your color on scrap first, or on the underside if this is your first piece and you have no scrap. Do your tooling and dyeing before you assemble, while the panels are still flat and easy to reach. The border tooling style and the exact coloration method each get their own dedicated video, so this guide keeps them short. When the color is set, seal the piece with a leather finish. Dye and seal are the last leatherworking steps. Once the finish cures, the leather resists water and will not fully re-wet or reshape, so get all your shaping done before you seal.
Step 7: Put a gentle shape into the pieces
This build does not strictly require wet molding, but a little shape helps the look. While the leather is damp, moisten the areas you want to move and bend or stretch them over any domed object. A baseball or softball works. Give a gentle curve to the chest and back plate pieces, and a subtle arc along the spine of the back pieces. Keep it light. The chest plate also picks up a slight curve on its own as you rivet it together, so you do not need to force a deep shape here. If you want to go deeper on this one skill, watch Hand-shaping Leather for Armor Making.
Step 8: Rivet the front chest plate
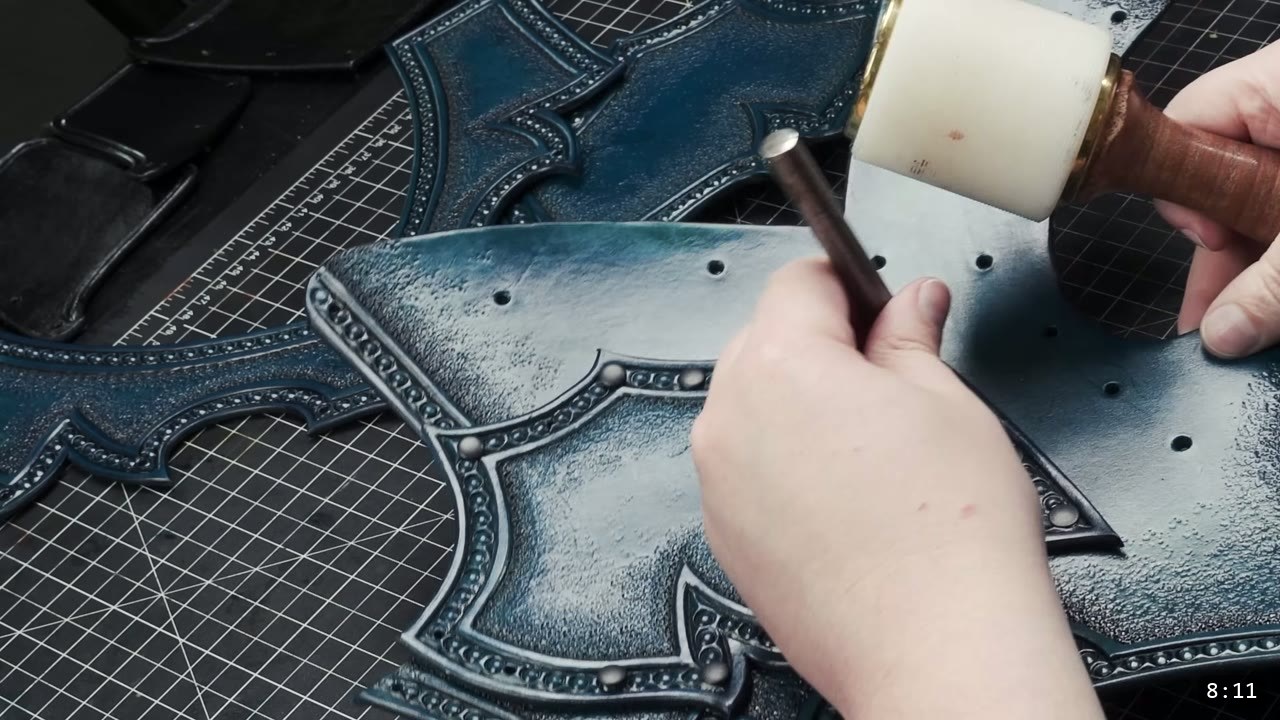
Start assembly with the front chest plate. Set your rivets along the center first, then along the top. Hold off on the last few rivet spots along the bottom, because the retaining strap gets riveted in there later and sits under the top panel. As you rivet, the chest piece takes on a slight curve. To set rivets cleanly on a curved piece, either raise your setting surface so the rivet sits proud, or turn the piece over and hammer it flat from the back.
Step 9: Add the top pieces and side panels
Attach the top pieces of the front chest piece, then bring in the side panels. Match them by width: the smaller side panels go to the bigger center panels, and the wider side panels go with the narrower center panels.

Step 10: Fit the retaining strap
The retaining strap ties the plates together. Use something thin but firm with a little flex that will not stretch out, like the 2 to 4 ounce kangaroo cut about 1 inch wide. Attach it to the bottom panel first, then to the top panels, and then close up the center chest plate. This strap is also your main fit adjustment. To shorten the breastplate, scale it down, remove a bottom panel, or shorten the distance between the plates on the strap. To change the width, scale the whole pattern or add and remove width across the side panels. The best fit is usually a combination, so make a paper mockup before you commit.

Step 11: Make the buckle straps
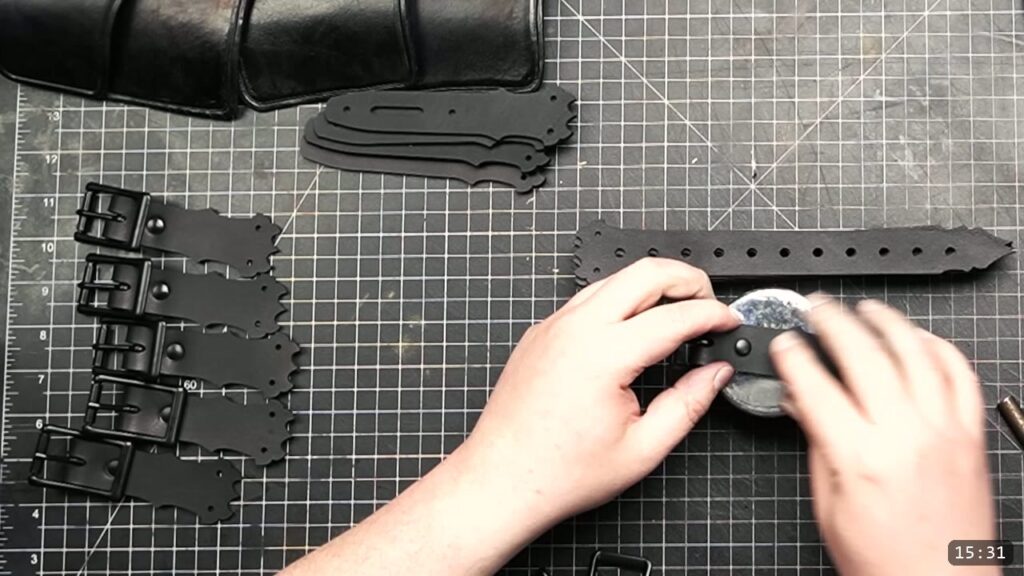
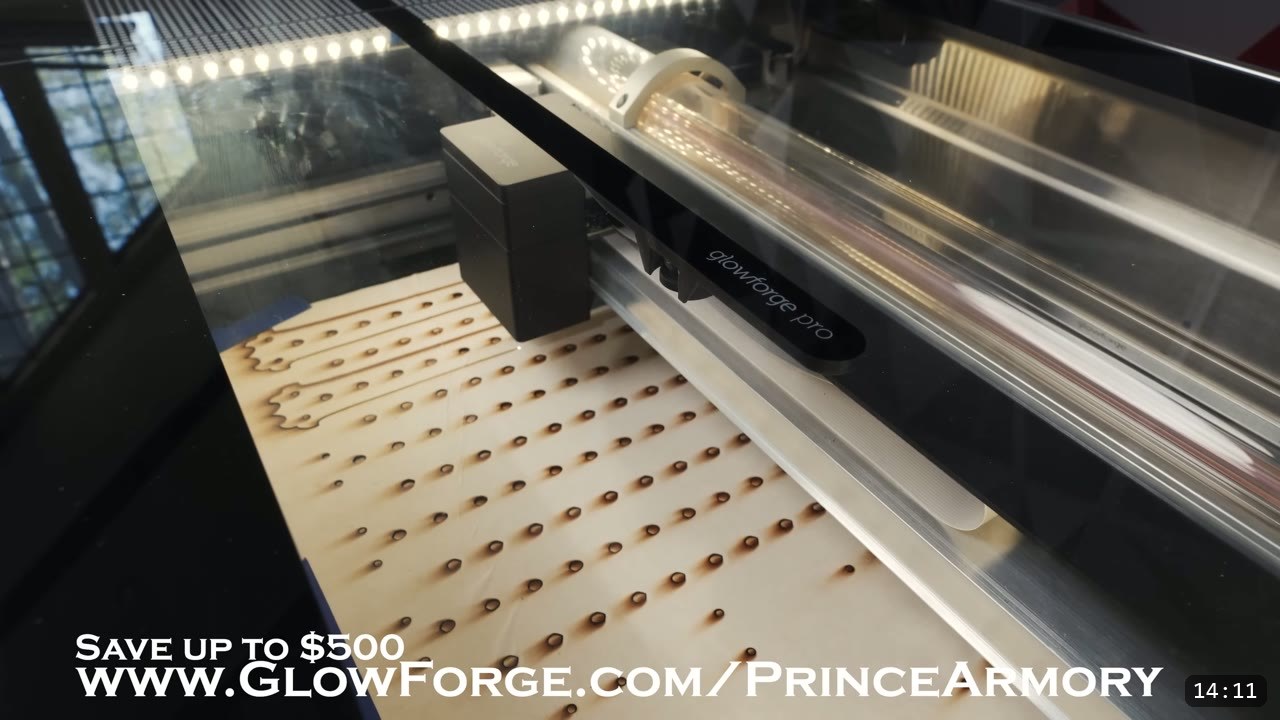
Buckle straps make the breastplate adjustable and easy to put on. There is a free buckle guide and pattern pack on the site, and you can cut these by hand. The video cuts them on a Glowforge, which turns a plain strap into a decorative shape and saves time on repetitive parts. The strap leather here is an 8 ounce pre-cut section from Weaver, with masking tape on the surface to keep the laser from charring it. One habit worth borrowing from the video: check that every part sits fully inside the cutting area before you run the job, or a stray sliver outside the boundary will not cut.
Step 12: Set the buckles and mount the straps
Set the buckles onto the straps with hardware to match. The video uses Z150 roller buckles in black and medium double-cap rivets in black. Mount the finished buckle straps to the breastplate to bring everything together and set your final fit.

FAQ
Is this a beginner project?
It is a middle skill-level build. It uses tracing, cutting, edging, riveting, and a little shaping, but no stitching or advanced molding. If you are new to leather armor, start with a kit or a simpler piece, then build this one.
What leather should I use?
A natural strap side of 9 to 10 ounce vegetable-tan for the main panels. Use 2 to 4 ounce kangaroo, cut about 1 inch wide, for the retaining strap, and an 8 ounce piece for the buckle straps. Vegetable-tan is what lets the leather take shape and hold a border.
Do I need a laser cutter?
No. The Glowforge is a time saver for the buckle straps and lets you cut fancier shapes, but you can cut every part by hand. There is a free buckle guide and pattern pack on the site.
How do I make it fit?
Print the pattern, scale it, and build a paper mockup before you cut leather. Fine-tune by adding or removing width on the side panels, dropping the bottom plate to shorten it, or adjusting the retaining strap. The buckle straps handle the day-to-day adjustment.
When do I dye and seal?
After all your tooling and shaping, not before. Dye and seal are the last steps. Once the finish cures, the leather resists water and will not fully re-wet or reshape, so get your shape right first.
Where to go next
- Get the pattern: Imperial Knight Breastplate Pattern.
- Building the whole suit? The Imperial Knight Bundle covers the full head-to-toe set.
- Free buckle straps: the buckle guide and pattern pack.
- Next piece in the series: DIY Leather Pauldrons for the shoulders.
- Struggling with shaping? Hand-shaping Leather for Armor Making goes deep on wet forming.
- New to leather armor? Start with 5 tips for getting started with leather armor.
- Built one? Share it and tag Prince Armory Academy and Weaver Leather; we feature student work.






Responses