



Fantasy Spaulders Build Guide: Leather Shoulder Armor from a Flat Pattern

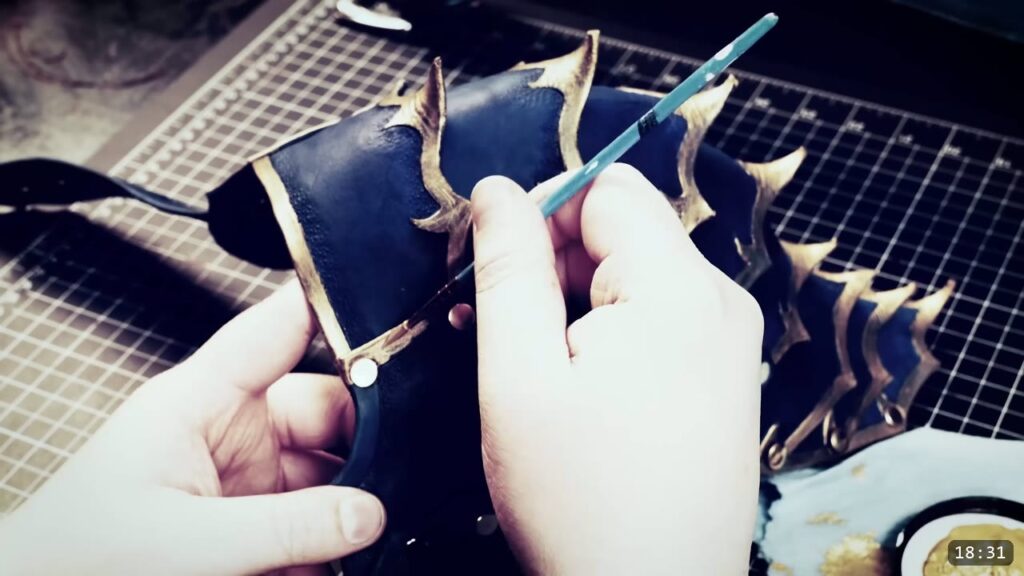
Spaulders are the shoulder armor worn on top of the shoulder, a smaller cousin of the pauldron. You build these from a flat printed pattern, not a kit. You trace the pieces onto tooling leather, cut them, carve and tool the design, wet-form a little shape into each plate, dye them royal blue, seal them, then rivet the plates together and add a buckle strap that spans the chest. The design is symmetrical, so you can double the pattern and make a matching pair. This guide walks the whole build alongside the video, so you can watch each step and read the details the video moves past quickly.
What you are building, and what it takes
This is the pattern build, so you cut and shape everything yourself. The payoff is a full fantasy shoulder with barbed, overlapping plates, a tooled border, a royal-blue finish, and a buckle strap that lets the spaulder stand on its own as a wearable piece. It is an approachable project. Most of the shape comes from the design itself, so the wet-forming stays gentle and the tooling is simple border work. If you have made a kit before, this is a good next step up.
What you need
The pattern. The Fantasy Spaulders pattern prints, and you trim and trace the pieces. The design is completely symmetrical, so you can double it to cover both shoulders. If you scale the pattern up or down to fit, keep the strap pattern at its original size so it still matches the width of your buckle.
Leather. This is a tooling-leather build. It carves with a swivel knife, takes a pebble stamp, wet-forms by hand, and drinks oil dye, so it wants vegetable-tan tooling leather. Plan for a two inch wide strip and a one inch wide strip later in the build for the chest strap and the keeper, so leave room for those when you lay out your pieces. The video does not state a leather weight, so go with a tooling weight that still carves and hand-shapes easily and matches how sturdy you want the plates.
Tools.
- Cutting: a box cutter or utility knife is all you need to start. Keep the blade sharp and polished, hold it perpendicular to the leather, and make multiple light passes rather than forcing one deep cut.
- Marking: a ballpoint pen for tracing the design lines, and a wing divider to run an evenly spaced guideline for the border.
- Carving: a swivel knife. The video uses one with a ceramic blade.
- Edges: a simple wooden edge slicker.
- Tooling: a pebble stamp from Tandy. The video uses one ground down to a straight edge for faster border work, and the unmodified rounded version for filling larger areas and contouring the barb shapes.
- Holes: a hole punch with an interchangeable head and a rotary punch, in three sizes.
- Color and seal: Fiebing’s Pro Oil Dye in royal blue, a high-density sponge, and an acrylic satin sheen top coat with a small brush.
- Hardware and stitching: brass-plated double-cap rivets, Chicago screws, a buckle, and basic stitching tools (pronged pliers or an awl, needle, and thread).
Step 1: Print, trace, and cut the pattern
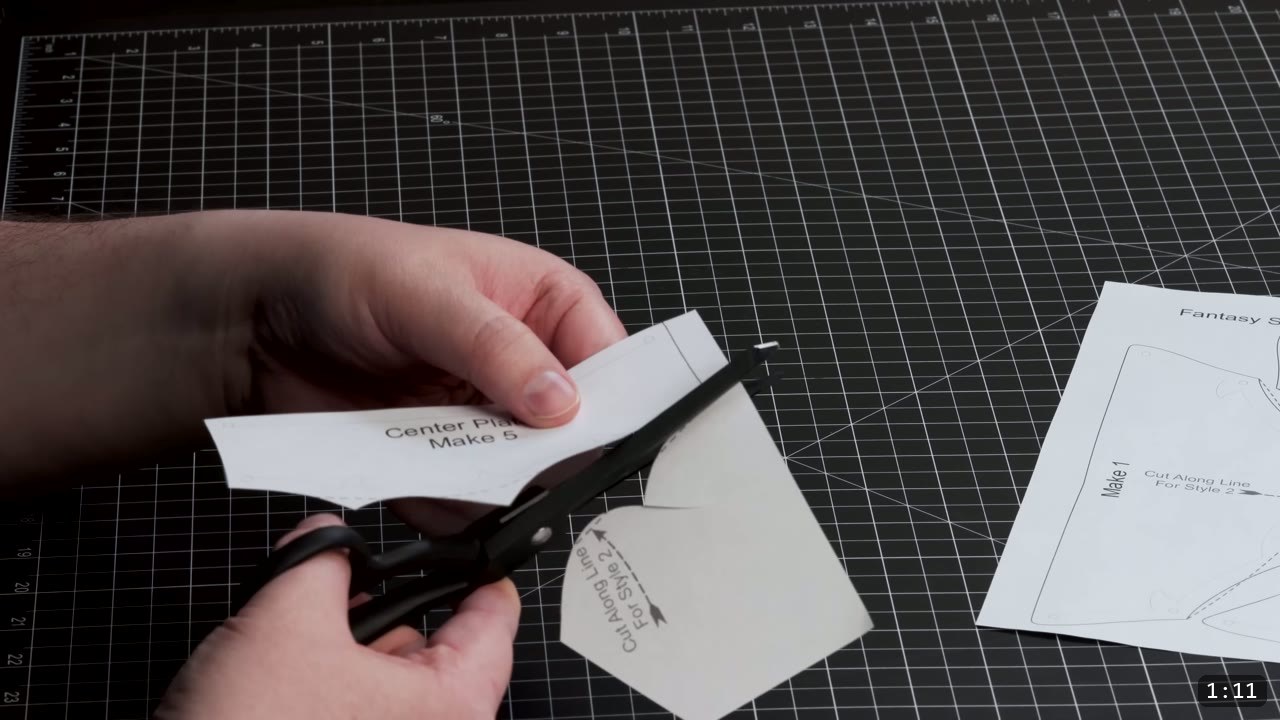
Print the pattern and cut the paper pieces out. Trace them onto the leather, spacing the pieces close enough that you do not waste hide but far enough apart that you can separate them later without cutting into a neighbor’s lines. Remember the two inch and one inch strips you will need later, and plan your layout around them.
Step 2: Cut the leather
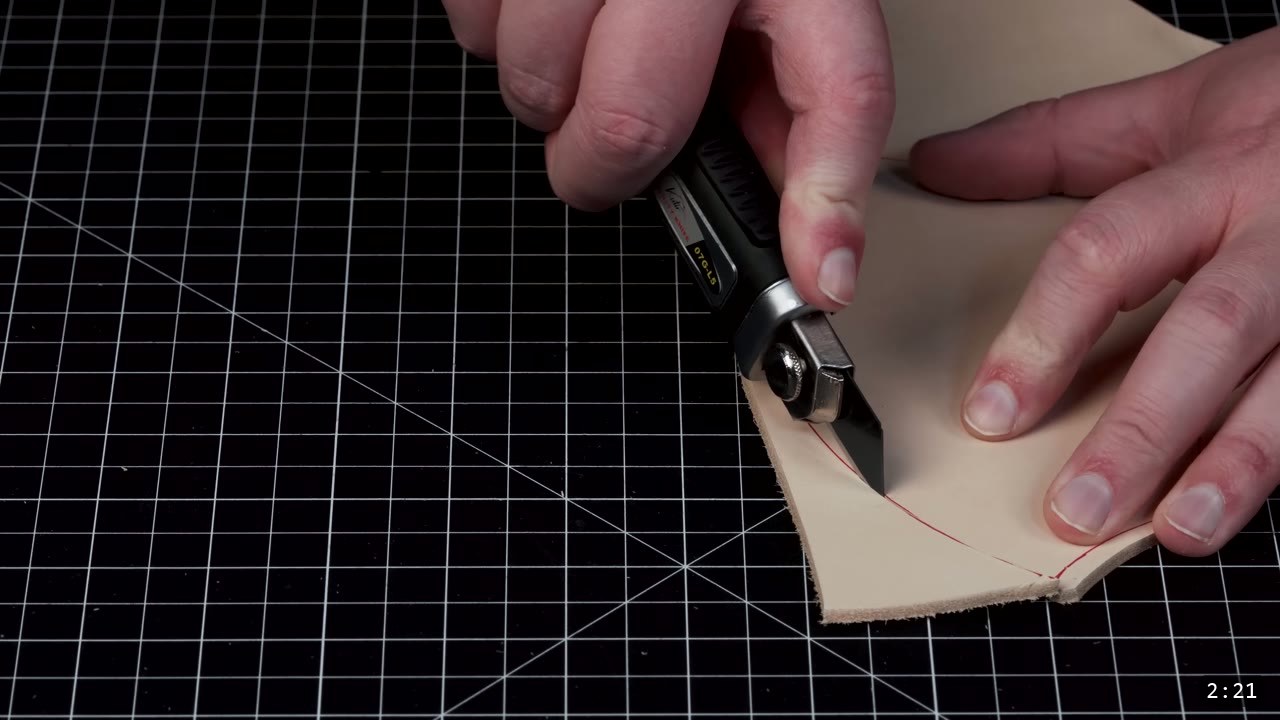
Cut on your traced lines with the box cutter. Take your time and keep the blade perpendicular. If the leather is thick, make several passes instead of one hard cut. Clean cuts here save you cleanup at every later step. The speed comes with practice; the quality is what matters now.
Step 3: Transfer the design lines
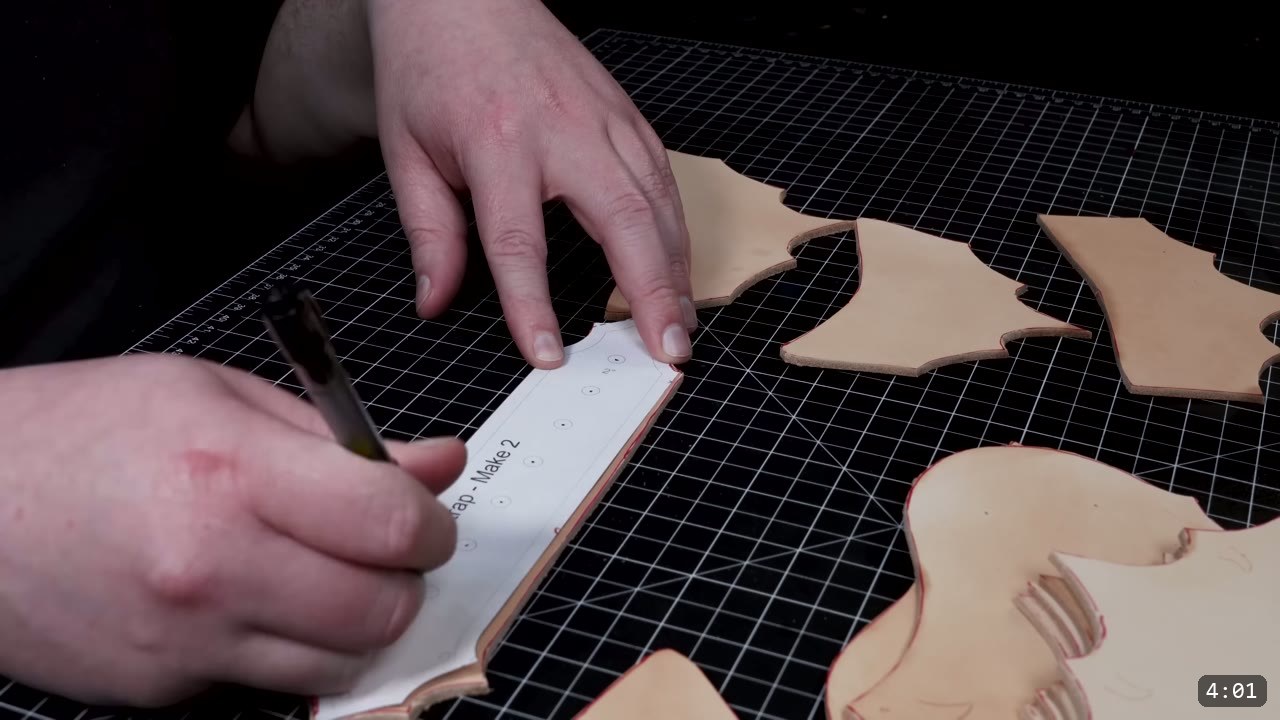
To transfer cleanly, dampen the leather slightly first. Mist it with water and wait for the surface to start drying back before you trace. For a design this simple, a ballpoint pen over the pattern is enough. One tip on the center plates: only the single center plate that sits at the very top needs both sides transferred and tooled, because the others overlap and their tops will not show. Use a wing divider to lay a consistent guideline for most of the edge and border.
Step 4: Carve the design with a swivel knife
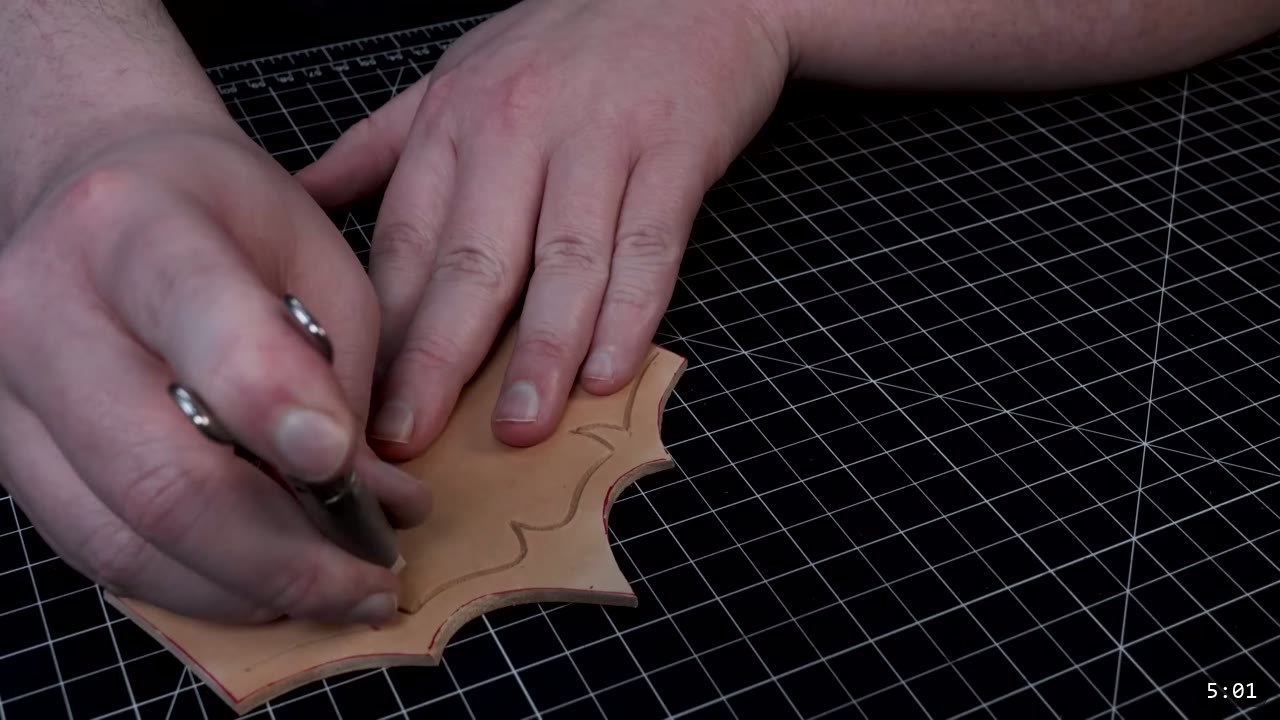
Carving the lines makes the design and the edges pop. It is optional and it does take extra time, but it is good practice and the piece stands out more for it. Wet the leather and let it absorb. When the surface starts to come bright again, that is your cue to carve. Too wet and the cuts turn muddy; too dry and the blade drags and the cuts stay shallow.
Step 5: Slick the edges and tool the border
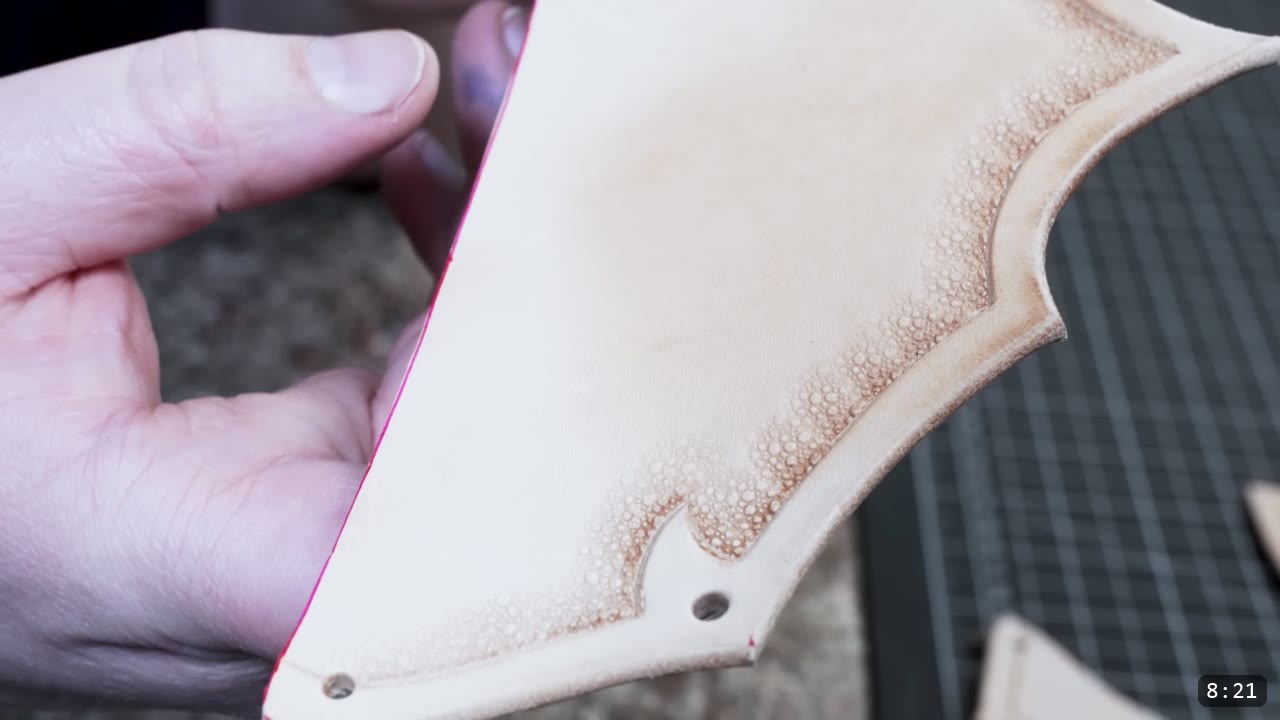
Slick your edges with a wooden slicker, using a little friction and pressure to compress them. A moderately slick edge during and after tooling gives a clean result without any motorized wheels. Then tool the border with the pebble stamp. The straight-ground stamp speeds up the border line, and the rounded stamp fills larger areas and contours the barbs.
Step 6: Punch the three hole sizes
You will use three hole sizes on this build: a small hole for the rivets, a medium hole for the Chicago screws, and a larger hole for the belt tongue. Use the interchangeable hole punch where you have clearance, and the rotary punch for spots you can only reach that way.
Step 7: Shape the plates
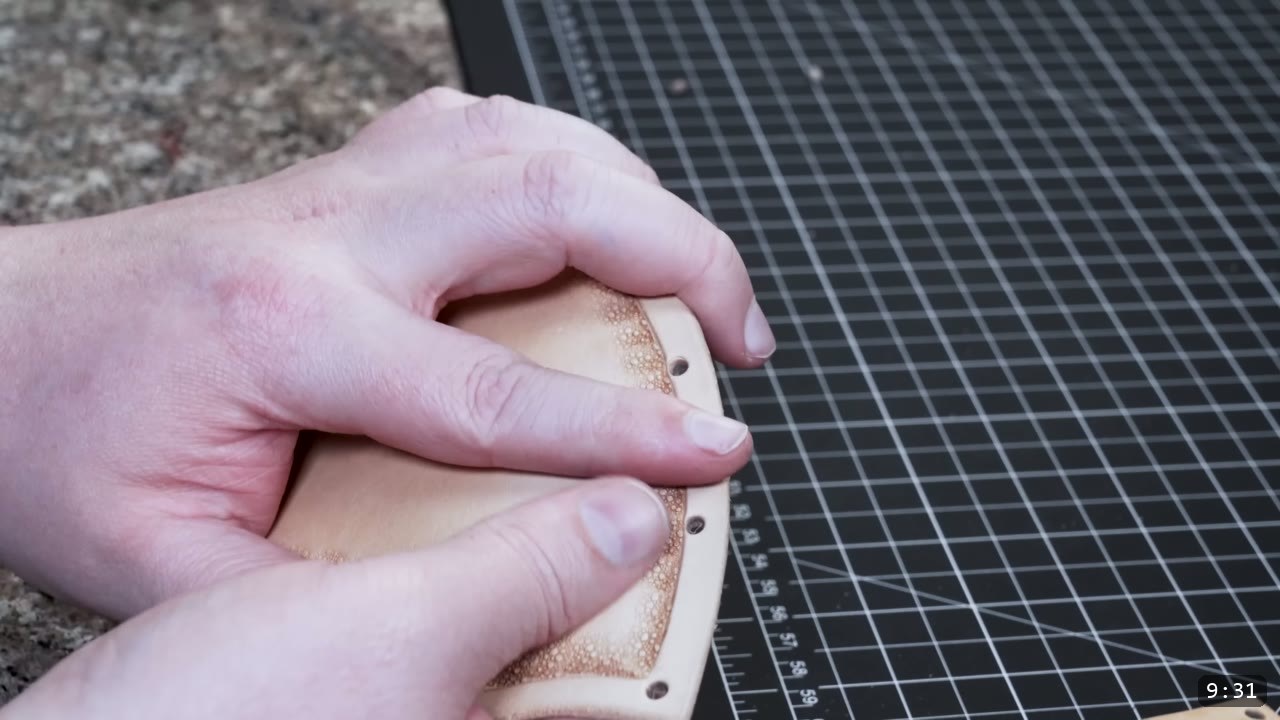
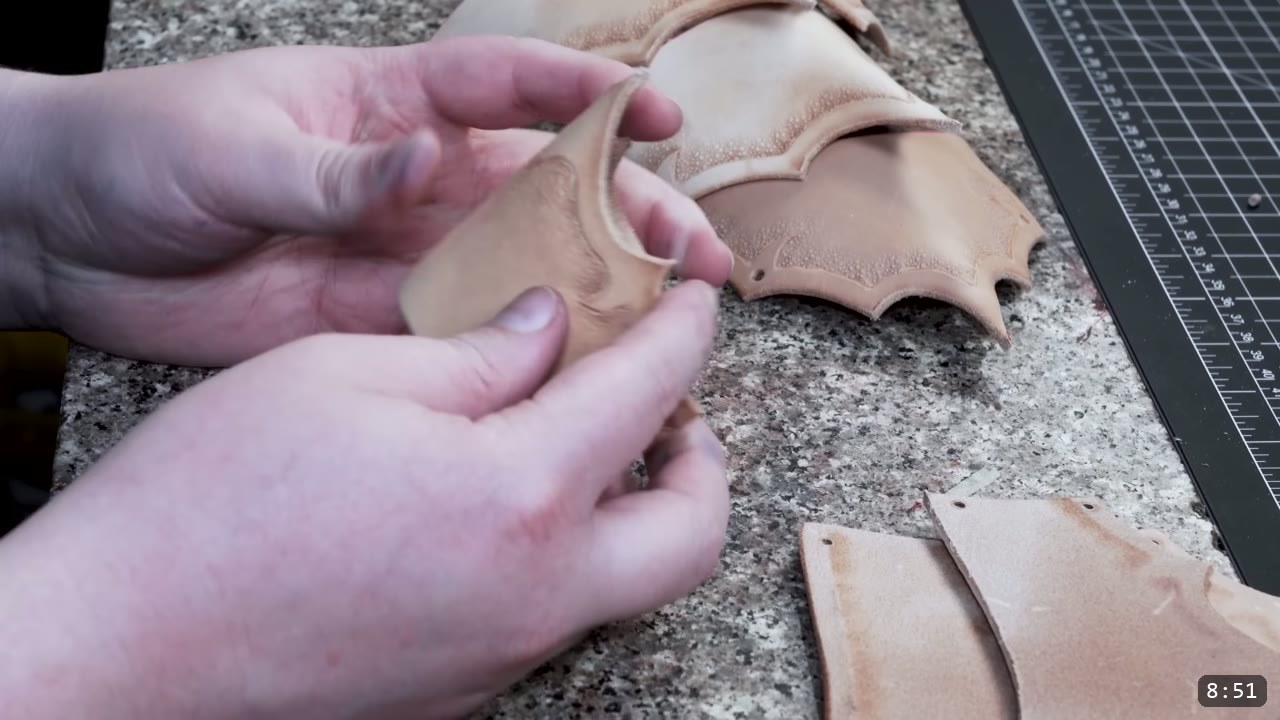
The shaping here is gentle, because most of the shape comes from the design. Instead of pounding a heavy crease, do a basic pinch mold and work a little roundness into each piece by hand. For the side plates, dish them slightly: support the piece in your palm, press into the middle to stretch it, then work the edges so they do not end up wavy. Damp leather is what makes this possible. Do all of this shaping now, because once the leather is dyed and sealed the finish firms it up and it will not fully re-wet or reshape. Shaping first, color and seal last.
Step 8: Dye royal blue
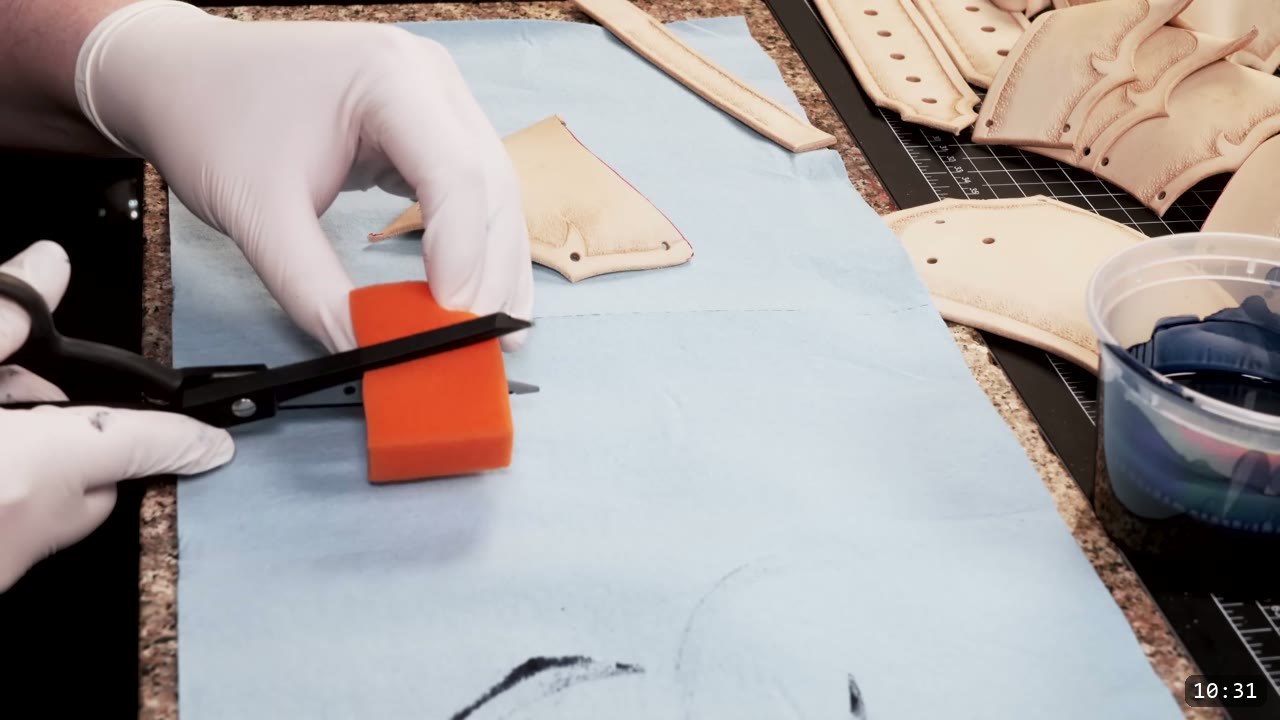
Now dye the pieces. The video goes with a royal blue Pro Oil Dye from Fiebing’s, but any color works; go with your preference. Cut a section off a high-density sponge and saturate each piece evenly. Consistency is the whole game here, so before you commit to the real pieces, test the color on scrap first. If you work from a jug of dye, a cheap conical water cup with the tip trimmed makes a clean, disposable funnel for each project.

Step 9: Seal with a satin sheen top coat
Seal the pieces with a generous coat of an acrylic satin sheen, applied with a small brush. As the pieces start to dry, go back over them with the sponge for a second, even pass. If you want a shinier result, a super sheen finish does the same job with more gloss. Acrylic finishes like these soak in and bind the fibers, which firms the leather up as it protects it. This is the last leatherworking step on the plates, so make sure all your shaping is done before you get here.

Step 10: Make the buckle strap
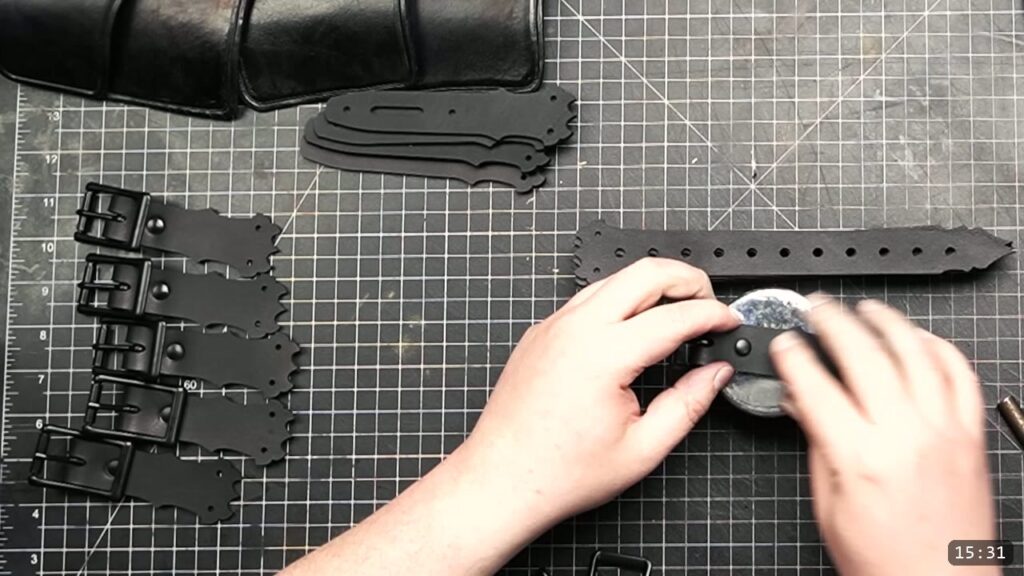
To wear the spaulder on its own, you make a buckle strap that spans the chest. The length is personal, so measure it: either make a paper mock-up from the patterns, or wait until the spaulder is assembled and measure from there. Cut the strip longer than you think you need and trim to fit. To seat the buckle, punch two large holes and cut out the bar of leather between them with a hobby knife so the buckle tongue can pass through.

Step 11: Make and stitch the keeper loop
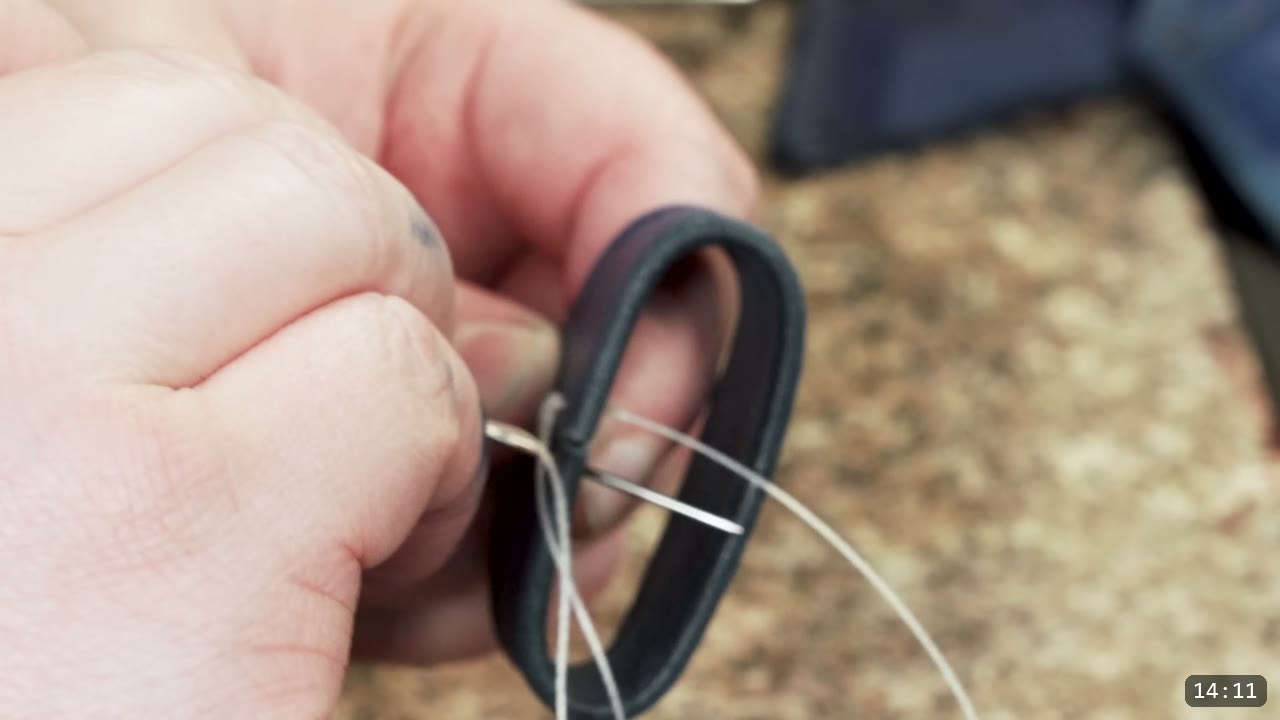
A keeper is the small loop that holds the free end of the strap in place, the same as on a belt. This is the one bit of stitching in the build, and it is minor: you only need to join the ends of the keeper into a loop. Make your holes with pronged pliers, an awl, or a pronged punch, then stitch. Add a few loops at the start for support, run straight across the back, repeat, and finish with a few loops before you tie off. If you would rather not stitch, you can set the keeper with a rivet or heavy-duty staples instead.
Step 12: Assemble with brass rivets
Assemble with double-cap rivets. The video uses brass-plated rivets to match the color scheme. Start by attaching the strap end to the side plates while everything is still mostly flat, since it is easier now. Then take a side plate and, starting from the bottom, rivet the center plates to it. Save the one center plate that carries both lines of tooling for the top. Repeat the whole process on the other side to mirror it.


Step 13: Add the bottom plate with Chicago screws, then fit the strap
Attach the bottom piece with Chicago screws instead of rivets. Screw posts join the plates without pulling them tight, so each piece can hinge freely on the axis of the screw. That gives the spaulder a bit of articulation, and the screws are stronger than the double-cap rivets. If you plan on any combat use, you can reinforce the buckle with Chicago screws for the same reason. With assembly done, test and adjust the chest strap to its final fit. Leave a little wiggle room in both directions on the buckle, because garments and the odd holiday dinner change the fit.

Step 14: Add the metallic gold trim
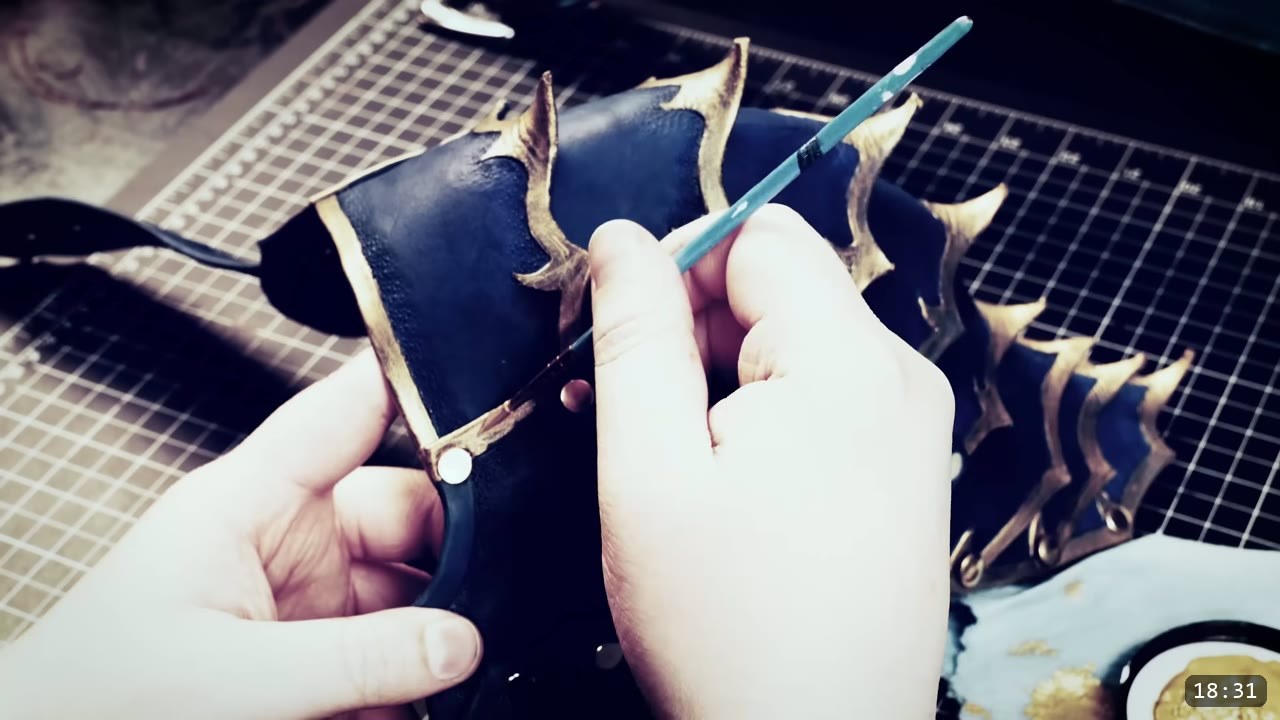
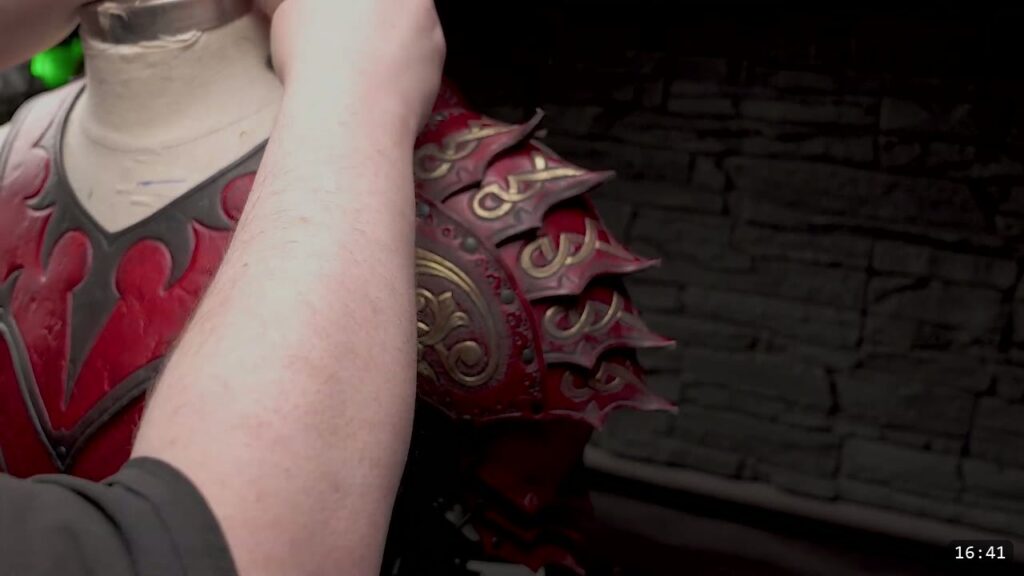
For a last bit of pop, the video brushes metallic gold trim onto the raised barbs. This is optional; you can use any decoration technique you like, or none at all. Metallic trim is a reliable way to make a piece stand out, and on the royal blue it reads as a clean fantasy finish.
FAQ
Are spaulders the same as pauldrons?
Not quite. Spaulders are the shoulder armor worn on top of the shoulder, and they are a smaller variant of the pauldron. This pattern builds a fantasy spaulder, and because the design is symmetrical you can double it for a matching pair.
Do I need special tools for this?
No. A box cutter or utility knife covers the cutting, and the rest is a swivel knife, a wooden edge slicker, a pebble stamp, hole punches, and basic stitching tools. You do not need shears, a head knife, or a round knife to get started.
What color did the video use, and can I change it?
The video uses a royal blue Pro Oil Dye from Fiebing’s, applied with a high-density sponge, then a satin sheen acrylic top coat. Any color works, so go with your preference, and always test your dye on scrap before you commit.
What holds the plates together?
Brass-plated double-cap rivets hold most of the plates, and Chicago screws attach the bottom piece so it can hinge for a bit of articulation. The screws are stronger than the rivets, so they are also a good choice to reinforce the buckle for combat use.
Can I re-wet and reshape the plates after dyeing?
No. Do all your shaping and wet-forming before you dye and seal. The acrylic finish soaks in, binds the fibers, and firms the leather, so once it is sealed the piece will not fully re-wet or reshape. Shape first, color and seal last.
How long should the chest strap be?
That is personal, so measure it. Make a paper mock-up from the patterns, or assemble the spaulder first and measure from there. Cut the strap longer than you expect and trim to fit, and leave wiggle room in both directions on the buckle.
Where to go next
- Get the pattern: Fantasy Spaulders pattern.
- Ready for the full set? The Fantasy Armor Bundle carries the whole suit.
- New to leather armor? Start with 5 tips for getting started with leather armor.
- Want to go deeper on shaping? The Hand-shaping Leather for Armor Making walkthrough covers wet forming in detail.
- Want another take on this piece? Watch DIY Spaulders, Fantasy Leather Armor and the articulating DIY Leather Pauldrons.
- Built one? Share it and tag Prince Armory Academy and Tandy Leather; we feature student work.





Responses