



Female Leather Breastplate Build Guide: Articulated Fantasy Armor, Step by Step


You build an articulated female leather breastplate from a printed pattern, not a kit. You trace the pieces onto vegetable-tan leather, tool and wet form them, dye the leather purple with a darkened edge gradient, seal it, paint on a gold trim, then rivet the plates together and add the retaining and buckle straps. It is part of the beginner-friendly fantasy armor series, and the design is modular, so you can wear all the layers or remove some to reveal more. This guide walks the whole build alongside the video, so you can watch each step and read the details the video moves past quickly.
What you are building, and what it takes
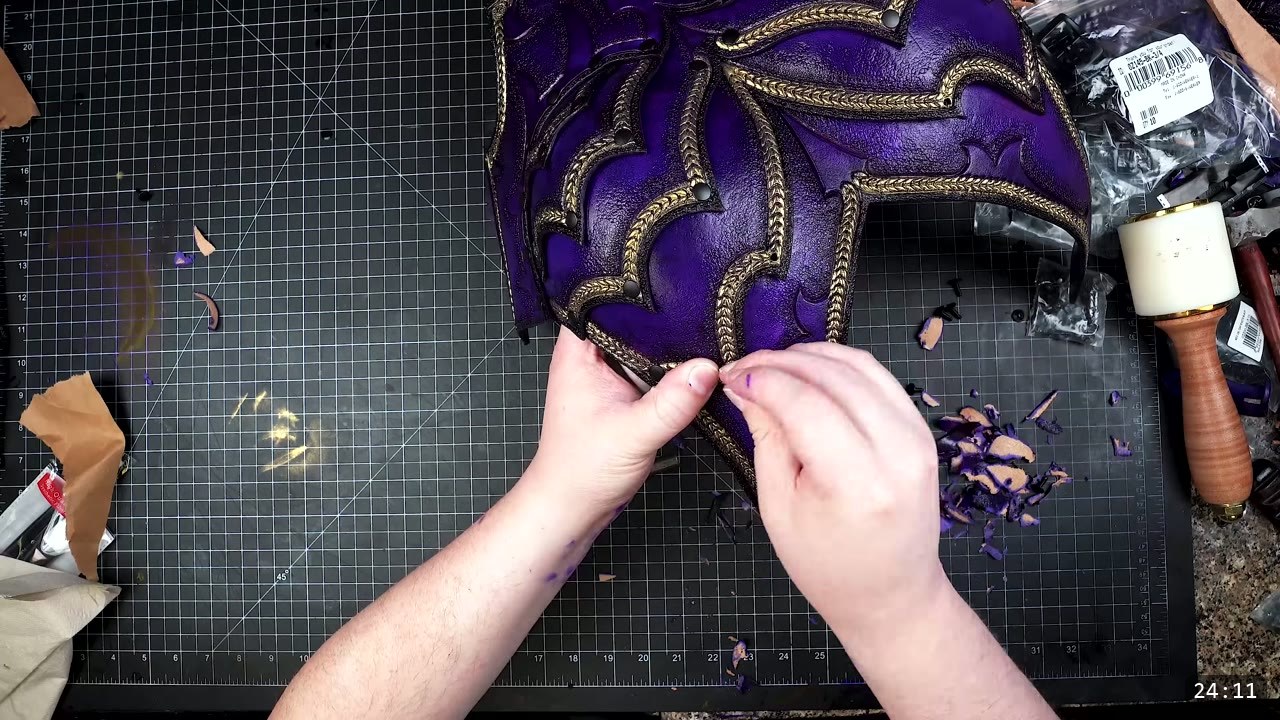
This is the pattern build, so you cut and shape everything yourself. The reward is a full articulated female breastplate: domed chest, segmented lower plates that flex as you move, and a purple and gold finish. It is one of the more involved pieces in the fantasy series. There is tooling, wet forming that actually matters for the fit, a dyed gradient, and a lot of riveting. If you are brand new to leather, this is still doable, but read the whole guide first and be ready to make a test piece.
What you need
The pattern. The Fantasy Female Breastplate Pattern prints across tiled pages that you trim and tape into a full template. The mannequin in the video was set to 35 28 36, and the armor should fit within several inches of that with little or no adjustment.
Leather. A 10 to 11 oz veg-tan side from Weaver Leather. You can go heavier or lighter to suit your needs. Veg-tan is what lets the leather take and hold a molded shape.
Tools.
- Cutting: a utility knife for separating the leather into chunks, and sharp shears for the finish cuts.
- Marking: a ballpoint pen for the design lines and holes, and a compass for a consistent border line.
- Holes: a rotary hand punch. The video used a Heritage Tools punch with a force multiplier, which helps through thicker leather. A normal punch covers holes that sit too far from the edge.
- Tooling: a swivel knife with a sharp, stropped blade for the design lines, an edge beveler (size 2 or 3), and a slicker for burnishing.
- Shaping: a spherical form. A dedicated forming tool, a baseball, a softball, or an acrylic hemisphere all work. Clamps and a few spare rivets for test fitting.
- Color and seal: Fiebing’s purple leather dye plus their reducer, black dye for the gradient, dressing fleece, nitrile gloves, and Weaver’s Tough Coat with a sponge.
- Trim and assembly: Angelus metallic gold acrylic paint and a round brush, long and medium double-cap rivets, black buckles, and a mallet.
Step 1: Print the pattern, mock it up, and check the fit
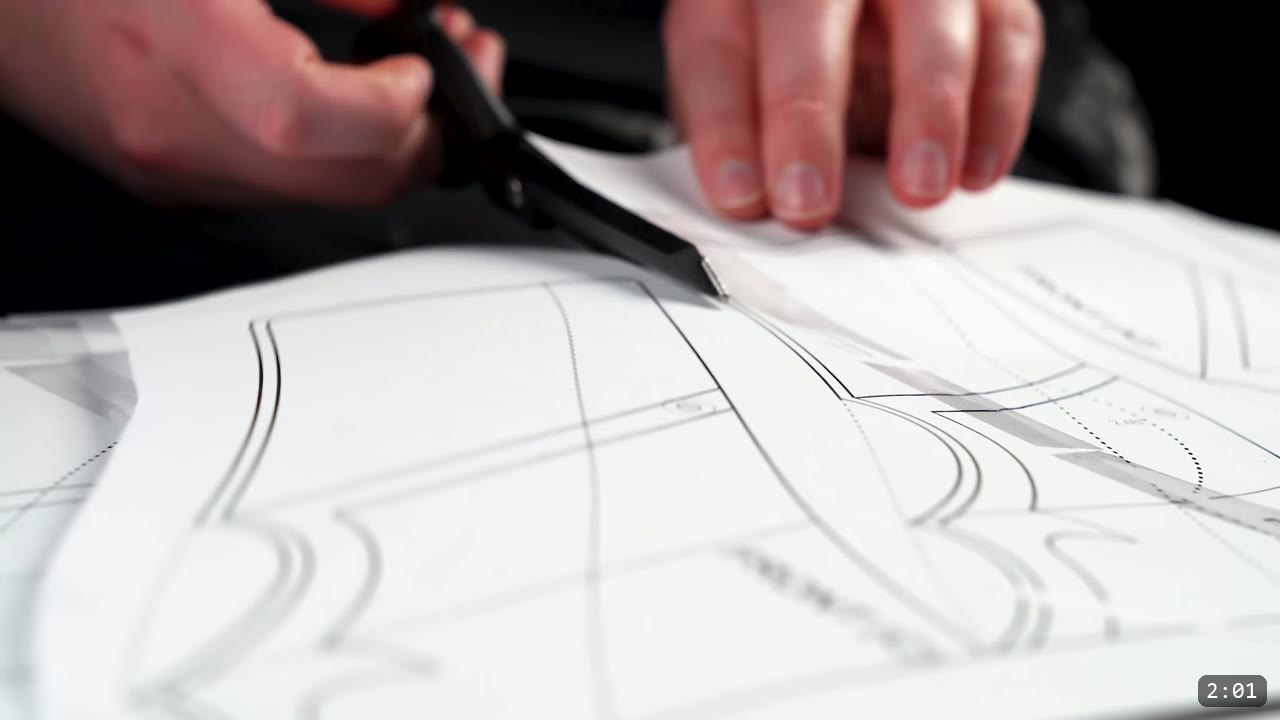
Print the pattern with the tiled-pages option on. If your PDF program lacks that option, a free reader like Foxit will do it. Trim the printer margin exactly to the line and tape the pages together so the pattern lines flow, then cut the pieces out. Before you touch leather, make a mock-up from poster board or cheap foam and test the general fit. If you need to adjust, scale the whole pattern up or down first, then adjust the length of the side plates to your measurements. A small percentage change is usually enough.
Step 2: Trace onto the leather and cut
Lay the pattern out and trace it, leaving yourself room to mirror the front and back pieces. Separate the leather into manageable chunks with a utility knife, then wet each chunk for about four seconds. Damp leather cuts easier and sets you up for the steps ahead. Cut the pieces out with sharp shears, and focus on clean cuts that stay perpendicular to the edge of the pattern.
Step 3: Transfer the design lines and punch the holes
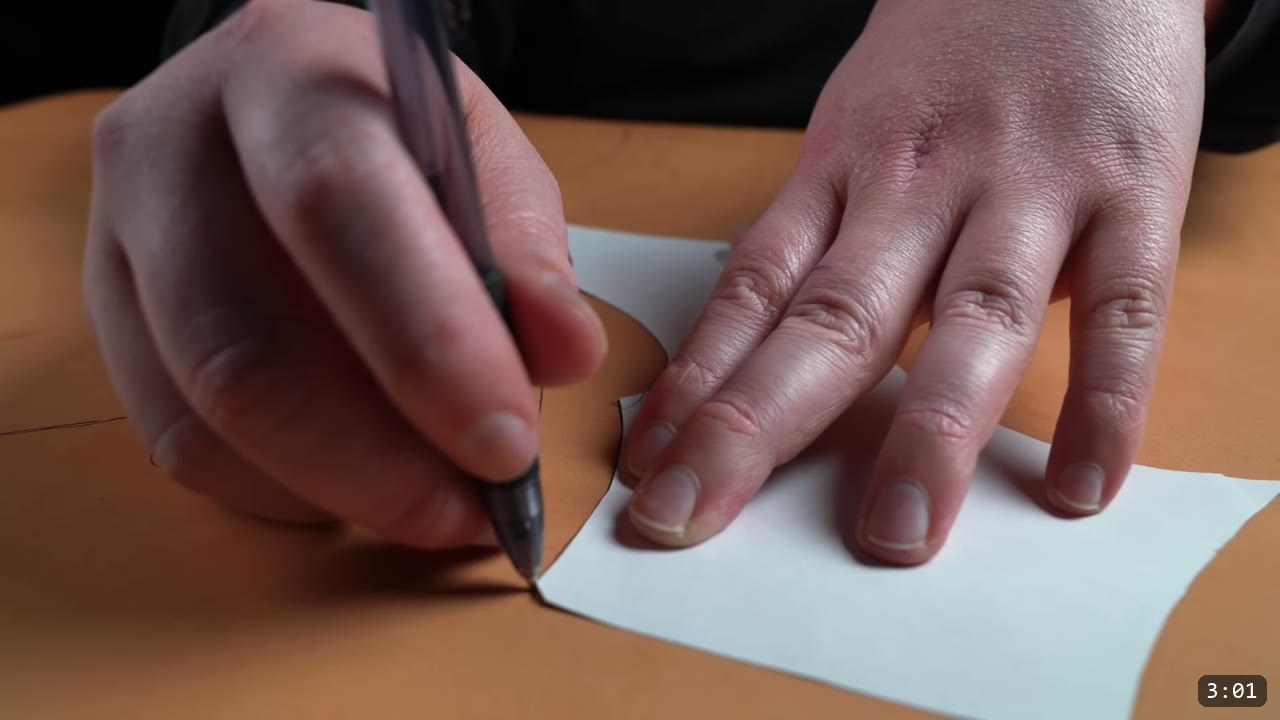
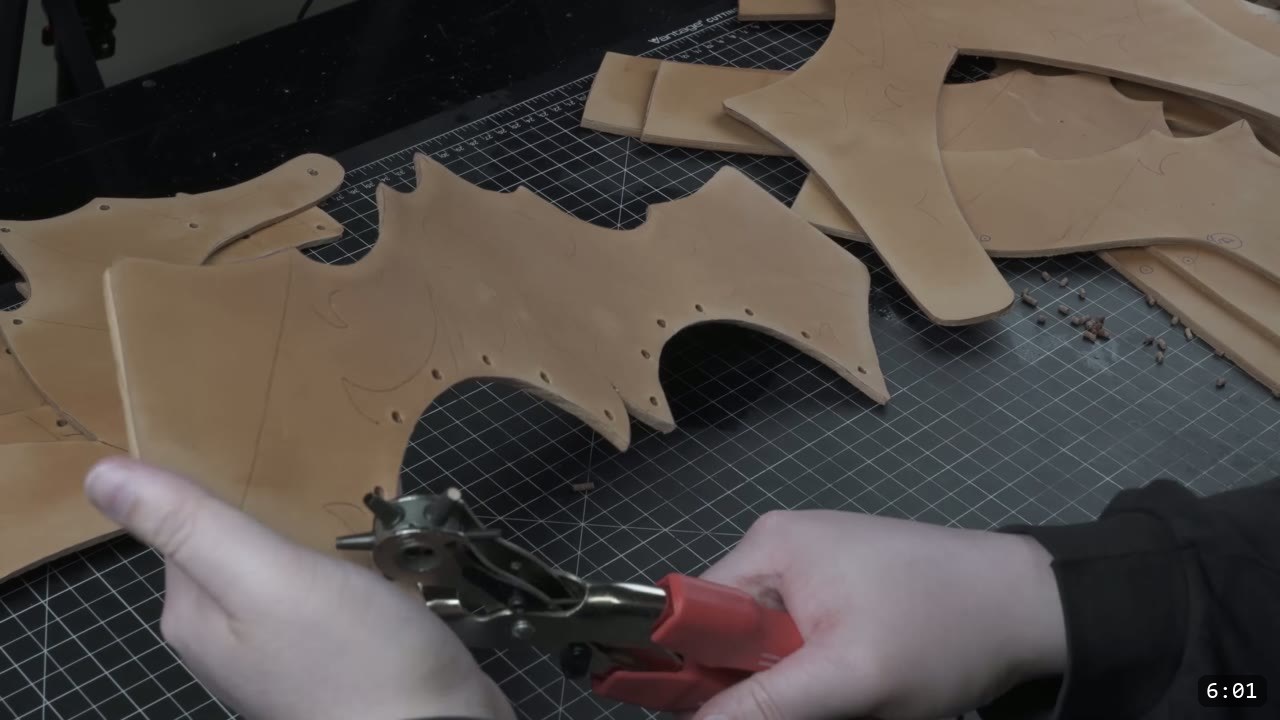
Trace the design lines and hole positions onto the leather with a ballpoint pen. You do not have to transfer every border. A compass marks a more consistent border line, and an edge groover works too, so just focus on the barbs and the main design lines. Then punch the holes the pattern calls for. A rotary punch with a force multiplier makes thicker leather much easier. Where a hole sits too far in for the rotary jaws to reach, switch to a normal punch.
Step 4: Carve and tool the design lines
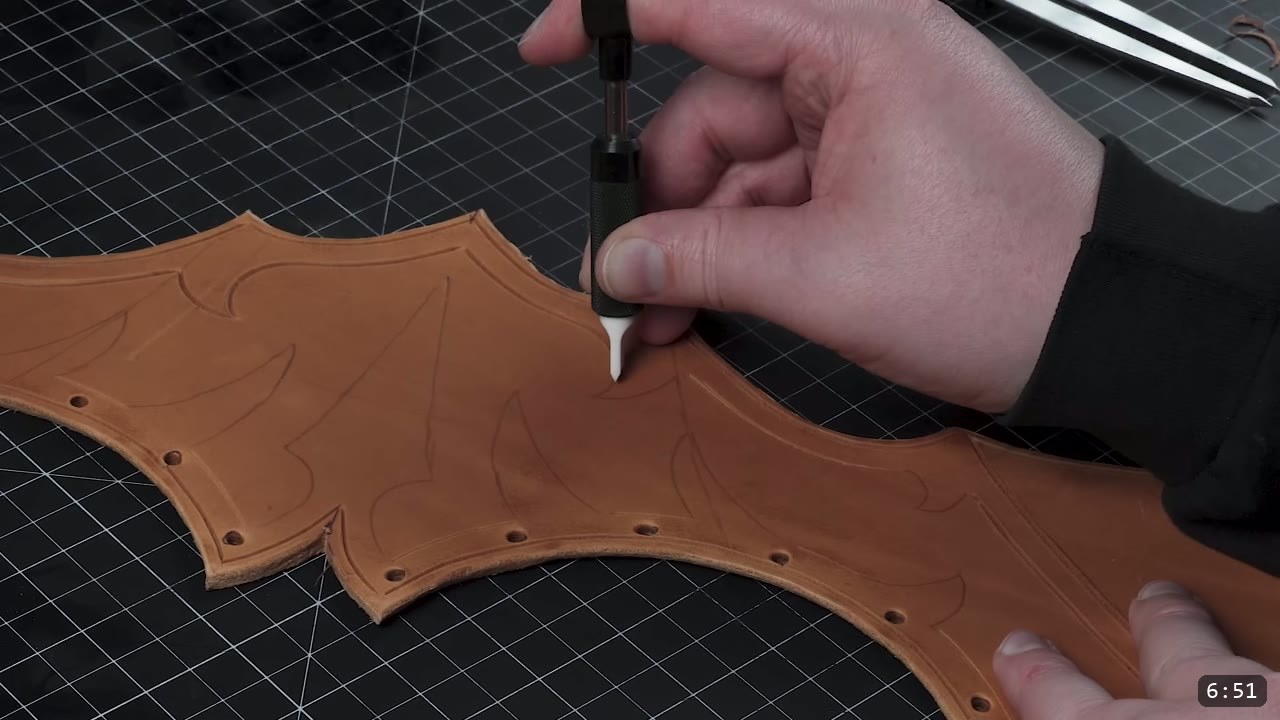
Commit the design lines with a swivel knife. A ceramic blade is a good go-to. Make sure the blade is sharp and strop it first, which just means buffing the edge on leather loaded with white compound. Most carving trouble comes down to a dull, unpolished blade, or leather that is too wet or too dry. Deep, sharp lines give a good contrast that reads well on armor. This piece carries slightly more elaborate tooling than the earlier tutorials, so take your time.
Step 5: Bevel and burnish the edges
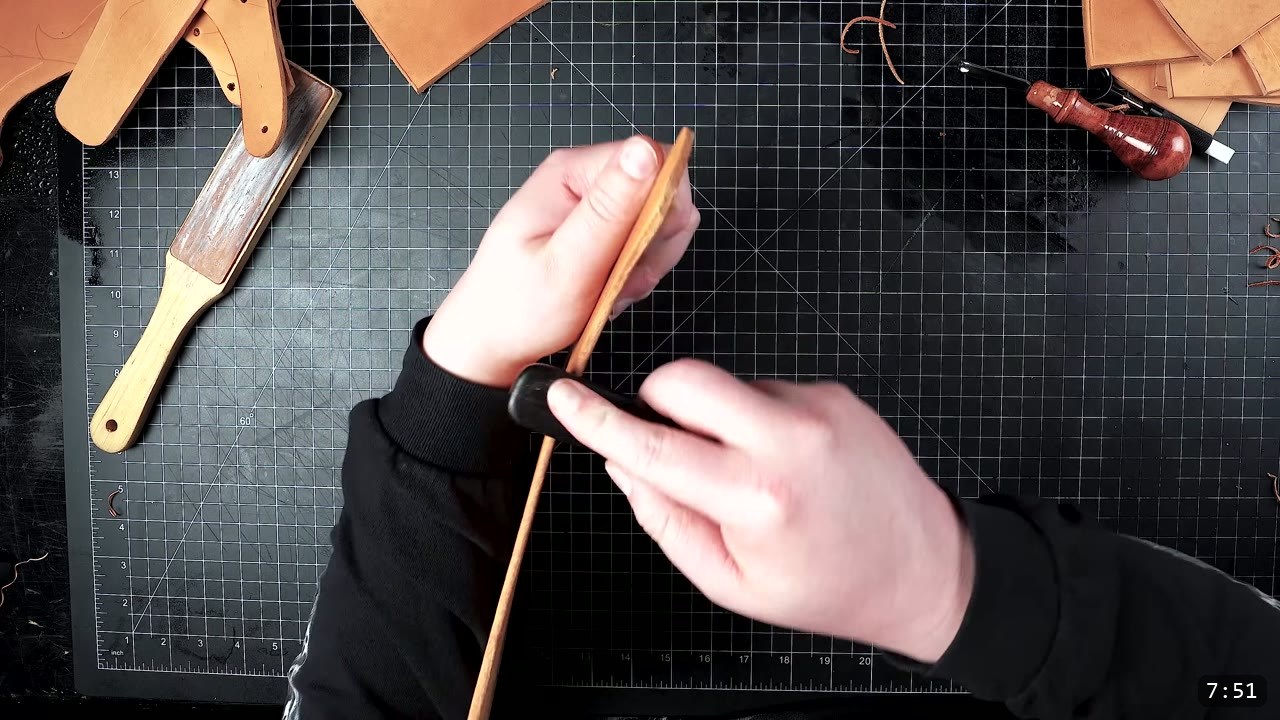
Bevel the edges to knock the corner off the leather. A size 2 or 3 beveler is fine for this layer. As you finish each piece, burnish the edges to compress and smooth the fibers. This is standard edge work, and it is worth doing on every piece before you move on.
Step 6: Wet form the pieces
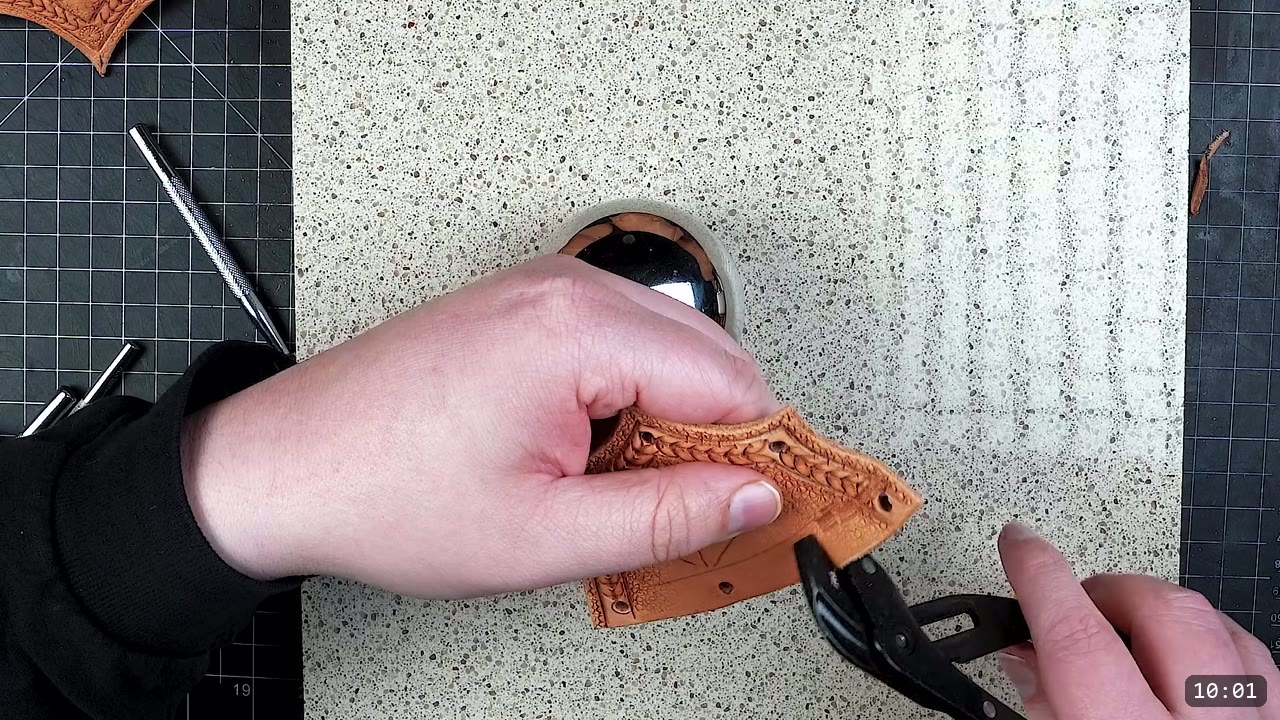
Now shape the pieces, which means the leather has to be wet. Aim for a medium dampness where the surface has started to dry back out. A few cut pieces need a sharp upward bend so they pair cleanly with the bodice base. I use pliers to leverage a crease along the line. As long as you do not clamp past the line it will not hurt the visible face, since the bodice base covers it. That crease forms a crisp inner edge. From there, stretch the new tabs out a bit to start the compound shape that lets the parts fit together. Use a spherical form to stretch the leather.
On most builds wet forming is optional. Here it matters more, or the fit will not look good. It may take a few practice attempts, so start with the smaller parts and test pairing them until you are happy. Do all of this shaping now. Once the leather is dyed and sealed later, the finish resists water and the piece will not fully re-wet or reshape, so shaping is a now-or-never step. As you near the final fit, use clamps and placeholder rivets to double-check the alignment.
Step 7: Dye the leather purple
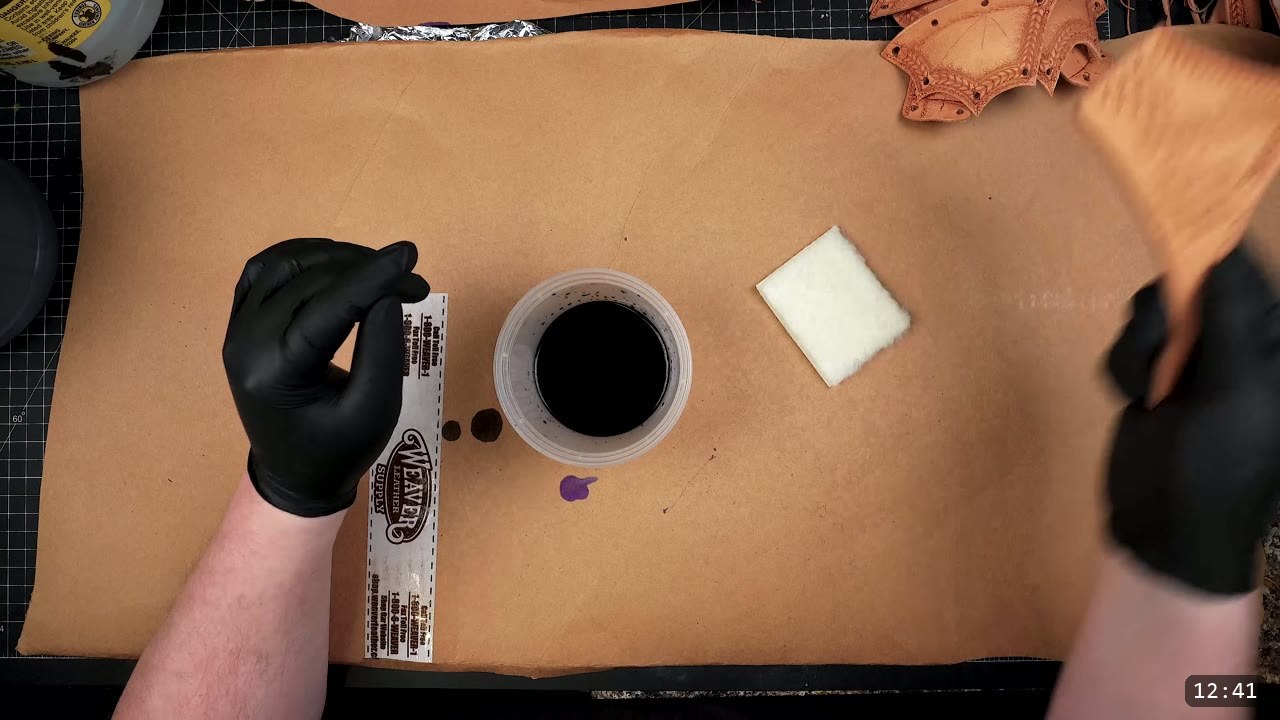
The color for this build is purple with a darkened edge gradient and a gold trim. Fiebing’s purple runs dark by default, so cut it with their reducer to lighten it. Doing this by eye takes practice, so measure it if you are not used to it. Apply the dye with dressing fleece to both sides of the leather and go for good, even saturation. Dye the buckles too. One note on the purple: it can leave a yellow-gold hue on your gloves. That is normal and it disappears once you seal the leather. Always test your color on scrap first, or on the underside if this is your first piece and you have no scrap.
Step 8: Add the darkened edge gradient
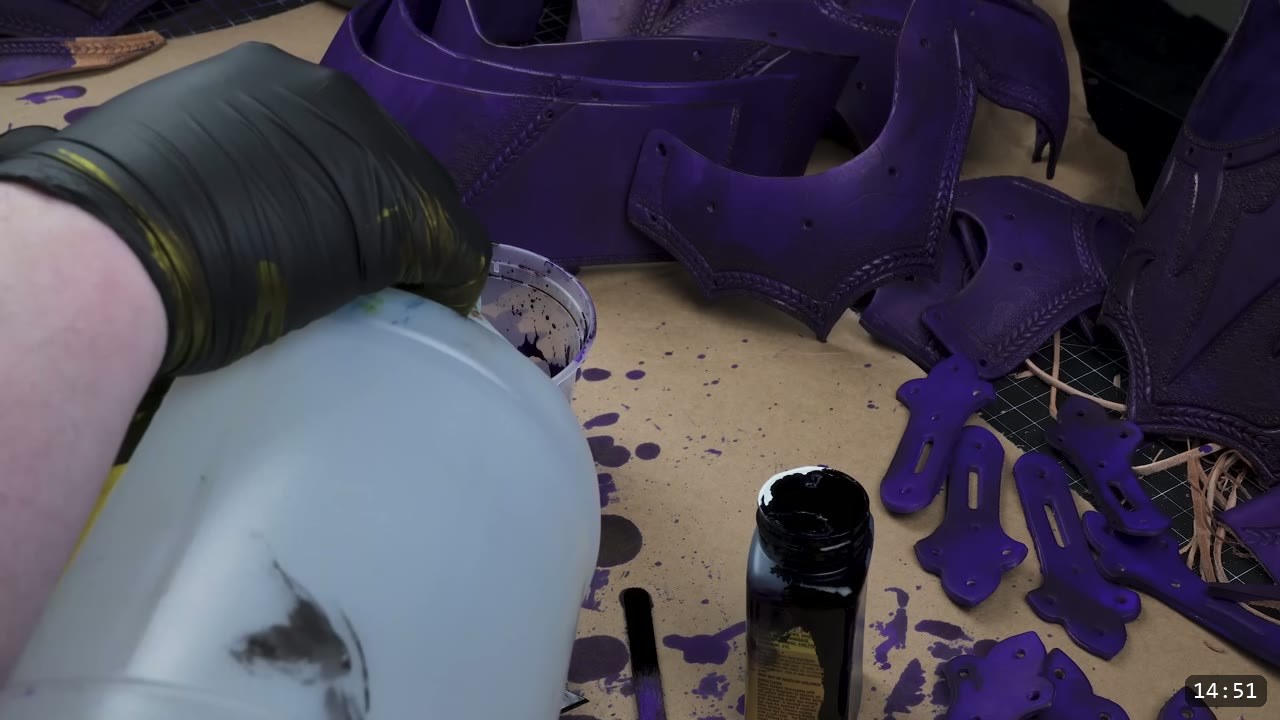
For contrast under the gold trim, run a manual gradient along the edges. You do not need an airbrush. Mix your gradient rather than jumping straight to black, because it is easier to control and you can build it in layers. Take your purple, pour in a little black, and adjust with more purple and reducer if the mix goes too heavy. With the dressing fleece, saturate the outer edge first and dab inward bit by bit. Because the mix is not too dark, you can build up the pigment in layers. Dark colors always dominate lighter ones when you dye leather, so add darkness slowly.
Step 9: Seal with Tough Coat
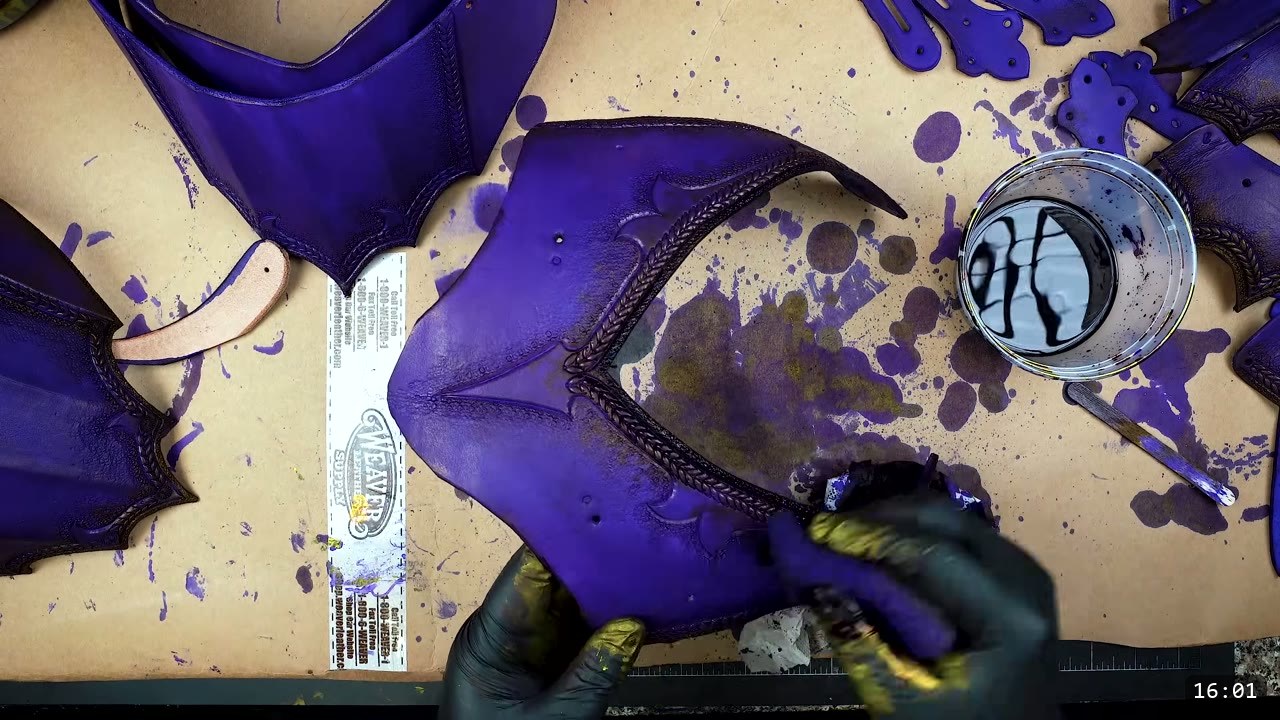
Seal the leather with Weaver’s Tough Coat. It gives a nice surface finish, helps stop the dye from bleeding, makes the pieces weather resistant, and firms the leather up. For the buckle straps, use a lighter coat or a different finish, so you do not harden the straps too much. On the breastplate pieces, saturate with a sponge and buff it in with a little pressure, which also breaks away any loose surface pigment. After it has absorbed but is still damp, wring the sponge out and give a quick pass to smooth the finish. Remember that this and the dye are the last leatherworking steps. All the tooling, wet forming, and shaping needs to be done before now, because the finish locks the form.
Step 10: Paint the gold trim
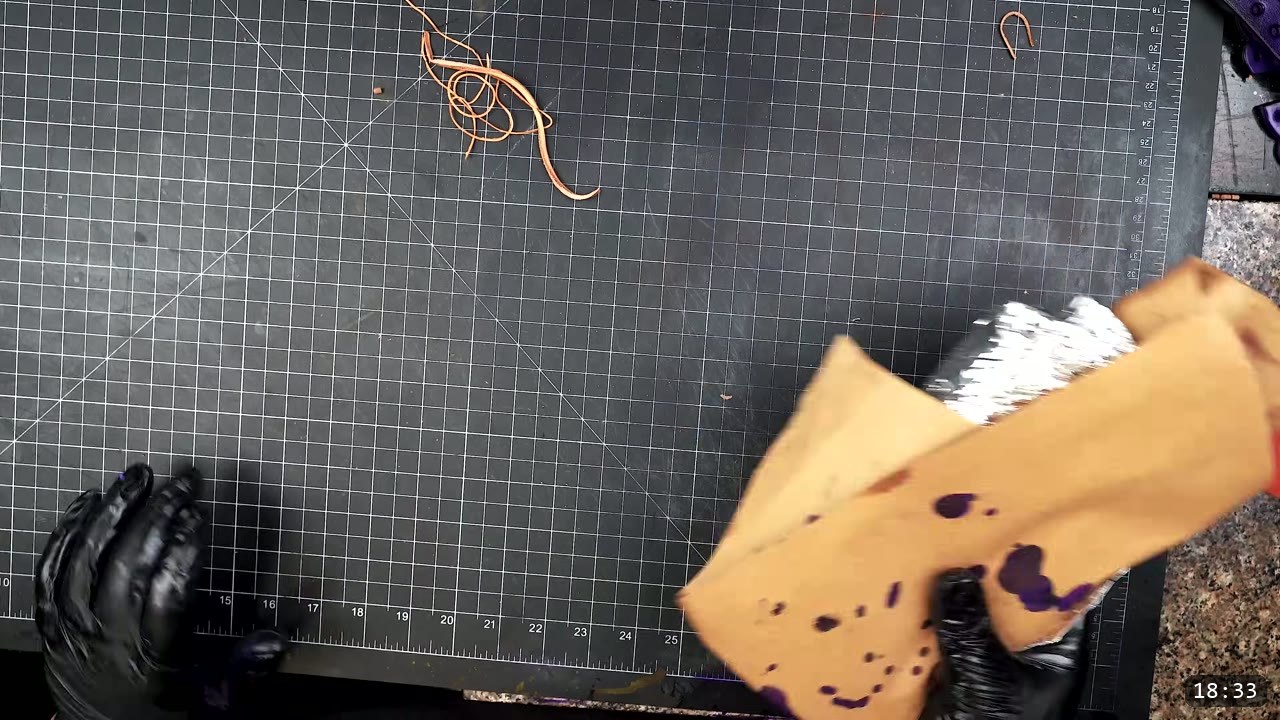
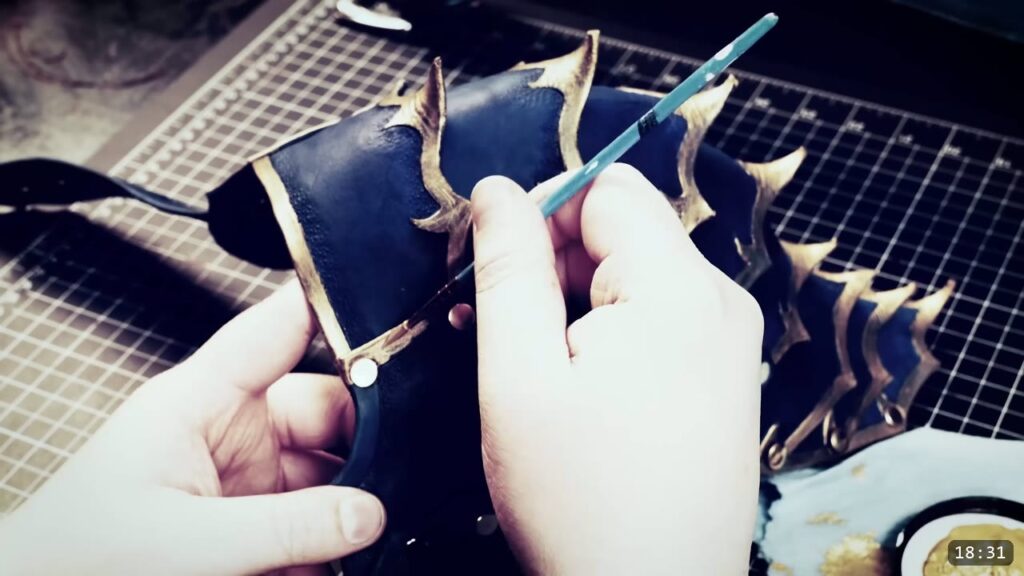
Paint the gold edge with Angelus metallic gold acrylic paint. A round brush handles most of it. Load the brush, then offload most of the paint on scrap paper first, though not so much that you are dry brushing. Two careful medium coats plus touch-ups gets a clean gold line. The acrylic sits on top of the sealed leather, so this goes on after the Tough Coat.
Step 11: Assemble with rivets
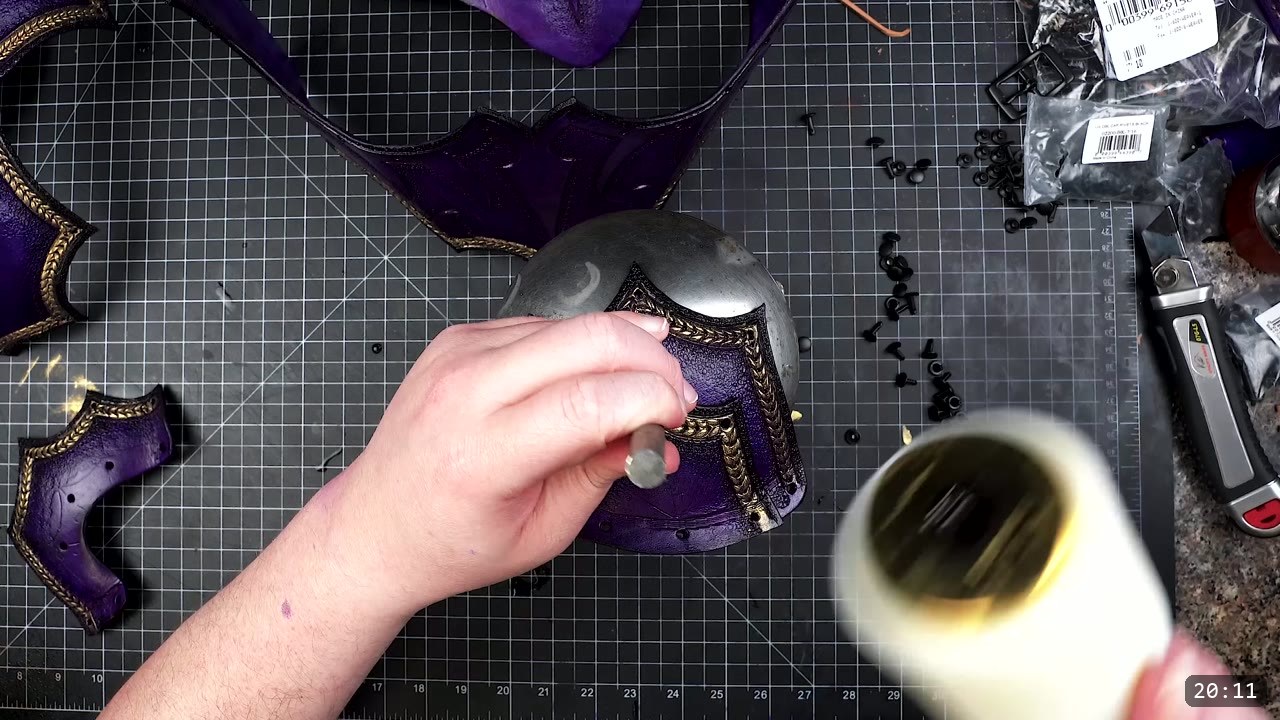
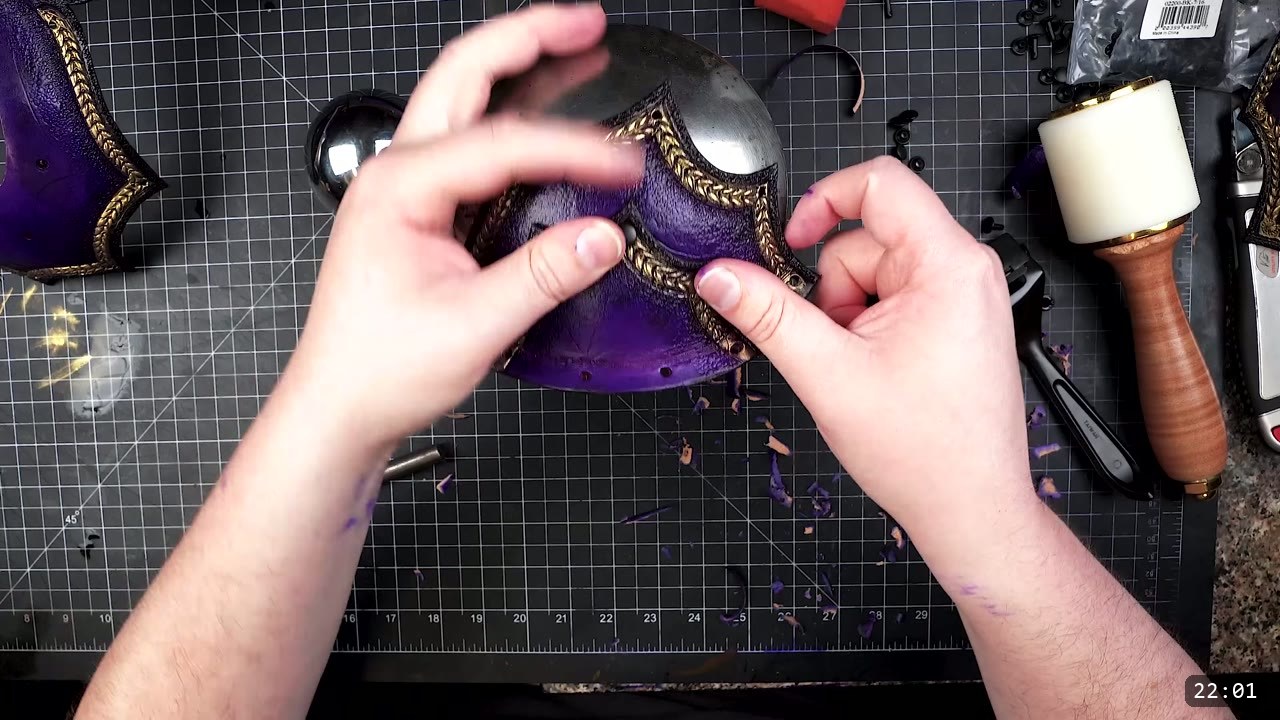
Join the pieces with long and medium double-cap rivets. Start with the smaller cut pieces and work outward. You may have to exert some force to make the leather line up. It helps to assemble while the pieces are still a little damp from the finish stage, since that makes them cooperate. Everyone tools and wet forms slightly differently, so hole placement for the rivets will vary with the size and shape of each piece. You may need to square things up or nudge a hole, but do that sparingly, because one adjustment can ripple into alignment problems down the line. Skive the overlapping areas to make riveting easier and to reduce sharp inside edges that would be uncomfortable to wear. The back plate is easier to assemble than the front. If the assembly or wet forming feels overwhelming, trace a few of the smaller pieces from the pattern as sacrificial test pieces, skip the fancy tooling, and practice on those first.
Step 12: Add the retaining strap
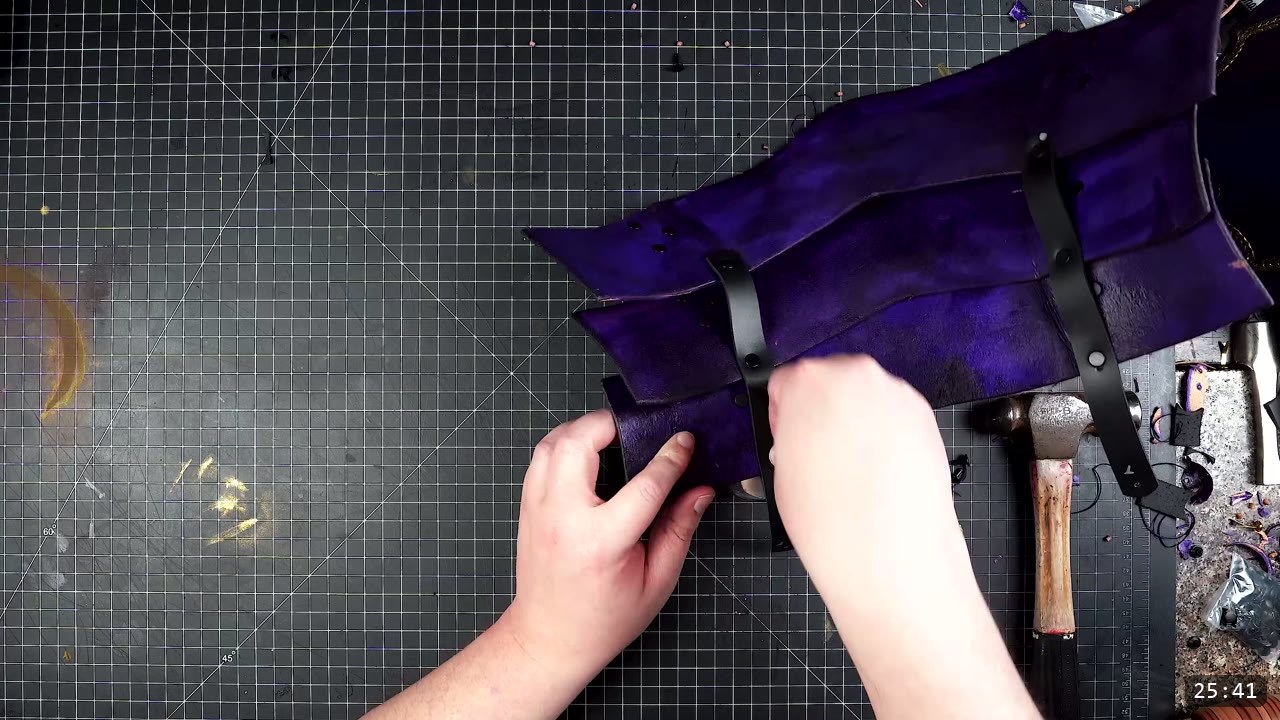
A retaining strap connects the segmented layers so everything can compress and twist for easy mobility. If you only want to wear the top portion, you can skip ahead to the buckle straps. For the retaining strap, use something firm but supple, heavy enough not to stretch and distort, with a little give. Cut a three-quarter-inch-wide strap and mark the holes to the pattern reference. Start at the bottom plate and set the rivets connecting the strap to that plate, then work your way up plate by plate.
Step 13: Add the buckle straps
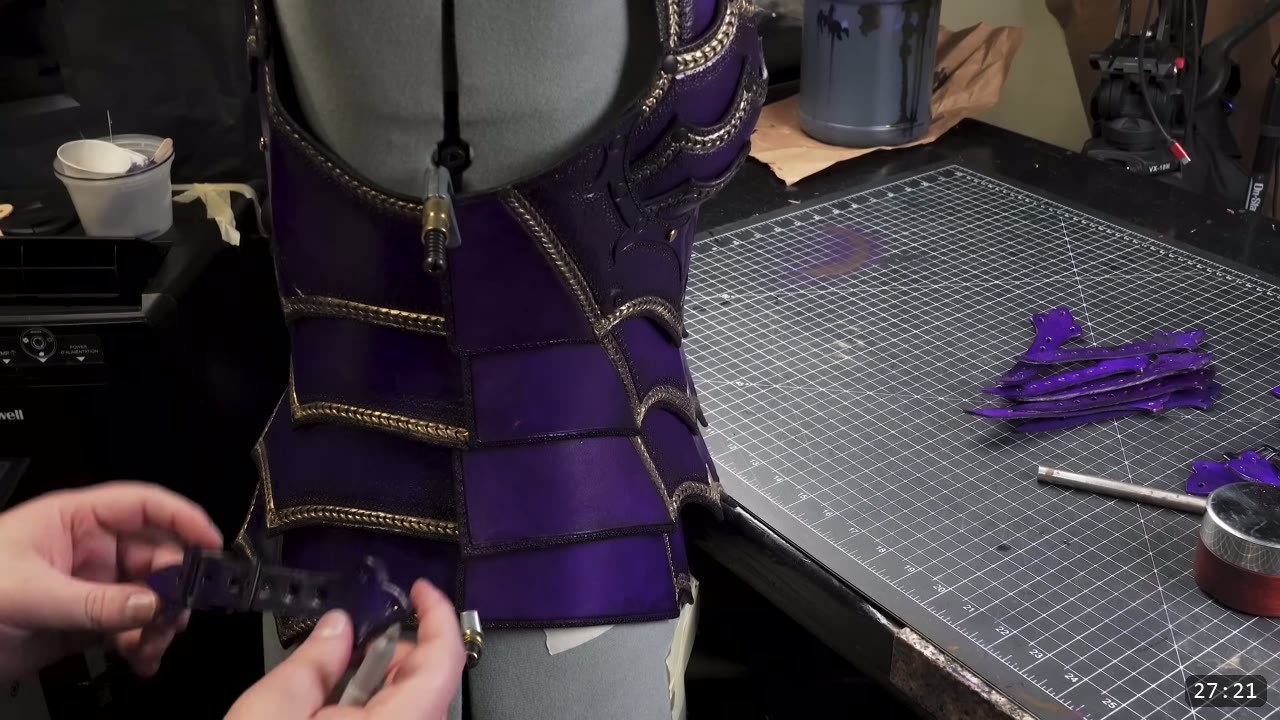
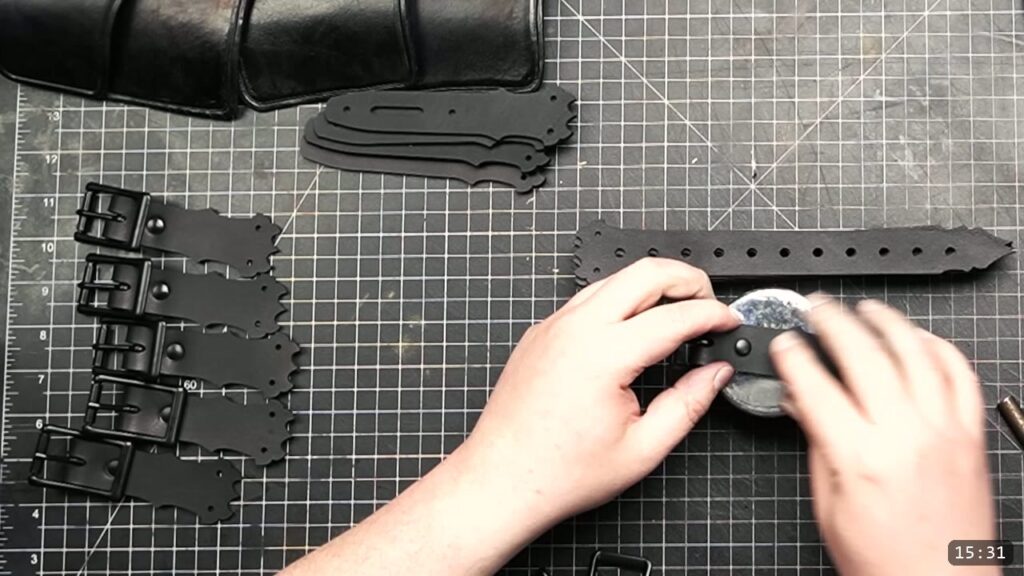
The last assembly is the buckle straps. The video uses three-quarter-inch buckles. Add a buckle to each strap and set the rivets. For buckle placement, wear whatever garb you plan to wear under the breastplate and mark accordingly. Since the plates are narrow, place your buckles low on each plate, except the top plate, where you aim for the middle. If you will wear this over bare skin, consider lining the leather with something soft for comfort. Placement does not have to be perfect, since you get a lot of adjustment, but centering the buckles on a default setting leaves you room to contract or expand later. One time-saver: attach all the front tongue ends first, feed the buckle ends onto the tongues at a middle point, then, ideally with a friend, go plate by plate and mark the hole placements evenly, so you do not pull the front off center. Then set the rivets and you are done.
FAQ
Is this a beginner project?
It is part of the beginner-friendly fantasy armor series, but it is one of the more involved builds in it. It asks for tooling, wet forming that affects the fit, a dyed gradient, and a lot of riveting. If you are new, read the whole guide first, make a mock-up, and keep a few sacrificial test pieces on hand.
What leather should I use?
A 10 to 11 oz veg-tan side from Weaver Leather in the video. You can go heavier or lighter to suit your needs. Veg-tan is what lets the leather take and hold the molded shape.
How do I get the purple and gold color?
Dye with Fiebing’s purple cut with their reducer, both sides, then build a darkened edge gradient by mixing a little black into the purple and dabbing from the edge inward. Seal with Weaver’s Tough Coat, then paint the gold trim with Angelus metallic gold acrylic over the sealed leather.
Can I make it more or less revealing?
Yes. The design is modular, so you can wear all the layers or remove some to reveal more. You can also wear just the top portion and skip the lower plates.
What if a piece dries out while I am shaping it?
Re-wet it, but only before you dye and seal. Do all your tooling, wet forming, and shaping first. Once the leather is dyed and sealed, the finish resists water and the piece will not fully re-wet or reshape, so color and seal are the last steps.
Do I have to tool it the way the video does?
No. The design lines in the pattern are optional. Use them, simplify them, or come up with your own variations.
Where to go next
- Get the pattern: Fantasy Female Breastplate Pattern.
- Building the whole set? The Fantasy Armor Digital Apprenticeship Bundle walks the full fantasy suit.
- Free buckle-strap patterns and examples: Free Buckle and Strap Patterns.
- Want the non-female articulated version? Watch How To Make An Articulated Leather Breastplate.
- Struggling with shaping? The Hand-shaping Leather for Armor Making walkthrough goes deep on wet forming.
- New to leather armor? Start with 5 tips for getting started with leather armor.
- Built one? Share it and tag Prince Armory Academy and Weaver Leather; we feature student work.




There is an Academy that teaches students how to build armor?
How have I not known about this?
I am so excited!