



Articulating Leather Gauntlets Build Guide: A Fantasy Set from a Flat Pattern

You build articulating leather gauntlets from a flat printed pattern, not a kit. You trace the cuff and hand pieces onto vegetable-tan leather, cut and mark them, dye and antique the parts, then rivet the cuff and screw the hand together. The moving fingers are rows of small leather scales mounted on flexible strips, with a finger loop under each fingertip so the gauntlet slides on and off. This is an advanced build and the last tutorial in the Fantasy Armor series. This guide walks the whole thing alongside the video, so you can watch each step and read the details the video moves past quickly.
What you are building, and what it takes
This is the pattern build, so you cut and shape everything yourself. The reward is a full articulating gauntlet: a flared cuff, a shaped hand, and fingers that bend because each finger is built from overlapping scales on flexible straps. The tradeoff is real leatherwork. If you are brand new, build a kit or a simpler piece first, then come back to this one.
The finished gauntlet in the video is dyed deep red and antiqued black to tie into the rest of the fantasy suit.
What you need
The pattern. The Fantasy Gauntlet Pattern prints out so you can trace and cut by hand. The hand and cuff pieces scale to fit. Print the finger pieces at a fixed 100 percent scale and adjust length by adding or removing finger segments instead of resizing them, unless you need a large adjustment. The cuff prints across tiled pages that you tape together. Each handpiece carries a star to mark its orientation, because the handpieces are not symmetrical. It comes as printable PDF templates alongside the video tutorial.
Leather.
- Cuff and hand pieces: vegetable-tan, around the 10 oz range, give or take for your needs.
- Finger scales: thinner leather. The video used about 4 oz veg-tan and calls it a bit too thin. For costume grade, around 6 oz or a little more holds up better.
- Flexible finger strips, finger loops, and hand straps: 3 to 4 oz kangaroo, which is very strong even thin. You can also use 5 to 6 oz pre-dyed leather or normal veg-tan. Avoid anything stretchy or weak.
Tools.
- Cutting and marking: leather shears, a hole punch to mark the holes precisely, and a pen or stylus to transfer design lines.
- Strips and scales: a strap cutter helps for the many repeated cuts, though it is optional. Poster board or thin cardboard to make a durable reusable pattern.
- Assembly: rivets, Chicago screws, and something to set rivets against, like an anvil or a footrest. You can set rivets flat from the inside if you have no setter.
- Color and finish: Fiebing’s Pro Oil Dye in red, Weaver’s Clear Tough Coat, black Fiebing’s Antique Finish, a dauber, nitrile gloves, and two clean rags.
- Hardware: small rivets for the finger scales and mediums for everything else if you use thicker scales, plus snaps, buckles, or lace for the cuff closure.
Step 1: Print, scale, and lay out the patterns
Print the patterns. Scale the hand and cuff pieces to fit your hand. Print the finger pieces at 100 percent and change their length by adding or removing segments. Print the cuff on the tiled pages option and tape it into one template. Check the site help section if you need printing help.
Step 2: Trace, cut, and transfer the design lines
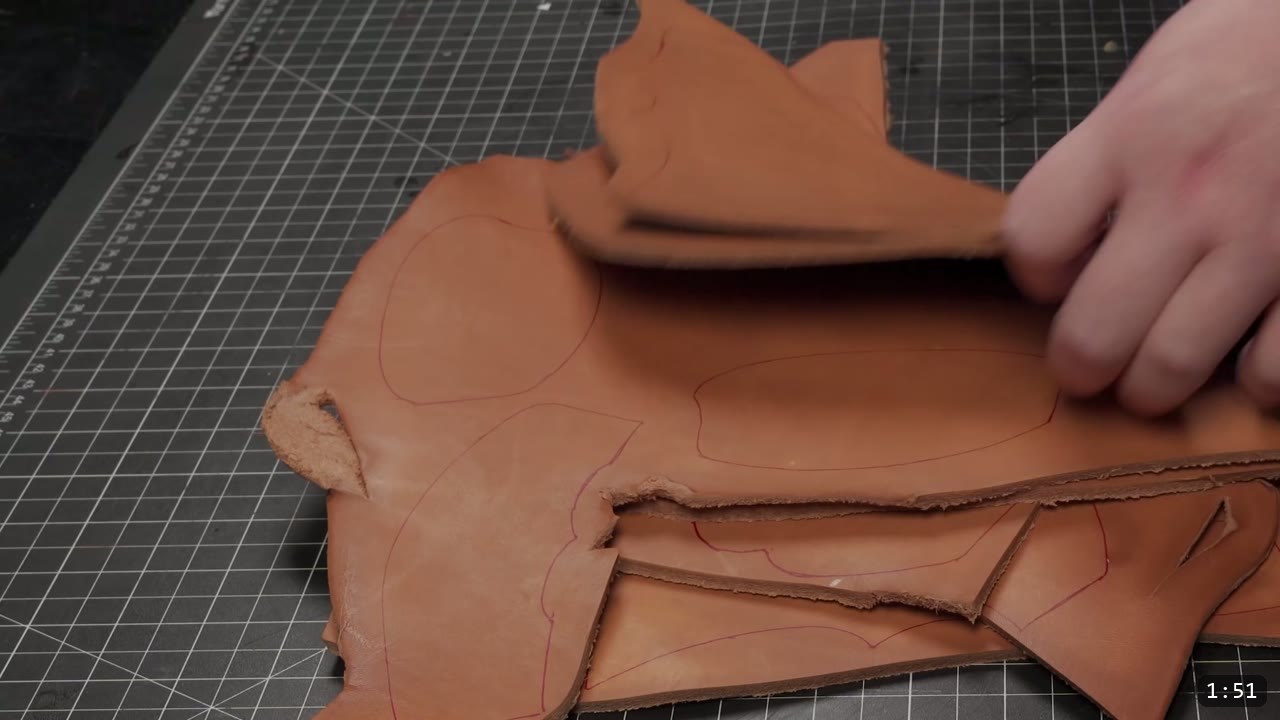
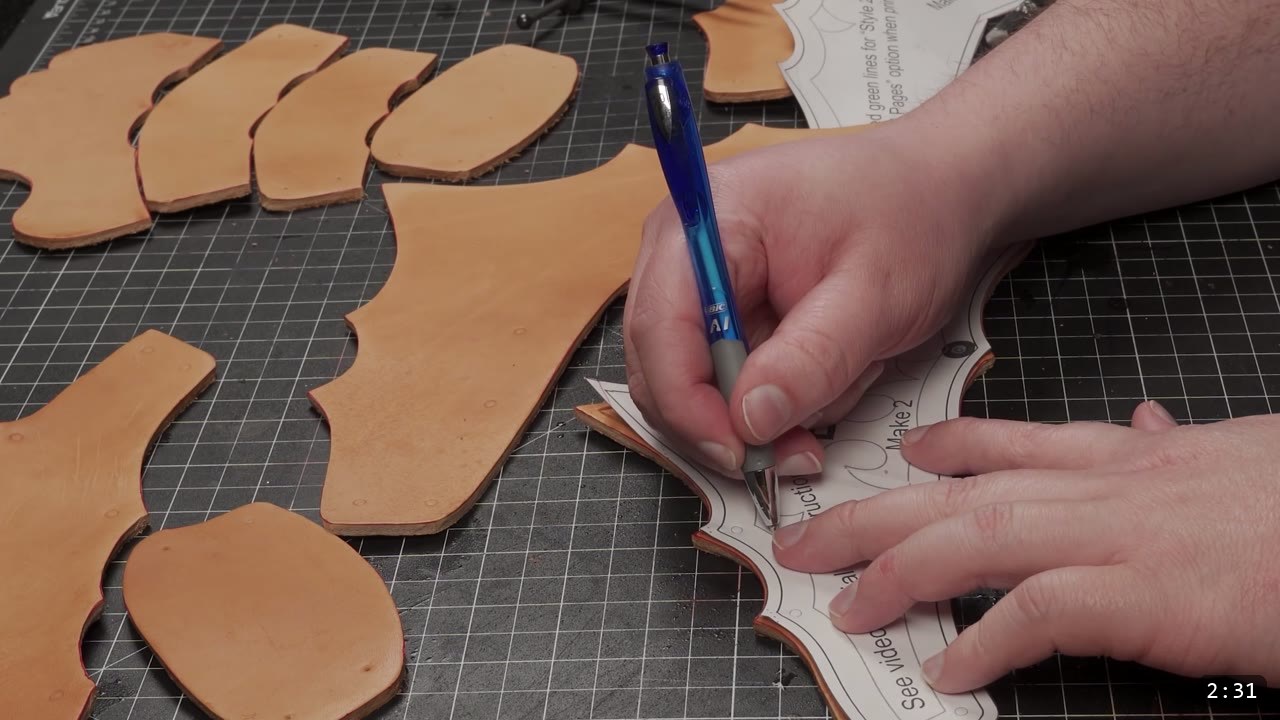
Lay the patterns on veg-tan and trace them. Use the roughly 10 oz leather for the cuff and hand, and a thinner leather for the fingers. Separate the pieces for easier cutting, then cut them with shears. I like to wet the leather with a short dunk in water at this stage so it takes marks and shape easily. Transfer all the design lines and hole positions. Because the gauntlet is an intricate part, mark the holes with a hole punch rather than eyeballing them, so the parts line up during assembly. If you want the tooled detail, trace right over the paper pattern to leave a guide impression in the damp leather.
Step 3: Wet form the knuckles
While the leather is still damp, do a little wet forming at the bottom of the handpiece. Give a small shape to each knuckle. It does not take much, and the subtle bumps make the finished hand look right. Get this shaping done now, before any dye or finish goes on. Wet forming is the single most useful skill in leather armor. If you want to go deeper on it, watch Hand-shaping Leather for Armor Making.
Step 4: Dye the parts
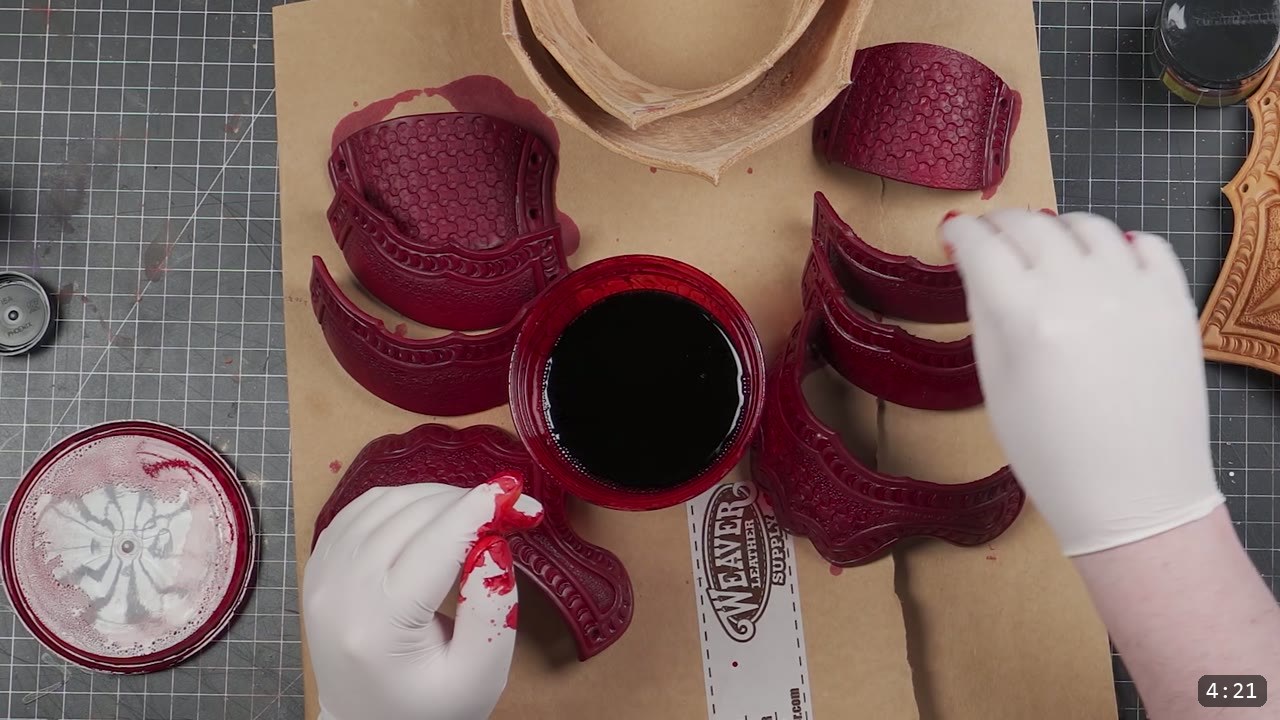
For color, the video uses Fiebing’s Pro Oil Dye in red to match the rest of the suit. One fast option is immersion dyeing: if a piece is small enough, or your container is big enough, dunk it briskly but carefully for a solid, even coat. It is quick, but it burns through a lot of dye and one big spill is a real mess, so work over paper and take care. For parts too big to dunk, dip from each side, then fill in the middle with an applicator. Test your color on scrap first, or on the underside if this is your first piece and you have no scrap.
Step 5: Seal, then antique
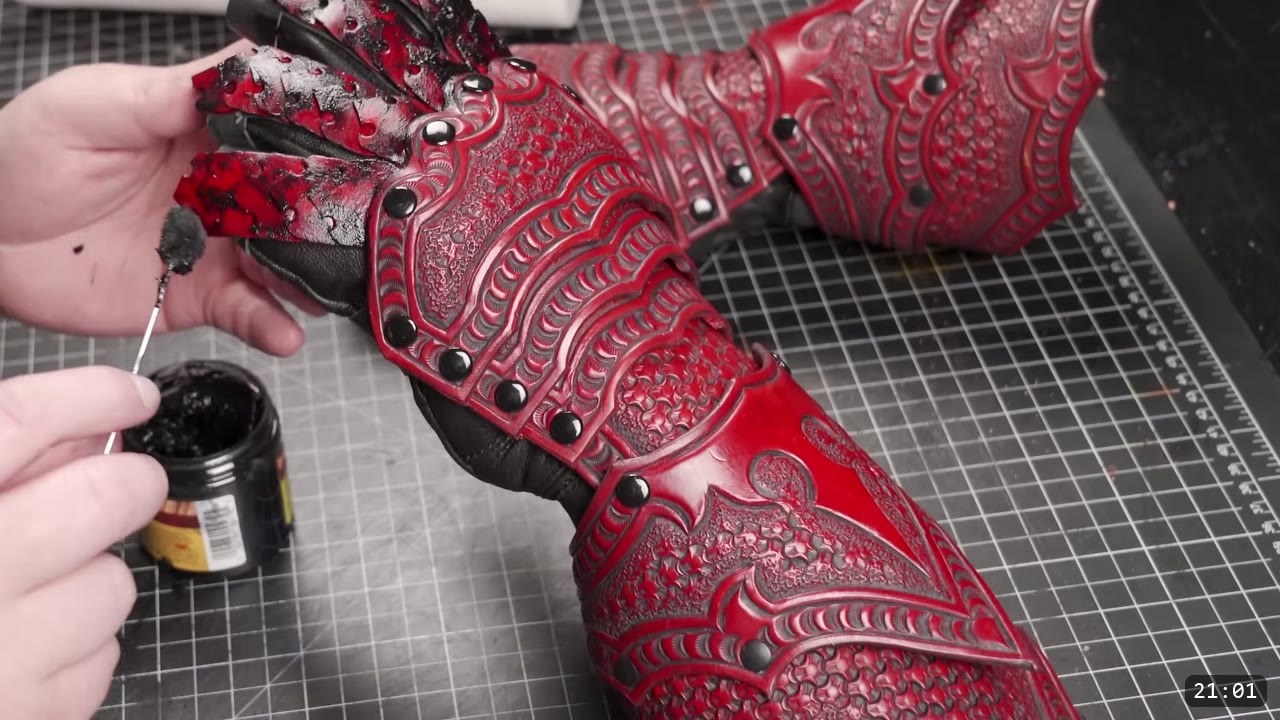
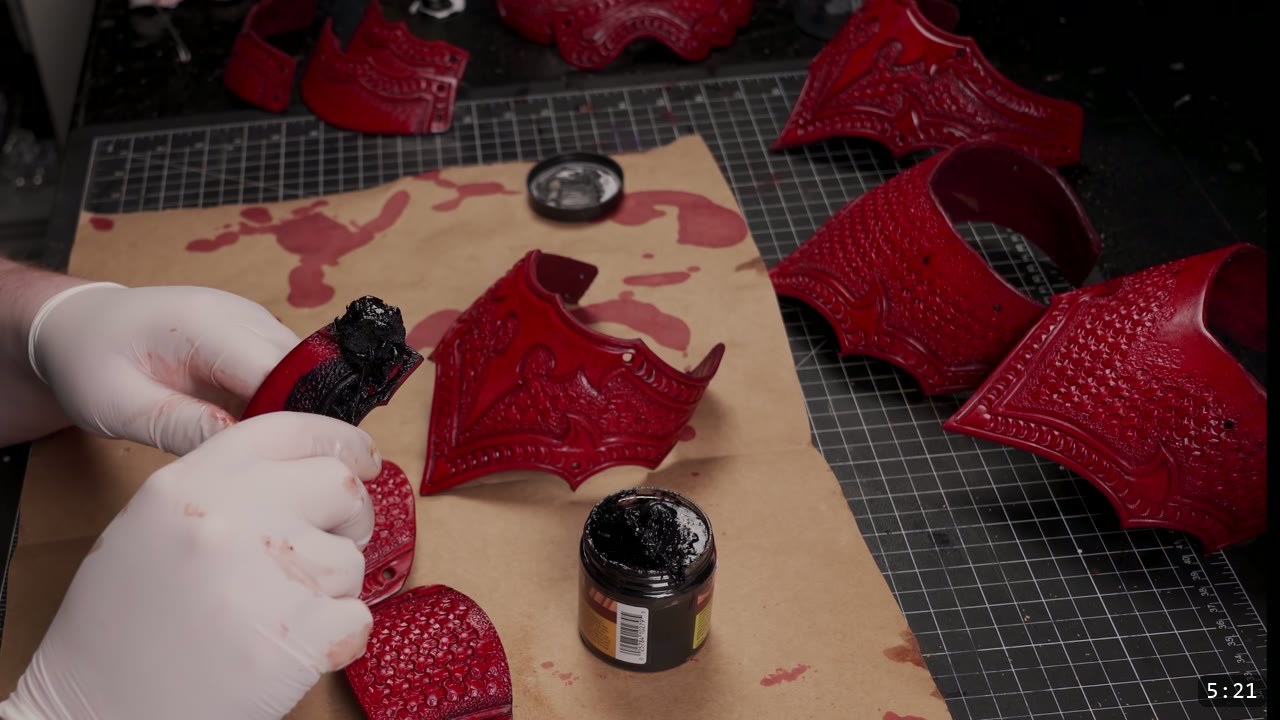
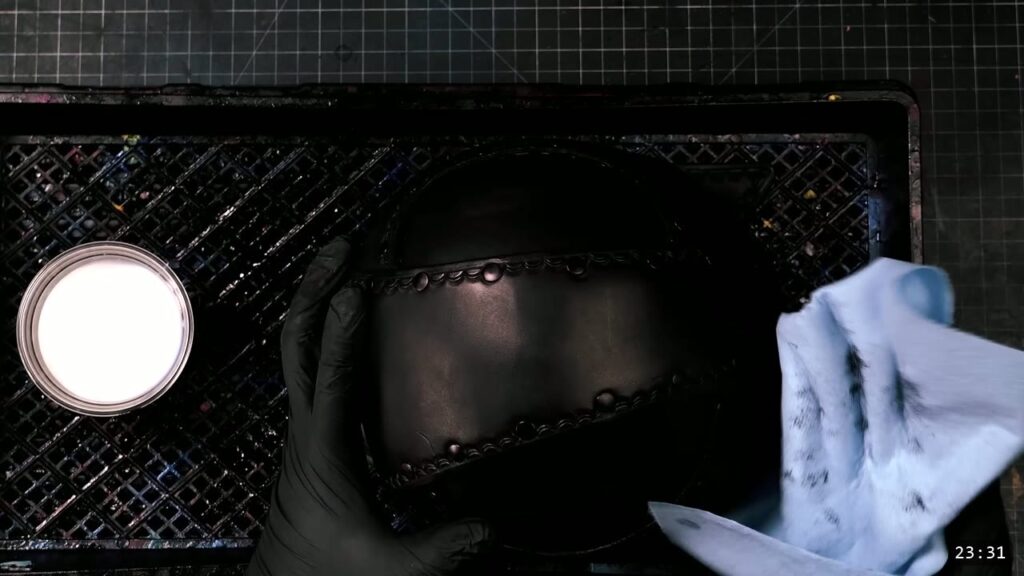
Seal the pieces with Weaver’s Clear Tough Coat. You can dunk this too, but watch it as it dries. Once it has dried a bit, add black Fiebing’s Antique Finish for contrast. This is a strong bang-for-the-buck technique. Brush the antique generously over the top of the part with a dauber, then before it dries, wipe the surface back so the dark pigment stays only in the recesses. Use a shop towel, not a paper towel that sheds fibers. Two rags help: a mess rag to pull off the bulk, and a cleaner one to buff the high spots. Go light on buffing pressure so you do not lift too much pigment. Remember that once this finish cures, the leather locks and will not re-wet or reshape, so all your forming must already be done.
Step 6: Assemble the cuff
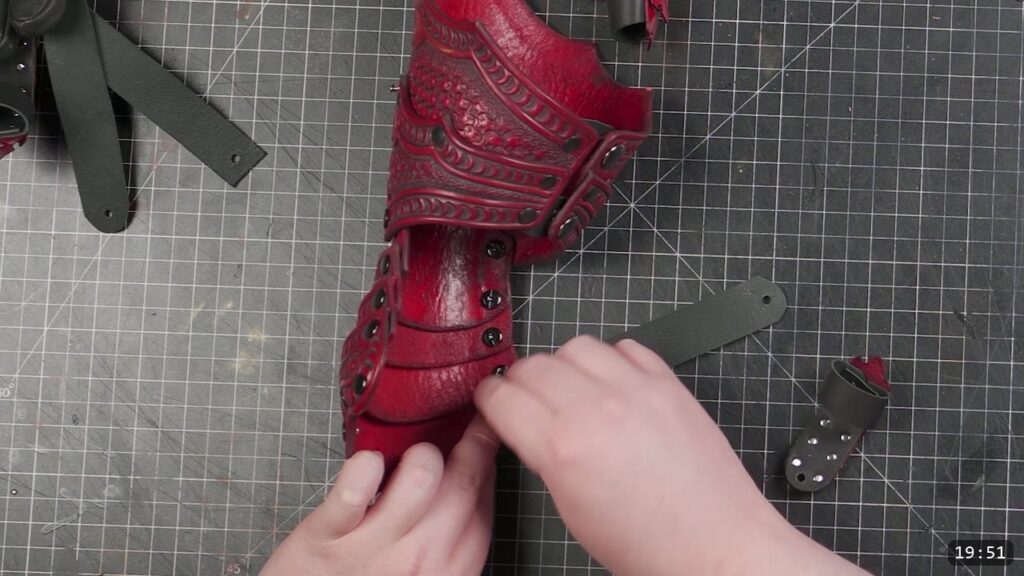
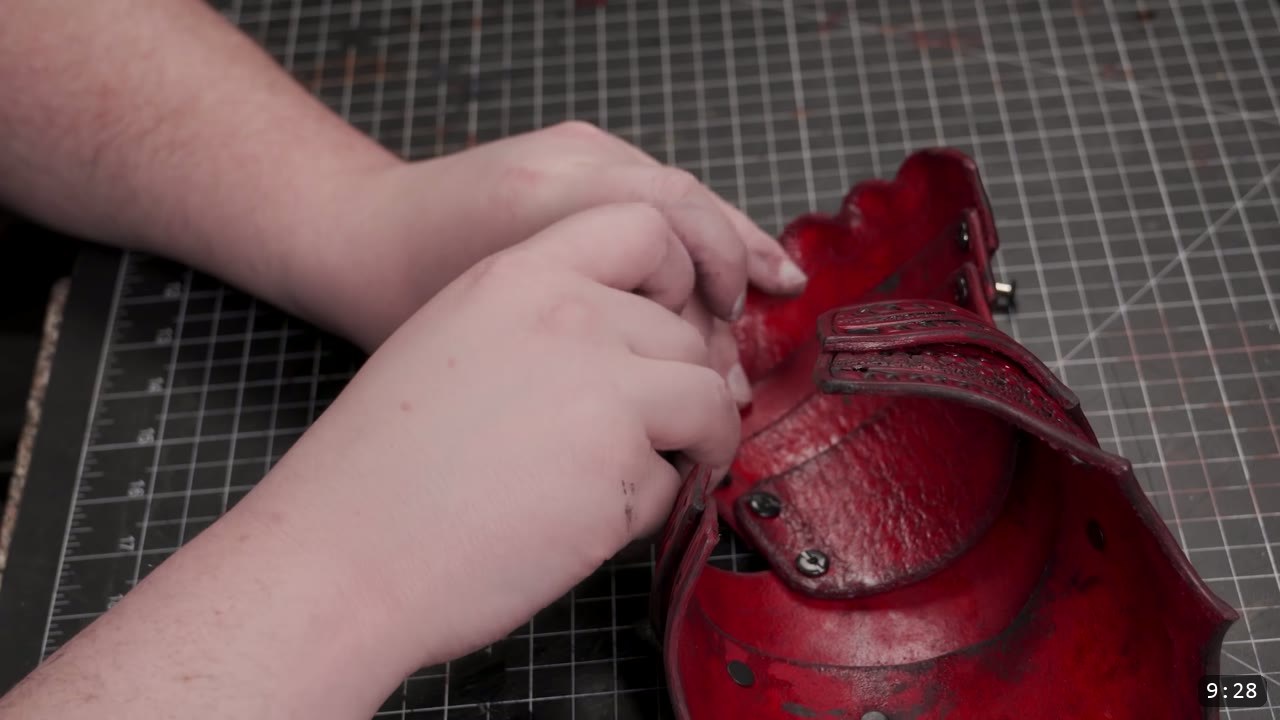
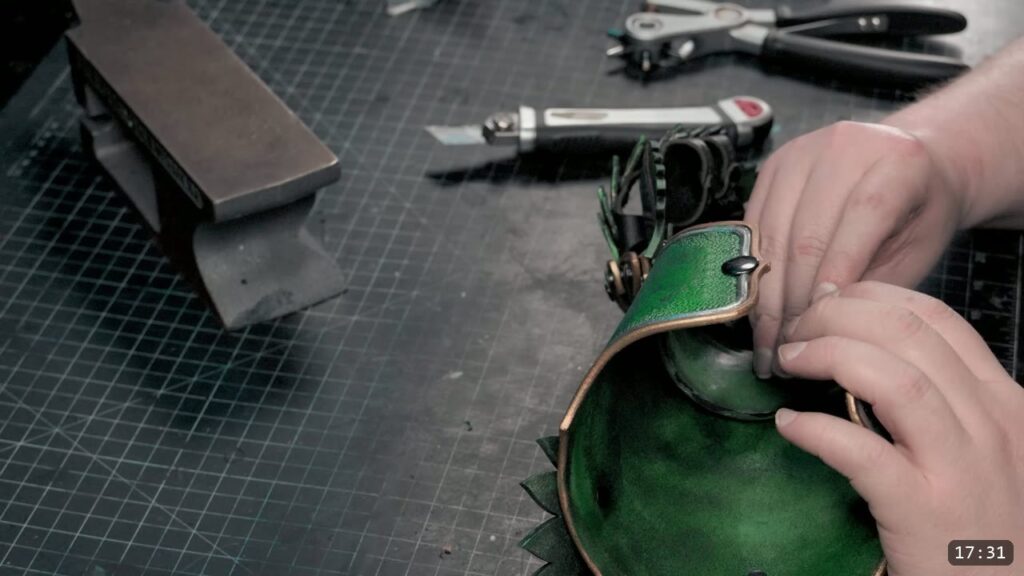
Join the two cuff pieces with rivets. These are not meant to lay flat: the center section flares out slightly, and riveting them also forces the curve of the gauntlet. If you plan to close the cuff with snaps or buckles, you can attach that hardware now. If you have no rivet setter or anvil, set the rivets flat from the inside.
Step 7: Join the wrist and hand parts with Chicago screws
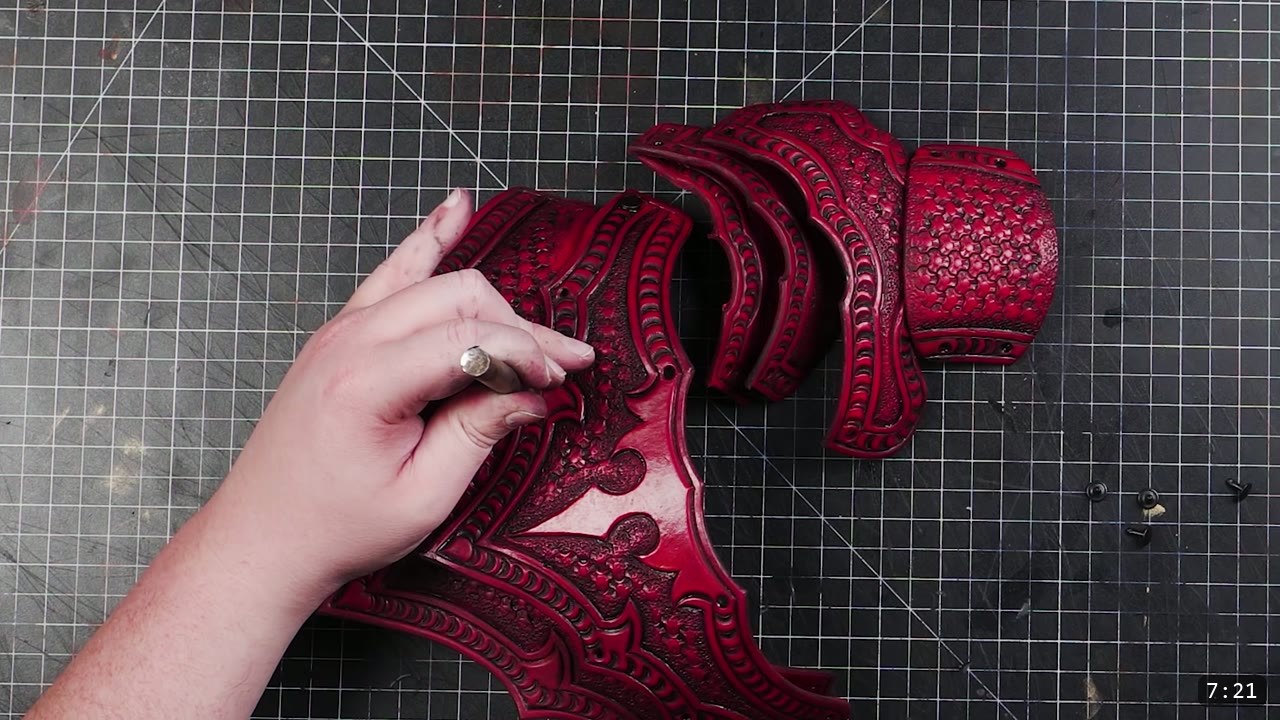
Attach the wrist and hand parts with Chicago screws. They fit together in the same order the pattern PDF lays them out. You will glue the screws later, so wait until the whole assembly is finished and you are happy with it before you commit any glue.
Step 8: Cut the flexible finger strips
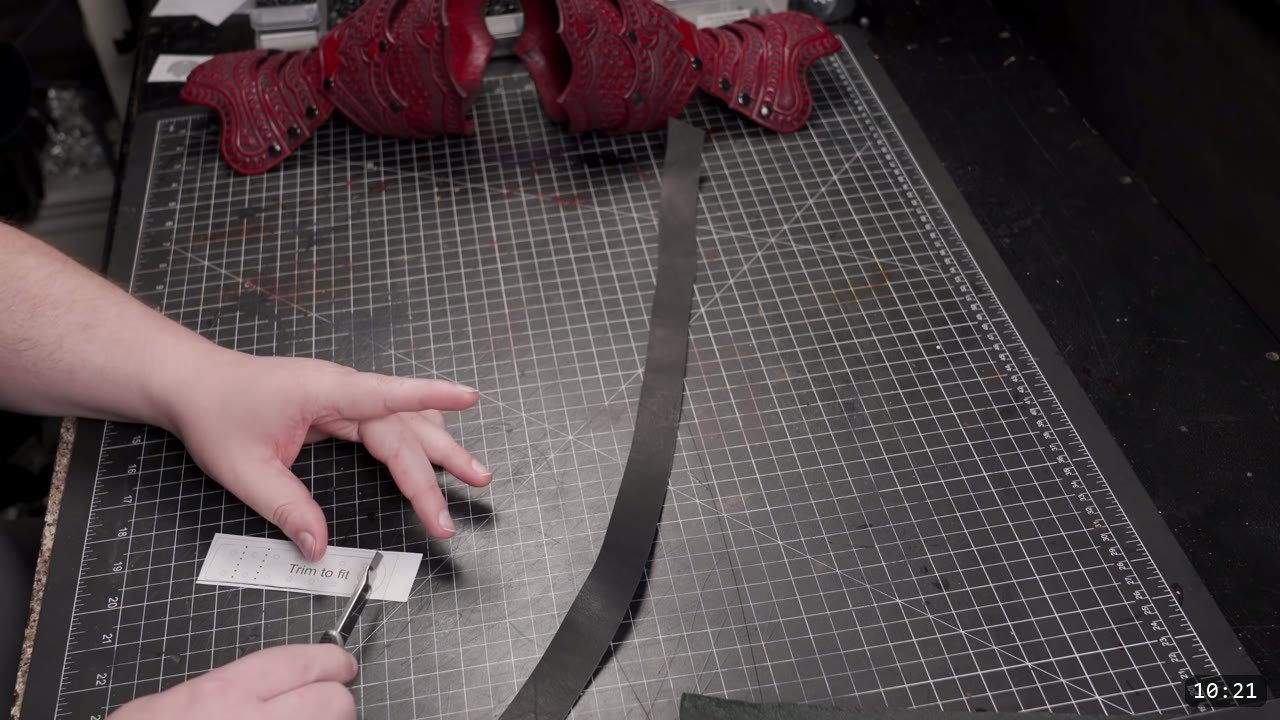
The fingers are built from segmented overlapping scales mounted on flexible strips, so cut the strips first. Use 3 to 4 oz kangaroo for strength at a thin gauge, or 5 to 6 oz pre-dyed leather, or normal veg-tan. Cut a few 1 inch straps, then mark the finger sections carefully on one and use it as a pattern for the rest. Making a reusable pattern is good practice for multiples, because paper patterns wear out. Work out how many scales each finger needs by testing on your own hand. There is a little wiggle room. If a full scale hangs off the end of the finger, drop one; if the last scale falls short, add one. If the gauntlet goes over a glove, wear the glove while you fit.
Step 9: Make the finger scales
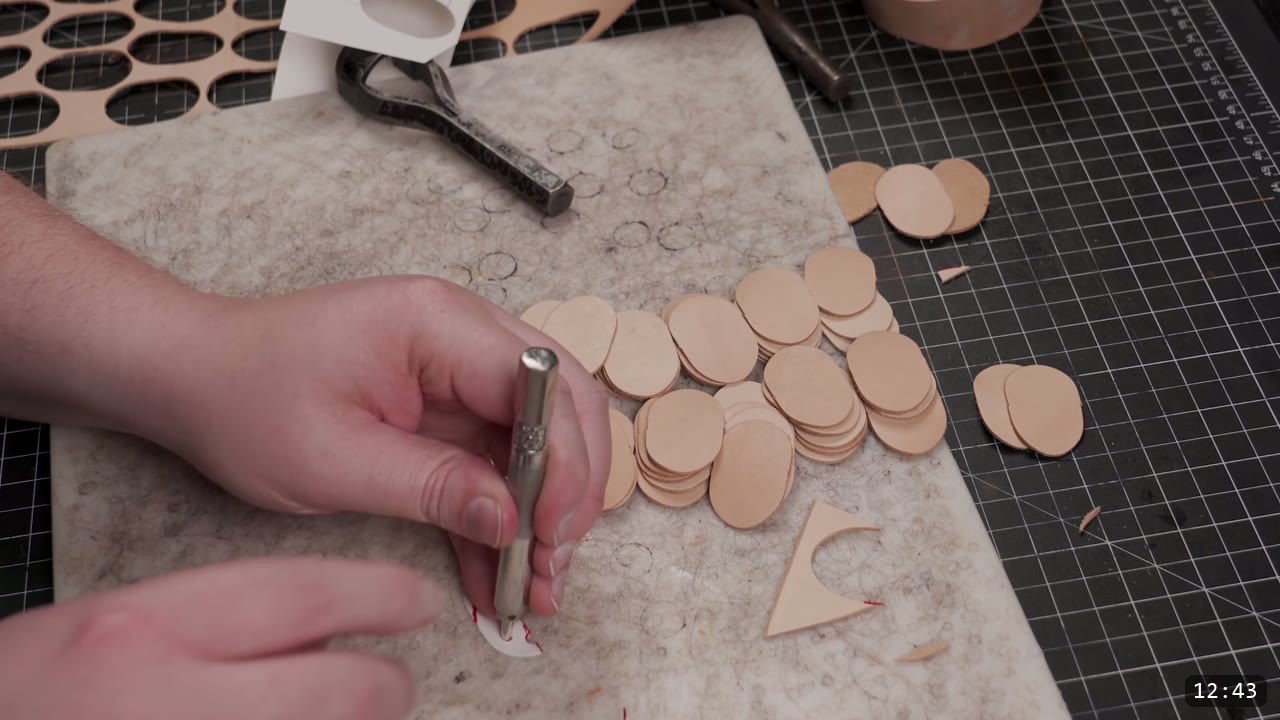
Cut and punch the finger scales. Save time by pre-punching a stack of blanks. A strap cutter does some of the heavy lifting, and if you do not own one, hand cutting is fine and good practice. The thin paper scale pattern will not hold up for tracing many pieces, so make a sturdier one from poster board or thin cardboard, or reinforce the paper with tape. Fold the poster board in half for symmetry, punch the holes evenly, and add a couple of decorative notches with the hole punch. Only 10 of the scales need an extra hole up at the top, for screwing to the fingertips later. Trace the pattern onto all the blanks, punch the holes, then trim the shapes out with shears.
Step 10: Dye and shape the scales, and make the finger loops
Do a loose assembly of a few fingers first and check the length before you commit. When the scales are all made, give them a quick dunk in the dye, let them dry, and add a quick sheen. Give each scale its slight shape while that sheen is still wet, before it cures, so you are not fighting a locked finish. Then make the finger loops. The video uses simple loops rather than a more complex articulation, and they work better than you would expect while keeping the build simpler. They also let you swap gloves or go without. Make the loops from the thin kangaroo and fit each one to the finger with your glove of choice worn, or to your bare hand if you never plan to wear gloves.

Step 11: Assemble the fingers
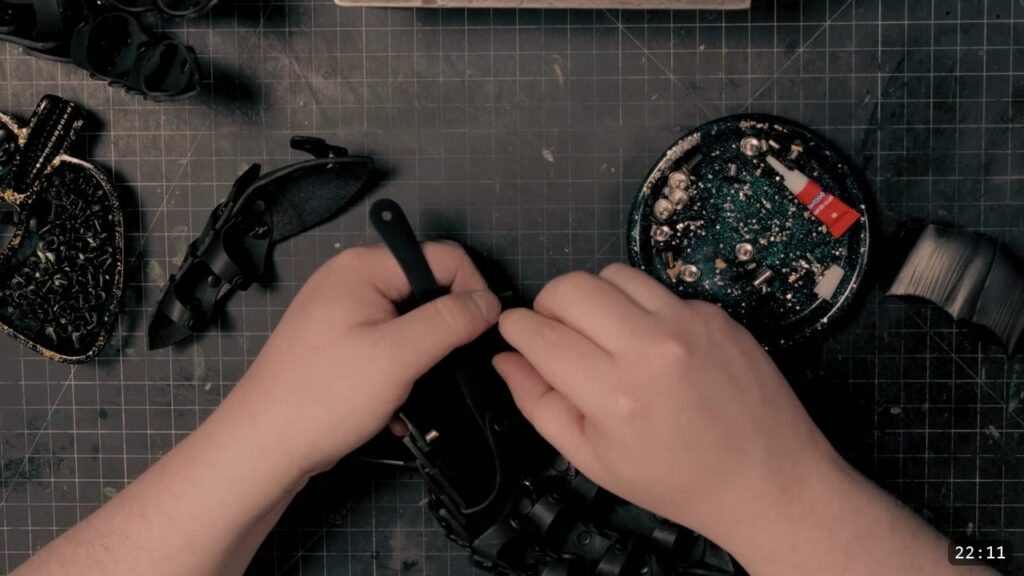
Build each finger as a sandwich. Set a small rivet at the base of the finger strap, add one end of the finger loop, and cap it with the finger scale. Set the rivet, then repeat on the other side to close the loop. The cap blocks the rivet a little, so nudge the loop off to the side to reach it. Angling the loop forward toward the fingertip makes the rivet easier to reach and leaves a taper at the opening that your finger slides into more easily later. From there it is one scale at a time. Save the scales with the extra top hole for the tip of each finger. If your strapping and scales are very thin, use a very thin rivet; if you went with thicker scales, Weaver’s small rivets suit the finger scales and mediums suit everything else.

Step 12: Attach the fingers and add the hand straps
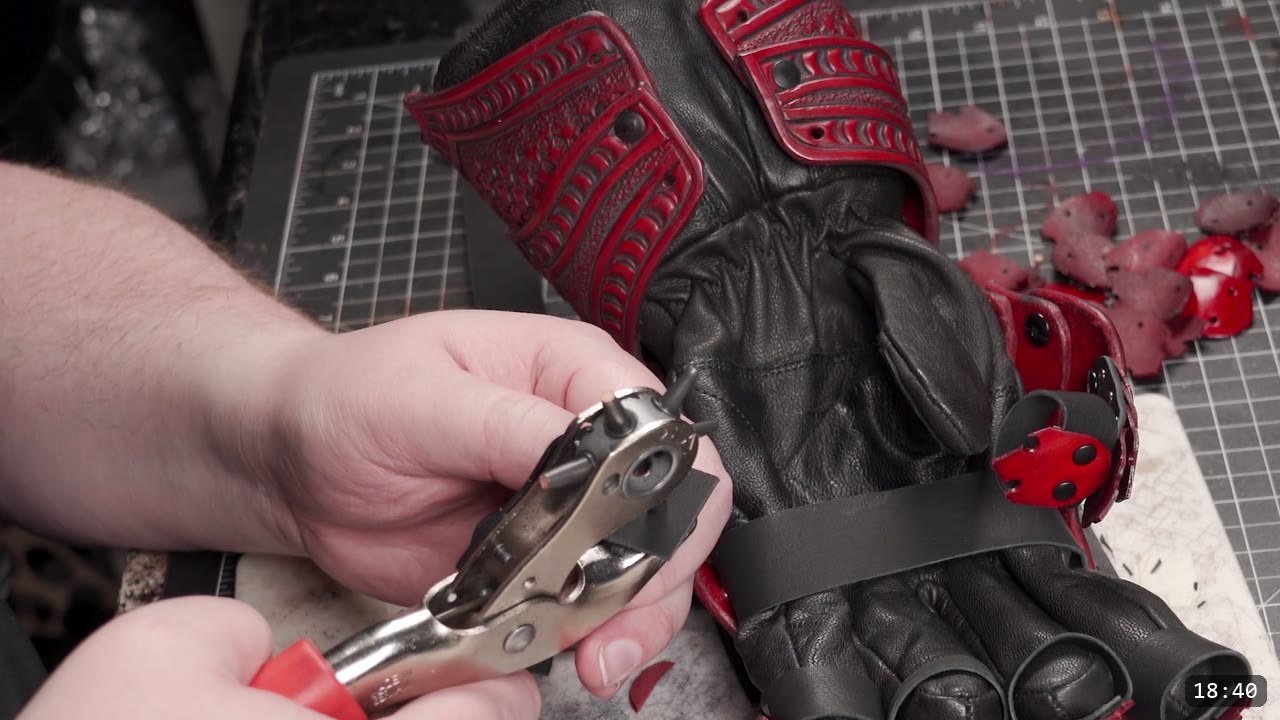
Attach each finished finger to the hand with a Chicago screw at the tip of each knuckle. The design keeps this simple. To make the gauntlet sit firmly, add straps across the palm and around the base of the thumb, using the strong thin kangaroo again. The easy way: punch a hole in one end of a longer strap, screw it to one side of the hand, snug it across the palm, and mark where the second hole falls. For the thumb, run the strap off the screw on the second segment and snug it up over the thumb. Take your time here, because this stage sets the comfort and fit.
Step 13: Add the cuff closure, then antique to finish
If you have not already, add a closure for the cuff. The video uses snaps for a clean look, but buckle straps, lace, or other hardware work too. Do a final fit, then glue the Chicago screws now that you are happy with the assembly. To tie everything together, add a last pass of antique. That is the build. One note on sizing: the demo is built at default scale and runs a little small on large hands, so if you have bigger hands, scale the patterns up by about 8 to 10 percent, and scale up or down as needed for any size.

FAQ
Is this a beginner project?
No. It is an advanced pattern build with a lot of small repeated parts. The fingers alone are rows of scales riveted onto flexible strips. If you are new to leather armor, build a kit or a simpler piece first, then come back to this one.
What makes the fingers articulate?
Each finger is a row of overlapping leather scales riveted onto a flexible strip, with a finger loop under the tip. The scales slide over each other as the finger bends, and the loop lets you slip the gauntlet on and off and swap gloves.
What leather and weight should I use?
Vegetable-tan around 10 oz for the cuff and hand. Thinner leather for the scales, ideally around 6 oz for costume grade rather than the 4 oz shown. For the flexible strips, loops, and straps, 3 to 4 oz kangaroo is strong and thin, though 5 to 6 oz pre-dyed or normal veg-tan also works. Avoid anything stretchy or weak.
How do I dye and finish them?
The video uses Fiebing’s Pro Oil Dye in red, applied by immersion dyeing where the piece fits, then Weaver’s Clear Tough Coat to seal, then black Fiebing’s Antique Finish wiped back to leave contrast in the recesses. Test color on scrap first, and get all your shaping done before the finish cures.
They do not fit my hands. What do I do?
Scale the patterns. The demo runs small on large hands. Scale up by about 8 to 10 percent for bigger hands, and up or down for any size. Fit the finger loops with your glove on if you plan to wear one.
What hardware holds it together?
Rivets join the cuff, Chicago screws join the wrist and hand and attach the fingers at the knuckle tips, small rivets build the finger sandwiches, and snaps, a buckle, or lace close the cuff.
Where to go next
- Get the pattern: Fantasy Gauntlet Pattern.
- Building the whole suit? These gauntlets complete the set. The Fantasy Armor Digital Apprenticeship Bundle walks the full fantasy suit, and the Fantasy Armor set carries the same theme across the rest of the body.
- Struggling with shaping? The Hand-shaping Leather for Armor Making walkthrough goes deep on wet forming.
- Want another take on moving fingers? See the articulating Imperial gauntlets build for a different articulation approach.
- New to leather armor? Start with 5 tips for getting started with leather armor.
- Built one? Share it and tag Prince Armory Academy and Weaver Leather; we feature student work.



Responses