



Articulating Leather Gauntlets Build Guide: Imperial Knight, Cut to Finish

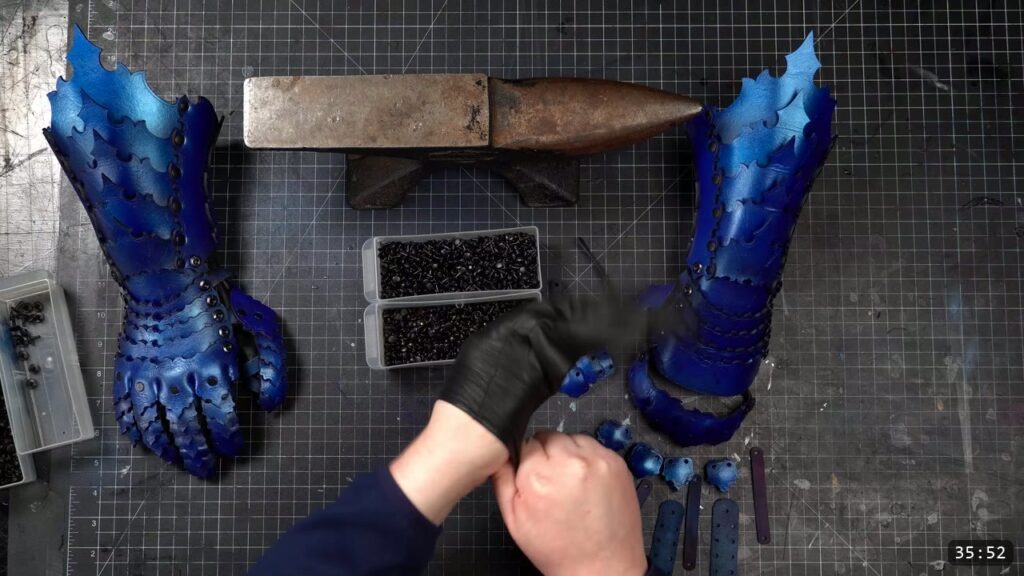
You build the Imperial Knight articulating gauntlets from a flat pattern, not a kit. You cut dozens of small plates and finger scales, dip-dye and seal them, fold and rivet the knuckle plates, then assemble the cuff, wrist lames, thumb, and fingers with rivets and Chicago screws so the whole thing flexes with your hand. This is an advanced build with a lot of parts. This guide walks the whole thing alongside the video, so you can watch each step and read the details the video moves past quickly.
What you are building, and what it takes
The reward is a full pair of articulating gauntlets: a flared cuff, a domed knuckle plate, wrist lames that ascend in width, and jointed finger scales that move with your hand. The tradeoff is part count. This is one of the more complex pieces in the series. If you are new to leather armor, start with a kit or a simpler helmet, then come back to this one.
What you need
The pattern. The Imperial Knight gauntlets pattern carries all the intricate geometry. It comes as PDF templates with a video tutorial, and the laser files are optimized for the Glowforge, with layers for the holes and outlines to cut and a decorative trim layer to score. The pattern scales up or down; in subjective terms the default 100 percent scale runs large.
Leather. Natural proof-grade veg-tan. About 6 oz, or 2.5 mm, for most of the plates and scales. That is a little thin for larger armor, but it is right for these small intricate parts. For the loops and strap bits, drop to a thinner 4 to 5 oz.
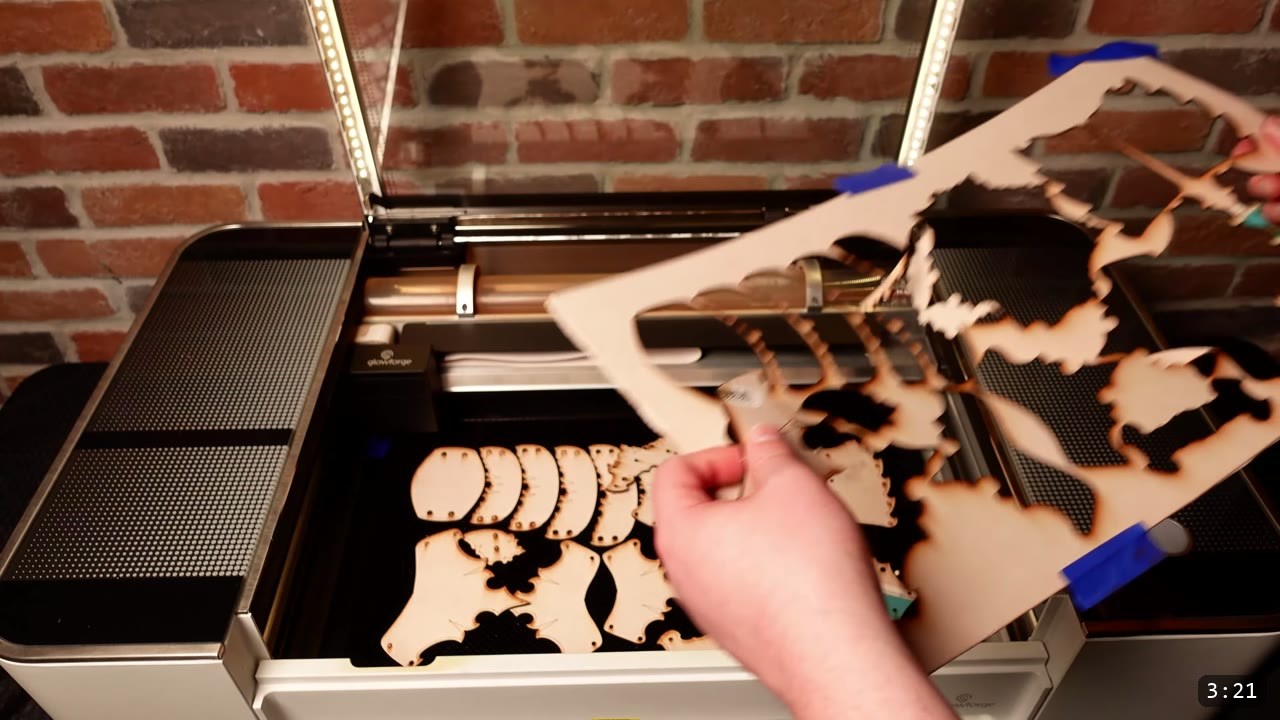
Cutting. A laser cutter is the easy path here, because you are cutting dozens of small repetitive parts. A Glowforge scans the pattern QR code and fills the settings for you. You can also cut everything by hand if you take your time with the geometry.
Hardware. Small black double-cap rivets and medium rivets (from Weaver), Chicago screws for the articulation points, and snaps for the cuff. Glue to lock the Chicago screws once they are set.
Color and seal. Leather dye (the video uses blue), Weaver’s Tough Coat leather finish, and, if you want to paint, an airbrush with a compressor and paint. Black acrylic for weathering.
Step 1: Cut the pieces
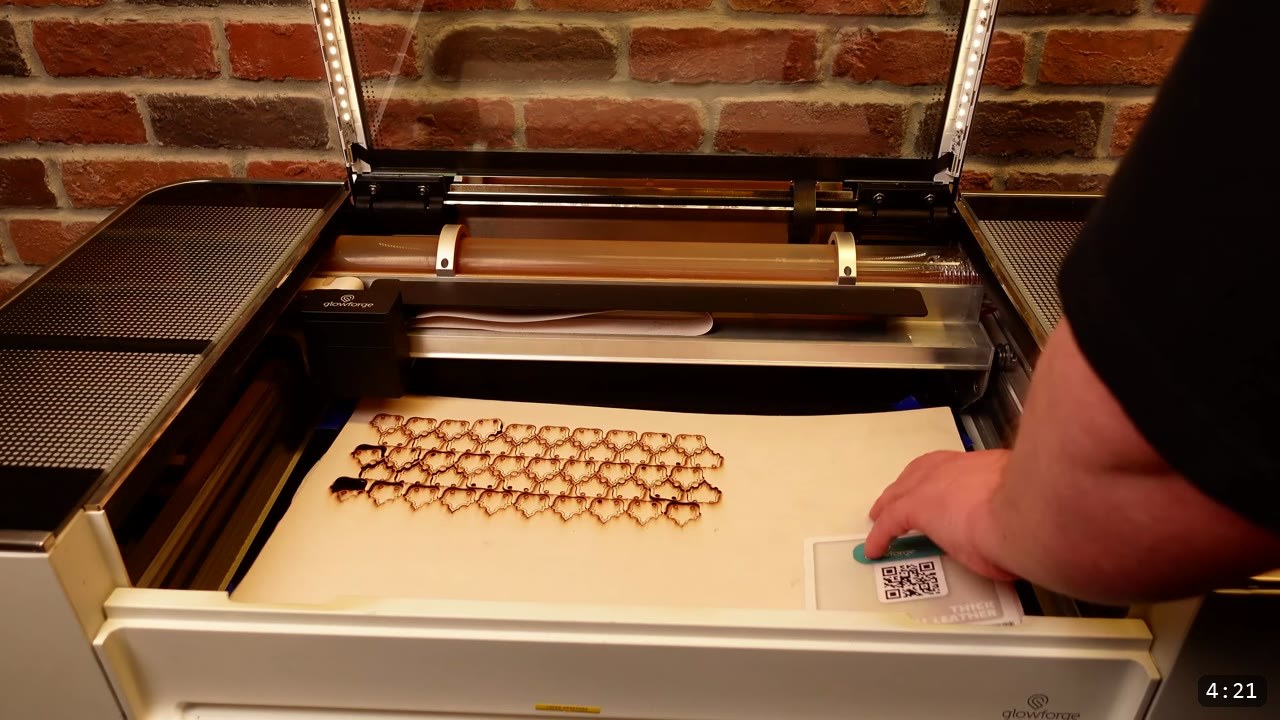
If you are cutting by hand, trace every piece onto the leather first. On a Glowforge, load the leather into the bed, tape any corners flat, and let the camera scan the QR code to fill the settings. Set the holes and outline layers to cut and the decorative trim layer to score, or ignore the trim if you do not want the border, and keep the holes layer above the cut layer. Run it, then repeat for the opposite hand.
Step 2: Cut the finger scales and small parts
Cut the finger scales and small plates the same way. There are a lot of them. Use the thinner 4 to 5 oz leather for the loops and strap bits. The leather from Glowforge comes with a protective masking on it to keep the edges from charring; peel that off after cutting. At this stage you can decide whether to tool the pieces or leave them plain. The video leaves them plain and saves the tooling for the next series.
Step 3: Dip-dye the parts
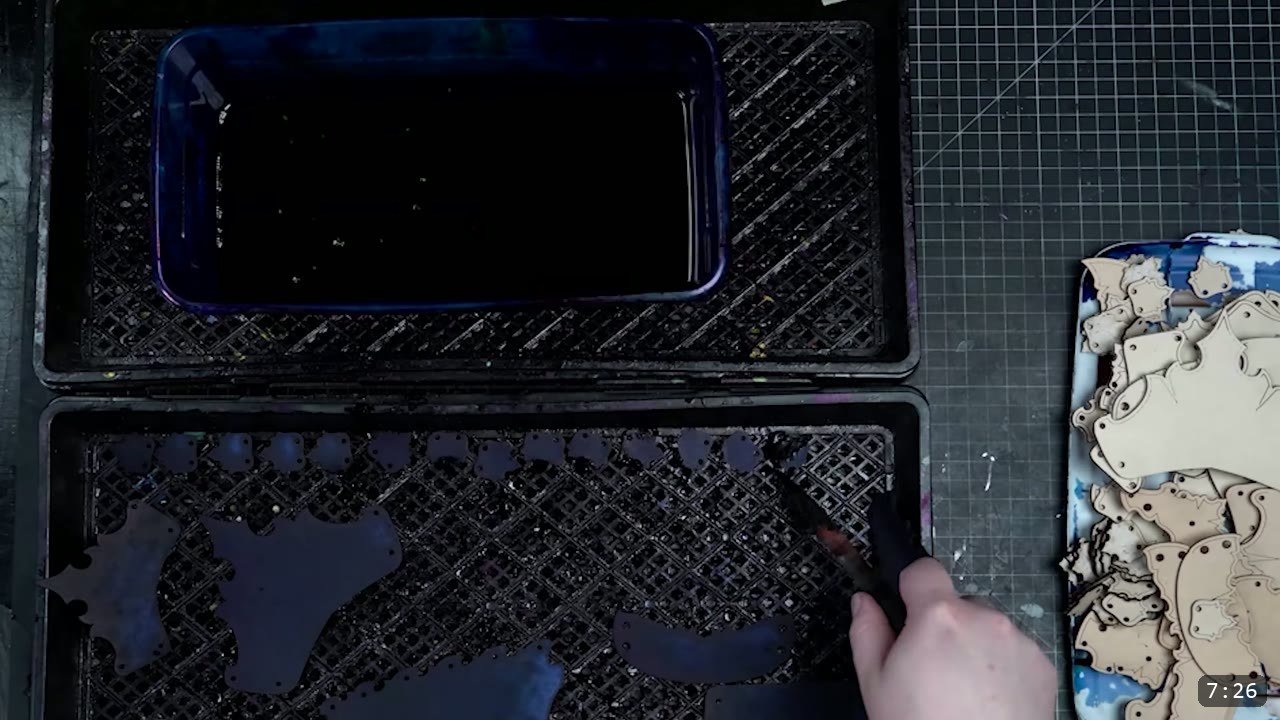
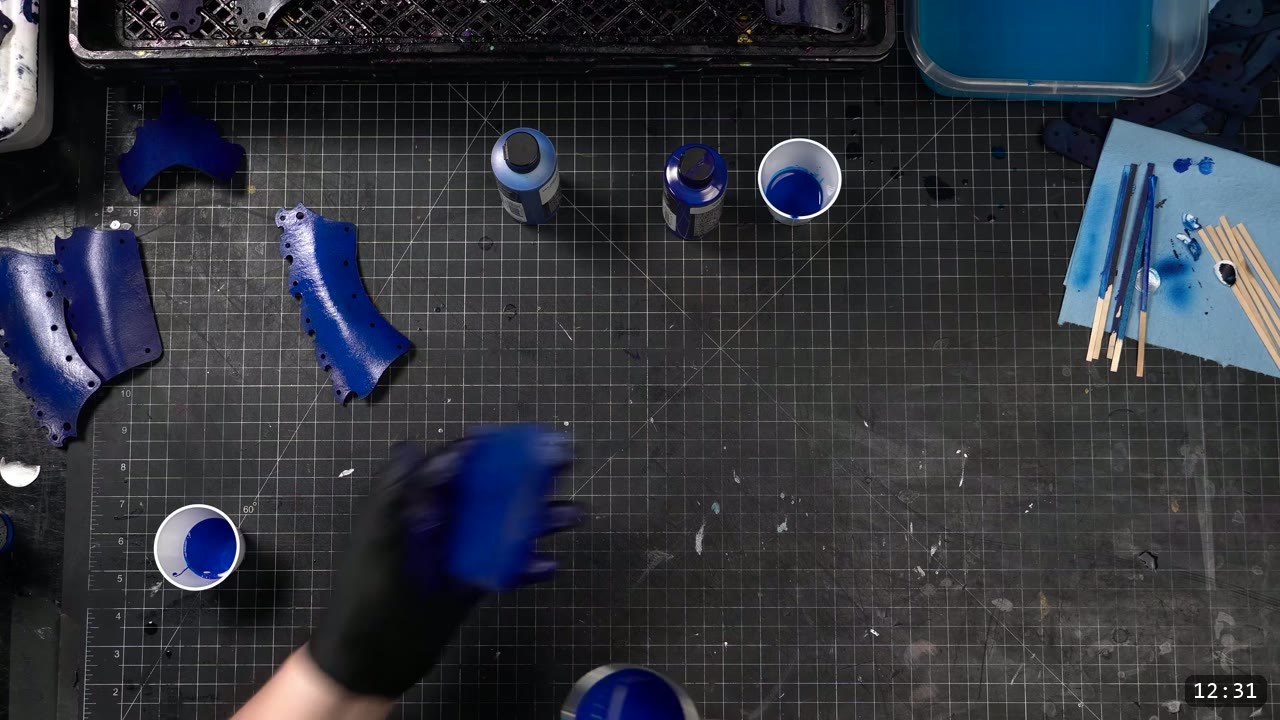
With this many small parts, dip dyeing is the clean way to color them. Hold each piece with a pair of needle-nose pliers, dunk it briefly in the dye, and set it on a drain rack to dry. Grip the piece gently, and grip it somewhere that another piece will overlap later, so any pliers marks stay hidden.
Step 4: Seal the parts
Seal the pieces with Weaver’s Tough Coat leather finish. The video simply dips them. If you are going to paint over the leather, do not worry about small imperfections in the finish, since the paint will cover them. Keep in mind the ledger rule: once this finish dries, the leather resists water and will not fully re-wet or reshape, so any forming has to happen before it dries.
Step 5: Shape and rivet the knuckle plates
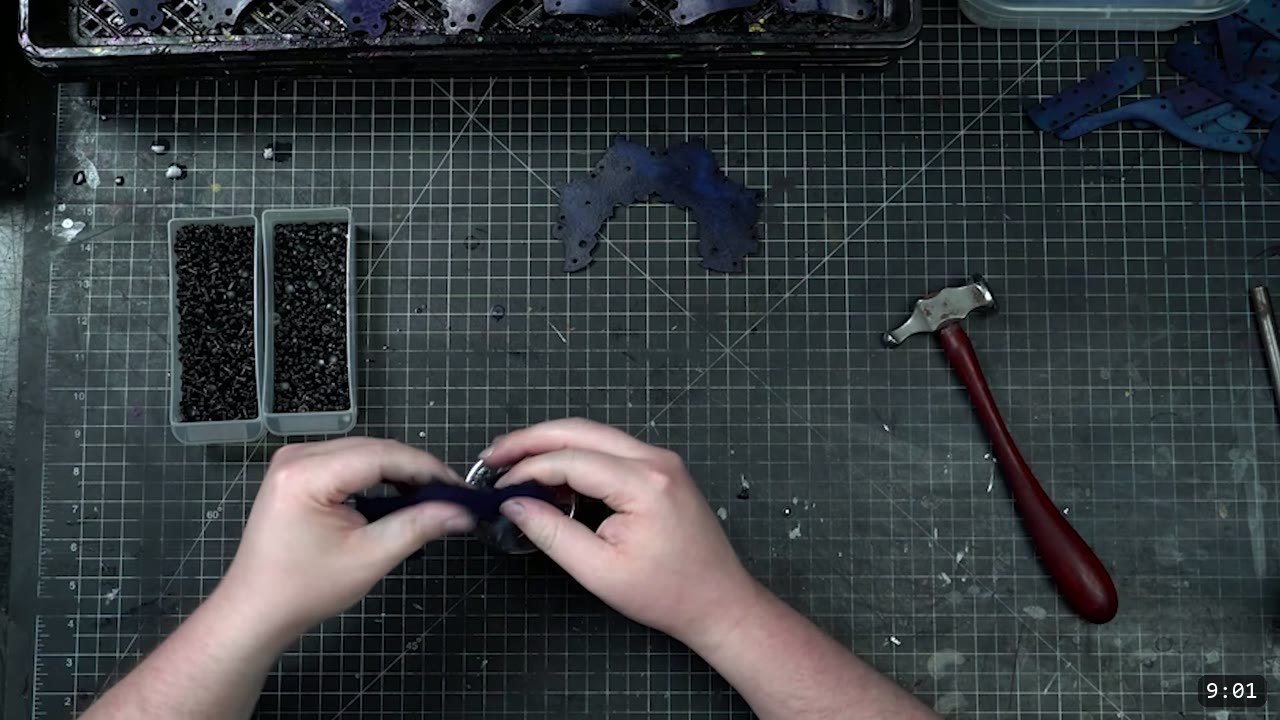
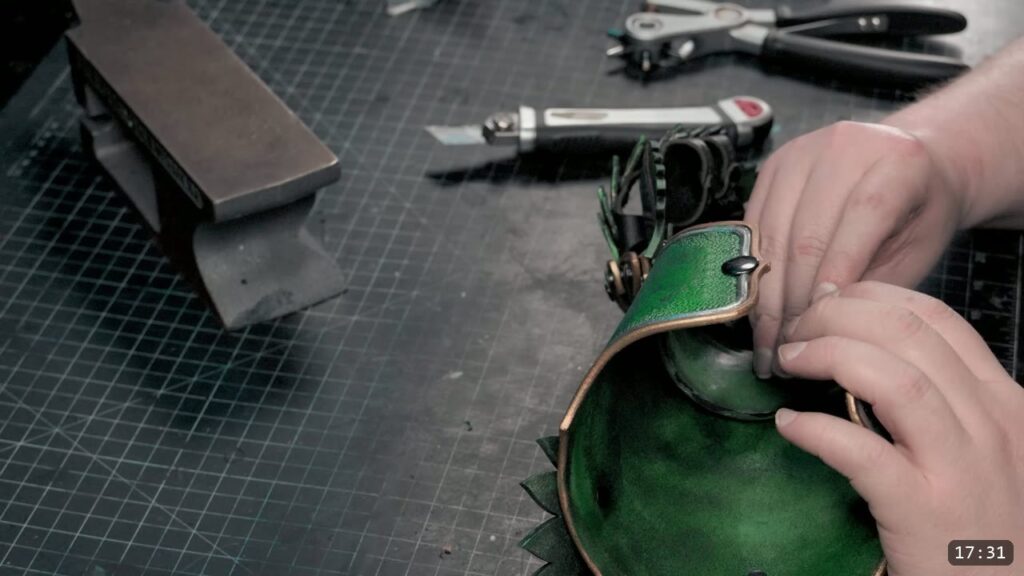
Assemble the knuckle plate while the piece is still damp and pliable from the dip dye and finish, or before you color it. Do not fold it bone dry. Between each knuckle is a pair of rivet holes. Fold the piece over on itself and set the smallest rivet that fits, taking care not to strike the rivet itself. That fold forces a three-dimensional shape for looks and for strength, and the rivet holds it, not wet-form memory. Repeat for each knuckle. If your leather is on the thick side, skive the edges to cut the bulk before you fold. Work the shape a little more when the rivets are in to make it more pronounced.
Step 6: Airbrush the color, then weather it (optional)
The video uses these gauntlets to introduce airbrushing. It is optional. If you airbrush, the setup is a compressor and an airbrush; the video runs an Iwata PowerJet Plus compressor and an Iwata Eclipse G5 airbrush for fast full-surface coverage, with pearl paint in blues to match the suit. Dab a little paint on an edge that will be covered later to test it, or paint proper test swatches. Painting over leather is a preference call. Paint gives brighter color but can chip or scratch with wear, while dye cannot chip. A patina from wear is often a feature, not a flaw. To add depth after assembly, work a little black acrylic into the corners and edges with a chip brush and dab texture with a sponge. Quick and rough is fine.
Step 7: Add snaps and build the cuff
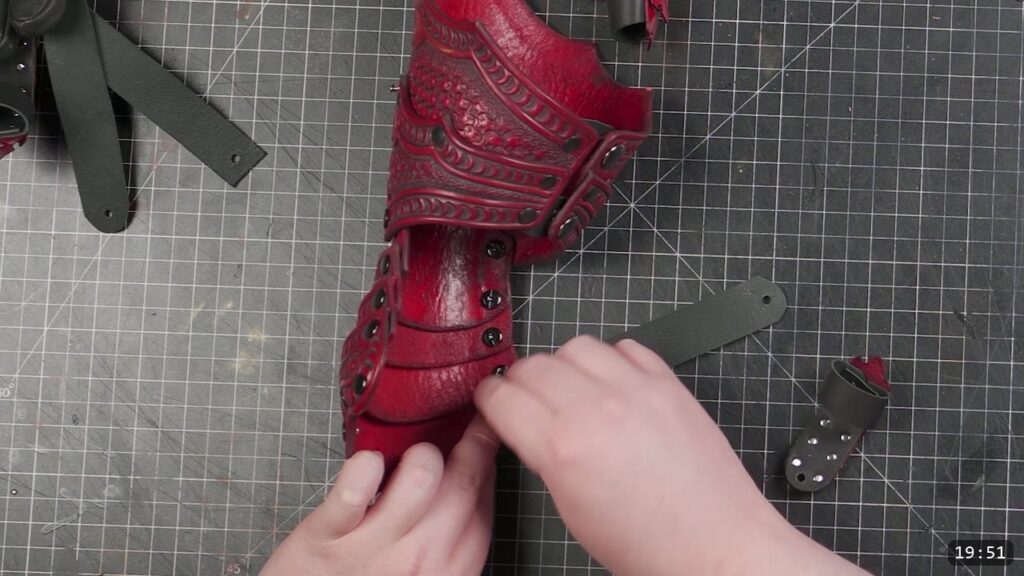
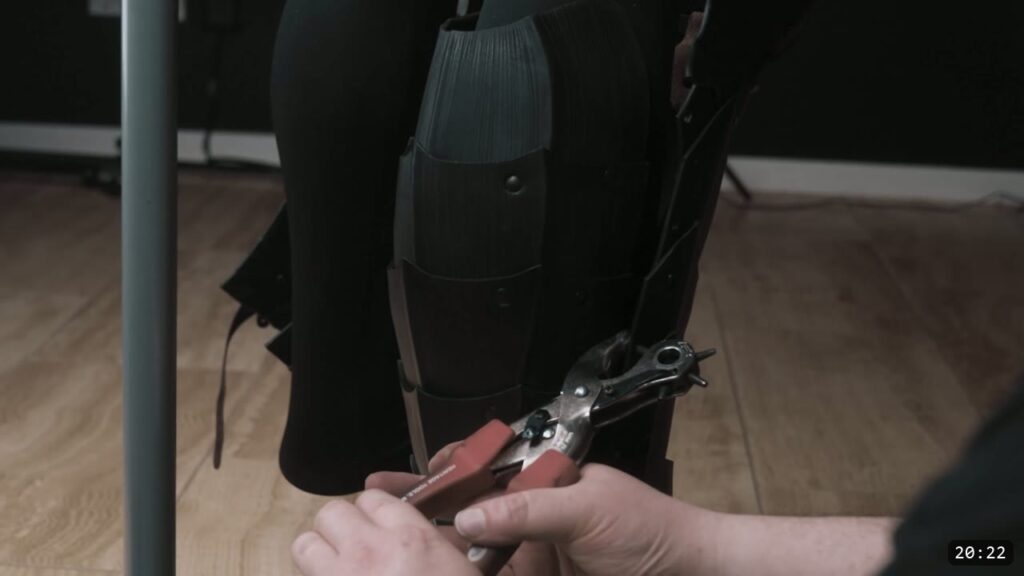
Add the snaps while the pieces are still separate and easy to handle. Check the fit before you commit: the gauntlet should cover your hand and wrist comfortably. If you need more room in the cuff, extend the back cuff parts, add an extender plate, or swap the snap plates for buckles. Do one of those if you plan to wear an arming jacket, chain shirt, or arm armor underneath. For the cuff itself, attach the side layers with small double-cap rivets, then arrange the center plates from smallest to largest starting at the bottom. Seat all the layers loosely first with medium rivets where you go through three layers, then set the rivets consecutively. Repeat on the other side.
Step 8: Attach the hand straps to the knuckle plate
The hand strap orientation is easy to get wrong, so match the video against your own hand before you set anything. Set the strap rivet, then attach the hand strap to the knuckle plate. The knuckle plate has a side: the pinky side carries a small barb that hangs down, and the plate is wider on the pointer and index side. Get that right before you commit the rivet.
Step 9: Build the wrist lames and thumb with Chicago screws
Arrange the wrist pieces. The base of the wrist is a rectangular piece, and the plates ascend in width from there. Bend the edges up slightly to relax the leather while the pieces are still separate. Attach the knuckle plate to the widest wrist lame with Chicago screws, which give you a sturdy articulation point, and connect the rest of the lames the same way. Glue the screws in place once you are happy. Add the thumb tab and thumb loop during this process; you can move their positions for fit, and in the video the thumb tab sits on the third screw and the thumb loop on the fifth. Rivet the thumb piece to the thumb tab, watching the orientation. Test fit, skive the inner edges if you will wear it on bare skin, and trim a hair off any edge that catches so the plates articulate cleanly.
Step 10: Assemble the fingers
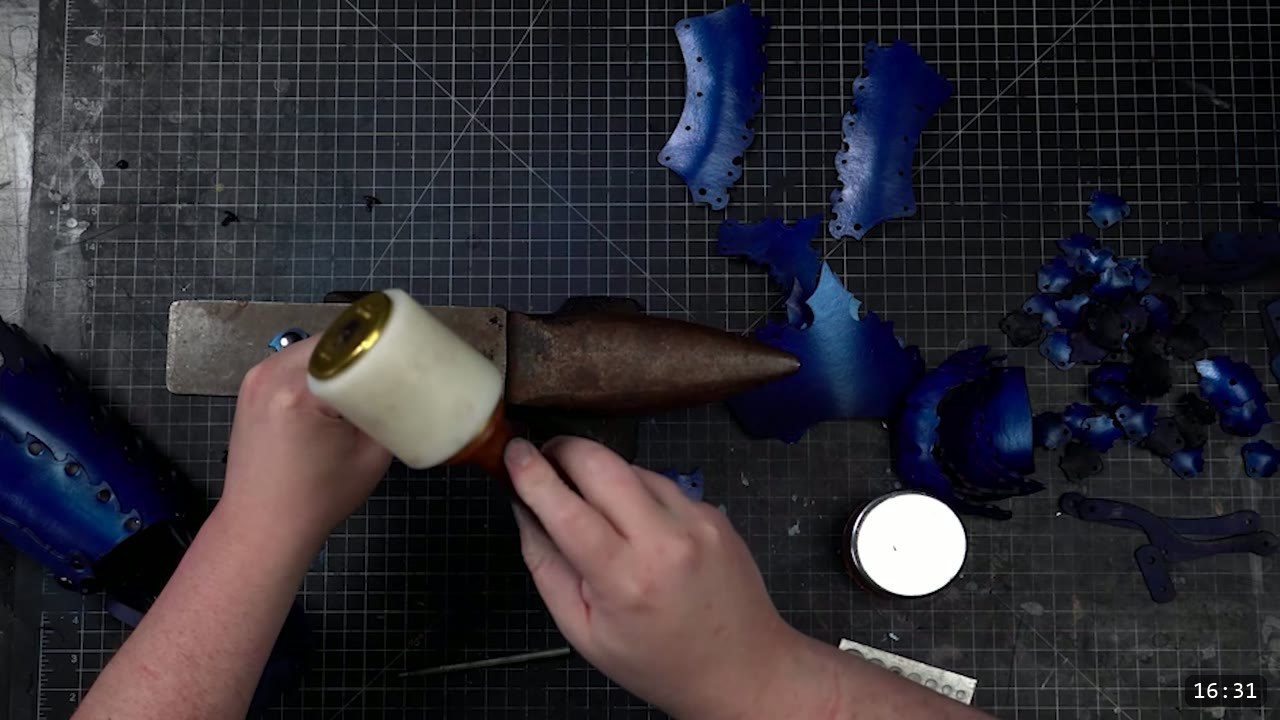
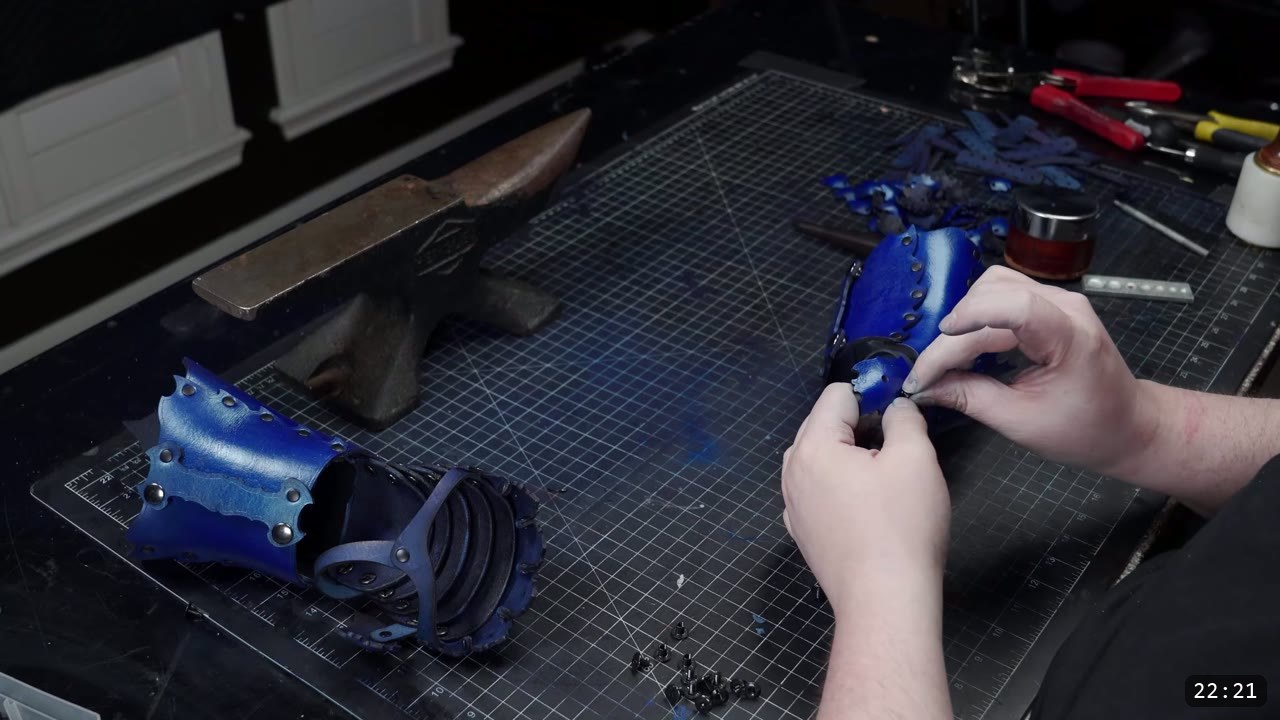
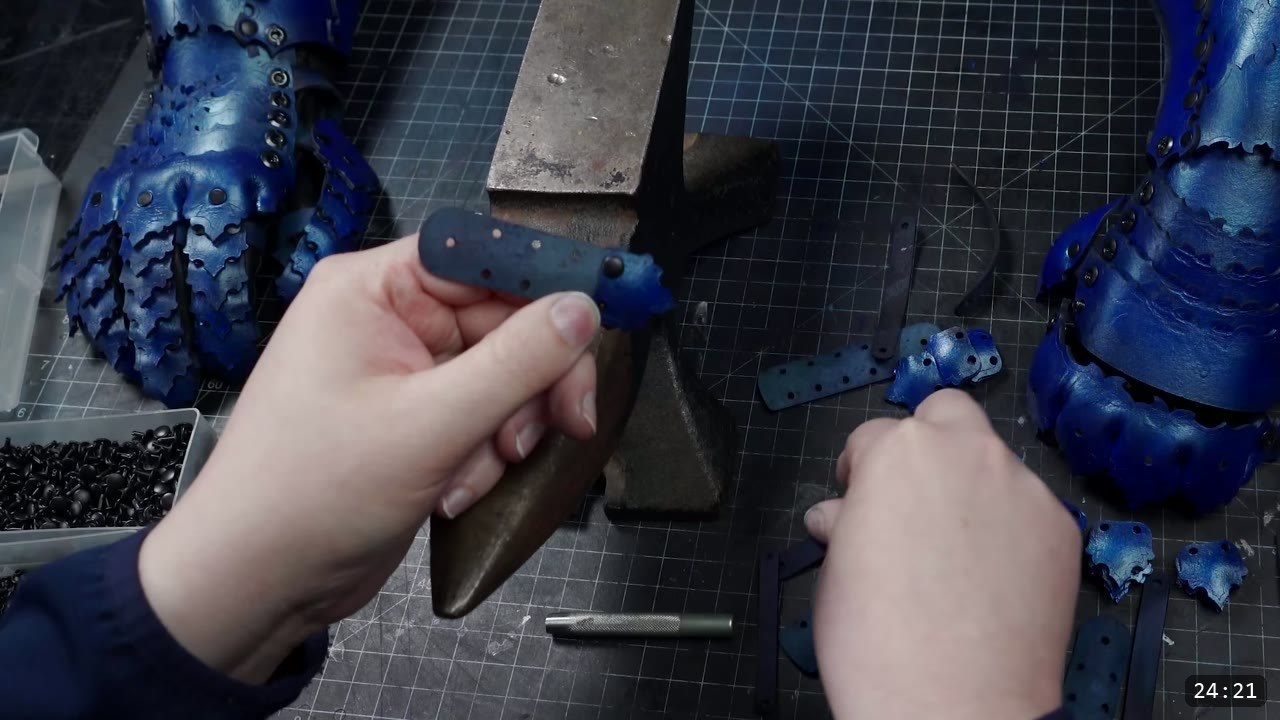
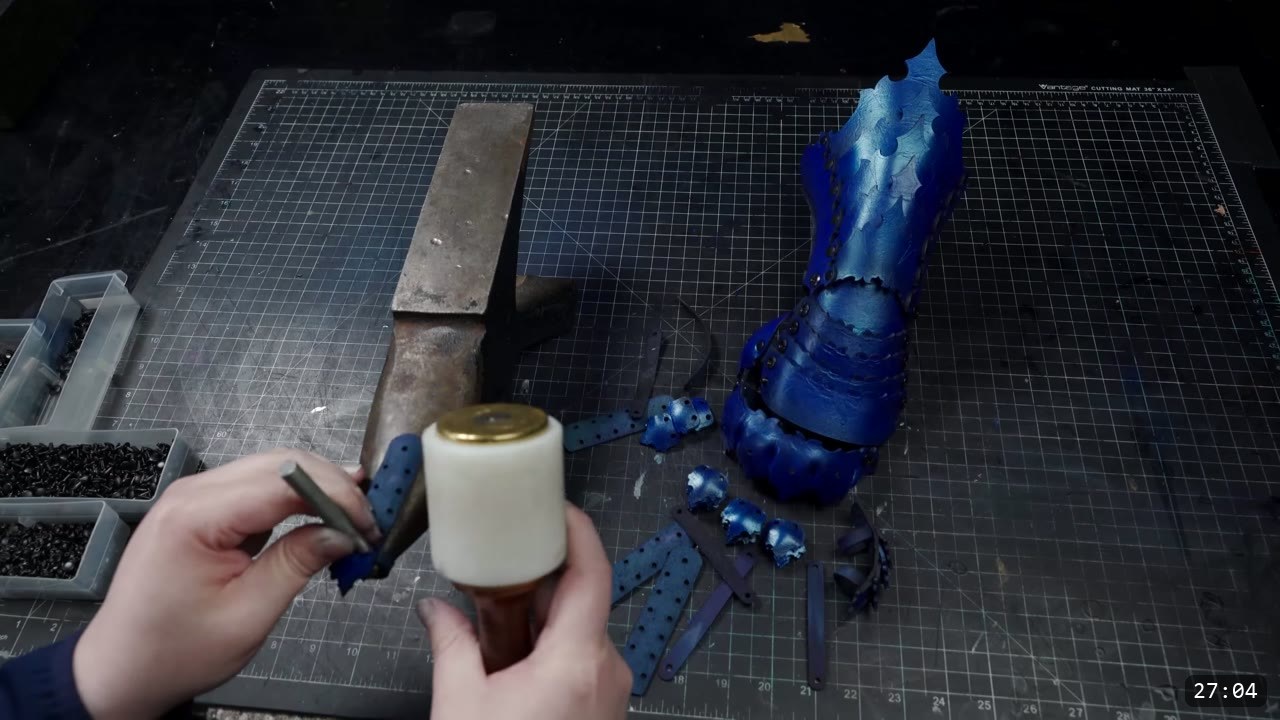
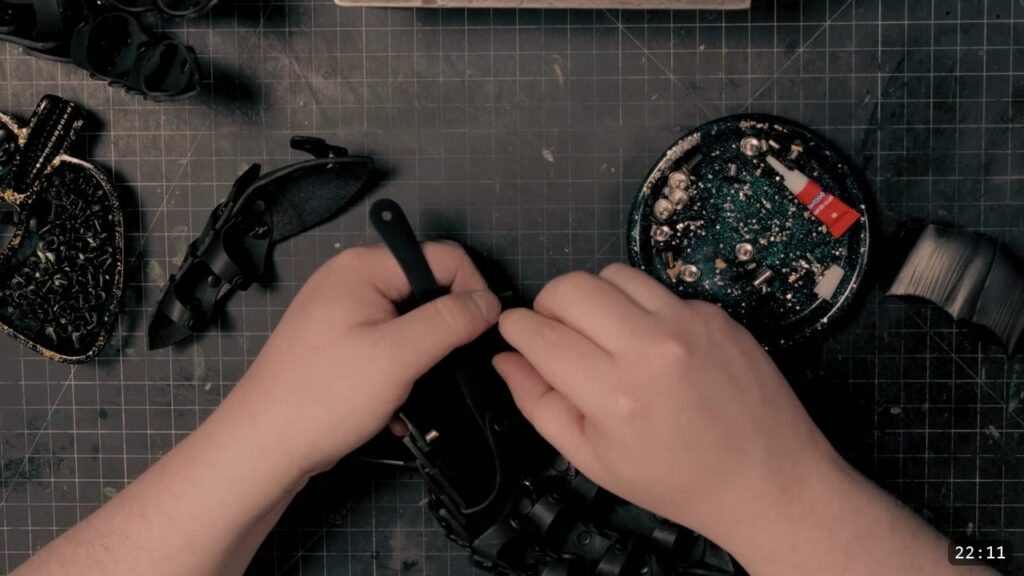
Lay out all the finger parts first and allocate the small plates. You need 4 plates for the pinky, 6 for the middle finger, and 5 for everything else. The pattern gives pre-sized finger loops, but tweak them to your own hand, because the size changes a lot depending on whether you wear gloves. If you have an anvil with a narrow horn, use it to set the finger rivets; otherwise set them flat from underneath. Do not forget the small finger loop at the end of each fingertip and a wider loop under the last scale at the base of each finger. If you set a rivet wrong on a delicate finger scale, do not fight it: punch a divot dead center of the rivet, drill it with a bit near the size of the rivet shaft to chip the metal away, and pry it out with diagonal cutters, or use a dremel with a burr bit.
Step 11: Attach the fingers to the hand
Attach the fingers one at a time. It helps to disconnect the top piece so you can reach the inside, so you are not fighting the assembly. Set each finger with its loop, seating the rivet flat, and work all the way down. Take your time; there are a lot of finger bits and it is easy to miss a loop.

Step 12: Fit it, and pick your gloves
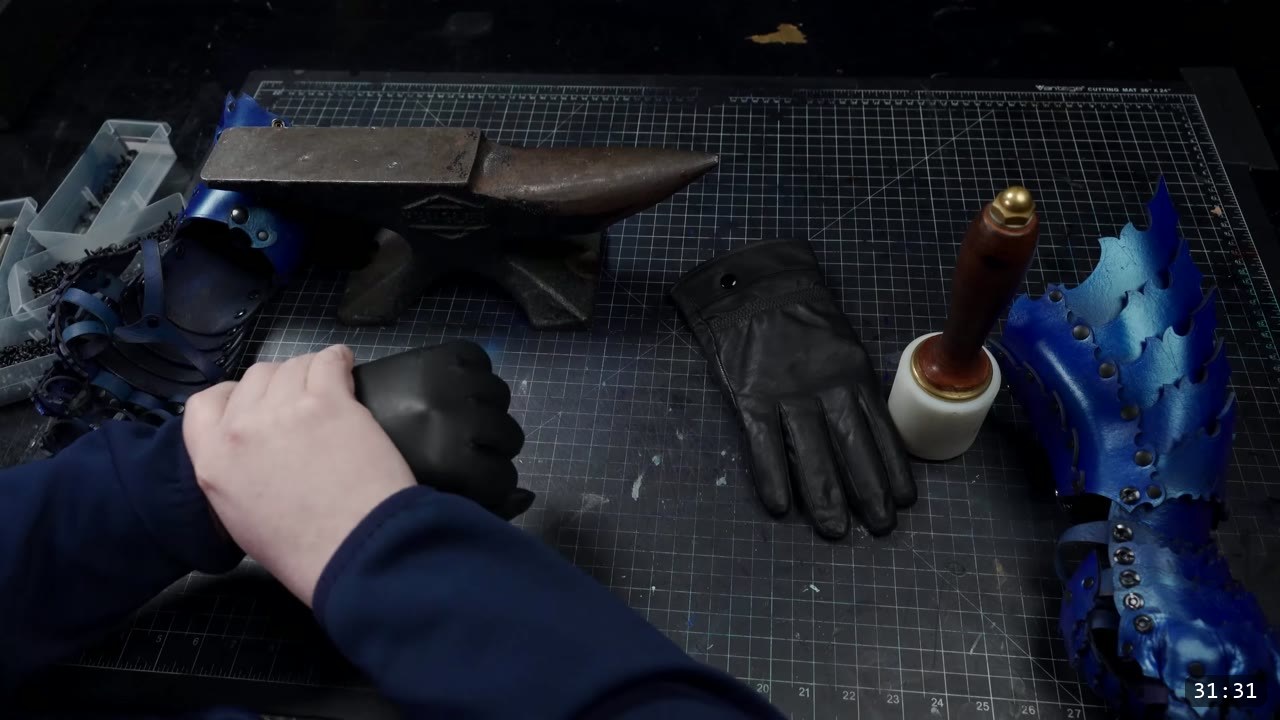
These gauntlets wear with or without gloves. If you size the finger loops to fit over a glove, you can wear them both ways; if you fit the loops snug to bare fingers, they will be too tight over a glove. For a glove, pick something form-fitting without much padding. There is extra room where the cuff flares over the wrist and forearm, so a vambrace or lower cannon can sit underneath and the cuff rotates over it. You can add about an inch of extension there, or scale the whole gauntlet up, if you need more room.
Step 13: Finished
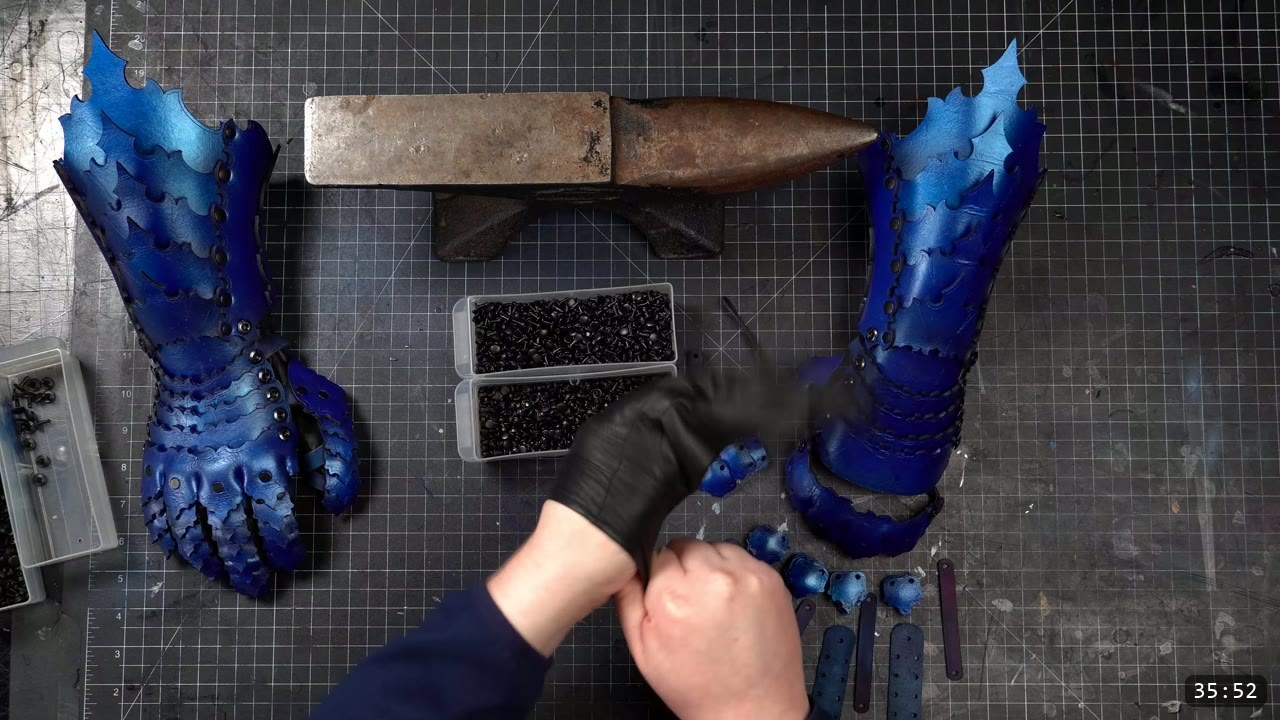
That is the build. The finished pair flexes at the knuckles, wrist, and every finger. If the fingers ever get in the way, you can pop the finger units up off your fingers for more dexterity and drop them back down when you want the full look.
FAQ
Is this a beginner project?
No. It is one of the more complex builds in the series, with dozens of small parts, dip dyeing, riveting, Chicago-screw articulation, and optional airbrushing. If you are new to leather armor, start with a kit or a simpler molded helmet, then come back to this one. That said, the core skills are riveting and patience, so a determined beginner with basic tools can do it.
Do I need a laser cutter?
No, but it helps. The pattern is optimized for a Glowforge, and a laser makes short work of the dozens of small repetitive parts. You can cut everything by hand if you take your time with the intricate geometry, and you can smooth out or skip some of the decorative barbs if you prefer a cleaner outline.
What leather weight should I use?
About 6 oz, or 2.5 mm, for the plates and finger scales, and a thinner 4 to 5 oz for the loops and strap bits. Natural veg-tan takes the dye and the fold at the knuckles.
Can I wear these with gloves?
Yes. Size the finger loops to fit over your glove and you can wear the gauntlets with or without it. Fit the loops snug to bare fingers and they will be too tight over a glove. Use a form-fitting glove without much padding.
How do I size the gauntlets?
Print or trace the pattern and check the fit before cutting leather. The default 100 percent scale runs large; nudge it down toward 90 percent if it is too big, or scale up if you need more room. There is extra clearance at the cuff flare so a vambrace can fit underneath.
What if I set a rivet wrong on a finger scale?
Punch a divot dead center of the rivet, drill it with a bit near the size of the rivet shaft to chip the metal, and pry it out with diagonal cutters. A dremel with a burr bit also works. Go slow so you do not damage the narrow leather around the hole.
Where to go next
- Get the pattern: Imperial Knight gauntlets pattern.
- Building the whole suit? The Imperial Knight bundle collects the set, and the gauntlets pair with the Imperial Knight bracers.
- New to leather armor? Start with 5 tips for getting started with leather armor.
- Want to see the dip-dye and airbrush steps in motion? Jump to the dip dyeing method and the airbrush introduction in the video.
- Built one? Share it and tag Prince Armory Academy and Weaver Leather; we feature student work.



Responses