



Elven Leather Gauntlets Build Guide: Laser-Cut Pattern to Painted Pair

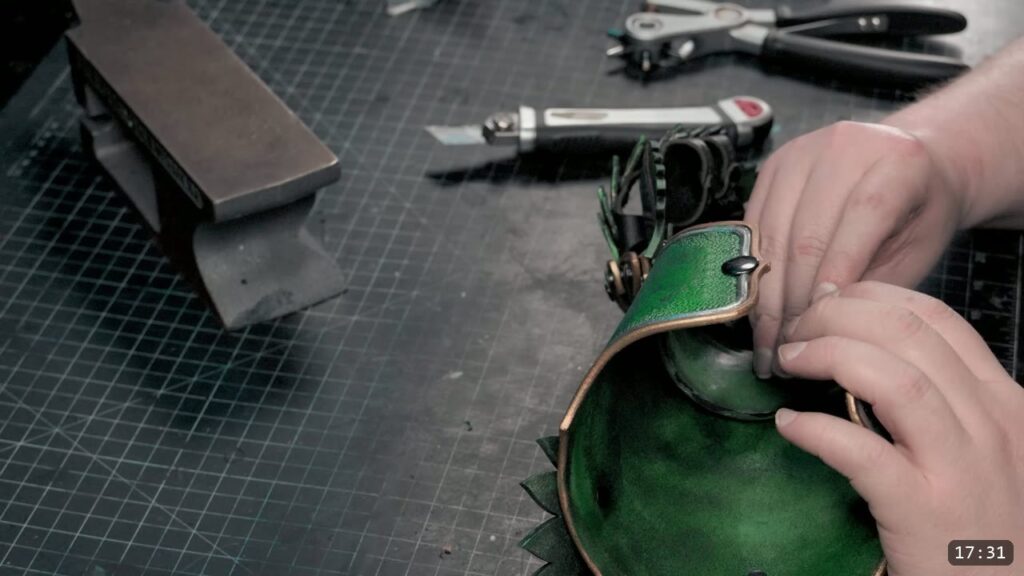
You build the Elven gauntlets from a flat pattern, not a kit. You cut the many small pieces from vegetable-tan leather, carve and bevel the design lines, wet mold the wrist and knuckle plates, then dye them green, seal them, and paint the metallic greens. Assembly is fully articulated: finger scales riveted onto soft backing bands, the bands screwed to a knuckle plate, and the whole hand joined to a tooled cuff. This is one of the advanced projects. It uses a swivel knife, bevelers, wet forming, rivets, and Chicago screws, not just a hammer. This guide walks the whole build alongside the video, so you can watch each step and read the details the video moves past quickly.
What you are building, and what it takes
This is a pattern build, so you cut and shape every piece yourself. The reward is a full articulated gauntlet: a scaled hand with individually fitted finger bands, a knuckle plate, a shaped wrist, and a tooled cuff that closes with a snap. The tradeoff is real leatherwork with a lot of small, delicate parts. The gauntlets have numerous small pieces, which is exactly why they suit laser cutting, but you can trace and cut them by hand. If you are new, build the Fantasy or Warrior armor series first, then come back to this one.

What you need
The pattern. The Elven Lord Gauntlets pattern prints from a PDF. Trace the parts and cut normally, or use the included vector files with any laser cutter. You can scale the whole pattern up or down for fit, and I suggest making at least one paper mock-up before you commit leather.
Leather.
- Finger parts: 5 to 6 oz vegetable-tan. You can go up to 9 to 10 oz if you prefer a stiffer scale.
- Finger backings: 4 oz chrome-tan. This is the soft, flexible band the finger scales rivet onto, so the joints still bend.
- Larger pieces (cuff, wrist, knuckle plate): 10 to 11 oz Hermann Oak vegetable-tan.
Tools.
- Cutting: a laser cutter with the vector files, or trace and cut by hand.
- Carving: a swivel knife. I use a ceramic blade from Slice tools and strop it regularly so it tracks smoothly.
- Tooling: angled bevelers (Weaver Leather Supply has several radii), texture and background stamps, an edge beveler, and a hand burnisher.
- Shaping: a plastic bin of water for casing, and a rounded object or handle to dish the knuckles.
- Color: green Angelus leather dye, plastic planter trays to catch the mess, and Weaver’s clear Tough Coat to seal.
- Paint: Jacquard Lumiere metallic olive green, metallic emerald green, and metallic bronze, plus black for antiquing and Molotow for the silver trim. Sponges and a paper plate to control the paint load.
- Hardware: small and medium double-cap rivets, quarter-inch Chicago screws, one line-24 snap, a small horn anvil, a small hammer, and thread lock or glue for the screw posts.
Step 1: Cut the parts
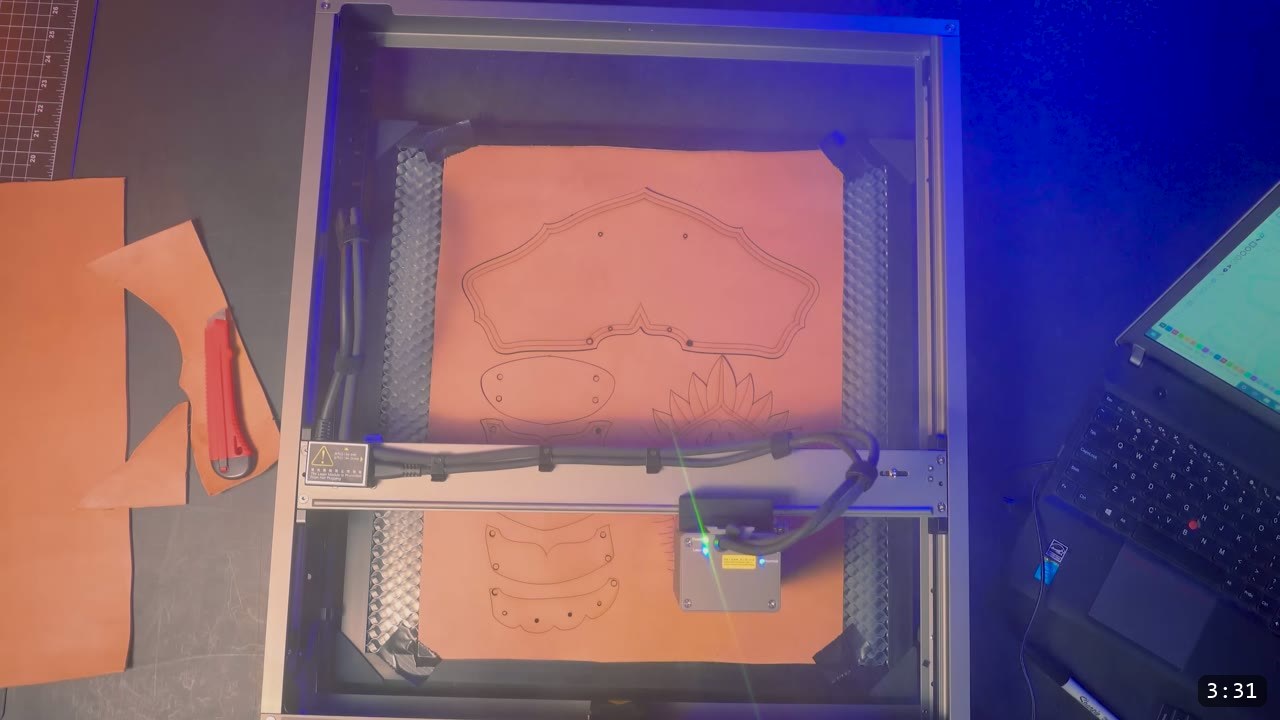
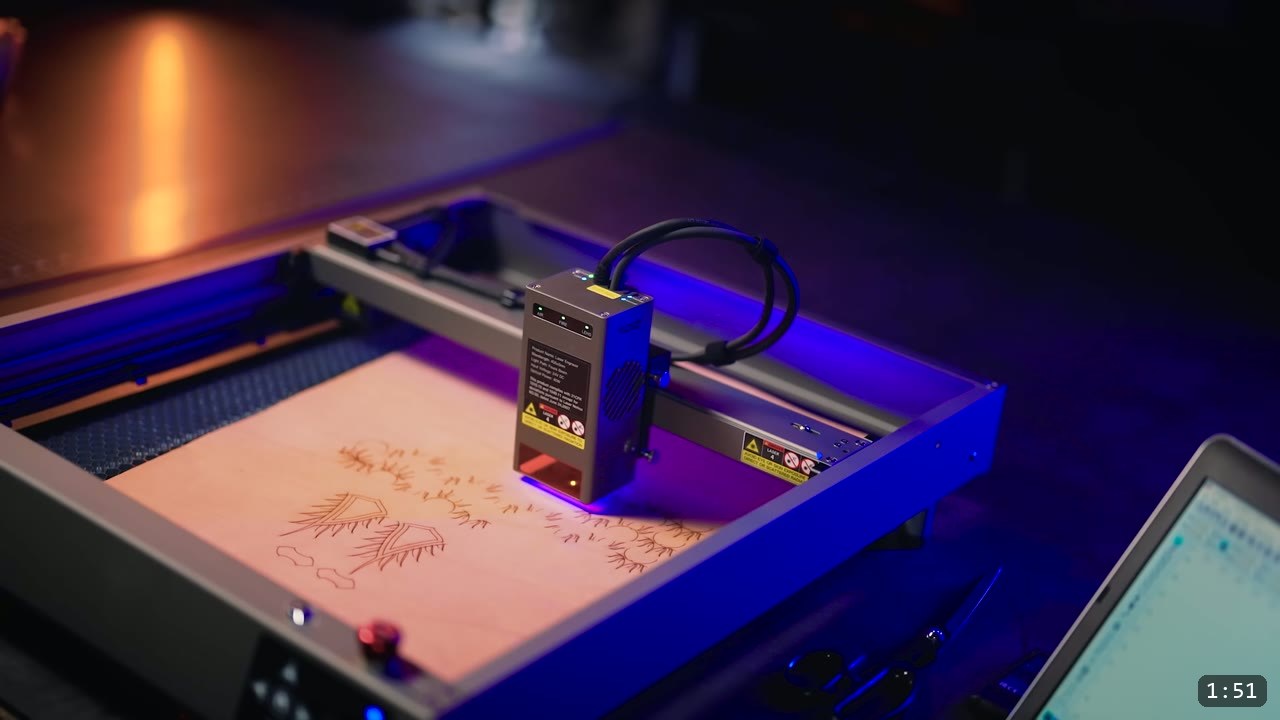
If you are laser cutting, run two passes. The first pass is a low-power layer for the decorative lines. The second pass runs the actual cut lines at higher power and lower speed. One warning from the video: if you plan to carve and tool those decorative lines by hand, set the decorative pass very low, so the line is barely visible. Prince set his a little too high and it made the carving harder than it needed to be. If you are not carving and you want the laser line itself to be the decoration, a higher setting is fine. Cutting indoors calls for good ventilation, a respirator, and a fan. If you cut by hand, print the pattern, trace the parts, and cut normally.
Step 2: Case the leather for tooling
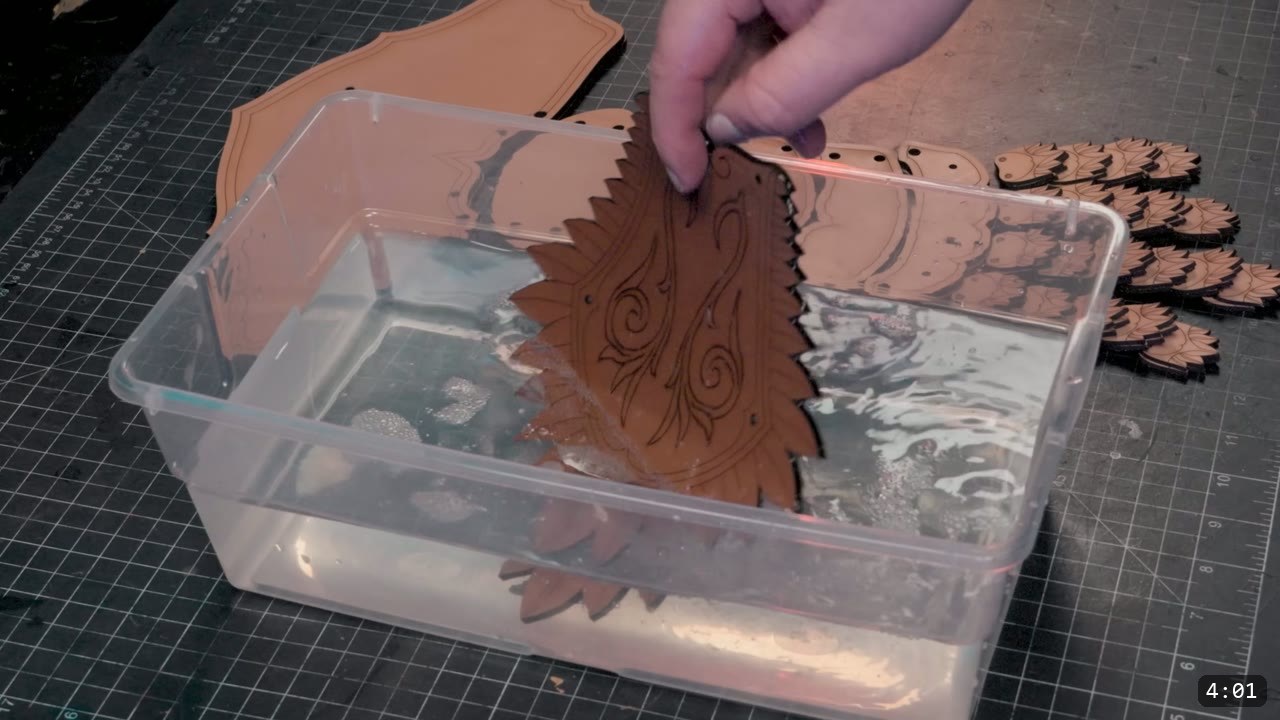
Before you carve, case each piece. Dunk it in water for a few seconds, then set it aside for a bit to let the water wick evenly into the leather. When the lighter color starts to return to the surface, you are close to the sweet spot for carving. Damp leather is what lets you carve, bevel, and shape. Remember that this only works up until you dye and seal. Once the finish is on, the leather resists water and will not fully re-wet or reshape, so do all your carving and forming now.
Step 3: Carve the lines, then bevel them
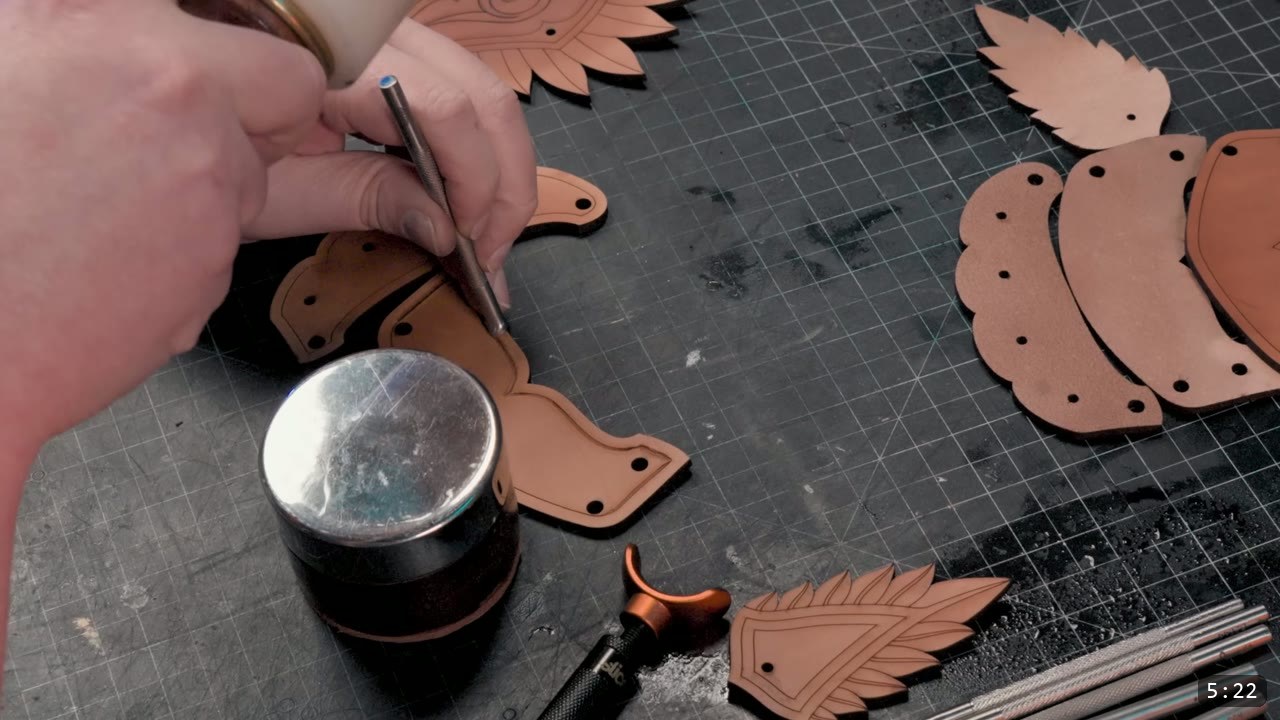
Carve your main design lines with the swivel knife. Then bevel. Bevelers are the tool you reach for most, because they add shape and depth to the carved lines. The rule of thumb is to use the widest beveler you can, and drop to a narrower one for tighter curves. Angled bevelers make the curved elven lines easier.
Step 4: Texture and finish the edges
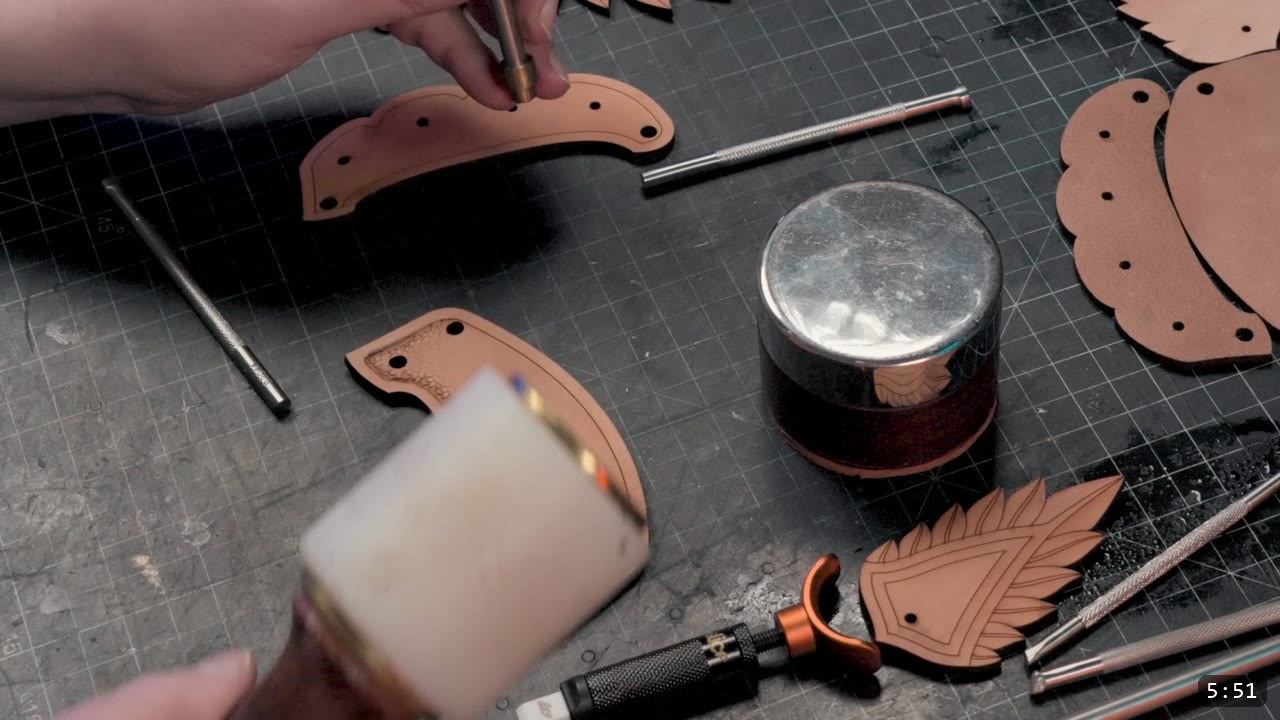
Give the edges a slight texture. There are many ways to do this; this is the one chosen for the elven theme. Stamp firmly along the edge, then do one light pass to blend it. Follow with an edge beveler to round the edge over, and a hand burnisher to smooth it further.
Step 5: Shape the overlays and details
On the decorative cuff overlays, bevel the border lines, then add texture inside the borders and around the ornamental details. Lift the feather details a little to give the piece subtle shape. This is where the flat leather starts to read as carved relief.

Step 6: Wet-mold the wrist, knuckles, and thumb
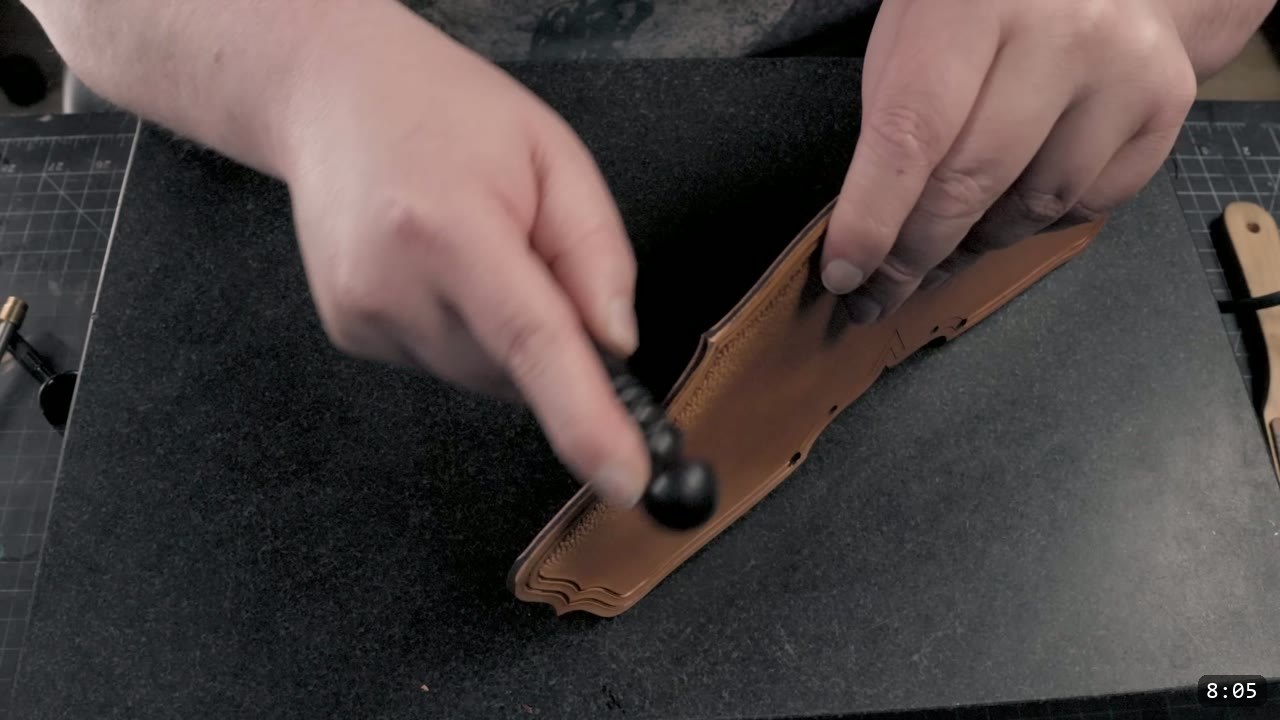
While the leather is still damp, form the parts that need shape. Bend the wrist pieces slightly. Wet-mold the knuckle plate, dishing each knuckle a little over a handle or another rounded object. Dish the thumb piece slightly too. It does not have to be perfect. Wet forming is the skill this build leans on, and if you want to go deeper on it, watch Hand-shaping Leather for Armor Making.
Step 7: Dye green, then seal
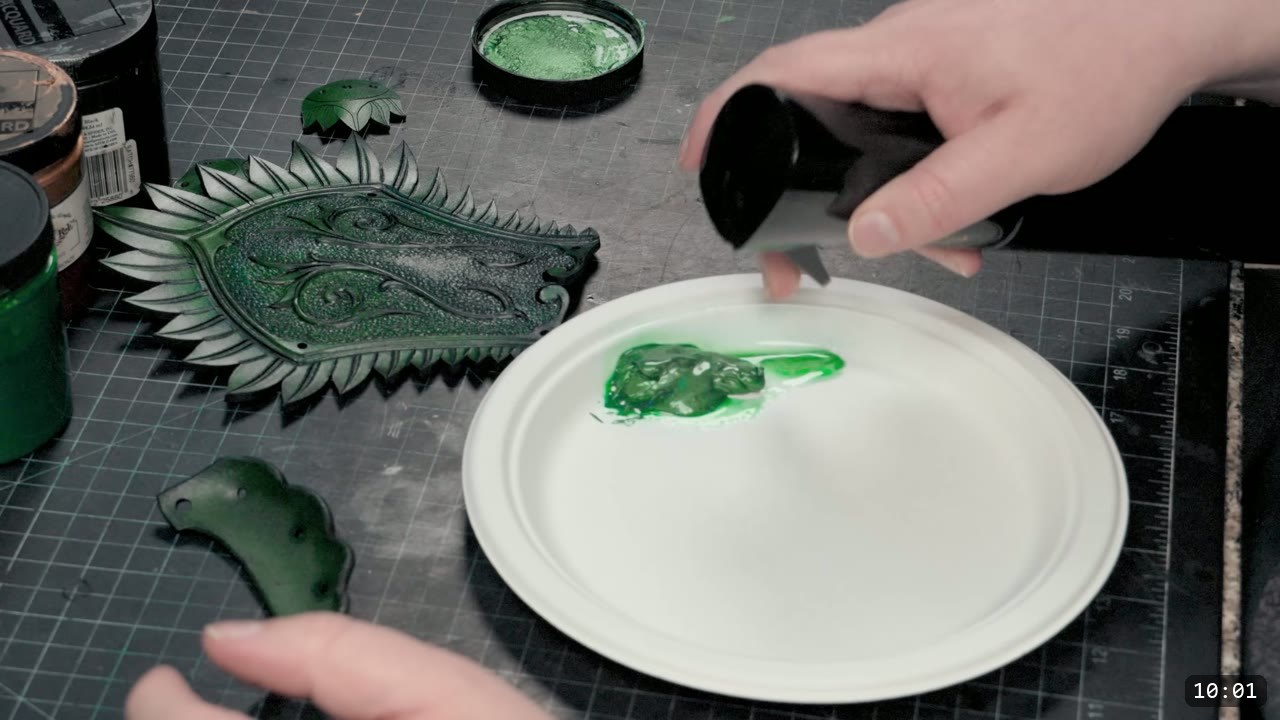
Now color the parts. The video uses green Angelus dye as the base for the elven projects. Plastic planter trays keep the mess under control. Dip the small parts and set them to dry; the larger pieces are too big to dip, so the dye gets applied to them directly instead. Once the dye is dry, seal everything with a heavy coat of Weaver’s clear Tough Coat. It firms the leather up as it protects it. You can dip the small parts into the finish, but tend them as they dry so they do not run or blotch, and smooth the finish as you go. For the larger pieces, use a sponge or a blue shop towel, which helps smooth the finish and is handy for touch-ups. Dye and seal are the last leatherworking steps; do all shaping before this point.

Step 8: Paint the metallic layers
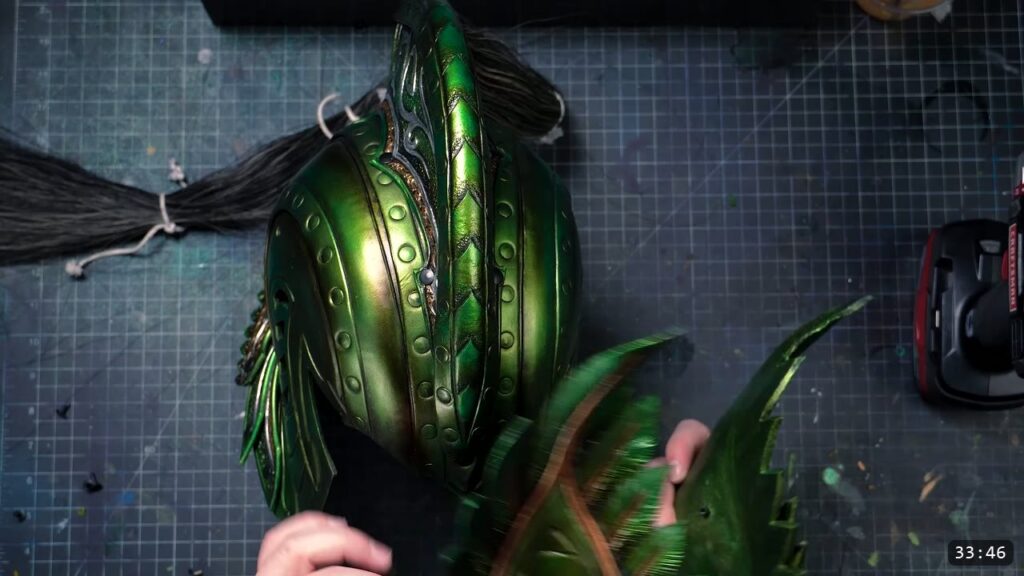
The paint is mostly Jacquard Lumiere. Lay a base layer of metallic olive green with a sponge. Use a paper plate to control the load: dab the sponge until it is not thick, and go for a light, consistent coat. Good paint makes a real difference here. For the top layer, tear the edges off a piece of sponge and apply metallic emerald green in a more irregular, textured way. Leave a little of the base showing through, which adds visual depth. This is a slightly simplified version of the helmet’s technique and is meant as a stepping stone; the advanced painting lessons come with the pattern bundle. Then the trim: paint the bronze details, and for the silver trim use Molotow for its reflective luster. Antique with black to settle color into the recesses.
Step 9: Assemble the finger scales
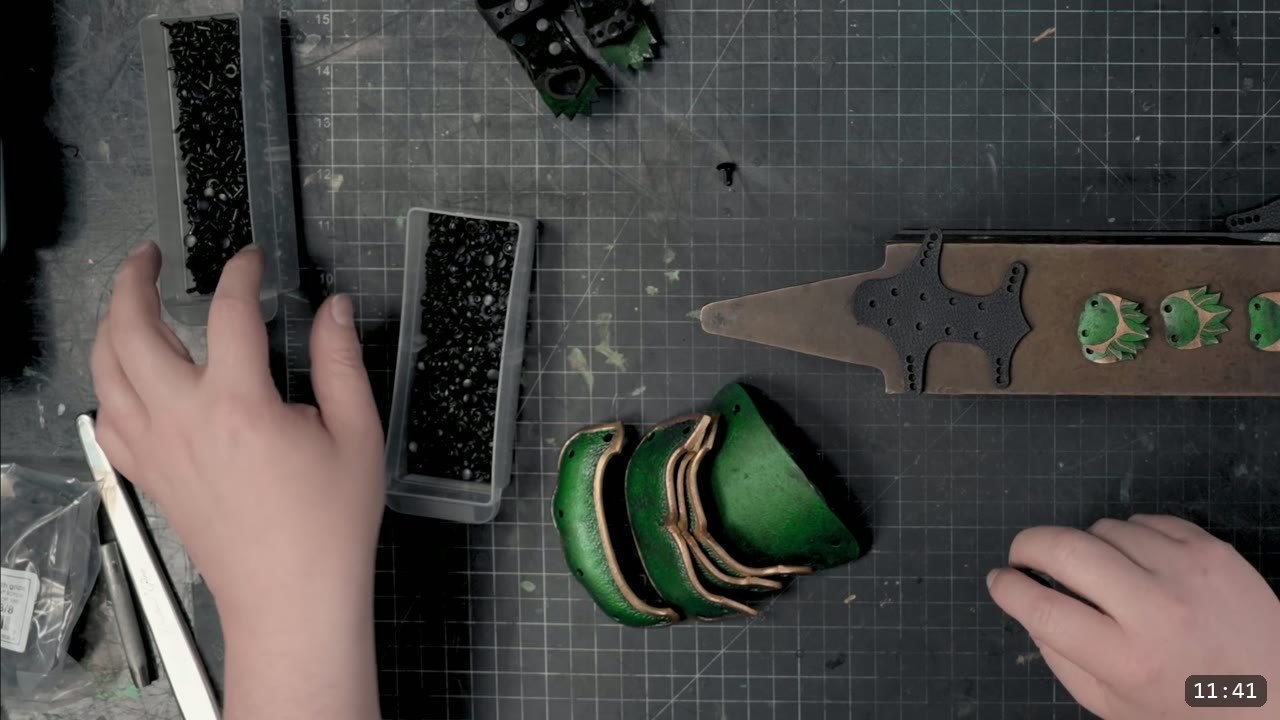
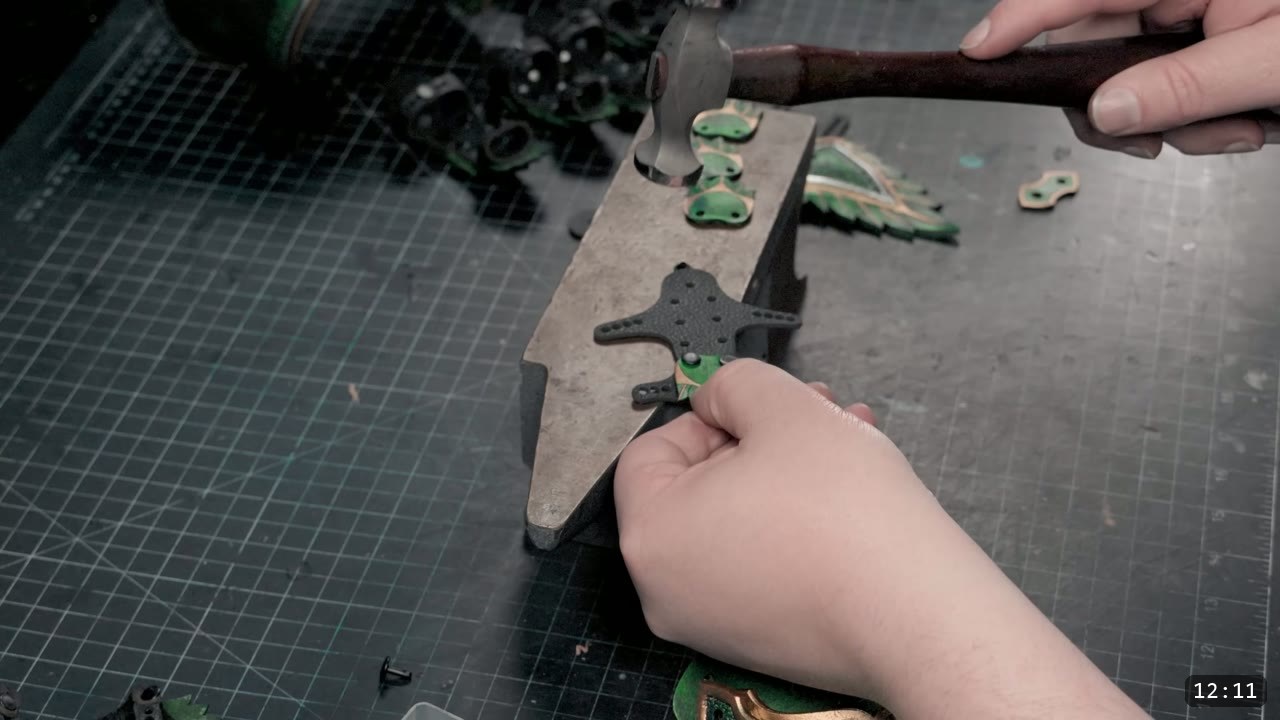
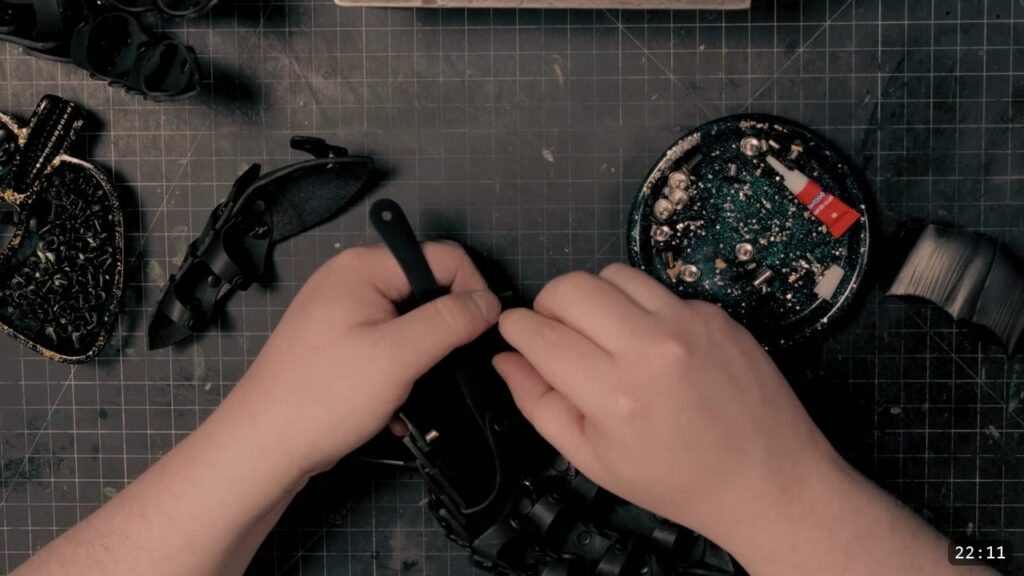
Start the assembly with the fingers. The finger scales rivet onto the soft chrome-tan backing bands with small double-cap rivets. This part is fiddly. Even small rivets are often too long for two thin pieces of leather, and a too-long post likes to skew off center as you set it. The workaround Prince uses is a small hammer and many light taps, so you can feel when you are striking dead on and correct as you go. Set the rivets over a small horn anvil or any small piece of metal. The tabs on the sides are the finger loops, and the extra holes let you adjust each band to fit each finger, so keep track of which band goes on which finger. Give each piece a slight bend along its length as you assemble it, so it follows the curve of the finger. One note from the build: the bands in this prototype came out a little small, so plan to size up if you want to wear them with gloves, or add short strips of leather to extend them.
Step 10: Assemble the thumb
The thumb is basically the same process as the fingers. The only difference to watch is that the thumb scales are a bit bigger and ascend in size from the tip. Build it the same way and set it aside; it joins the hand later.
Step 11: Build the cuff and its closure
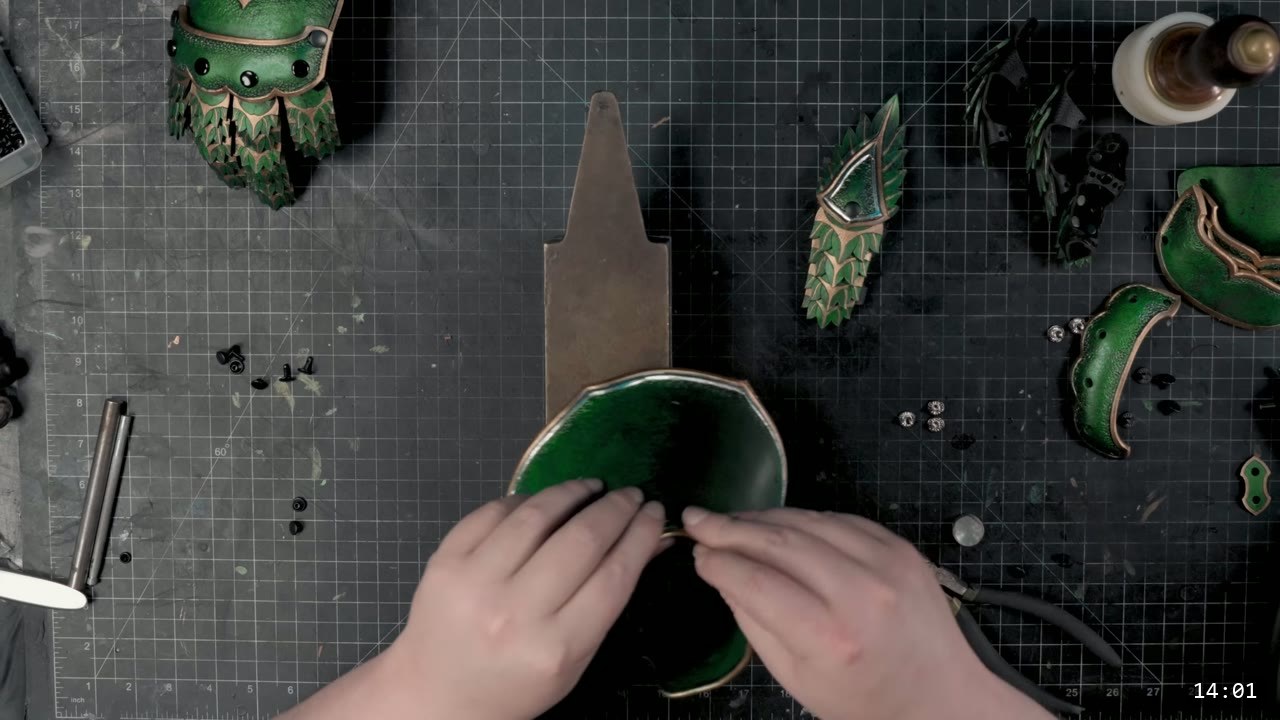
Rivet the decorative overlay to the cuff with medium double-cap rivets. It takes four rivets. This joint is not load bearing, so four is fine, but you can add rivets or switch to Chicago screws if you want it tougher. For the closure, the video uses a single line-24 snap. That suits a display piece. If you expect rugged use, consider buckles, more snaps, or another latch. Bend the leather to soften it a bit so the snap does not pop off on its own.
Step 12: Join the fingers, wrist, and thumb
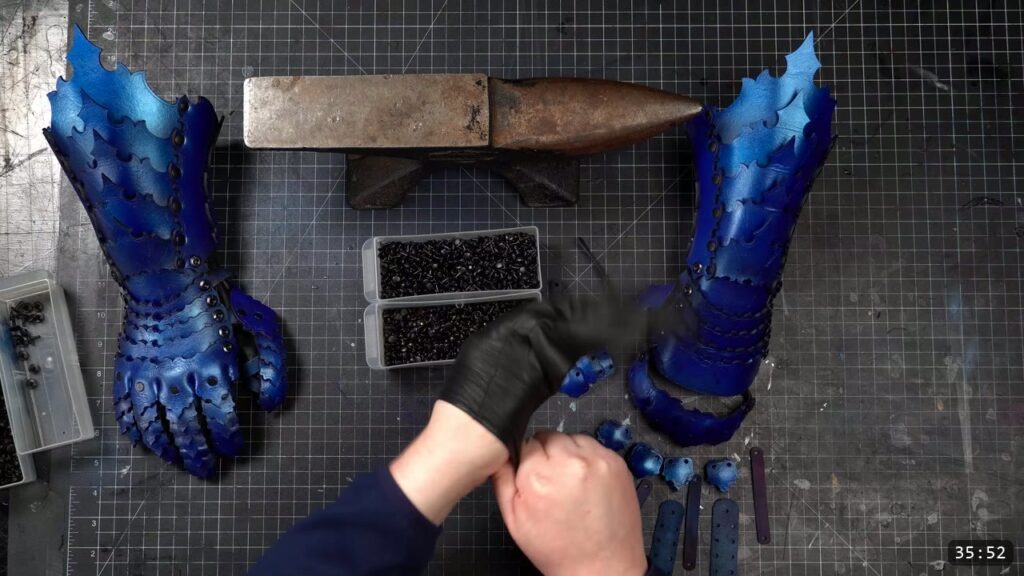
Connect each finger to the knuckle plate with quarter-inch Chicago screws, not counting the thumb. There are three finger lengths: the middle finger is longest, the little finger is shortest, and the index and ring fingers are the medium pair and interchangeable. Continue with Chicago screws along the wrist pieces. You must glue or thread lock every screw post, or they will work themselves free over time. At the base of the wrist, connect the join to the thumb. There is some wiggle room here, so punch the hole in the thumb piece wherever it fits your hand, and relocate the tab to a different screw if you need to. Do a test fit and check how it articulates before you commit to the hole placement.
Step 13: Final fit and wear it
Spot skive any inner areas that catch or bind when the hand articulates. Then attach the hand to the cuff. Because you can scale the pattern up or down, take the time to fit it to your own hand. That is the pair. Build the second gauntlet the same way, mirrored.

FAQ
Is this a beginner project?
No. It is one of the advanced Elven builds. It uses carving, beveling, wet forming, riveting, and Chicago screws, and it has a lot of small parts. If you are newer, build the Fantasy or Warrior armor series first. Those are meant to prepare you for intricate projects like this while still being fun on their own.
Do I need a laser cutter?
No. The pattern prints from a PDF, so you can trace and cut every piece by hand. The gauntlets do have many small, delicate pieces, which is why they suit laser cutting, and the pattern includes vector files if you have a laser.
What leather weights should I use?
Finger scales in 5 to 6 oz veg-tan (up to 9 to 10 oz if you want them stiffer), the finger backing bands in soft 4 oz chrome-tan so the joints flex, and the larger cuff, wrist, and knuckle pieces in 10 to 11 oz Hermann Oak veg-tan.
Why are the small rivets so hard to set?
Even small double-cap rivets are often too long for two thin layers of leather, so the post skews off center. Use a small hammer and many light taps instead of one hard strike, set them over a small anvil, and you can feel and correct each strike as you go.
How do I get the green metallic color?
Dye the parts with green Angelus, seal with Weaver’s Tough Coat, then paint: a metallic olive green base, a metallic emerald green top coat applied with a torn sponge so some base shows through, bronze on the trim, black antiquing, and Molotow for the silver.
Can I make these fit over gloves?
Yes. The pattern scales up or down, so size it up for gloves, and note the finger bands have extra holes to adjust each one. In the prototype the bands ran a little small, so err larger if in doubt or extend them with short leather strips.
Where to go next
- Get the pattern: Elven Lord Gauntlets pattern, PDF plus vector files.
- Building the whole suit? The Elven Lord Bundle includes the comprehensive tooling series referenced in this build.
- Build the matching helmet: the Elven Lord Leather Helmet tutorial is the companion piece to these gauntlets.
- Build the matching scale skirting: Elven Scale Armor, another advanced piece in the same suit.
- Struggling with shaping? Hand-shaping Leather for Armor Making goes deep on wet forming.
- New to leather armor? Start with 5 tips for getting started with leather armor.
- Built a pair? Share it and tag Prince Armory Academy and Weaver Leather; we feature student work.


Responses