



Leather Armored Corset Build Guide: Flat Pattern to Color-Shift Finish


You build a leather armored corset from a flat printed pattern, not a kit. You trace the pieces onto vegetable-tan leather, cut them by hand, tool a border, wet form each small piece, then rivet everything together while the leather is still damp. You dye and seal it last. This is an intermediate build because of the number of layers and the shaping involved. All you strictly need is something to cut leather and a hammer to set the rivets. This guide walks the whole thing alongside the video, so you can watch each step and read the details the video moves past quickly.
What you are building, and what it takes
This is the pattern build, so you cut and shape every piece yourself. The reward is a full armored corset with a domed bust, a tooled border, and a color-shift trim. The tradeoff is real leatherwork: a lot of small parts, a lot of wet forming, and layered riveting. The pattern also configures as an under-bust corset, or as a bra-top or crop-top by leaving sections off, so plan which version you want before you cut. If you are brand new to leather, build a kit or a simpler piece first, then come back to this one.
What you need
The pattern. The Imperial Knight Armored Corset pattern prints as a scalable pattern on one oversized page. Use the Tiled Pages option in your PDF reader, trim the margins, and tape the pages into one large sheet. Or cut the individual pieces first and tape them together afterward. Take your time with the alignment.
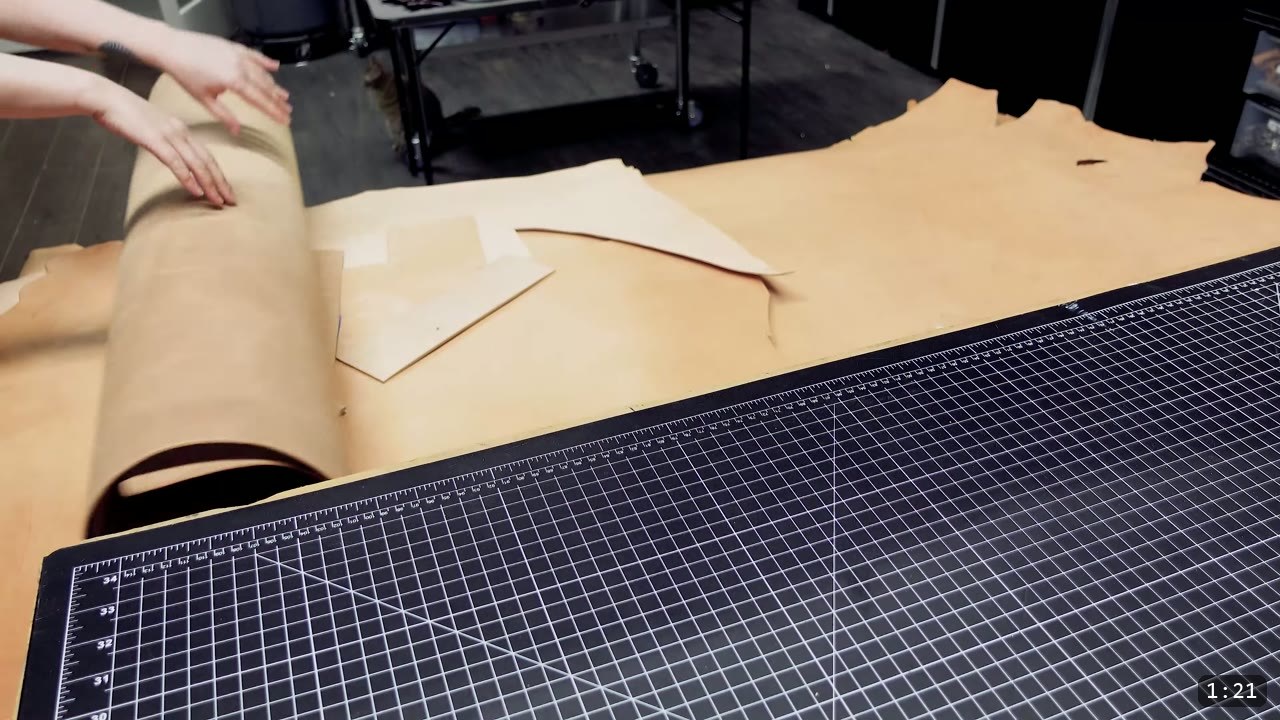
Leather. Vegetable-tan. The video uses a 9 ounce full side. Veg-tan matters here because the whole build relies on the leather taking and holding a molded shape. There are a lot of pieces, so plan your material. The leather is stiffer and firmer along the back split, so put the torso pieces along there, and put the parts nearer the neck on the stretchier leather to make shaping easier. The buckle straps in the video are pre-cut 7 to 8 ounce Weaver Select veg-tan.
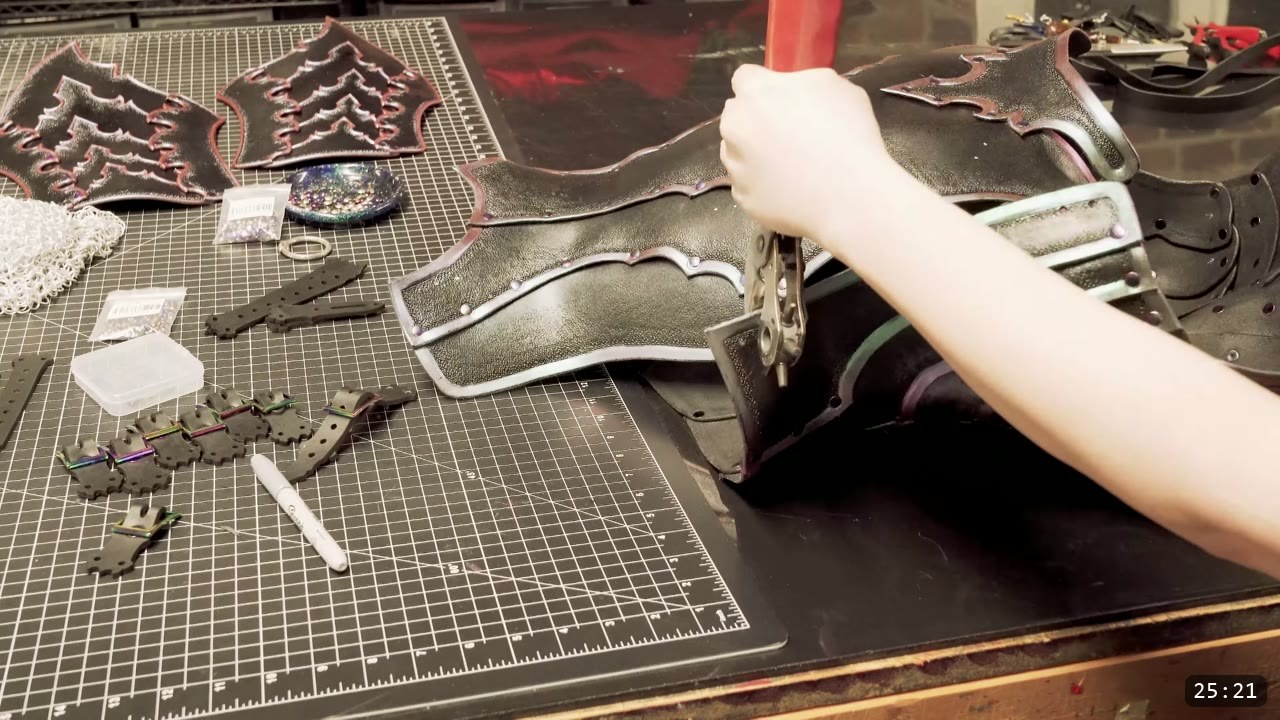
Tools. The only true requirements are a cutting tool and a striking tool like a hammer for the rivets. Everything else is optional but helps: a retractable knife for trimming, leather shears, an edge beveler, an edge slicker, a compass for scoring border lines, a smooth beveling stamp and a texture stamp, a bone folder, a rotary hand punch, an awl, and an anvil or rivet setter. Materials beyond the leather: double-cap rivets, dye, acrylic finish, and paint. The Imperial Knight series is drawn to be laser-cutter friendly, but the corset panels are too big for most non-professional lasers, so the video cuts them by hand. The buckle straps can still be laser cut.
Step 1: Print and prep the pattern
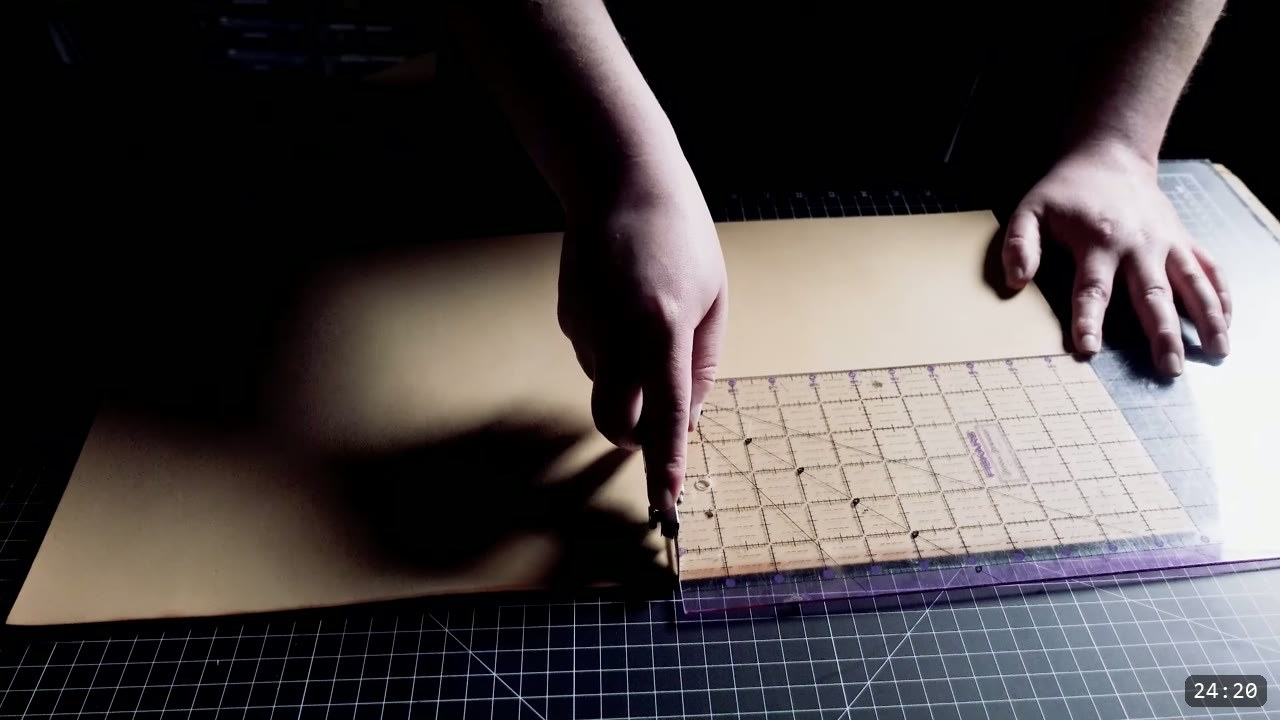
Print the pattern with the Tiled Pages option. Trim the margins and tape the sheet together, or cut the pieces first and tape them. Check your sizing before you cut leather, since the pattern scales up or down.
Step 2: Plan the leather and cut the pieces
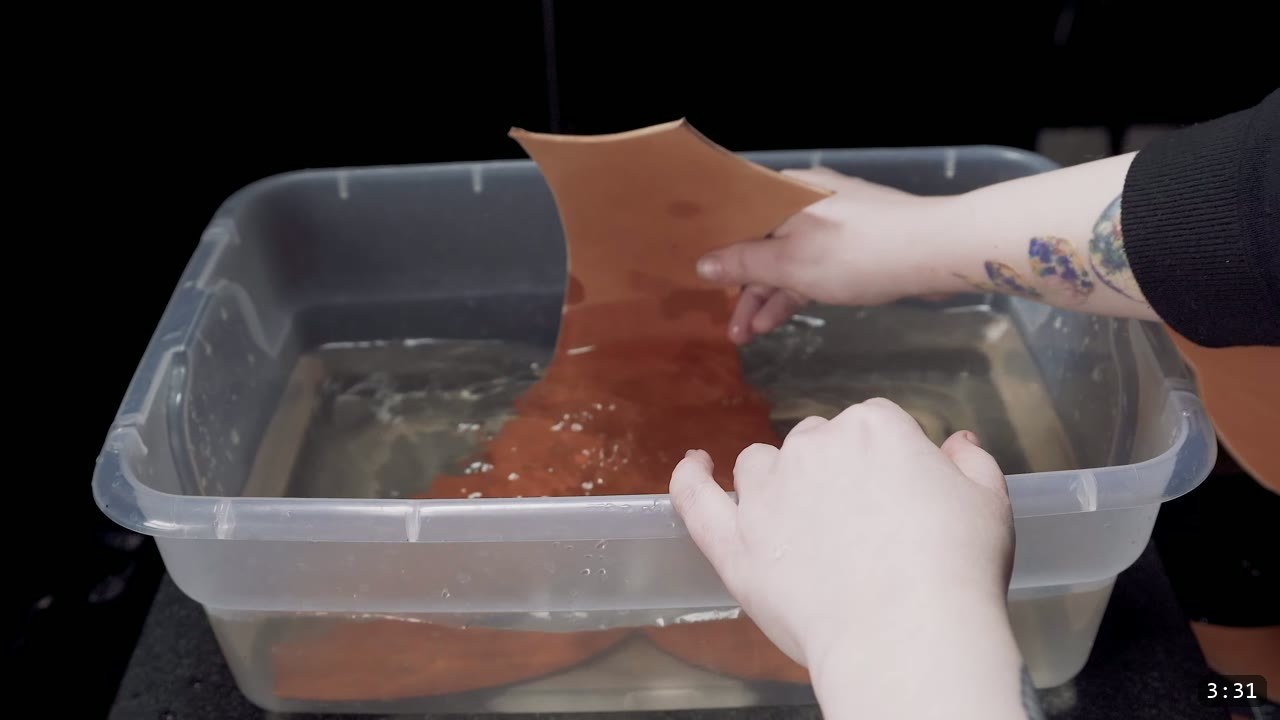
Lay the pieces out on the leather with the back split in mind, torso pieces on the firm leather and neck pieces on the softer leather. Trim the excess away with a retractable knife first, which makes cutting individual pieces easier. Wetting the leather makes it softer and easier to cut. Then cut the pieces out, mostly with leather shears.
Step 3: Bevel and burnish the edges
Run an edge beveler around every piece to round off the edges. Strop the beveler now and then to keep it sharp. Then pass an edge slicker over the pieces to burnish them for a cleaner look. A quick pass on quality leather is enough. You can take it further, but there are a lot of parts here, so decide where you actually want to spend the time.
Step 4: Wet and tool the border
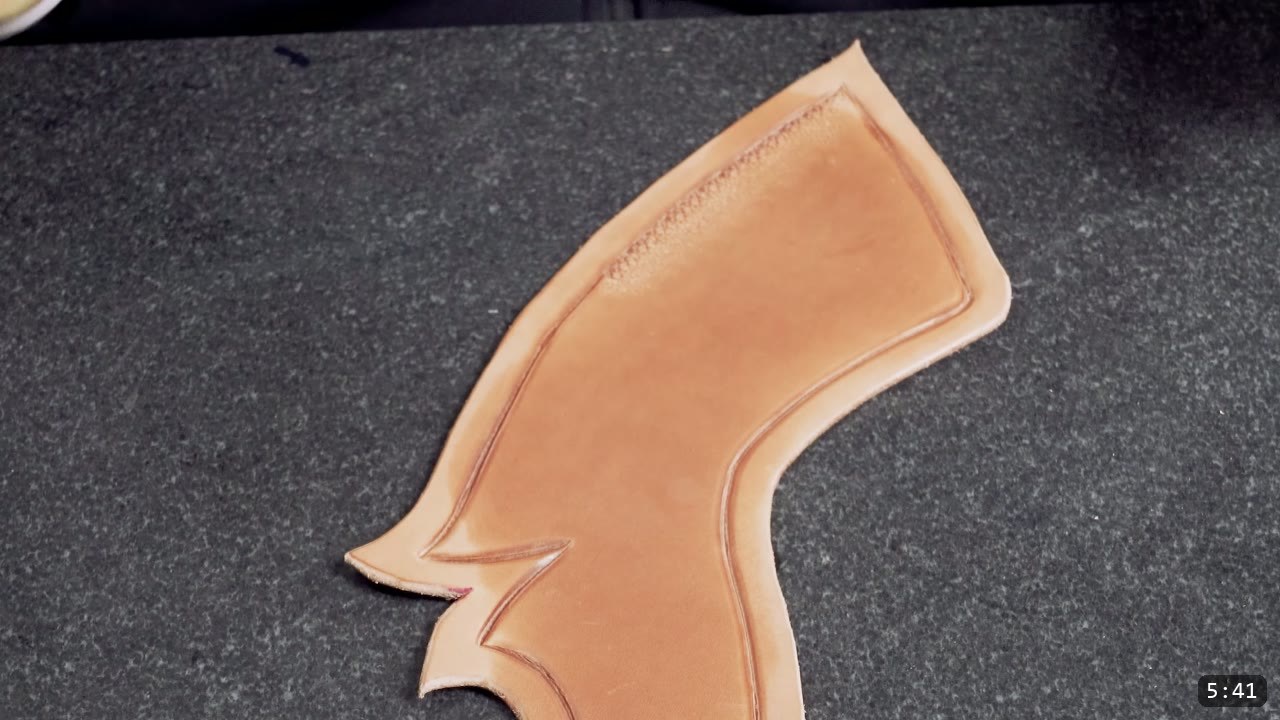
Wet the leather to prepare it for tooling. The video runs a wider border than the pattern shows, scored with a compass around the edges of each piece. There are no rules here, so treat the pattern as a starting point. After carving the lines, define the border with a smooth beveling stamp, then blend and refine the edges with a bone folder. To make the border pop, work a texture stamp along it: one deeper pass right along the border, then lighter passes further out to fade the effect.
Step 5: Mark and punch the holes
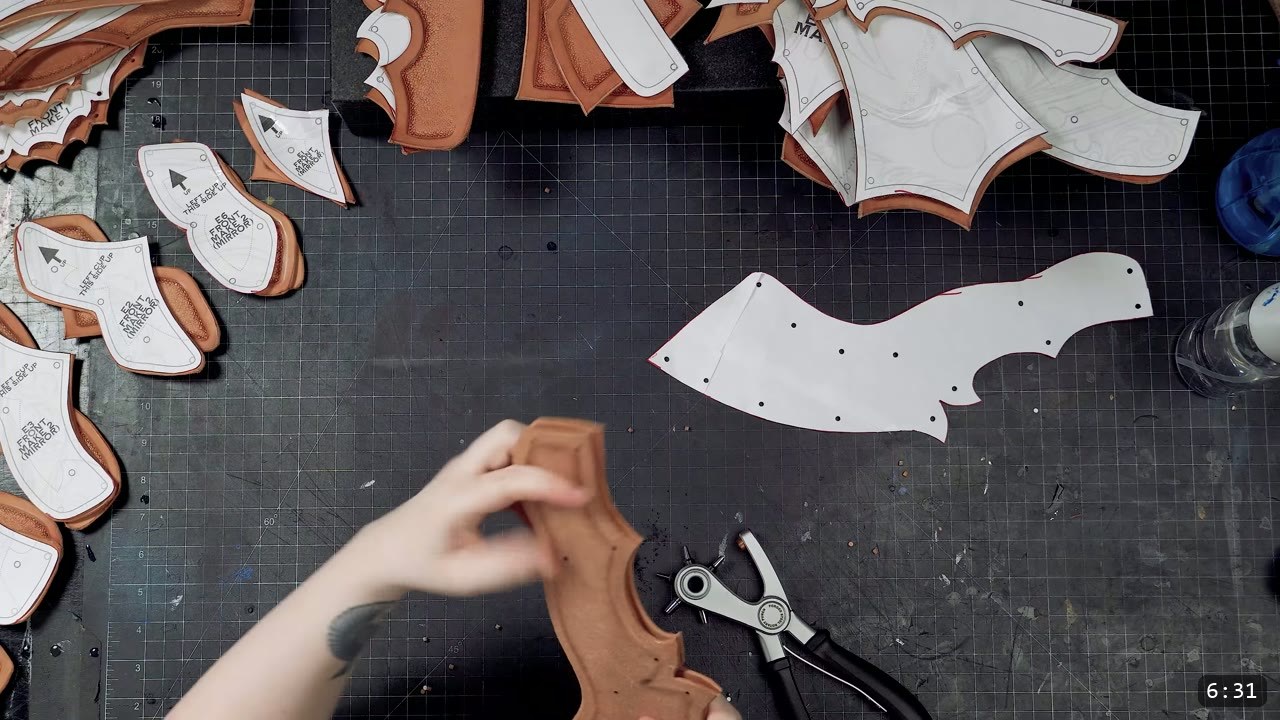
Tooling stretches the leather a little, which throws off hole alignment, so punch the holes after tooling, not before. You can hold the pattern over each piece and punch through with a rotary hand punch, but the pattern shifts easily as you punch. It works better to mark all the holes first, then punch them out.
Step 6: Skive the underlaps (optional)
While you are here, consider skiving the underlapping edges of the parts. It makes assembly a little easier, and it makes a real difference if you plan to wear the corset straight on skin, because it tapers the inside edges for comfort. You could also line the piece with garment leather, though that is a separate technique.
Step 7: Mark left and right, then wet-mold each piece
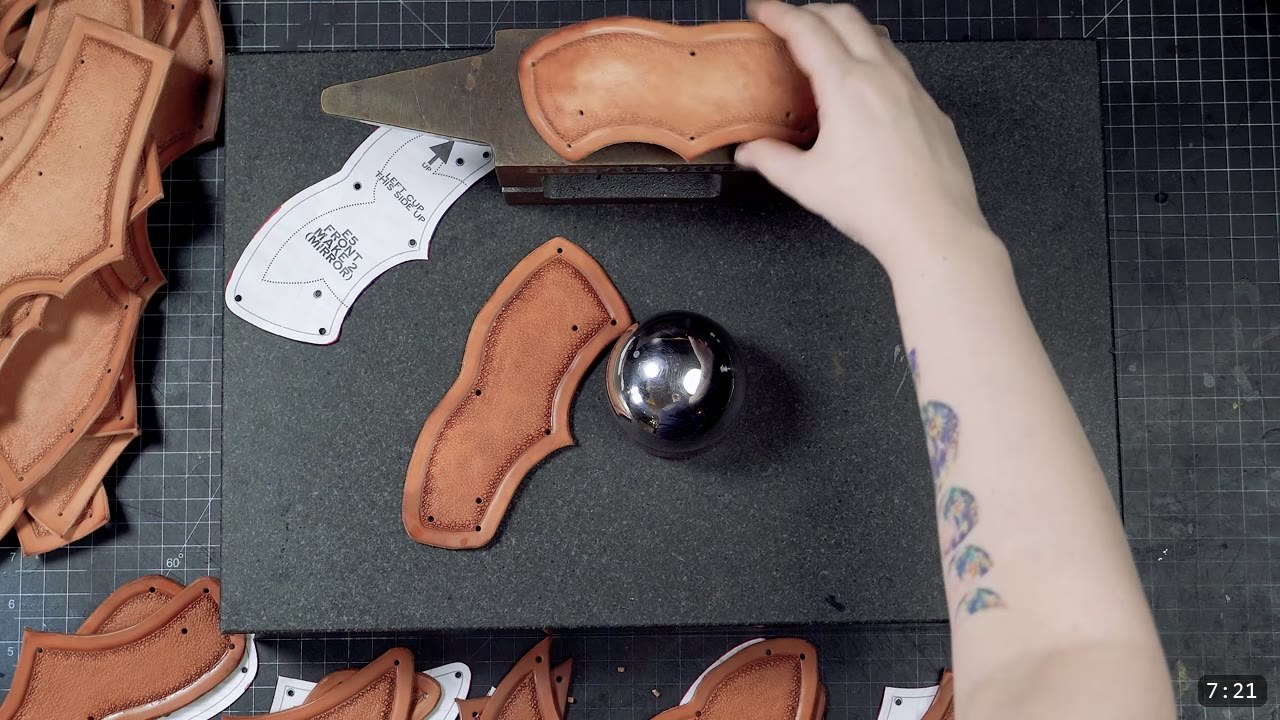
Soak the cut pieces to prepare them for wet molding. There are many similar small parts that are easy to mix up, and once they are shaped you cannot easily lay the pattern back over them to check. So mark each piece, draw an arrow for which way is up, and keep left and right separated. Shape each piece while it is still small and easy to handle. That makes assembly easier and improves the look. If you have never formed leather before, let the leather firm up as it dries a bit, but keep the core damp so it holds its shape when formed. To get the curve, stretch the piece over something round like a baseball or a billiard ball. Standing up gives you better leverage. You only need a shallow dome to start; you clean up the shape as you assemble. Work in small passes, and lean toward over-shaping a little rather than under-shaping, because the leather wants to return to flat and can be stretched back if needed.
Step 8: Assemble before you dye
There is so much shaping in this build that it is better to assemble it before dyeing and finishing. That keeps the freedom to wet mold wherever you need it. Keep the leather damp and pliable through the whole assembly. Do all of this before the dye and seal, because once a finish is on, the leather resists water and will not fully re-wet or reshape.
Step 9: Rivet and enclose the cups
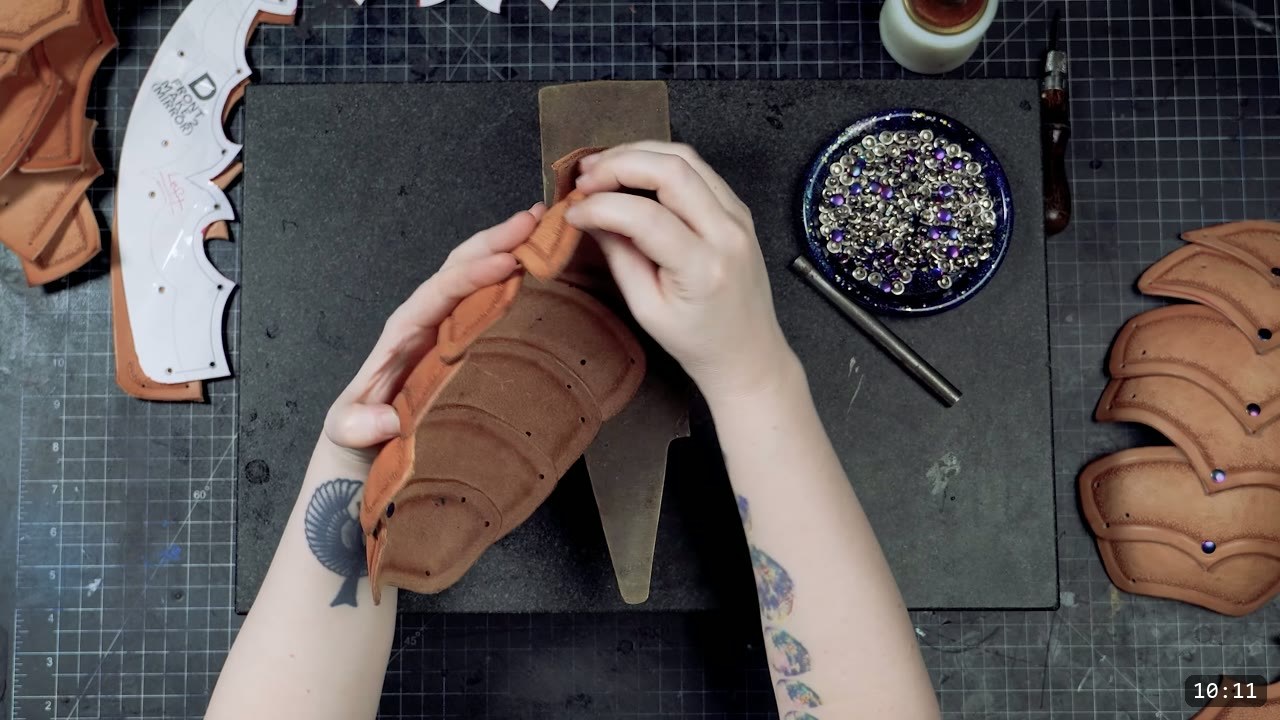
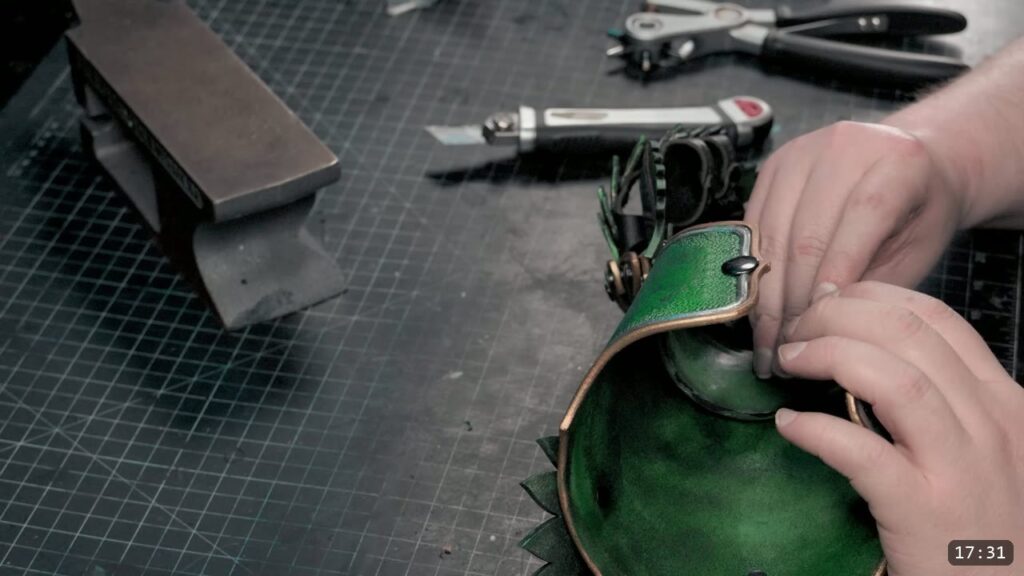
Start by riveting right down the center of each cup. You may need to raise your anvil or setter to account for the curve. If you have nothing to raise the part, turn the piece over and set the rivet flat from the back with a hammer. Then enclose the cup into its permanent shape: start from the side toward the center of the body, work outward, and rivet the cup pieces together. Skip the last hole on the outside, which you set later.
Step 10: Bridge the cups to the torso
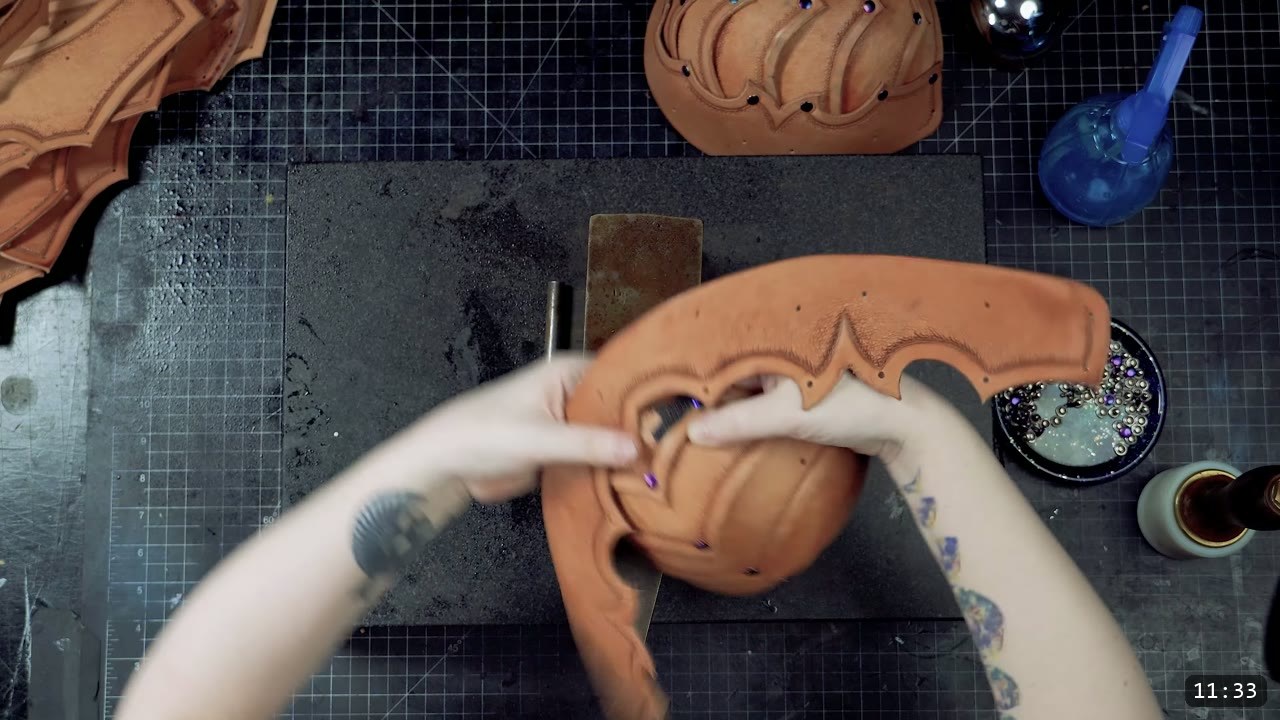
From here, pay close attention to which parts are left and right. The next piece is the bridge between the cup and the torso. Start at the center again, work outward, and rivet the surrounding piece toward the center. An awl is a big help here to align and stretch the rivet holes so the rivets set easier. The leather does not want to be corset-shaped; it is happy staying flat, so expect resistance getting the complex shapes to line up. Where a rivet sits snug against an overlapping part, pry the overlapping layer back a little and sneak the rivet in.
Step 11: Build up the front
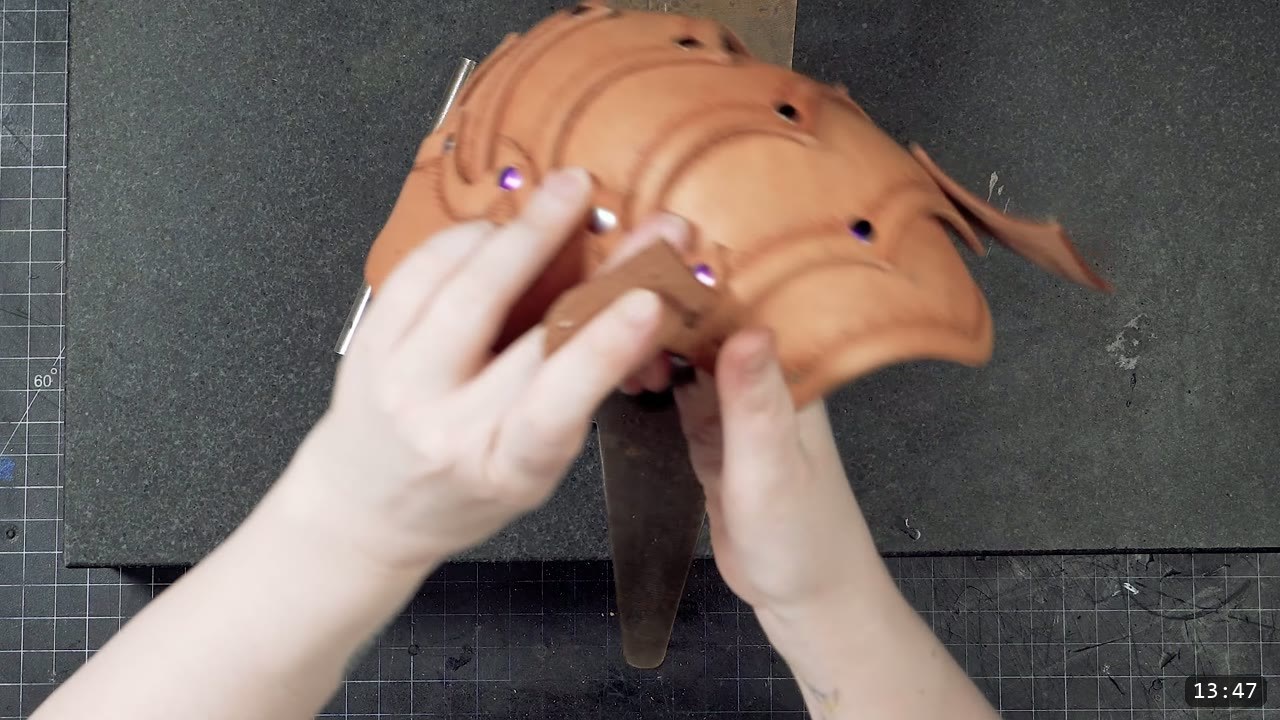
Work the center stomach pieces first, then add the under-bust section. Add the front side pieces next; you can start on either side, top or bottom. Assemble the front collar pieces and work the shape a bit. Then attach the cups to the top collar assembly, still keeping everything damp so the shape settles. After this stage you can wet mold the cups and collar more. The video wets the bottom of the cup a little to pop it out and blend it into the lower section, then attaches the midsection to the top. Set your anvil high to deal with the bulk and the curves. Expect a break-in period: veg-tan armor is rigid at first, so wear it at home over a few days before you debut it at an event, and it will mold to your body.
Step 12: Assemble the back
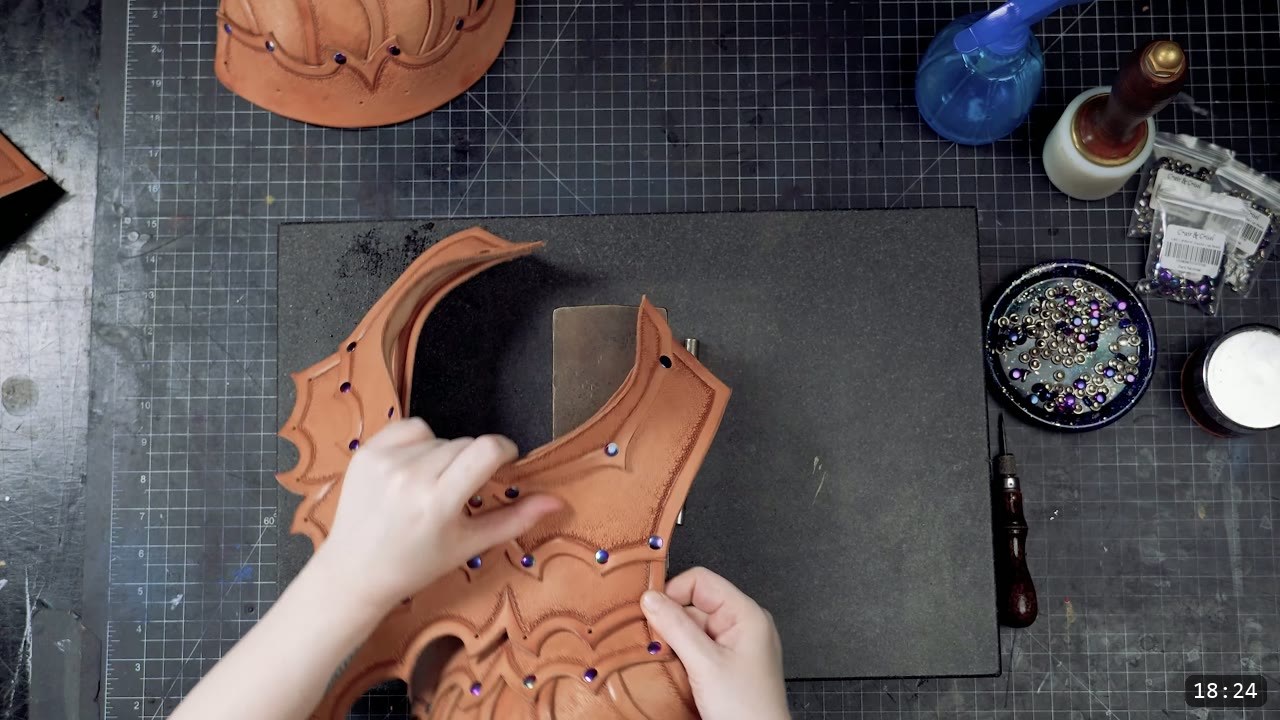
The back is straightforward compared to the front. Start by attaching the collar pieces, then move to the center and the back sides. Keep the leather slightly damp for easier shaping. It is good practice to train the leather into its final shape as you go, even though you can do a lot of shaping once the assembly is done. As pieces are forced into shape it can look lumpy or misshapen, so trust the process and keep going. Use leverage to line up the holes with force where you need to. Forming the piece over the body of the intended wearer makes this easier. Finish with the side pieces for the back.
Step 13: Final shaping by hand
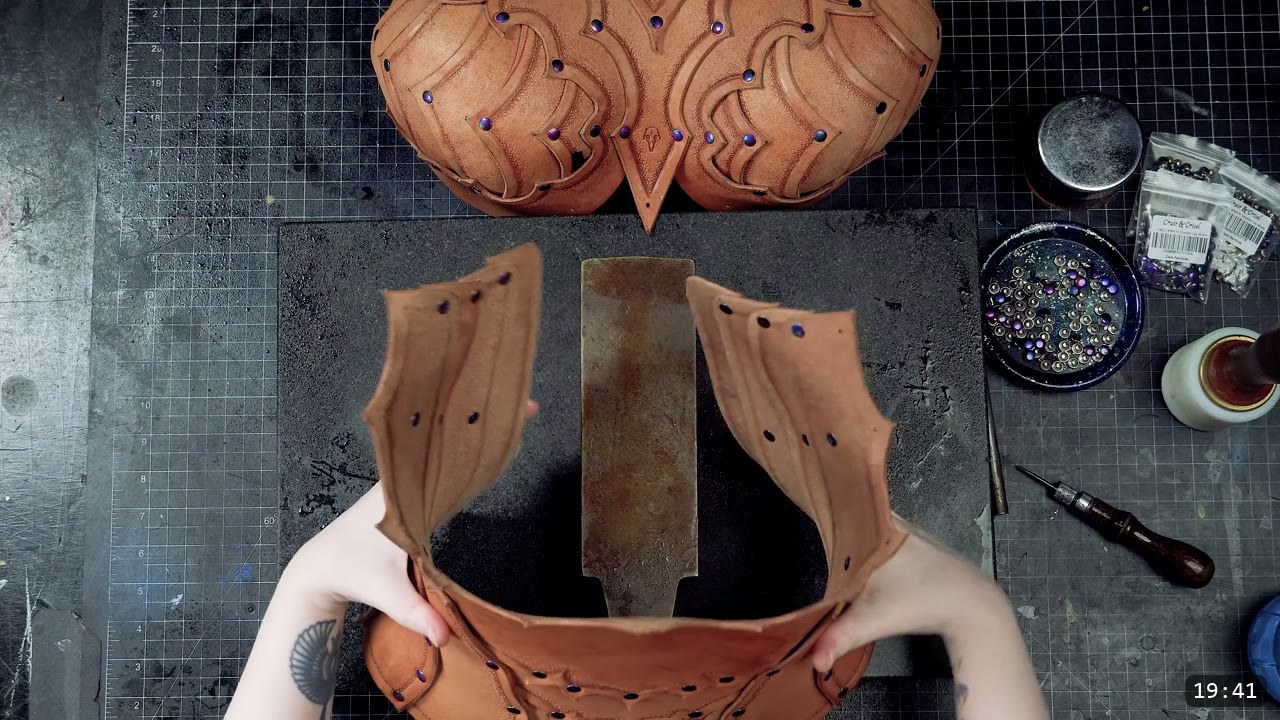
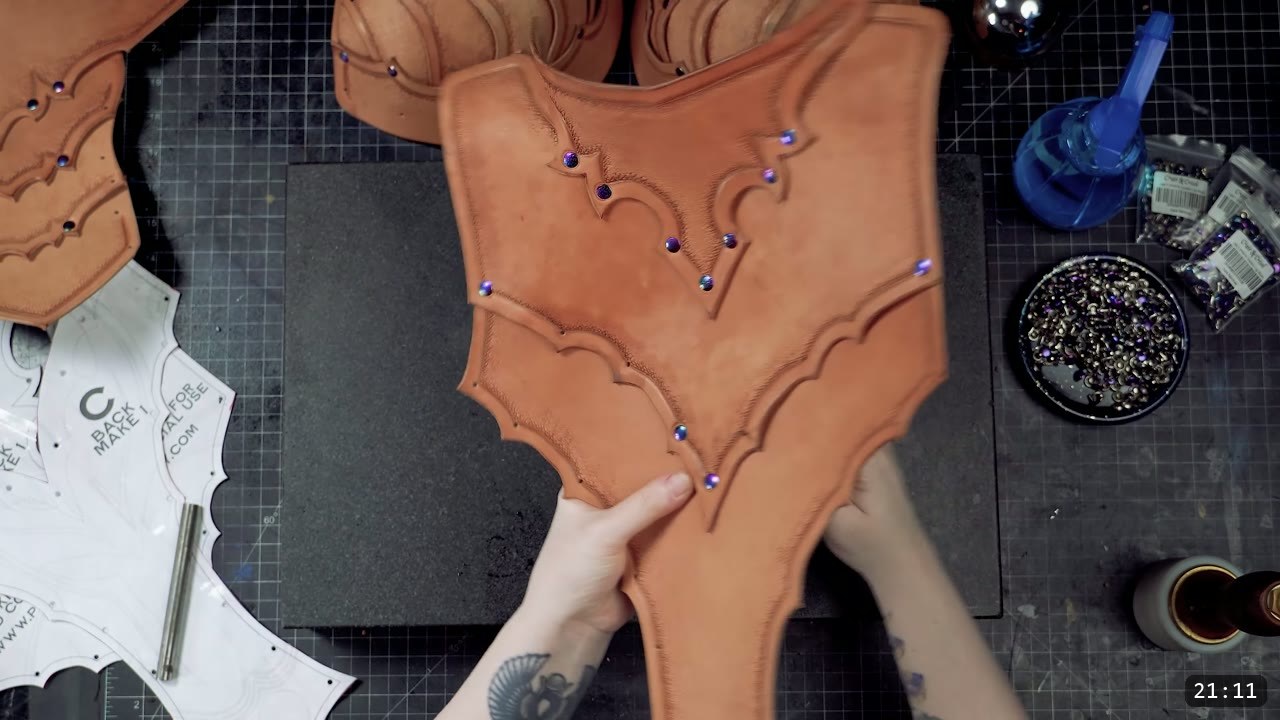
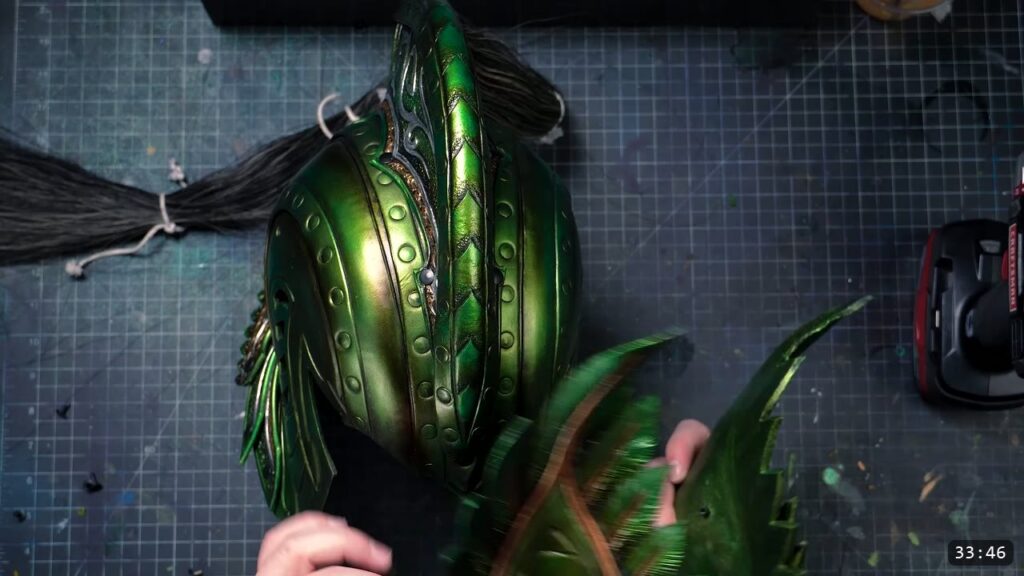
With assembly done, the piece is roughly in its final shape. The design only gets you about 90 percent there, so smooth and blend the shapes by hand for the best result.
Step 14: Dye and seal
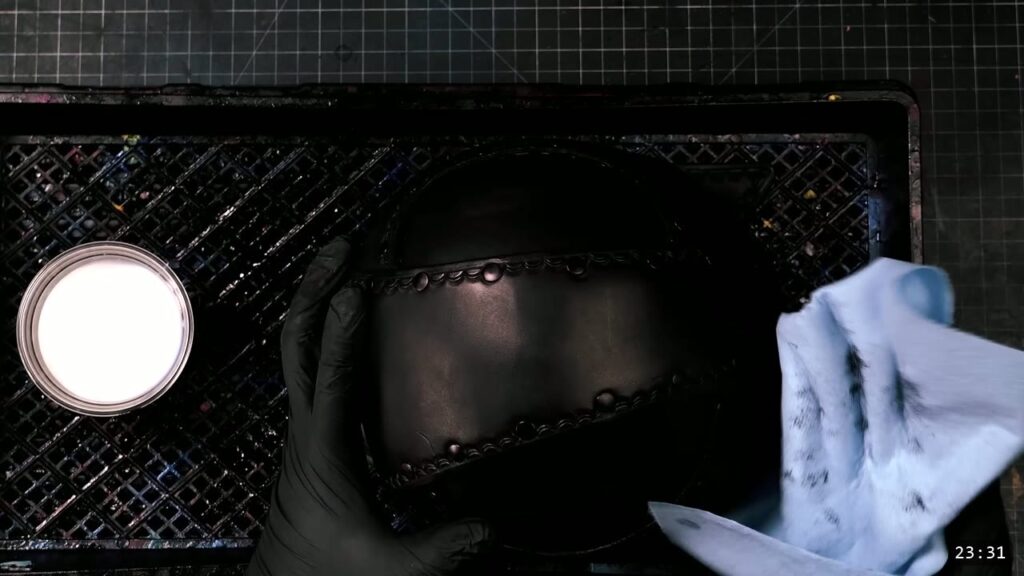
Color the corset all black first, then come back with paint for the trim. Since it is already assembled, use a few applicators to reach the crevices, but do most of it with a dense sponge. Dyeing both the outside and the inside is optional. If you do dye the inside, use a generous coat of finish afterward to set the dye so it does not come off on your skin or clothing. Once the dye is dry, seal both sides with a coat of Super Sheen. Watch for drips. If you can, let the piece dry on a dress form, ideally one sized like the wearer. Remember this is the point of no return for shaping: after dye and seal the leather will not fully re-wet or reshape.
Step 15: Color-shift trim, buckles, and straps
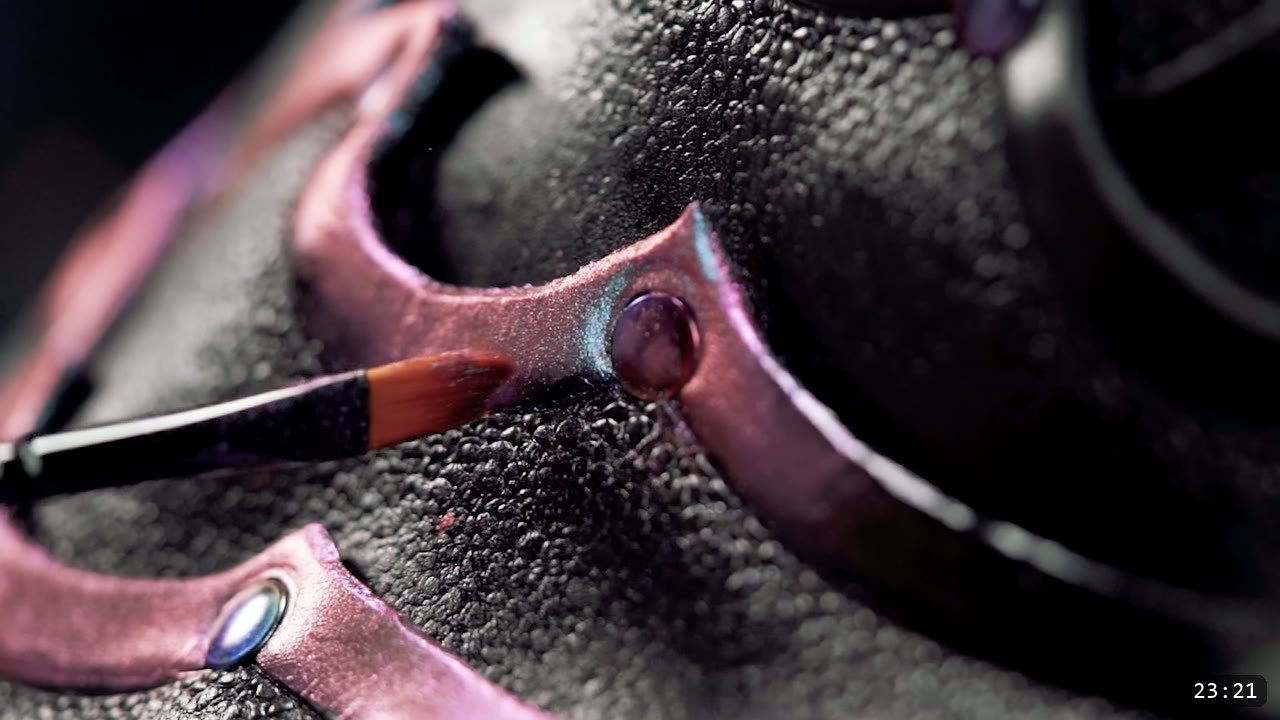
For the trim, the video uses a color-shifting powder pigment from Solar Color Dust, which shifts through several colors and sparkles. It takes some experimenting to get the process right. For the closure, cut the buckle straps from 7 to 8 ounce veg-tan; these can be laser cut even though the panels were not. Match your buckles to your rivets. Have someone help you mark the buckle hole locations. There is some flexibility in placement, but use at least three buckles per side and mirror the sides accurately. When you put the corset on, cinch the buckles tight in the middle and only snug to loose at the top and bottom.

FAQ
Is this a beginner project?
No. It sits in the intermediate range because of the number of layers and the shaping required. If you are new to leather armor, start with a kit or a simpler piece, then come back to this one.
What leather should I use?
Vegetable-tan. The video uses a 9 ounce full side. Veg-tan is what lets the leather take and hold the molded shape, and there are a lot of pieces, so plan your material. Lay the torso pieces on the firmer leather along the back split and the neck pieces on the softer leather.
What tools do I actually need?
A cutting tool and a striking tool like a hammer for the rivets. Everything else, the beveler, slicker, stamps, bone folder, rotary punch, awl, and anvil, is optional but makes the work cleaner and easier.
Do I assemble it before or after I dye it?
Before. The build has so much shaping that you assemble it first, keeping the leather damp, so you can keep wet molding. Dye and seal are the last steps, and they lock the shape, so the leather will not fully re-wet or reshape after that.
How do I make it comfortable to wear on skin?
Skive the underlapping edges of the parts to taper the inside edges, or line the piece with garment leather. Also plan a break-in period: wear it at home over a few days and the veg-tan will mold to your body.
How many buckles does it take?
Use at least three per side, and mirror the placement accurately. There is some flexibility in exactly where they go. When wearing it, cinch tight in the middle and snug to loose at the top and bottom.
Where to go next
- Get the pattern: Imperial Knight Armored Corset pattern.
- Building the whole look? The Imperial Knight bundle is the full set path.
- Want a different female breastplate? See the Fantasy female breastplate from the Fantasy Armor theme.
- New to leather armor? Start with 5 tips for getting started with leather armor.
- Struggling with shaping? The Hand-shaping Leather for Armor Making walkthrough goes deep on wet forming.
- Built one? Share it and tag Prince Armory Academy and Weaver Leather; we feature student work.




Responses