



Berserk Gauntlets Build Guide: The Leather Version, Step by Step

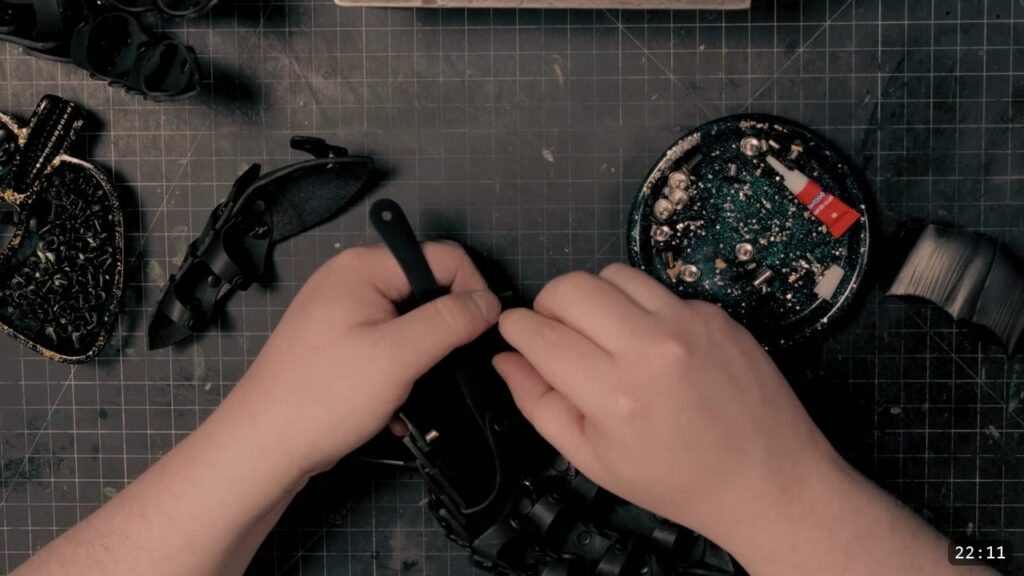
You build the leather Berserk gauntlets from a printed pattern, not a kit. You cut the pieces from vegetable-tan leather in a few weights, tool and flute the design lines, wet form the plates and finger scales, then dye and seal. Only after that do you assemble the articulated plates, fingers, and straps with rivets, buckles, and Chicago screws. This is an advanced build inspired by the Berserker armor from the Berserk manga, and it asks for real leatherwork. This guide walks the whole thing alongside the video, so you can watch each step and read the details the video moves past quickly.
What you are building, and what it takes
This is the pattern build, so you cut and shape everything yourself. The payoff is a functional articulated gauntlet with fluted plates, scaled fingers that draw to claw tips, and a battle-worn black finish. The tradeoff is that it uses skiving, swivel-knife work, wet forming, and a lot of small hardware. If you are new to leather armor, build a kit or a simpler molded piece first, then come back to this one. The video is an overview. Prince keeps the full tooling and fluting demonstration in a separate advanced guide that comes with the pattern or the Berserker bundle, so treat the tooling steps here as the map, not the whole terrain.

What you need
The pattern. The Berserker Gauntlet Patterns print out so you can trace and cut by hand, and the purchase also includes vector files for laser cutting. The pattern set is $44.
Leather. Ironman Oak vegetable-tan for most of the build, in a few thicknesses:
- 9 to 10 oz for the wrists and cuffs. 7 to 8 oz also works here and is easier to shape.
- 5 to 6 oz for the more delicate finger parts.
- 2 to 3 oz kangaroo for the backing and the retaining straps. It is thin but very strong for its weight. A lightweight veg-tan or a sturdy chrome-tan works if you prefer.
Hardware.
- Black double-cap rivets, small and medium.
- Chicago screws, plus low-profile mini Chicago screws from US Bind (1/8 inch deep, you need 8 of them).
- Z145 black buckles from Weaver Leather: 3/4 inch for the upper arms, 5/8 inch for the wrists.
- Thread lock or a dab of glue so the screws do not back out over time.
Tools.
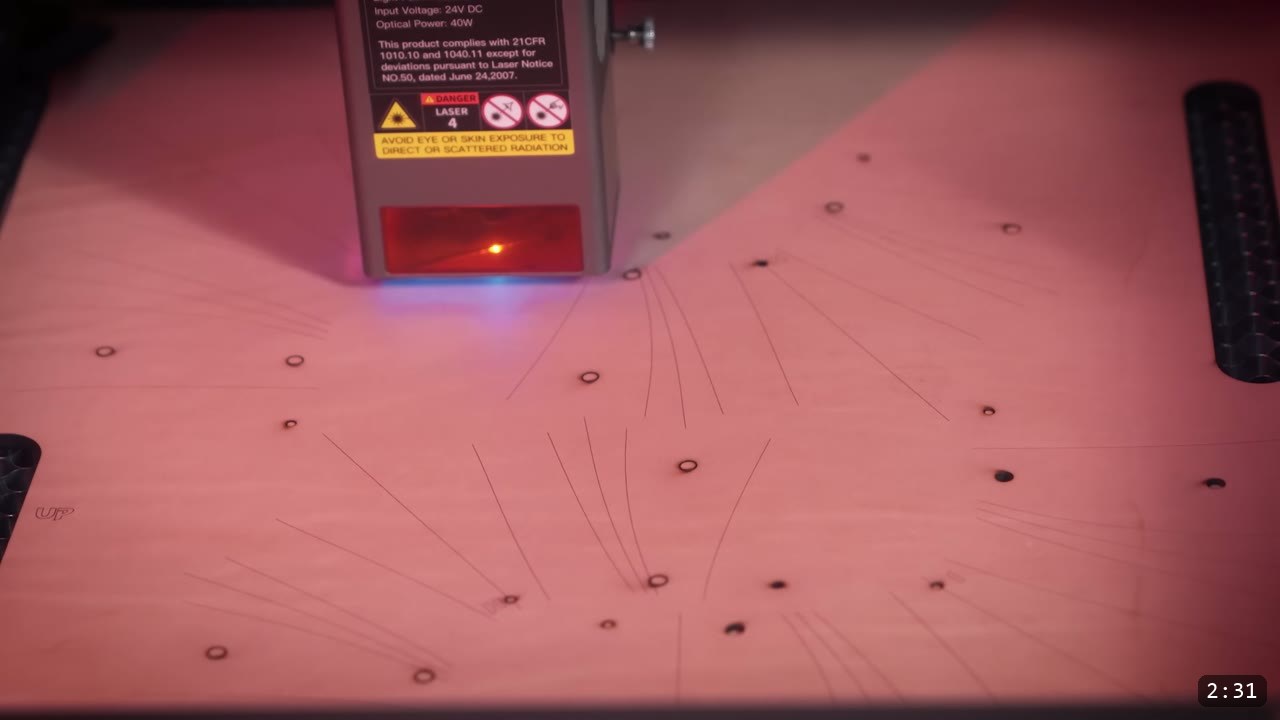
- Cutting: leather shears or a knife will do the whole job. If you have a laser, it makes fast work of the many small repeating pieces. The video uses a Creality Falcon 2 40W diode laser and scores the reference labels and guidelines as it cuts. Cut in a well-ventilated area.
- Tooling: an edge skiver, a swivel knife, a smooth wide beveler, an extra-wide beveler (the video uses one from Robert Beard), and a mini anvil (from Weaver) for delicate pieces and tight rivet spots.
- Optional speed tools, all shown as prototypes: 3D-printed embossing wheels that mount on a bead roller for flutes and creases, 3D-printed forming blocks, a chisel-and-crease block, a motorized beveler for long lines, and a rivet press. None of these are required. They speed up the hand techniques, they do not replace them.
Color and seal. Fiebing’s Black Pro Oil Dye, Weaver’s Tough Coat acrylic finish, Neatsfoot oil or Top Grade Saddler’s Oil for the buckle straps, and a Scotch-Brite pad or a cheap oscillating sander to knock the shine back to matte.
Step 1: Cut the pieces
Lay the pattern out and cut. Shears or a knife handle the whole thing. If you cut with a laser, the small finger parts come out clean and the guidelines score in place, which saves marking later. One gotcha from the video: thin kangaroo curled under the laser and got sliced up, so enable automatic tabs in your laser software to hold each piece in the sheet until you pop it out.
Step 2: Case the leather
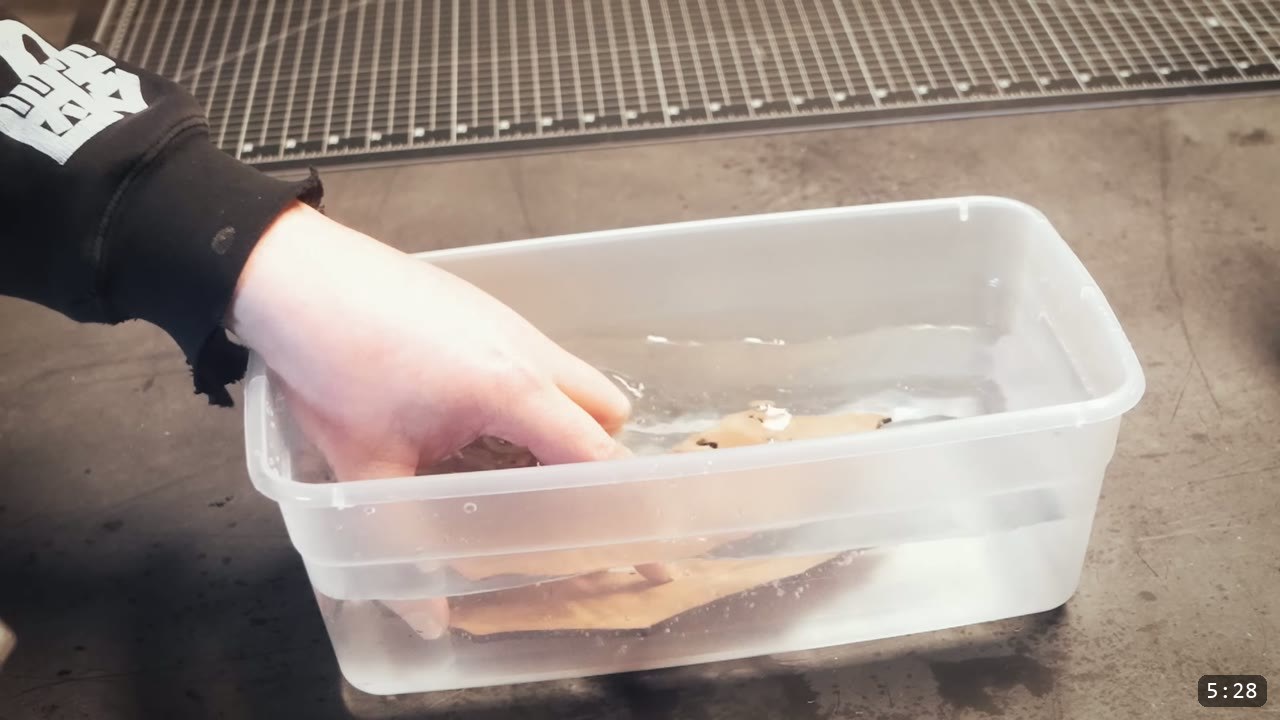
Before tooling, get the moisture right. The video uses the older sense of casing: seal the damp leather in an airtight bag so the moisture spreads evenly and holds while you work. Add a little extra water to the areas you know will be worked hard and need more depth. Keep the leather damp through all the tooling and forming that follows. You can re-wet freely the whole time, right up until you dye and seal. Once a finish is on, the leather resists water and will not fully re-wet or reshape, so all of this shaping has to happen before color.
Step 3: Bevel and cut the design lines
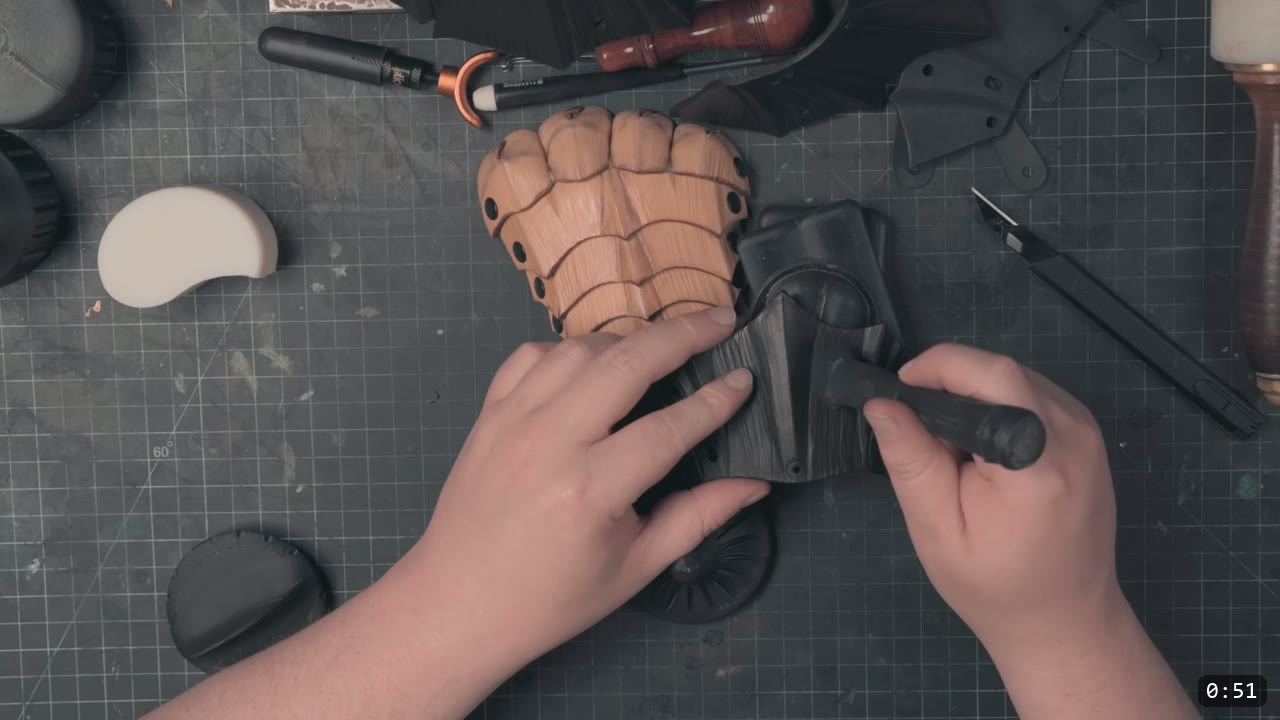
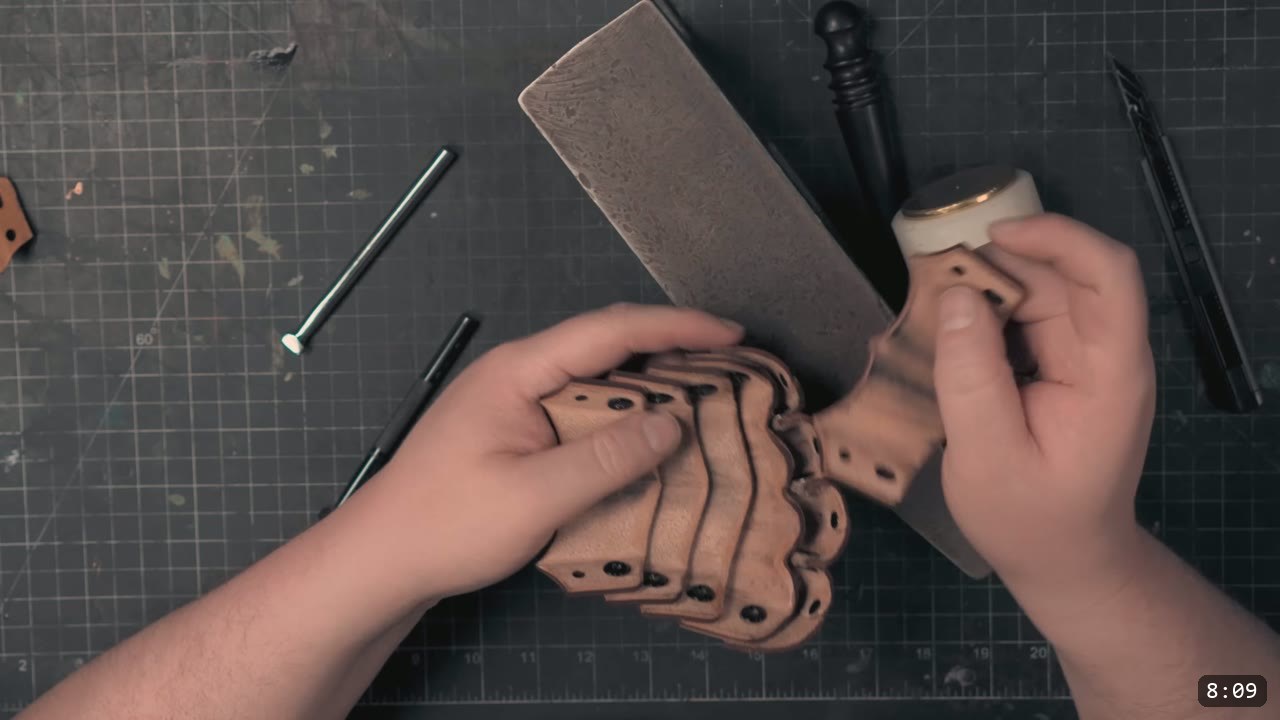
Skive the backs of the pieces with an edge skiver to soften them. The video leaves the top edges sharp on purpose for the look this time. To make the design features stand out, run a swivel knife down the crease lines, then bevel both sides of each cut with a smooth wide beveler and blend that bevel with an extra-wide beveler. This is where the fluted Berserk look starts to read.
Step 4: Flute the creases
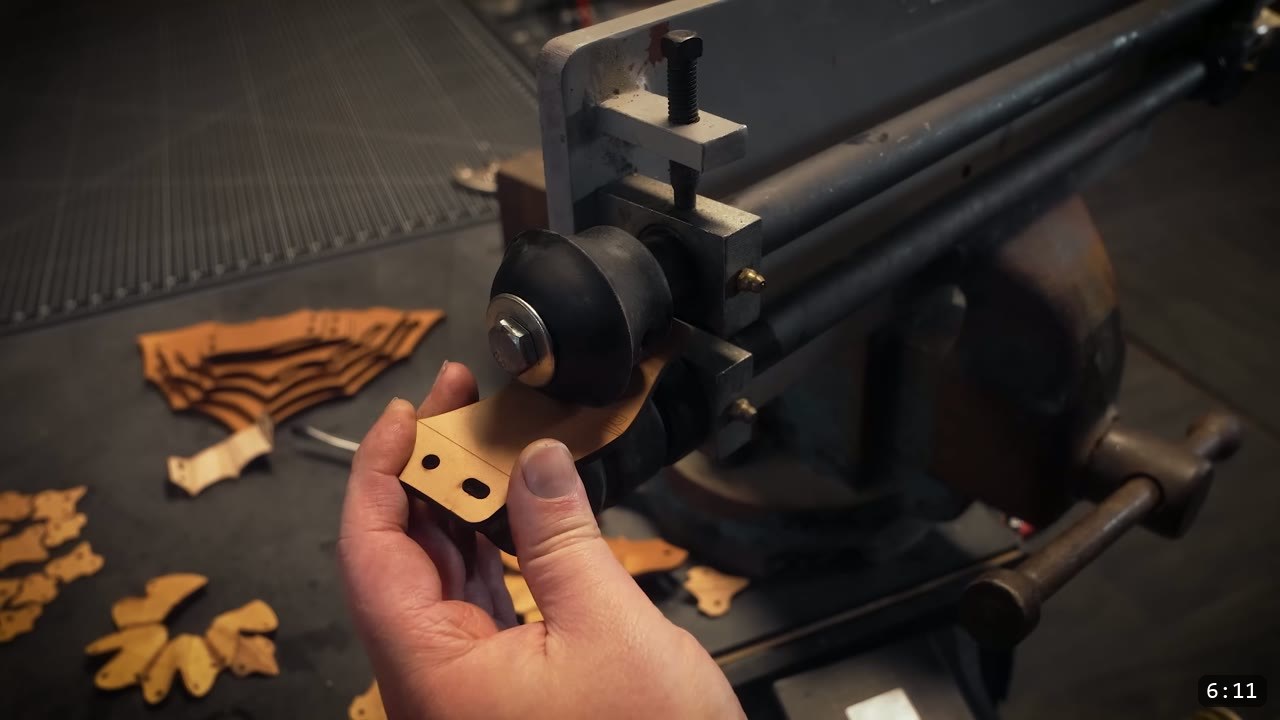
The Berserk plates carry a lot of fluting. By hand it is several steps of beveling and creasing to make it look right. The video previews two prototype shortcuts: an embossing wheel that mounts on an affordable sheet-metal bead roller and rolls flutes and creases into a strap, and a chisel-and-crease block you strike from the front for a clean indent or from the back for a raised flute. These are experimental home-printed tools, not a requirement. The hand method is the real technique, and the full demonstration lives in the paid tooling guide.
Step 5: Shape the plates and scales
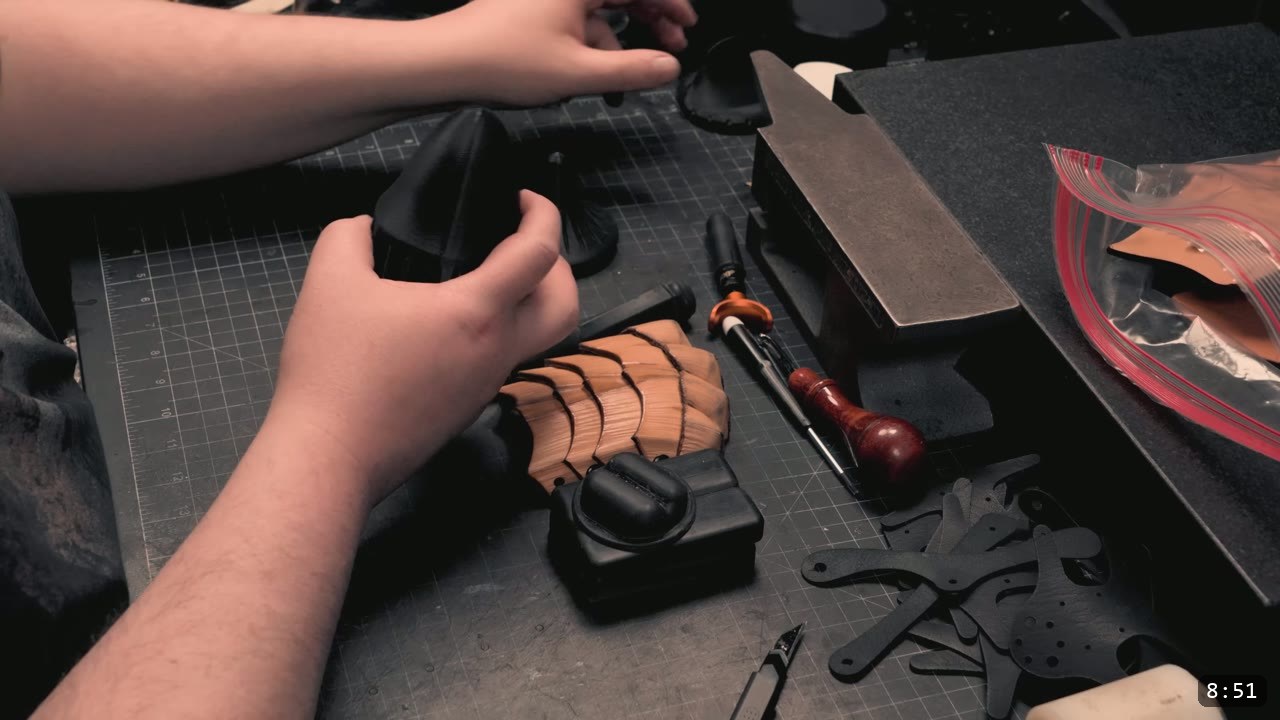
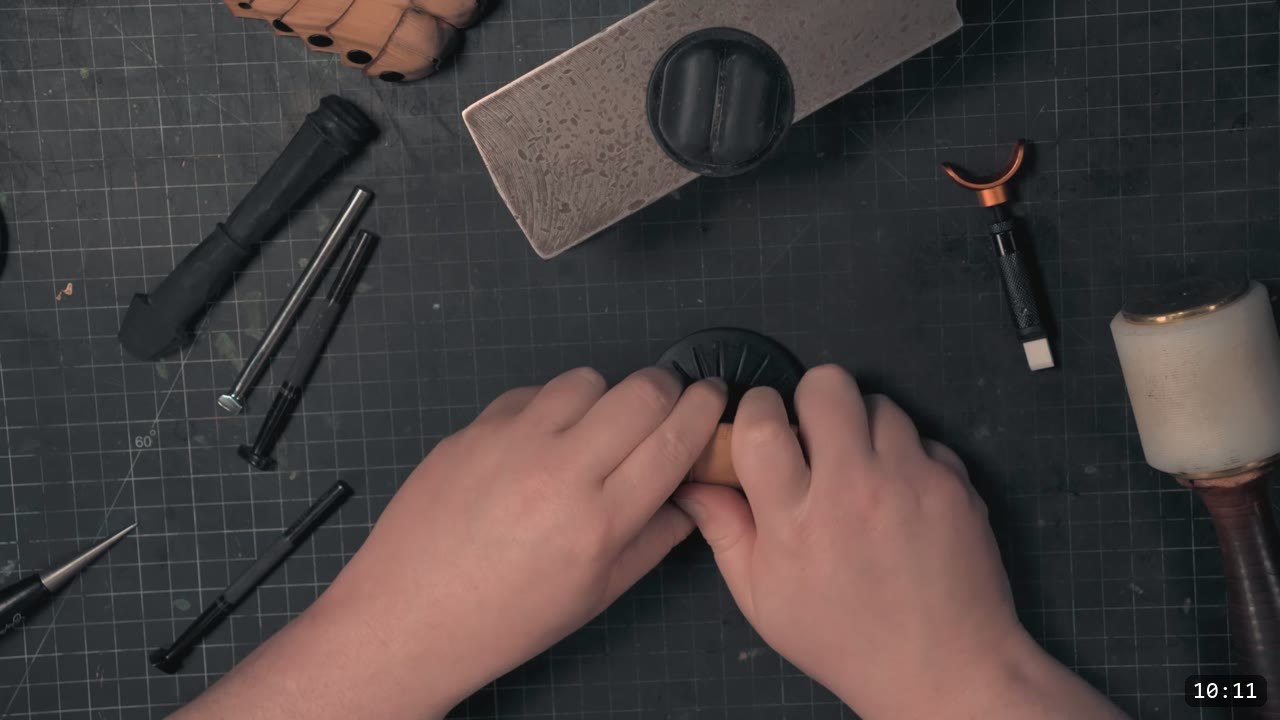
Wet form the domed and creased shapes while the leather is still damp. The 3D-printed forming blocks help here: a fin-shaped piece for forming creases and flutes, and a small raised dome for the many complex shapes on the knuckle parts. Do your forming now. This is the last chance to move the leather, because dye and seal are coming and they lock the shape. If you want to go deeper on this one skill, watch Hand-shaping Leather for Armor Making.
Step 6: Trim for fit and function
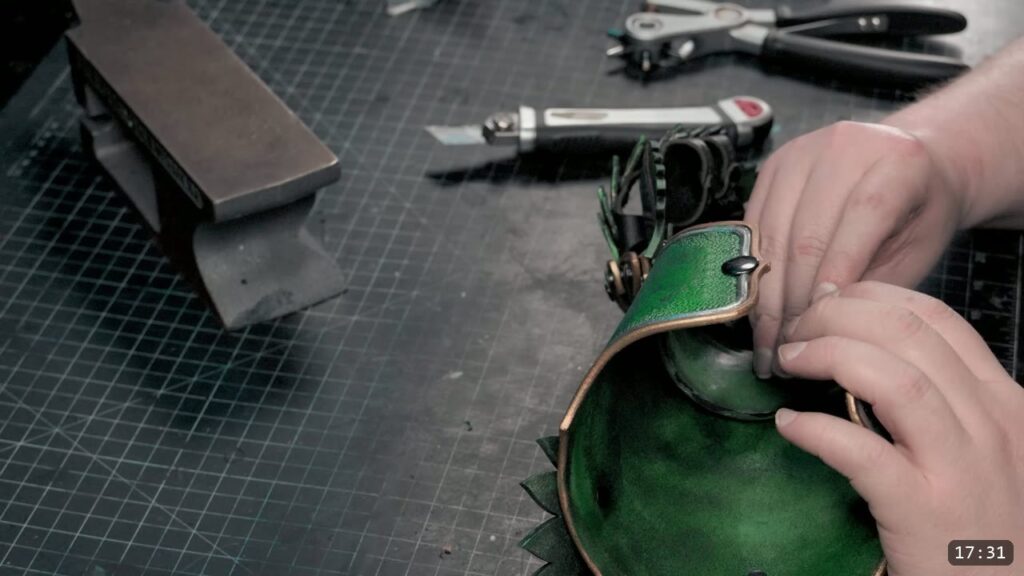
Two small trims make the finished gauntlet move better. When the tooling and shaping are done, trim down the portion that rides over the Chicago screws, so the leather glides where the fit is tight. Trim the underside of the leading edge too, so a hard edge does not dig into and mar the layer beneath it. Both cuts reduce friction on an articulated piece.
Step 7: Dye the parts
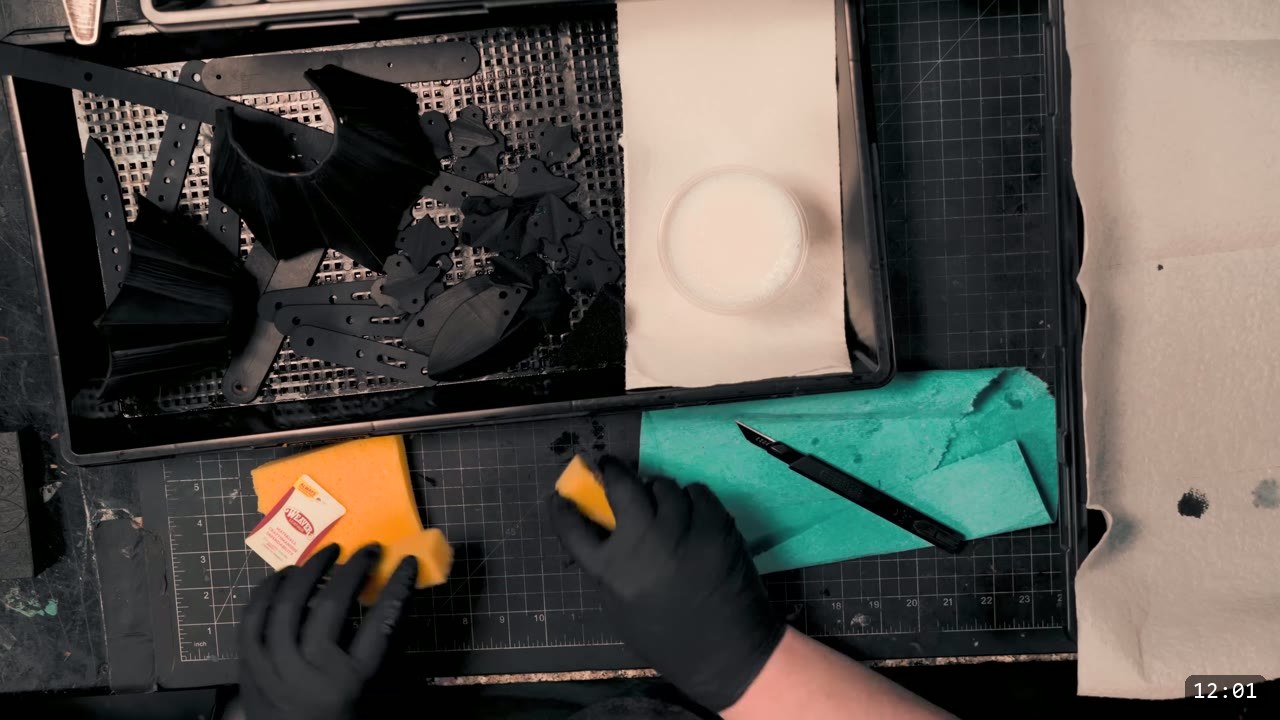
Color the pieces with Fiebing’s Black Pro Oil Dye. Dip the small parts in a cup of dye, and sponge the mid-sized pieces. Propagation trays keep the mess contained. Test your color on scrap first, or on the underside if this is your first piece and you have no scrap.
Step 8: Seal and finish
Seal the leather with Weaver’s Tough Coat. Let it soak in, which hardens the leather without making it brittle, and use a blue shop towel to keep the coat even as it dries. Do not put acrylic finish on the buckle straps, because it makes them too stiff. Oil the straps instead with Neatsfoot oil or Top Grade Saddler’s Oil. For a matte look rather than a gloss, knock the shine back with a Scotch-Brite pad or a cheap oscillating sander. Color and seal are the last leatherworking steps. Everything after this is assembly.
Step 9: Assemble the arm plates
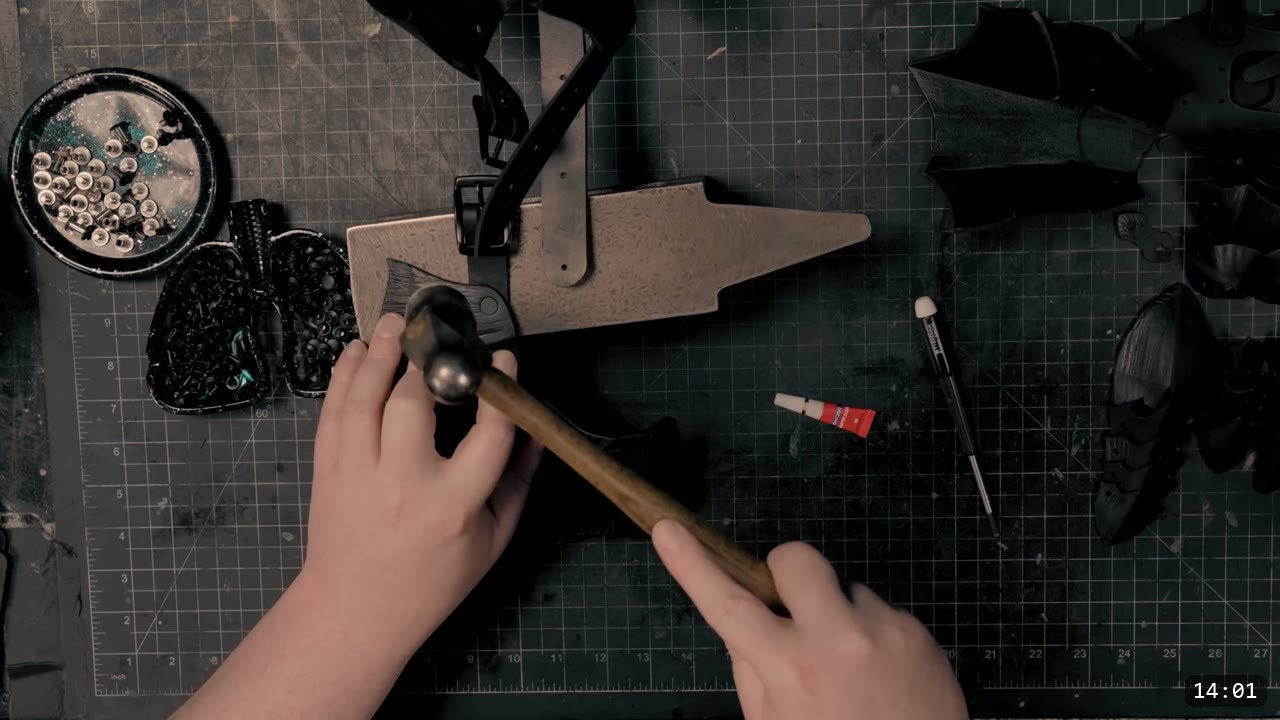
Start with the arm pieces. There is a support strap that runs down the center. Trim its top and bottom ends for comfort, then rivet it to the top arm piece with black double-cap rivets. The pattern includes an assembly diagram, so keep it in reach for the order of pieces. Attach the buckles as you go: 3/4 inch on the upper arms, 5/8 inch at the wrist. Chicago screws hold each section to the next. Do a test assembly first to confirm fit, then add thread lock or glue so the screws do not loosen over time.
Step 10: Build the thumb
Connect the thumb split with 4 small rivets, using the thumb’s retainer strap to hold the joint. Get a tight fit here. A Chicago screw makes a handy placeholder to hold the holes in position while you set the rivets. Once the rivets are in, flatten the joint seams a little. The next thumb piece attaches with two Chicago screws, and the following pieces with rivets.
Step 11: Assemble the fingers
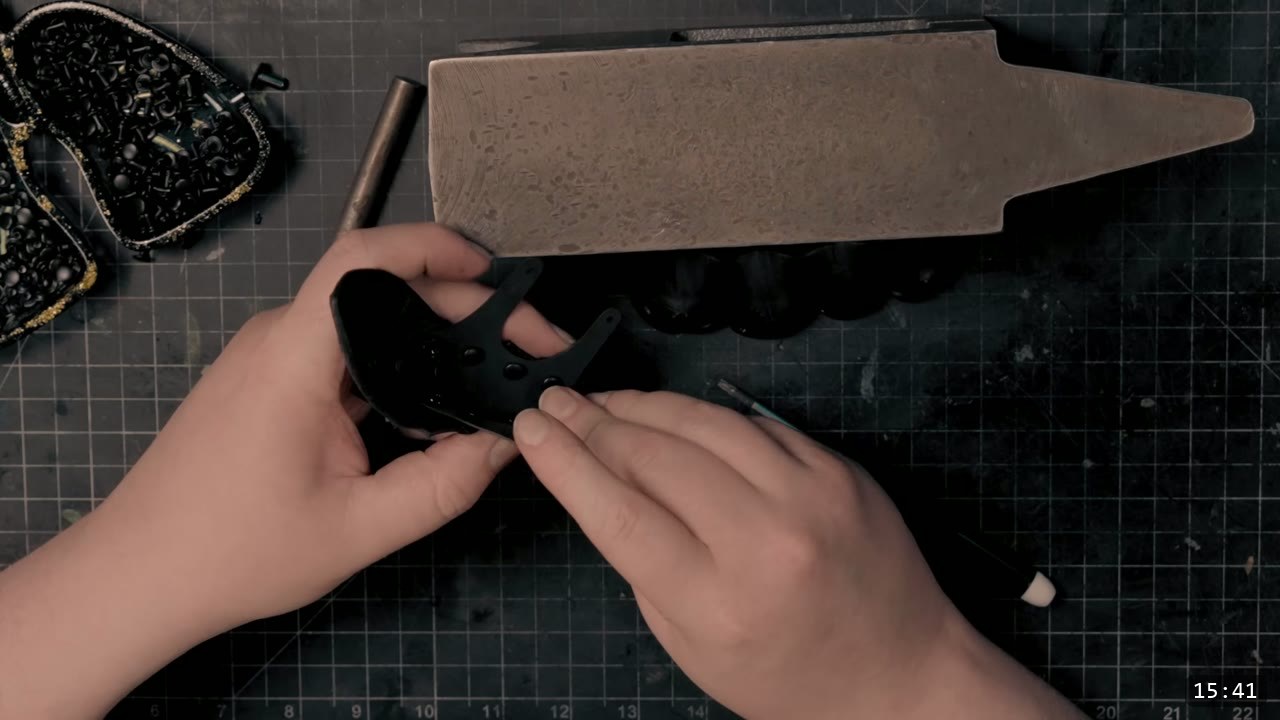
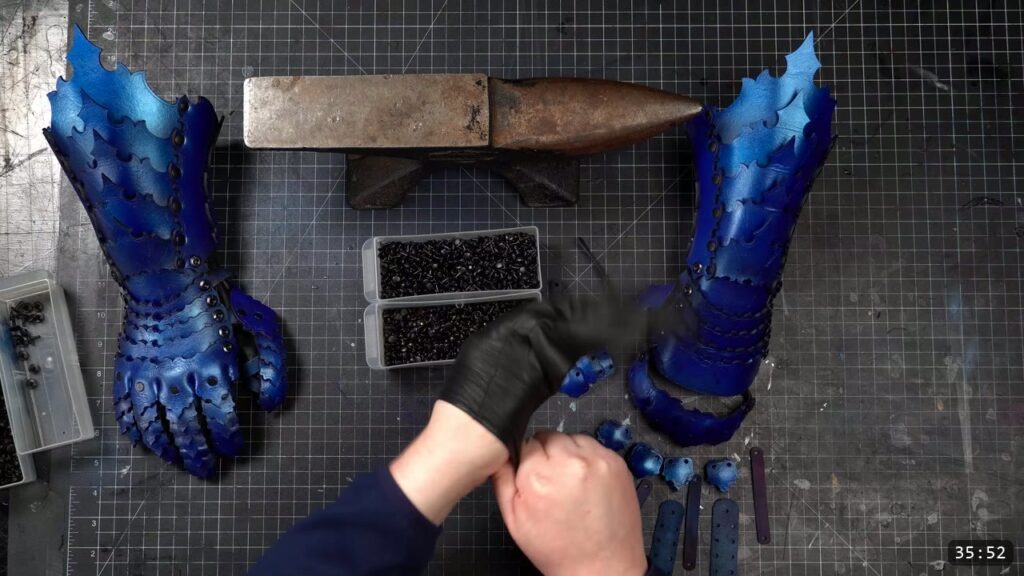
Each finger has a backing retainer with built-in finger loops, labeled 1 to 4. If you lose track, fingers 1 and 3 are the same size, 2 is the longest, and 4 is the pinky. Start at the top of each finger, where one scale has a hole that connects the knuckle plate to the backing. Here the video uses the low-profile mini Chicago screws from US Bind, 1/8 inch deep, 8 of them total. You could use rivets instead. Each finger then gets 3 normal scales, set with small double-cap rivets, and the tips draw to a wider claw. Size and fit the finger loops later, once the gauntlet is mostly together.
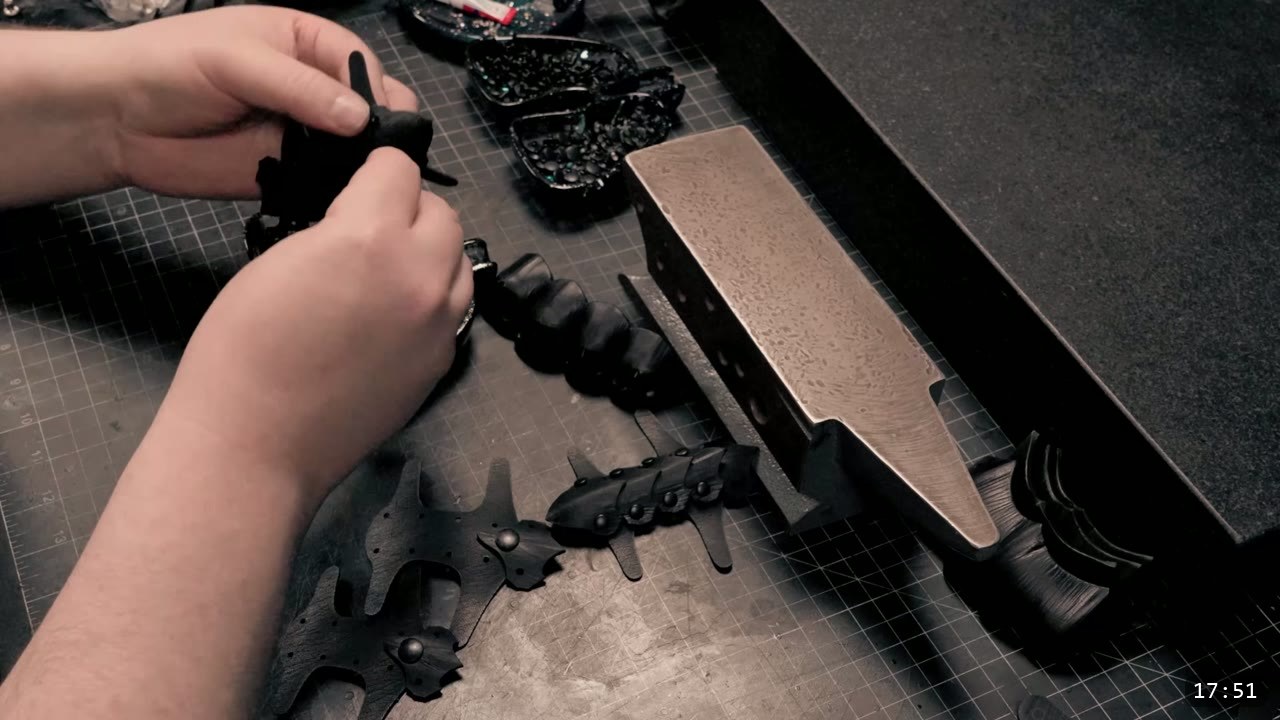
Step 12: Join the finger tips to the knuckles
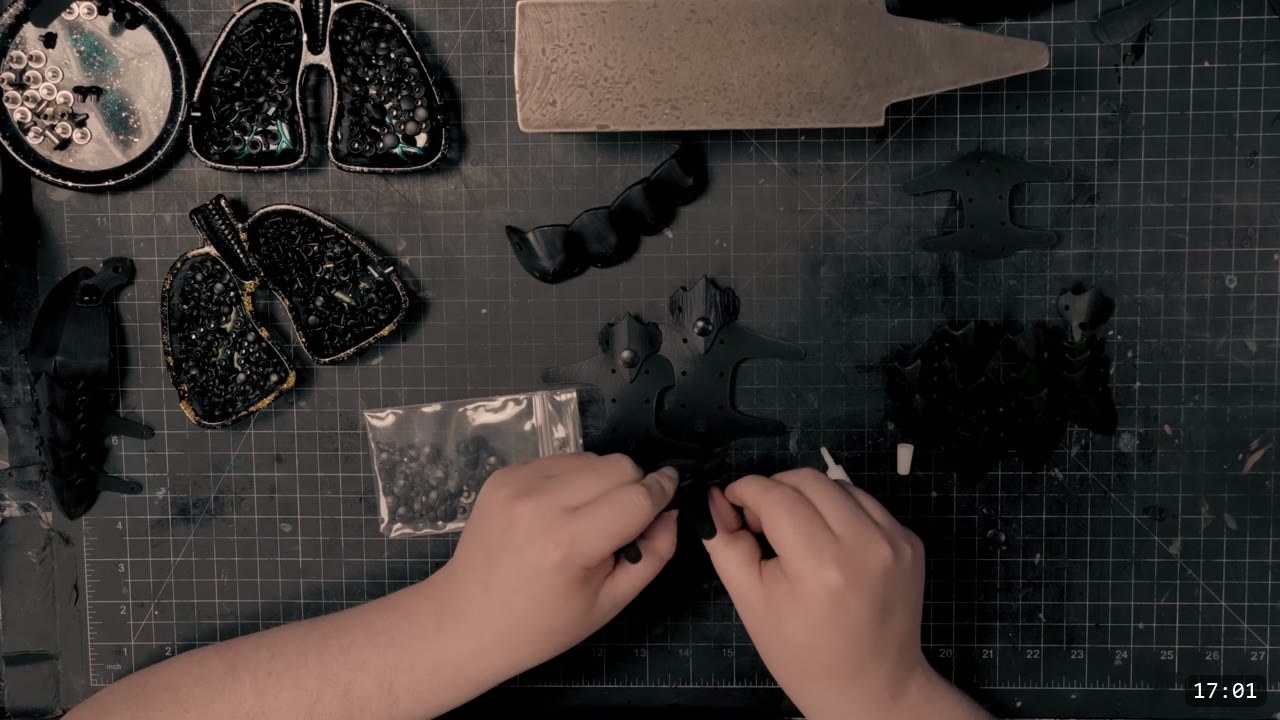
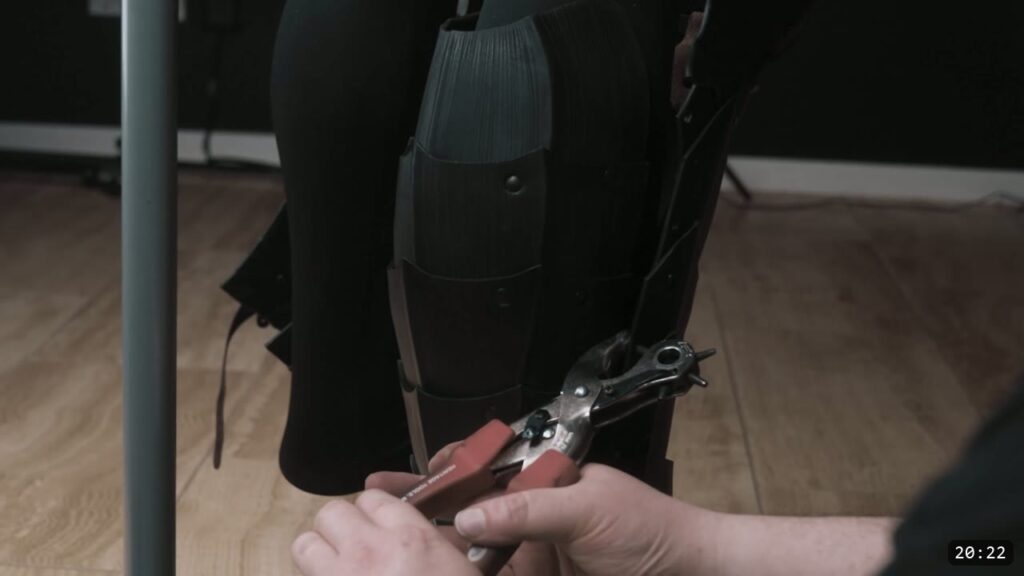
Attach each finger tip to its knuckle plate with 2 medium double-cap rivets. The holes are marked on the knuckle pieces, but if the wet forming did not land precisely, adjust the hole placement to suit your fit. You can set these from the back with a normal setter. The video switches to a rivet press to reach the awkward spots, which is optional but makes tight areas easier.
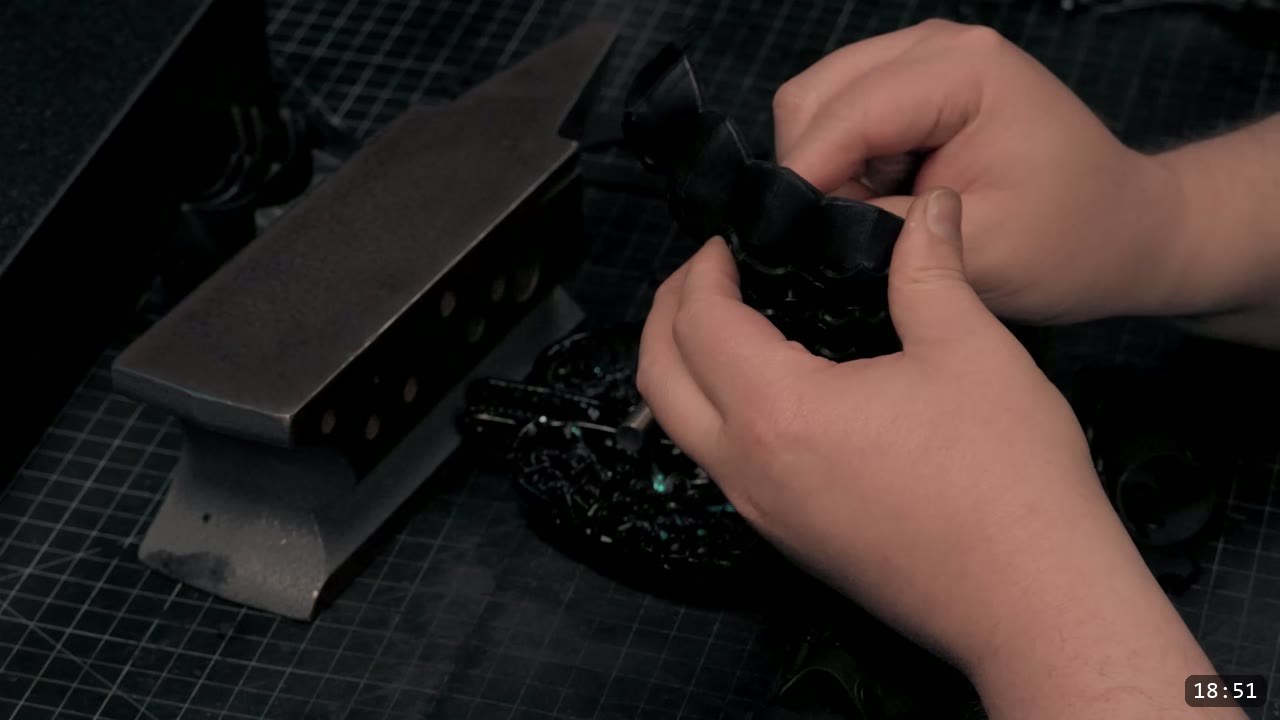
Step 13: Assemble the knuckle and wrist plates
The knuckle plate labeled A attaches to the hand plate labeled B. Work your way back, one plate at a time. Tighten the Chicago screws snugly at first. When you go to glue them, back the screw pressure off slightly so there is a little slack, which lets the plates articulate smoothly instead of locking up. There are a couple of hand retaining straps: the curvy piece cups your thumb and connects to the straighter strap with a small rivet, and it wraps around the back of the thumb.
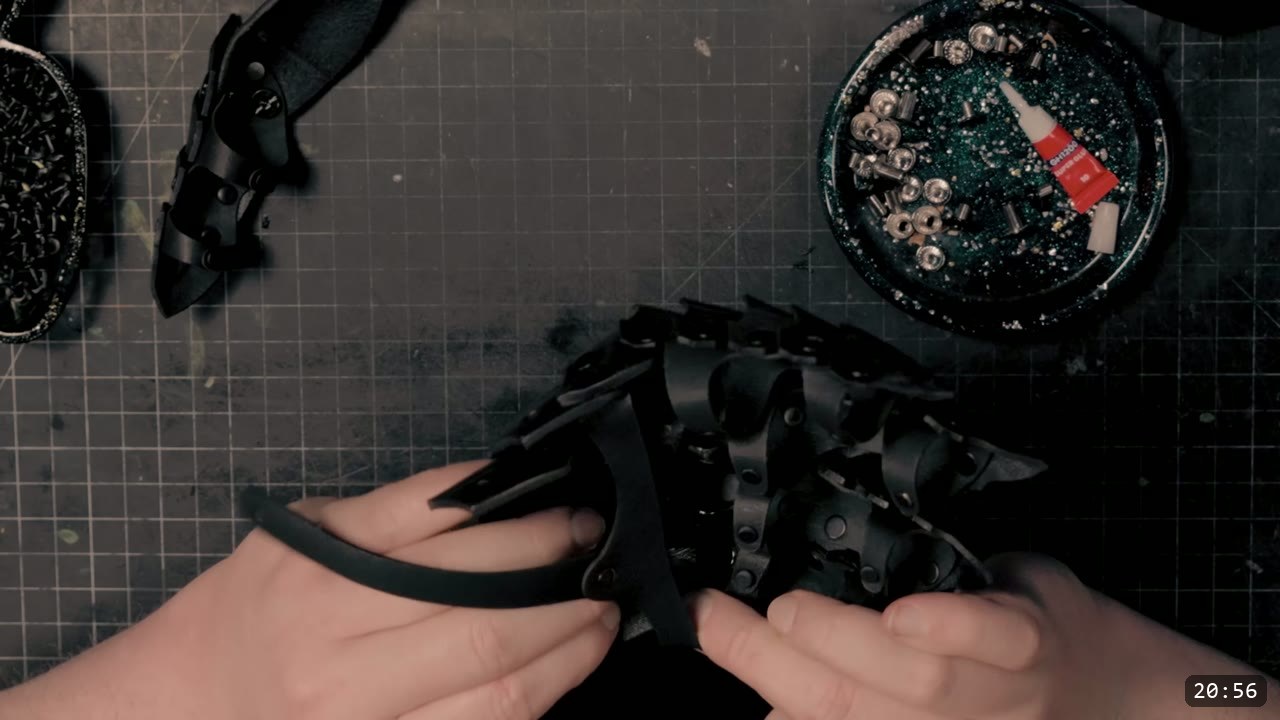
Step 14: Fit the straps and finish the hand
Loop the retaining strap over the thumb, back onto itself, and connect it wherever it fits best on the wrist. For any joint where a Chicago screw has to pass through more than two layers, thin the leather slightly from the underside first so it seats flush. Fit the finger loops now, wearing the gloves you plan to wear with the suit, or sized snug to bare fingers if you will not. That is the gauntlet.

FAQ
Is this a beginner project?
No. It is an advanced build with skiving, swivel-knife tooling, fluting, wet forming, and a lot of small hardware. If you are new to leather armor, start with a kit or a simpler molded piece, then come back to this one.
What leather do I need?
Vegetable-tan in a few weights: 9 to 10 oz for the wrists and cuffs, 5 to 6 oz for the fingers, and 2 to 3 oz kangaroo for the backing and straps. Veg-tan matters because the build relies on tooling and holding a formed shape. A sturdy chrome-tan can stand in for the thin backing if you prefer.
Do I need a laser cutter?
No. The whole project cuts by hand with shears or a knife. A laser just speeds up the many small repeating finger parts, and the pattern includes vector files if you have one.
When do I dye and seal?
Last. Do all your cutting, tooling, fluting, and wet forming first. Once the leather is dyed and sealed, the finish resists water and the piece will not fully re-wet or reshape, so color and seal are the final leatherworking steps before assembly.
Should I seal the buckle straps too?
No. Acrylic finish makes the straps too stiff. Oil them instead with Neatsfoot oil or a saddler’s oil so they stay flexible.
Do I need all the fancy tools Prince uses?
No. The embossing wheels, forming blocks, motorized beveler, and rivet press are optional prototypes that speed up the hand techniques. Basic hand tools build the whole gauntlet. The detailed fluting demonstration comes with the pattern or bundle in the advanced tooling guide.
Where to go next
- Get the pattern: Berserker Gauntlet Patterns.
- Building the whole suit? The Berserker Armor Bundle covers the helmet, breastplate, arms, and legs head to toe.
- New to leather armor? Start with 5 tips for getting started with leather armor.
- Struggling with shaping? The Hand-shaping Leather for Armor Making walkthrough goes deep on wet forming.
- Want the rest of the Berserk build? Watch Finishing the Leather Berserk Armor for the breastplate and tassets.
- Built one? Share it and tag Prince Armory Academy and Weaver Leather; we feature student work.



Responses