



Berserk Elbow Armor Build Guide: Articulated Leather Couters from the Pattern

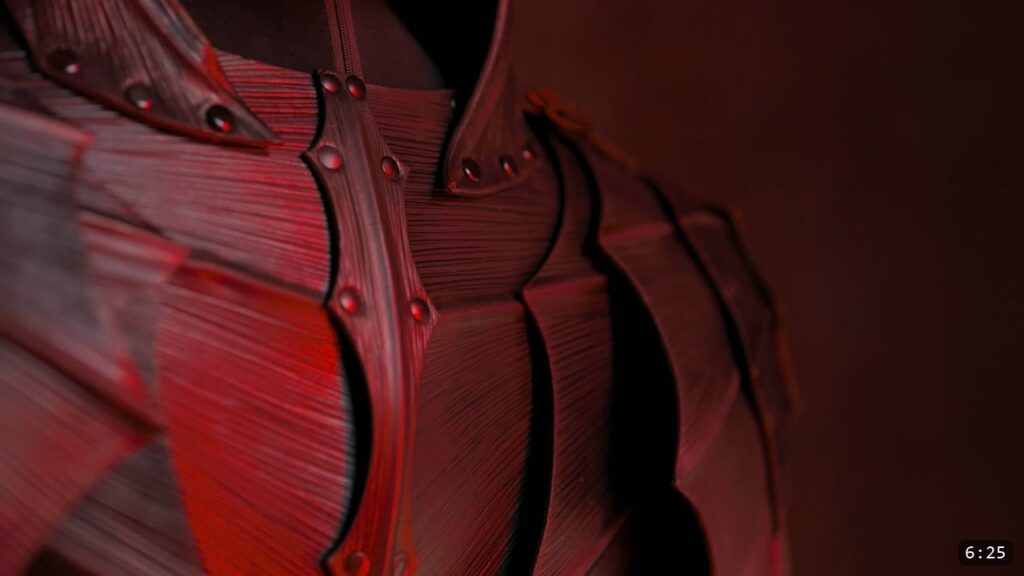
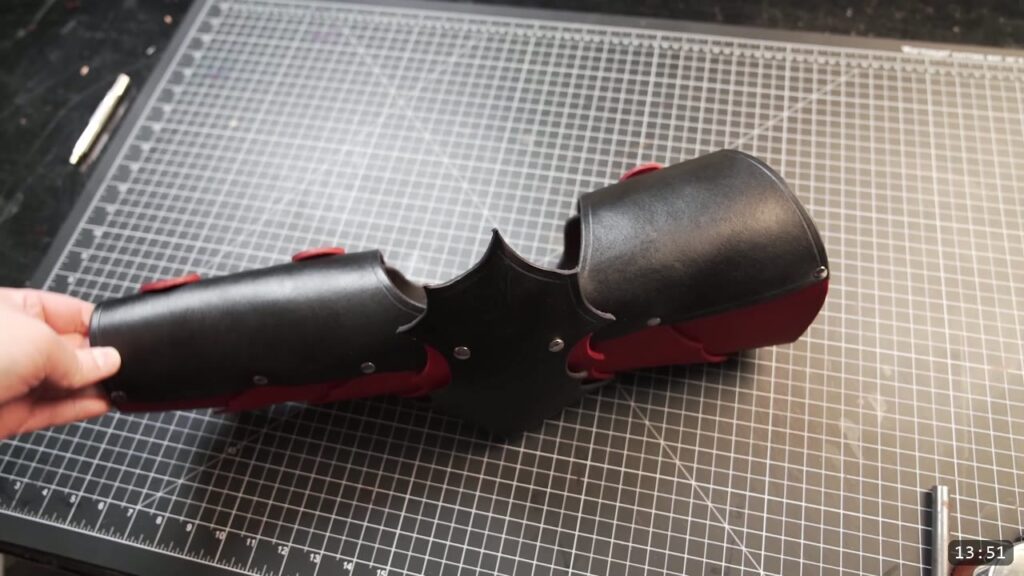
The Berserk elbow armor is an articulated leather couter that guards the point of the elbow. You rivet the two shell pieces together into an elbow cop, then hang four moving lames off it with retaining straps and Chicago screws so the joint can bend. This is the assembly episode of the Berserk suit build, so the pieces are already cut, shaped, tooled, and dyed before you start here. It comes together with a hammer, some rivets, and screws. This guide walks the whole assembly alongside the video, so you can watch each step and read the details the video moves past quickly.
What you are building, and what it takes
This is a pattern build inside the larger Berserk armor series. The reward is a moving elbow that tracks the arm instead of a stiff cap that fights it. The tradeoff is that it asks for the skills from the earlier lessons: cutting, wet forming, tooling, and dyeing all happen before this video. If you are new here, those techniques are covered in the previous Berserk tutorials and recapped in the brush play video. Start there, then come back for the assembly.
What you need
The pattern. The Berserk armor patterns live on the Prince Armory Academy site. Print and scale the PDFs, lay the parts out on the leather, and trace them. The patterns also ship with SVG files if you cut on a laser.
Leather. The video uses Weaver Select 9-10 oz vegetable-tan, the same leather run through the whole Berserk suit. That is a heavy, structural weight, which is what gives the couter its hard shell. Veg-tan is what lets the earlier steps tool and wet form.
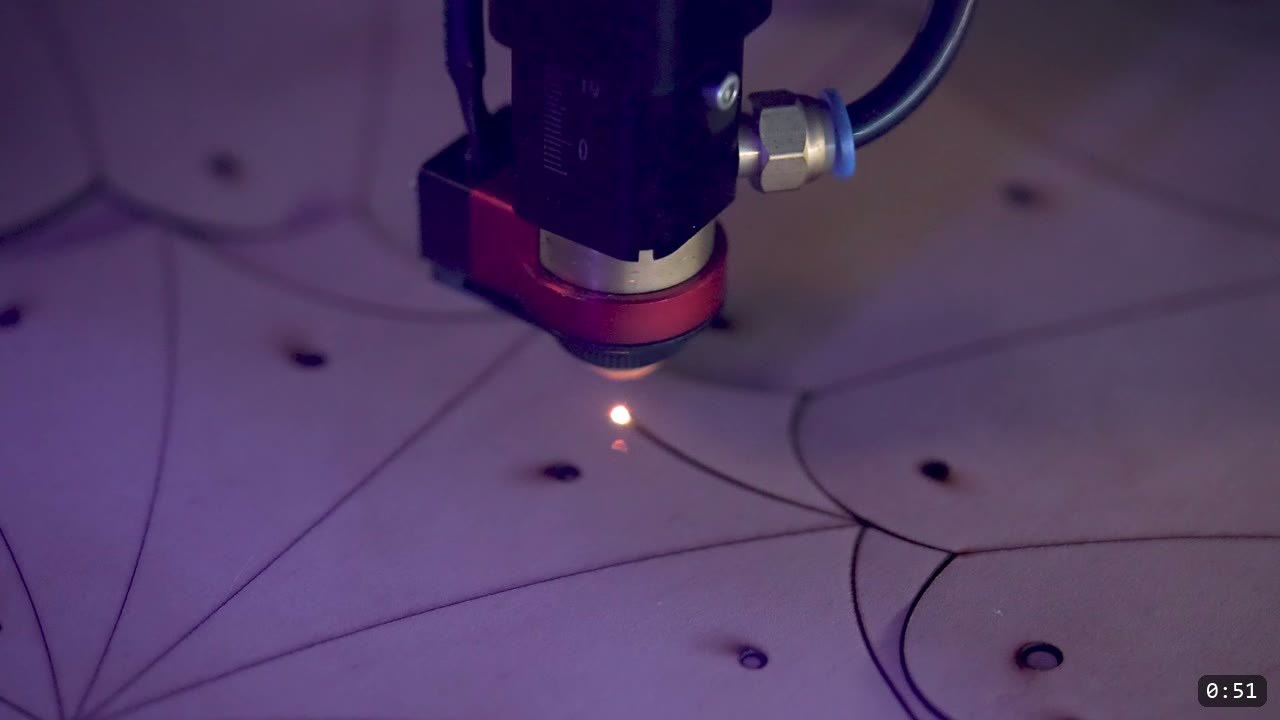
Cutting. Heavy-duty shears and a knife for hand cutting, or a laser. The video runs the parts on a Nova 16 from the Eon laser lineup, cut from the supplied SVG files. Hand cutting works just as well; lean on the beginner and intermediate lessons for that.
Assembly hardware.
- Medium double-cap rivets, to join part A to part B.
- Retaining straps and Chicago screws, to hang and connect the four lames.
- Thread lock or a drop of glue in each Chicago screw, so the screws do not work themselves loose.
Tools. A hammer, a steel post or bench block to set rivets against, a rotary punch, and a skiver or a fresh blade for thinning the tabs.
Step 1: Cut the parts from the pattern
Scale and print the PDFs, lay the pattern out on the 9-10 oz leather, and trace. Cut with shears and a knife, or send the SVG files to a laser like the Nova 16. Take your time on the cuts. Clean edges here save you fitting work later.
Step 2: Skive the tabs on part A
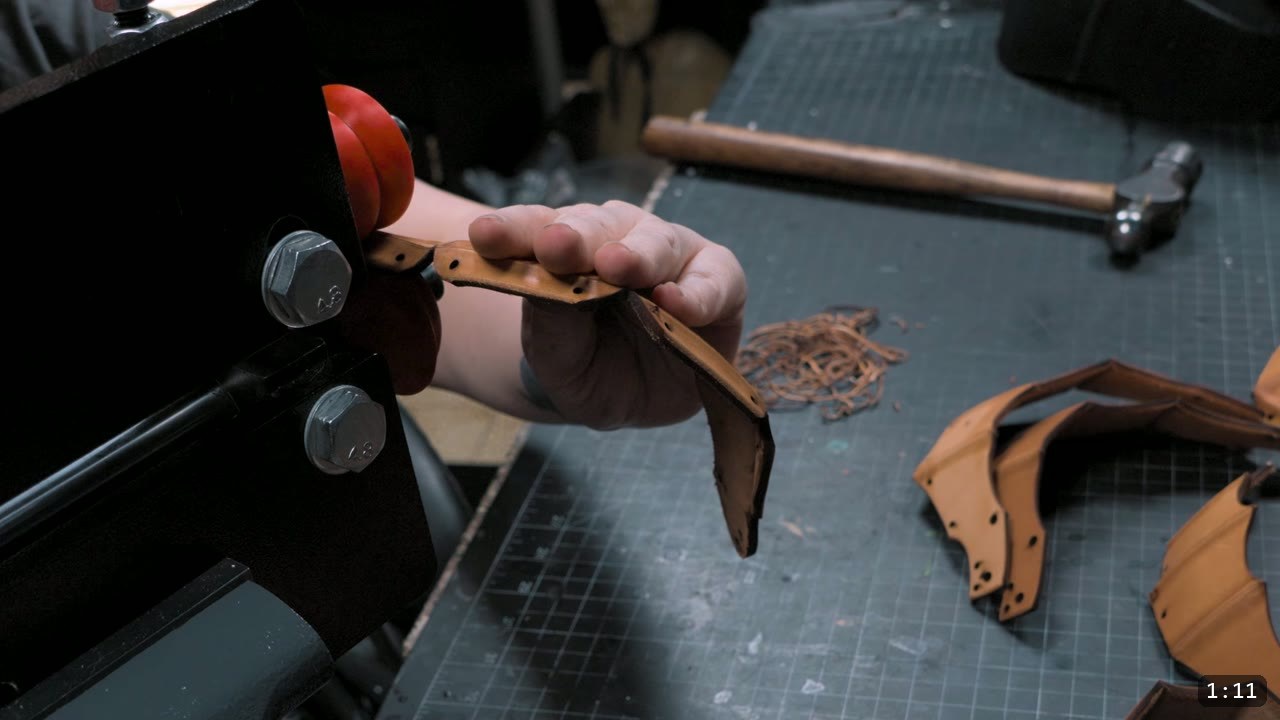
Skive down some of the thickness from the tabs on part A. Thinner tabs make the next joint sit flush and take a rivet cleanly, so assembly goes easier. Only the tabs need it, not the whole piece.
Step 3: Rivet part A to part B
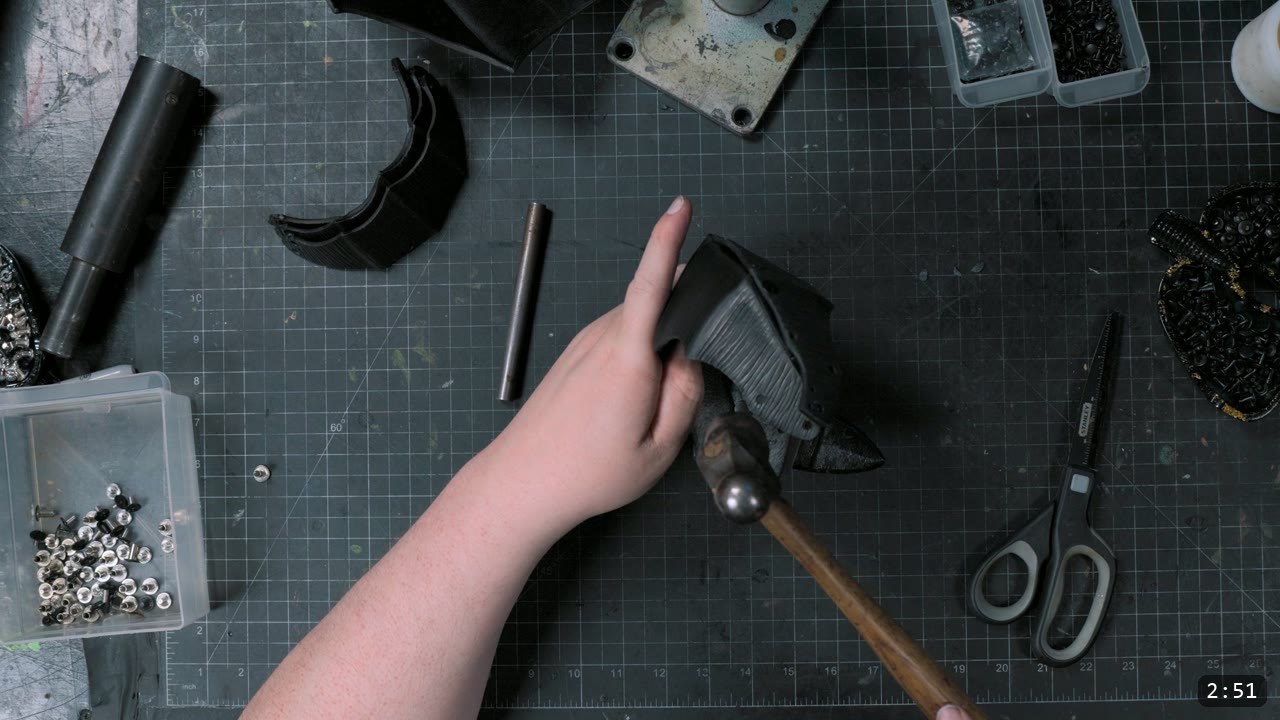
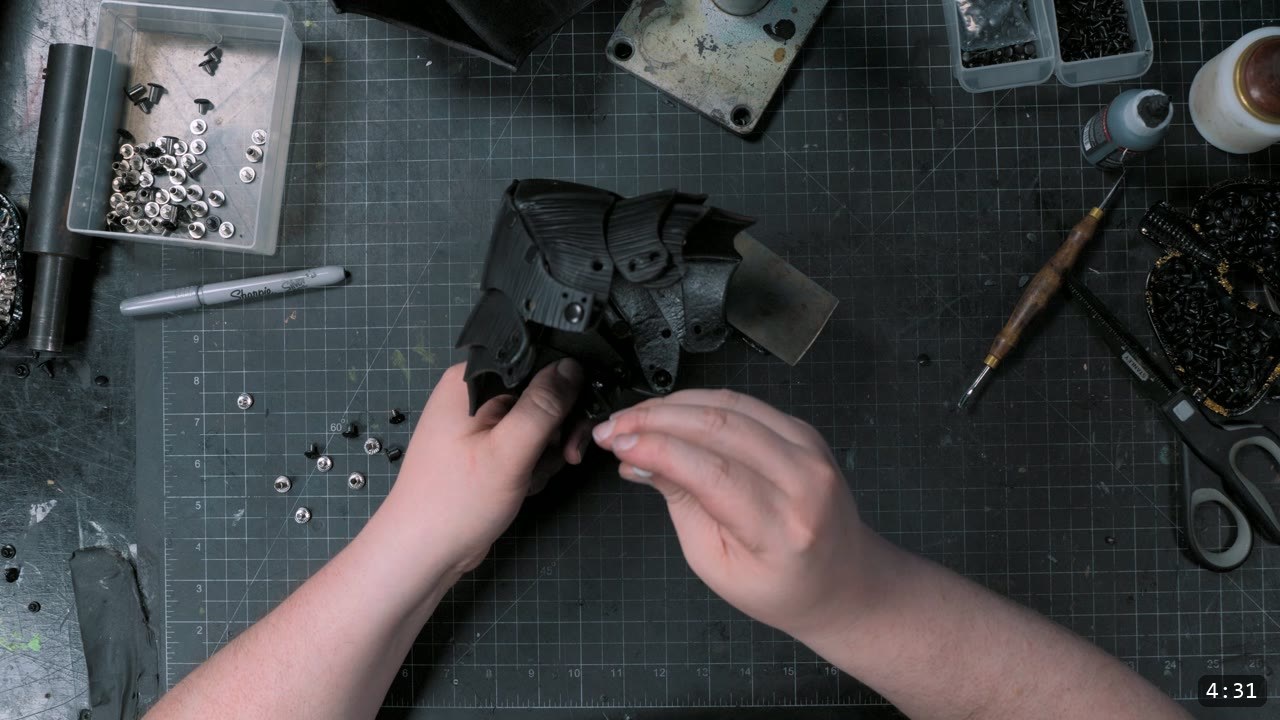
Part A joins to part B with medium double-cap rivets. Snap each rivet together by hand to hold the parts, then set it firm against a steel post or bench block. Work on a hard, dense surface so the strike sets the rivet instead of bouncing.
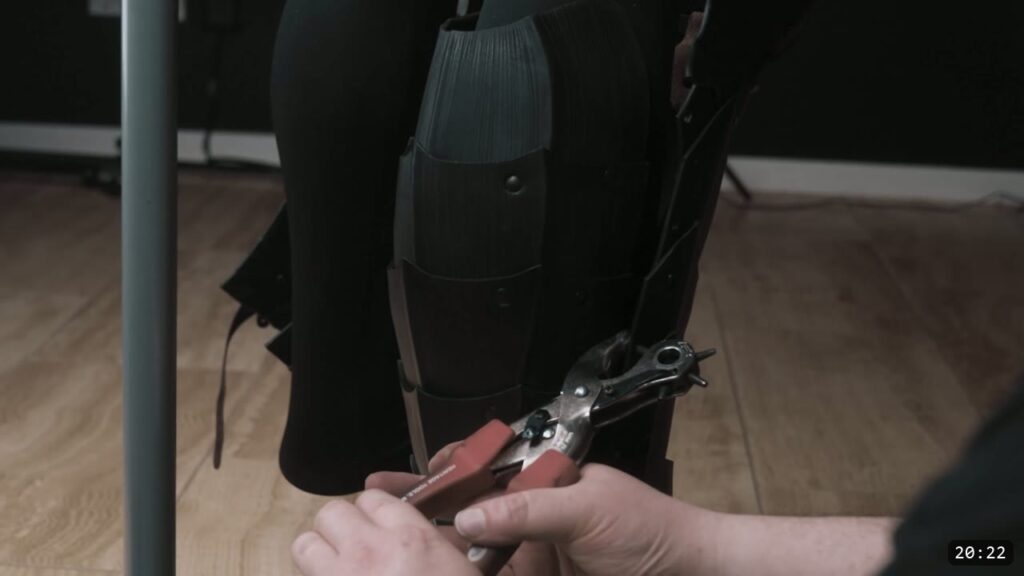
Step 4: Persuade the holes, set rivets from the inside
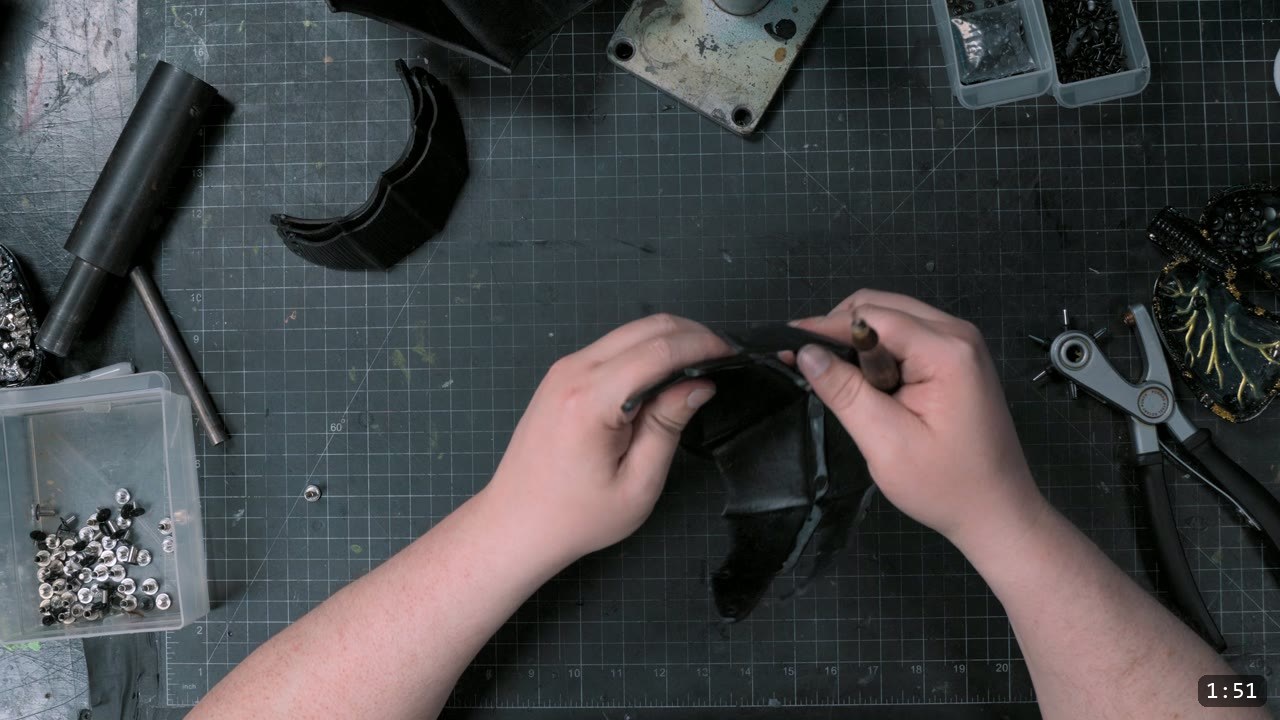
When leather is tooled and wet formed, it dries in a shape that can pull the rivet holes out of line. Use a tool to persuade the pieces back into position so the holes stack up. On a piece that curves into a shell, some rivets are hard to reach. Maneuver the piece however you need to, and set those rivets from the inside if that is the only clean angle.
Step 5: Build the four lames with retaining straps and Chicago screws
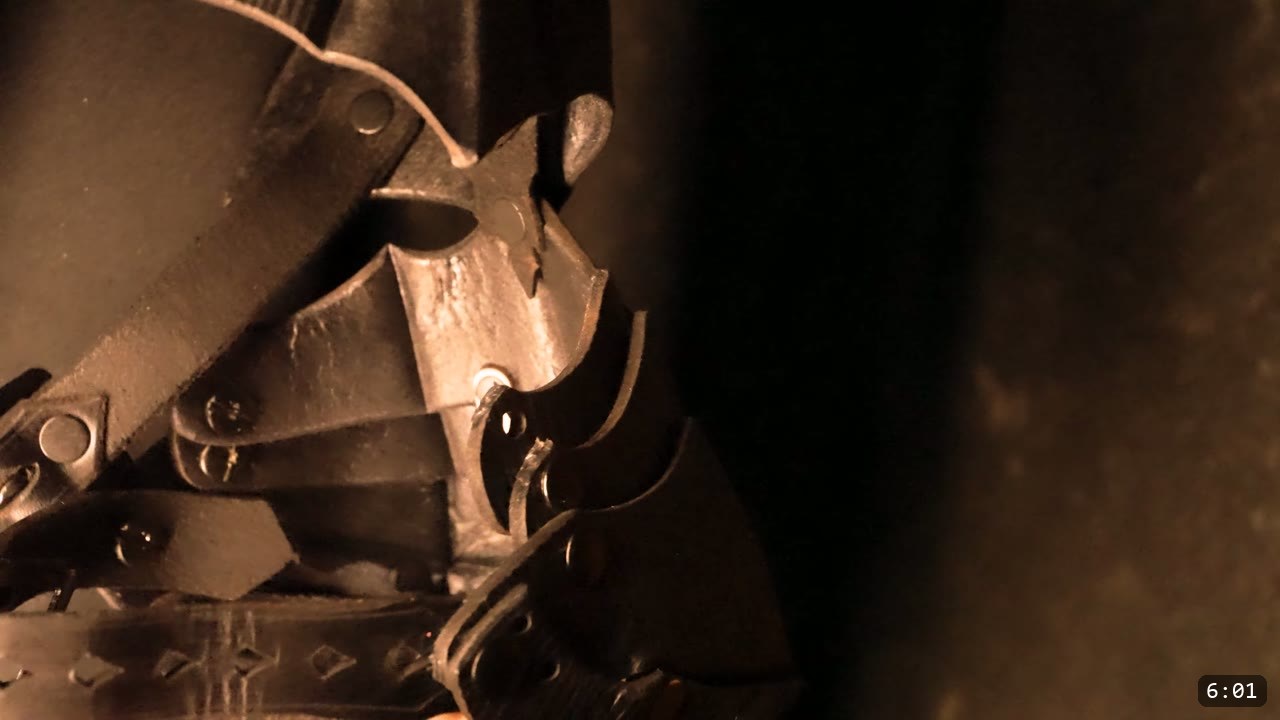
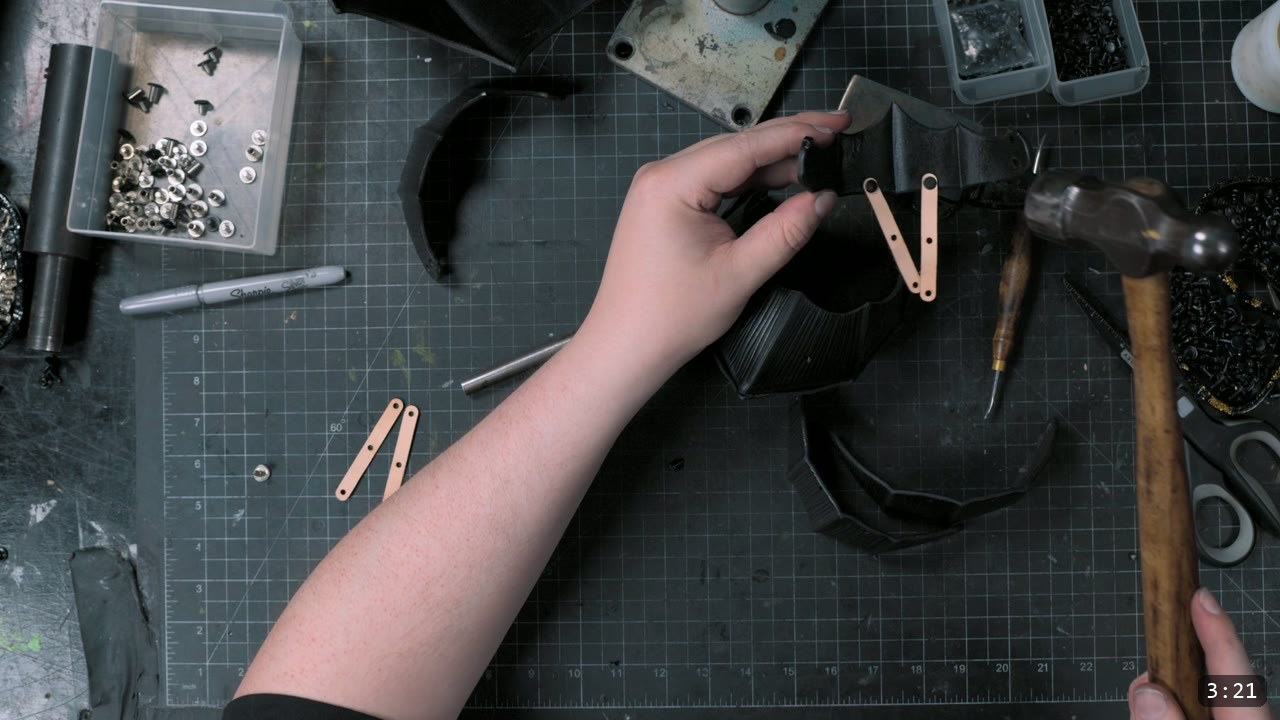
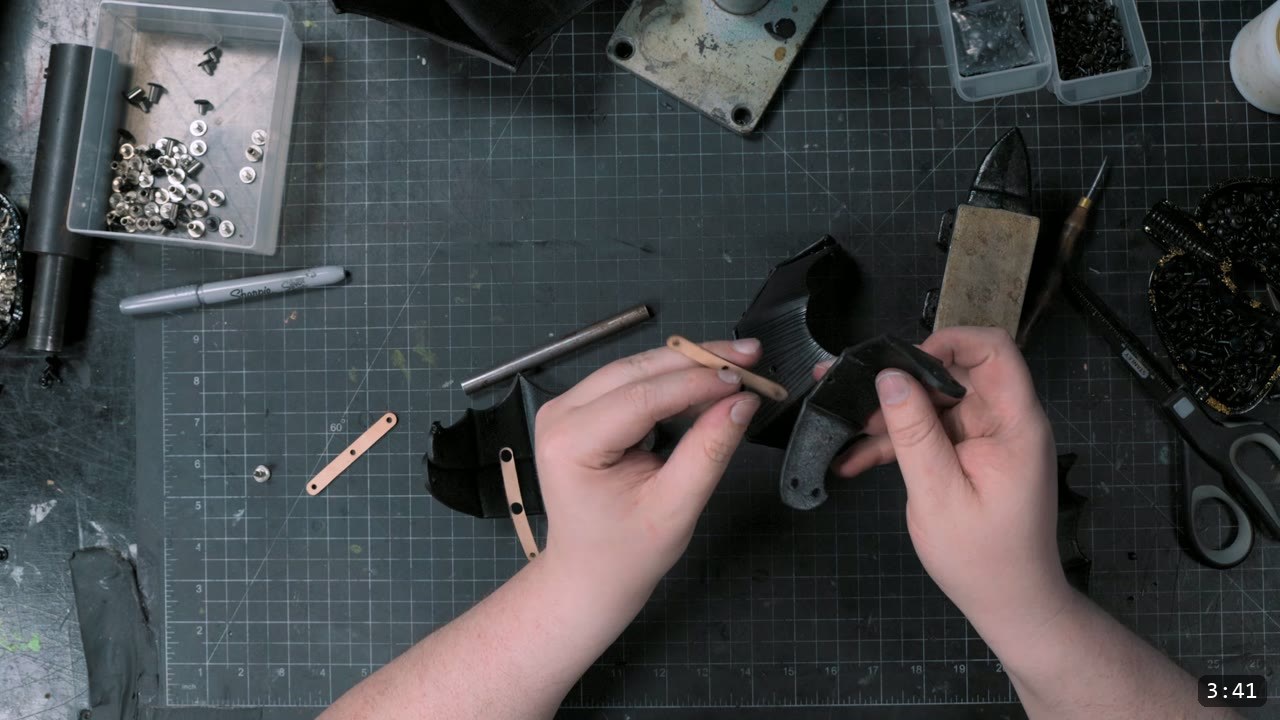
The elbow carries four lames, the overlapping segments that let the joint bend. They connect with retaining straps and Chicago screws. Start with the retaining straps on part D, then attach part C to them. Repeat the same pairing on the other end so both ends of the lame stack are built.
Step 6: Attach the lames to the elbow cop
Bring the strapped lame assemblies up to the finished elbow cop and attach them with Chicago screws. Thread lock the screws, or drop a bit of glue into each screw hole, so they hold under the flexing the joint sees. Once both ends are on, the couter articulates.
Step 7: Add the strap that holds it in place
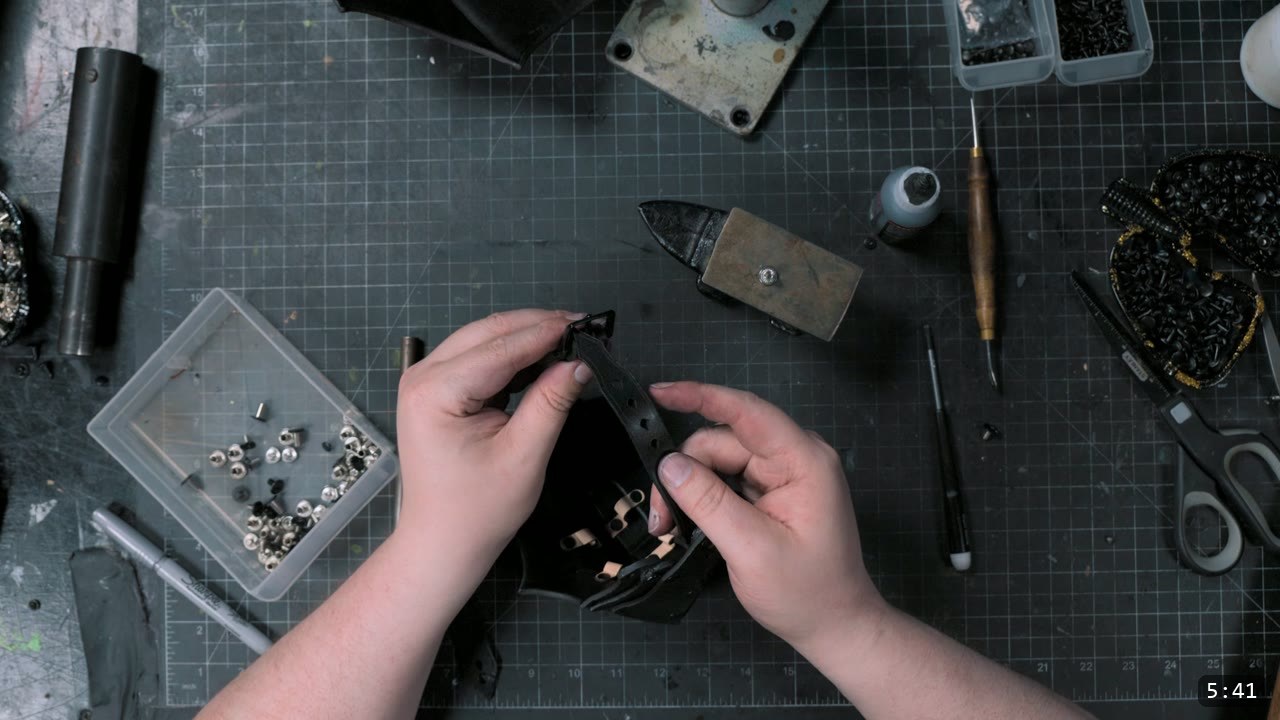
A strap spanning the inner elbow keeps the piece seated. On its own that strap will not hold for a long day of wear; the armor drifts, slips down, or binds against another piece. Two fixes. Add attachment points to the sleeve of the garment worn under the armor. Or do what the video does and run a strap from the pauldron down to the elbow, so the shoulder carries it.
Step 8: Fit it to a full arm harness (optional)
If you are running these elbows as part of a full arm harness rather than the Berserk suit, this is where the vambrace and rear brace attach, using the remaining holes on the couter. Following the Berserk build instead, you can skip that; the pauldron strap does the job.
A note on the design liberties
The Berserk armor is drawn from the manga, with some functional and stylistic changes. In the original the elbow just floats on the garment and sits small. This build sizes it up and adds the articulating segments, which look better and give the joint real movement if you ever run it in a traditional harness with vambraces and rear braces.
FAQ
Is the elbow a beginner project?
No. It is one episode of an advanced series. The cutting, wet forming, tooling, and dyeing happen in the earlier Berserk lessons; this video is the assembly. Build the earlier pieces first, then come back for the elbow.
What leather should I use?
The video uses Weaver Select 9-10 oz vegetable-tan. That heavy structural weight gives the couter a hard shell, and veg-tan is what lets the earlier steps tool and wet form the shape.
Why do the rivet holes not line up?
Tooled and wet-formed leather dries into its held shape, which can pull the punched holes slightly out of position. Use a tool to persuade the pieces back into line before you set the rivet, and set from the inside if the angle is tight.
What holds the moving lames together?
Retaining straps and Chicago screws. Start with the straps on part D, add part C, mirror it on the other end, then screw the lames to the elbow cop. Thread lock or a drop of glue keeps the screws from loosening.
How do I keep the elbow from sliding down my arm?
The inner-elbow strap alone is not enough for long wear. Add attachment points on the garment sleeve, or run a strap from the pauldron to the elbow so the shoulder holds it up.
Where to go next
- Get the elbow pattern: Spiked Couters Pattern (leather elbow armor template)
- Build the whole set: Berserker Armor Bundle, patterns plus the full build course.
- Doing the full arm harness? Pair the elbow with the Berserker Gauntlet Patterns.
- New to leather armor? Start with 5 tips for getting started with leather armor.
- Want another articulated joint from the same series? Watch How To Make Berserk’s Greaves in Leather and Making the Berserk Leg Armor with Leather.
- Built one? Share it and tag Prince Armory Academy and Weaver Leather; we feature student work.




Responses