



Articulated Leather Arm Armor Build Guide: The Imperial Knight Arms

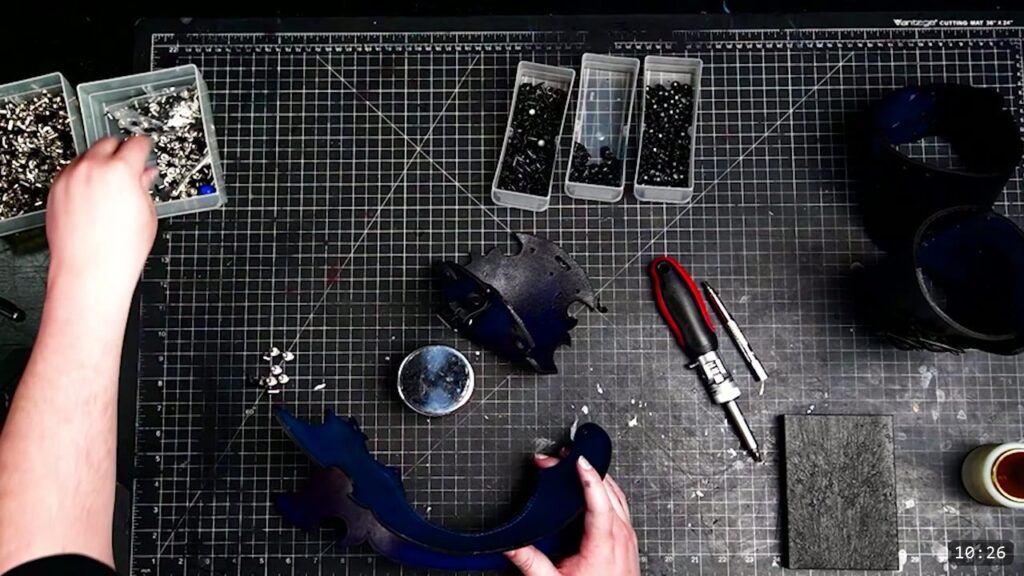
You build articulated leather arm armor by joining pre-cut pieces with rivets and Chicago screws: the vambrace and rear brace (the lower and upper cannons), the elbow, the inner guard, and the small connecting plates called lames. You add the buckle straps while the pieces are flat, rivet each cannon closed into a tube, then link everything with Chicago screws so the arm flexes at the elbow. This is an assembly build, not wet forming. You tool, dye, and seal the flat pieces first, then put the hardware in. This guide walks the whole assembly alongside the video, so you can watch each step and read the details the video moves past quickly.

What you are building
The arms come apart into a few groups. The vambrace is the lower cannon and covers the forearm. The rear brace is the upper cannon and covers the upper arm. Between them sits the elbow, backed by an inner guard, and the whole thing is tied together by lames, which are small connecting plates. In this build the lames are all the same size. Print the pattern, make a paper mock-up before you cut leather, and check the fit and the assembly order before you commit. Prince demonstrates in leather, but you can use other mediums if you prefer.
What you need
- The Imperial Knight Arms pattern. One bonus of the Imperial Knight series is that the pattern is drawn for laser cutting too, so you can cut on a Glowforge or cut by hand.
- Leather: 10 to 11 oz vegetable tan. Prince uses Weaver veg-tan here.
- Strap leather for the buckle straps. Prince tried Glowforge Proof Grade leather for the straps and liked it, but any good strap leather works.
- Buckles and 3/4 inch buckle straps. The arm sections call for 6 straps in all, plus one more spanning the inner elbow.
- Rivets: medium double-cap rivets for two layers, long double-cap rivets for three layers. The small Weaver rivets are worth knowing about for thin, delicate spots.
- Chicago screws for the hinge joints.
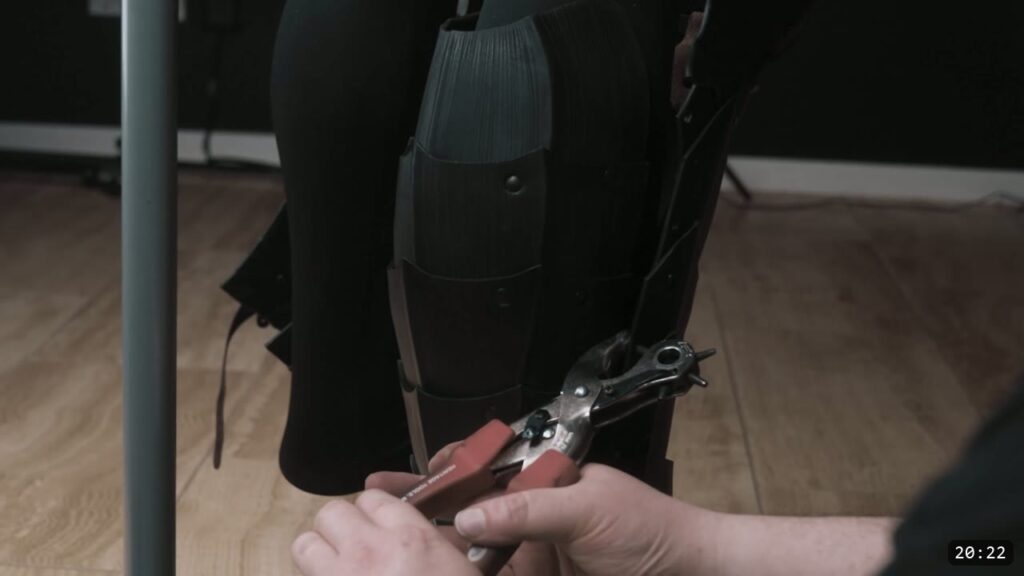
- A hole punch to punch fresh strap holes, a rivet setter, a mallet, and a dense bench block to set against.
- A Chicago-screw driver, plus super glue or threadlocker.
- Optional: a Glowforge laser cutter (the patterns are laser-ready), and dye and finish if you are coloring the pieces.
Step 1: Cut the parts, laser or by hand
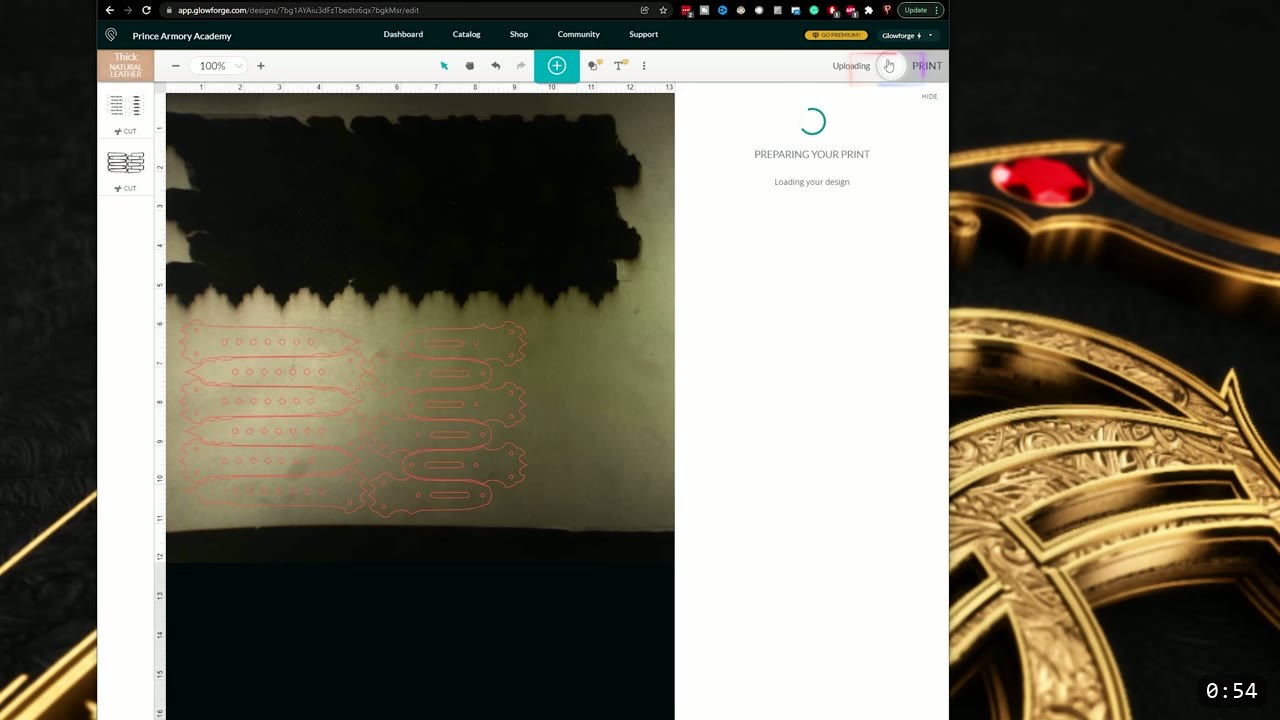
Cut every piece from the pattern. On the Glowforge you drop in the laser-ready files and let the machine cut. By hand, print and cut the paper patterns, trace them onto the leather, and cut them out. If you lose a small piece, tracing the mirror of the part and cutting a fresh one is often faster than hunting the original down. Take your time on the cuts. Clean edges here save you work at every later step.
Step 2: Tool, dye, and seal the flat pieces first
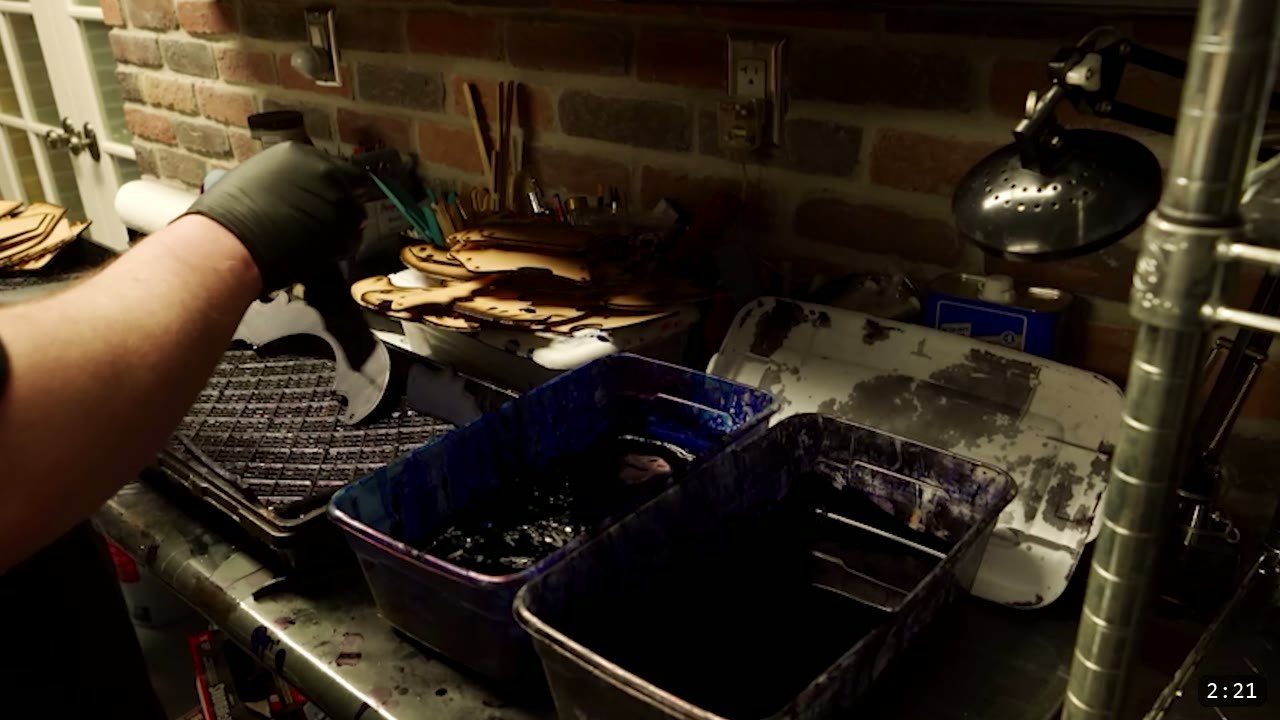
Decide your tooling and embellishment now, while the pieces are flat, or leave them plain as Prince does in the video. Then dye and seal them. Prince covers the dye and finish steps in the leg armor tutorial and jumps ahead here to assembly, so the arm pieces are already colored before any hardware goes in. Do this coloring and sealing before you assemble. Once the leather is dyed and sealed the finish resists water, so it will not re-wet or reshape. Get the flat pieces looking the way you want first, because the rest of the build is mechanical and hard to undo. The video does not name its dye or finish here, so pick a leather dye and sealer you trust; the leg armor tutorial covers those steps in full.
Step 3: Lay everything out and dry-fit
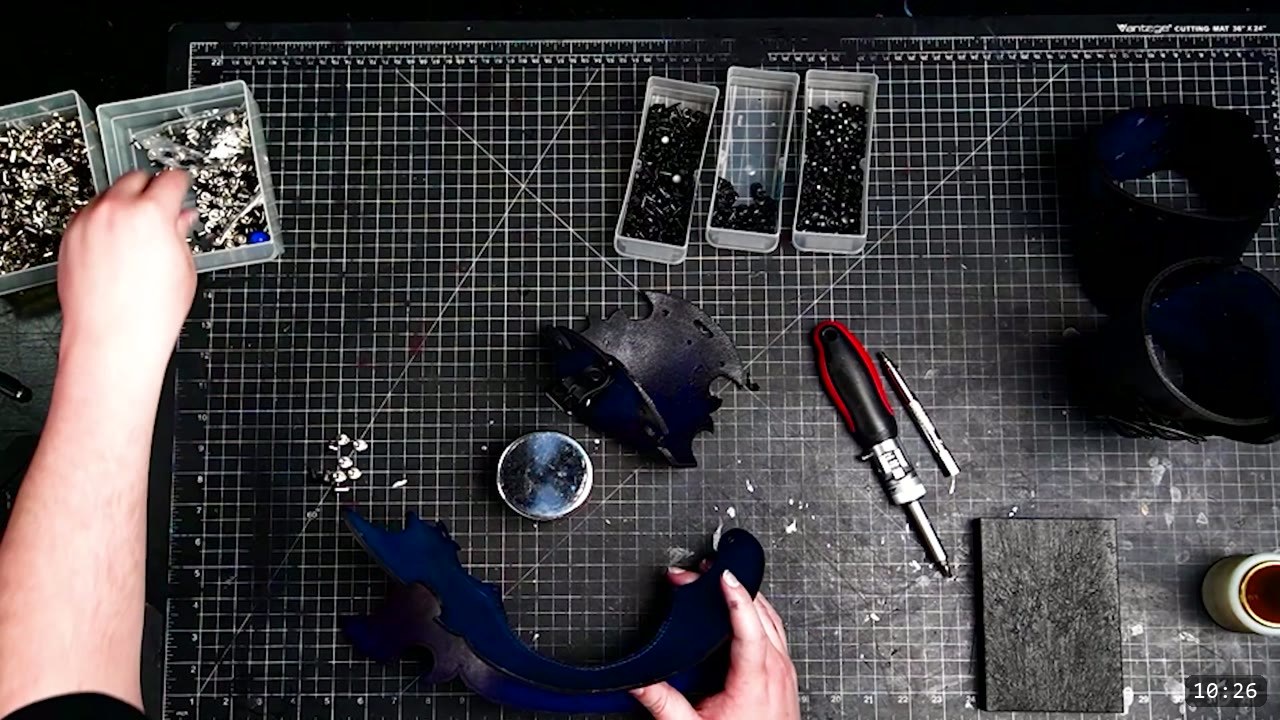
Before assembly, lay out all of the pieces and make sure everything lines up. It is a bit like a puzzle. Use the reference photos and the pattern layout to confirm which piece goes where and which way each one faces. This is the cheapest place to catch a mistake.

Step 4: Add the buckles while flat, then rivet the vambrace
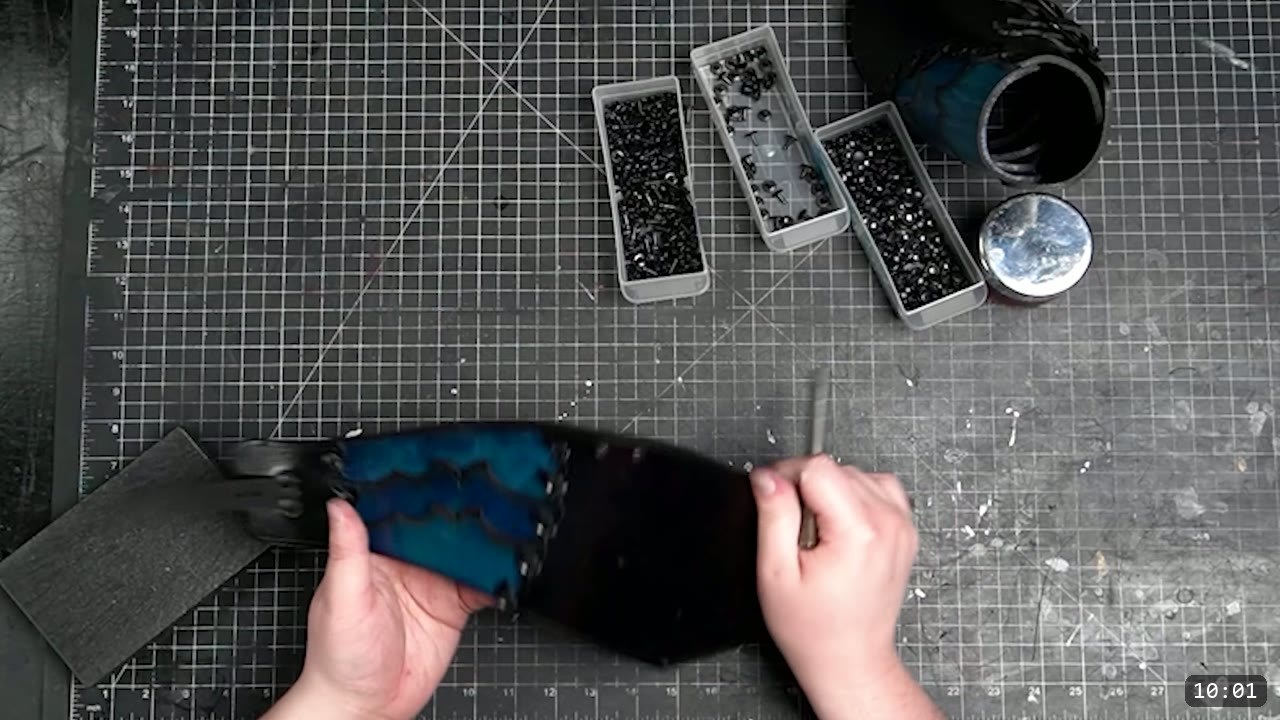
Start with the vambrace, the lower cannon. Add the buckles while the parts are still flat, because it is far easier than reaching in later. The straps come marked for the design, and you can adjust those marks if you want. Prince uses 3/4 inch buckle straps and punches fresh holes to fit them. Then start riveting at the bottom and work your way up. Use medium double-cap rivets where you go through two layers, and long rivets where you go through three. Keep the assembly tight as you climb.


Step 5: Close the cannons into tubes
The rear brace, the upper cannon, goes the same way. Add its buckle strap and rivet the layers together exactly as you did on the vambrace. As you rivet each cannon along its edge, the flat piece pulls around into a tube. When a cannon is riveted closed it holds its own shape.

Step 6: Assemble the elbow
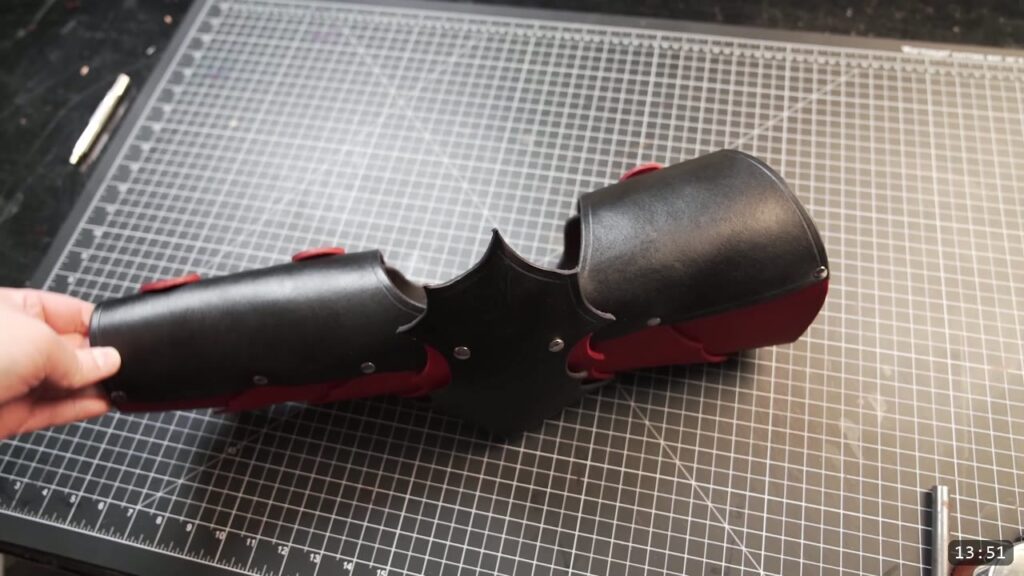
Close the side of the elbow with rivets. As you close that side, rivet in the strap at the same time, so it is captured in the seam. If you cannot reach the inner rivets with the setter, just set them flat from the inside. The elbow is the hinge of the whole arm, so keep it clean and even.

Step 7: Bring it together with Chicago screws
Now link the pieces. The lames are the small connecting plates, and here they are all the same size. Grab the first two lames, the elbow, and the inner guard, and connect them with Chicago screws. Going through three layers can be fiddly, so persuade the holes into line and take the first screw slowly. Once you get that first joint, the rest come easier.

Step 8: Check fit and orientation
Orientation matters, so check it before you screw everything home. On the elbow, the assembled side, the one with the rivets, faces inward toward the body when worn. The wider fan of the inner guard faces toward the outside. When the cannons are assembled, the straps rest toward the inside of the body. Slide a cannon onto your forearm and confirm the fit and the flex before you keep going.
Step 9: Add the lower lame and vambrace
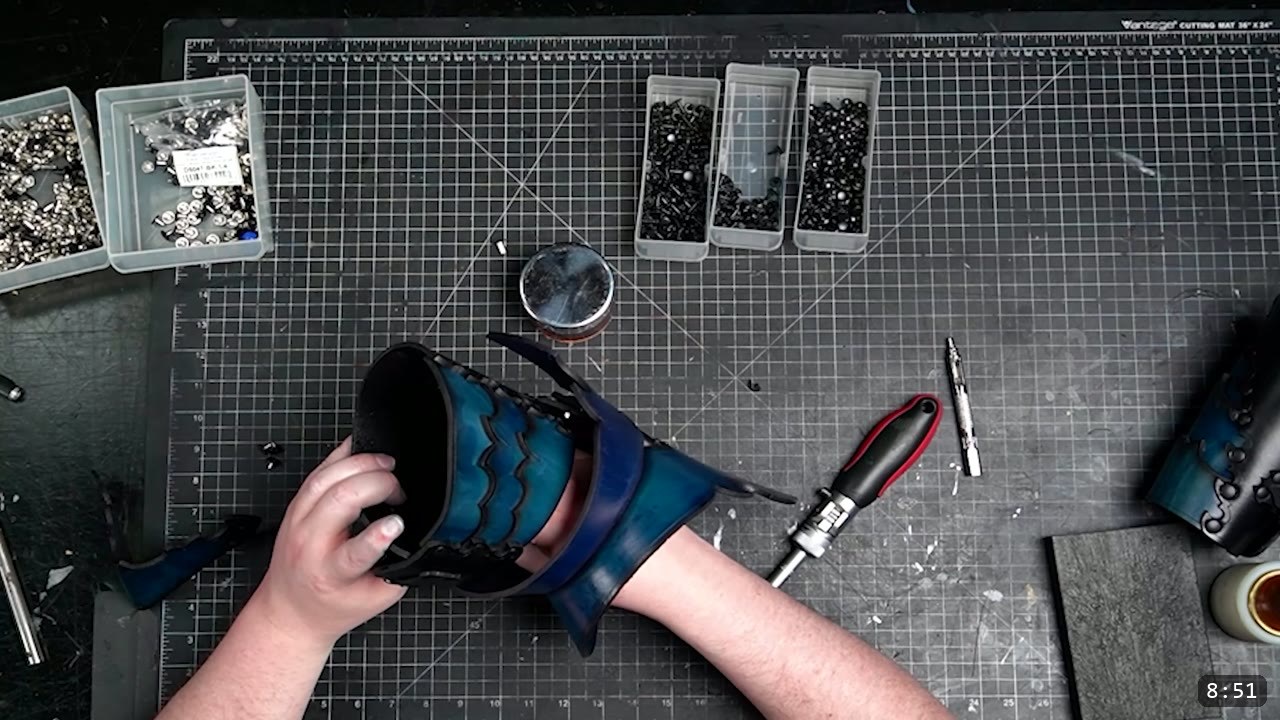
Working up from the elbow, add the next lame, then attach the rear brace. After that, attach the lower lame and the vambrace so the forearm section hangs off the elbow. Keep watching the orientation as you go. About the rear brace, you may notice extra holes. The top holes let you lace the piece to something like chainmail or an arming jacket. The lower holes take a retaining strap that connects the arms to the pauldrons, which is useful in some setups. The extra holes on the inside are for an optional retaining strap, but that one is not really necessary here.
Step 10: Lock the Chicago screws
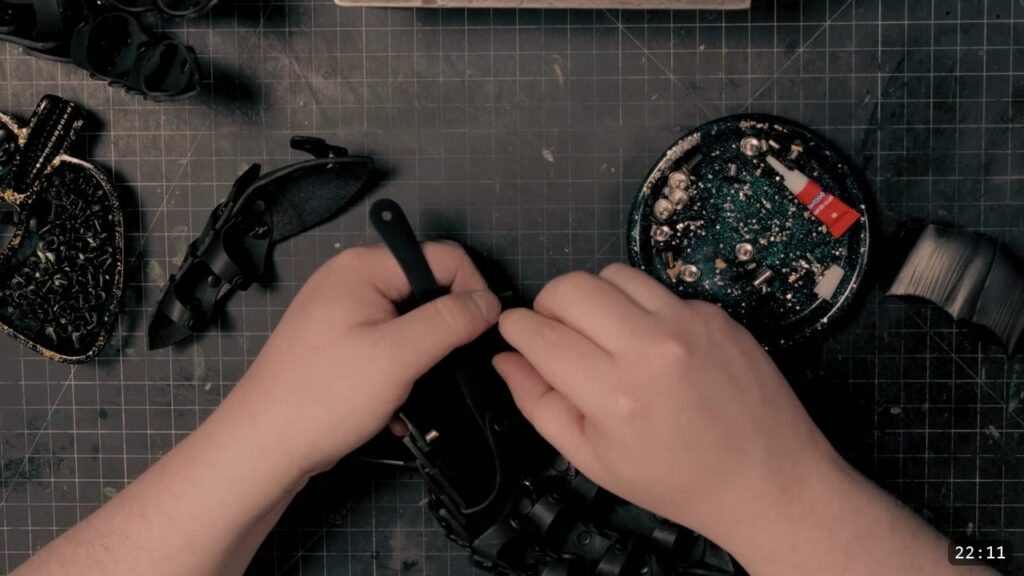
Chicago screws are used at the hinge joints because they are sturdy and allow great movement. That movement is also why they work themselves free over time. Once you are happy with the final assembly, add a drop of super glue or threadlocker to each screw. Skip this and they will loosen. That is the build. Fit the arms, check the flex at the elbow, and adjust any tight joint.
FAQ
Is this a beginner project?
It is an intermediate assembly build. The pieces are cut from a pattern, and most of the work is adding buckles, setting rivets, and driving Chicago screws. There is no wet forming shown. Make a paper mock-up first so the assembly order is clear before you cut leather.
What rivets and hardware do I use?
Medium double-cap rivets through two layers, and long double-cap rivets through three layers. The small Weaver rivets are handy for thin, delicate spots. The hinge joints use Chicago screws, not rivets, so the arm can flex.
Do the Chicago screws come loose?
Yes, over time. They are sturdy and give great movement, but that movement backs them out. Once the assembly is final, lock each one with super glue or threadlocker.
Which way do the pieces face when assembled?
The elbow’s riveted side faces inward toward the body. The wider fan of the inner guard faces outward. The cannon straps rest toward the inside of the body.
What are the extra holes in the rear brace for?
The top holes let you lace the piece to chainmail or an arming jacket. The lower holes take a retaining strap that connects the arms to the pauldrons. The inside holes are for an optional retaining strap that you do not really need here.
Do I have to build it in leather?
No. Prince demonstrates in leather, but you can use other mediums. The pattern is also drawn for laser cutting if you want to cut on a Glowforge.
Where to go next
- Get the pattern: Imperial Knight Arms Pattern.
- Building the whole suit? The Imperial Knight Bundle collects the full set of patterns.
- Next in the series: the gauntlets. Watch DIY Articulating Leather Gauntlets, then grab the Imperial Knight Gauntlets Pattern.
- New to leather armor? Start with 5 tips for getting started with leather armor.
- Built one? Share it and tag Prince Armory Academy and Weaver Leather; we feature student work.




Responses