



Leather Leg Armor Build Guide: Articulated Cuisses, Knees, and Greaves


You build leather leg armor from the Imperial Knight pattern, not a kit. This part of the suit is the upper leg: the cuisses that cover the thigh and the knee cops that ride over the knee, plus the lames that let the knee bend. You cut the flat pieces, dip-dye them, seal them, then rivet and Chicago-screw them into articulated segments. It is a plate build, so there is very little wet forming. Most of the work is clean cutting and careful hardware. This guide walks the whole thing alongside the video, so you can watch each step and read the details the video moves past quickly.
What you are building, and what it takes
This is the upper leg armor for the Imperial Knight series: cuisses, knee cops, and the small articulating lames that link them so the knee can flex. It finishes by connecting to the greaves from the previous tutorial, so the whole leg moves as one. The pattern does the geometry for you, but you still cut, color, and assemble everything yourself.
What you need
The pattern. The Imperial Knight Cuisses and Knees Pattern covers this build. It pairs with the Imperial Knight Greaves Pattern for the full leg, and both are in the Imperial Knight Armor Bundle. All the patterns scale, so print a paper copy and check the fit before you cut leather.
Leather. Natural vegetable-tan, 10 oz for the plates in the video (Weaver Leather). For the buckle straps go lighter, 4 to 7 oz, so they stay flexible and easy to punch.
Tools.
- Cutting: a razor or your blade of choice and heavy-duty shears. A desktop laser cutter is optional; the pattern files are pre-arranged for one.
- Edging and decoration: an edge beveler at minimum. Tooling and dye work are optional on top of that.
- Color and seal: Fiebing’s Pro Oil Dye (the video uses Royal Blue and Black) and Weaver Tough Coat acrylic finish, plus gloves and dip trays.
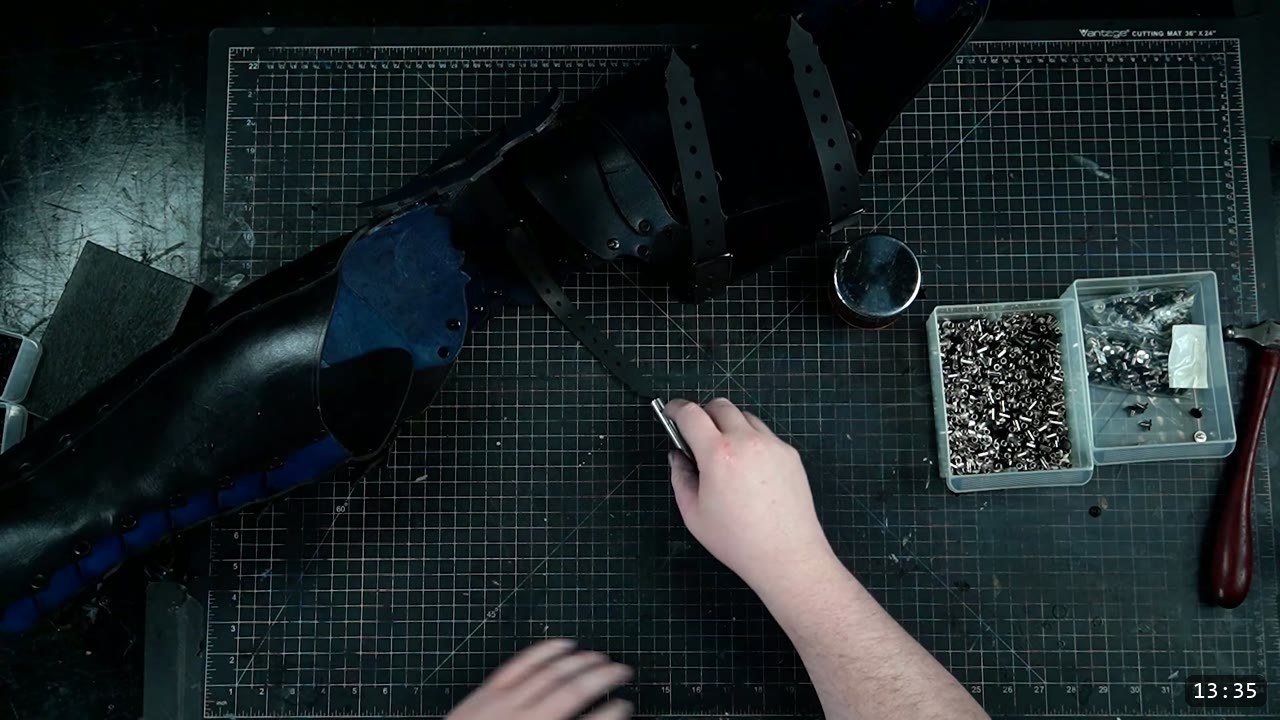
- Hardware: medium double-cap rivets, long rivets for the thick spots, Chicago screws for the lames, and buckle hardware for the straps.
- Setting: a rivet setter and a dense surface to strike against, and a screwdriver for the Chicago screws.
Step 1: Print, scale, and cut the pieces
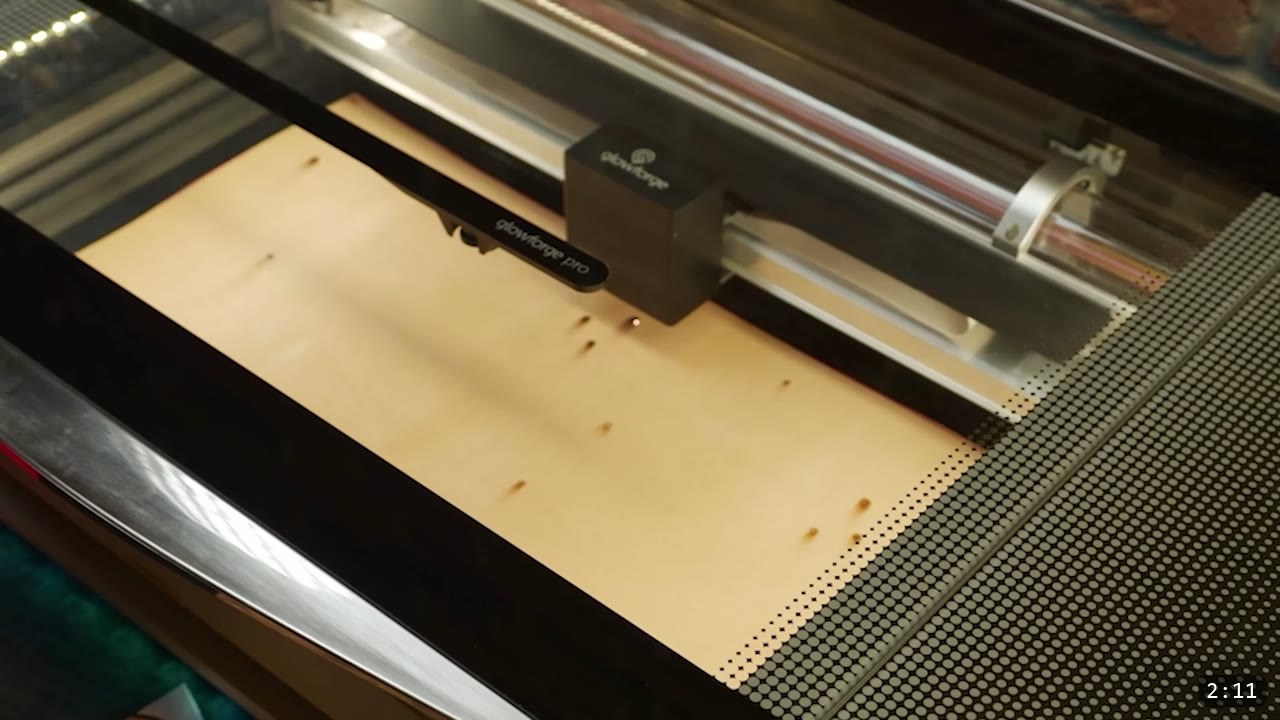
Print the pattern and check the size against your leg with a paper printout first, then scale it if you need to. Cut the pieces by hand with a razor or shears. If you want more detail on cutting leather by hand, the early Fantasy series tutorials like the helmet cover it. The pattern files are also pre-arranged for a desktop laser cutter if you have one. In the video the blanks get sliced out with a razor and loaded into the laser bed. A laser saves time on the small repetitive parts like buckle straps, but it is optional. If you run the laser a touch fast, some sections will not cut all the way through, so finish those with a quick pass of an exacto knife.

Step 2: Bevel the edges and decide on decoration
Once the pieces are separated, decide how much you want to decorate them. I always recommend you at least bevel your edges. From there you can tool, carve, or stamp a design, or keep it plain. The video goes minimalist so you can see the pieces at a base level, and that is a fine place to start. Do any surface tooling now, before you color, because dye and finish are the last steps and they lock the leather.

Step 3: Dip-dye the pieces
For speed, the video dip-dyes. You immerse each piece in the dye, then set it aside to dry. The results come out fairly even and uniform, which is why dip dye works well across a set of matching plates. The trade-off is that it uses more dye than brushing, and it can get messy, so wear gloves. If you want the folded or creased look on the knee pieces, give them that quick fold now, while they are still damp from the dye and before anything is sealed. That is your window for shaping. Once the finish is on and dry, the leather resists water and will not fully re-wet or reshape.

Step 4: Seal with Tough Coat
Seal the pieces with Weaver Tough Coat, an acrylic finish, using the same dip technique as the dye. The acrylic seeps into the leather and binds the fibers, so it adds real hardness to the plates as well as protecting them. It goes quickly, but you do have to manage the finish as it dries so it does not streak or pool. Let everything dry fully before you start setting hardware. This is the last step where the leather can still take a shape, so make sure all your shaping and folding is done before this coat cures.

Step 5: Assemble the cuisses flat, then bend the curve
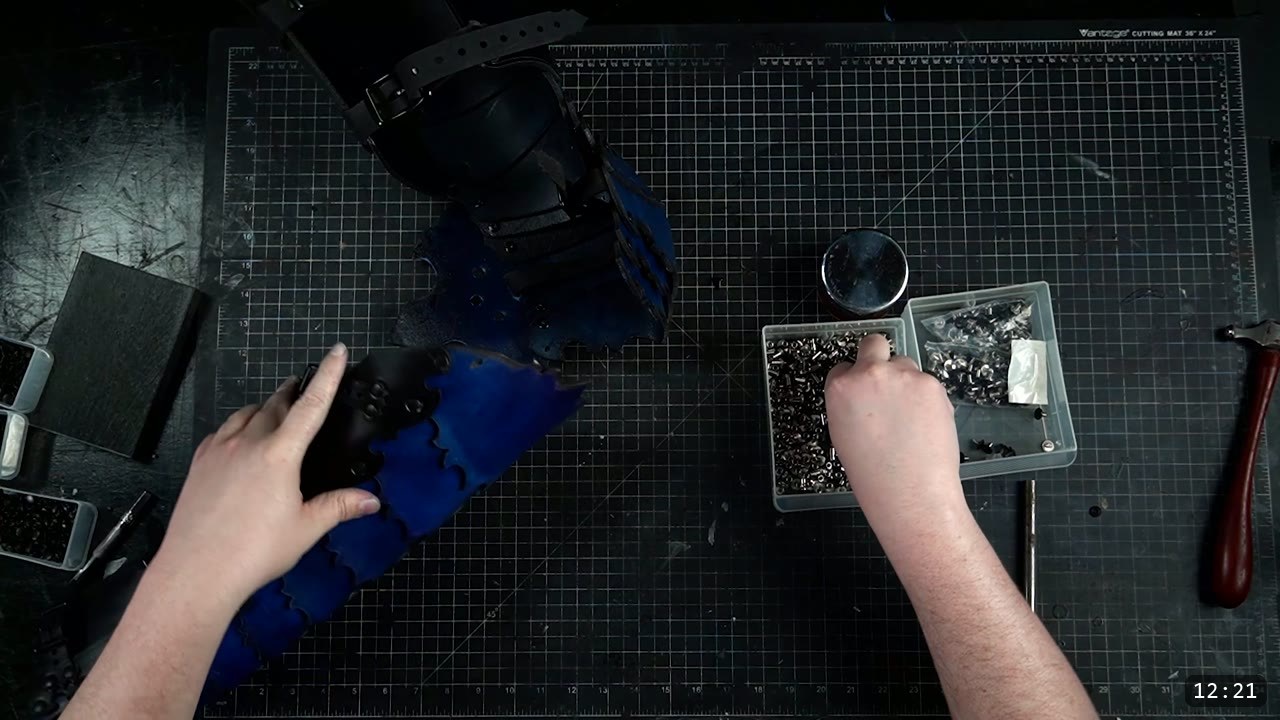
Start with the cuisses, the upper thigh plates. There is a direction and flow to the design, so lay out all your parts first and confirm the arrangement before you commit any rivets. Then set the rivets. Use medium double-cap rivets anywhere you go through two layers, and long rivets anywhere you go through three. You can set one rivet at a time, or pre-assemble the whole run and set them all at once. It is safe to build the cuisse completely flat and then bend the curve into it afterward. The articulated plates hold that curve once the rivets are in, so you are not molding the leather, you are letting the hardware carry the shape.

Step 6: Build the knee cop
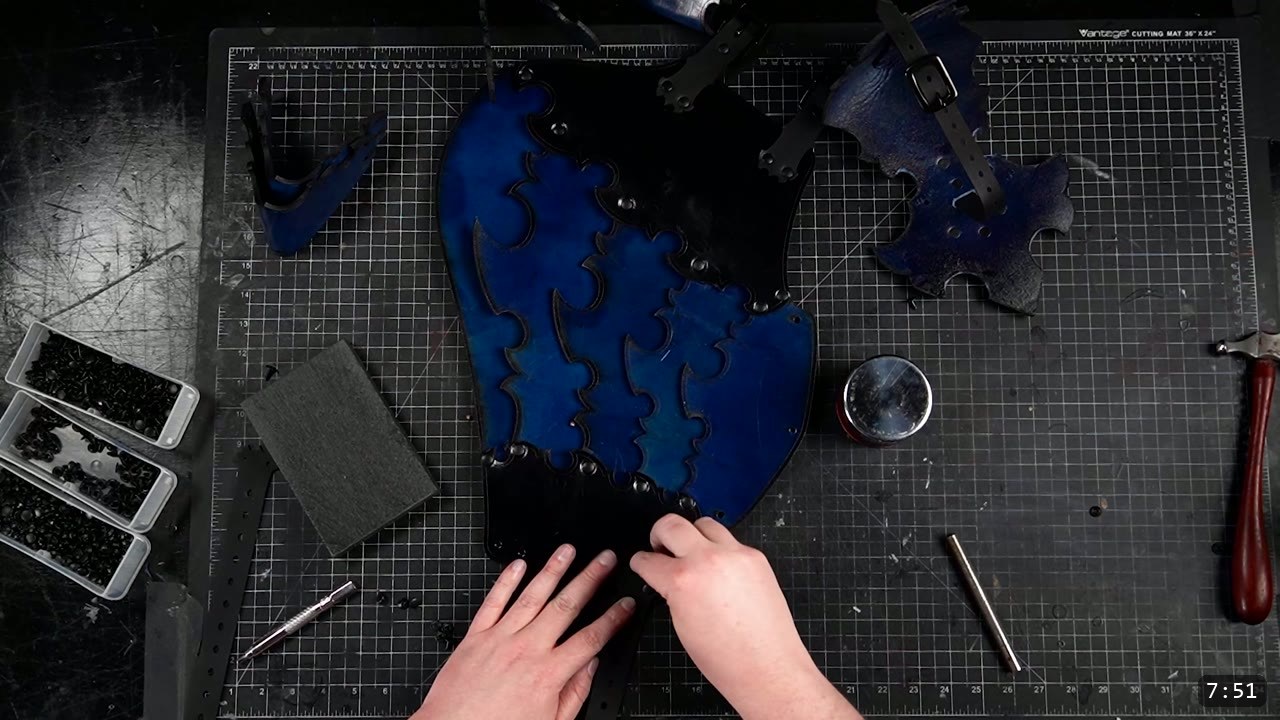
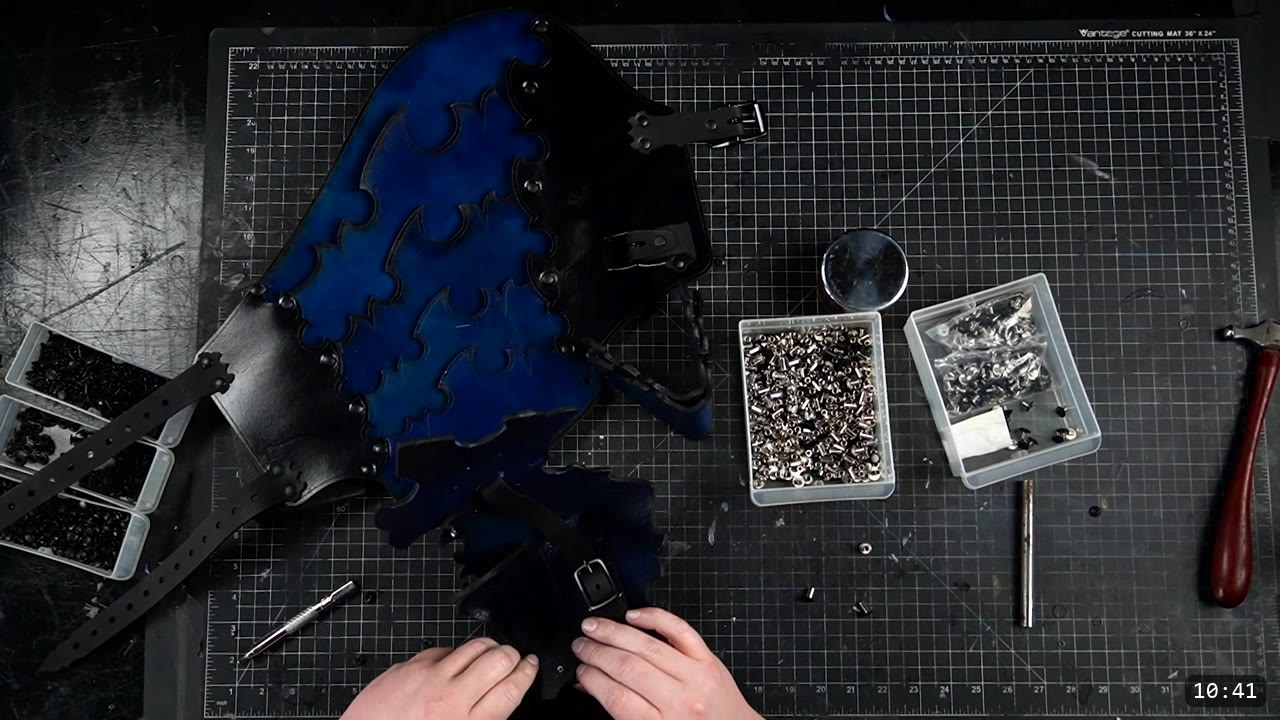
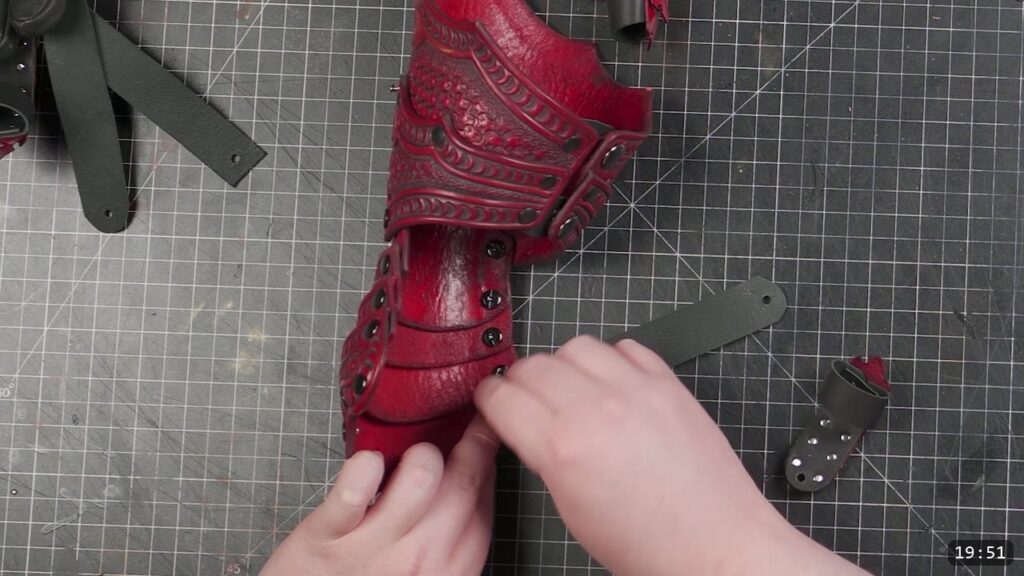
To assemble the knee cop, start by riveting the overlapping section together and set the buckle end of the strap at the second rivet hole. Then continue riveting up the side. As the piece cups into shape, the rivets deeper inside get hard to reach. When that happens, set them flat from the inside. Feed the long strap end through its slot, then add the overlay trim piece. In hindsight I would add that trim piece first, before you close the side, so it is easier to set while everything is still flat.

Step 7: Attach the buckle straps
The straps are cut long so you have plenty of adjustability. In most cases you can rivet them along the edges as shown, but check the fit on your own leg first and mark the strap positions to that fit before you commit. Getting the placement right here is what makes the finished armor sit and cinch correctly.
Step 8: Attach the lames with Chicago screws
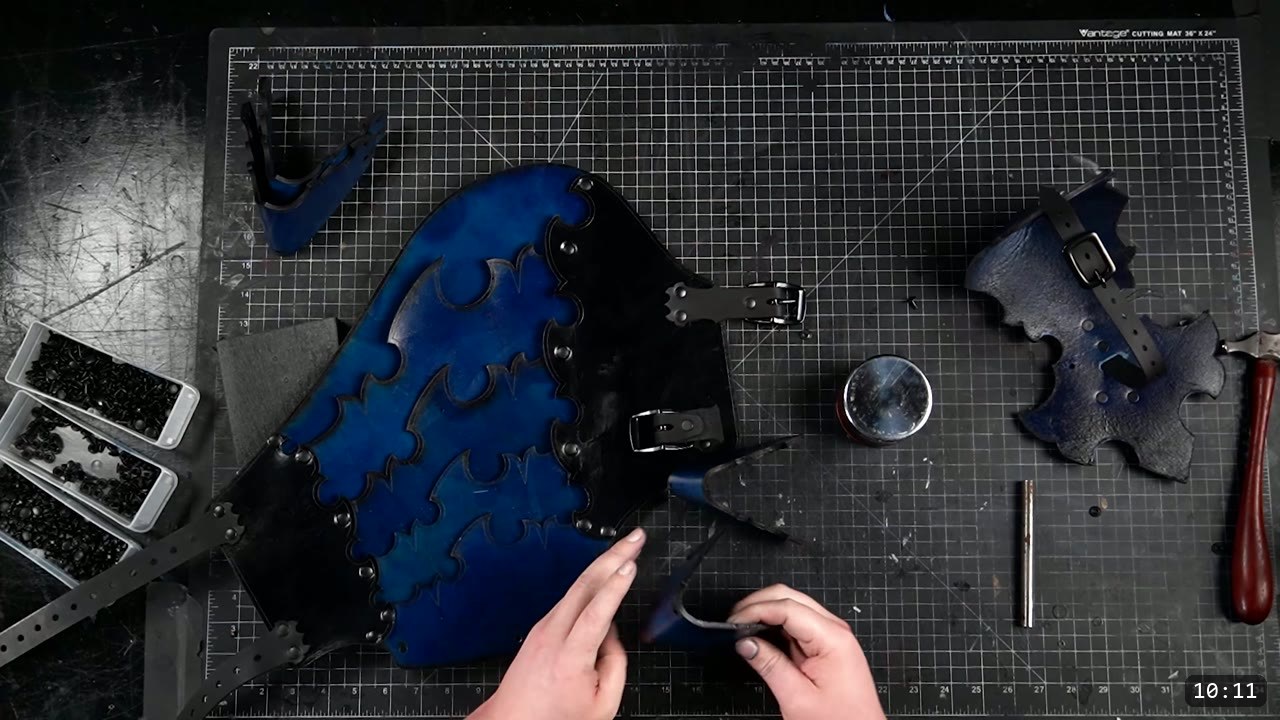
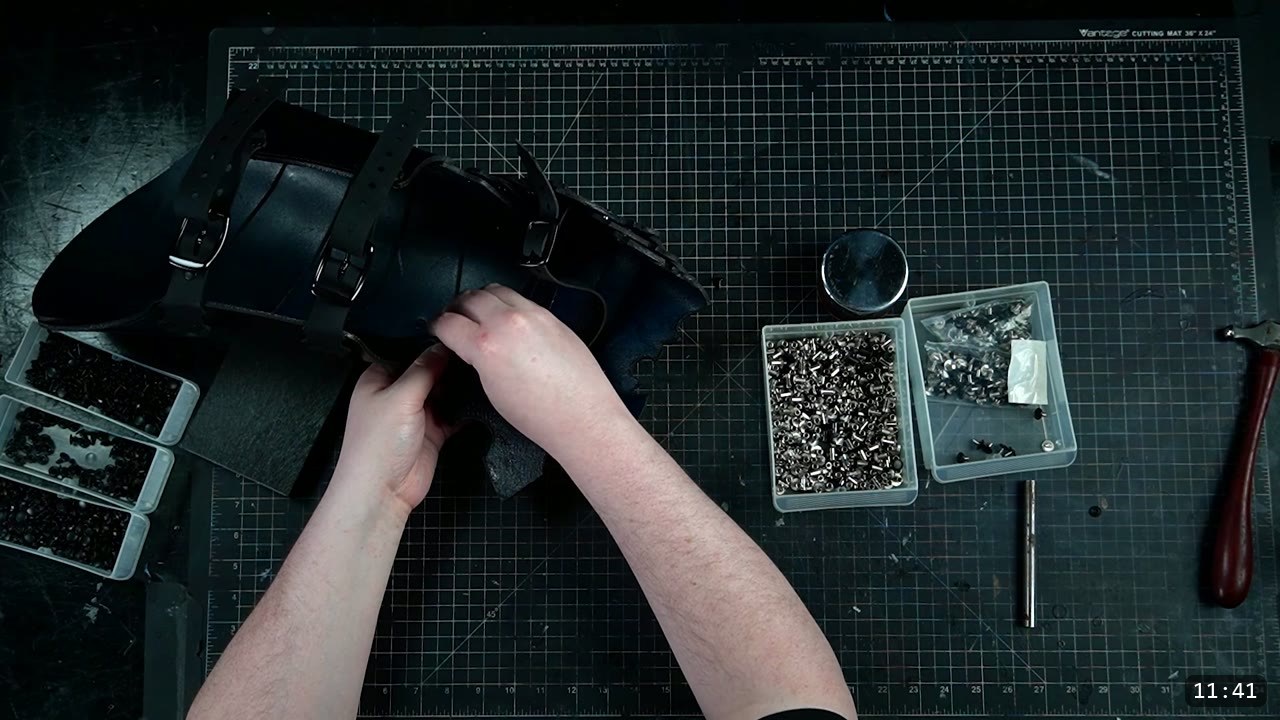
The lames are the small linking plates that let the knee bend, and they go on with Chicago screws rather than rivets. They may look the same, but they come in two slightly different sizes. Start at the knee cop. Attach the larger lames first, to the top and the bottom of each knee section. The slightly smaller lames then attach beneath the wider ones. Work in that order and the articulation stacks correctly.
Step 9: Connect the knee assembly to the cuisses
Now join the knee assembly to the cuisses. Orientation matters. The side fin of the knee faces the outside of the body, and the taller portion of the cuisse also goes on the outside. Set it that way and the whole upper leg reads correctly and moves the way it should.
Step 10: Connect to the greaves and final fit
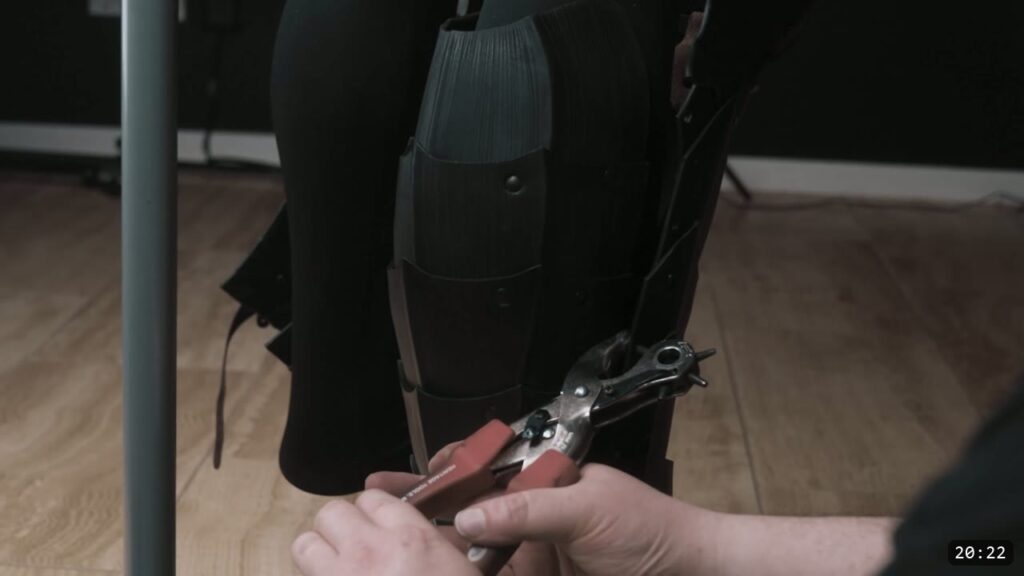
Finish by attaching the upper leg to the greaves from the previous tutorial. First join the top of the cuisse to the lames, then connect the lames down to the greaves. Orient the greave so its opening, the section with the straps, sits on the inside of the leg. That makes the armor much easier to put on by yourself. One note on older patterns: if you have an early version of the greaves pattern, the hole placement at the tops of the greaves runs a little narrow, so the lames sit with a wider gap. If you do not like that gap, just punch a new hole to either side. Prince noted in the video that he would update the pattern files with the corrected spacing, so newer downloads should already carry it.

FAQ
Is this a beginner project?
It is more advanced than a kit. It asks for accurate cutting, dyeing, riveting, and hardware work across a lot of matching plates. If you are brand new to leather armor, start with a kit or a simpler single piece, then come back for the full leg.
What leather should I use?
Natural vegetable-tan, 10 oz for the plates. Use lighter leather, 4 to 7 oz, for the buckle straps so they stay flexible.
What rivets do I need, and when do I use the long ones?
Medium double-cap rivets for anywhere you go through two layers, and long rivets for anywhere you go through three. The lames attach with Chicago screws, not rivets.
Do I have to dye it before I assemble it?
Yes, and that is on purpose. Dye and seal are the last leatherworking steps because the finish locks the leather. Dip-dye and seal the flat pieces first, then rivet and screw them together. The curve in the finished armor comes from bending the assembled plates, which the hardware holds, not from molding the leather.
How do the pieces connect into a full leg?
The knee cop carries the lames, the lames link up to the cuisse and down to the greaves, and buckle straps hold it on. Keep the taller side of the cuisse and the side fin of the knee to the outside of the leg, and the greave opening to the inside.
My lames sit with a wide gap at the greave. Did I do something wrong?
Probably not. Early versions of the greaves pattern spaced the top holes a little narrow. Punch a new hole to either side to tighten the fit. Newer pattern files already have the corrected spacing.
Where to go next
- Get the pattern: Imperial Knight Cuisses and Knees Pattern.
- Add the lower leg: Imperial Knight Greaves Pattern.
- Building the whole suit? The Imperial Knight Armor Bundle gathers the full set at a discount.
- New to leather armor? Start with 5 tips for getting started with leather armor.
- More articulated armor from the same series: DIY Articulating Leather Arm Armor and DIY Articulating Leather Gauntlets.
- Built one? Share it and tag Prince Armory Academy and Weaver Leather; we feature student work.




Responses