



Finishing the Leather Berserk Armor: The Breastplate and Tassets Build Guide

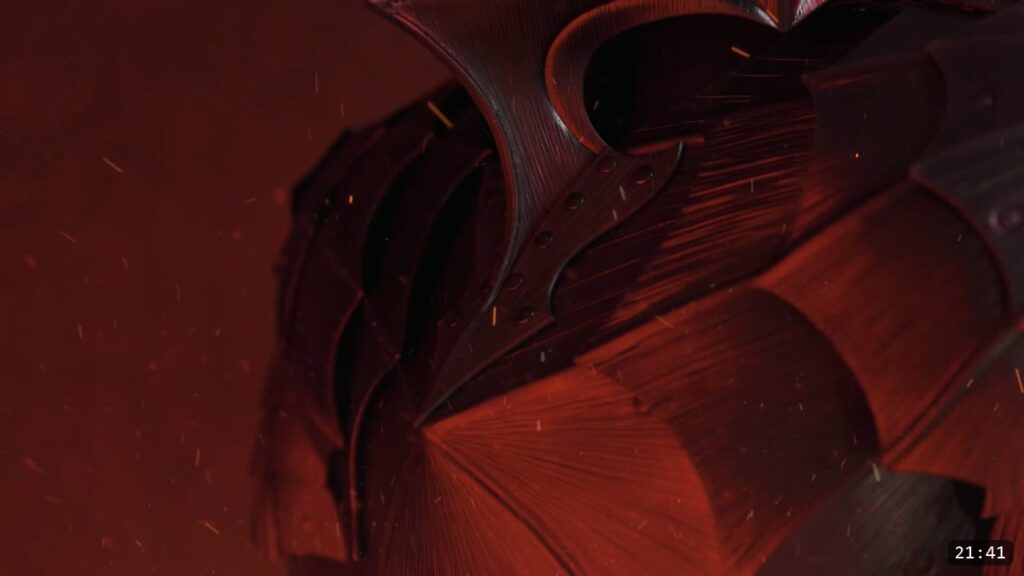
This is the finishing walkthrough for the leather Berserk armor, the video where the breastplate and tassets get built and the whole suit is dyed and sealed. You cut the parts from medium veg-tan, tool the striations, flute the raised areas, and shape each piece. Then you dye with Fiebing’s Pro, seal with Weaver’s Tough Coat, and rivet everything together with retainer straps, double-cap rivets, and Chicago screws. This is an advanced build, so this guide walks each phase alongside the video and slows down where the video moves fast.
What you are finishing, and what it takes
The Berserk suit is a full set: breastplate, back plate, tassets, collar, and the pauldrons that were built in an earlier video. This tutorial covers the breastplate and tassets, plus the tooling, fluting, dyeing, and sealing that finish the whole suit. It assumes you already know the basics, because it is an advanced project. If you are new, build a Warrior or Fantasy series piece first, then come back to this one.
What you need
Leather. Weaver Select vegetable-tan, 9 to 10 oz (about 4mm), for most of the suit. I call that a good medium weight for leather armor: it holds a shape without feeling thin, and it is comfortable for recreational wear. For the retainer straps, drop to a thinner 3 to 4 oz so they move freely and do not sag over time.
The pattern. The Berserk patterns come as PDFs you can scale and print to cut by hand, and as SVG files cut on a laser cutter.
Tools.
- Cutting: heavy shears and a box cutter for hand cutting, or a laser cutter if you have one (the video uses a Nova 16).
- Edging: an edge skiving tool.
- Tooling: a modeling tool for the striations, and an embossing wheel if you want to speed up the fluting (the video uses a shop-made roller).
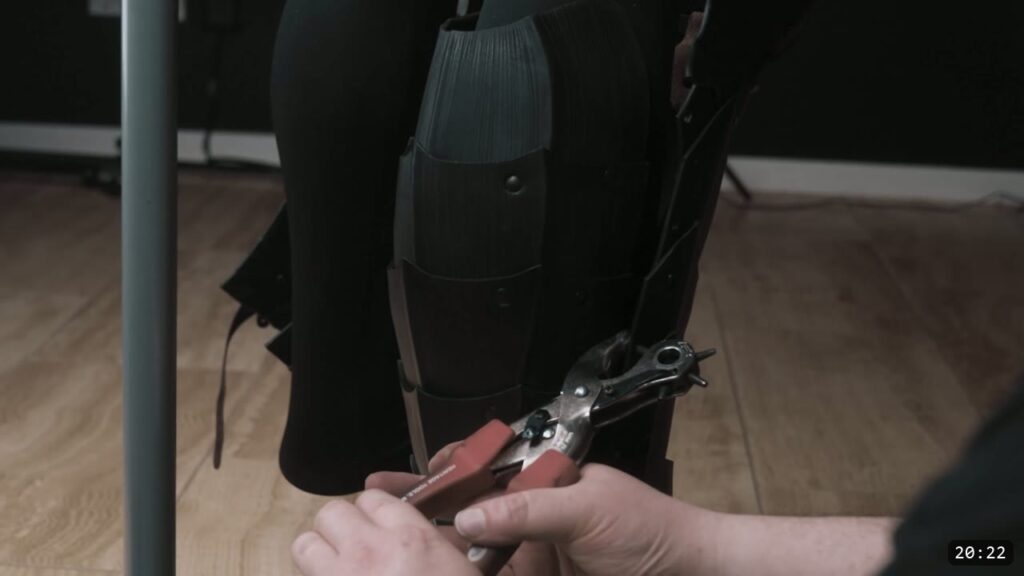
- Assembly: a hammer or mallet, a rotary punch, a rivet setter, and something dense to set against.
- Color and seal: Fiebing’s Pro Dye, nitrile gloves, trays, and Weaver’s Tough Coat acrylic finish. A scuff pad or an orbital sander if you want to knock the gloss down.
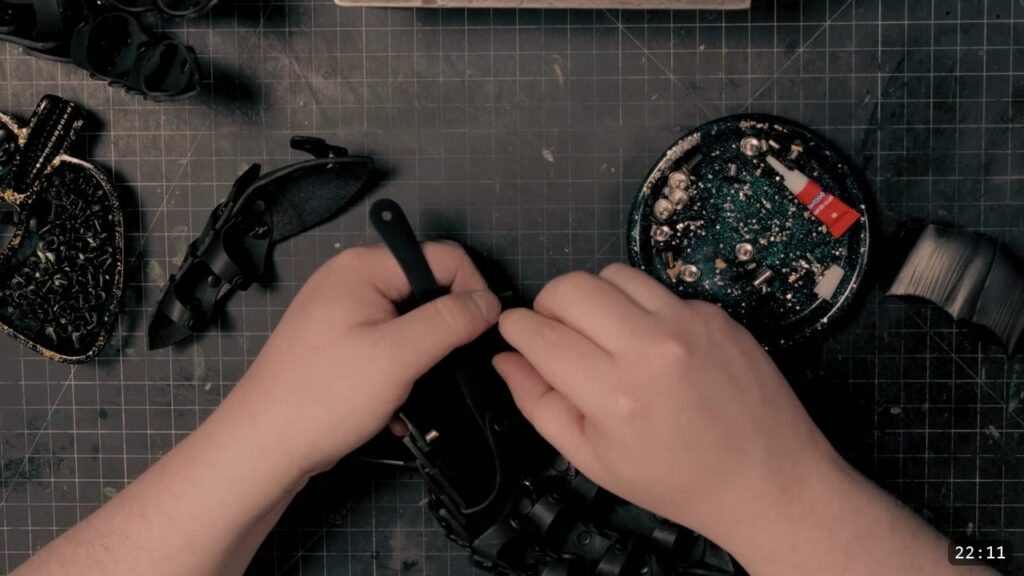
Hardware. Medium double-cap rivets for most joins, Chicago screws where a part needs to articulate or be reinforced, and buckles sized to each part. Black finish is used in the video; silver, brass, and antiqued finishes are all options.

Step 1: Cut the parts
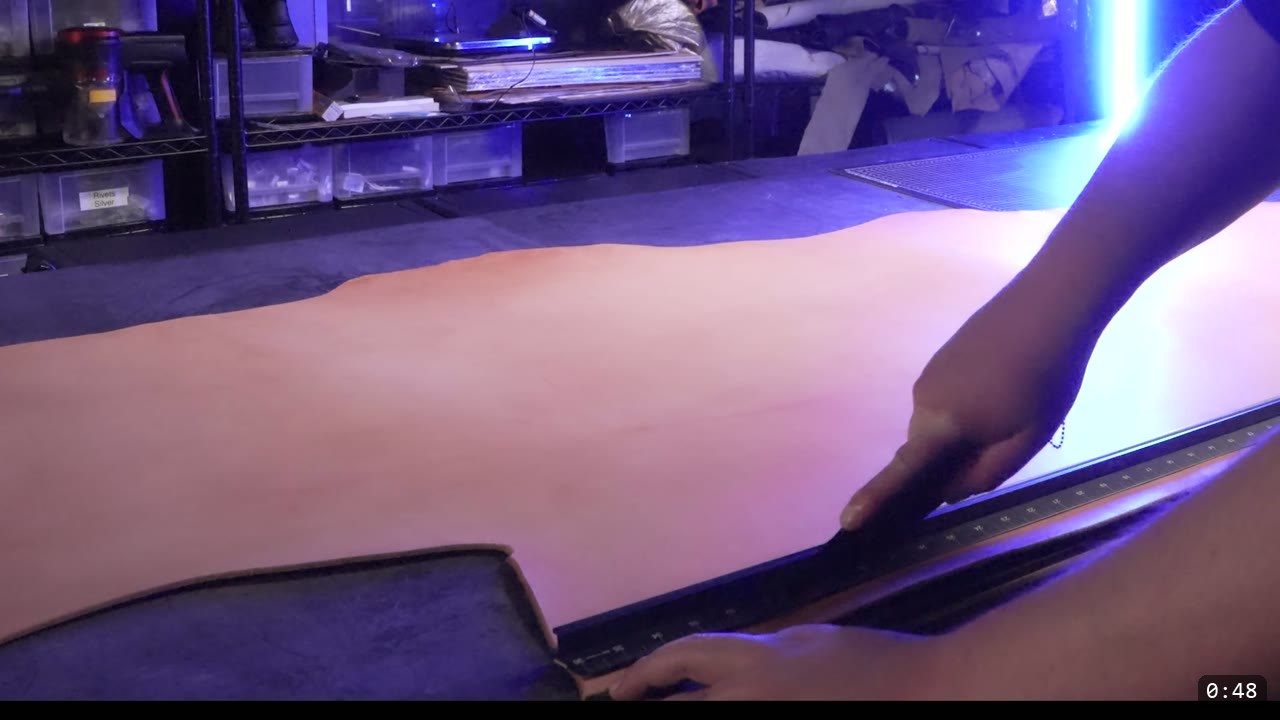
Lay the leather out and trim off the rough edges you will not use. If you are cutting by hand, arrange the printed PDF pieces on the hide and trace them. If you are cutting on a laser, load the SVG files. A laser saves time and gives precise, repeatable cuts, and a large bed lets you drop in a big section of hide at once. Neither method changes anything downstream, so cut whichever way you have.
Step 2: Scrub the char, wet the leather, bevel the edges
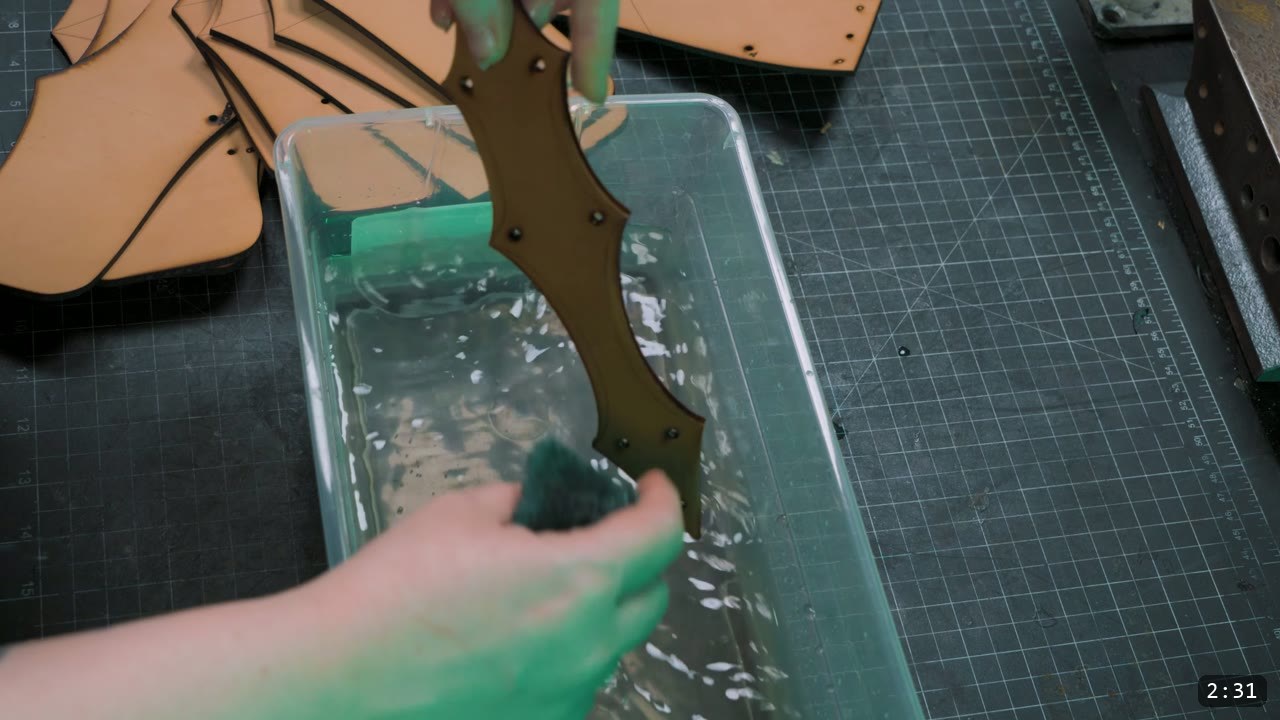
If you laser cut, scrub along the edges to clear the char. Either way, wet the leather thoroughly for the next stages. Wetting relaxes the fibers so the leather takes stretching, forming, and tooling. Too wet and it will not hold a shape, so there is a sweet spot: soak it, then wait until the surface starts to lighten back up. That is the right ballpark. For the edges, run an edge skiver, but on this suit skive only the undercarriage and leave the top edges sharp, purely for the look.
Step 3: Tool the striations
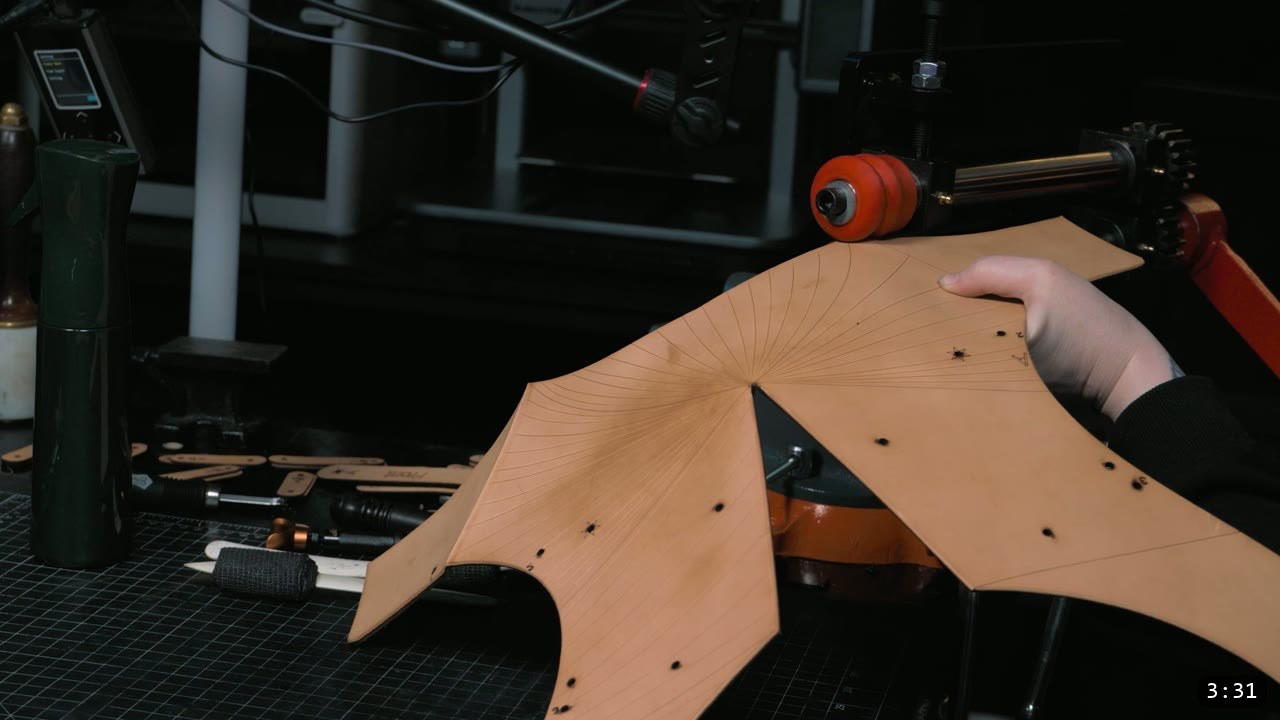
The whole suit is covered in striations, fine parallel lines that push it toward the manga look. It is easy work, but there is a lot of it, so it takes time. A tip from Ashley: wrap your modeling tool with adhesive bandage wrap for comfort. The lines mostly follow the manga reference. You can leave them off if you want; a color change and a little ornamental tooling would change the look just as much.
Step 4: Flute the raised areas
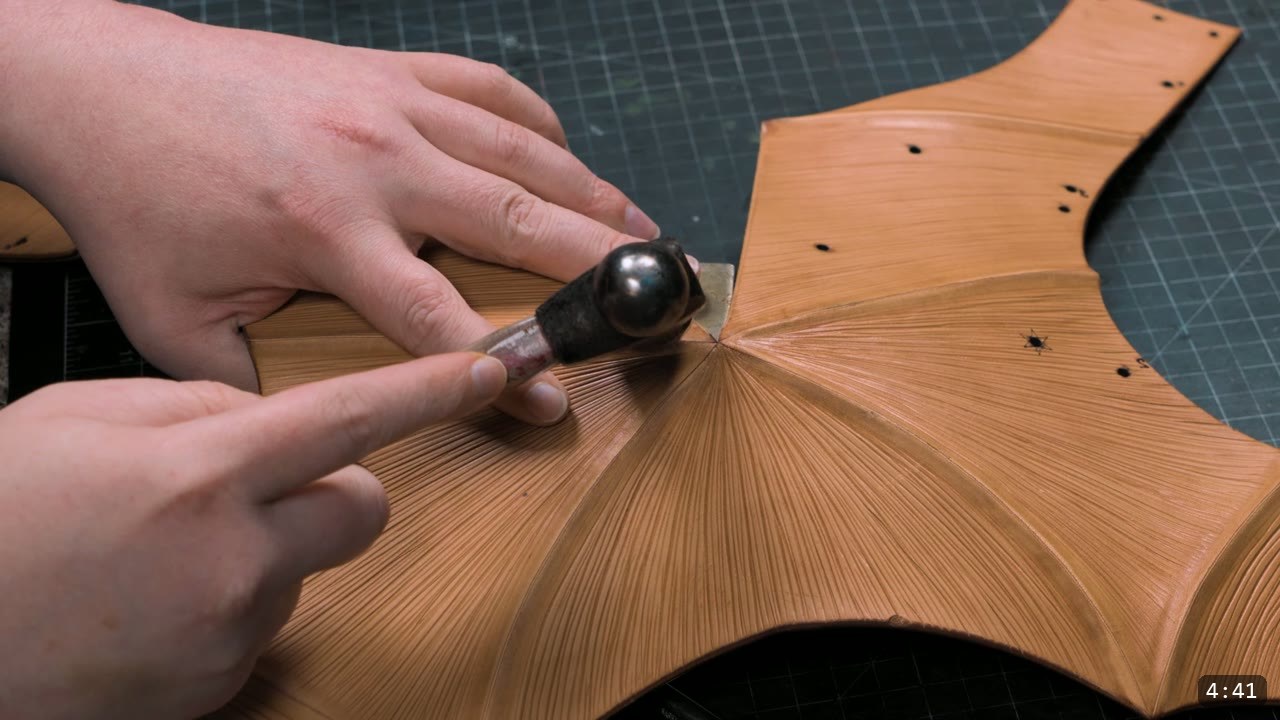
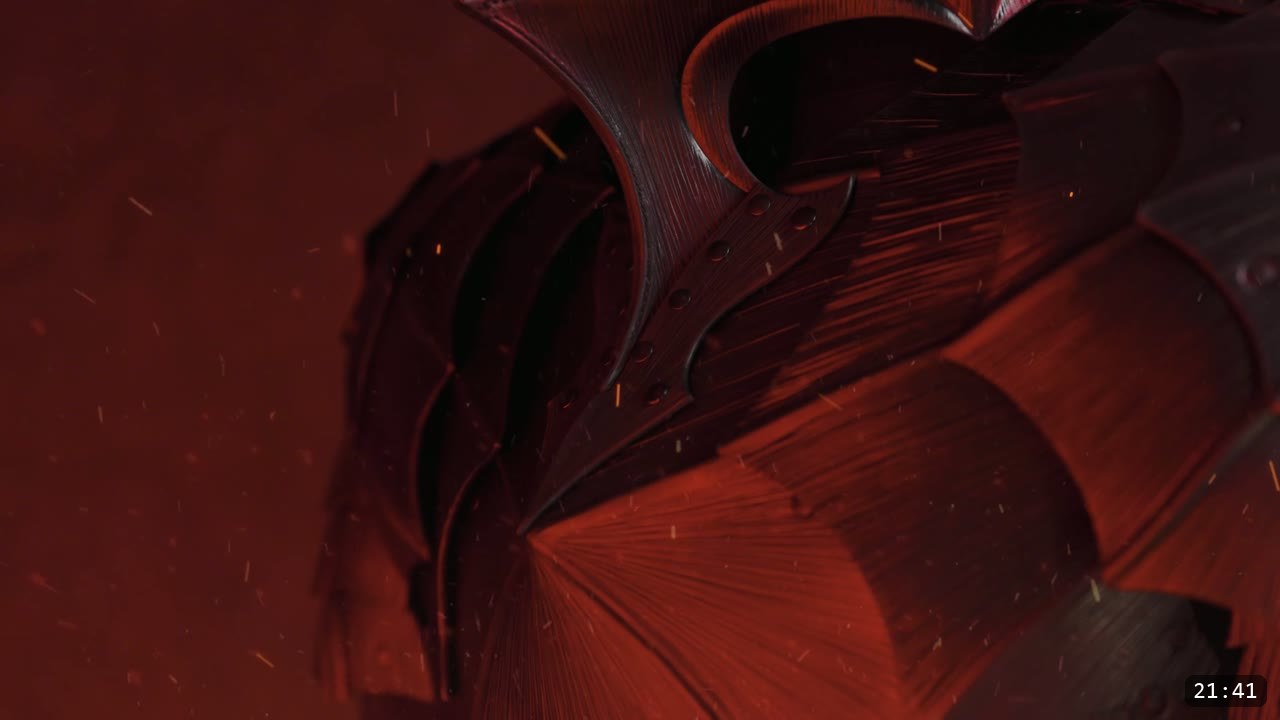
The build has a lot of sharp raised areas that you form into the leather. You can do this by hand, and there is a full advanced lesson on the process. It is a lot of work over a whole suit, which is why the video uses a shop-made embossing wheel to do about 95% of the heavy lifting. You still need the hand technique, though. Some small areas the wheel cannot reach, and you will want to refine lines by hand.
Step 5: Shape every piece
Almost every piece gets a little shape built into it. A breastplate should not look like a flat tube, and leather that is not shaped loses a lot of its rigidity. This is where hardening begins, because once the leather dries it keeps a memory of the shape you gave it. It also just looks better when the parts are shaped and fit together. Do all of this shaping now, while the leather is damp and workable.

Step 6: Assemble the sub-parts before you dye
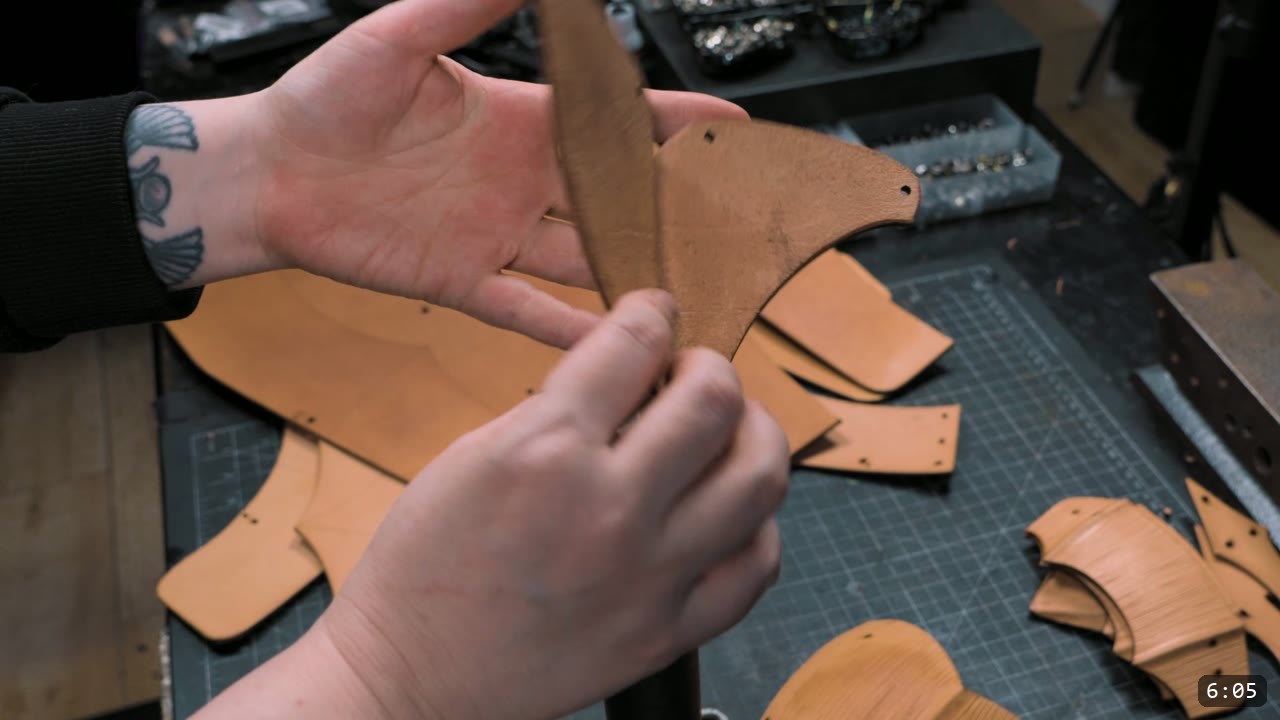
Some parts need to be joined while the leather is still easy to work, before any color goes on. The collar is the main one. The stylized teeth are sewn into each side of the base of the collar. The video uses a sewing machine, but you can saddle stitch it by hand, or rivet it if you prefer. A cylinder-arm machine cannot reach deep into a piece like this, so sew as far as it allows, which is plenty strong here. When the two sides are done, glue them into place with contact cement and sew them.
Step 7: Dye the pieces
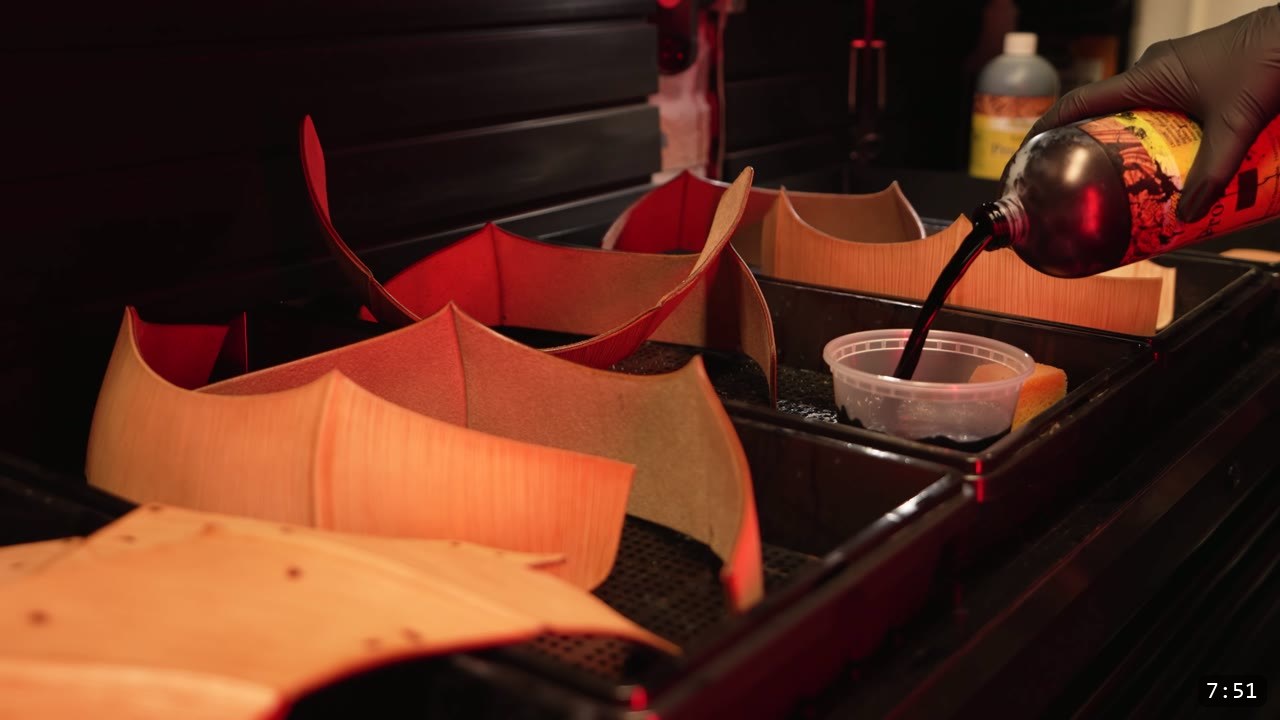
Dye everything with Fiebing’s Pro Dye. The Pro line has a little oil mixed in, which keeps the leather from drying out and helps it absorb evenly. Dyeing is messy, so work over trays and set the pieces on them to dry. Test your color on scrap first, or on the underside if this is your first piece and you have no scrap.
Step 8: Seal with Tough Coat
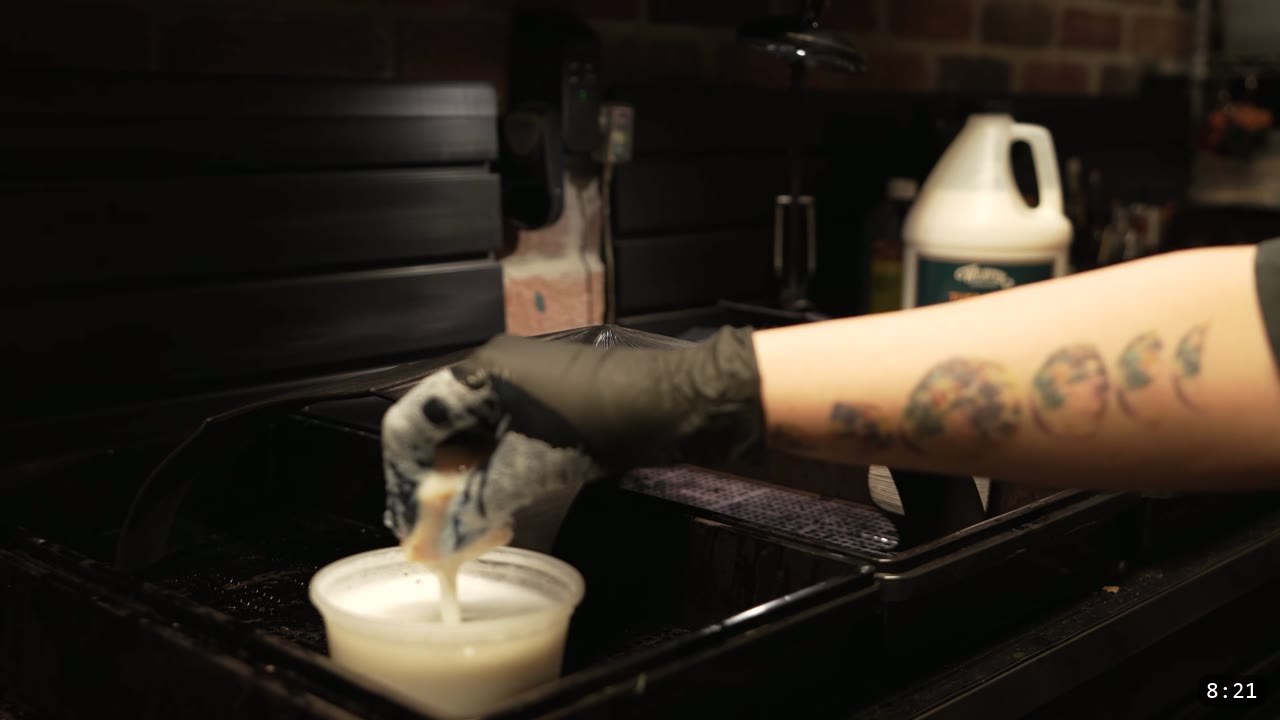
Seal the pieces with Weaver’s Tough Coat, an acrylic finish. I use a lot of it, and I will sometimes soak the pieces in it, which adds real hardness to the armor. If you want more control over the look, let the pieces get dry enough and then knock the gloss down with a scuff pad; an orbital sander speeds that up. Hardness is not the only thing that protects a piece, though. Overlapping layers and built-in shape do a lot of the work, and rigidity always has to be balanced against mobility and comfort. Dye and seal are the last leatherworking steps. Do all your shaping, tooling, and fluting before this point, because once the finish is on, the leather resists water and will not fully re-wet or reshape.
Step 9: Assemble the breastplate, front and back
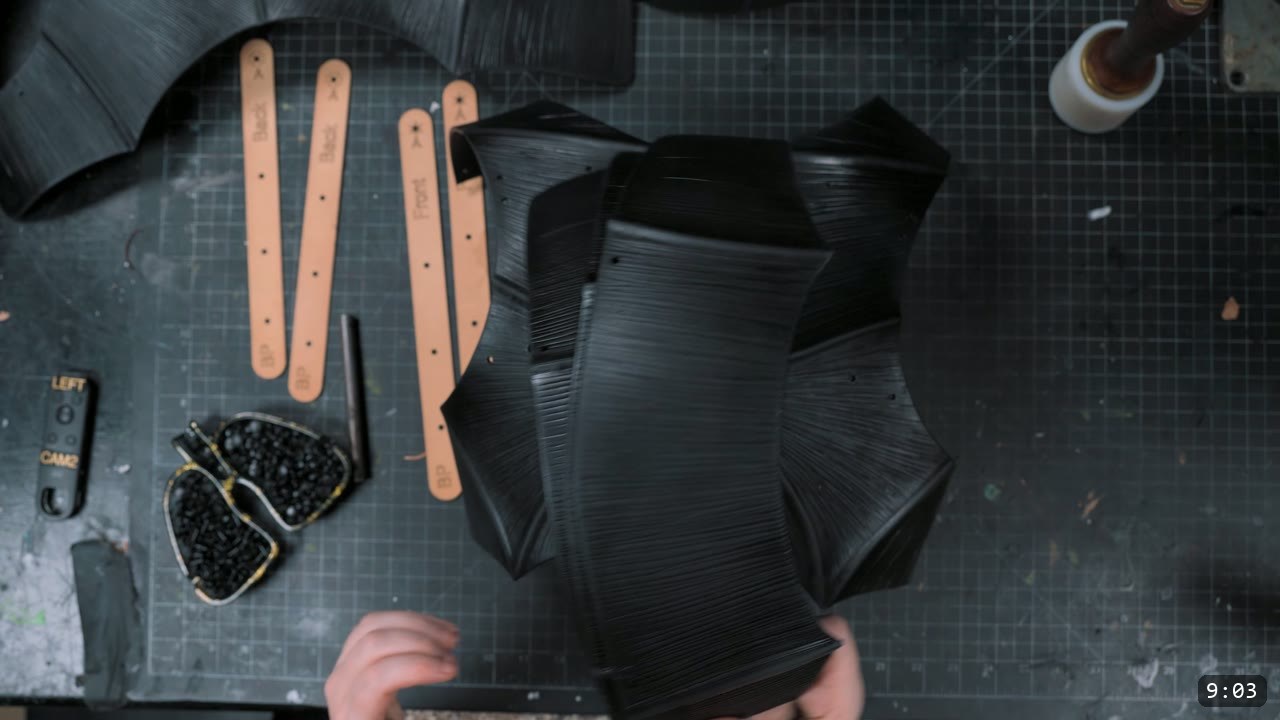
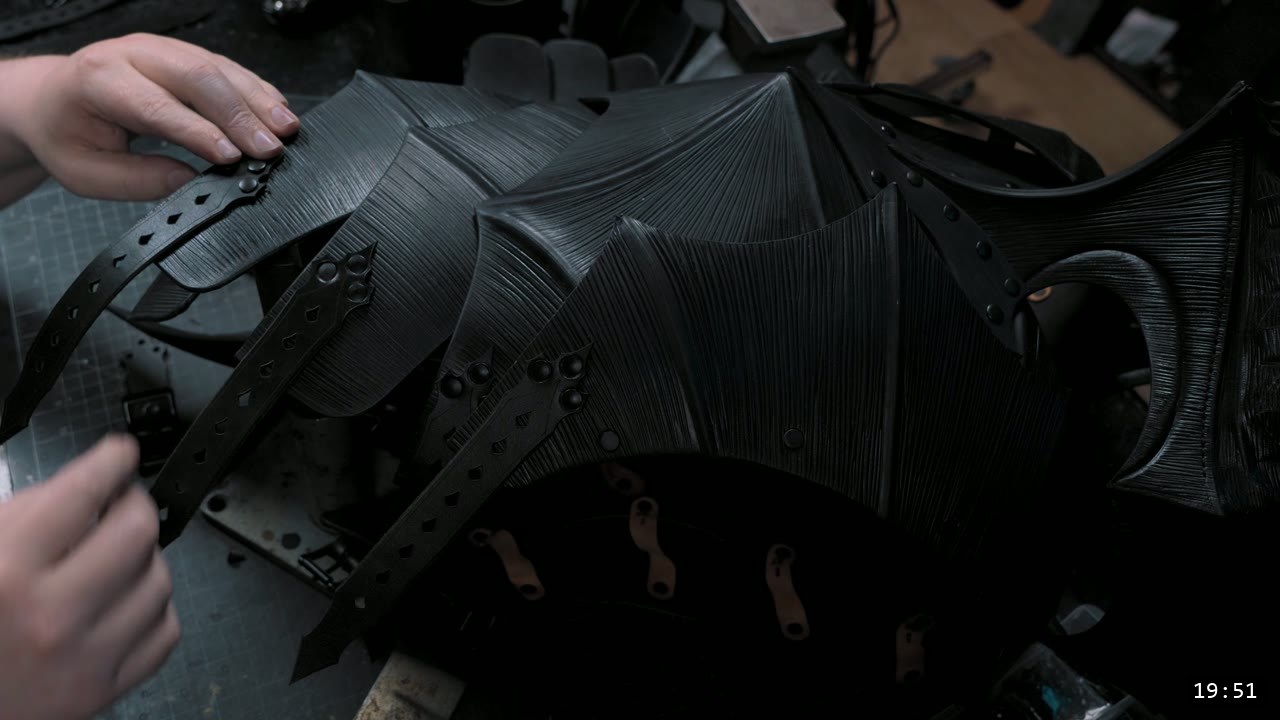
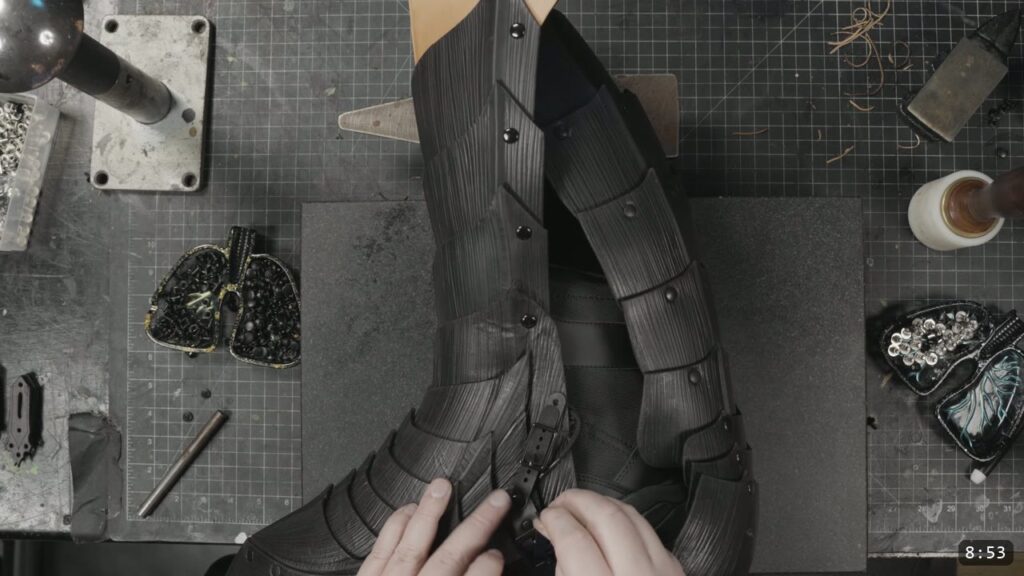
Now you rivet the finished plates together. The parts are lettered, so start at the bottom with part D and work up to C, then B, then A. The front and back parts look similar, so take care not to mix them. The panels connect with retainer straps in the thinner 3 to 4 oz leather. Use medium double-cap rivets for most joins, and Chicago screws anywhere a part needs to articulate or be reinforced. The back plate is done exactly the same way, part D up. Start from the bottom on both, because it is easier to reach the straps than to fight the overlapping layers from the top down. Assemble while the pieces are freshly finished and still have a little give. How the parts dry is how they will want to stay, so let them dry in their final assembled shape.
Step 10: Connect the pauldrons and join the back
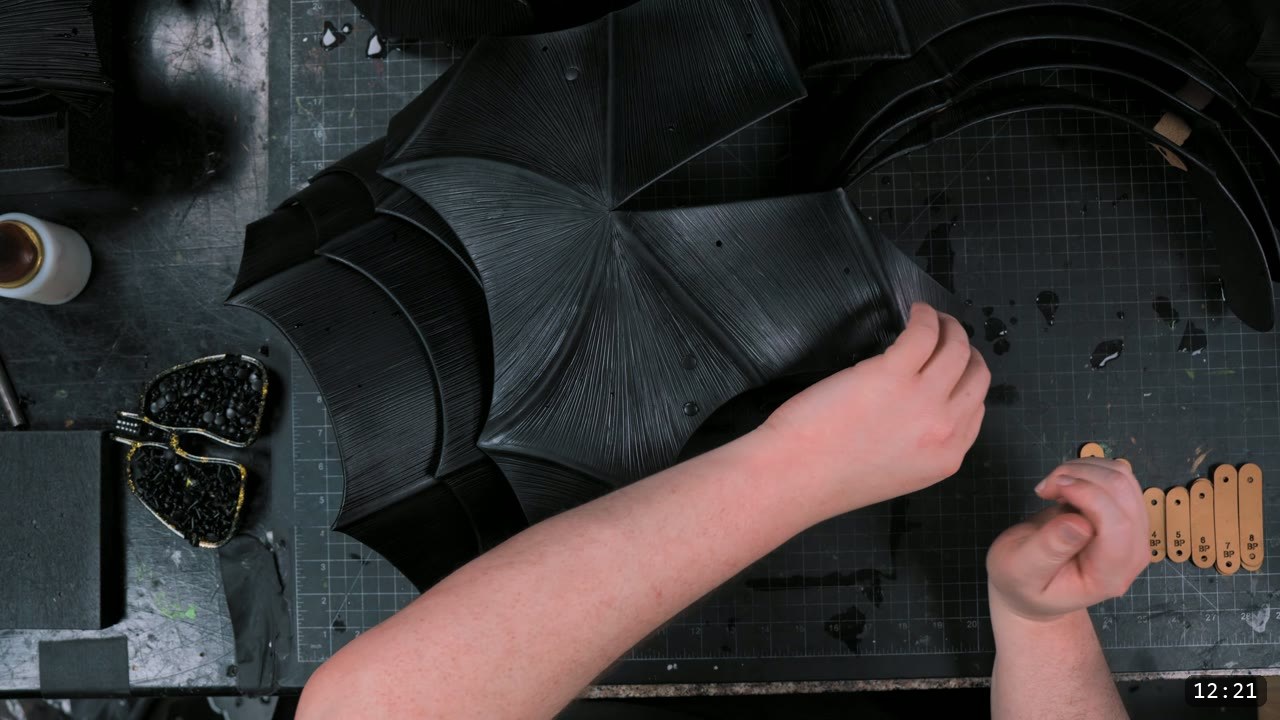
The pauldrons were built in an earlier video. A transitional piece connects them to the breastplate and is attached to it permanently. It looks complex, but it is not: attach the small numbered tabs to the breastplate first, then attach those tabs to the pauldron piece. Start with strap number 1 at the bottom of the front breastplate around the armholes and work up, then do the same on the back plate from the top down. A small trim piece joins the split in the back. The pauldrons themselves hang from the top of the breastplate on two small straps each.
Step 11: Build the tassets
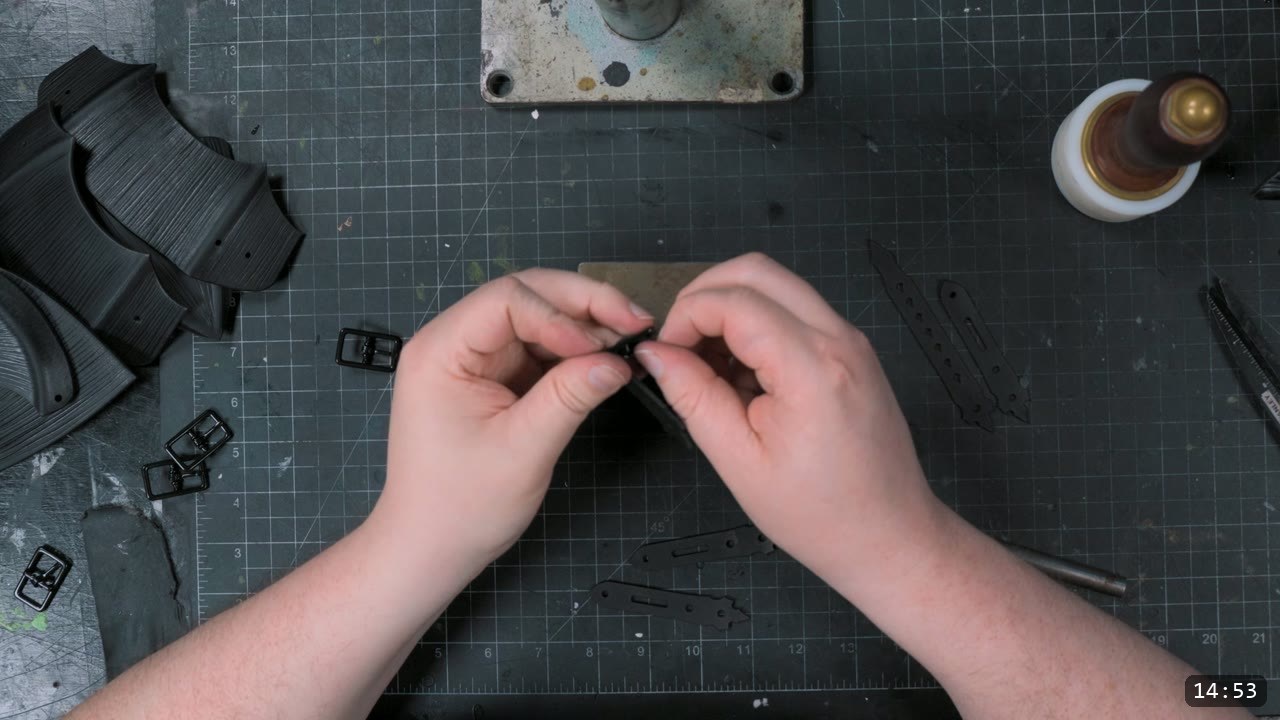
The two back tassets are only two pieces each, riveted together, and they hang from small buckle straps on the back plate. There is a dedicated video and a free pattern set just for buckles and straps if you want more guidance there. The front tassets use retaining straps. The parts and straps carry reference marks like everything else. Start at the bottom with the small tapered piece and work up. The holes at the top of each piece connect to the retaining straps; the holes in the middle are for dummy rivets, which are only there to match the manga reference.
Step 12: Set the hardware and the collar
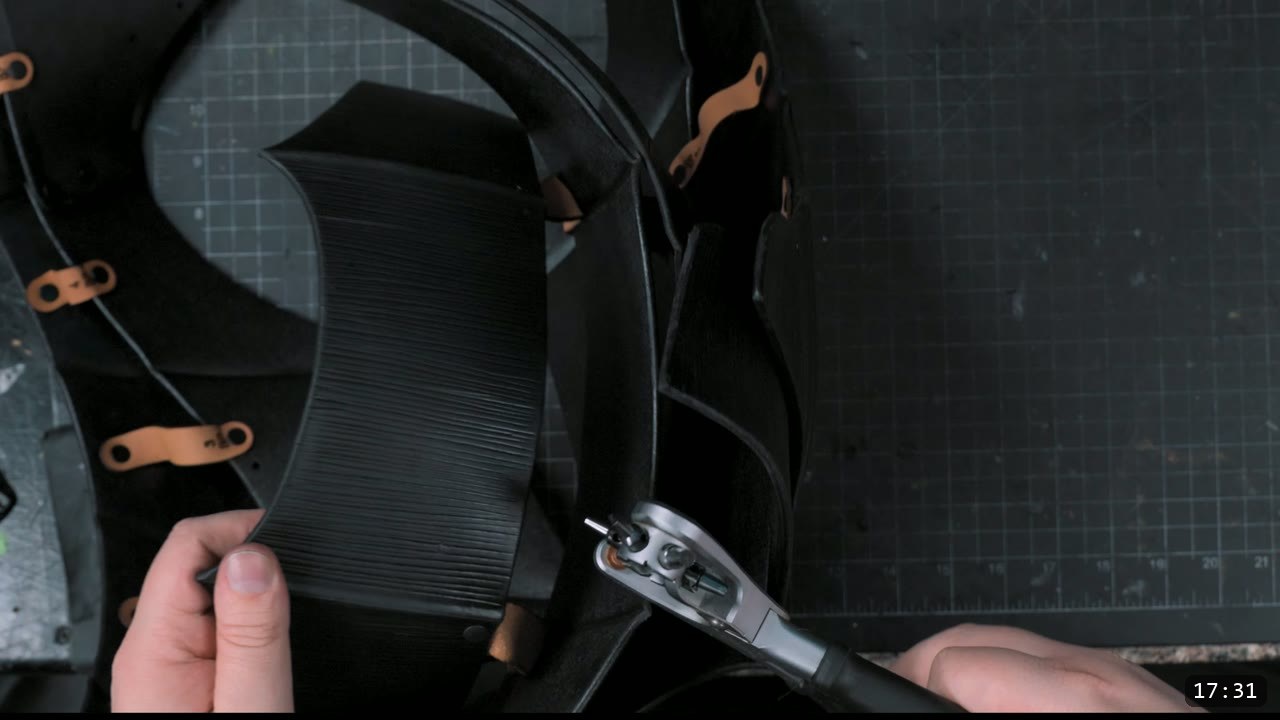
Most joins are medium double-cap rivets. Chicago screws earn their place anywhere a part articulates or needs reinforcing, and they have a third use: removability. The collar on this design is not very practical, so I assembled it with Chicago screws left unglued, so the collar can come off if it needs to. Normally you glue the screws permanently. If the collar gives you trouble, another option is to leave the teeth off and run the skull version of the helmet instead.
Step 13: Fit the buckles and straps last
The last job is the buckles. Buckles and straps are how most parts join and how you build in adjustability. Size the straps to the part: small buckles on the tassets, larger ones on the breastplate. I like roller buckles on the breastplate because they help cinch the straps down. Placement is partly personal fit, so mock up or wear the unfinished suit and mark the hole locations on yourself. Any strap that will take a higher load gets at least two rivets, not one.
Step 14: The finished Berserk armor
That completes the suit build. The finished breastplate is fluted, dyed black, and sealed hard, with the tassets hanging and the pauldrons connected. It was the last tutorial in the build, though not the last video in the Berserker series.
FAQ
Is this a beginner project?
No. The Berserk armor is an advanced build that assumes you already know the basics, so the tutorials do not cover them. Start with a Warrior or Fantasy series piece first, then come back. You can watch the Berserk videos free to see what is involved before you commit.
What leather should I use?
Weaver Select vegetable-tan, 9 to 10 oz (about 4mm), for most of the suit. It is a medium weight that holds a shape without feeling thin and stays comfortable to wear. Drop to a thinner 3 to 4 oz for the retainer straps so they move freely and do not sag.
How do I color and seal it?
Dye with Fiebing’s Pro Dye, which has a little oil in it so it absorbs evenly and keeps the leather from drying out. Then seal with Weaver’s Tough Coat acrylic finish. Soaking the pieces in the finish adds hardness. Do all your shaping, tooling, and fluting before you dye and seal, because the finish locks the shape and the leather will not fully re-wet or reshape after that.
Do I have to tool all those lines?
No. The striations push the look toward the manga reference, but they are optional. A color change and a little ornamental tooling would change the look just as much. If you do want the raised fluting over the whole suit, an embossing wheel does most of the work, but you still need the hand technique for the small areas and for refining lines.
What is the difference between rivets and Chicago screws here?
Medium double-cap rivets handle most joins and are plenty strong. Chicago screws go anywhere a part needs to articulate or be reinforced, and they can also be left unglued for removability, which is how the collar is assembled in the video.
How are the tassets attached?
The two back tassets are two riveted pieces each, hung from small buckle straps on the back plate. The front tassets use retaining straps, built from the small tapered piece at the bottom upward, with dummy rivets in the middle holes for looks.
Where to go next
- Build the whole suit: the Berserker Armor Bundle covers the full set, or see the Berserker theme for every piece.
- Get the pieces this video finishes: the Berserker Breastplate Pattern and the Berserker Tassets Pattern.
- The pauldrons come first: the Berserker Pauldrons Pattern and the build video, Making the Berserk Armor Pauldrons in Leather.
- Go deeper on fluting: the advanced leather armor fluting lesson, and on shaping, Hand-shaping Leather for Armor Making.
- Need buckles and straps? Grab the free buckle and strap patterns.
- New to leather armor? Start with 5 tips for getting started with leather armor.
- Built one? Share it and tag Prince Armory Academy and Weaver Leather; we feature student work.



Responses