



Leather Arm Armor Build Guide: Fantasy Vambrace, Rerebrace, and Elbow

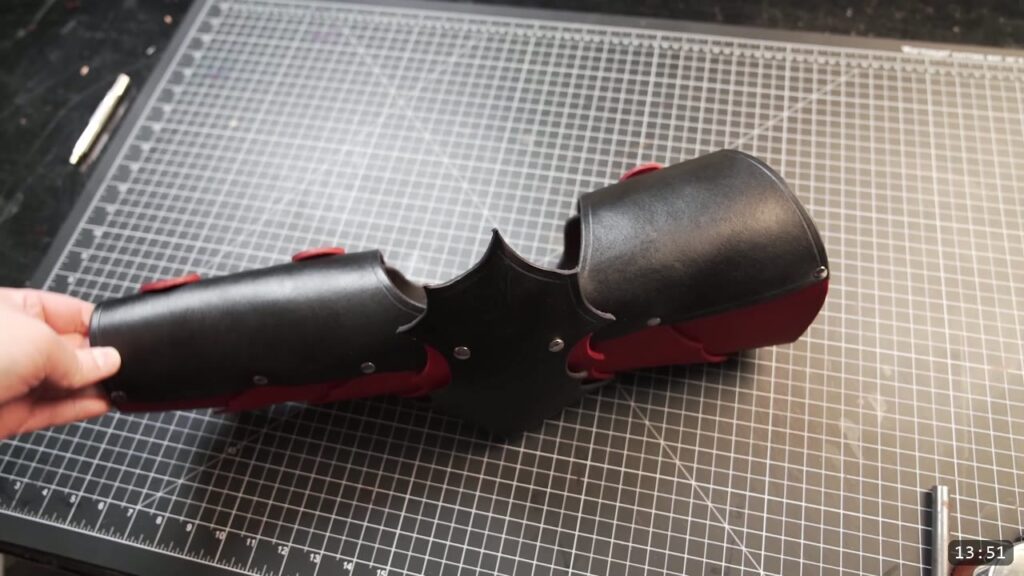
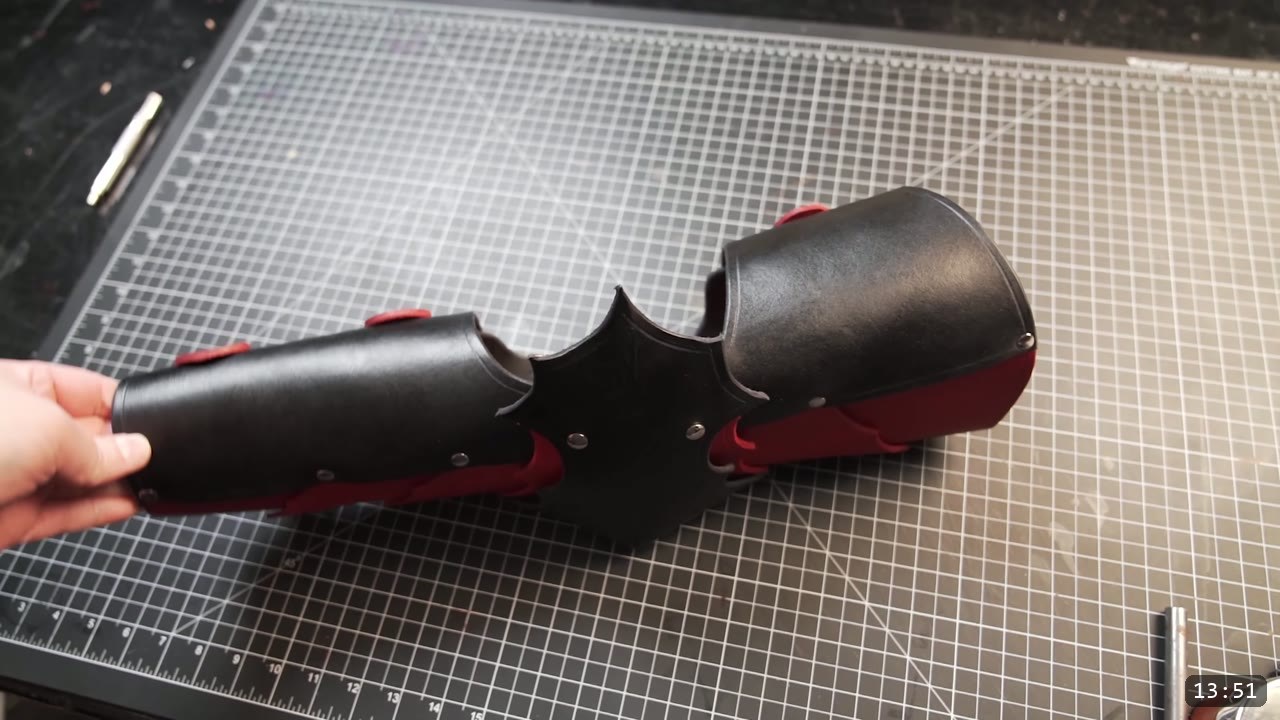
You build a fantasy leather arm harness in three articulating parts: a vambrace for the forearm, a rerebrace for the upper arm, and an elbow guard that hinges between them. You trace the pattern onto 8 to 9 oz veg-tan leather, cut the pieces, add a simple border and a few decorative lines, crease the shapes in while the leather is damp, then dye, seal, and assemble. The moving joints use Chicago screws, not plain rivets, because the joints carry load and need to hinge. This guide walks the whole build alongside the video, so you can watch each step and read the details the video moves past quickly.
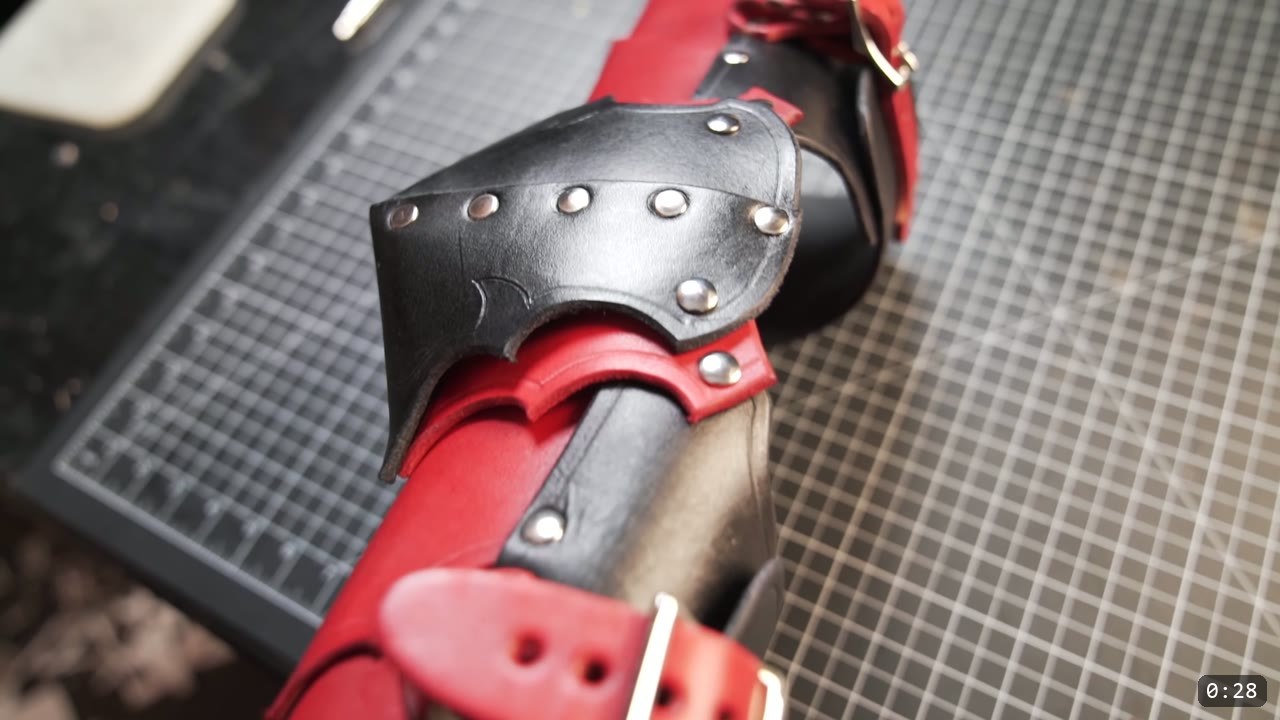
What you are building, and what it takes
This is the pattern build, so you cut and shape everything yourself. Each pattern set in this fantasy series includes two style variations. The video demonstrates one of them; the alternate style is a little more rounded. Only the left arm is made on camera, and the right arm is identical, just mirrored.
Leather. The video uses 8 to 9 oz veg-tan, specifically Tandy’s Superior Oak. Veg-tan is what lets you crease and hold the small shapes in this build.
Tools.
- Marking and cutting: a fine point marker, a razor to separate the sheet into manageable sections, and leather shears for the actual cuts.
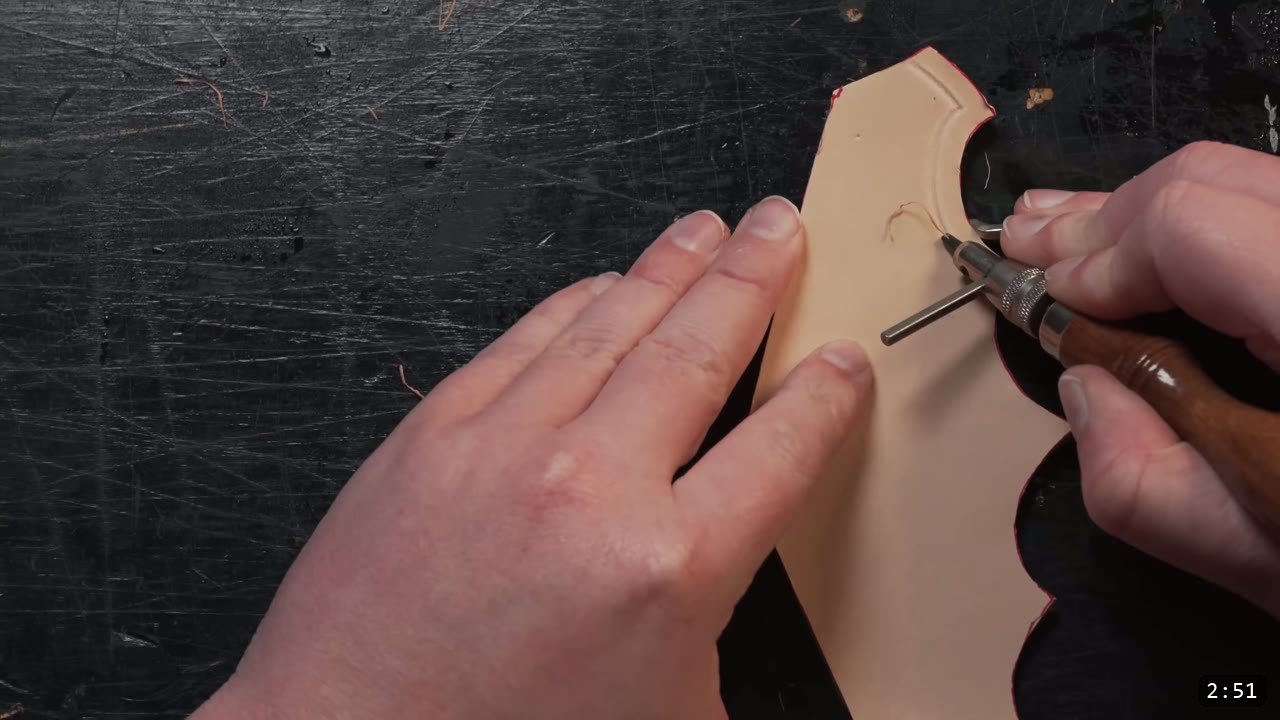
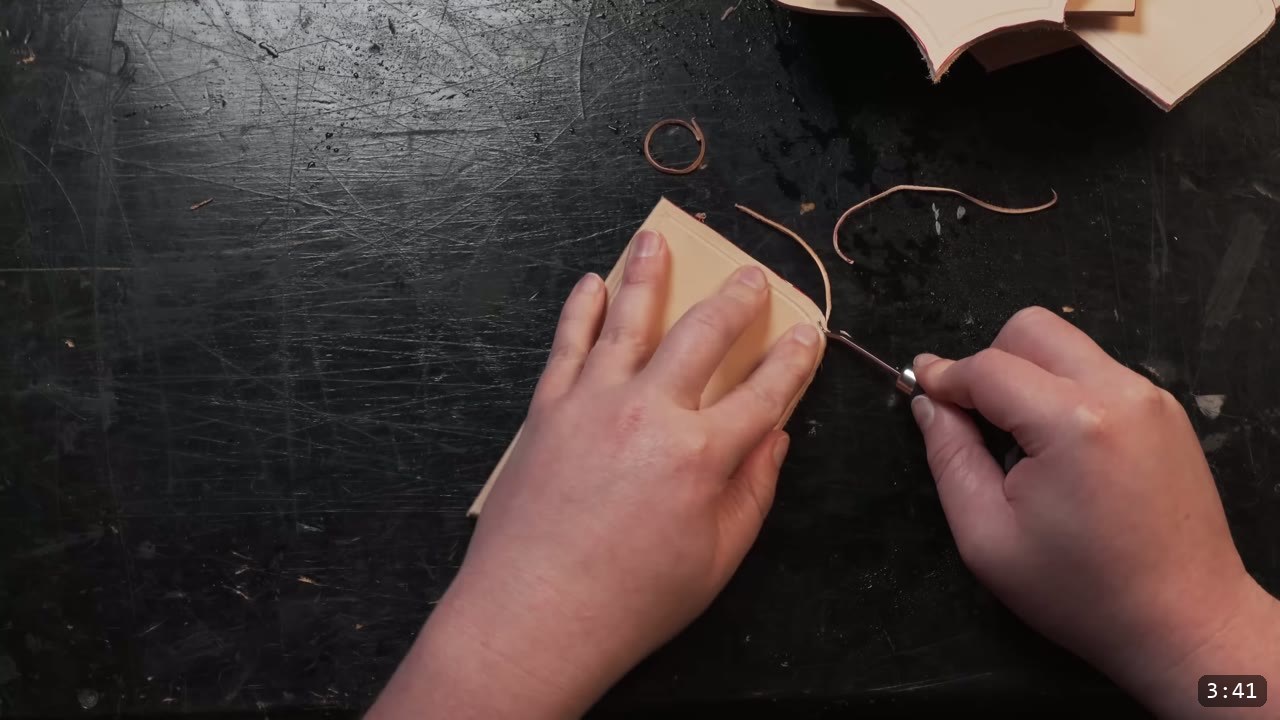
- Detail: a stitching edge groover for the border, a swivel knife for the barbed lines on the elbow piece, and an edge beveler.
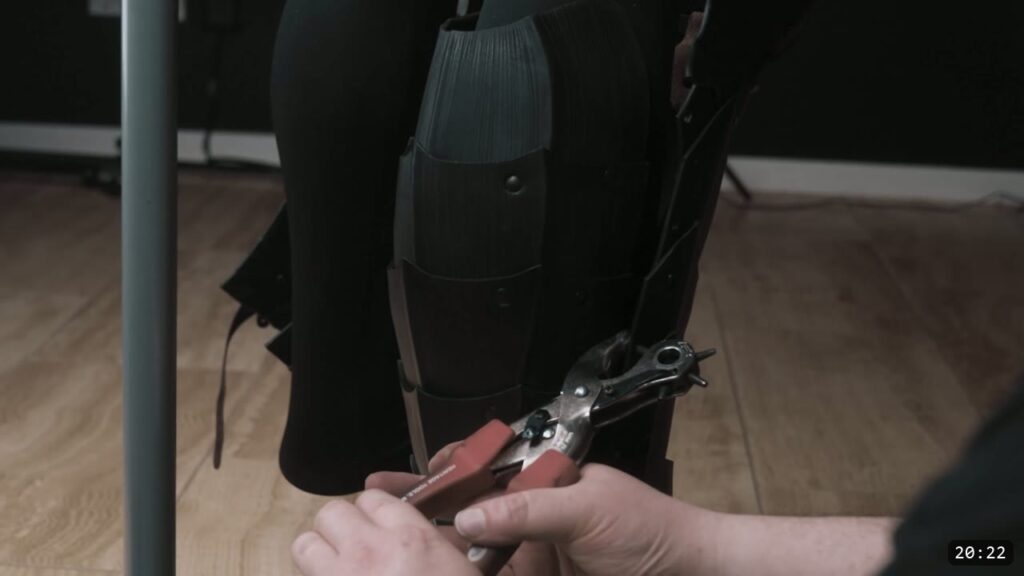
- Holes: a punch. The pattern marks medium holes for rivets and larger holes for Chicago screws.
- Shaping: a hammer and a little water.
- Color and seal: Fiebing’s Pro Oil Dye, a high density sponge, and Super Sheen.
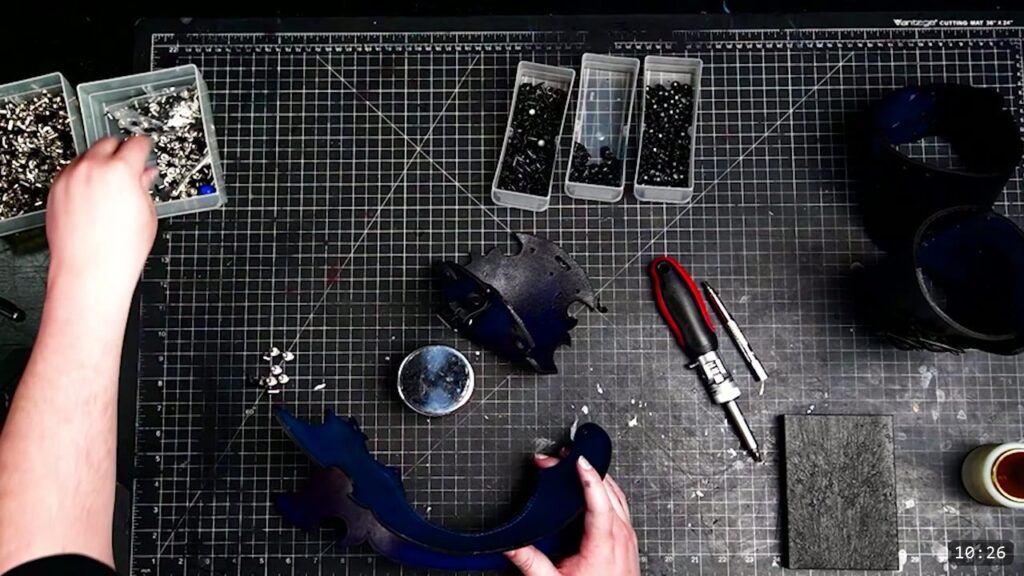
- Hardware: rivets for fixed seams, Chicago screws (screw posts) for the moving joints, buckles, and a drop of superglue or thread locker.
A note before you start. If this is your first leather project, watch the earlier tutorials in this series first. This build reuses the same assembly you learned on the helmet, bracer, and pauldron, and the video skips over it to save time.
Step 1: Transfer the pattern and mark the holes
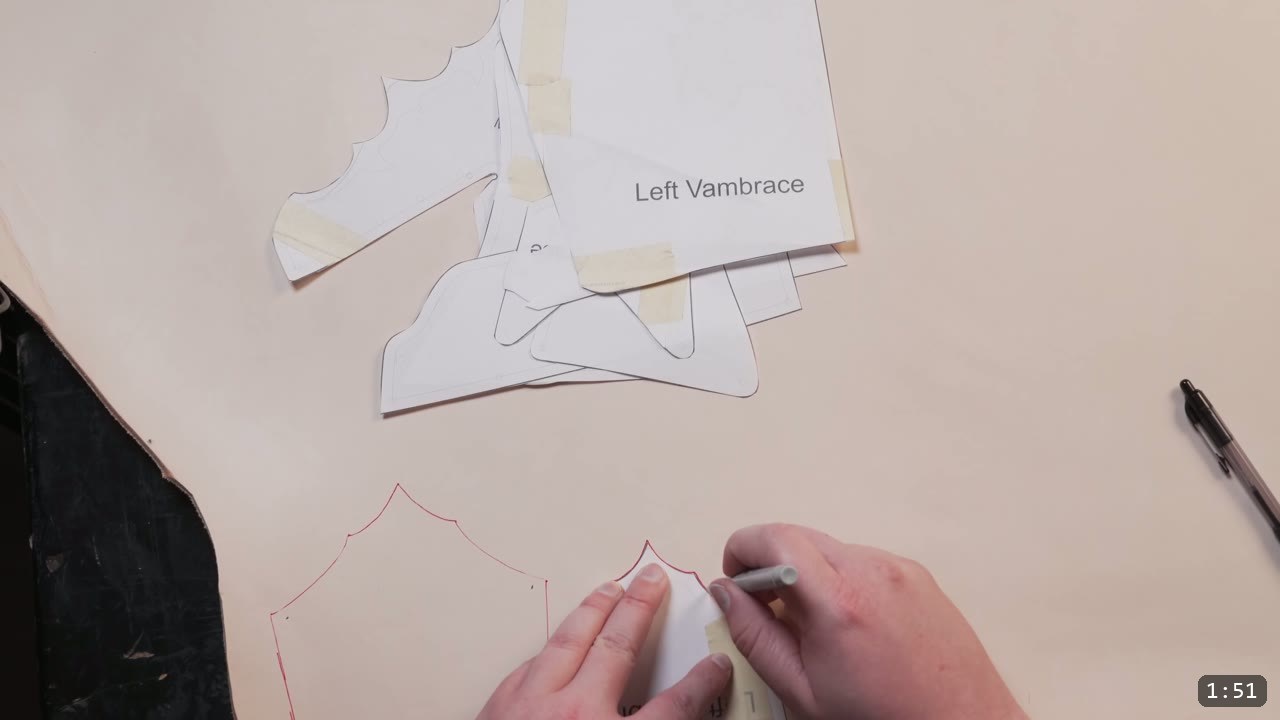
Lay the pattern pieces out on the leather and trace them with a fine point marker. Mark the hole positions as you go. If you are following the printed patterns, read the included tips document first for how to assemble the pages and size the pieces to your arm.
Step 2: Separate and cut the pieces
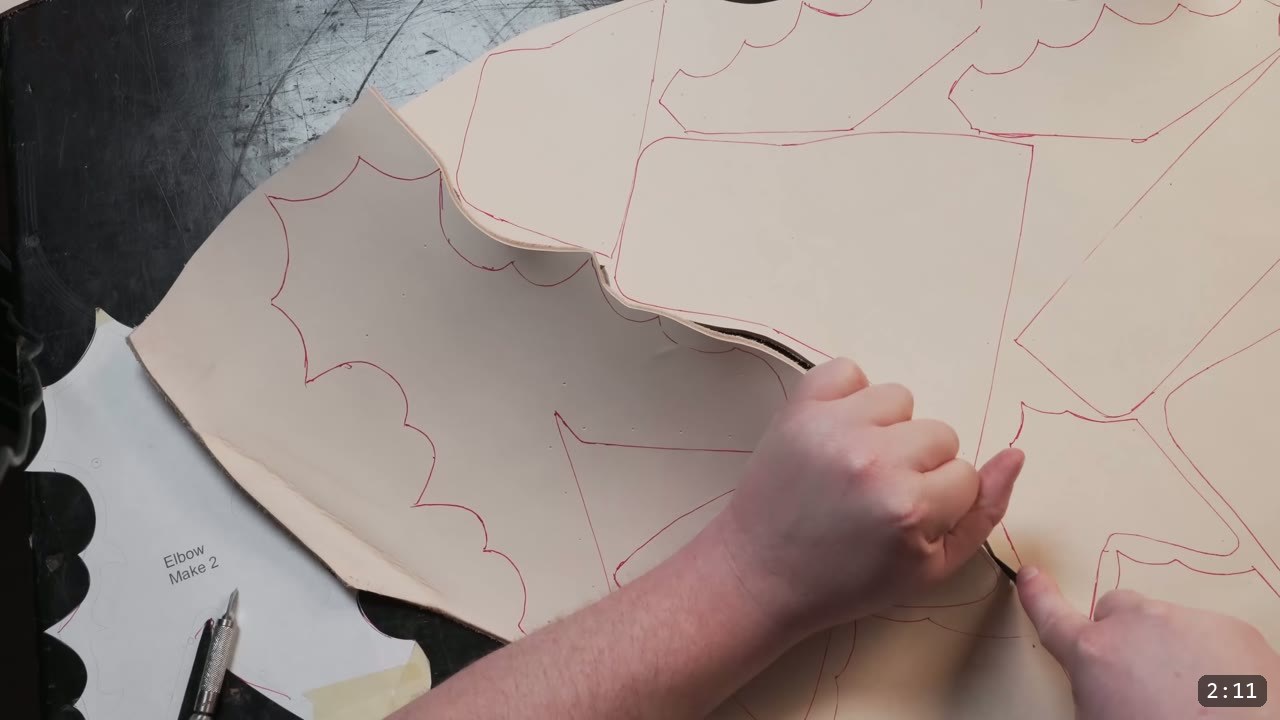
Separate the traced sheet into manageable sections with a razor, then cut each piece out with leather shears. Clean cuts here save you work at every later step.
Step 3: Add the border and the decorative lines
Each tutorial in this series shows slightly different detail work, so pick a look and stay with it across the whole suit, or make your own variation. For a simple border, run a stitching edge groover just inside the edge. That tool is usually meant for a stitch line, but it also lays down a subtle decorative border fast. You can use it on dry leather, but dampening the leather slightly gives a wider impression. The one exception is the barbed decorative elements on the elbow piece. Cut those lines in with a swivel knife instead.
Step 4: Bevel the edges
Bevel the edges of each piece as you go for a cleaner look. It is a small step, but it reads on the finished armor.
Step 5: Punch the holes
Punch the holes into each piece. The medium holes are for rivets, and the larger holes are for the Chicago screws. Keeping the two sizes straight now saves you a headache at assembly.
Step 6: Crease the ridges while the leather is damp
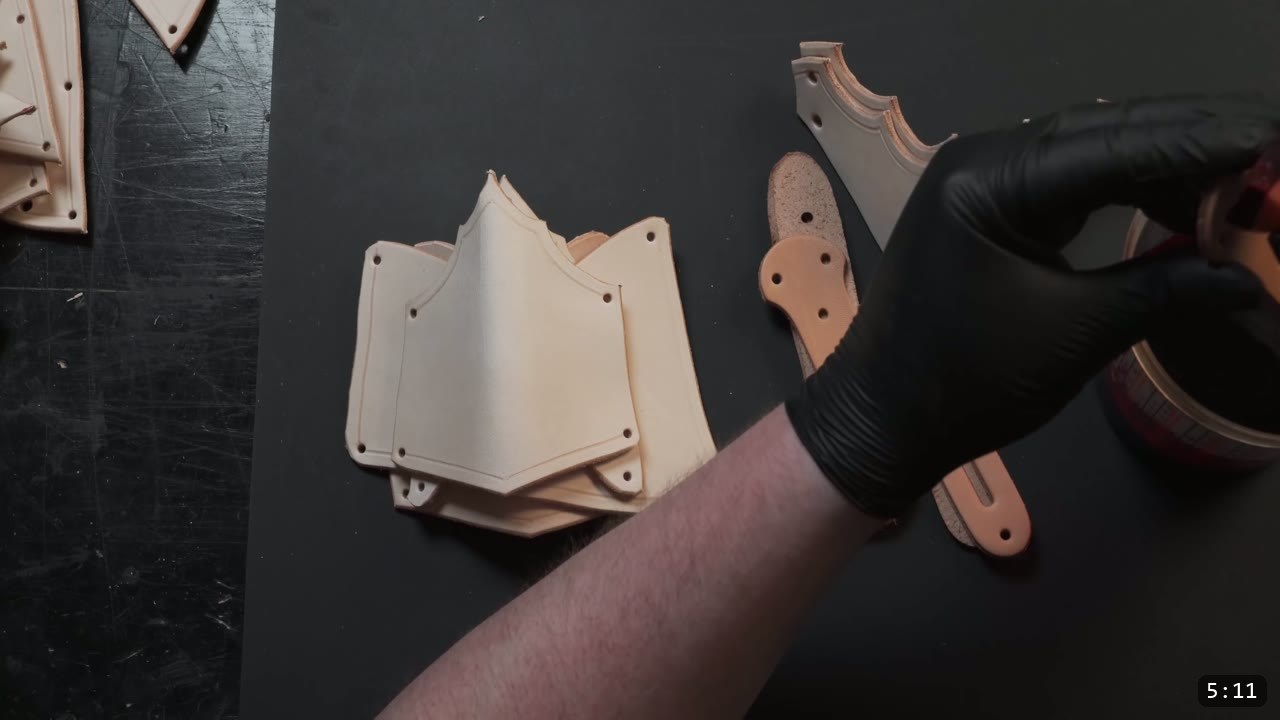
For a cosmetic shape, add a slight crease along the center ridges of the pieces. Moisten the leather, then hammer along the fold to compress the fibers and hold the crease. For the points of the elbow guard, give them a slight pinch for a little extra shape. Do all of this forming now, while the leather is bare and damp. Once you dye and seal in the next steps, the leather resists water and will not fully re-wet or reshape, so shaping has to come first.
Step 7: Dye
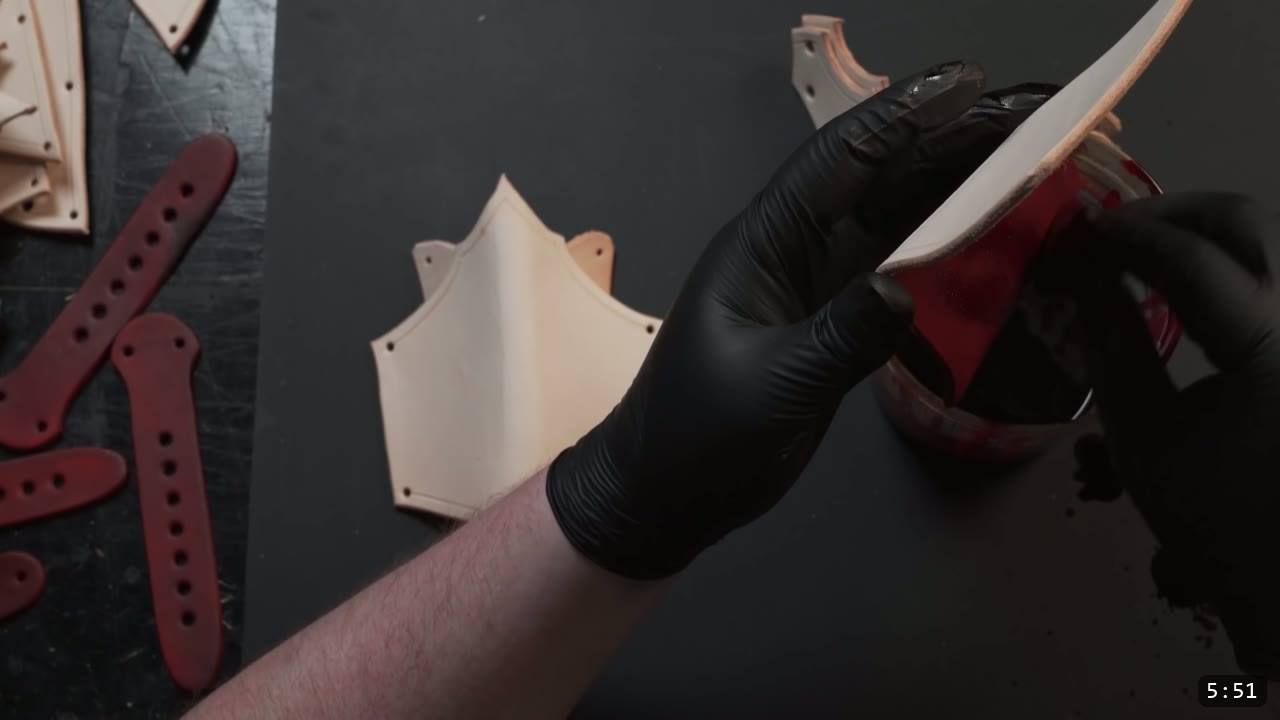
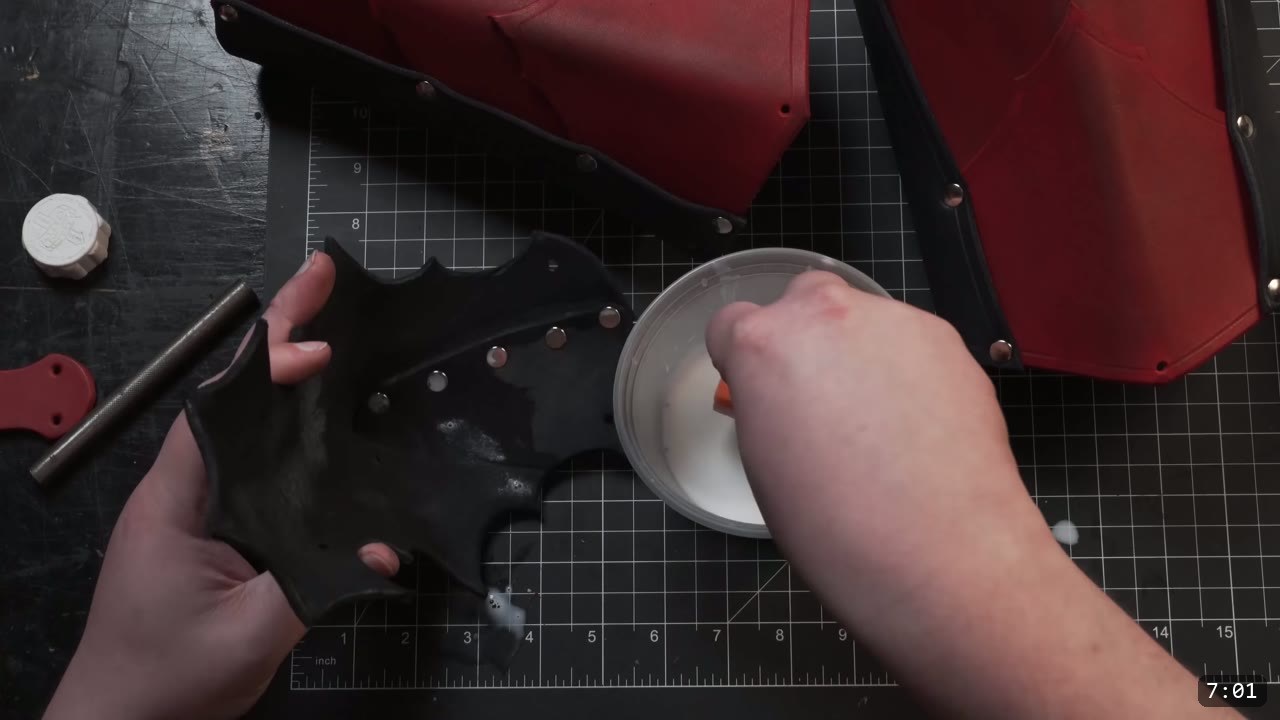
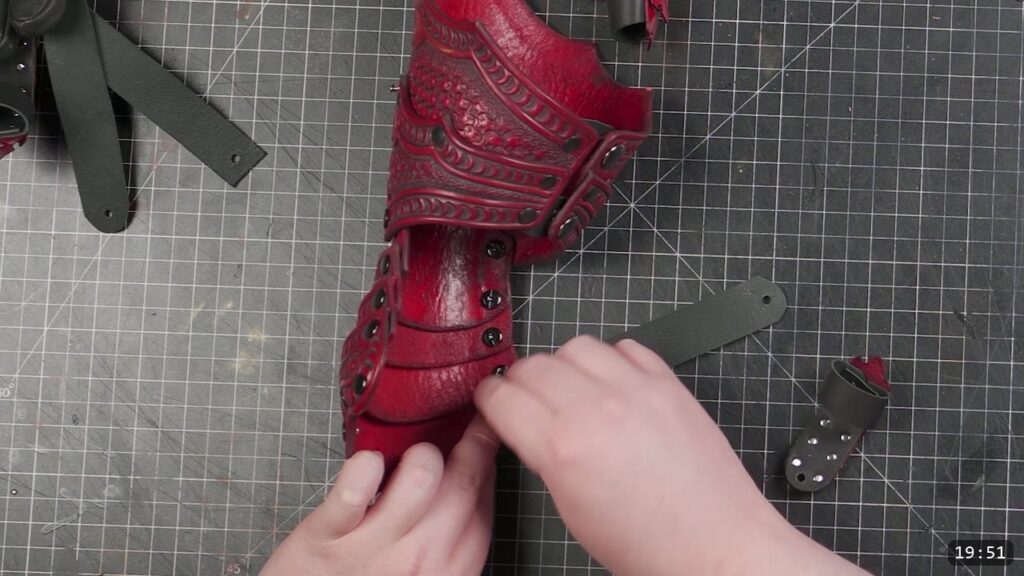
The video divides the pieces between red and black for an alternating color scheme that contrasts nicely. You can flip which pieces are which for a different look. Use Fiebing’s Pro Oil Dye and a high density sponge, and lay down two or three quick coats for full, even saturation. Test your color on scrap first, or on the underside if this is your first piece and you have no scrap.
Step 8: Seal
Once the dye is dry, seal every piece with Super Sheen on both sides. This is the last coat before assembly. After this the leather is set, so confirm your shaping is done before you seal.
Step 9: Assemble the plates
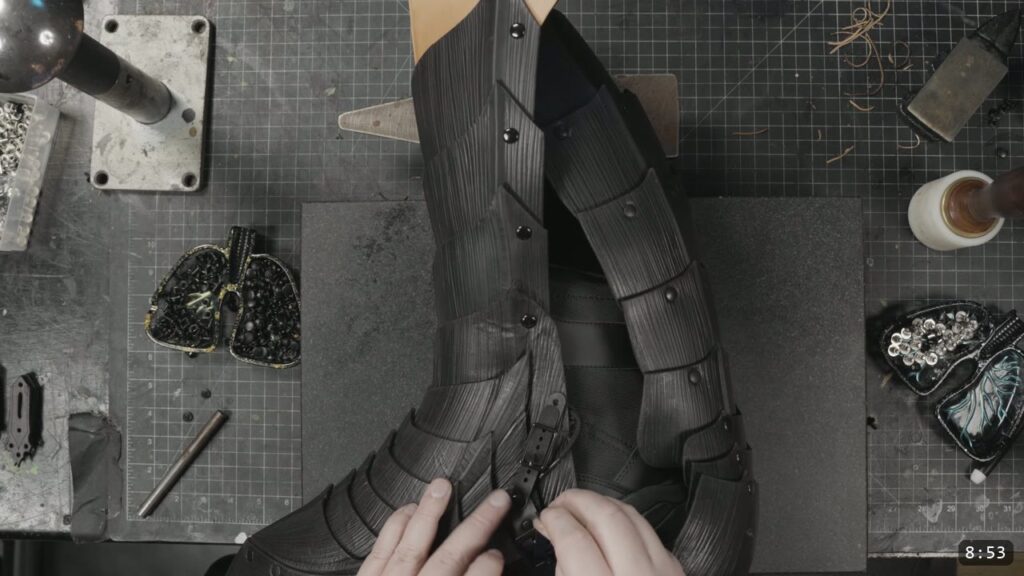
Putting the pieces together is the same process shown on the helmet, bracer, and pauldron tutorials, so the video skips ahead here. Rivet the fixed seams together. If you have not done this assembly before, work through one of those earlier builds first, because the rivet order and layering are covered there in full.
Step 10: Hinge the joints with Chicago screws
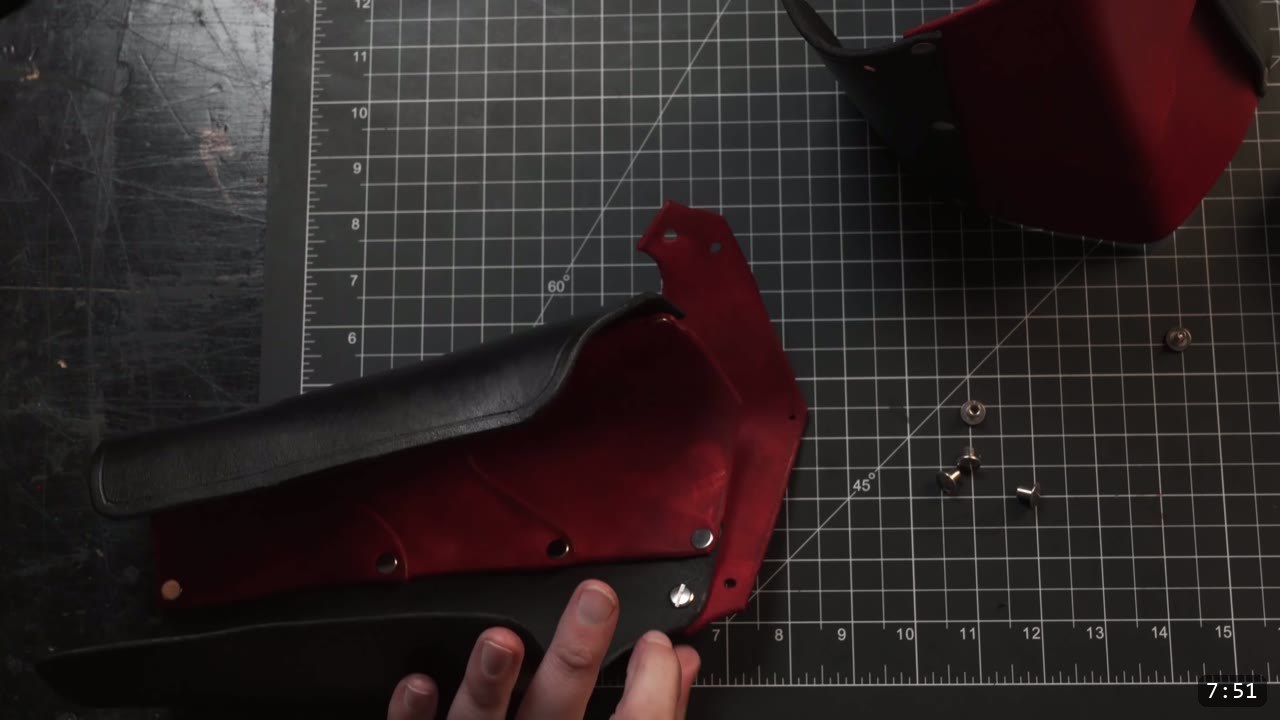
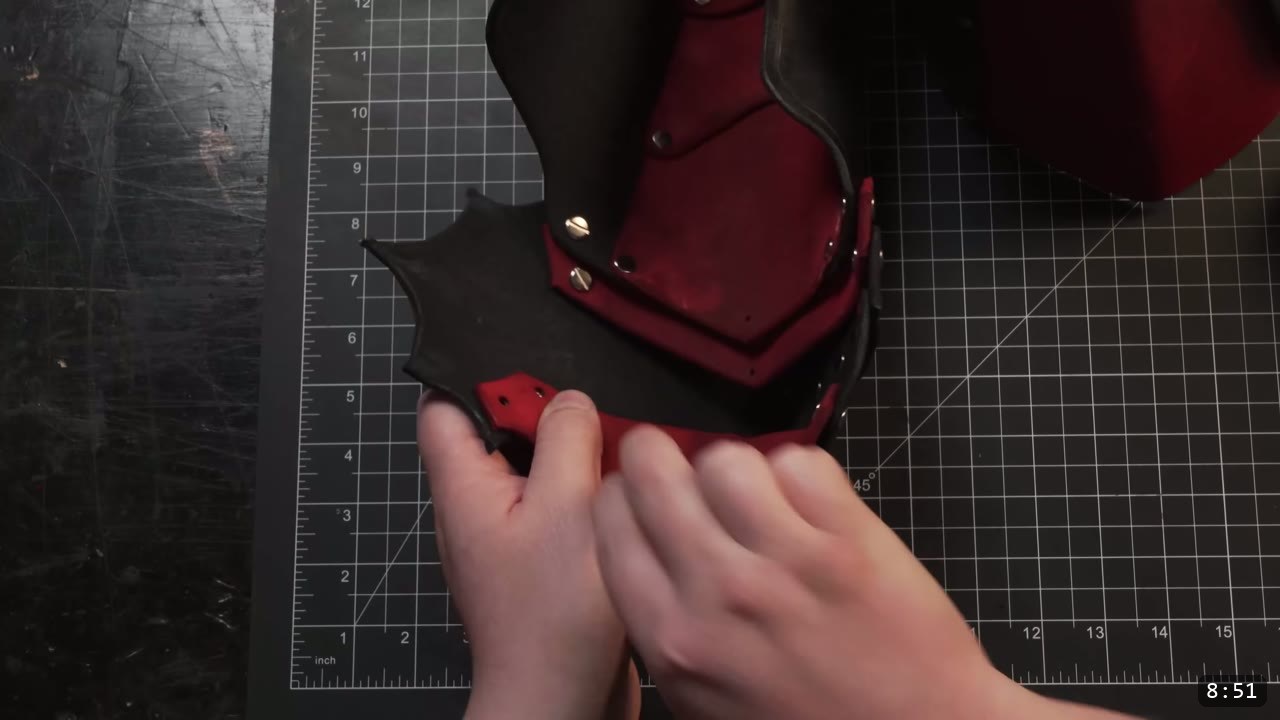
The moving joints get Chicago screws, also called screw posts. They are a male and female pair that threads together. A normal double-cap rivet is not strong enough for a load-bearing, moving joint, and the Chicago screw is much stronger. It is also removable, which makes testing the fit easy. Once the construction is where you want it, add a drop of superglue or thread locker to each screw. Without it, they are guaranteed to work themselves loose over time.
Step 11: Straps and buckles
The buckle holes are not pre-marked on the pattern, because buckle placement is best fit to each person. Put the piece on your arm and mark the placement yourself. Use one buckle across the center of the upper rerebrace piece, and two on the lower vambrace piece.
For the straps, 1 inch strap is fine, and 1 inch buckles are actually on the large side for a piece like this, so three quarter inch or smaller works too. You can use the same veg-tan you built the armor from. If you want to buy strap leather, something a little thinner around 6 oz, or pre-dyed or latigo leather, is a bit more optimal. For the buckle itself, use something supple but strong so the armor is easy to put on. Any center bar buckle is a good, simple choice. This is a beginner friendly project, and you can stop right here with a complete, wearable arm.

Step 12: Optional inner-elbow strap
If you want to take it a step further, add a narrow retaining strap connecting the inner elbow pieces. It has to be thin, sturdy, and supple, because anything thick and heavy fights your mobility. You can also add a buckle strap to span the inner elbow. Half an inch wide is fine there, in a 6 to 8 oz thickness, and something more supple than veg-tan is more comfortable against the arm.
FAQ
What leather should I use for the arm armor?
The video uses 8 to 9 oz veg-tan (Tandy’s Superior Oak). Veg-tan holds the creased ridges and the pinched elbow points, which is the whole point of the shaping steps. For the straps you can use the same leather, or step down to something thinner and more supple around 6 oz.
Why Chicago screws instead of rivets on the joints?
The elbow is a moving, load-bearing joint. A normal double-cap rivet is not strong enough there and will not let the pieces hinge cleanly. Chicago screws are stronger, they let the joint pivot, and they come apart so you can test the fit. Lock each one with a drop of superglue or thread locker so it does not back out.
Is this a beginner project?
Yes, it is beginner friendly, and you can stop after the buckles for a complete arm. The one catch is the plate assembly, which the video skips because it is the same as the earlier helmet, bracer, and pauldron builds. Watch one of those first if you have not.
How do I get the two-tone red and black look?
Divide the pieces between red and black before you assemble, and dye each with Fiebing’s Pro Oil Dye using a sponge, two or three quick coats. Seal both sides with Super Sheen once the dye dries. You can invert which pieces are red and which are black for a different feel.
Do I have to make both arms the same way?
No difference in method. The video builds only the left arm, and the right arm is the exact same process, just mirrored.
Where to go next
- Get the pattern: Fantasy Full Arms Pattern, which covers the vambrace, rerebrace, and elbow.
- Want a simpler forearm piece first? Build the Fantasy Bracers Pattern, then come back for the full articulating arm.
- New to leather armor? Start with 5 tips for getting started with leather armor.
- Want more on articulation? Watch Making Articulating Leather Arm Armor and Making the Berserk Elbow Leather Armor.
- Built one? Share it and tag Prince Armory Academy. We feature student work.



Responses