



Berserk Leg Armor Build Guide: Articulated Leather Cuisses, Knees, and Greaves

You build the Berserk leg armor from a printed pattern, not a kit. You cut the plates from 9 to 10 oz vegetable tan leather by hand or by laser, wet and shape them, add the fluted crease lines, dye them black, seal them, then assemble the whole leg with Chicago screws so every plate hinges and slides. This is an advanced build in the Berserker series that picks up from the sabatons and lower-leg greaves and covers the cuisses, or upper legs, then brings the full leg together. This guide walks the whole build alongside the video, so you can watch each step and read the details the video moves past quickly.
What you are building, and what it takes
This is the pattern build, so you cut and shape every plate yourself. The reward is a full articulated leg: domed knee cops, overlapping cuisse plates that slide as you move, and greaves that tie into the knees. The tradeoff is that it asks for real leatherwork and a lot of hardware setting. If you are new to leather armor, this is not the place to start. The Berserker series is an advanced set, and it is best tackled after a beginner build like the Warrior set.
What you need
The pattern. The Berserker Leg Patterns come as PDFs you print on any home printer and cut by hand. The download also includes files for laser cutting, so you can run the parts on a laser if you have one.
Leather. Natural vegetable tan, 9 to 10 oz. That weight gives a good balance of density and firmness for this design. You can go heavier or lighter to taste, but veg-tan is what lets the plates take and hold the fluted shape.
Tools.
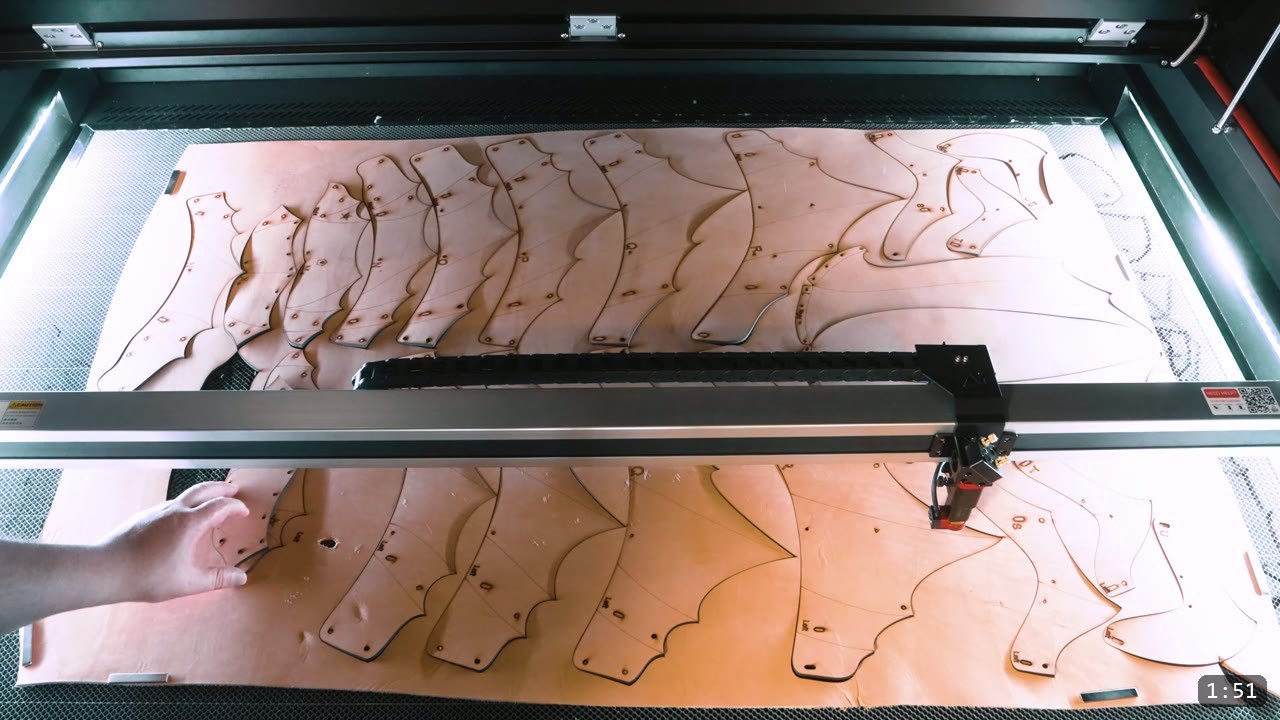
- Cutting: heavy-duty shears and a box cutter by hand, or a CO2 laser. The video uses a Nova 16 from Eon Laser USA, and the larger bed helps because this build has a lot of big parts. If you laser, slow the cut down to reduce edge scorching so the air assist has time to clear debris.
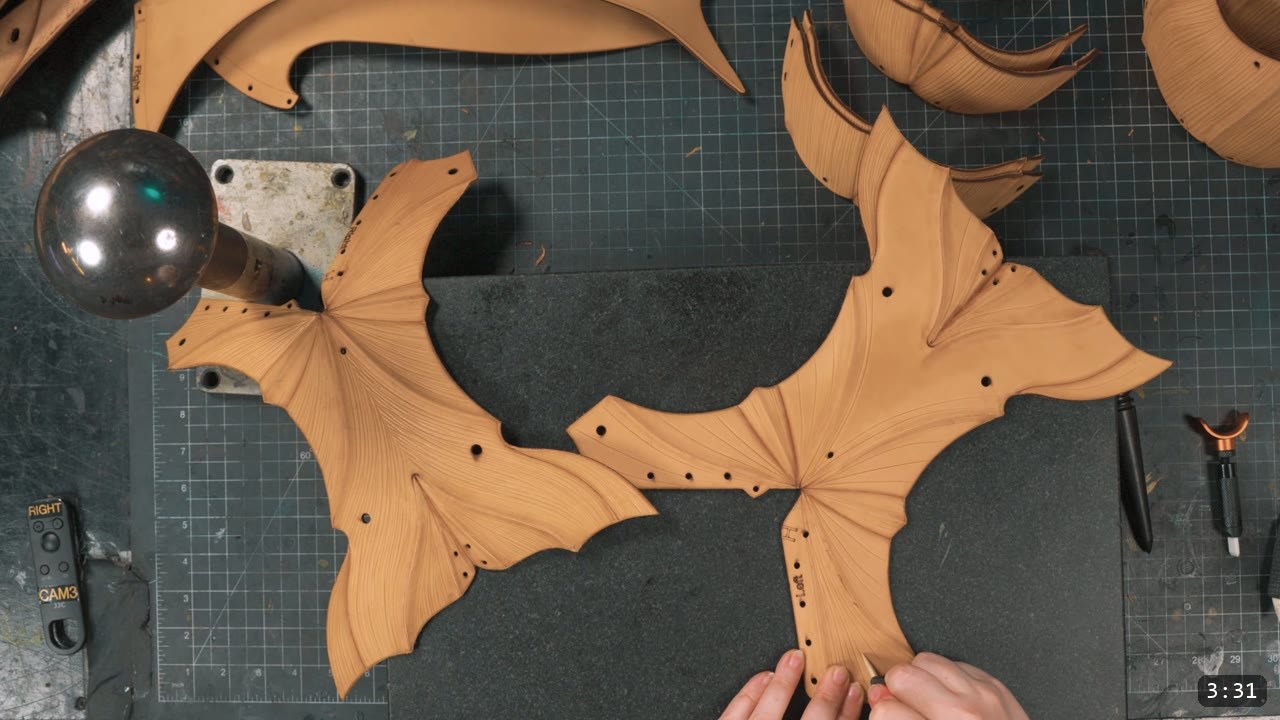
- Shaping: water for dampening and a bone folder for the fine texture lines. The video also uses a 3D printable embossing wheel set that fits an affordable metal bead roller to make the raised flute creases, with the STL and alternative methods available at the academy.
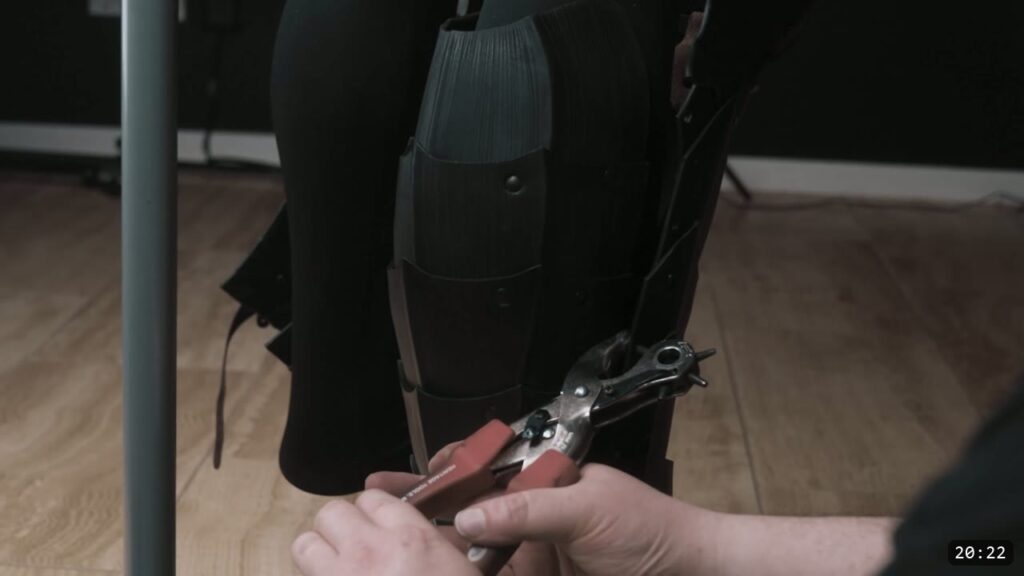
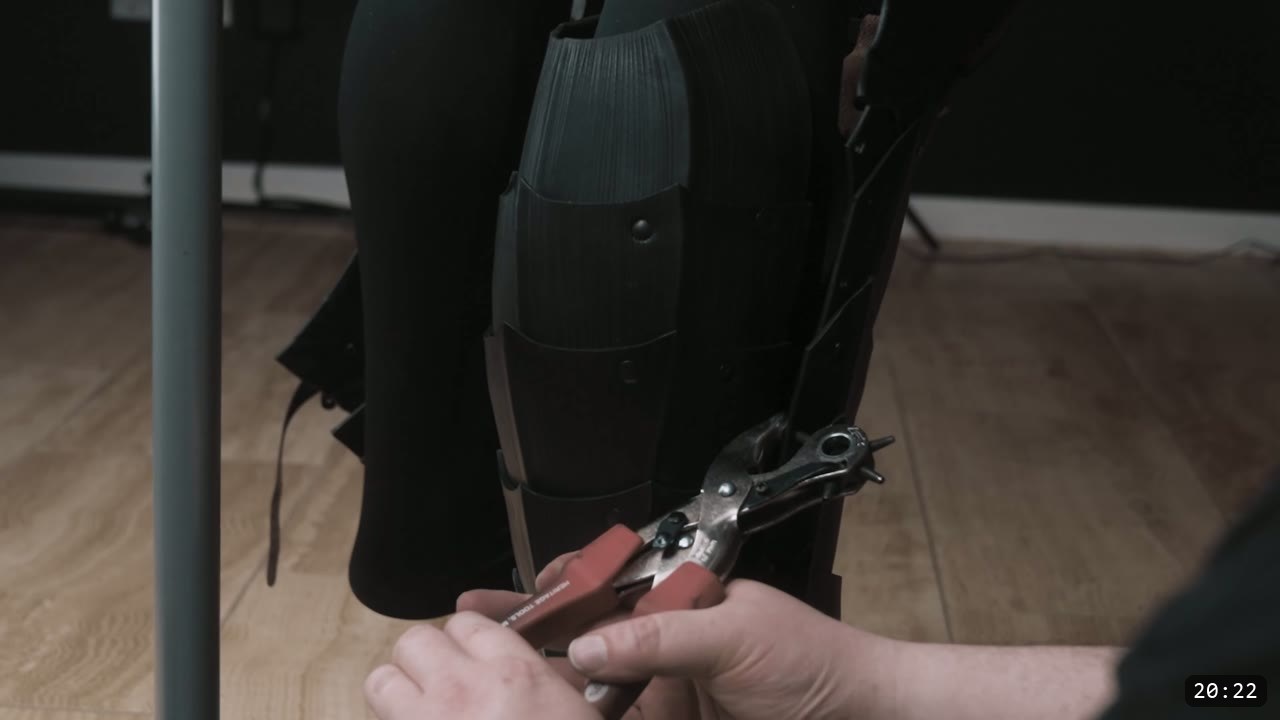
- Assembly: a hand rivet setter, rivets, Chicago screws, snaps (the video uses Line 24 snaps for the adjustable strap), a rotary punch, and a mallet. A metal planishing stake set helps with awkward inside curves. The video uses a set from Pepe Tools, and a foot press or hand-setting methods both work.
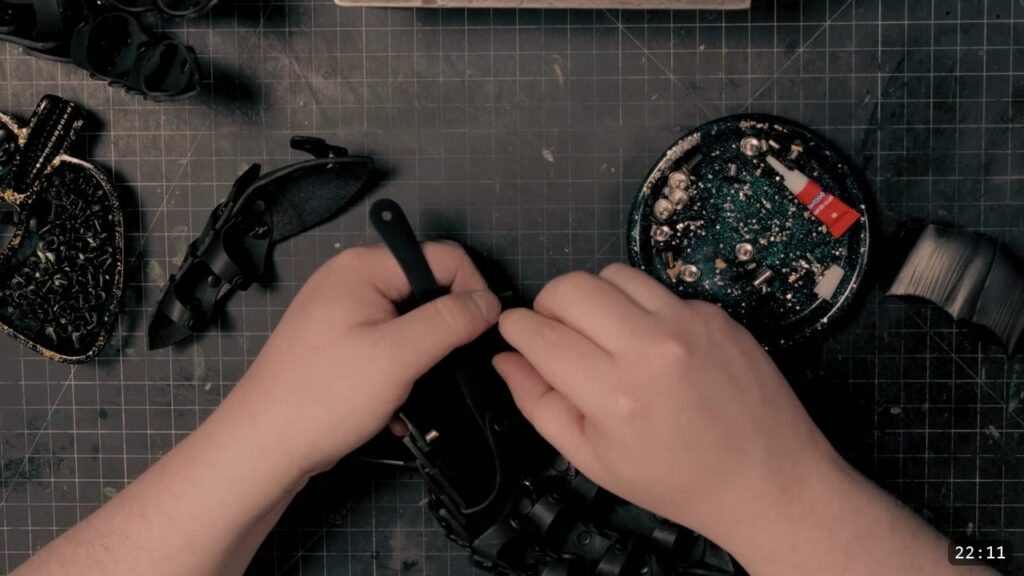
- Extras: leather washers for clearance behind a guard, and a little glue to lock the Chicago screws once you are sure of the fit.
- Color and seal: Fiebing’s Pro Oil Black Dye and Weaver Tough Coat acrylic finish.
Step 1: Cut the parts
Lay the parts out on the leather and avoid any natural blemishes as you go. If you laser, it is easy to nudge pieces around in the software first, and you can recut a part if you spoil one. Start with the crease parts that form the upper legs, since they carry the most articulating layers, then cut the knee components. Take your time on clean edges either way.
Step 2: Wet, shape, and add the flute lines
Dip each piece briefly in water, and if it is laser cut, give the edges a light scrub. While the leather is damp, work in the decorative shape lines. The raised flute creases come from the embossing wheel on a bead roller, and it is worth finessing some of the lines by hand with traditional shaping tools so they look right. The fine surface texture across the suit is simply done with a bone folder, one small line at a time, which is slow and repetitive but gives the leather its worked look. Do all of this shaping now, because it has to be finished before you dye and seal.
Step 3: Pre-assemble the knee side guard
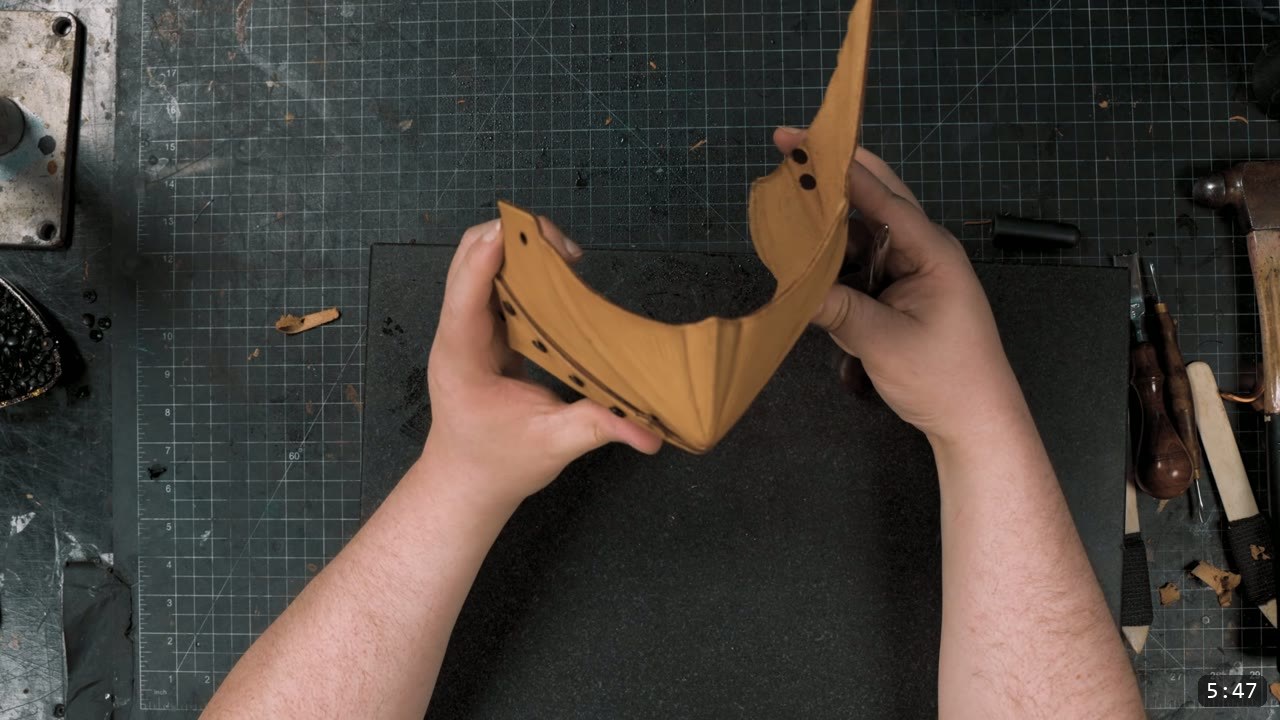
Some knee parts get pre-assembled before dyeing. The side guard on the outside of the knee is riveted together, and a couple more rivets close it into its final curved shape. On any piece that will be overlapped by another, skive the bottom layer down a little to smooth the transition. It is a good habit that pays off in how flush the finished plates sit. The rest of the parts stay flat and get assembled after they are dyed and finished.
Step 4: Dye black, then seal
Dye the pieces black with Fiebing’s Pro Oil Black Dye. Test your color on scrap first, or on the underside if this is your first piece and you have no scrap. Then finish with a generous coat of Weaver Tough Coat so it saturates into the leather, which firms up every plate as it protects it. This is the point of no return for shaping. Once the leather is dyed and sealed it resists water and will not fully re-wet or reshape, so make sure all your forming and creasing is done before you get here. One exception on purpose: leave the internal straps unsealed, covered in Step 11.

Step 5: Assemble the knee, top down
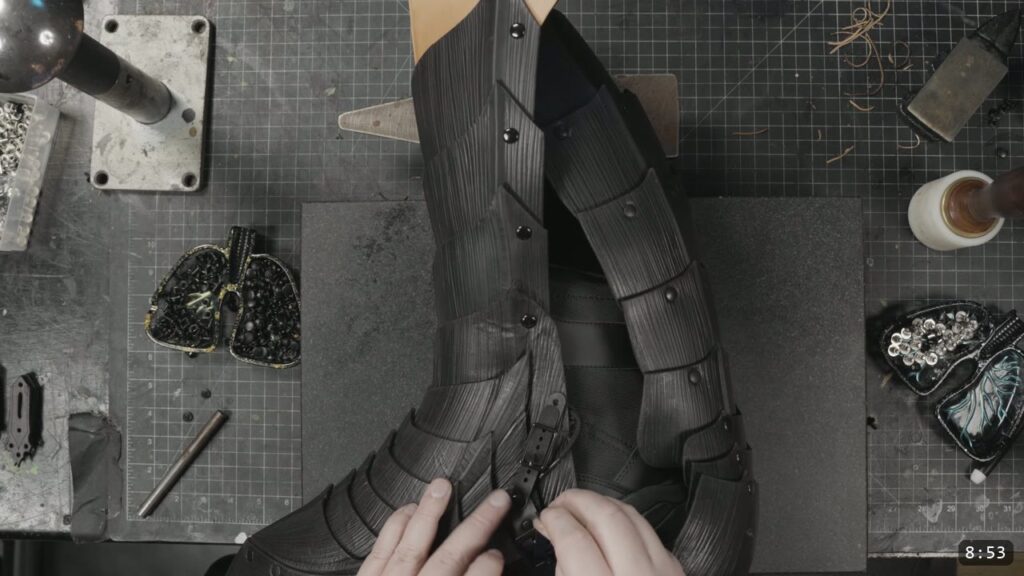
Resume with parts K and L. The geometry of this piece makes it awkward, so a foot press or hand-setting methods both help, and a metal planishing stake gives you something to set against inside the curves. Add the retaining straps, which carry indicating marks so you know where each one goes. Work part E, which is either the bottom of the knee or the top of the greave, then parts F and G. Skip the knee cop, part H, for now, because it covers access to the pieces under it. Reverse direction and start from the top at part M, attach the combined K and L, then plates J and I as you move back down toward the knee. It is fine to turn these over and set them flat from behind, since they end up fully covered.
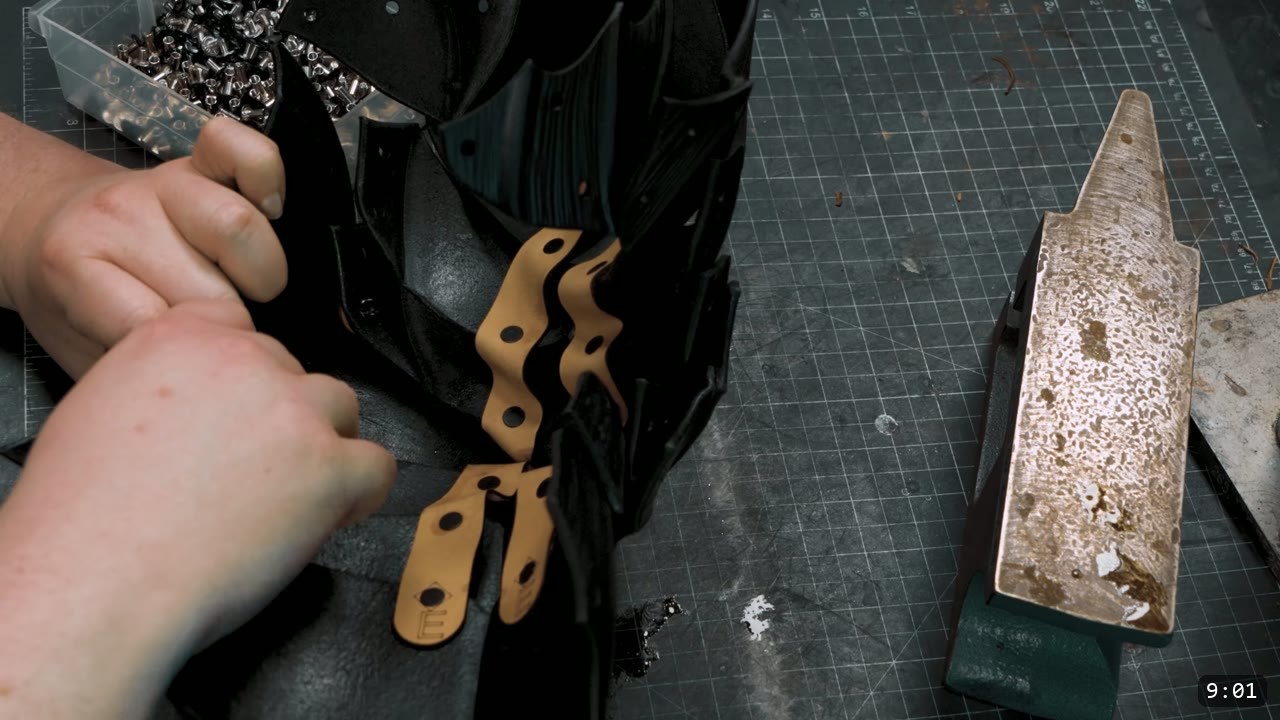
Step 6: Set the knee cop with Chicago screws
Now attach the knee cop. Wet the strap around it to make the leather a little more pliable. For this particular connection, skip rivets and use Chicago screws, which are easier here and sturdier. Glue up the screws and lock them in place once you are confident everything sits right. On the side of the knee cop with the guard, you can add leather washers for a little extra clearance. Chicago screws carry the whole build along the sides. They are far stronger than rivets and they do not rely on a pressure fit, so parts can hinge off the hardware smoothly and keep their mobility.
Step 7: Start the upper legs with the suspending strap
Move to the cuisses. Note the connection point on part M where the retaining strap will eventually meet. Begin the leg with the suspending strap. Instead of a buckle strap that loops over itself, the video tries staggered Line 24 snaps for adjustment. This strap later loops over a belt worn at the waist to carry the weight of the legs and hold them in place. There are extra holes if you want to reinforce the legs with more straps later.

Step 8: Attach the retaining straps to the cuisse plates
Attach the straps to parts S, T, and U, using the holes further from the decorative crease line. Chicago screws join these pieces along the sides too. Then work down through parts R, Q, P, O, and N the same way, lining up each retaining strap with its matching reference symbol. Do not tighten the Chicago screws all the way. Leaving a little slack between each plate is what keeps the leg mobile.

Step 9: Build in the sliding articulation
Many of the leg parts have elongated slots on the underlapping piece. These let the plates slide a little against the Chicago screws, which is what adds up to real range of motion. Each plate only slides a bit, and that is on purpose. Leather has limits as a medium, and if the slots were much larger the Chicago screws could pop out. In very thin leather or foam you would need to reinforce those contact points. Small as each slide is, it adds up over the whole leg, and this design extends higher than most leg armor, so it would be cumbersome without it.

Step 10: Join the legs and fit the buckle straps
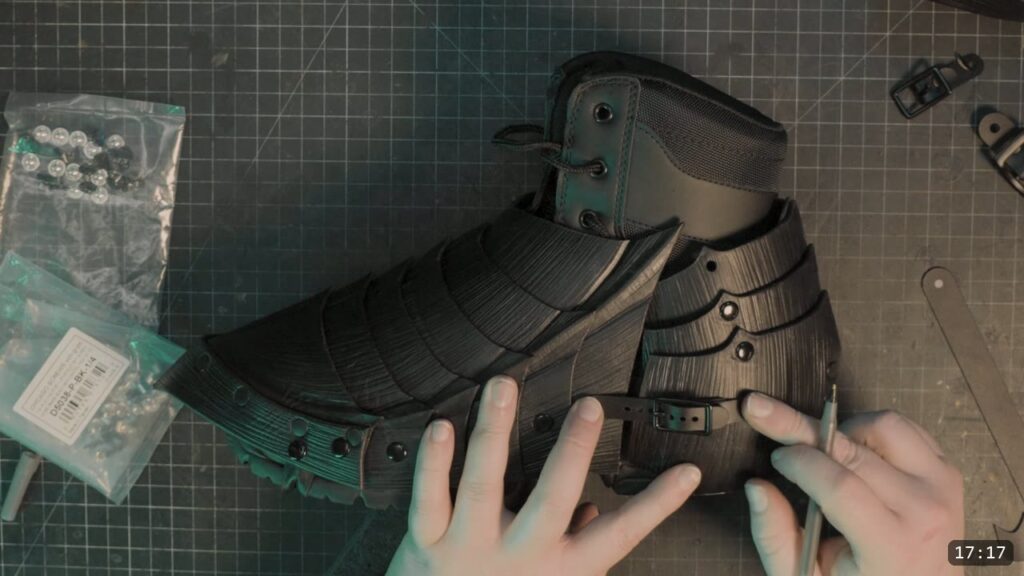
When the cuisses are finished, attach them and the greaves to the knees. Then get ready to put on the straps. Strap position varies from person to person, but you can copy the placement in the video as a starting point. Do a real test fit while wearing your intended garments and footwear, then mark the buckle straps to match so the fit is right.
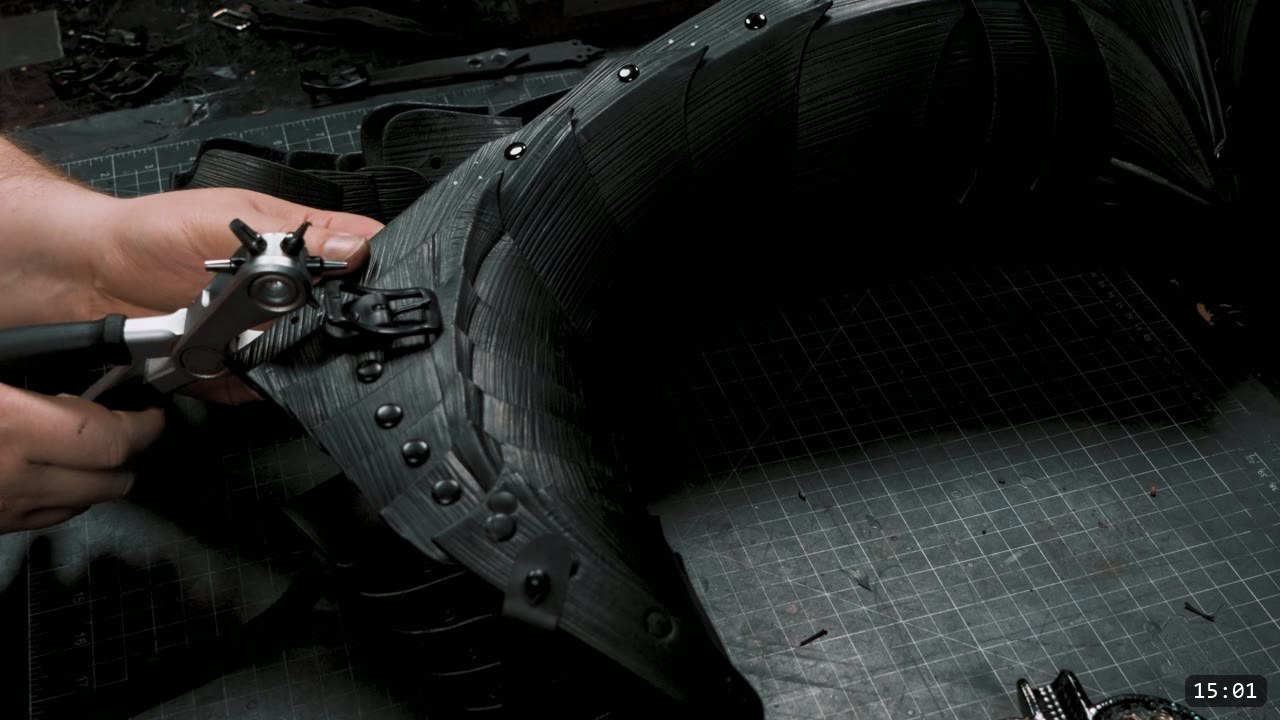
Step 11: Add the quick-release strap mechanism
To make the upper legs easier to get in and out of, the video adds a quick-release mechanism to the straps. The straps still work normally, but a bridge piece connects them to the legs using snaps, so you can pop the leg off without unthreading everything. This is also where the strap care matters. The thinner leather used for the retaining straps breaks in over time, so the design starts out tight and settles to optimal after a few wears. Oil the straps now and then to keep them supple so they do not dry out and crack. This is why the internal straps do not get acrylic finish. Sealing them would add stiffness and work against the mobility you built in.
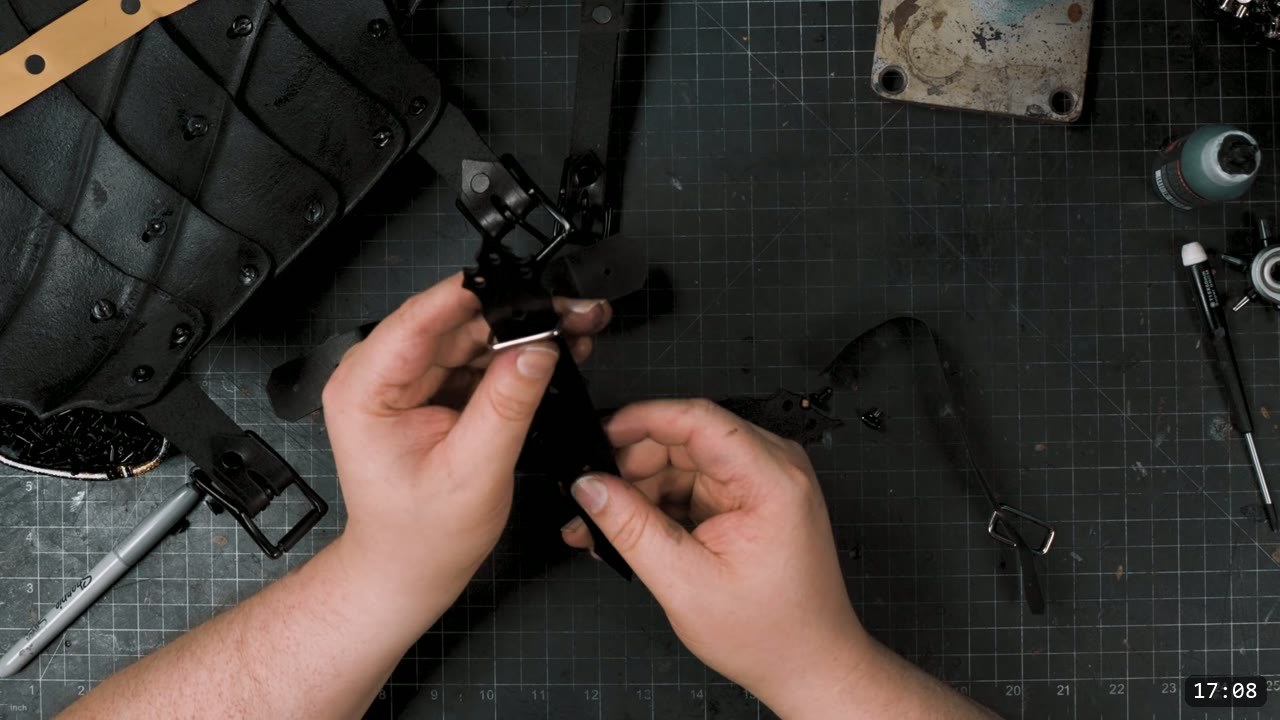
Step 12: Understand the articulation
With the leg assembled, you can see how it moves. The knees act like a compound hinge. The sections riding on the sliding Chicago screws add up to a lot of range while still covering a broad area. The backs of the cuisses are left open, a tradeoff for comfort and mobility, and you can add a plate there if you want the coverage. The retaining straps do double duty. They add mobility and they also stop individual plates from extending too far or binding in odd ways.
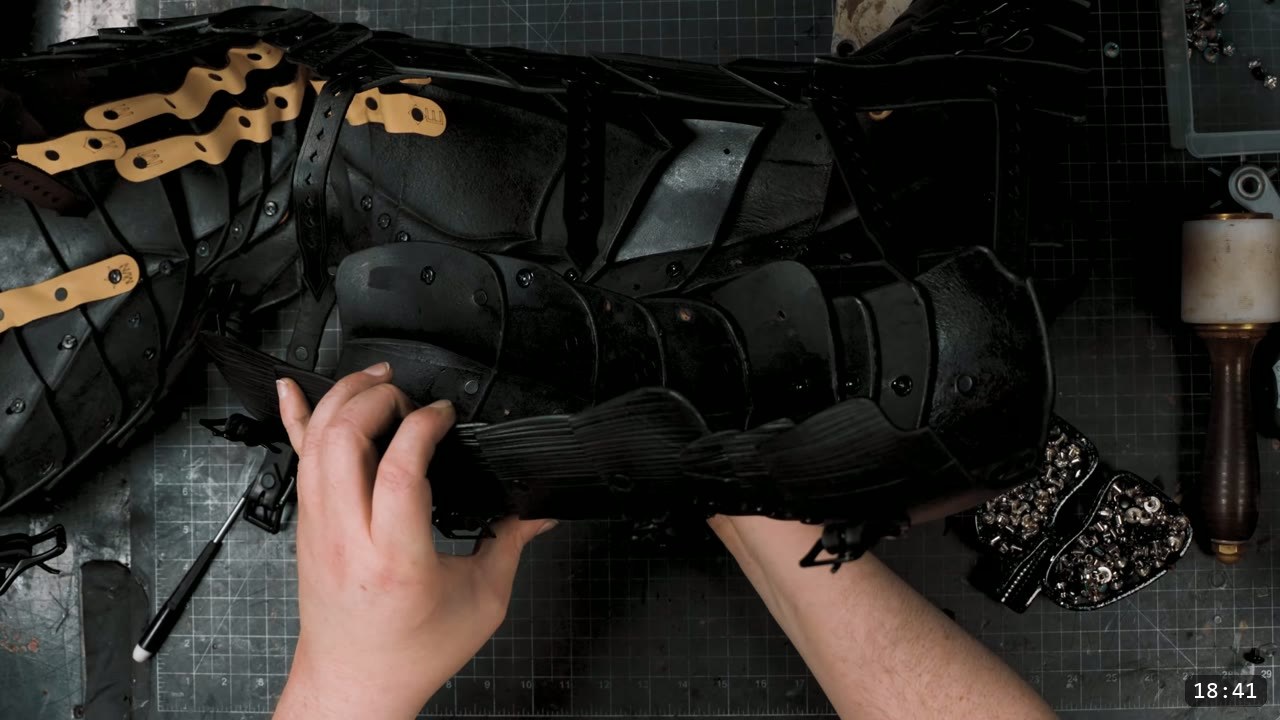
Step 13: Finish the greaves and test fit
The fronts and backs of the greaves also get put together. The greaves on the outside of the leg are marked for a permanent connection with Chicago screws, and the straps go on the inside of the leg, which makes it easier to armor yourself. Do a final worn test fit and adjust the strap holes to your leg.

FAQ
Is this a beginner project?
No. The Berserk leg armor is an advanced build in the Berserker series. It uses laser or hand cutting, wet forming, fluting, dyeing, and a lot of hardware setting. If you are new to leather armor, build a beginner set first, then come back to this one.
What leather should I use?
Natural vegetable tan, 9 to 10 oz. That weight balances density and firmness for the plates. You can go heavier or lighter, but veg-tan is what holds the fluted shape.
Why Chicago screws instead of rivets?
Chicago screws are stronger than rivets and do not depend on a pressure fit, so the plates hinge off the hardware smoothly. Leaving them slightly loose, with a little slack between plates, is what gives the leg its articulation.
How does the leg move if it is solid plates?
Two ways. The knee works as a compound hinge, and many plates have elongated slots that let them slide a little against the Chicago screws. Each slide is small on purpose, because larger slots would let the screws pop out of the leather, but together they add up to a wide range of motion.
Do I have to laser cut the parts?
No. The pattern prints on a home printer for hand cutting. The laser files are included as an option. If you do laser, slow the cut down to cut back on edge scorching.
Why not seal the inner straps like the plates?
The internal straps are left unsealed so they stay flexible and break in over time. Oil them now and then to keep them supple. Acrylic finish would stiffen them and fight the mobility of the leg.
Where to go next
- Get the pattern: Berserker Leg Patterns, the cuisses, knees, and greaves for this build.
- Start with the lower legs: the Berserker Sabatons Patterns cover the foot armor this build picks up from. Video: DIY Berserk’s Foot Armor Sabatons tutorial.
- Build the whole suit: the Berserker Armor Bundle is the full set.
- Go deeper on the flutes: the Berserker advanced leather armor fluting lesson covers the crease work this video only touches on.
- Struggling with shaping? The Hand-shaping Leather for Armor Making walkthrough goes deep on wet forming.
- New to leather armor? Start with 5 tips for getting started with leather armor.
- Built one? Share it and tag Prince Armory Academy and Weaver Leather; we feature student work.



Responses