



Berserker Hound Helmet Build Guide: Leather, Fluting, and Rivets

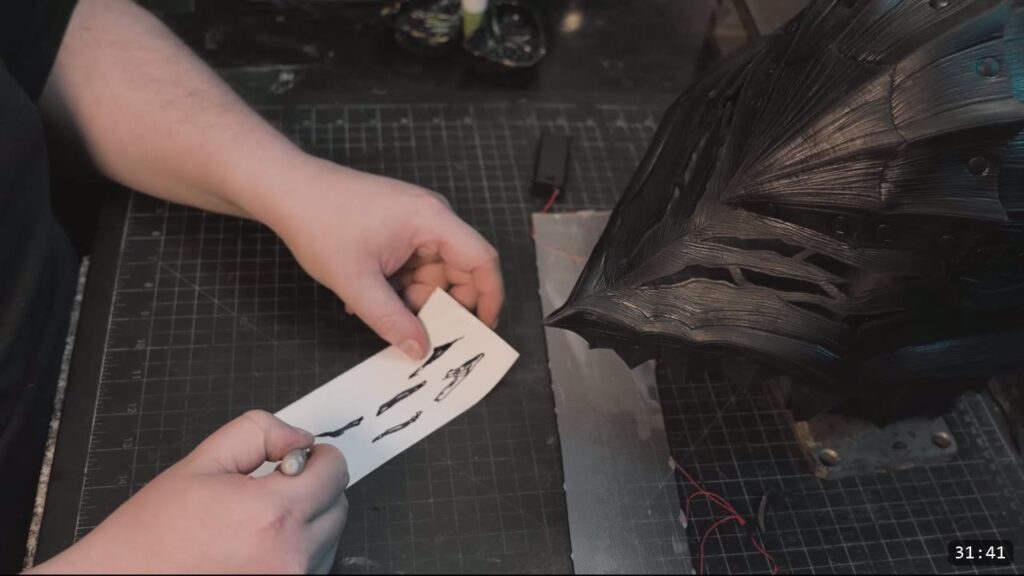
You build the Berserker hound helmet from a flat pattern in vegetable-tan leather, not from a kit. You cut the plates, wet them, and raise the fluted ridges and creases while the leather is damp. You dish each plate, texture it, then dye and seal it. Only after that do you rivet the plates together into the domed core and add the faceplate. This is an intermediate to advanced build. This guide walks the whole thing alongside the video, so you can watch each step and read the details the video moves past quickly.
What you are building, and what it takes
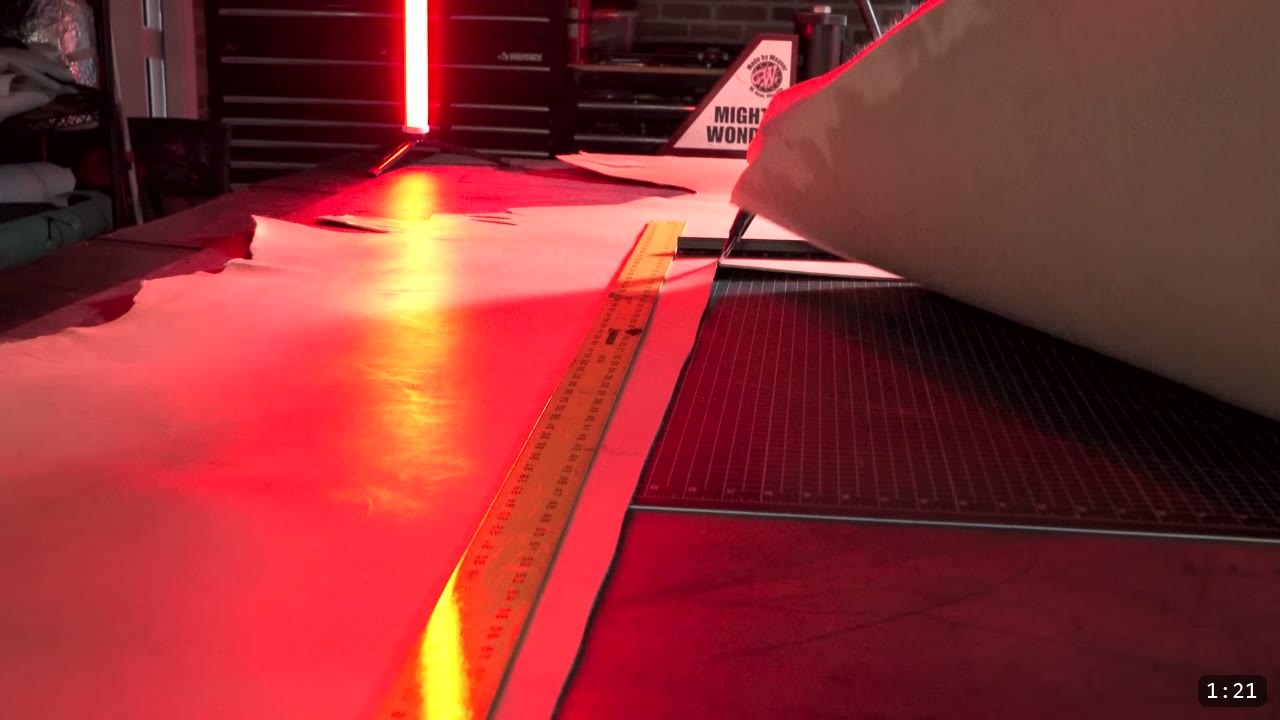
This is the pattern build, so you cut and shape every plate yourself. The reward is the full hound silhouette from the Berserk suit: a domed core of overlapping fluted plates and a horned, snarling faceplate. The tradeoff is real leatherwork. If you are brand new, make the foam version first, or start with a simpler build, then come back to this one.
What you need
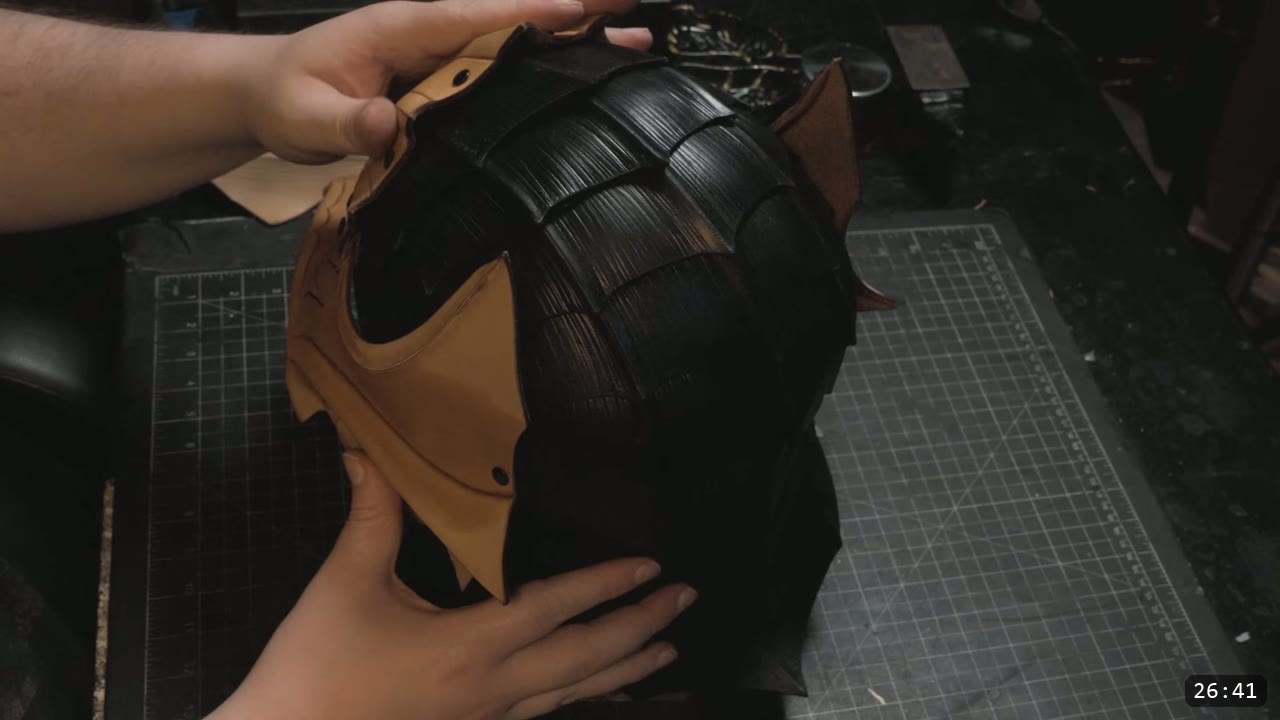
The pattern. The Berserker Hound Helmet pattern is a digital PDF template you print and cut by hand. It comes with an assembly diagram, a full foam tutorial for practicing on a cheaper medium first, and extra advanced tooling technique videos. In the video the plates are laser cut, so if you run a laser you can cut from a vector file instead; either way the parts come out the same. The helmet is also part of the full Berserker Armor Bundle, which covers the whole suit. Print at true scale and check the size before you cut leather.
Leather. Herman Oak 7 to 8 oz vegetable-tan for the shell. Veg-tan is the point here: you wet it, shape it, and it holds the shape when it dries. You also need a small quantity of thinner leather, in the 4 to 6 oz range, for the inner straps. In the video that inner-strap leather is a pre-dyed supple piece.
Hardware. Mostly double-cap rivets. The video description carries the full tool and hardware list from Weaver Leather Supply, so check there to stock up.
Tools.
- Cutting: a laser cutter if you use the SVG, or a printer plus your cutter of choice for the hand-cut PDF.
- Cleanup: a scotch-brite pad and a paper towel for the cut edges.
- Edging: an edge beveler.
- Shaping and fluting: the embossing wheel Prince designed (the STL is available at the Academy), or shape the fluting by hand. A hammer for planishing. A bone folder and a swivel knife for the striated texture. A forming stake or a hand tool for refining the dome.
- Color and seal: Fiebing’s Black Pro Oil Dye and Weaver’s Clear Tough Coat.
- Optional: 3D-printed bevelers and shaping forms for the faceplate, and a sander to knock down gloss faster.
Step 1: Cut the pieces
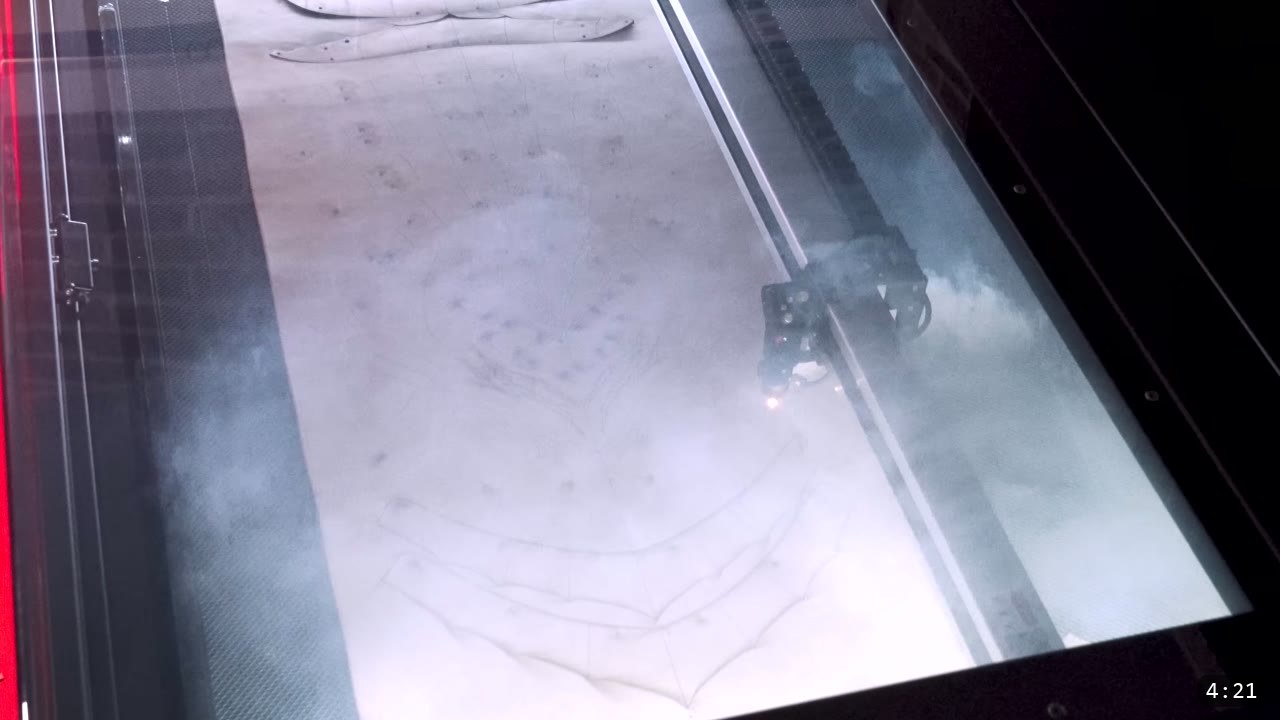
If you are hand cutting, print the PDF and cut the plates out. If you are laser cutting, run the SVG. In the video the plates are cut on a CO2 laser, with the corners of the hide taped down so the material cannot shift between the marking pass and the cut pass. Cutting leather with a laser puts out heavy smoke, so vent or filter it. Whichever way you cut, the parts are the same and the rest of the build is identical.
Step 2: Clean the edges and wet the leather
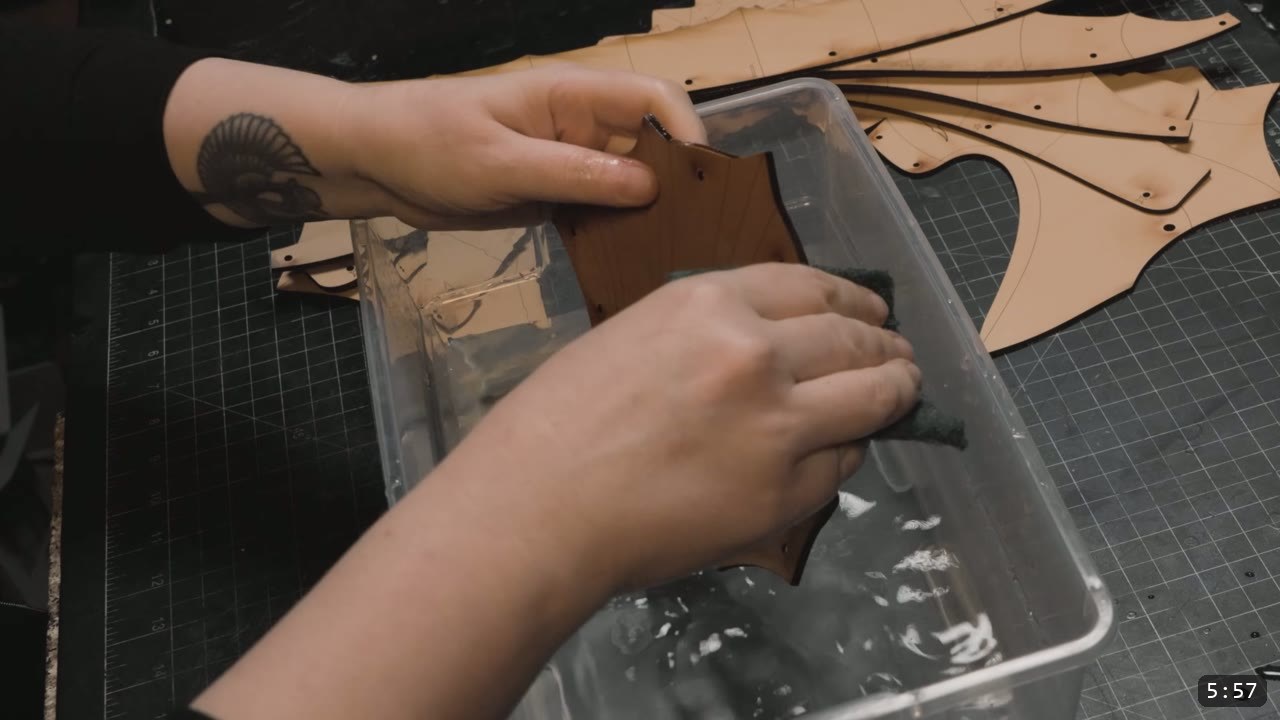
Clean up the cut edges. A laser leaves a burned edge, so scrub it with something abrasive like a scotch-brite pad and wipe the residue with a paper towel. You need to wet the leather at this stage anyway to prepare it for shaping and tooling, so the two jobs go together. Damp leather is what makes the fluting and dishing possible.
Step 3: Bevel the edges
Edge bevel the pieces, but mostly on the undersides. On this helmet the top edges are left crisp and sharp on purpose, for the look. Keep that in mind so you do not soften an edge that is meant to stay sharp.
Step 4: Raise the fluted areas and creases
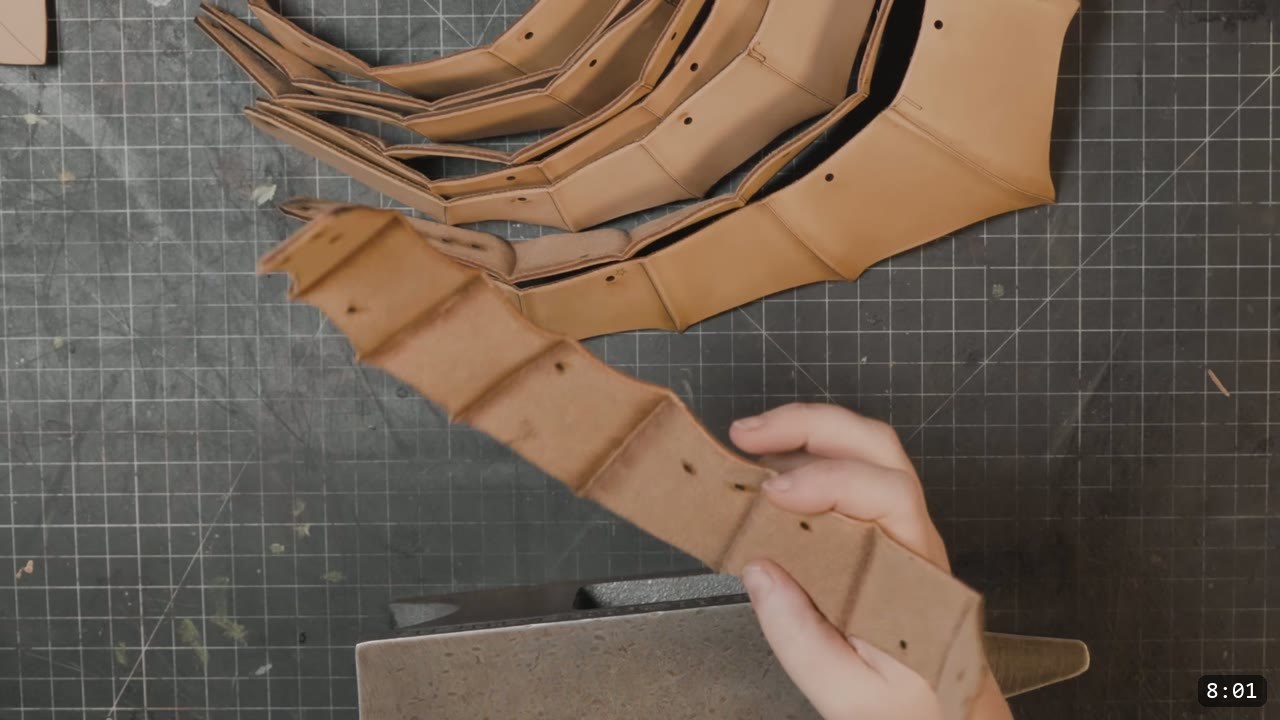
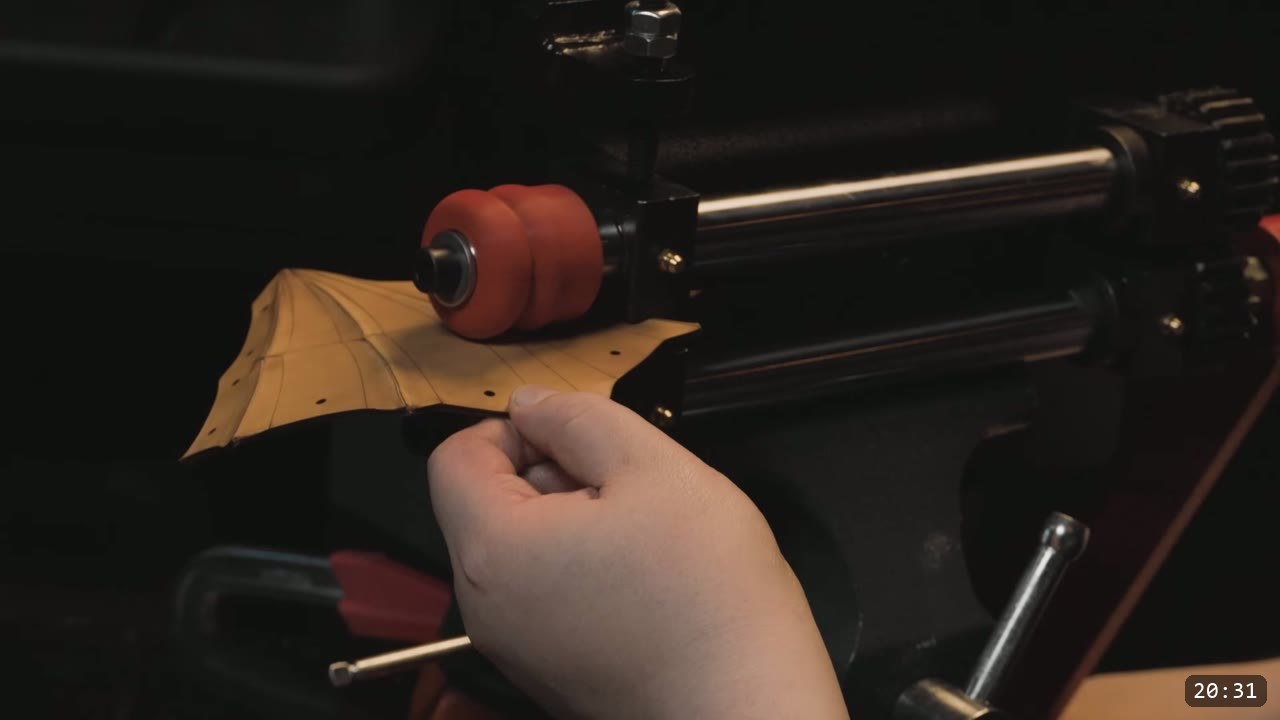
This is the signature of the hound helmet. While the leather is damp, raise the fluted ridges and press in the recessed creases. In the video Prince runs each plate through an embossing wheel, which raises a flute or presses a crease depending on how the wheels are set. You can do all of it by hand instead. The bundle includes video instructions for shaping the fluting by hand if you do not want to build the tool. Moisture content matters: too soggy and the leather will not hold the shape, too dry and it will not take a new shape at all.
Step 5: Dish and planish each plate
Most of the plates that make up the core should be dished a little to help the final dome shape. The fluting wheel is a time saver but it does not do everything, so clean up and reinforce the lines by planishing with a hammer. Work each plate over a stone or steel block.

Step 6: Texture the striated look
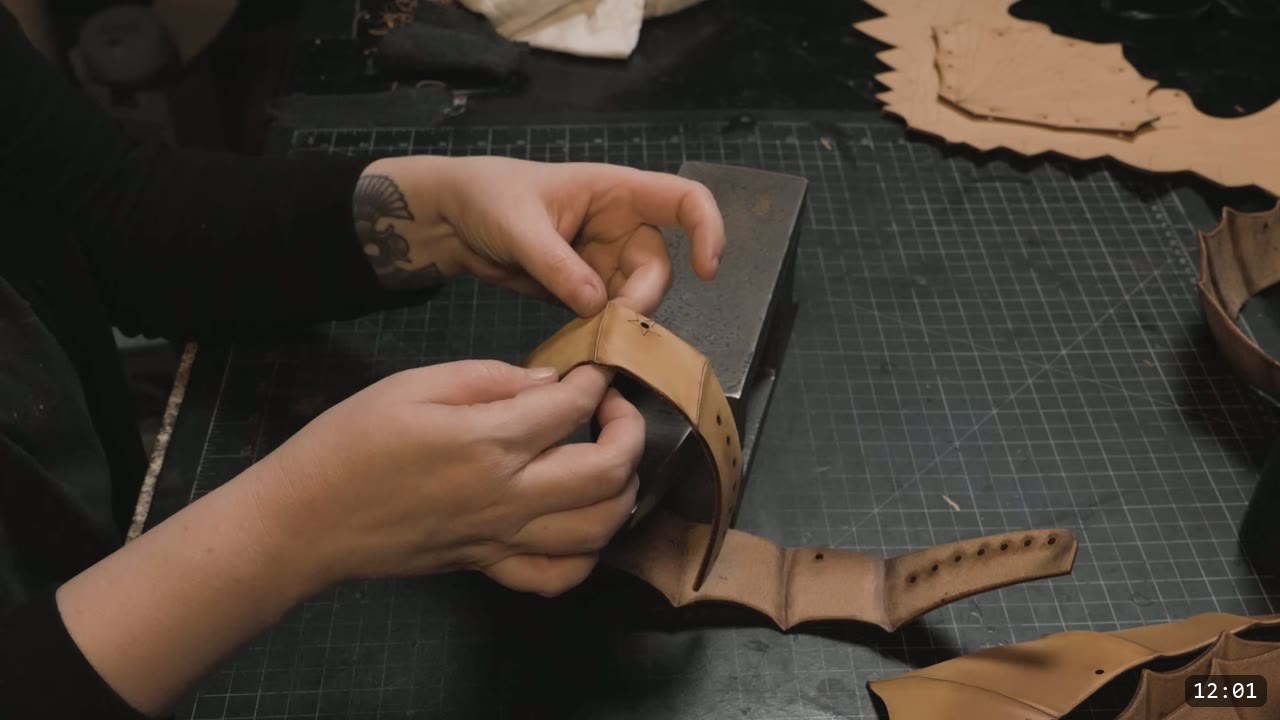
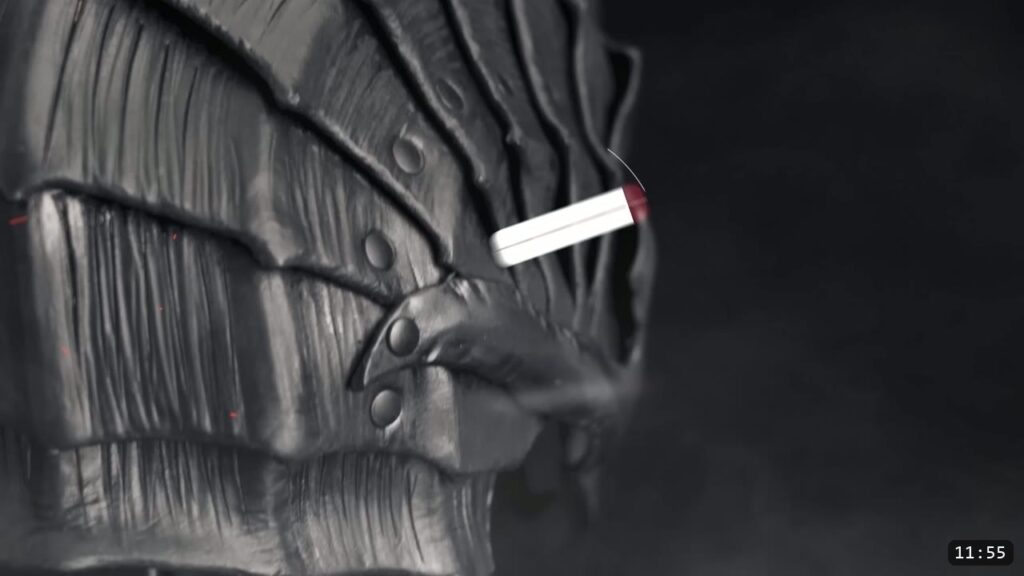
The armor carries a striated, layered texture throughout. There are several ways to get it. In this build the texture is worked with a bone folder and a swivel knife. Take your time; this is what sells the aged, plated look.
Step 7: Dye and seal each plate
Now color the plates. The video uses Fiebing’s Black Pro Oil Dye. Seal with Weaver’s Clear Tough Coat; giving the pieces a little extra soak firms the leather up more as it dries. Once the parts are dry, you can knock the gloss down with a scotch-brite pad, and a sander speeds that up. Do all your shaping, fluting, dishing, and texturing before this point. Once a plate is dyed and sealed the finish resists water, and the leather will not fully re-wet or reshape, so dye and seal are the last leatherworking steps on each piece.
Step 8: Assemble the core
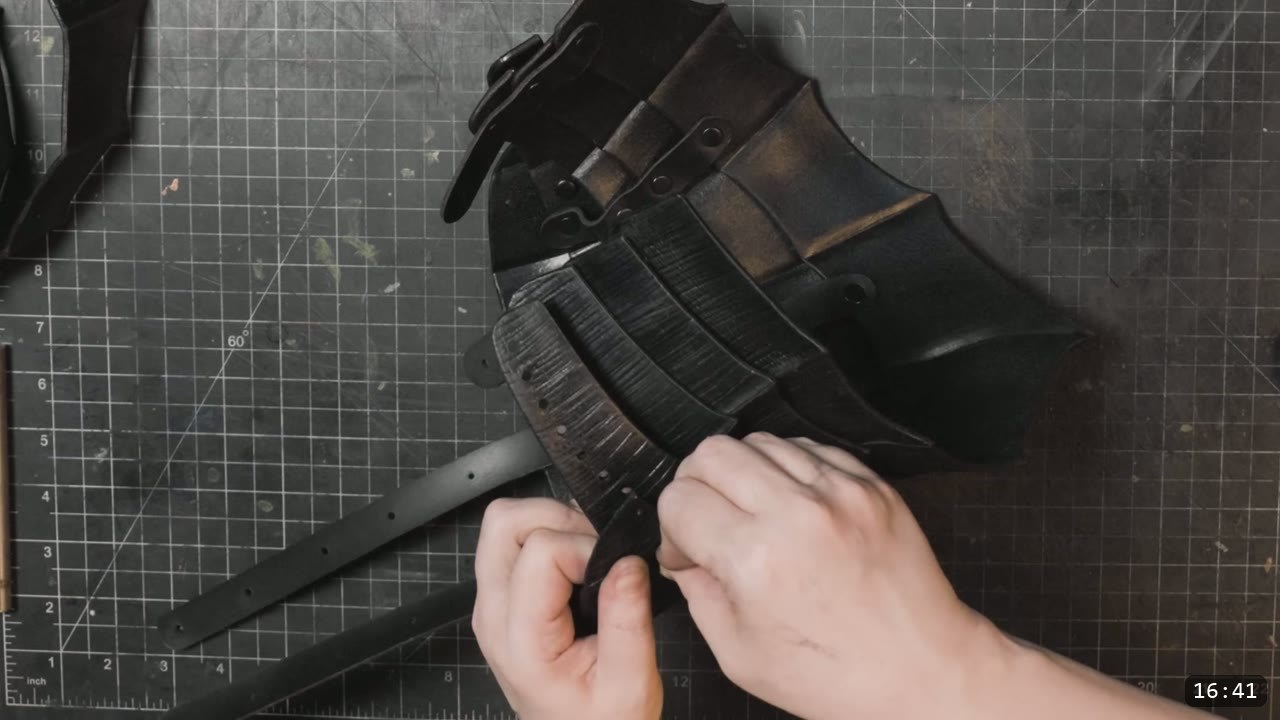
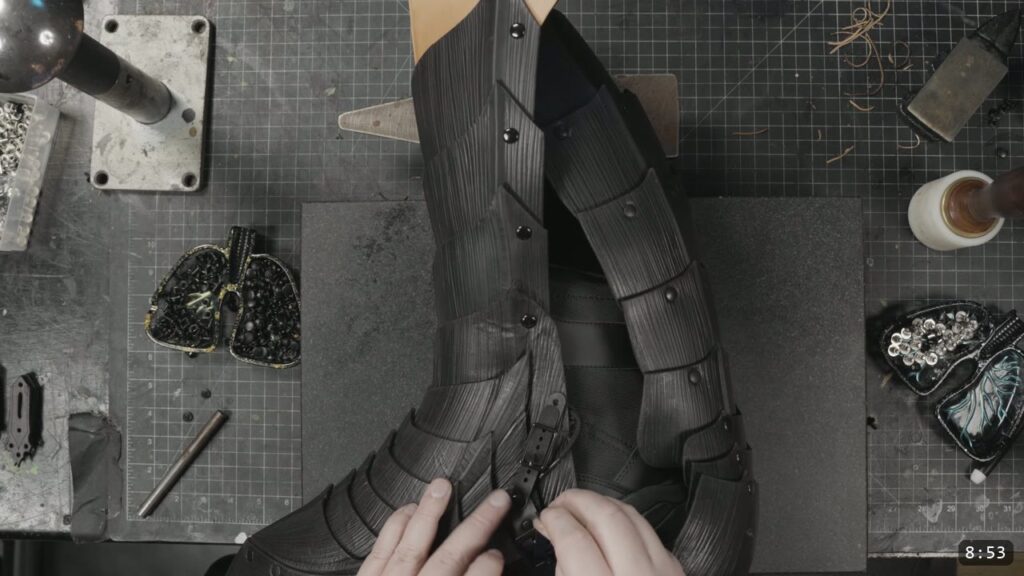
The core is every plate except the faceplate, which is parts A and B and stays off for now. The plates are labeled A to L. The easiest way to assemble the core is from back to front, starting with L and ending at C. Each strap carries a geometric shape so you can keep track of where it goes. The last few pieces have smaller retainer straps that give the bottom of the helmet a little flexibility. Use double-cap rivets for the hardware.
Step 9: Rivet the sides, flare the base, open the hearing gap
As you assemble the bottom tailpiece, give the base a little flare to improve the shape. After the tail pieces are on, rivet the pieces to each other along the sides. The process is the same all the way up: rivet along the central retaining straps first, then rivet to the sides one layer at a time. The side pieces are designed so you can slip something between the panels and hold a small gap open between each layer, which improves how well you can hear while wearing the helmet.

Step 10: Refine the assembled shape
Once the core is assembled, refine the overall shape over a forming stake, or work it from the inside with a hand tool. The plates are already firm, so this is gentle coaxing of the assembled structure into its final line, not re-wetting.
Step 11: Shape the faceplate
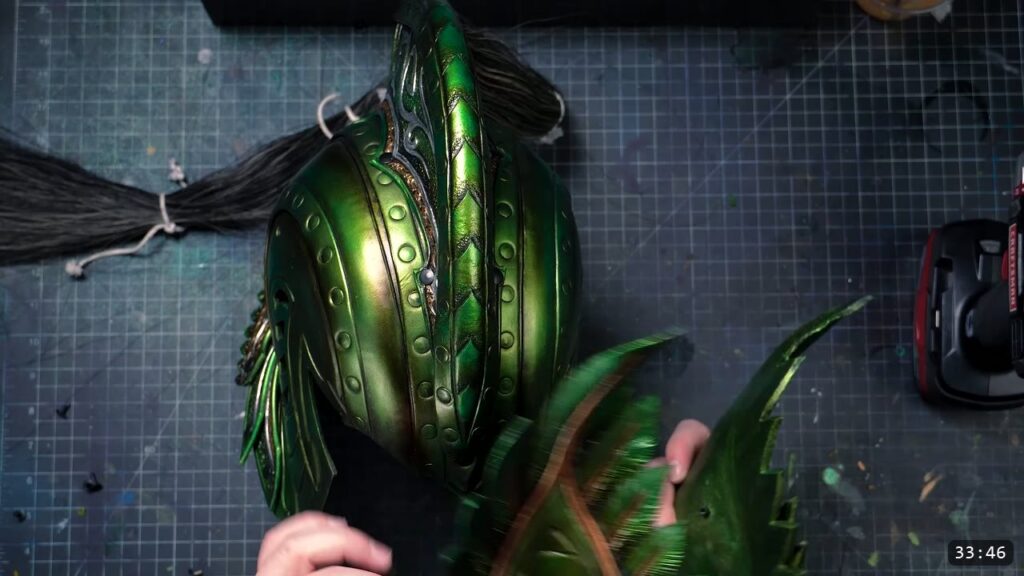
Now shape the faceplate, parts A and B, while that leather is still natural and workable. Use the guidelines to raise all the fluted areas, the same way you did the core plates. When you approach a line that turns abruptly, release the pressure on the embossing wheel and reposition the leather in a new direction. In some spots you can start a line and reverse back over it to avoid distorting the lines already there. Reverse the wheels to run the crease lines that enhance the false layer on the front piece.
Step 12: Fit the faceplate and shape it to the core
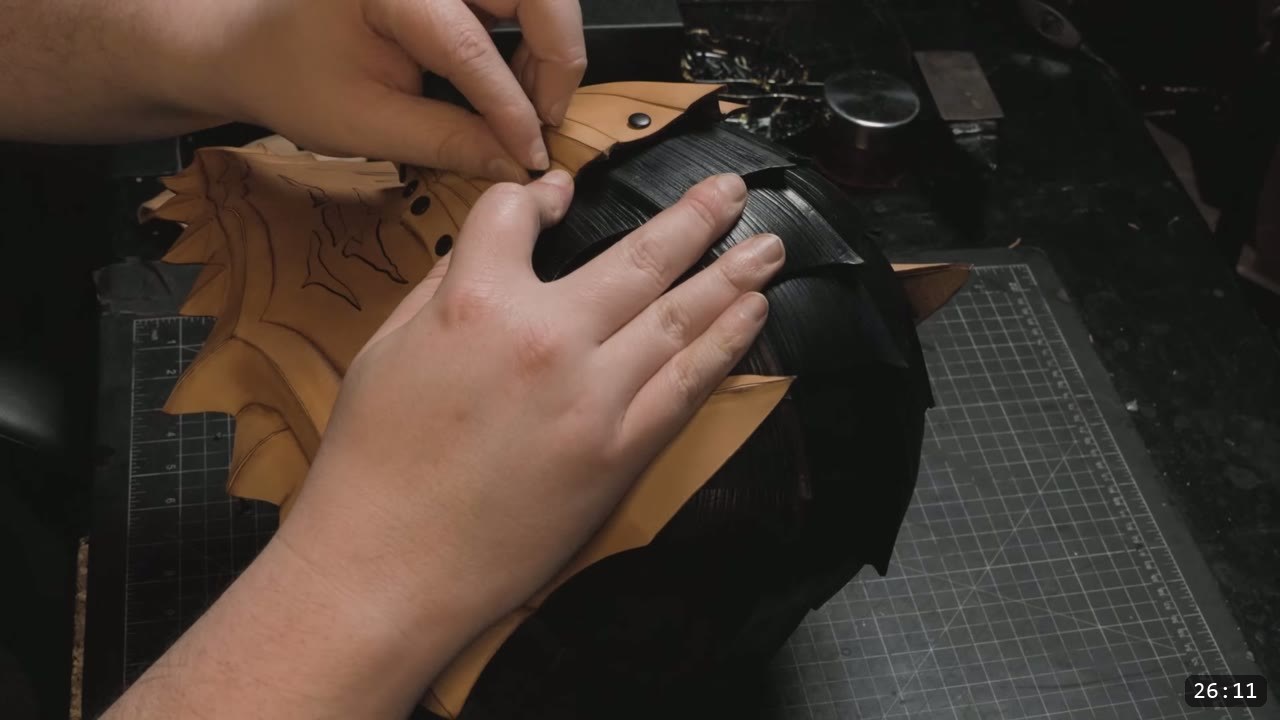
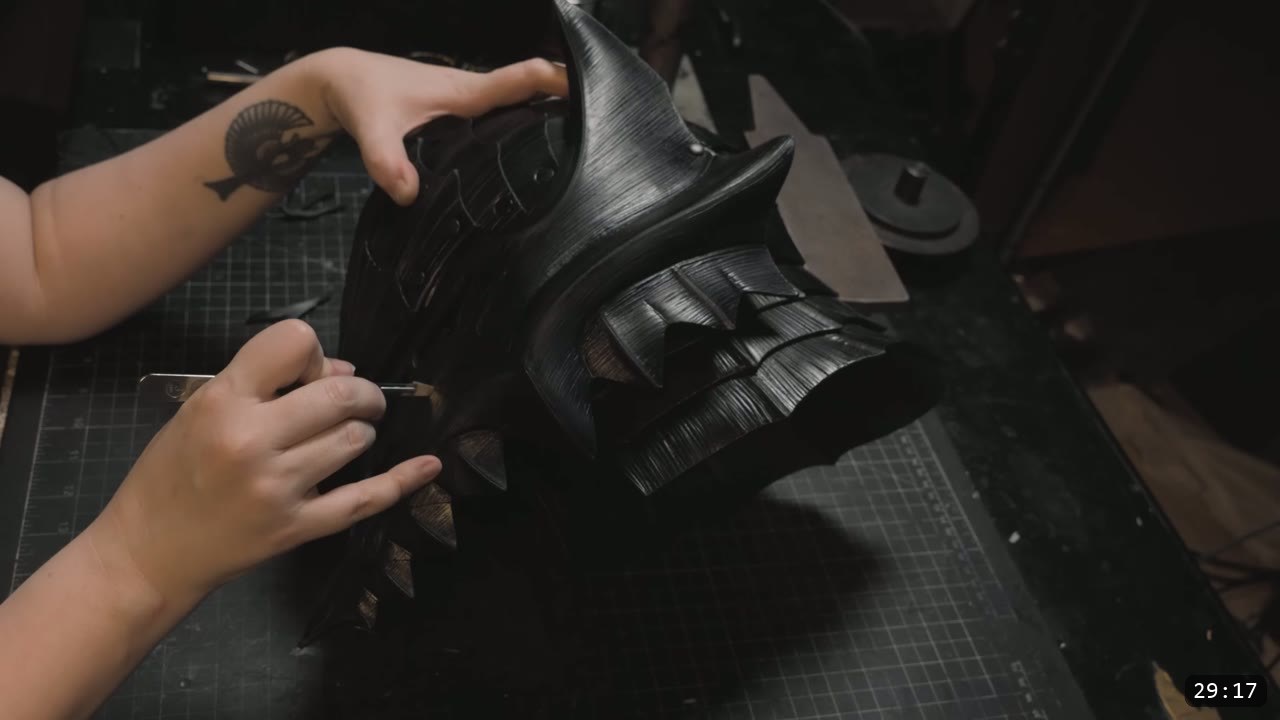
Bevel the crease lines with a beveler, and use shaping forms underneath to finesse the shape. A slicking tool with a fine point crisps up the sharp shape at the front of the helmet, and you can hammer those front edges over themselves. Loosely assemble parts A and B so you can do the final shaping of the faceplate against the core, and keep tweaking to your preference. As the leather dries it keeps firming up, which helps when you are forming complex shapes. Cut the eyes last: score them most of the way through early, but wait to open them until the end so you can shape the faceplate as one piece without over-stretching the delicate internal lines.
Step 13: Finish the faceplate
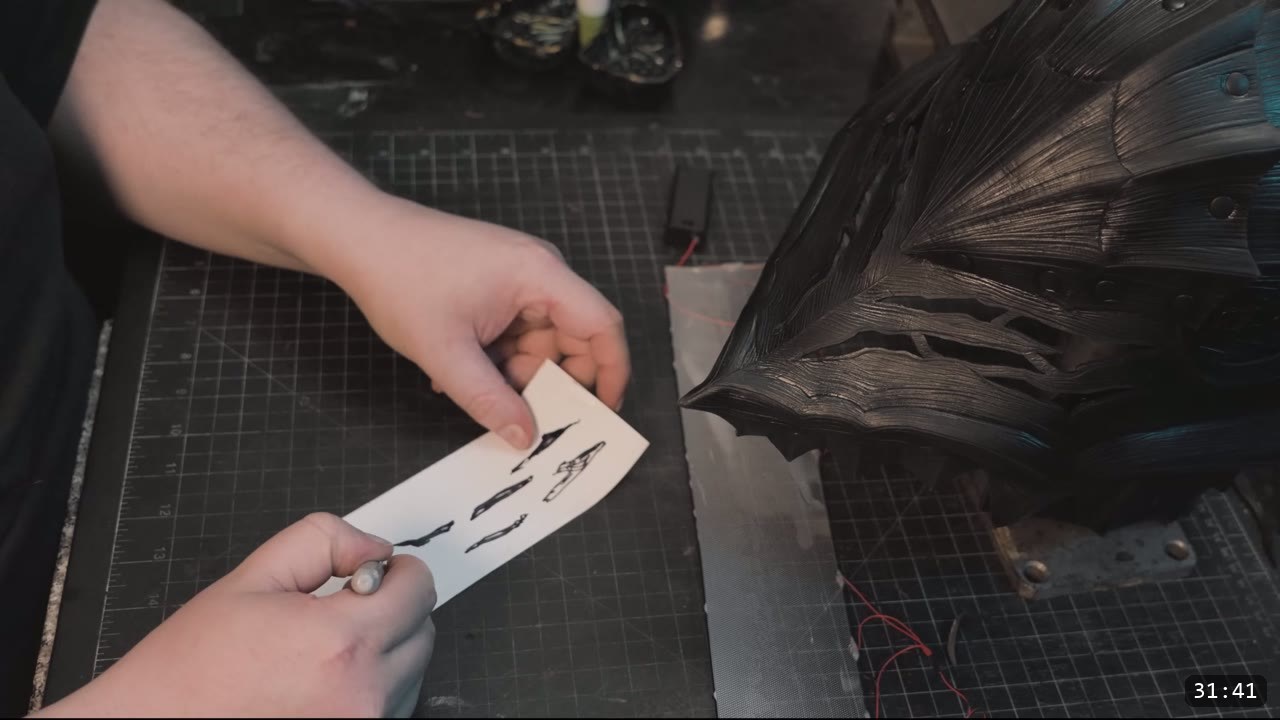
Continue the striated texture across the faceplate, then dye and seal it to match the core. You can refer to the finished result, or to the manga reference, when fine-tuning your own shape, or design something new. That is the build.
FAQ
Is this a beginner project?
It is aimed at intermediate to advanced leather crafters. It does not have a lot of fancy decorative detail, and most of the hard work is already done by the design itself, but the shaping and assembly ask for real leatherwork. If you are a complete beginner, the Academy has free and affordable resources to get you up to speed, and you can make the foam version first.
What leather should I use?
Herman Oak 7 to 8 oz vegetable-tan for the shell, because the build relies on the leather taking and holding a molded shape. You also need a small amount of thinner 4 to 6 oz leather for the inner straps.
Do I need the embossing wheel to get the fluting?
No. The embossing wheel Prince designed is a time saver, and its STL file is available at the Academy, but the bundle includes full video instructions for shaping the fluting by hand. Either way, keep the leather at the right moisture: too soggy will not hold the shape, too dry will not take it.
What size does the helmet fit?
The default pattern fits about a 22 to 23 inch head. It is designed as one size fits most and can be scaled to any size. Fit is affected by head shape, hair volume, whether you pad the helmet or wear an arming cap, and how much you wet form the leather, so it is wise to make a foam mock-up first.
When do I dye and seal?
Last, and per piece. Do all your shaping, fluting, dishing, and texturing first. Dye with Fiebing’s Black Pro Oil Dye, then seal with Weaver’s Clear Tough Coat. Once a piece is dyed and sealed it will not fully re-wet or reshape, so color and seal are the final steps on each plate.
Where to go next
- Get the pattern: Berserker Hound Helmet pattern, PDF for hand cutting or SVG for laser.
- Build the whole suit: the Berserker Armor Bundle covers the helmet, breastplate, arms, and the rest of the suit.
- New to leather armor? Start with 5 tips for getting started with leather armor.
- Not ready to commit leather? Make an affordable foam mock-up first: How to make a foam helmet from Berserk.
- Want to go deeper on shaping? The Hand-shaping Leather for Armor Making walkthrough goes deep on wet forming.
- Built one? Share it and tag Prince Armory Academy and Weaver Leather; we feature student work.




Responses