



Berserk Greaves Build Guide: Leather Berserker Shin and Calf Armor

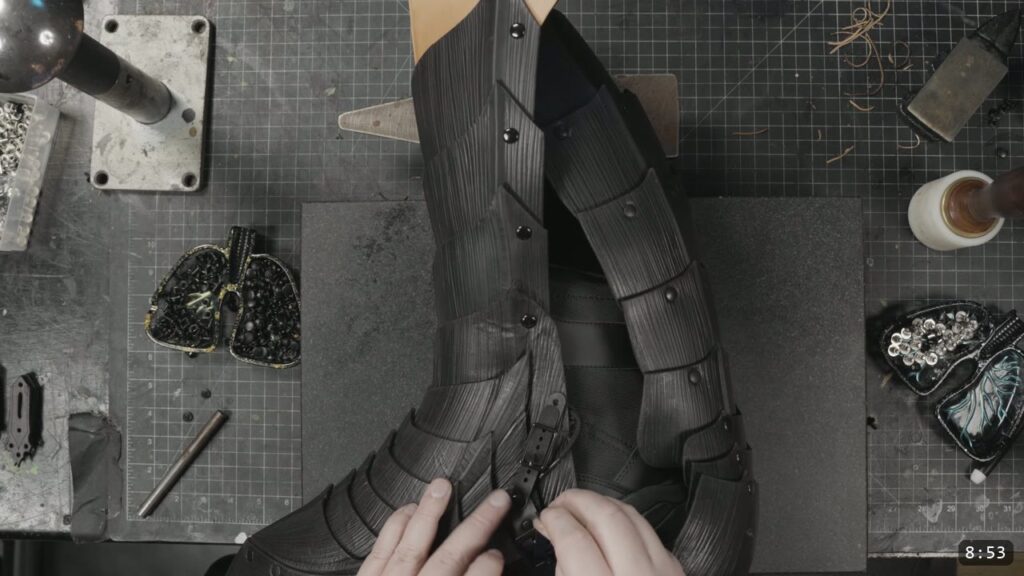
The Berserk greaves are the lower-leg piece in the Berserker armor series. They cover the shins and calves, and they build from a printed pattern, not a kit. You cut the parts from 9 to 10 oz vegetable-tan leather, flute the raised ridges, add a slight shape to each piece, then dye, seal, and assemble everything with Chicago screws and double-cap rivets. This is an advanced build. This guide walks the whole thing alongside the video, so you can watch each step and read the details the video moves past quickly.

What you are building, and what it takes
The greaves are one component of the full Berserker leg. The fronts sit over the shins, the backs cover the calves, and the whole piece connects down to the sabatons you built in the last video. You can wear the greaves on their own, or connect them permanently to the sabatons for a cleaner look. This is a plate build with a lot of parts, so the payoff is articulation and the deep striated texture that defines the Berserk suit.
The tradeoff is that it asks for real leatherwork and a fair amount of hardware. If you are new to leather armor, start with a simpler set first, then come back to this one.

What you need
The pattern. The Berserker Leg Patterns cover this build. They come as PDFs you can print from home and scale to any size, then trace onto leather and cut by hand. The set also ships SVG files, so you can cut the parts on a laser instead.
Leather. The video uses 9 to 10 oz Weaver Select vegetable-tan. You can go thicker or thinner to suit your own goals. Veg-tan is what lets the leather take the fluted texture and hold the shape.
Tools.
- Cutting: a CO2 laser if you have one (the video runs a Nova 16 from Eon Laser), or your usual hand-cutting tools if you trace and cut the paper pattern by hand.
- Texture: a fluting tool or setup for the raised ridges. The video uses a shop-built fluting jig, and the series also covers how to get the same effect by hand.
- Shaping: a dome or other spherical object to stretch a little shape into each piece.
- Edging: an edge beveler and something to scrub the laser-cut edges clean.
- Color and seal: Fiebing’s black Pro Oil Dye, nitrile gloves, and Weaver’s clear Tough Coat acrylic finish.
- Knock down gloss (optional): a Scotch-Brite pad, and a small detail sander to speed it up.
- Assembly: black double-cap rivets and Chicago screws from Weaver, a hammer, and a drop of glue for each screw hole. A rivet setter and a spherical forming stake (the video uses a Pepe Tools metal forming set) help on the shaped parts. A foot press is ideal for setting rivets on parts with a lot of shape, but it is not required.
Step 1: Cut the parts
Cut every piece from your 9 to 10 oz veg-tan. On a laser, the pattern runs in layers: the decorative cuts and reference marks first at low power, then the internal cuts for rivet and Chicago screw holes, then the external outlines last. If you are cutting by hand, trace the printed pattern onto the leather and cut it out, and check the earlier tutorials in the series for the hand-cutting process. Either way, keep a filter or exhaust running if you laser, because the outline pass is where it gets smoky.

Step 2: Wet the leather and clean the edges
Wet the leather to prep it for tooling and shaping. Immerse each piece, then let it come back to a damp, workable state. If you laser cut, scrub down the cut edges to clean off the char while the leather is damp. Damp leather is what makes the fluting and the shaping possible, so keep the pieces damp through the next two steps.

Step 3: Flute in the ridges
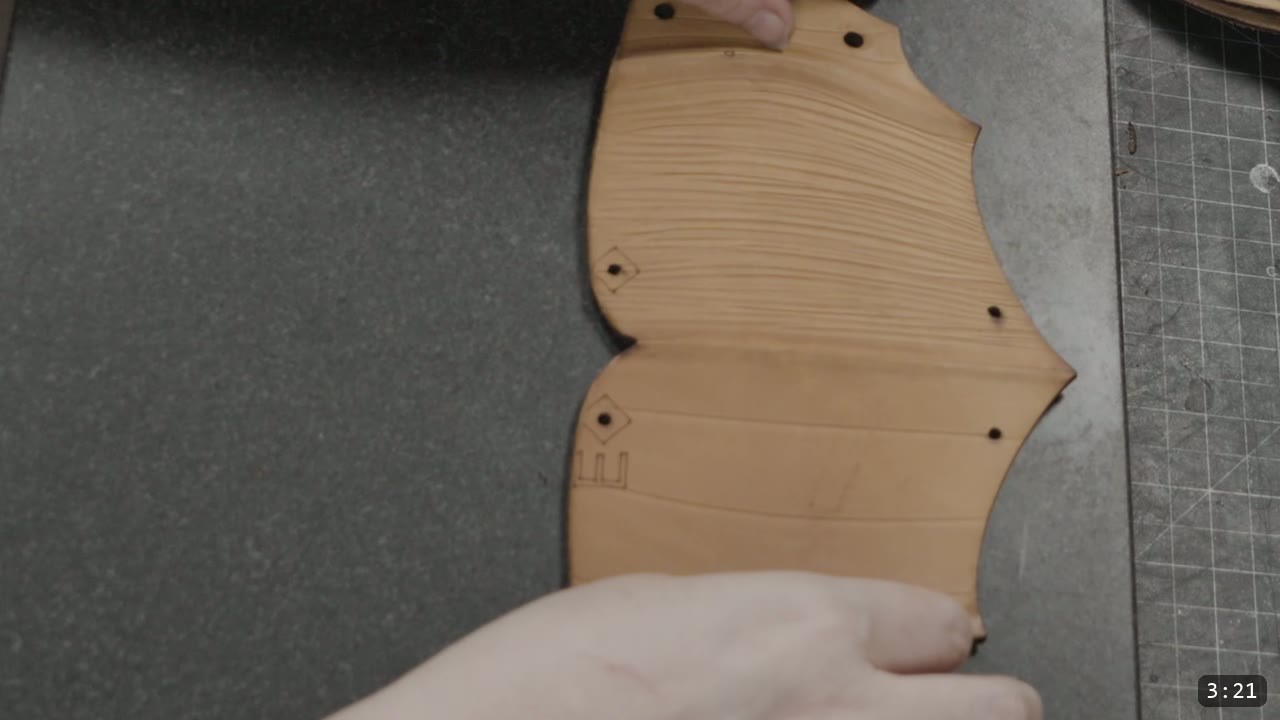
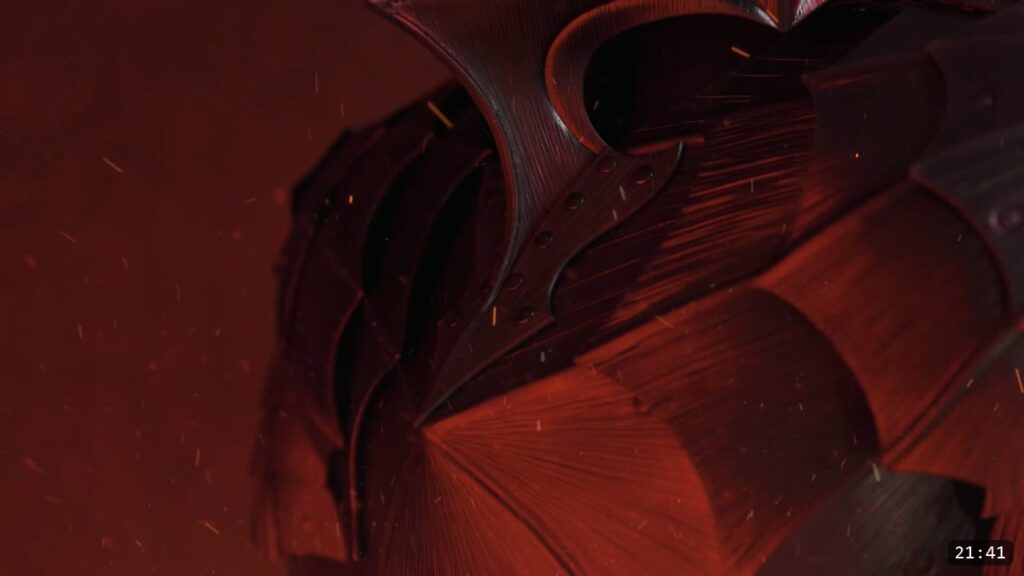
One of the defining features of the Berserk suit is the raised ridges and creases that run through the armor. Add that striated texture to every piece while the leather is damp. The video uses a shop-built fluting setup to save time, and the series covers how to get the same look by hand if you do not have a jig. This texture is memory shaping, so it goes in now, before any color.
Step 4: Shape each piece, then pre-assemble to read the form
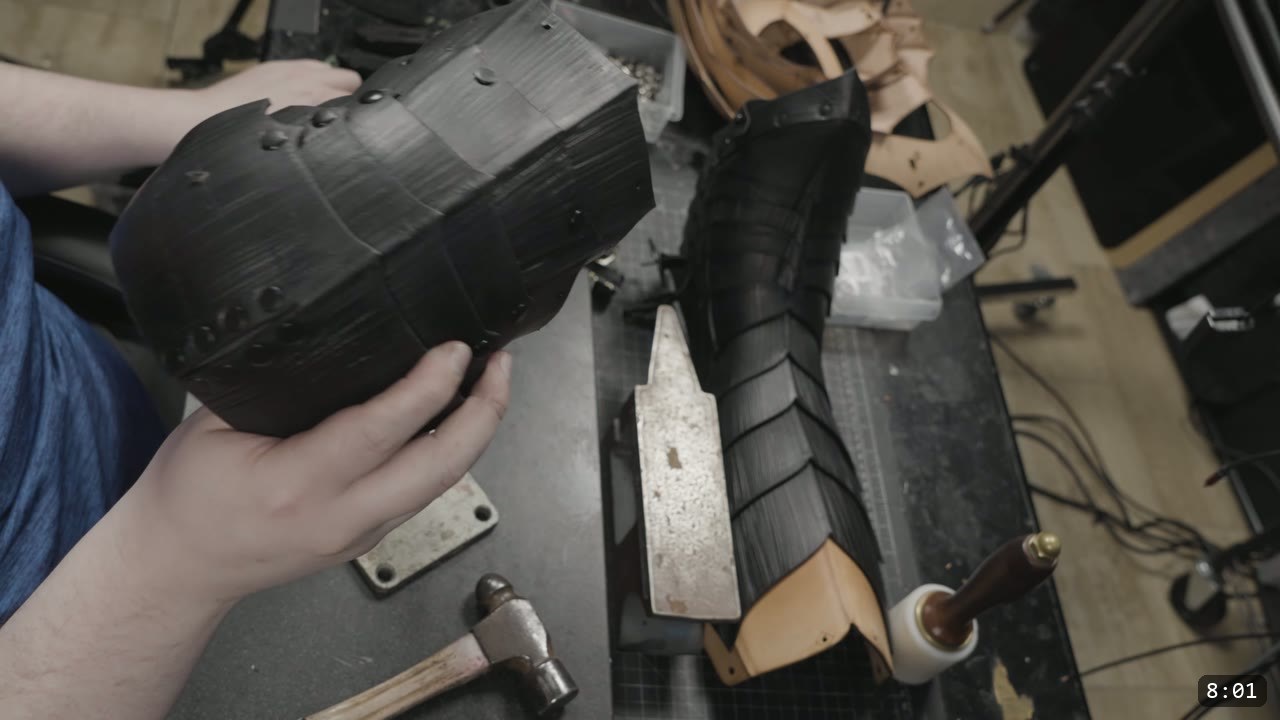
Because the greaves are split into so many pieces, a lot of the shape is already built into the design, so each piece only needs a slight bit of shaping. Work it over a dome or another spherical object while it is damp. Keep the final shape of the whole greave in mind as you go. A useful trick: loosely pre-assemble the parts and shape them together, so you can feel the shape intuitively and do not have to track every piece on its own. Do all of this real shaping now. The finish in the next steps will lock the form, and the leather will not reshape once it is dyed and sealed. If you want to go deeper on this one skill, watch Hand-shaping Leather for Armor Making.

Step 5: Dye
Color the parts with black dye, the same as the rest of the set. The video uses Fiebing’s black Pro Oil Dye. Black is the right base for the aged Berserk look. Test your color on scrap first, or on the underside if you have no scrap.
Step 6: Seal, then knock the gloss down
Seal the parts with Weaver’s clear Tough Coat once the dye is dry. Do all your shaping and texturing before this point, because a cured finish locks the form and the leather will not fully re-wet or reshape after it. If the fresh finish leaves more gloss than you want, bring it down with a Scotch-Brite pad, and speed that up with a small detail sander. A flatter sheen reads more like worn armor.


Step 7: Start the assembly at the sabatons
You can look at the greaves as two parts: the fronts, worn over the shins, and the backs, over the calves. Start the assembly by joining the fronts to the sabatons you already built. This is not strictly mandatory. You could let the greaves ride loosely on top of the sabatons, but connecting them looks better, and you can leave them disconnected later if you want more mobility.
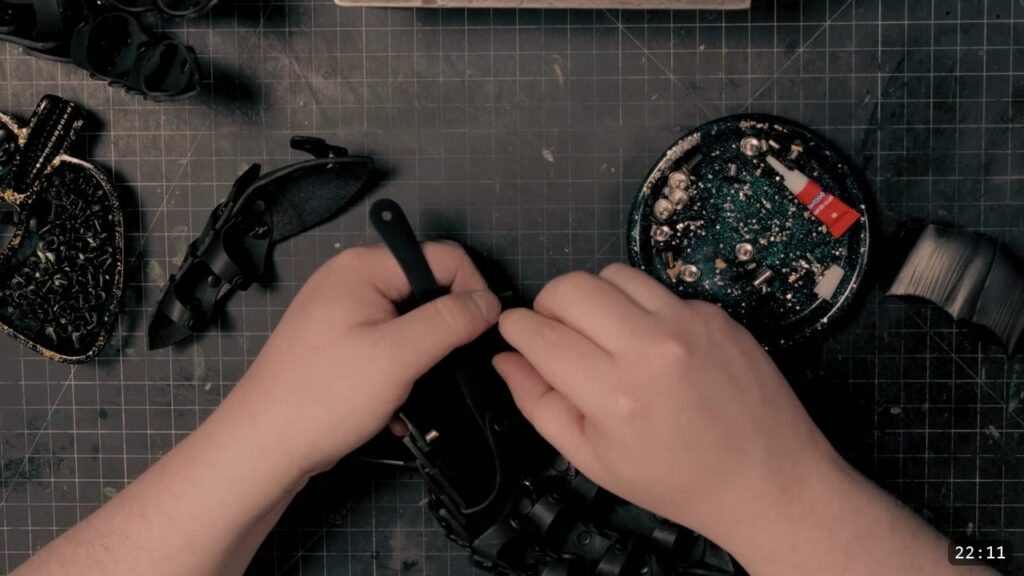
Take the front part and attach it to the retaining straps coming from the sabatons. Use a longer Chicago screw here, because you are going through the extra strap layers. Put a drop of glue in each Chicago screw hole so the screws do not work themselves free. You can wait until the armor is finished and test-fitted before gluing, but do not forget to glue them in the end. You can do this assembly while the parts are still a little damp from the finish, which lets you finesse the shape a touch as the acrylic dries.
Step 8: Connect the front plates with Chicago screws
Work up the front, connecting the next parts with standard quarter-inch Chicago screws. Ignore the extra holes in the bottom center of the pieces. Those are there in case you want additional retaining straps, and you likely will not need them. The greave will look a little short at this stage, because the top piece of the fronts is a transition piece that bridges the knee and the greave. The knee plates get covered in the leg-armor video, not here.
Step 9: Check the fit and the articulation
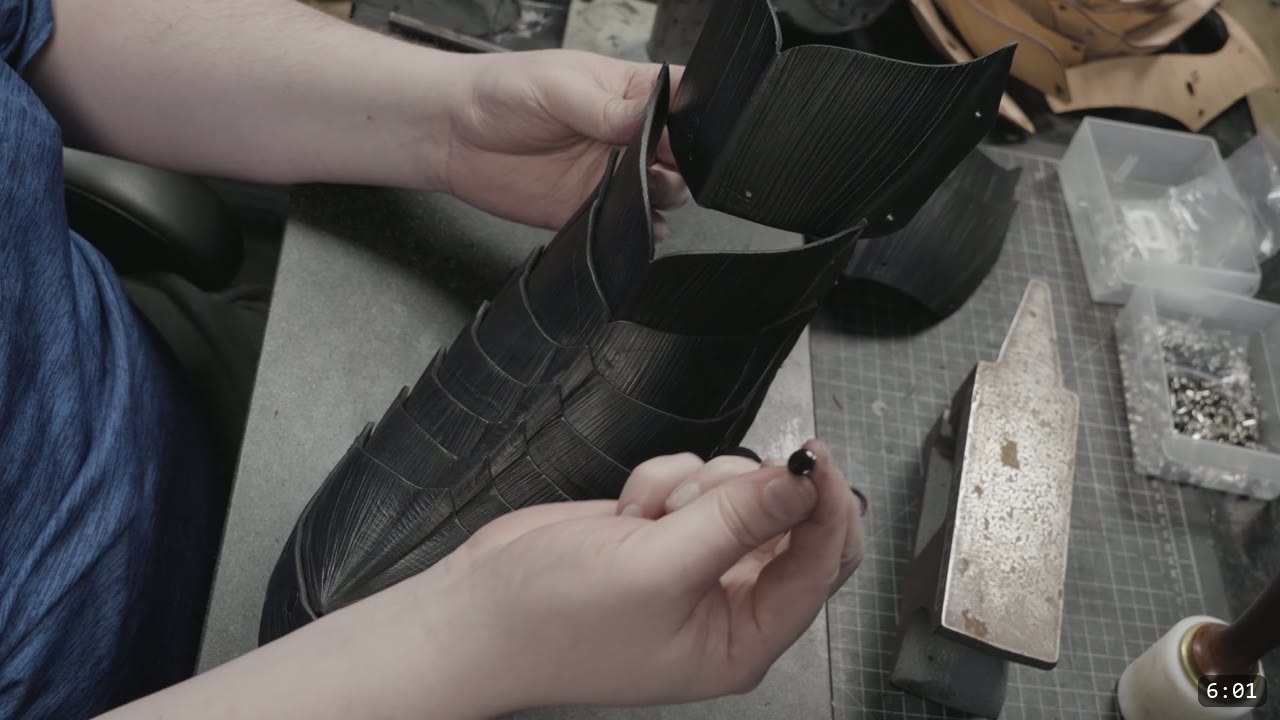
These designs are precise, so it is normal for things to feel snug and tight at first. You can manually break the leather in a bit and soften it up at this stage, but you will also break it in naturally just by wearing it. Play with the articulations and confirm the plates move the way you want before you commit the backs.

Step 10: Build the backs
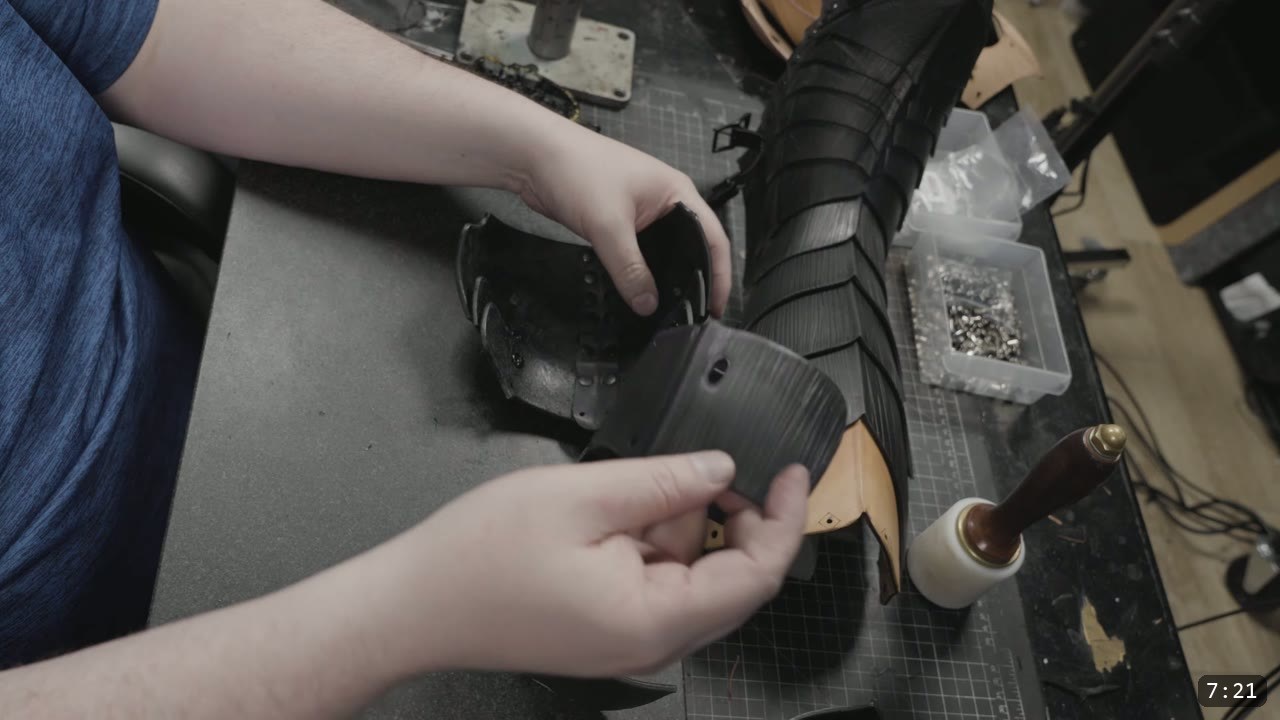
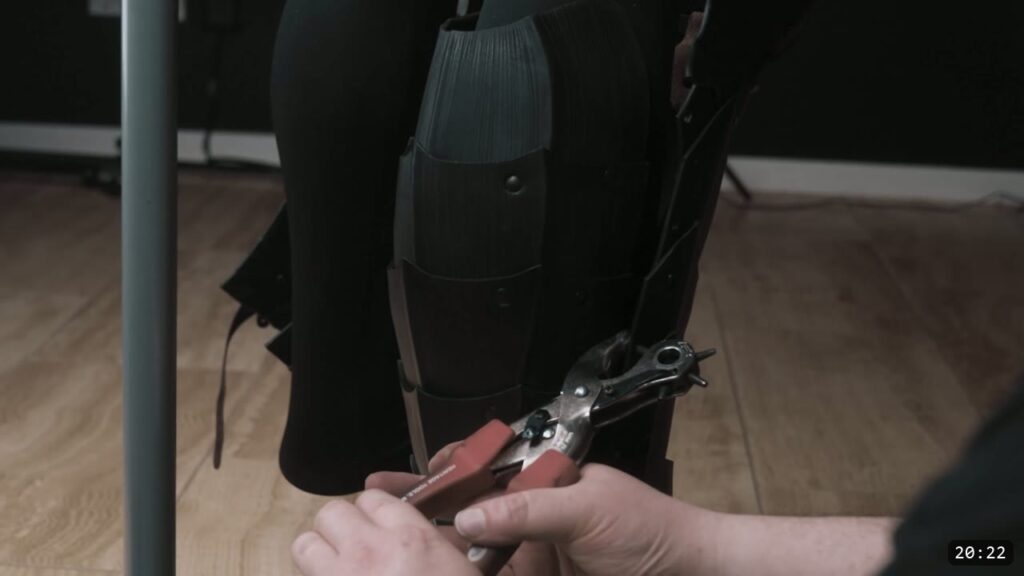
Take the back portion of the sabatons and join it to the lowest back part of the greave, which is back part A. Start with a retaining strap, then attach the sides with Chicago screws. Some of those holes are slotted to allow a little extra mobility. The next parts up attach with two rivets on each side. Here too, ignore the extra holes in the middle bottom of each piece.
Step 11: Set the rivets on the shaped parts
To set the rivets, you have options depending on the shape. You can set them flat from the back side with a hammer against any hard surface. If you have a spherical forming surface, like the Pepe Tools metal forming set, you can set the rivets normally with a setter without flattening the shape. A foot press is excellent for setting rivets on parts that carry a lot of shape. Repeat the riveting from parts A to E on the back components. When the backs are done, the greave should have a nicely formed shape.
Step 12: Test-fit with your boots and set the buckles
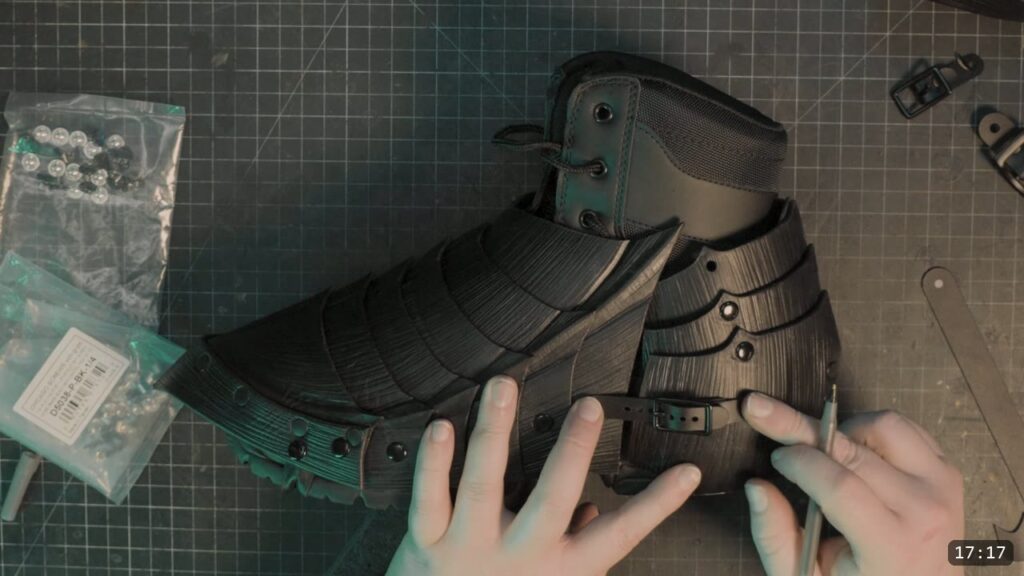
The finished greave is reminiscent of period armor, with some concessions for modern footwear and garments. The fit around the footwear matters, so plan your boots and fit the greave around them. The client build in the video was built around the wearer’s own footwear. Do a real test fit with the boots and garments you plan to wear, and do not underestimate how much bulk certain garments add at the ankle. Place a few buckle straps to bring the fronts and backs together. The full set of buckles for the whole leg gets attached together in the leg-armor video, so you can leave the final buckle work for that step if you are building the complete leg.

FAQ
Is this a beginner project?
No. The greaves are an advanced build with many parts, laser or hand cutting, fluting, shaping, and a lot of hardware. If you are new to leather armor, start with a simpler set first, then come back to the Berserker series.
What leather should I use?
The video uses 9 to 10 oz Weaver Select vegetable-tan. You can go a little thicker or thinner for your own goals. Vegetable-tan is what lets the leather take the fluted texture and hold its shape.
Do the greaves have to connect to the sabatons?
No. You can wear the greaves on their own, or connect them permanently to the sabatons for a cleaner look. If you want more ankle mobility, you can leave them disconnected or experiment with how they ride on top.
Why Chicago screws in some spots and rivets in others?
Chicago screws take the strap and mobility connections, and some of those holes are slotted for extra movement. Put a drop of glue in each screw hole so they do not back out. Rivets handle the fixed joins. Set them flat with a hammer, or use a setter over a spherical stake or a foot press on the shaped parts so you do not flatten the form.
When do I dye and seal?
After all the shaping and fluting, and before assembly. The finish locks the form, so do every bit of memory shaping first. The video assembles the parts with screws and rivets after sealing, while they are still a little damp from the finish, which lets you finesse the shape slightly as the acrylic dries. Once the finish is fully dry, the leather will not reshape.
Where to go next
- Get the pattern: Berserker Leg Patterns.
- Building the whole suit? The Berserker Bundle covers the full set from helmet to leg.
- Start of the leg: build the Berserk sabatons first, since the greaves connect down to them.
- Finish the leg: the Berserk leg armor video covers the knees and upper legs and brings the whole leg together.
- New to leather armor? Start with 5 tips for getting started with leather armor.
- Built one? Share it and tag Prince Armory Academy and Weaver Leather; we feature student work.



Responses