



Berserk Skull Helmet Build Guide: Leather, Pattern to Black Finish

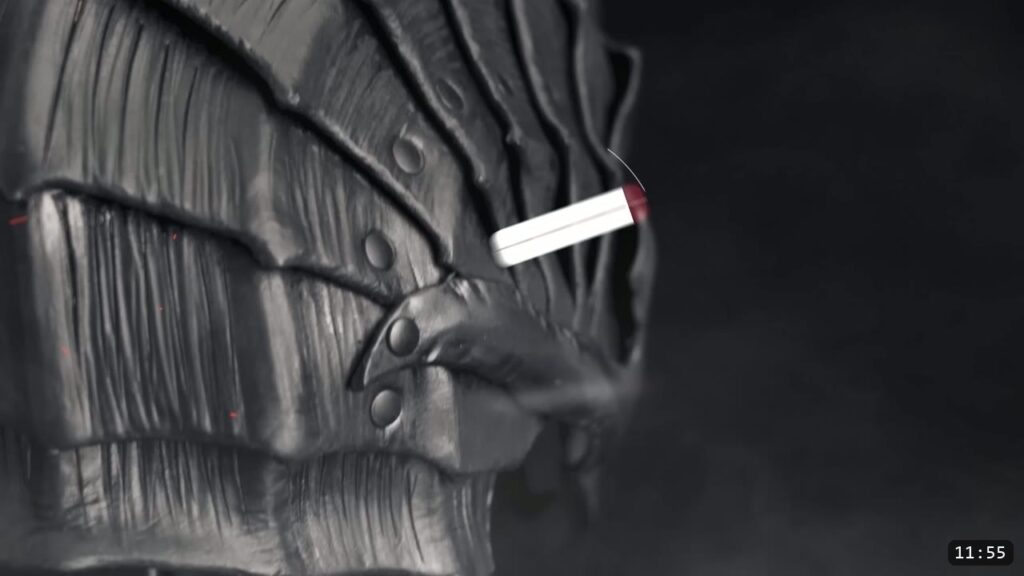
You build the Berserk skull helmet from a printed pattern, not a kit. You trace the pieces onto 9 to 10 oz vegetable-tan leather, cut and edge them, mark and punch the rivet holes, then rivet the overlapping plates into a dome and attach the skull faceplate last. You finish it by immersion dyeing the whole helmet black and sealing it. This guide walks the build alongside the video and fills in the details the video moves past quickly.
What you are building, and what it takes
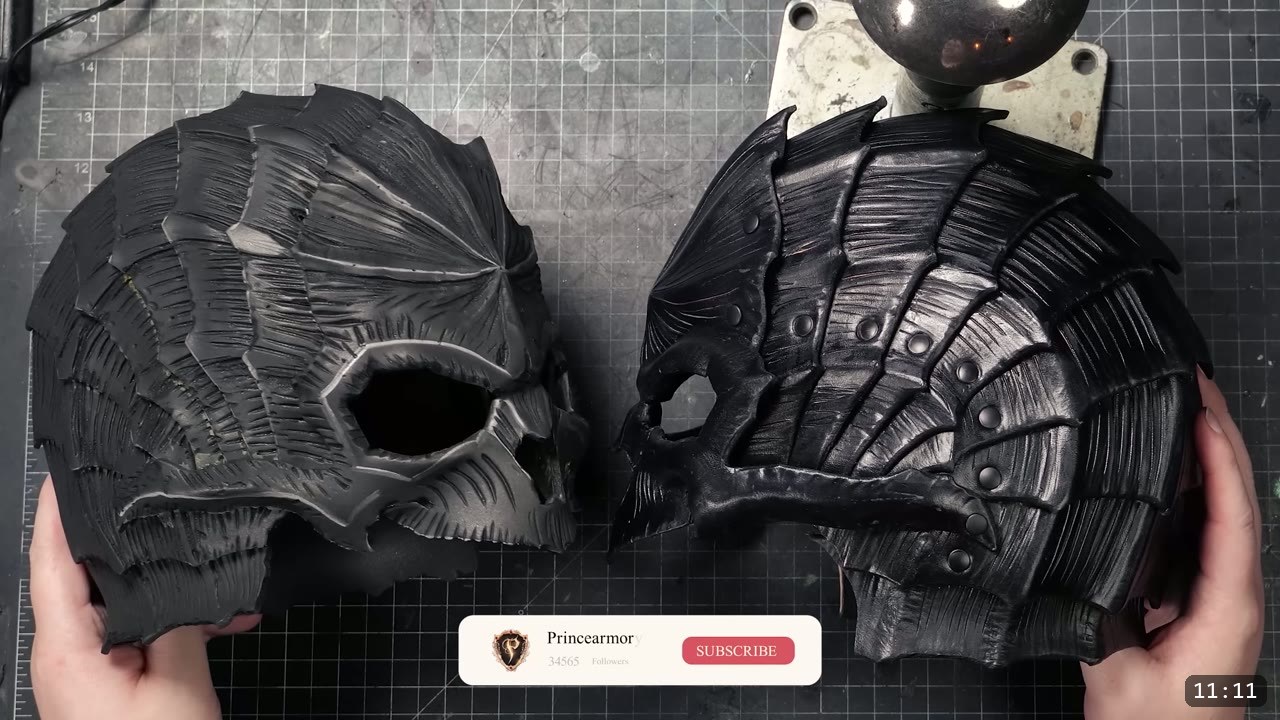
This is the skull helmet from our Berserk armor series, and it is a pattern build. You cut and shape every piece yourself. The design is a dome of overlapping plates with a separate skull faceplate riveted over the front. The public video shows the whole cut, assemble, and finish flow, but it holds the detailed tooling and shaping of the skull face for the pattern and the extended cut of this video at the Academy. So this guide covers what the video covers, and it tells you plainly where the extra lessons pick up.
What you need
The pattern. The Berserker Skull Helmet Pattern carries the pieces, the letter labels, the rivet placements, and a diagram of how everything attaches. At the time of filming, pre-cut DIY kits were announced as coming soon. The Academy now has a pre-cut leather armor kits line; check that page for current kit availability for this build.
Leather. 9 to 10 oz natural vegetable-tan from Weaver Leathercraft. In the video I use two kinds and it works well: Weaver Select Strap Side for most of the pieces, and Hermann Oak Holster Side for the faceplate. Both take tooling and shaping cleanly, which is what an armor piece with this much shape needs.
Tools.
- Marking: a fine-point marker for the pattern outlines, plus a ballpoint pen or a stylus for transferring guide lines and rivet marks.
- Cutting: heavy-duty leather shears are my preference for veg-tan armor with a lot of shape, but a utility knife or another blade works. A swivel knife is handy for pre-grooving the more complex cuts.
- Edging: an edge beveler, and a burnisher. I use a simple wood tool with a groove in it; motorized burnishing wheels are nice but not needed.
- Holes: a rotary punch (I use the Weaver Rotary Punch), or affordable tube punches.
- Assembly: medium double-cap rivets, a rivet setter, and a hammer or striking tool. A raised surface like a small anvil or a metal forming stick helps, but you can hammer against a flat work surface from the inside instead.
- Color and seal: black leather dye for immersion dyeing, a small tub, gloves, Weaver Tough Coat finish, and a scotch-brite pad.
Step 1: Trace the pattern onto veg-tan
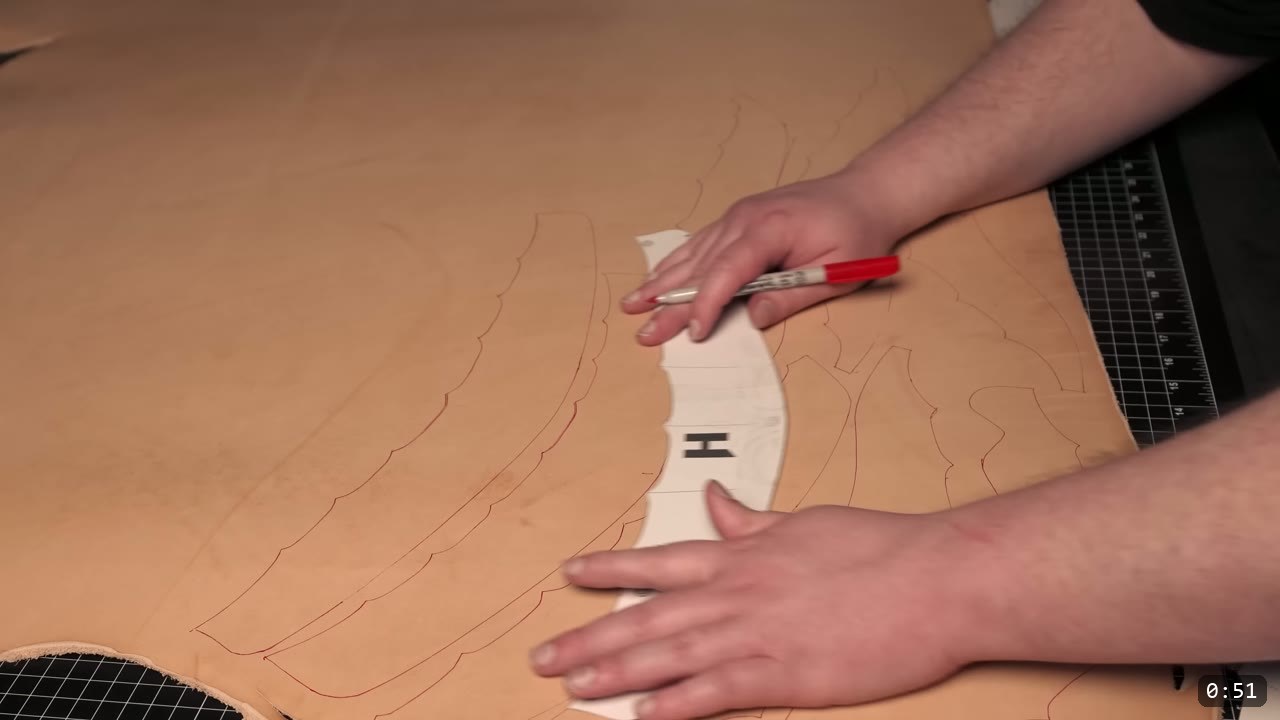
Lay the pattern pieces out on the leather and trace them with a fine-point marker for accurate lines. Mark the letter of each piece as you go so you do not lose track of them later. This build has a lot of similar plates.
Step 2: Rough cut, wet, and cut to the line
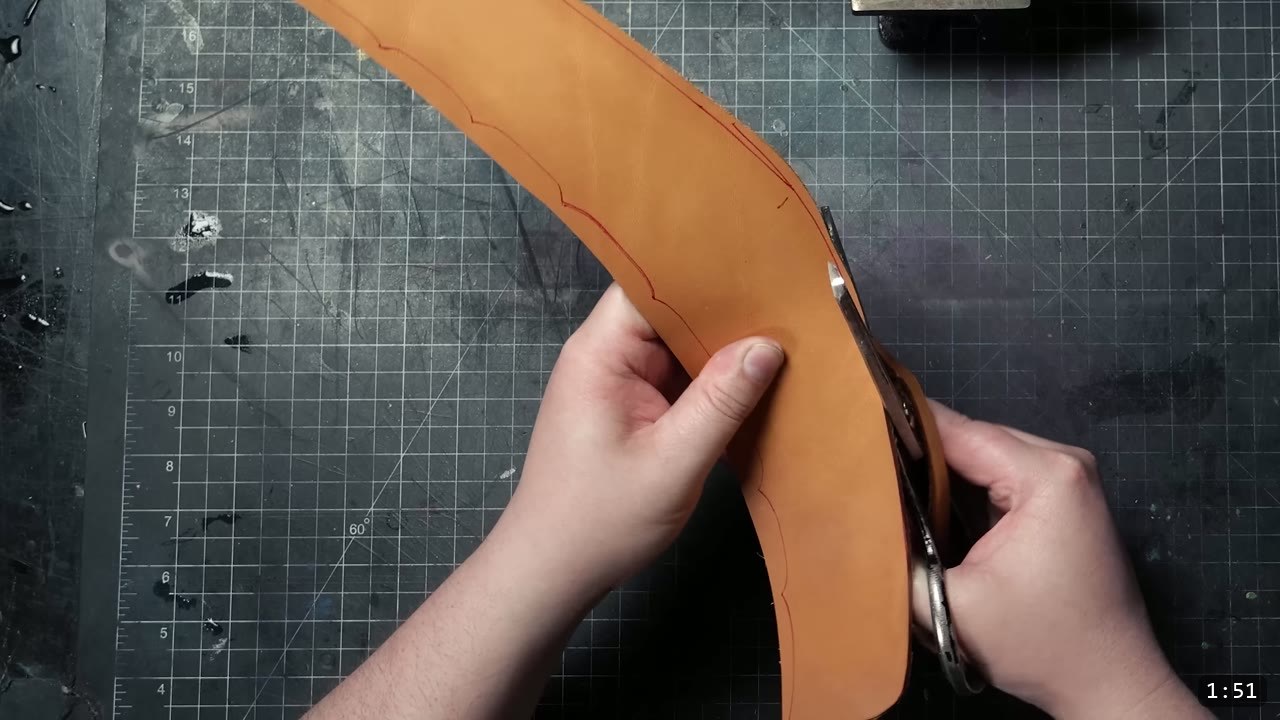
Make rough cuts first to separate the pieces out. It makes each piece more manageable to cut. I dip the pieces in a tub of water for a few seconds before the final cut, which makes cutting easier. Then cut to the traced line. Heavy-duty shears give me consistently smooth cuts on veg-tan with no trouble, but take your time with whatever blade you use and keep it stropped so it glides. For the more complex cuts, you can pre-cut a deep groove with a swivel knife and then follow that groove with your shears or a knife.
Step 3: Bevel and burnish the edges
Run an edge beveler around the pieces to trim down the sharp edges. After beveling, burnish the edges to slick them. The wood tool with a groove does this quickly and holds up for all my work.
Step 4: Transfer the guide lines and rivet marks
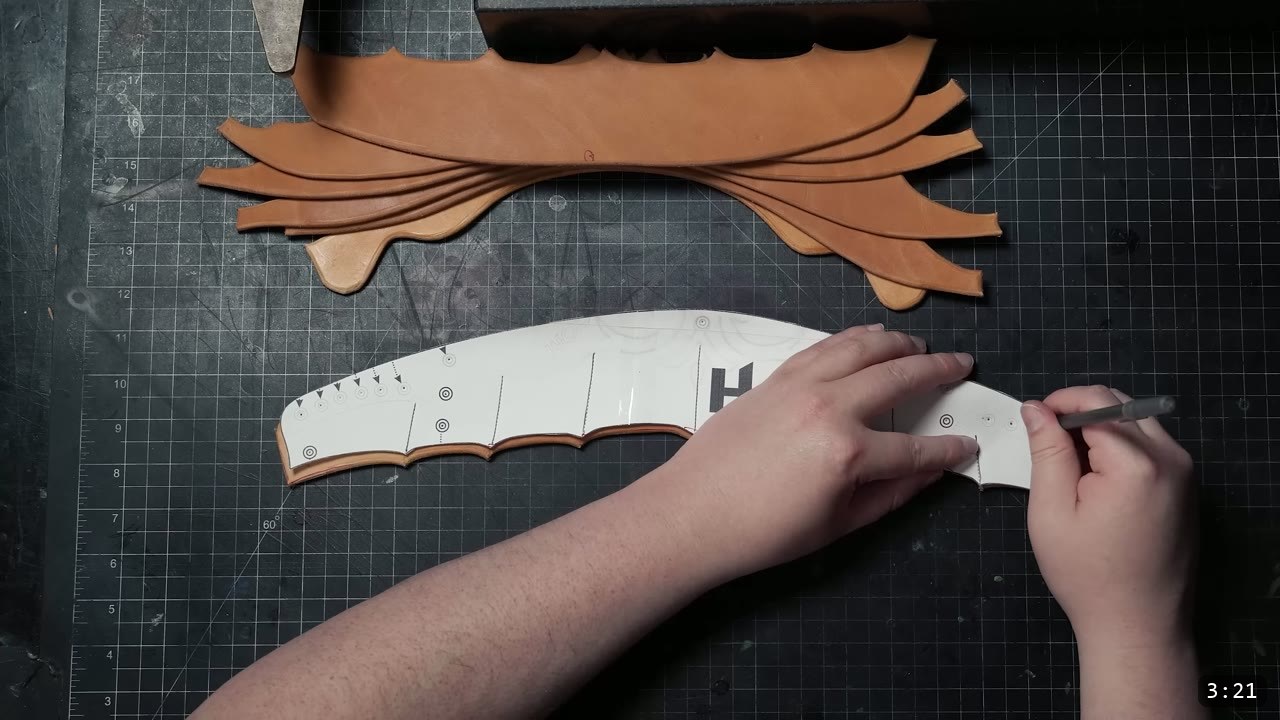
While the pieces are still damp, overlay the pattern back over each part and transfer the guide lines and rivet placements with a ballpoint pen or a stylus. If you are dyeing the helmet black or painting it, you can mark these lines in ink; they carry into the later tooling stages. Do this while the leather is damp so it takes the marks and stays workable.
Step 5: Punch the holes
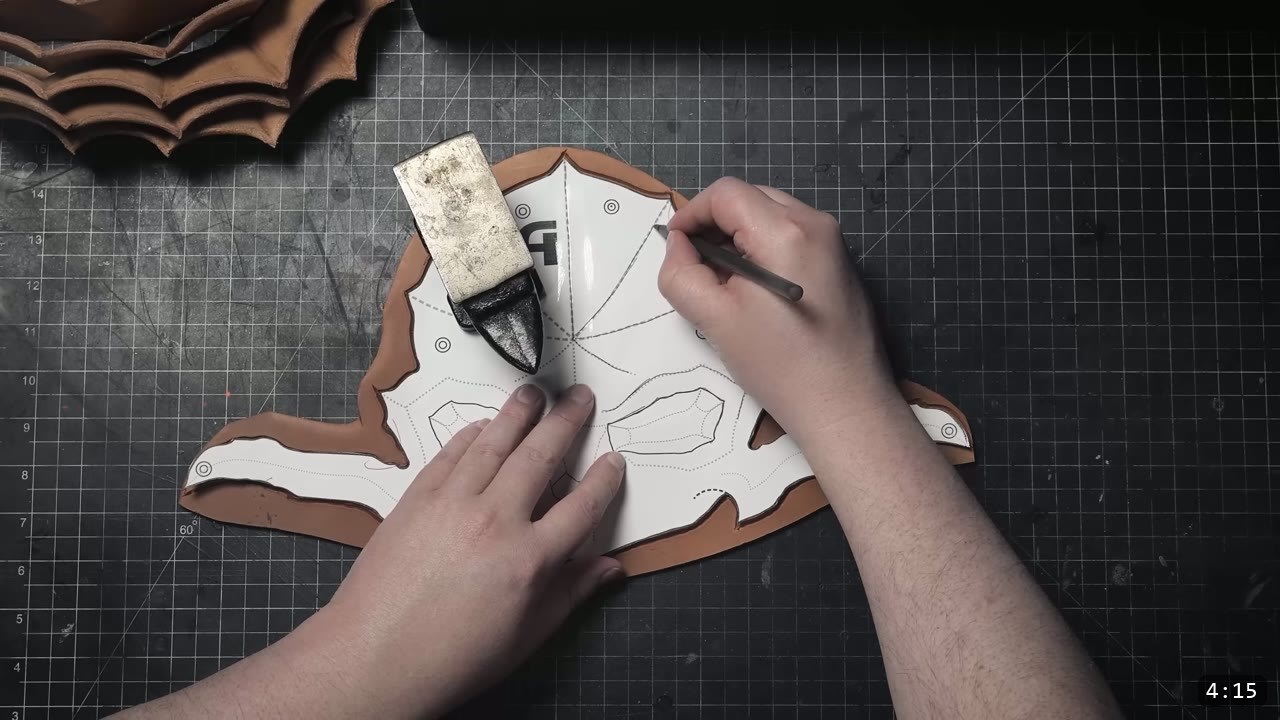
Punch the rivet holes at this stage while everything is flat and marked. I use the Weaver Rotary Punch, but affordable tube punches get you there just as well.
Step 6: Tooling and shaping (this is where the extra lessons pick up)
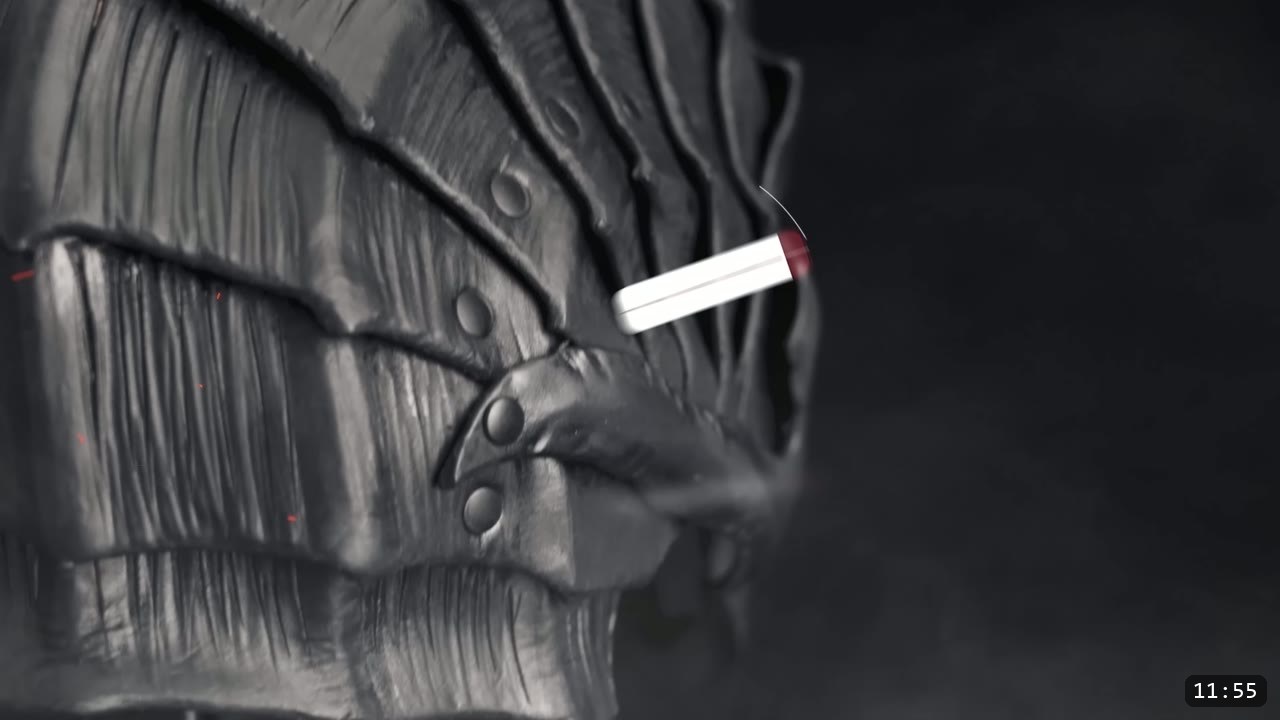
The video does the tooling and shaping next, but it keeps the full demonstration for the pattern and the extended cut of this build at the Academy. So I am being straight with you: the public tutorial shows a preview here, not the step by step for the skull face detail. If you want that, the pattern comes with the extended video and additional advanced lessons. Whatever tooling and shaping you do, do it now, while the leather is damp and before any dye touches it.
Step 7: Assemble the core with rivets
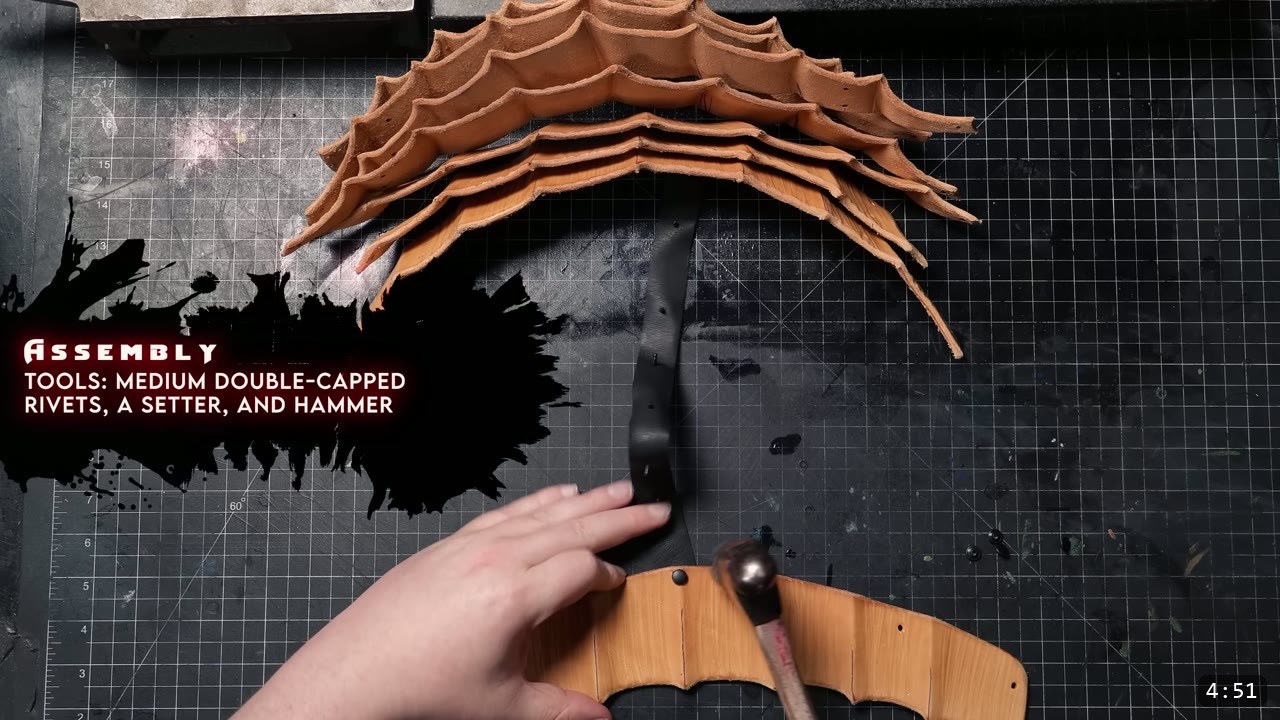
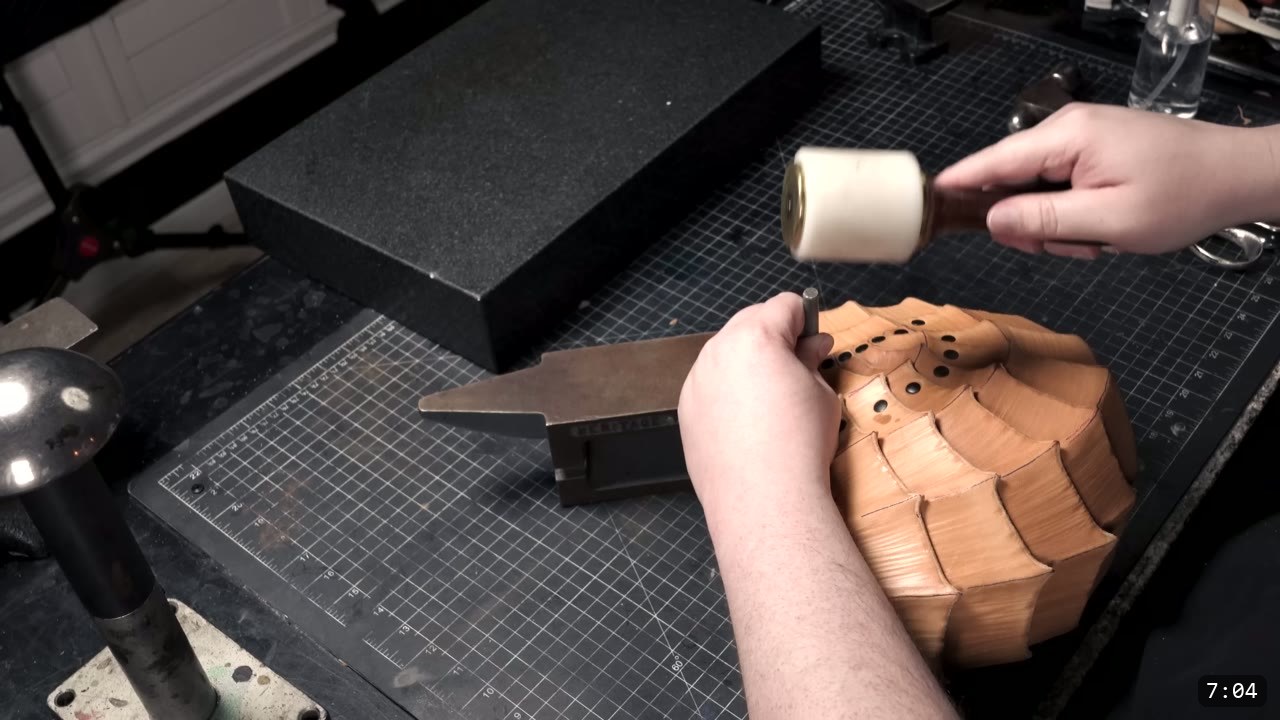
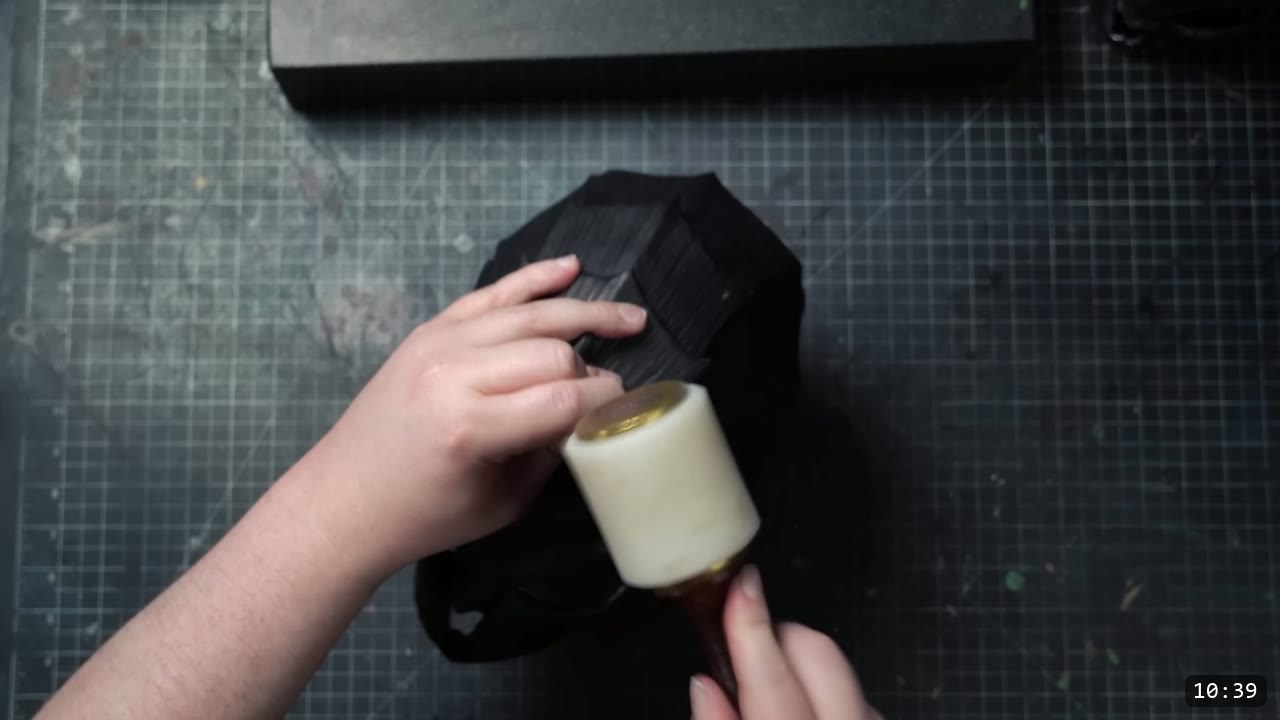
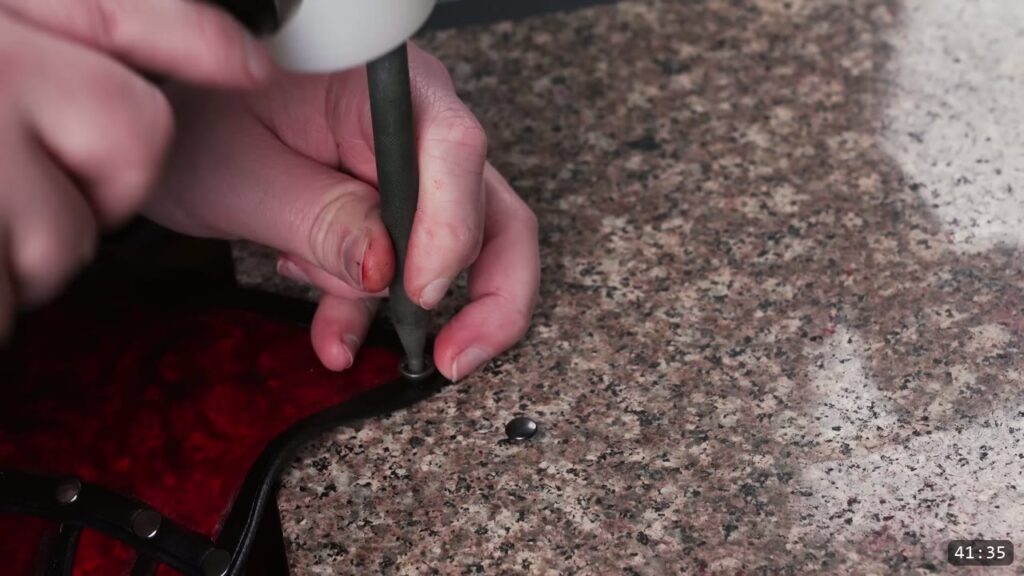
Assembly uses medium double-cap rivets, a setter, and a hammer or striking tool. Start with the last piece of the helmet core, labeled I, and the back of the center strap. You can attach all the pieces to the strap at once, or assemble one piece at a time, whichever you prefer. Set your rivets against a raised surface like a small anvil or forming stick if you have one; if not, use your flat work surface and hammer from the inside.
The pattern includes a diagram of where every piece attaches. Start with parts H and I and rivet those together first. One hole is skipped where the faceplate attaches later, so leave it. As long as you go in sequence it is straightforward and repeats the same way for the rest of the pieces. The narrow ends of most pieces get riveted along piece H, in the section with the big row of holes.
Step 8: Fit the tips, then finish the core
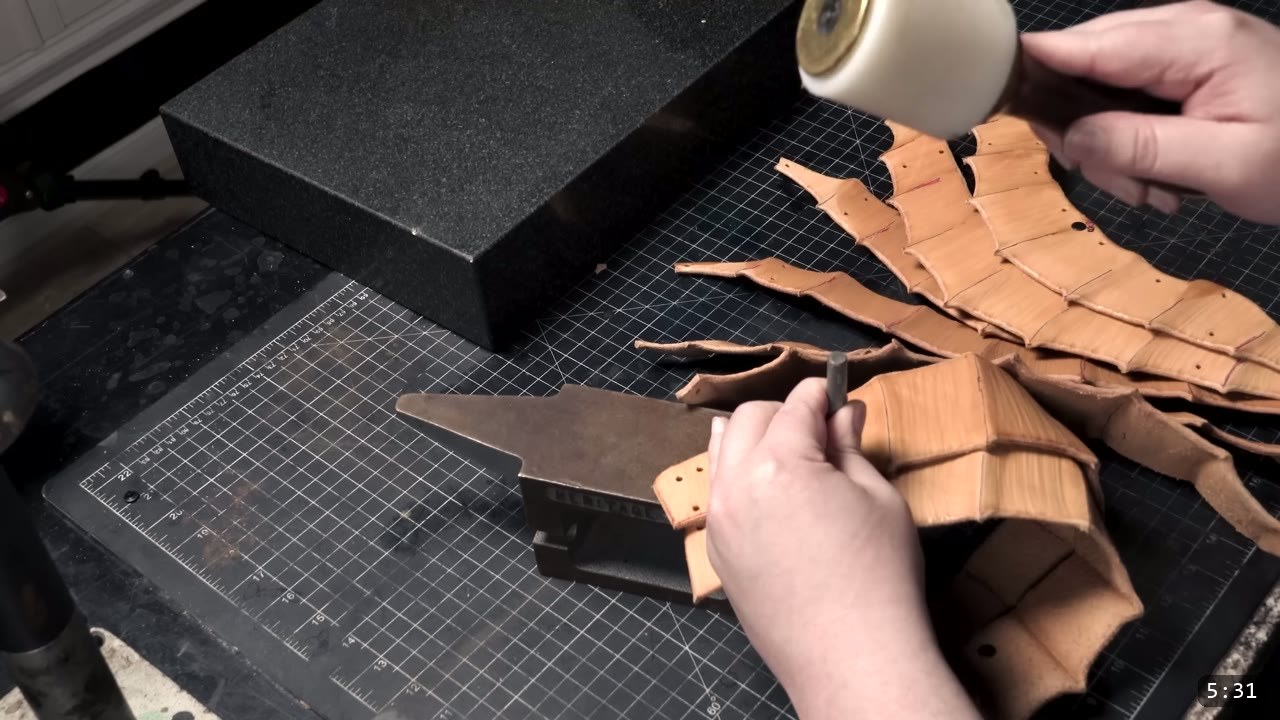
As you work, the leather’s dimensions shift a little, so the small tips will not always fit precisely. Stretch and trim them as needed to bring them in. Those rivets are placed where they are on purpose, so the faceplate hides the rough joins later. When the core is assembled, do a little cleanup along the sides if you want, and do your last shaping now. Do a test fit at this stage to feel how it sits, and stretch the helmet a bit if you need more comfort or room. Do all of this stretching and shaping before you dye, because color and seal are the last steps and they lock the shape.
Step 9: Dye it black
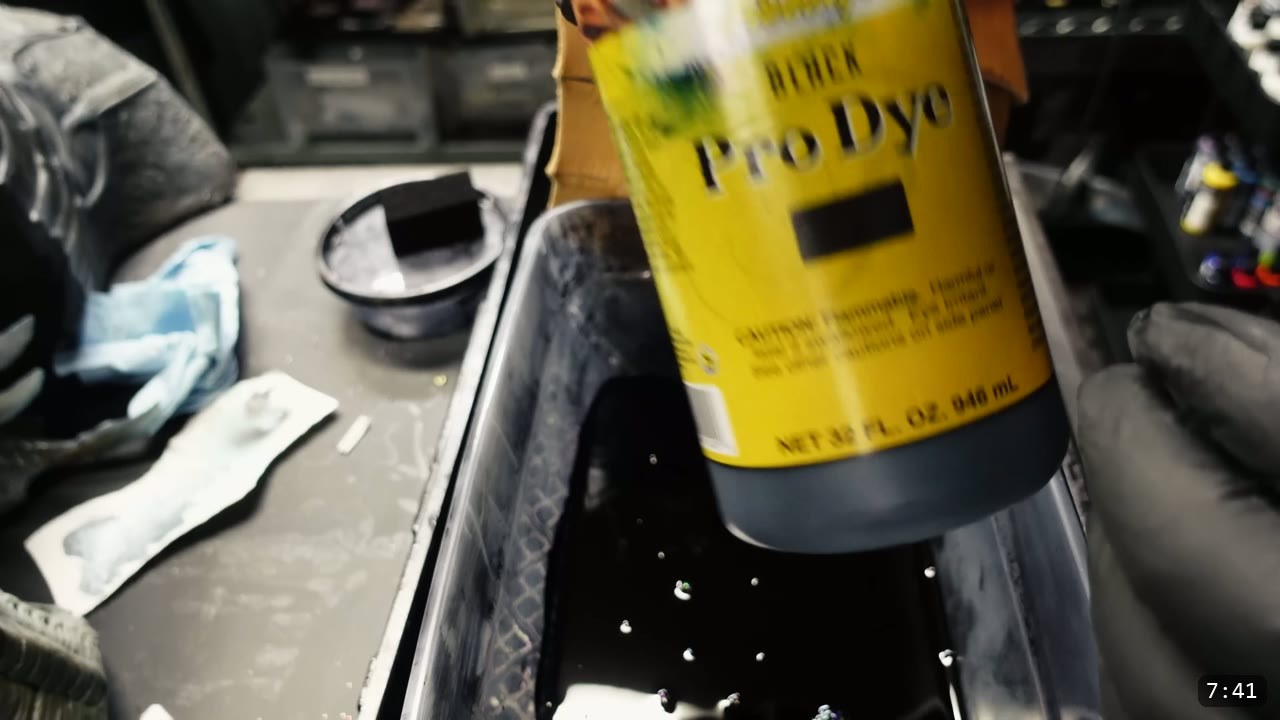
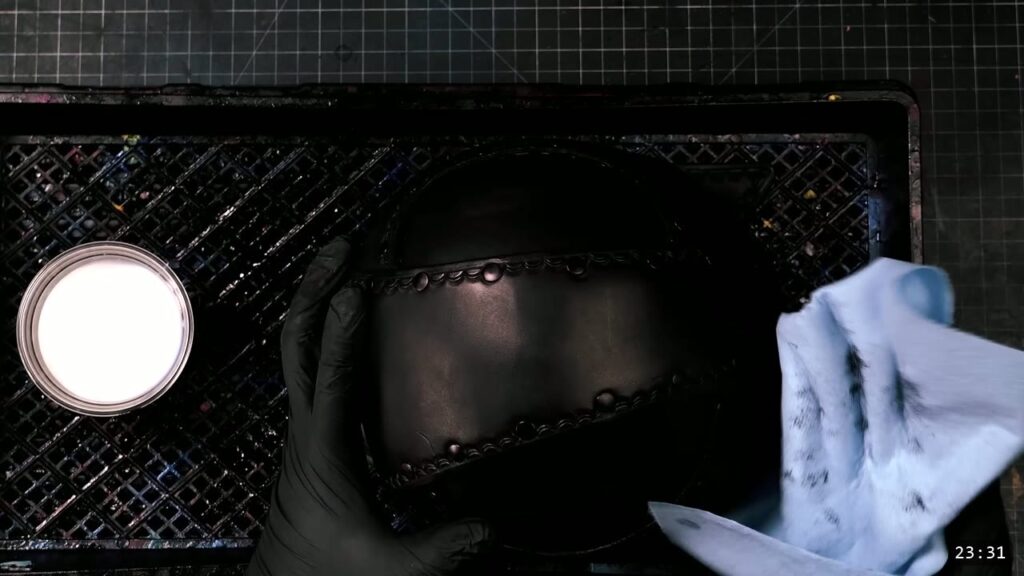
Most builders go for the classic black to match the reference, and that is what the video does. You can get a different look with a few tweaks of color and tooling if you want. For black, I use a small tub and immersion dye the whole helmet. Immersion uses more dye and it helps to have a dedicated dye area to control the mess, but it is about as fast as dyeing gets. Test your color on scrap first if you are unsure.
Step 10: Seal with a finish
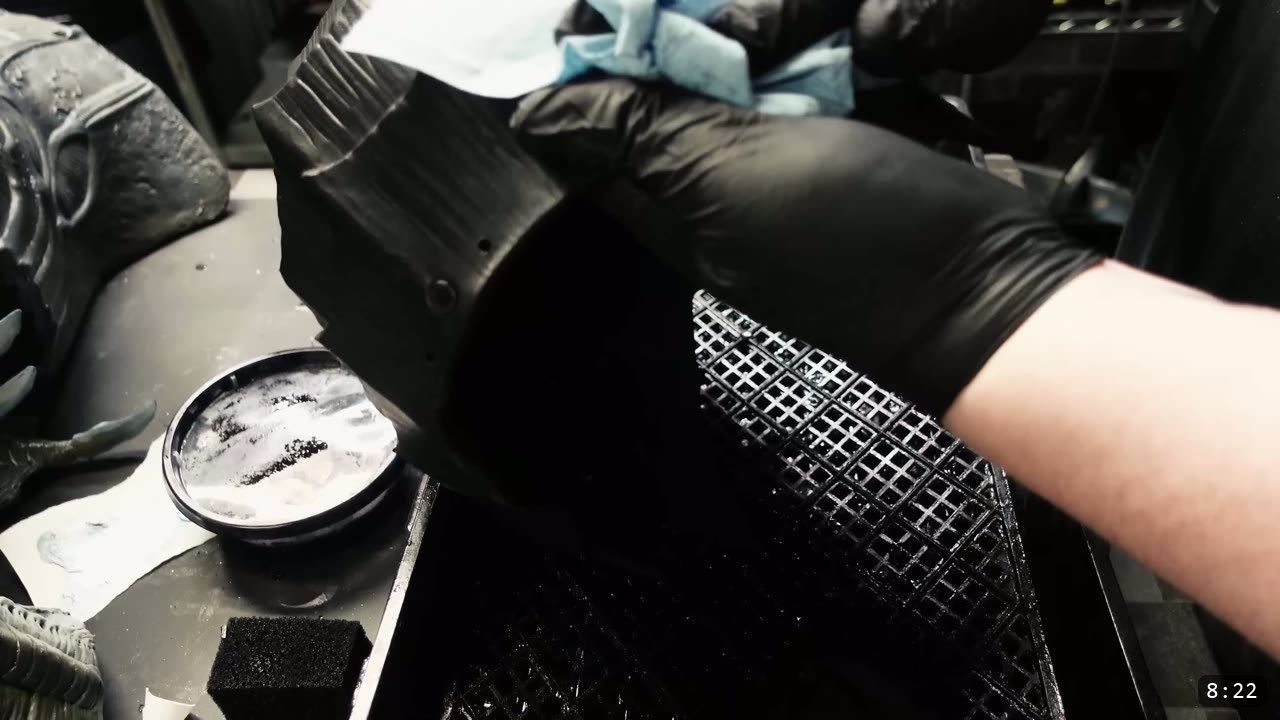
Seal the helmet with Weaver Tough Coat. It gives a protective coating and absorbs into the leather, firming it up a lot. Once this finish is on, the leather resists water and will not fully re-wet or reshape, so make sure all your shaping is done before this coat goes on.
Step 11: Adjust the bottom edge and knock back the shine
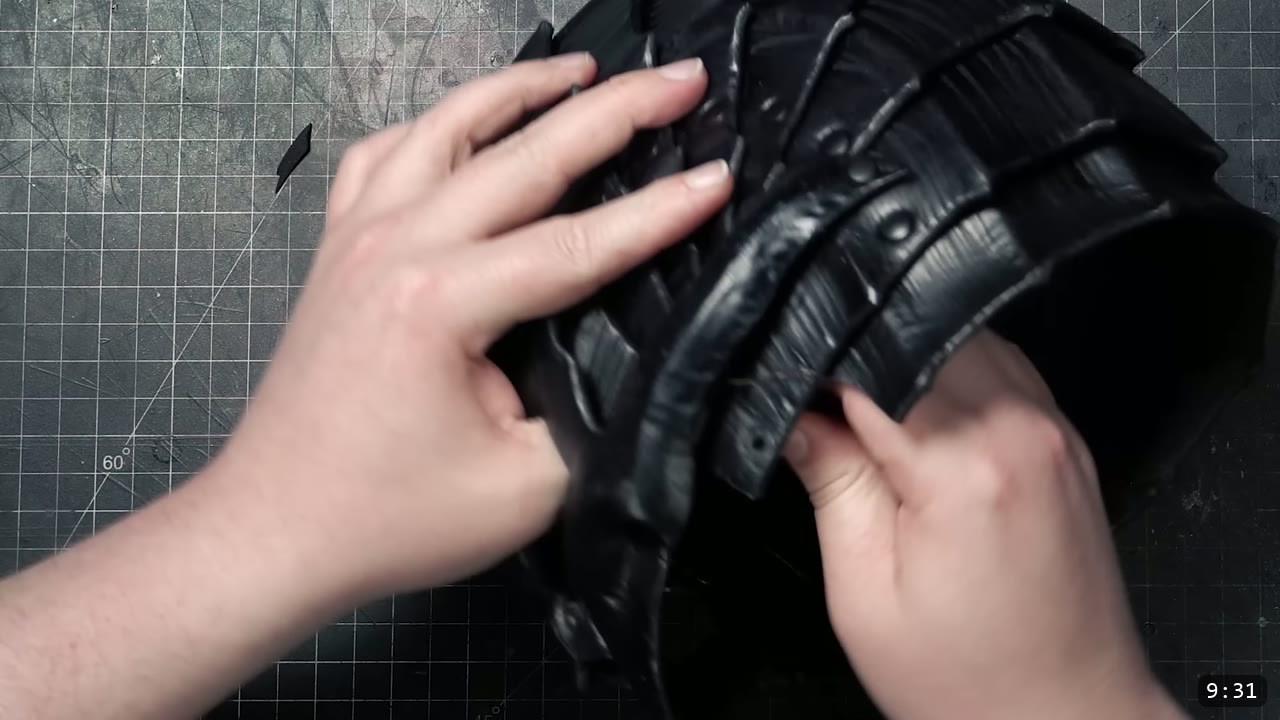
In the video I decided to modify the shape of the bottom pieces a little. If you want to copy that and you have the early-access pattern, trim away the section shown, then use that trimmed piece to trace a symmetrical cut on the other side. Wiggle the knife through the cut carefully rather than forcing it, so you do not slip. After the finish is dry, I run a scotch-brite pad over the surface to knock the shine back a little. Note that this trimming is a cut, not a reshape; the dyed and sealed leather is set at this point.
Step 12: Attach the faceplate
Now attach the skull faceplate. Start with the top rivets and work your way down. You can rivet the side bits too, but consider snaps there instead, especially if the helmet is a little tight to put on. Snaps let you unsnap the sides to get the helmet on and off more easily. If you have to, you can also change the rivet hole placement to make it fit.
Step 13: Finished
That is the build. The finished helmet is a black skull dome of overlapping plates with the faceplate riveted over the front. I almost added glowing red eyes and decided against it; that is an easy option to add if you want it. When yours is done, leave a picture review on the Academy site so we can see how it turned out.
FAQ
Is this a beginner build?
It sits above a first kit build. The public video covers pattern layout, cutting, edging, marking, hole punching, riveting, immersion dyeing, and sealing, all of which are approachable. The detailed skull tooling and shaping is the advanced part, and that is kept for the pattern and the extended video at the Academy. If you are brand new to leather armor, build a simpler helmet first.
What leather should I use?
9 to 10 oz natural vegetable-tan. In the video I use Weaver Select Strap Side for most pieces and Hermann Oak Holster Side for the faceplate. Veg-tan is what lets the leather tool and hold the shape.
Does this video show the full tooling and shaping?
No. The public tutorial shows a preview of the tooling and shaping. The complete demonstration comes with the pattern, along with an extended cut of the build and additional advanced lessons.
How do I color and finish it?
Immersion dye the whole helmet black in a small tub, then seal it with Weaver Tough Coat, which firms the leather up as it protects it. After it dries, a scotch-brite pad knocks the shine back.
Should I rivet or snap the faceplate side bits?
Rivets work. Consider snaps on the side bits if the helmet is tight to put on, so you can unsnap the sides. You can also adjust the rivet hole placement to improve the fit.
Do I have to build the whole suit?
No. The skull helmet stands on its own. It is also the head of a full Berserk armor set, so if you want the rest, the full suit pattern bundle continues from here.
Where to go next
- Get the pattern: Berserker Skull Helmet Pattern.
- Build the matching helmet from the same series: Berserker Hound Helmet Pattern, and see the hound helmet foam version if you want a foam route.
- Go for the whole suit: the Berserker Armor Bundle covers the full head-to-toe set.
- New to leather armor? Start with 5 tips for getting started with leather armor.
- Want to get shaping down first? Watch Hand-shaping Leather for Armor Making.
- Built one? Share it and tag Prince Armory Academy and Weaver Leather; we feature student work.





Responses