



Leather Sabatons Build Guide: Berserk Foot Armor from a Flat Pattern

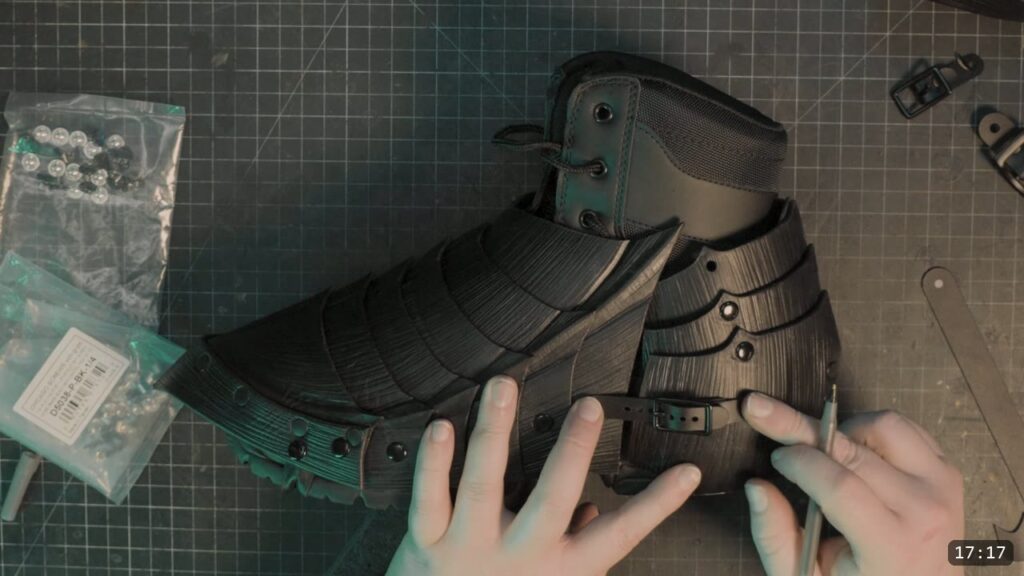
Sabatons are armored foot covers, and these are built to slip over any common shoe or boot. You cut the plates from a flat pattern, wet and shape them, add the fluted texture, dye and seal, then rivet and screw the plates into an articulated foot that flexes as you walk. This is a great standalone project and a solid practice piece before the harder Berserker parts like the helmet or gauntlets. It is an advanced build because of the sliding articulation joints. This guide walks the whole thing alongside the video, so you can watch each step and read the details the video moves past quickly.

What you are building, and what it takes
The sabatons are two matched foot covers, each made of overlapping plates that hinge on hardware so the foot can still bend. The look is the black, fluted Berserker style, and the parts carry lettered reference marks so you can plan the order. This is the pattern build, so you cut and shape everything yourself. If you are brand new to leather armor, build a beginner kit first, then come back to these.
What you need
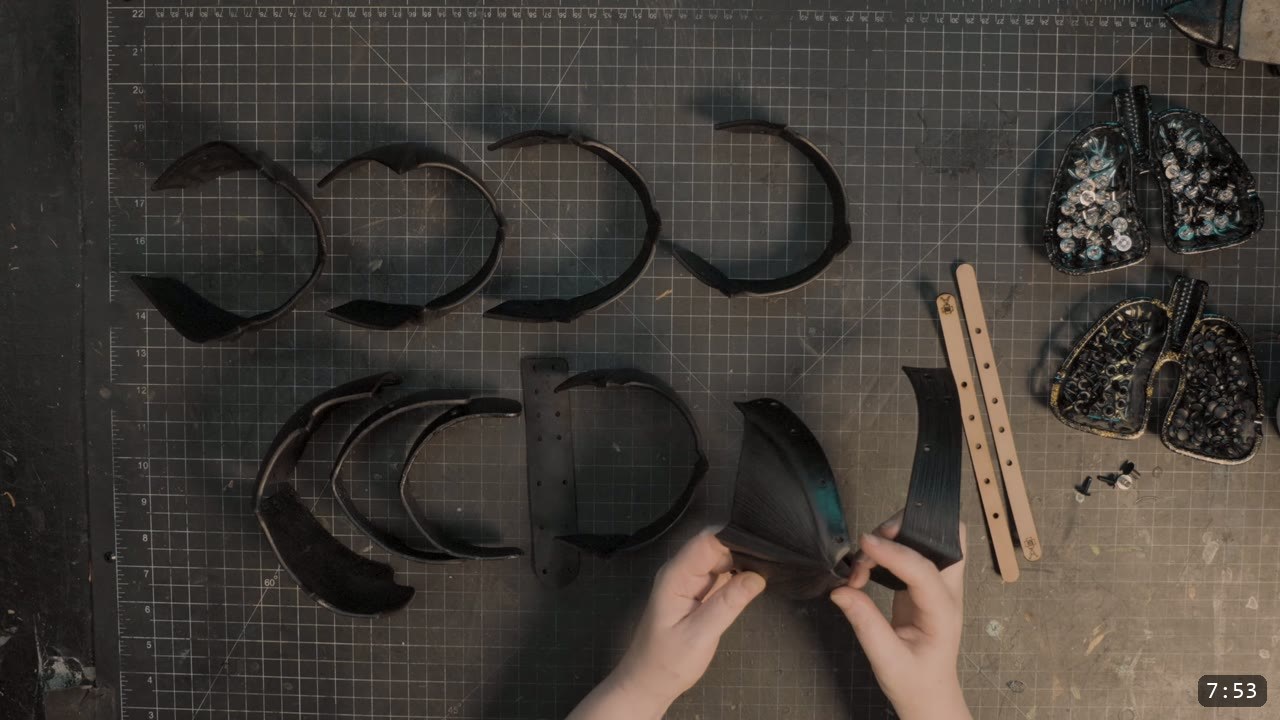
The pattern. The Berserker Sabatons pattern comes with both hand cutting PDFs and SVG files for laser cutting. The front of each foot is parts A through G plus two small retaining straps. The backs are parts H, I, and J.
Leather. The main parts use 9 to 10 oz Weaver Select vegetable tan. The internal retaining straps use lighter 4 to 5 oz vegetable tan. Veg-tan is what lets the plates take and hold the fluted shape.
Tools and hardware.
- Cutting: a laser cutter if you have one, or hand cut from the PDFs. Trim the waste edges off the hide first to square it up.
- Shaping: water to wet the leather, a slicking tool and a swivel knife for the fluting, and any rounded or spherical form to stretch the heel and toe over. A texturing wheel set speeds the fluting up but is optional.
- Edges: an edge beveler and a burnisher.
- Finish: Fiebing’s Black Pro Oil Dye, Weaver’s Clear Tough Coat, and an abrasive pad on a sander to knock down the shine.
- Assembly: medium and long double-cap rivets, and Chicago screws for the articulated joints. Black hardware from Weaver keeps the look consistent.
- Fasteners: snaps or button studs for the retaining straps at the toe and under the sole.
Step 1: Cut the parts
Square up the hide by trimming off the edges you know you will not use. Then cut the parts from the pattern. You can hand cut from the PDFs or run the SVG files on a laser cutter. In the video the laser runs three passes: a light score pass for the reference lines and letters, a pass for the holes, then the full cut pass. Cut the main plates from the 9 to 10 oz leather and the internal straps from the 4 to 5 oz.

Step 2: Wet the pieces
Dip all the pieces into water briefly, one at a time. This softens the leather so you can tool and shape it. Give the edges a quick scrubbing while they are damp. Damp leather is what makes the shaping and texturing in the next steps possible.

Step 3: Add the fluted texture
The Berserker suit has a lot of raised and creased shapes. On the sabatons that shows up as the striated, fluted texture running across the plates. You get it with a slicking tool and a swivel knife. A texturing wheel set does the same thing faster if you have one. Do this now, while the leather is damp and workable.

Step 4: Shape the heel and toe
Other than the fluting, the sabatons only need a little shaping: the back piece that cups the heel, and a bit on the toe. Stretch the damp leather over any rounded or spherical form to get those curves. Burnish the edges of the pieces while you are here. Keep in mind the shape you set now is the shape you keep, so get it right before the leather is dyed and sealed.

Step 5: Dye
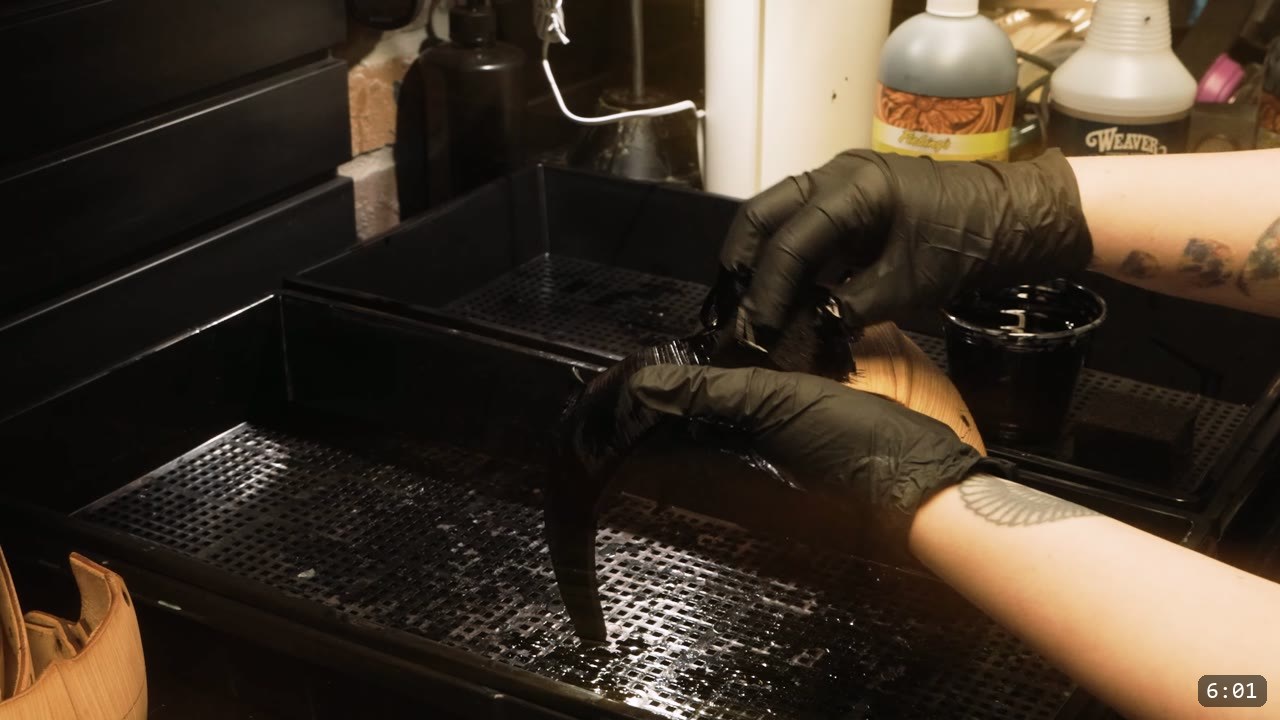
Once the shaping and fluting are done, dye the pieces. The suit uses Fiebing’s Black Pro Oil Dye throughout. Wear gloves and work over a drip tray. Test your color on scrap first, or on the underside of a piece if this is your first build and you have no scrap.
Step 6: Seal and dry
Seal the leather with Weaver’s Clear Tough Coat. As the pieces dry, keep an eye on them and make sure they dry in the position you want them to hold, which for most of these is a gentle arc. That set helps assembly later. Once the pieces are dry, run an abrasive pad on a sander over them to knock the shine down a little. From this point the leather is finished; it resists water and will not re-wet or reshape, so all your forming had to happen before now.
Step 7: Assemble the front foot
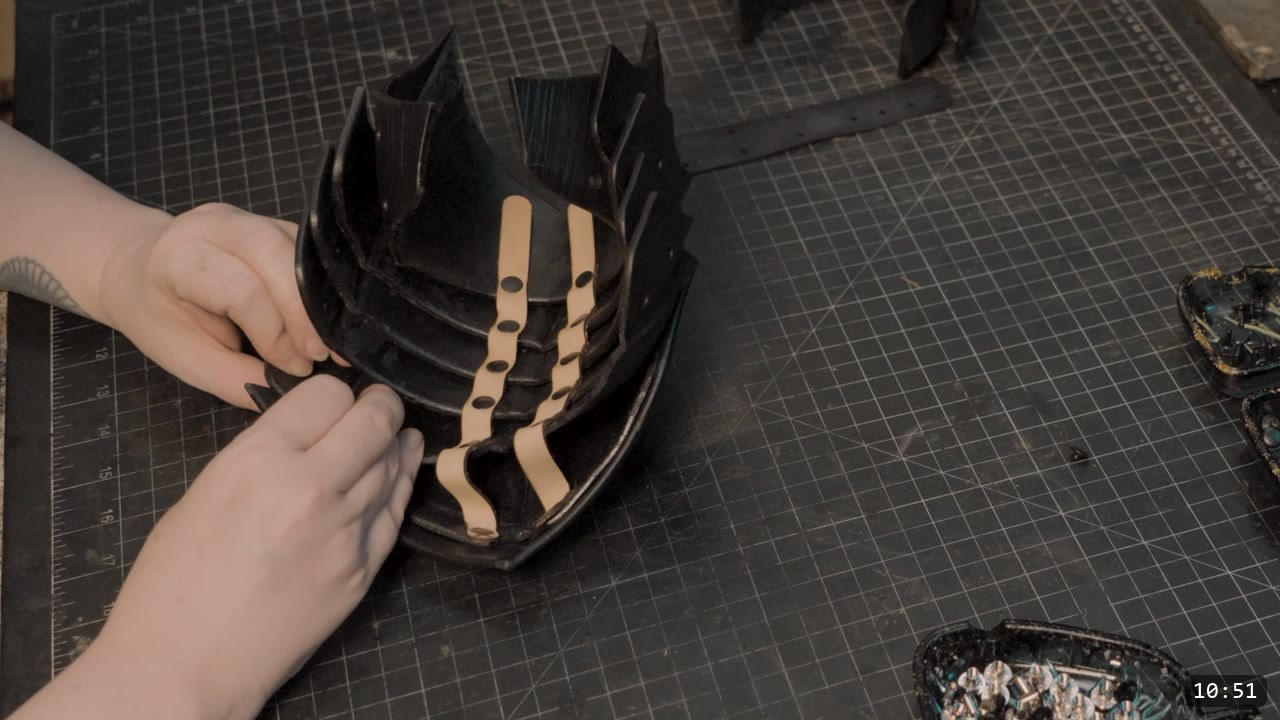
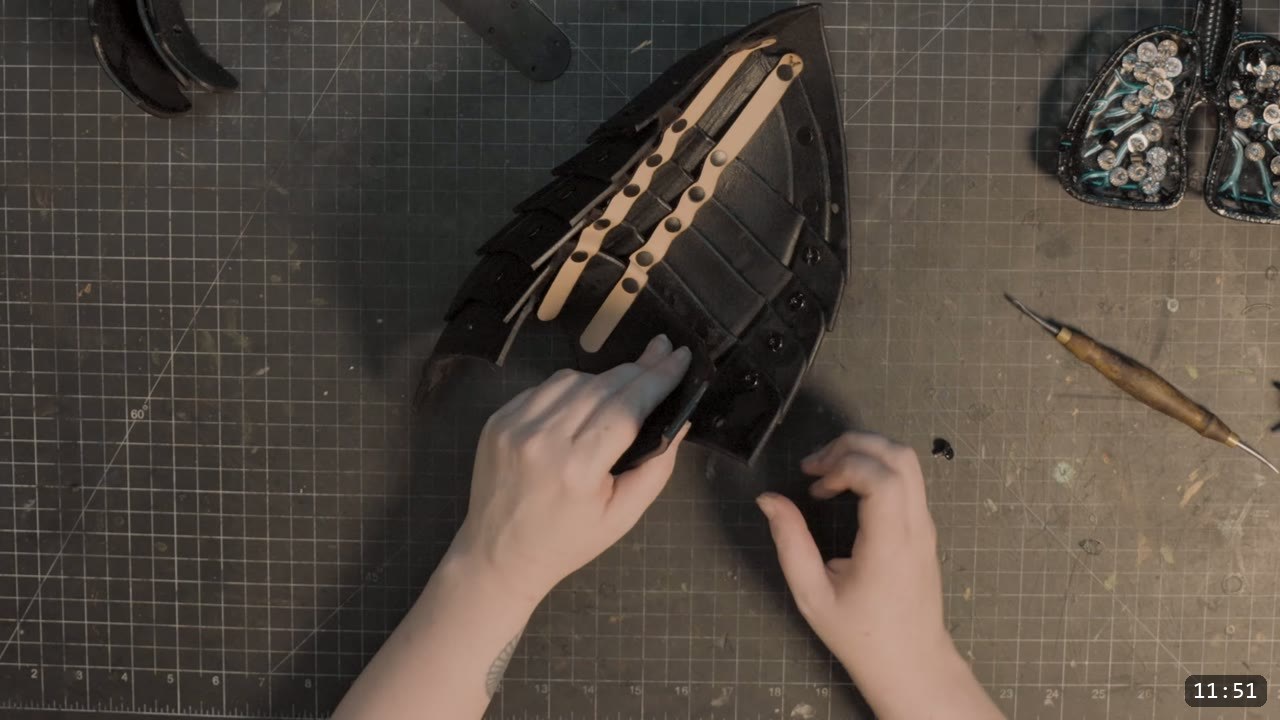
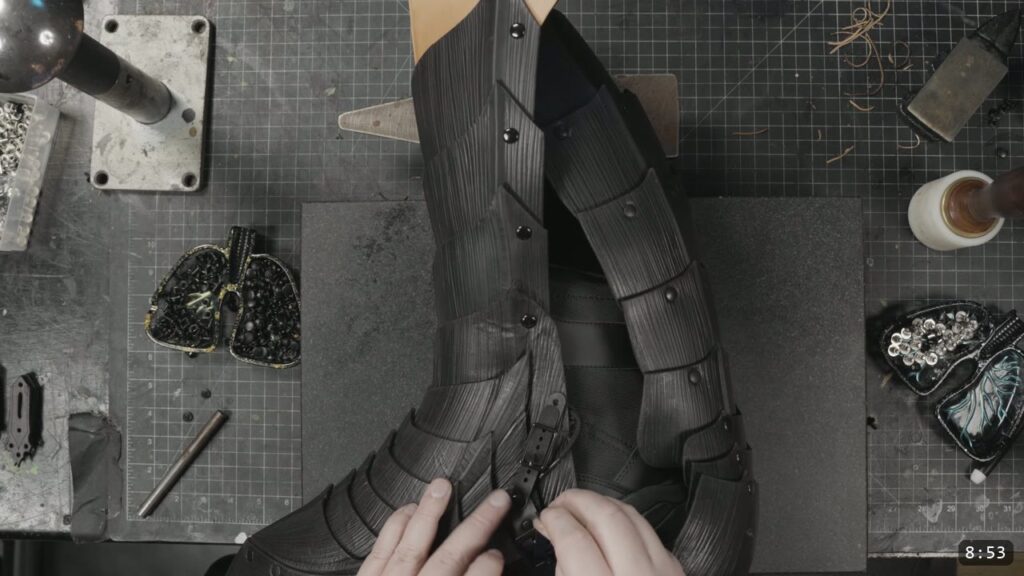
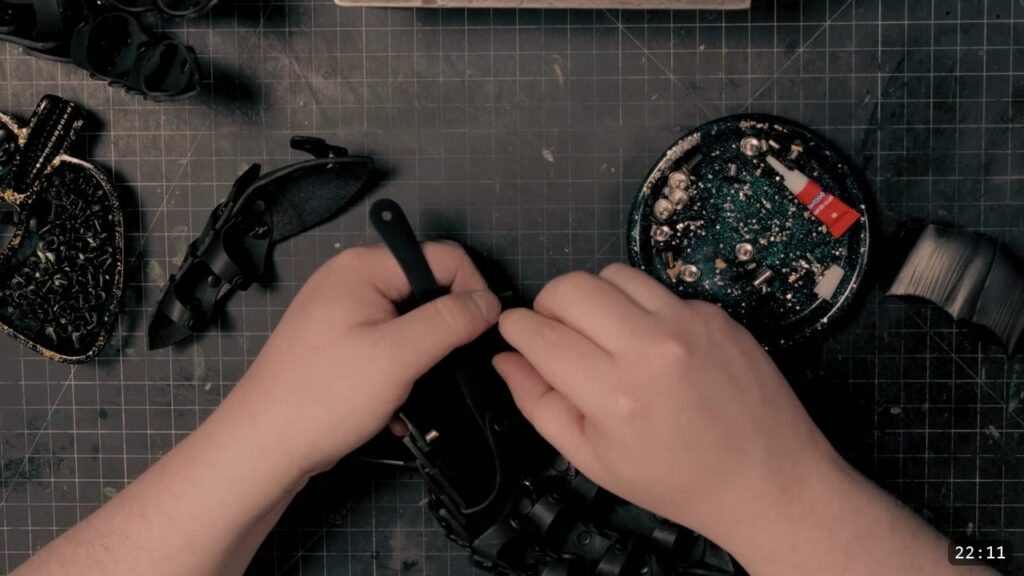
Start with the front of the foot: parts A through G and the two retaining straps. The retaining straps have shape indicators that show where they go. Connect all the plates to the retaining straps first, working in sequence. The first hole position goes through all three layers, so set that one carefully. Rivet parts A and B together to form the toe. From B onward, join one plate to the next with Chicago screws.

Step 8: If the plates fight you
If the parts do not line up, you have options. Make a paper mockup first to learn how the plates go together and to check fit. A foam mockup is more work but reads closer to the real thickness of leather. Best of all, when you are first tooling the pieces, loosely preassemble everything and correct any shapes while the leather is still pliable. It is much easier to fix a shape then than after it is dyed.

Step 9: Assemble the back
The backs are parts H, I, and J. Assembly begins with the retaining straps again. You can start with part H, or start with J, which is a little easier. Once the plates are on the straps, connect the sides together with Chicago screws, the same as the front.
Step 10: The articulation
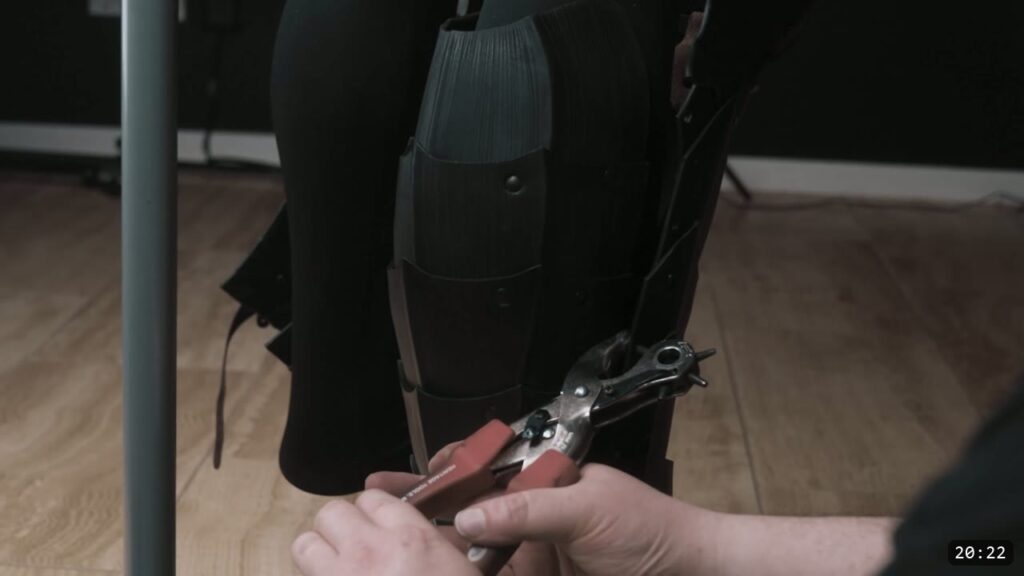
The retaining straps do more than hold plates. They set a maximum threshold of mobility, so the parts do not flop around. Chicago screws are the reason the joints move: they are stronger than rivets, they do not rely on a pressure fit, and the parts hinge cleanly off the hardware. A few of the screw holes are elongated on purpose. Those are sliding articulation joints, and they add a little side-to-side motion on top of the hinge. This is part of why the build is rated advanced.
Step 11: Break-in and the sacrificial straps
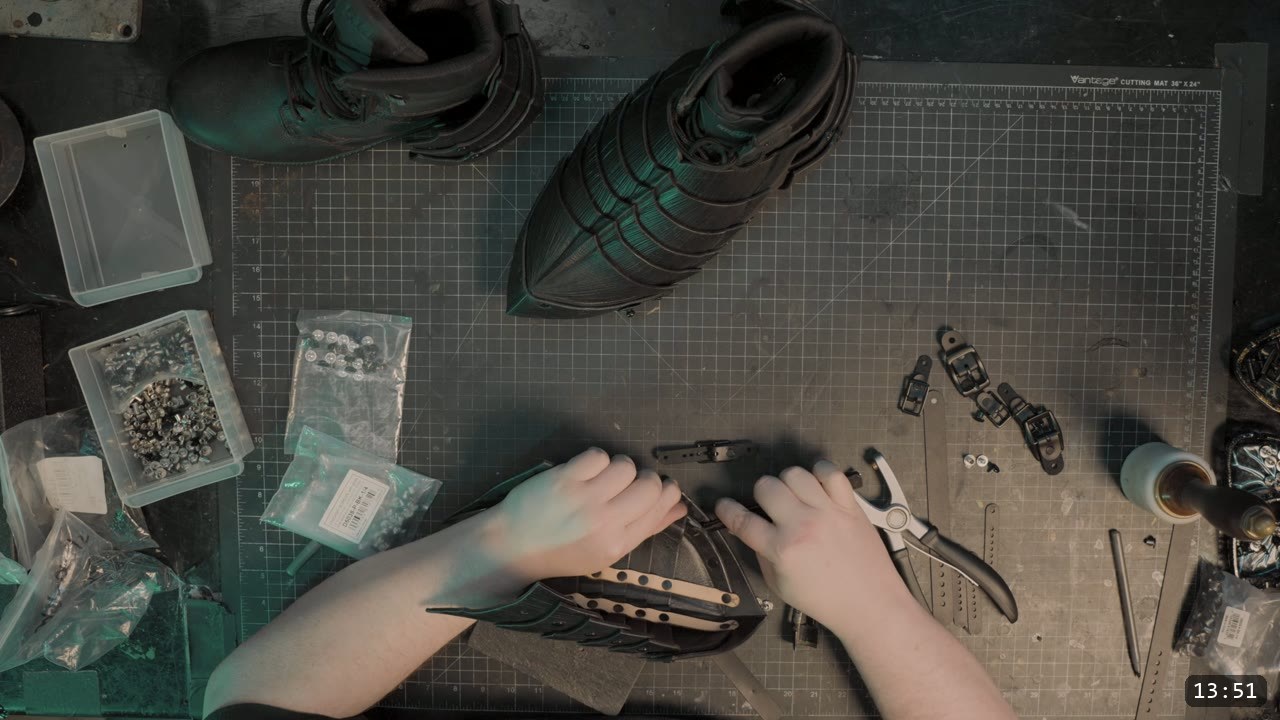
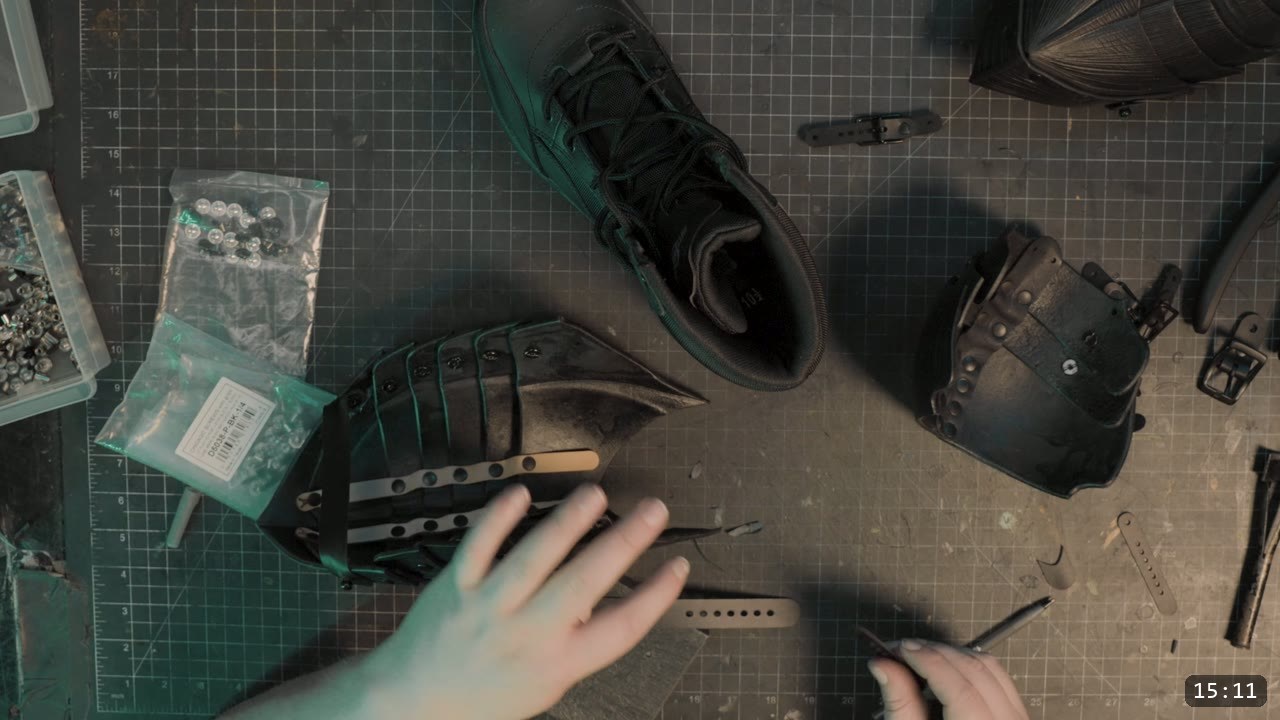
New sabatons feel stiff. That is deliberate. The fit accounts for how the leather loosens as it breaks in, and feet are a high-wear spot. You do not have to force a break-in; normal wear does it. Add the toe strap at the tip to keep the armor in place while walking. Treat that toe strap as sacrificial and plan to replace it after heavy use, since you walk on it. Attach it with a snap or with button studs for quick on and off, matched to the footwear you plan to wear. The other strap runs under the boot around the middle. With a heeled boot it should last; with a flat sole it is also sacrificial.
Step 12: Join the front and back
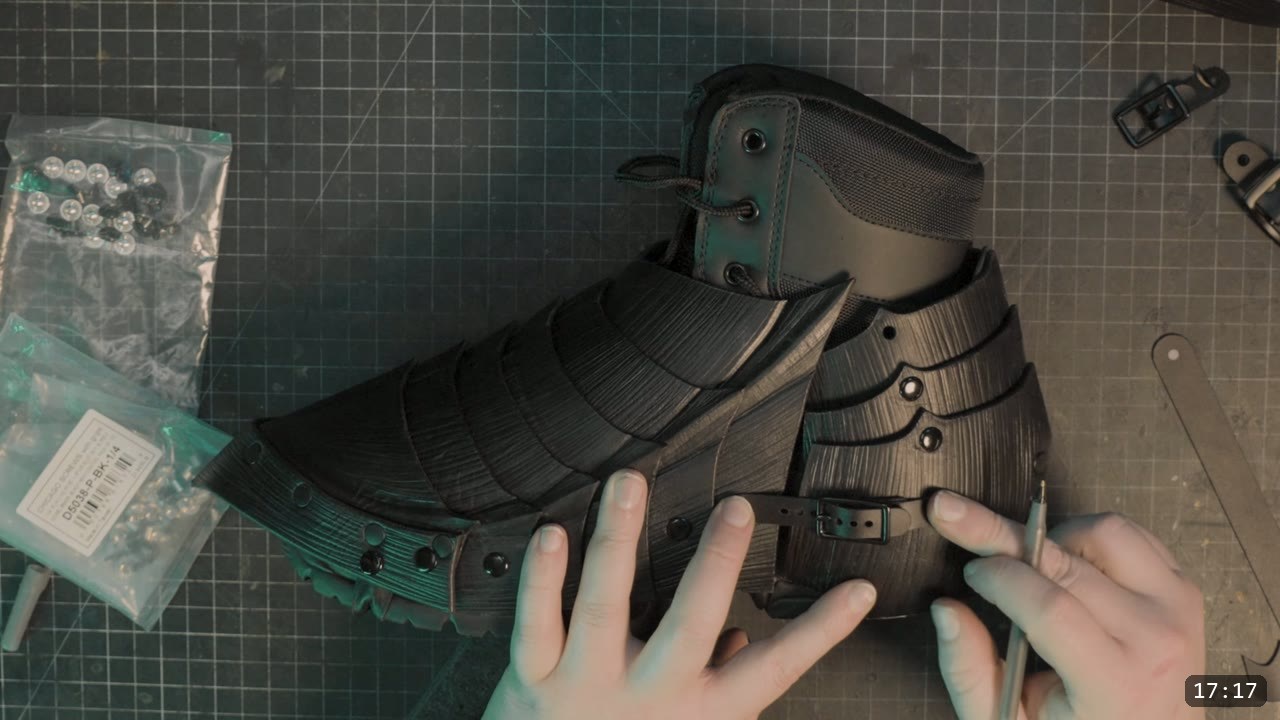
How you join the two halves depends on your plan. For a standalone piece, connect the front and back with straps on one side, and on the other side fix a small piece of leather to the inside between the front and back as a permanent link. Two small inside straps do the trick. If you are building the full Berserker suit instead, the sabatons integrate with the greaves, so you finish the greaves first and connect them there.
FAQ
Are these a beginner project?
They are rated advanced because of the sliding articulation joints. That said, they make a great practice piece and a good first step toward the full Berserker suit. If you are new to leather armor, build a beginner project first, then come back to these.
What leather should I use?
Nine to 10 oz vegetable tan for the main plates, and lighter 4 to 5 oz vegetable tan for the internal retaining straps. The video uses Weaver Select veg-tan. Veg-tan is needed because the plates have to hold the fluted shape.
Why Chicago screws instead of rivets?
Chicago screws make a high-strength hinge point. They are stronger than rivets and do not rely on a pressure fit, so the plates can articulate smoothly. Rivets still hold the fixed spots, like the toe where parts A and B meet.
Do the sabatons fit over shoes or boots?
Yes. They are designed to be worn over any common shoe or boot. The toe strap and the under-sole strap adjust to whatever footwear you pair them with.
They feel stiff. Did I build them wrong?
Probably not. New sabatons are stiff by design, and they loosen as the leather breaks in with wear. Feet are a high-wear area, so the fit is set a little tight on purpose. You can force a break-in, but you do not have to.
When do I dye and seal?
After all the shaping, fluting, and edge work, and before assembly. Dye and seal are the last leatherworking steps. Once the finish is on, the leather resists water and will not re-wet or reshape, so do every bit of forming first.
Where to go next
- Get the pattern: Berserker Sabatons pattern, hand cutting PDFs plus laser SVG files.
- Building the whole suit? The Berserker Armor Bundle covers the full set with the build course.
- Next in the series: How To Make Berserk’s Greaves in Leather, which connects to these sabatons.
- Want to go deeper on shaping? The Hand-shaping Leather for Armor Making walkthrough goes deep on wet forming.
- New to leather armor? Start with 5 tips for getting started with leather armor.
- Built a pair? Share it and tag Prince Armory Academy and Weaver Leather; we feature student work.



Responses