



Leather Cuisses and Knees Build Guide: Articulated Upper-Leg Armor


You build the cuisses and articulated knees from a flat printed pattern, not a kit. You trace the pieces onto 10 to 11 oz vegetable-tan leather, cut and punch them, add a simple border, dye them red, then assemble the knee from its small segments and set the leg joints with rivets and Chicago screws. Straps and buckles hold it on your leg, and a weathering pass at the end matches it to the greaves. This is an upper-leg build that continues the Fantasy Armor series, so it shares many steps with the greaves before it. This guide walks the whole thing alongside the video and slows down where the video moves quickly.
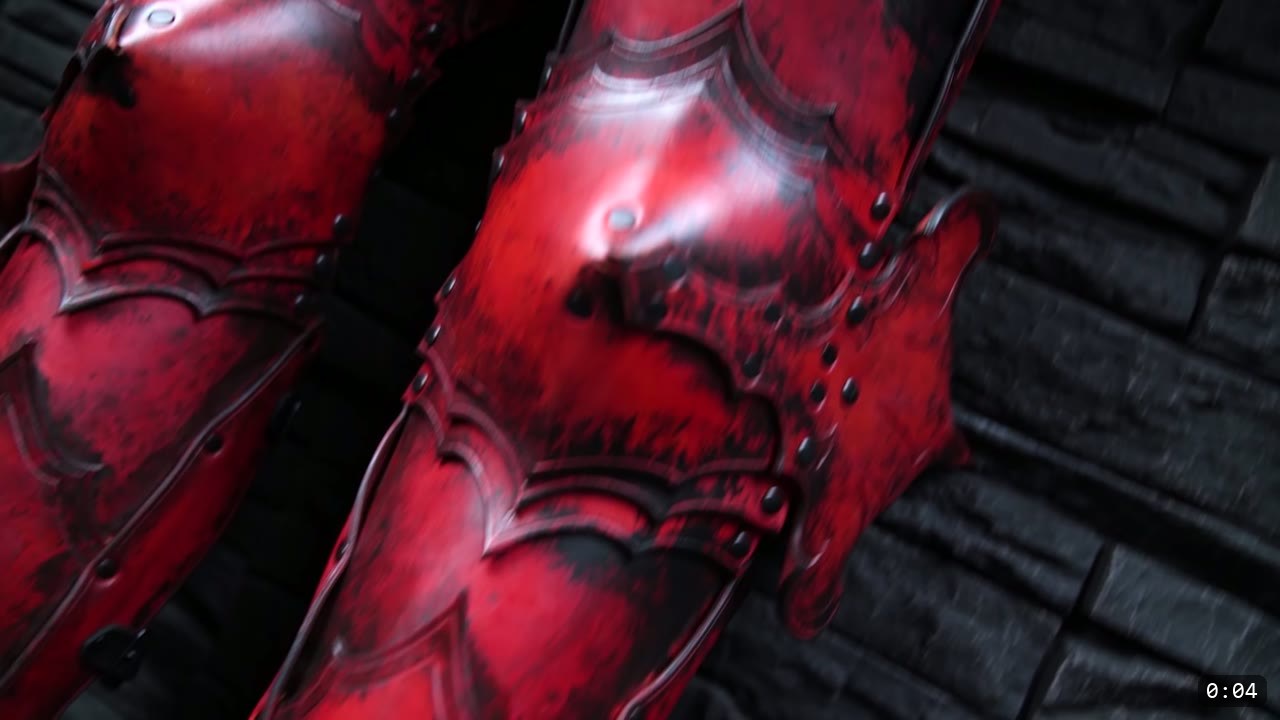
What you are building, and what it takes
The cuisses are the upper-leg plates and the knees are the articulated joints that sit below them. Together they can be permanently attached to the greaves from the previous tutorial so the whole leg reads as one piece. Because this is a pattern build, you cut and shape everything yourself. If you are new to leather armor, build the greaves first, then come back for the legs.
What you need
The pattern. The Fantasy Upper Legs and Knees pattern prints across tiled pages that you tape together and cut out. If you already sized the greaves in the last tutorial, use that scale as your starting point here.
Leather. Natural vegetable-tan, 10 to 11 oz. Veg-tan matters because the fan piece needs to hold a formed shape and the edges need to burnish clean.
Hardware. Rivets for the fixed joints, Chicago screws for the articulated pieces, and buckles. I use at least two buckles per cuisse, plus a double D-ring setup for the inner knee and for the top of the cuisse.
Tools. A cutting instrument of choice (utility knife and heavy shears), a rotary punch, an edge beveler and a burnisher, a stitching groover or creaser for the border, a mallet and a rivet setter, and a screwdriver for the Chicago screws. A foot press for setting rivets is a nice-to-have, not a must.
Color and finish. Fiebing’s Pro Oil Dye in red, Weaver’s Tough Coat to seal, and a dark antiquing color for the weathering pass.
Step 1: Print the pattern and mock it up
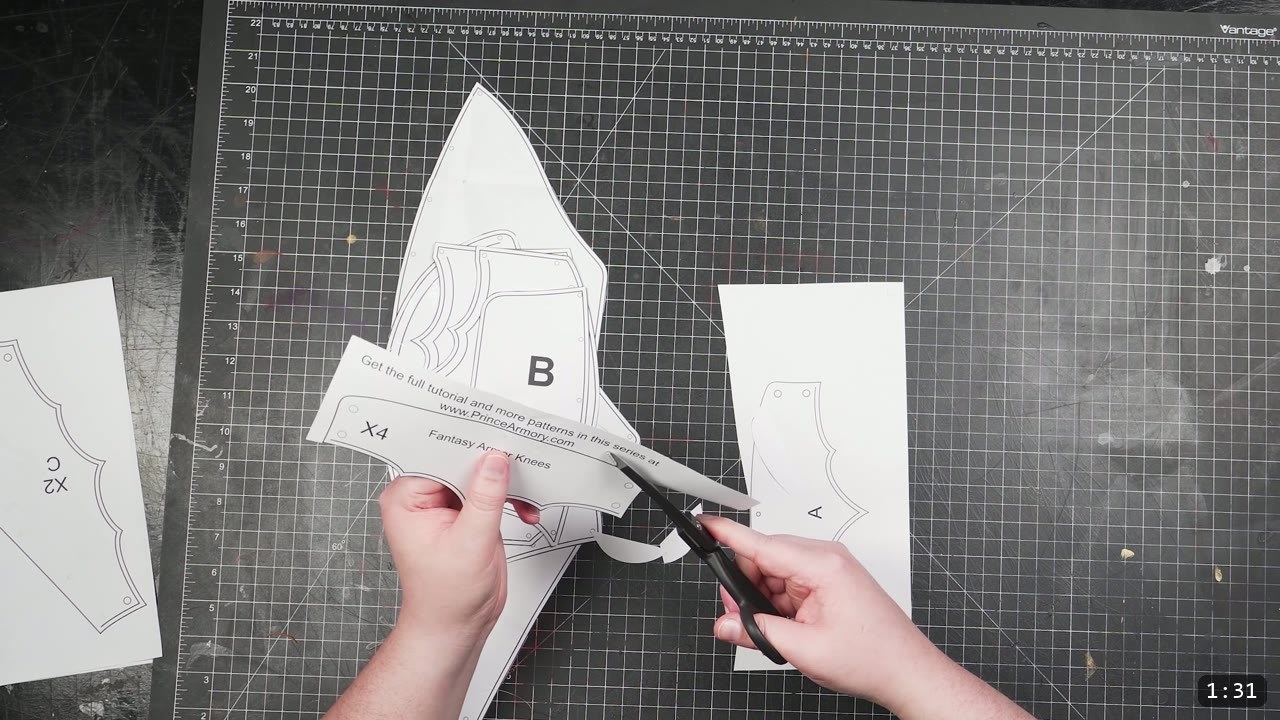
Print on tiled pages with a PDF reader that handles tiling, then tape the pages together and cut out the pattern. Before you cut any leather, make a quick paper mock-up and check the fit. Scale the pattern up or down slightly and reprint if you need to. This costs a few sheets of paper and saves a whole hide.
Step 2: Trace onto veg-tan and cut
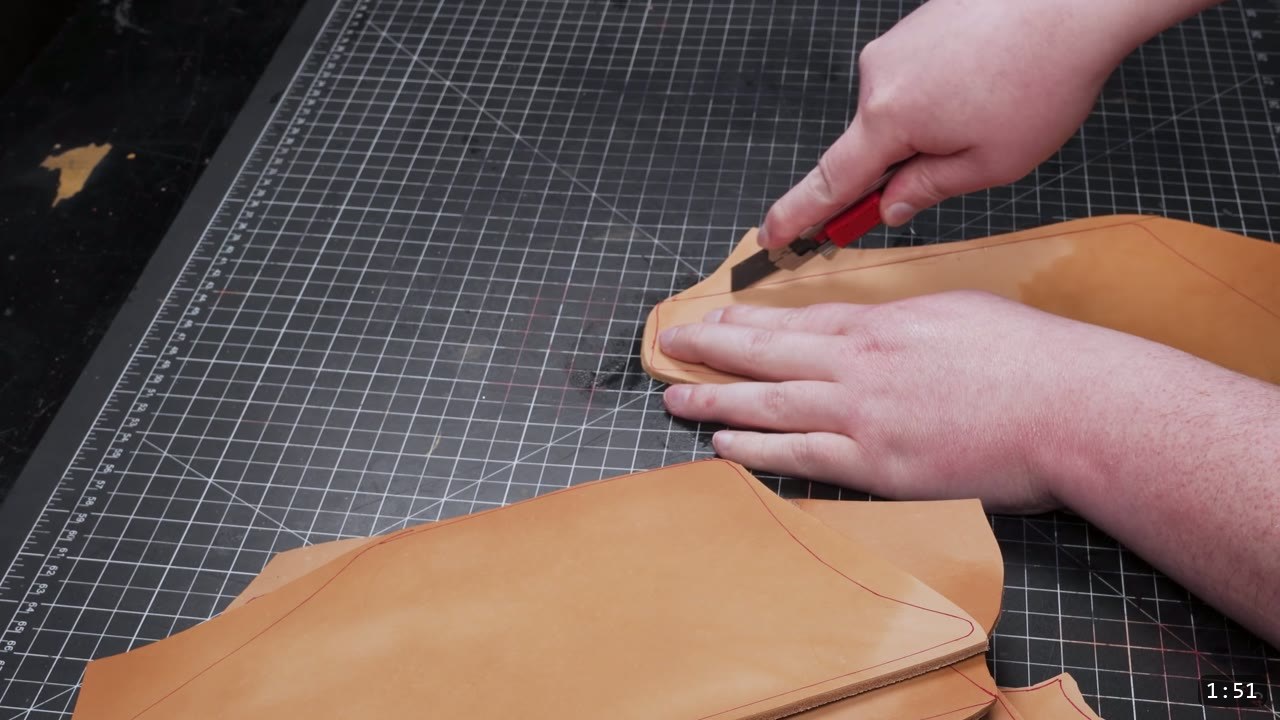
Trace the pieces onto the 10 to 11 oz veg-tan, laying them out efficiently and separating them into manageable groups. I dampen the leather at this stage because damp leather cuts and works more easily. Then make your final cuts with your cutting instrument of choice.
Step 3: Punch the holes
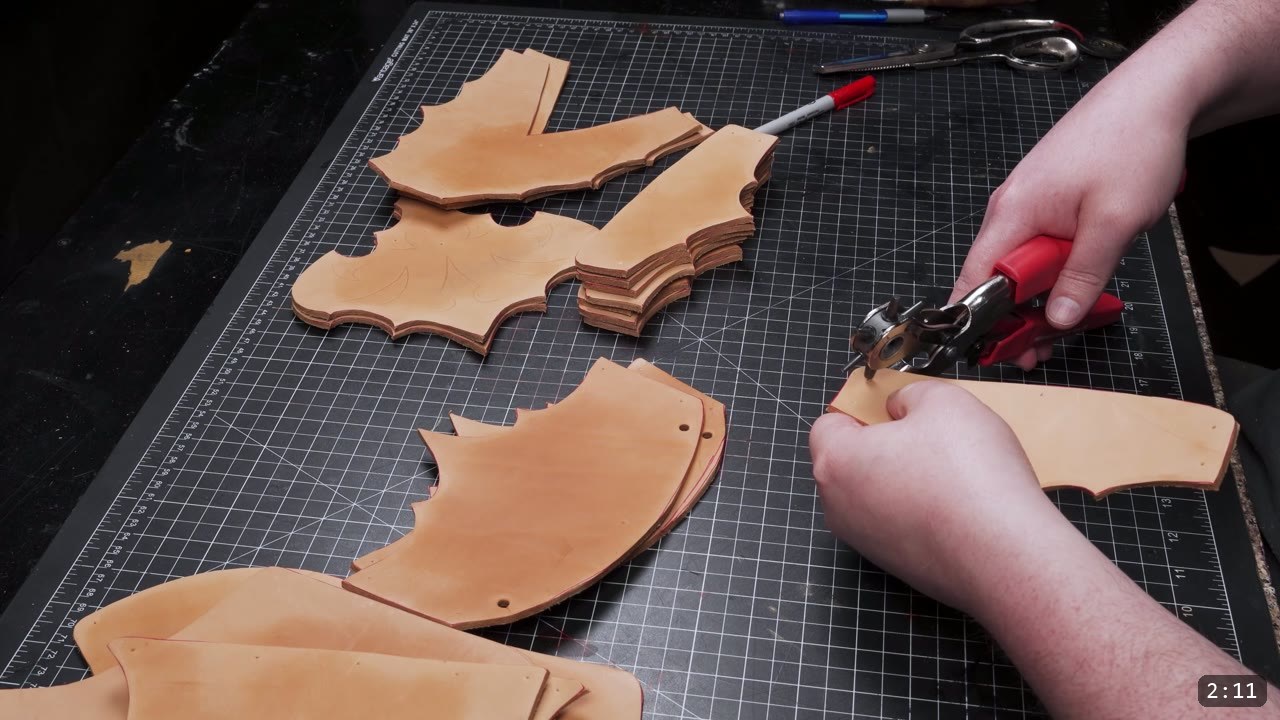
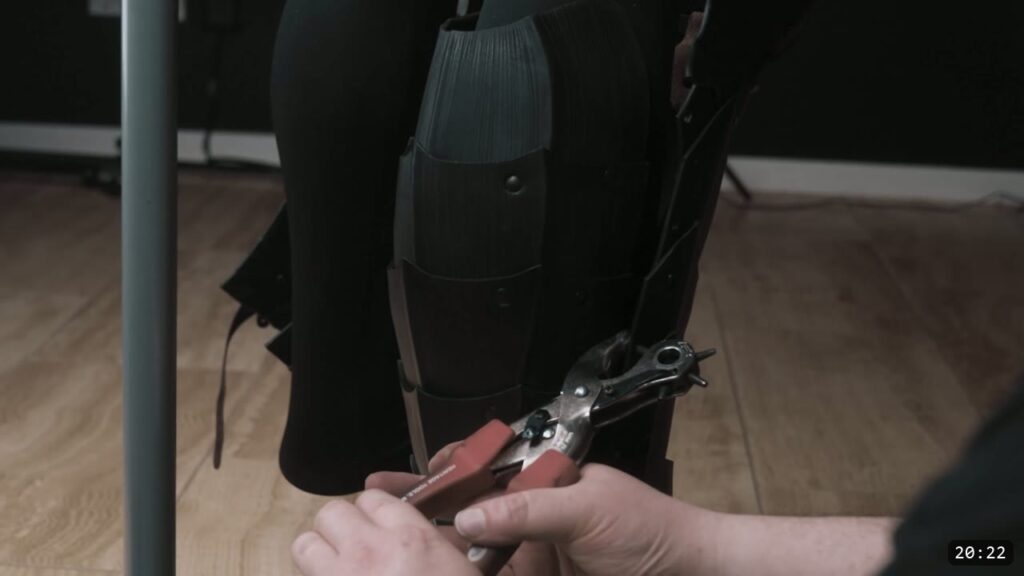
Punch every rivet and hardware hole now, while the pieces are flat and easy to reach. One thing to watch: the articulated pieces use Chicago screws, and those call for a slightly larger hole than a rivet. Punch those to size so the screws seat properly later.
Step 4: Bevel, burnish, and add the border
Decide how far you want to decorate. To match the greaves, I keep it simple: the same double-channel border, run with a stitching groover so two parallel lines follow the edge. Then I bevel the top and bottom edges of all the pieces and give them a quick pass of burnishing to smooth and compress the fibers. I also carve a few simple decoration lines into the side fan piece. The design leaves plenty of room for heavier tooling if you want it.
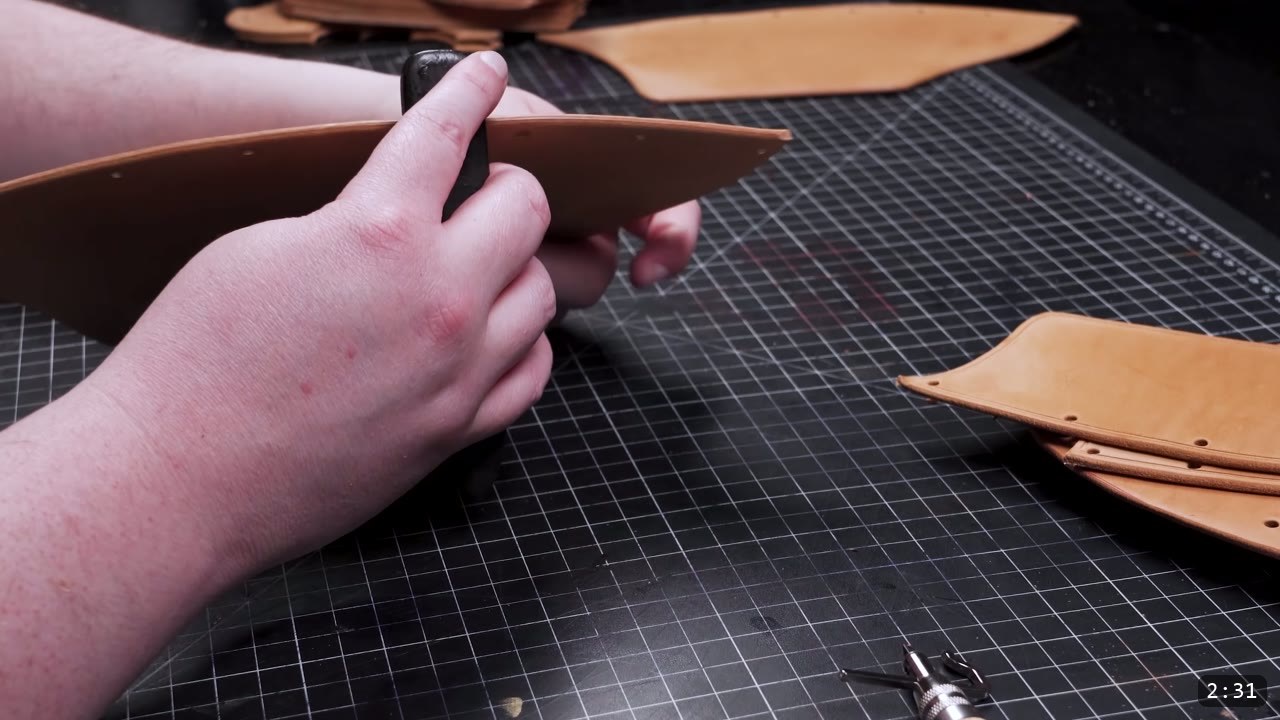
Step 5: Dye the pieces red
Dye the pieces before assembly, while they are flat and easy to coat. I use Fiebing’s Pro Oil Dye in red to match the rest of the set. Test your color on scrap first, or on the underside if you have no scrap, so you know what you are getting before it hits the show side.
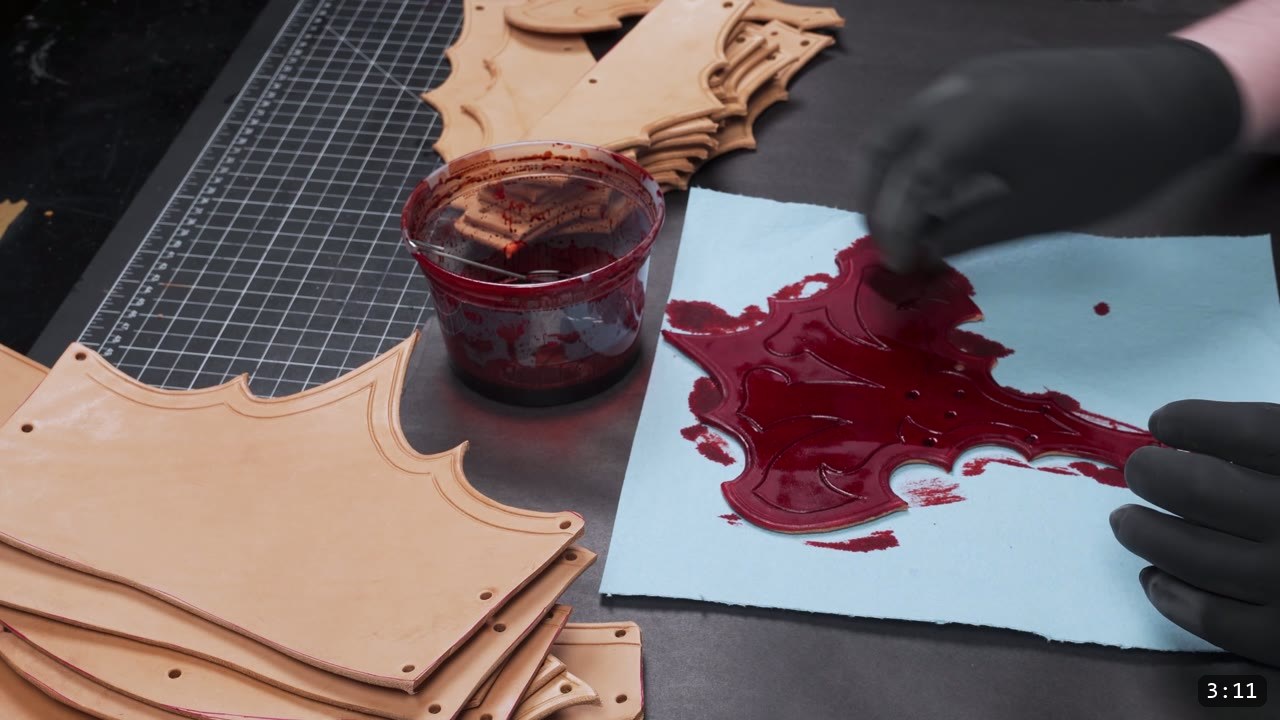
Step 6: Shape the fan piece, then seal
The only piece that needs shaping is the fan piece on the sides of the knee. A little forming gives it extra firmness, and that is enough. Do this small amount of shaping before you seal, not after. Once Weaver’s Tough Coat is on, the finish resists water and the leather will not fully re-wet or reshape, so the seal is the point of no return for the form. Seal the pieces with Tough Coat. The upper legs get their weathering later so they match the greaves.
Step 7: Plan the assembly order
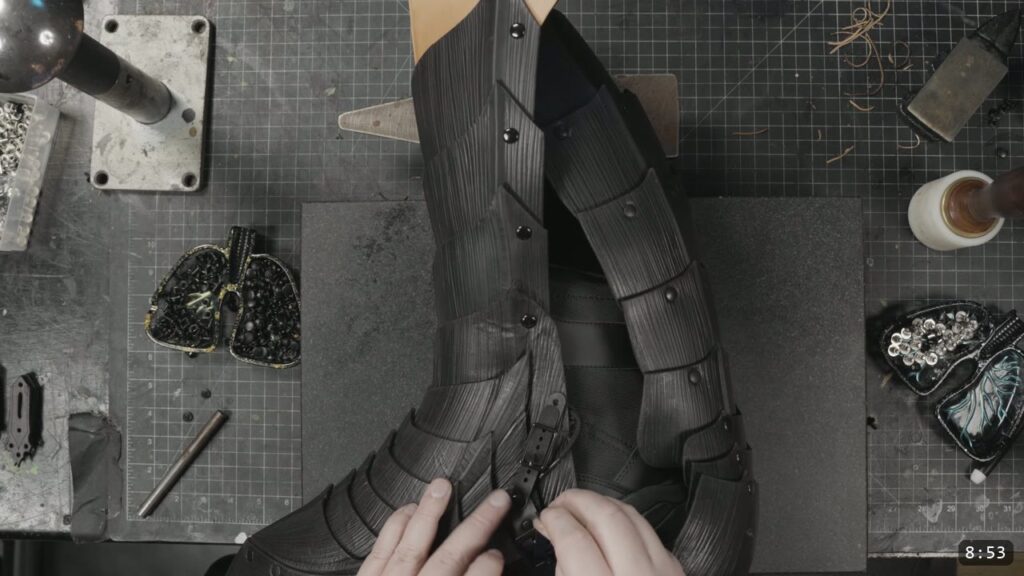
Assembling the knee means joining all the lames, the smaller segments, to the knee cop, and joining the lames to the upper and lower sections of the leg. You also add a small retaining strap so no single joint can open too wide and leave a gap or bind, while still letting the leg collapse flat for storage or transport. The trick is the order of operations, because the more you assemble, the less room you have to reach in and set rivets. I assemble the side fan to the knee cop first, then attach the retaining strap to all the pieces, then set the Chicago screws. For the retaining strap, start at the greaves and cuisses and work inward, then the lames, then finish at the knee. Starting at the knee and working out just leaves you fumbling for access.
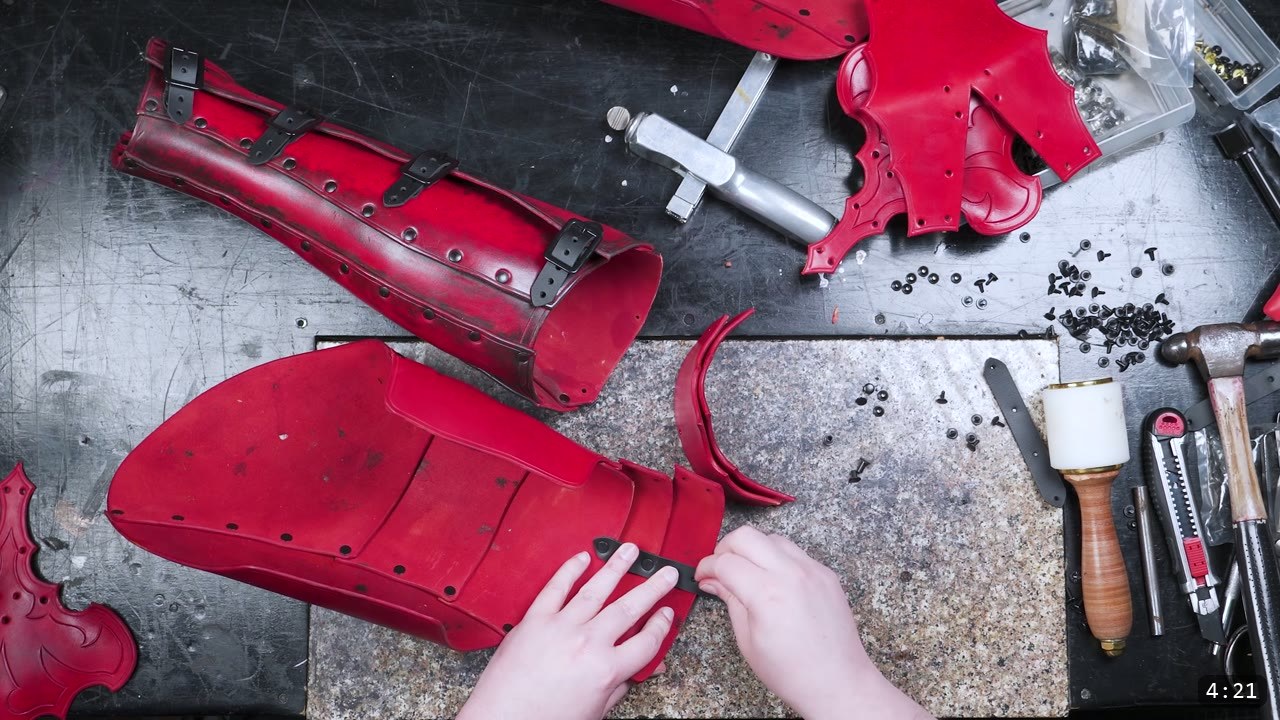
Step 8: Rivet, and mind inside versus outside
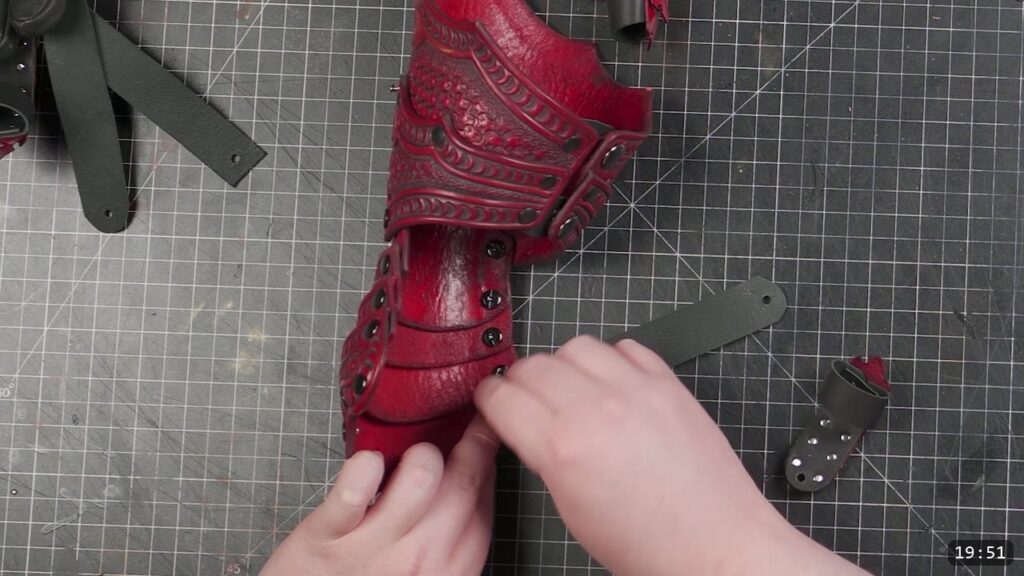
Assembling the knee itself is straightforward: line up the rivets with the side of the fan piece and set them. To make it easier, you can set many of these rivets flat from the inside, and a foot press helps if you have one. Watch orientation as you go. Keep the greave buckles on the inside of the legs so they are easier to reach when you put the armor on, keep the fan guard on the outside of the knee, and on the cuisses point the more narrow side toward the inside of the leg.
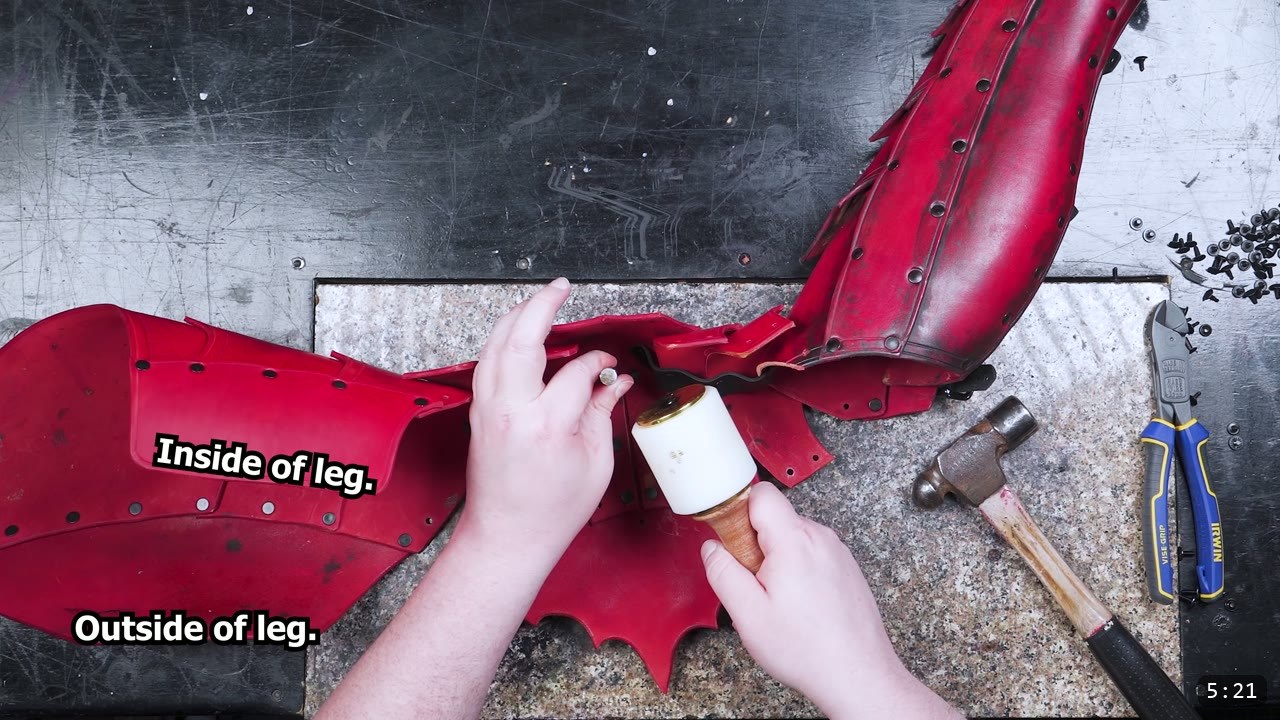
Step 9: Set the Chicago screws
When you attach the final articulated pieces with the Chicago screws, put a drop of glue or Loctite in the threads. Without it they will work themselves free over time. Before you commit the glue, do a dry run and confirm every part is in the right place and fits the way you want. Then glue.
Step 10: Add the straps and buckles
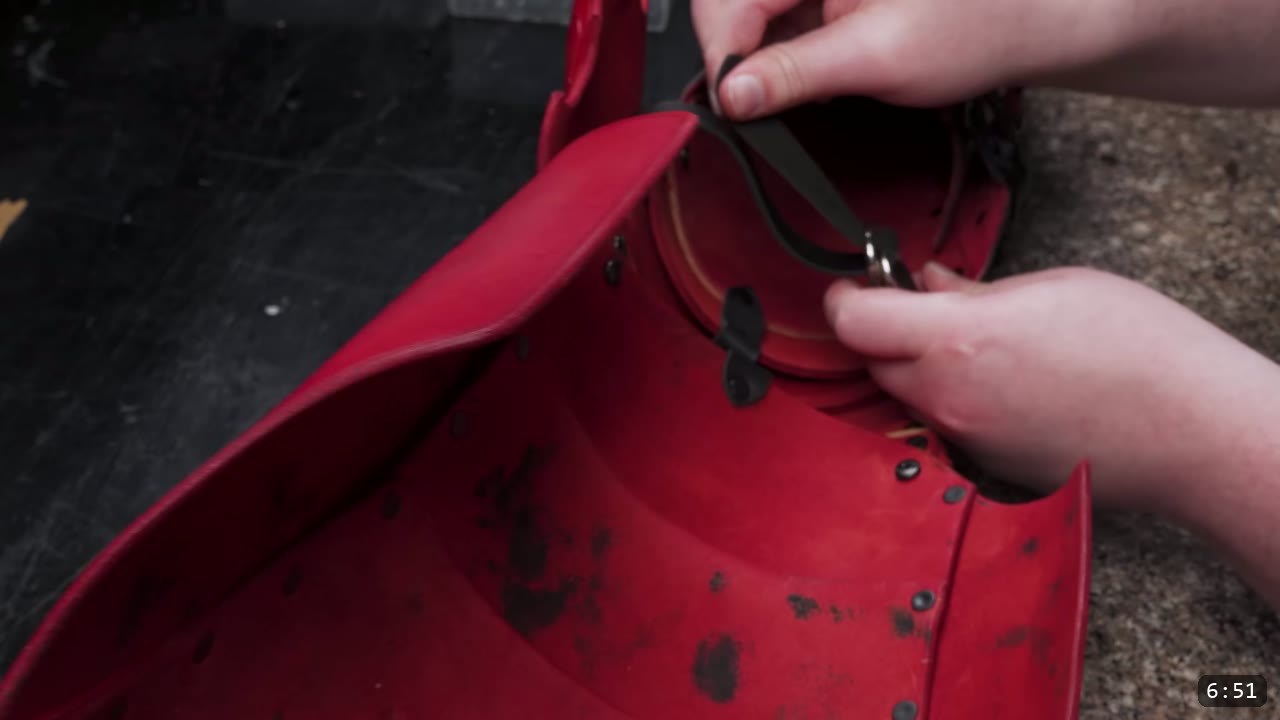
You need at least two buckles for each cuisse. I use a double D-ring setup for the inner knee and for the top of the cuisse. For a double D-ring to work, the strap leather needs to be both firm and supple, and it has to be comfortable against your inner knee, so choose that leather with care. You can use a plain buckle instead if you prefer. Do a test fit to find the ideal buckle placement.
Step 11: Fit and carry the weight
Fit is function here. The strap at the upper leg helps the leg sit where you want and helps carry some of the weight. The goal with any armor is to spread the load over as many points as possible so no single area is overburdened. You would not want the whole weight of the leg armor resting at the base of the foot. Let a good portion of it be held by wearing the leg snugly with a good fit, and let the base of the greaves, the inner knee straps, and the upper cuisse strap handle positioning and a little support. One caution: do not attach the upper strap directly to your breastplate. It normally ties to a gambeson, an arming jacket, or a belt worn under the armor at the waist.
Step 12: Weather it to match the greaves
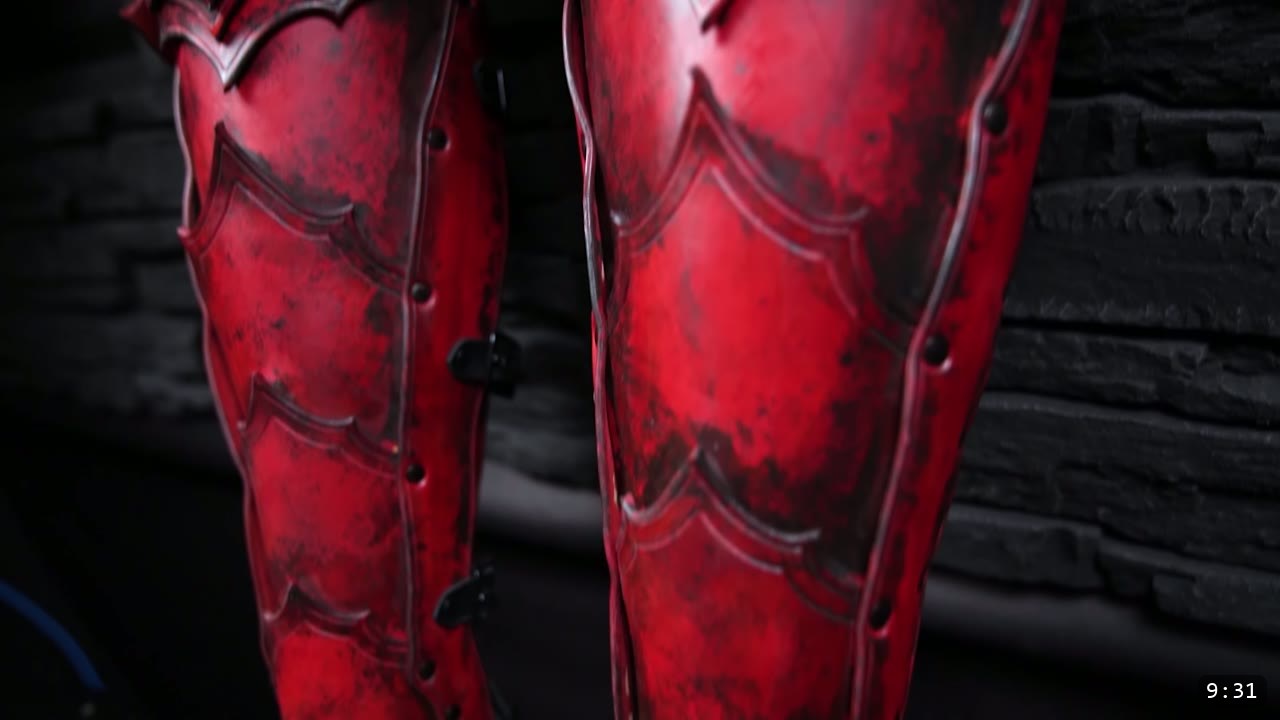
The last step is the weathering. Work a dark antiquing color over the red so the upper legs match the greaves. This goes on after the pieces are sealed and assembled; it is a surface effect, not reshaping. The order here is different from the greaves video, but the weathering technique itself is covered in more detail in that last video.


That is the build. The finished cuisses and knees carry the same red and black weathering as the rest of the set and collapse flat when you need to store them.
FAQ
Do I need experience to make these?
This is a pattern build in an ongoing series, so it helps to have made the greaves first. The steps here share a lot with that video, and the pattern does the hard geometry for you. If you are brand new to leather armor, start with the greaves, then come back for the upper legs.
What leather should I use?
Natural vegetable-tan, 10 to 11 oz. Veg-tan takes the dye, burnishes clean at the edges, and holds the small amount of shaping the fan piece needs.
Why Chicago screws instead of rivets on some joints?
The articulated pieces move, and Chicago screws hold a moving joint better than a pressure-fit rivet. Punch a slightly larger hole for them, and put a drop of glue or Loctite in the threads so they do not back out over time.
How do I keep the leg from opening too far or falling apart when I move?
A small retaining strap along the pieces stops any one joint from opening too wide and leaving a gap or binding, while still letting the leg collapse flat for storage. Think through the order of operations so you can reach each rivet before the assembly closes up.
How should the upper strap attach?
Not to your breastplate. Tie it to a gambeson, an arming jacket, or a belt worn under the armor at the waist, so the weight is carried sensibly and spread across the leg.
What color and finish does the video use?
Fiebing’s Pro Oil Dye in red, sealed with Weaver’s Tough Coat, then a dark antiquing pass for the weathering so the upper legs match the greaves.
Where to go next
- Get the pattern: Fantasy Upper Legs and Knees pattern.
- Start of the leg: build the lower leg first with the Fantasy Greaves pattern, or watch DIY Leather Greaves, Fantasy Armor.
- Building the whole suit? The Fantasy Armor Bundle collects the full set.
- New to leather armor? Start with 5 tips for getting started with leather armor.
- Want to get better at shaping? The Hand-shaping Leather for Armor Making walkthrough goes deep on forming.
- Built a pair? Share it and tag Prince Armory and Weaver Leather; we feature student work.




Responses