



Berserk Leather Pauldrons Build Guide: Articulated Shoulder Armor from the Berserk Suit

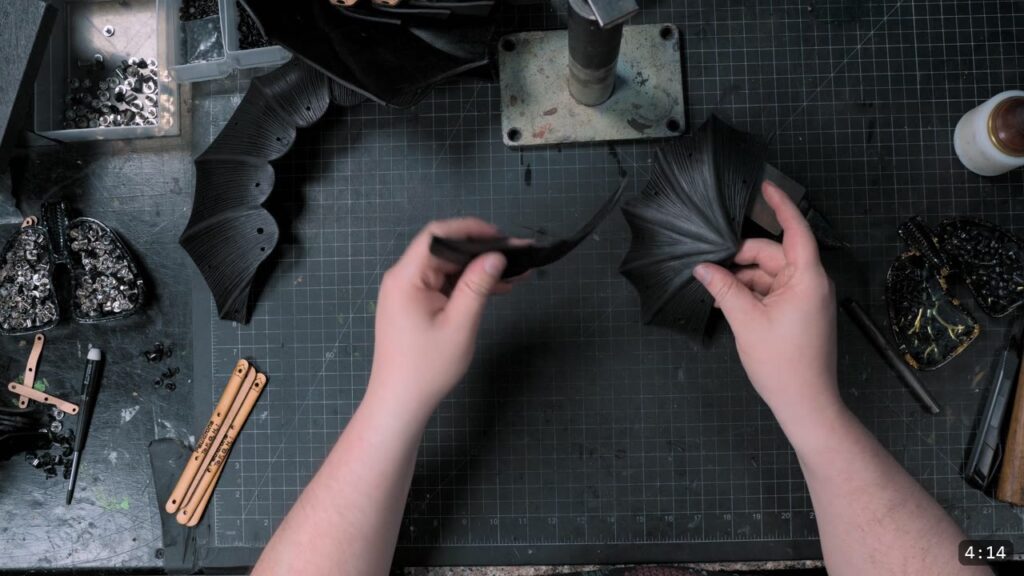
You build the Berserk pauldrons from 9 to 10 oz vegetable-tan leather, cut from a printed pattern by hand or from the SVG files on a laser. You shape and tool every plate while the leather is damp, dye and seal them, then rivet the plates together while they are still damp from the finish so they harden into their final domed shape. The lower segments float on retaining straps for mobility, and the limbs pin to the base with Chicago screws. This is one of the more approachable pieces in the Berserker set, but it is still part of an advanced full-suit build. This guide walks the whole thing alongside the video, so you can watch each step and read the details the video moves past quickly.
What you need
The pattern. The Berserker Pauldrons Pattern prints as tiled PDFs you scale, print, and trace onto the leather. The tutorial uses the newer 1.1 version, in which the pauldron parts are symmetrical, so you do not have to track a left and a right side. The academy also provides SVG files if you want to laser cut.
Leather. Weaver Select 9 to 10 oz vegetable-tan, available from Weaver Leather Supply. Veg-tan matters here, because the whole build relies on the leather taking and holding a molded shape.
Cutting. Hand-cutting tools work fine; refer back to the beginner-to-intermediate lessons for hand-cutting tips. The video cuts on a laser instead (a Nova 16 from Eon Laser USA), which reads the SVG files directly. Either path gets you the same pieces.
Hardware.
- Medium double-cap rivets for the main pauldron, also from Weaver Leather Supply.
- Small rivets for the lower segments, which carry little load.
- Chicago screws for the joints where the limbs meet the base.
- Small buckles and straps for the hinge points and the retaining straps.
- A nail or a modeling tool for coaxing rivet holes into line.
Color and seal. Leather dye and a sealing finish. The video does not name specific products, so use a veg-tan leather dye and a finish you already trust.
Step 1: Trim the hide and lay out the pattern
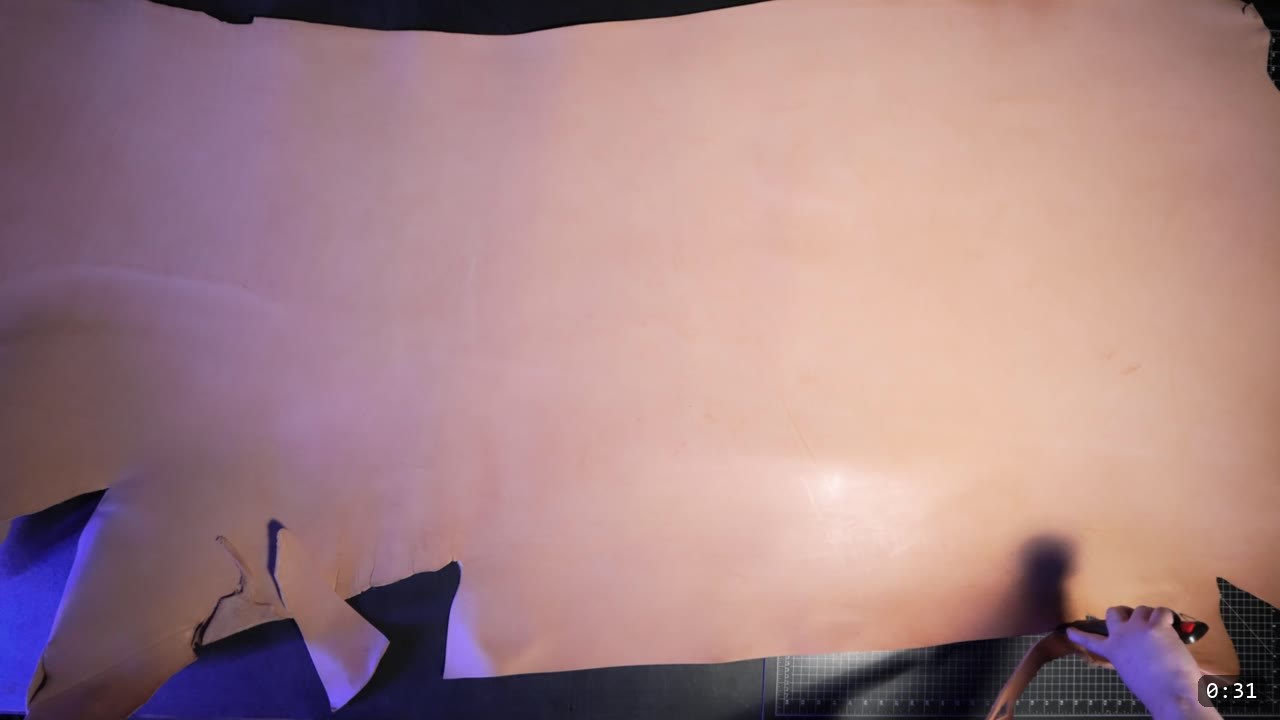
Trim away the bits of the hide you know you will not use. It makes the height more manageable and lets the leather lay flatter in later steps. If you are following along at home, scale and print the PDFs, then lay out and trace the patterns onto the leather. Take your time on the layout; clean placement here saves work later.
Step 2: Cut the pieces, by hand or by laser
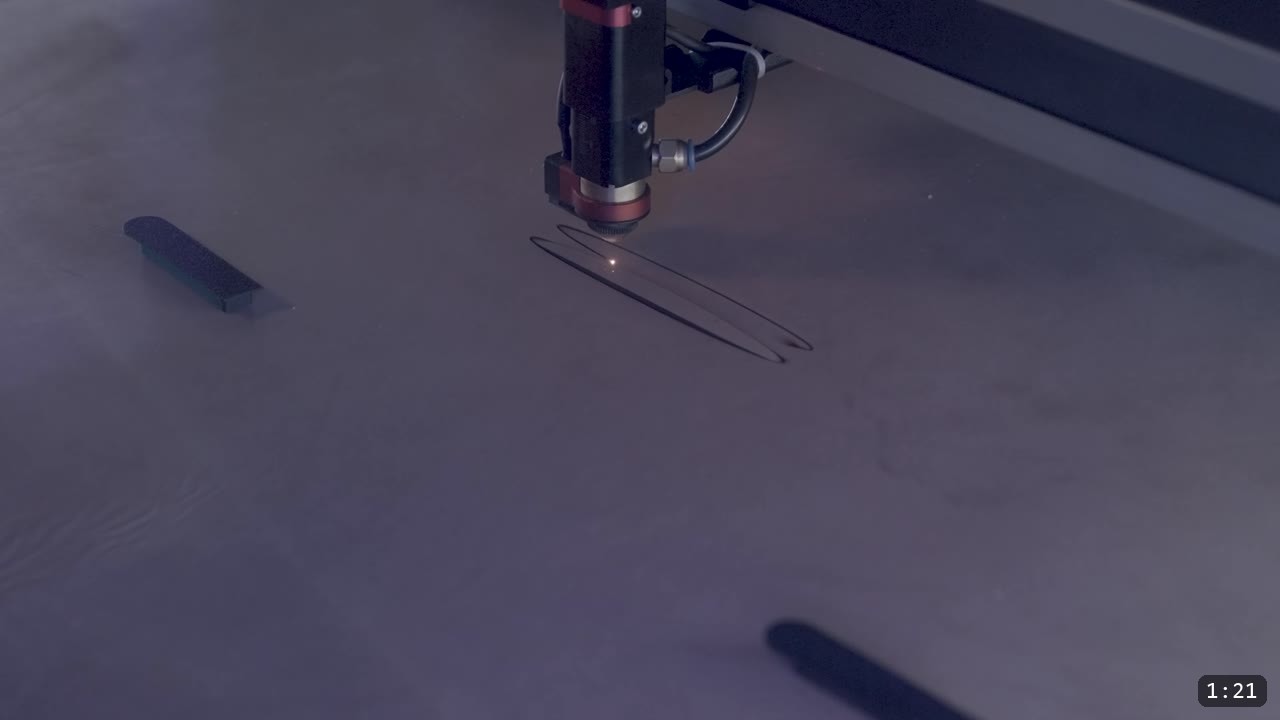
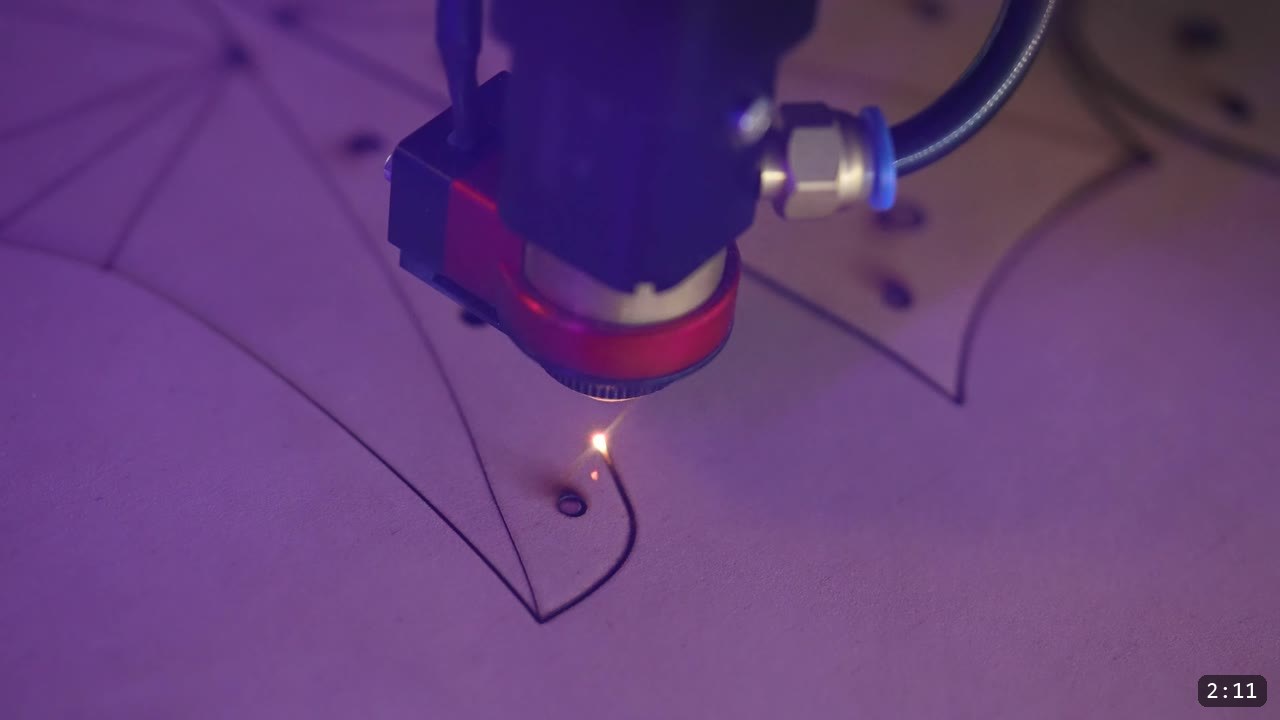
Cut every piece to the pattern. If you are hand cutting, the earlier lessons cover the technique. If you are laser cutting, a few things from the video are worth stealing. Always run a test cut first on a scrap corner of the hide, because each hide varies; the video burns a few small ovals at different speeds and power levels to dial it in. Then run the job in three passes: a very low-power pass to score the decorative and reference markings, a second pass to cut the holes, and a third pass for the final outline cuts. Leather scorches easily on a laser, but lowering the power and slowing the speed keeps the cuts clean.
Step 3: Shape and tool every piece
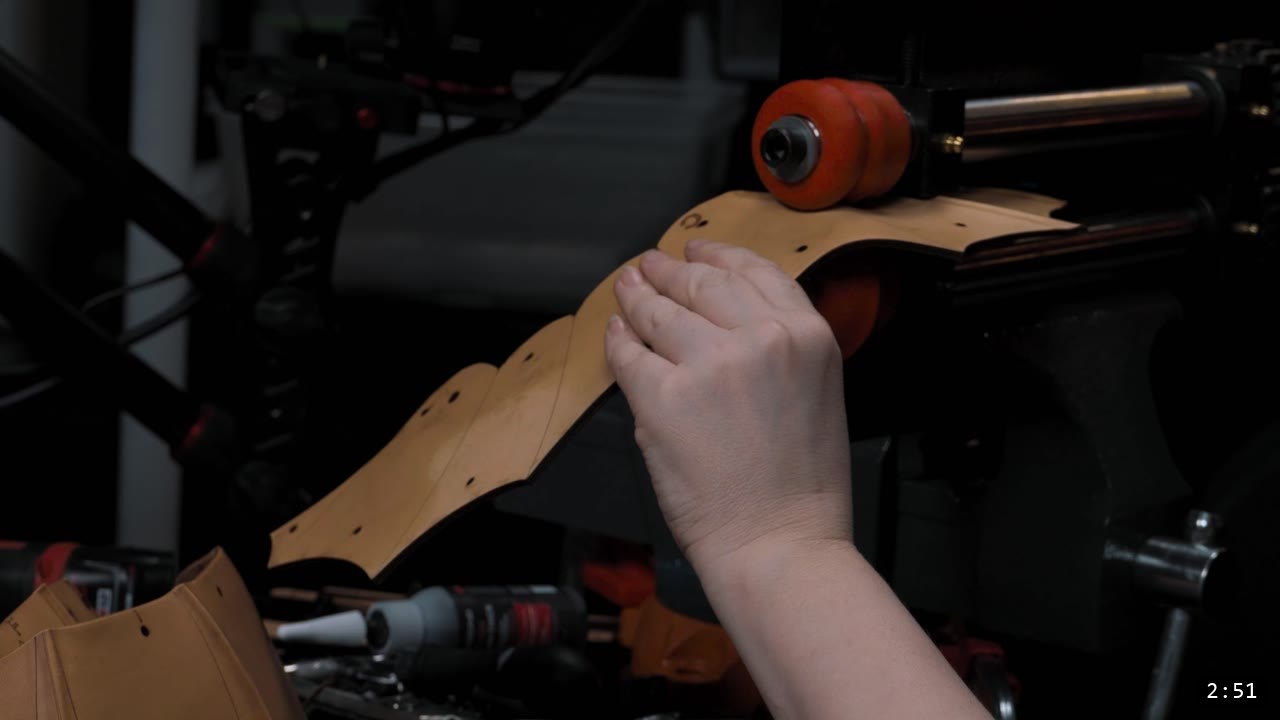
Shape and tool all of the pieces while the leather is workable. This is the same wet-forming and tooling process used across the rest of the Berserker series. Dome and dish each plate to the shape it needs to hold; the fanned lower plates take a shallow curve, and the main plates dome more. Work the shape by hand or over a rounded form, and do it now, before any color goes on. The leather holds whatever shape you set here once it dries. If you want to go deeper on this one skill, watch Hand-shaping Leather for Armor Making.
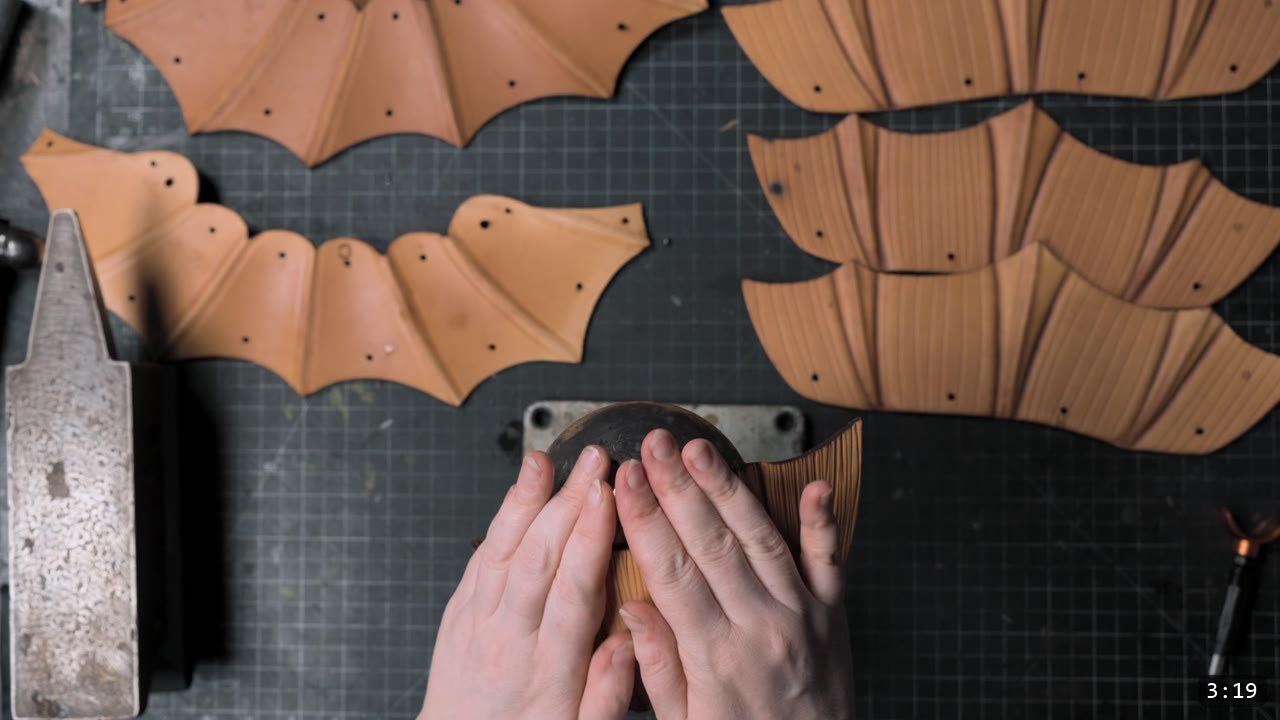
Step 4: Dye and seal, then assemble while damp
Dye and seal the pieces. These are the last leatherworking steps, because a cured finish locks the leather; once it is dyed and sealed it resists water and will not fully re-wet or reshape. So finish all of your shaping and tooling before this point. Test your color on scrap first.
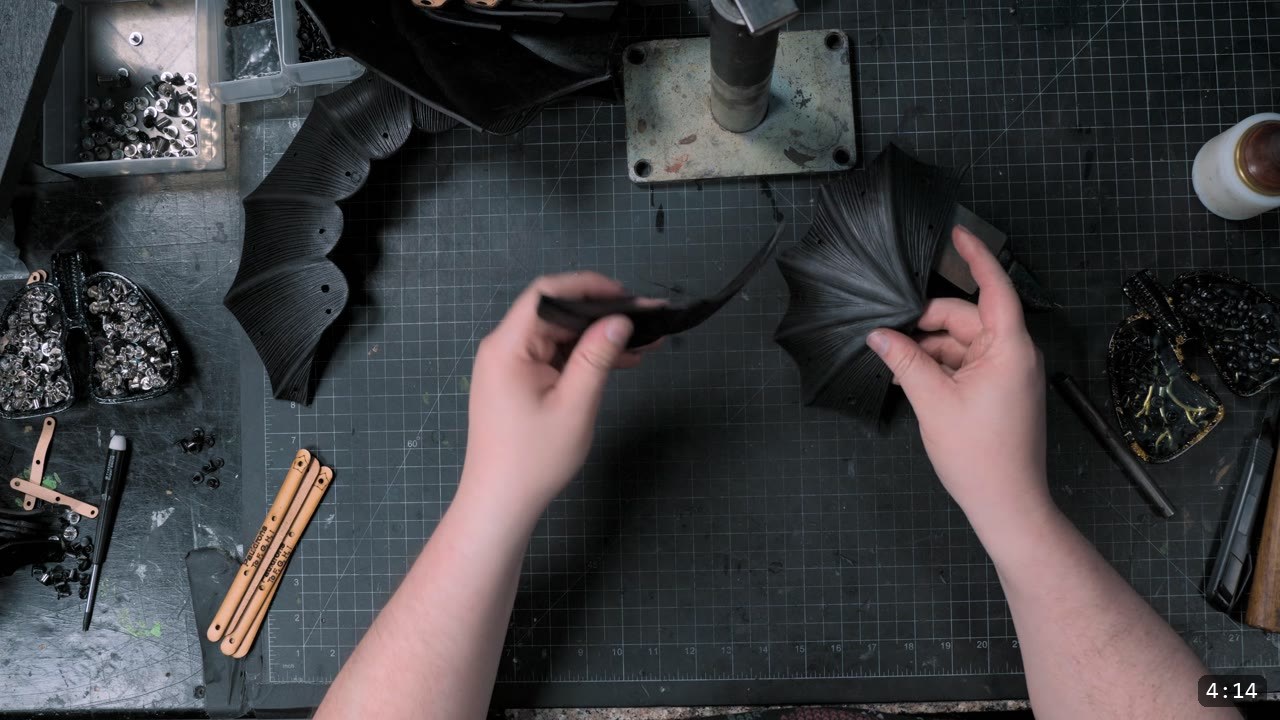
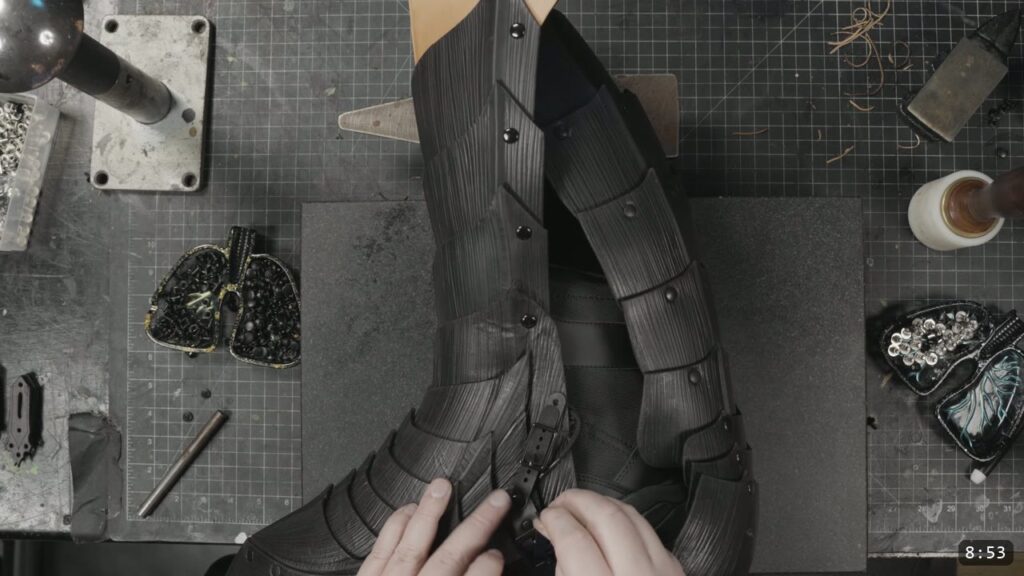
Here is the timing trick from the video. The best moment to assemble is just before the pieces are fully dry from dyeing and finishing. Rivet them together then, while they are still damp from the finish, and all the plates dry and harden together in their final position. That is mechanical joining, not reshaping, so it does not fight the finish. If you cannot assemble in that window, assemble once dry; the plates are already formed, and the rivets hold the geometry.
Step 5: Rivet the main pauldron
Start at the rivet holes. On the underlapping piece, shave a little thickness off the inside so the overlap sits tighter. Set the main pauldron with medium double-cap rivets. Pivot two of the pieces together to form the pointed end of the pauldron. Shaped pieces can be stubborn about lining up, so use a nail or a modeling tool to walk the holes into alignment. Rivet part D to part C. Because the 1.1 parts are symmetrical, you do not have to worry about which side is which. To finish the main assembly, rivet parts B and C together.
Step 6: Add the pivot buckles and hinge straps
Attach the buckle end of the straps as shown in the video. Two small buckles, one on either side of the center point, do two jobs: they guide the resting position of the pauldron, and they let it hinge freely from the top so the armor moves with your shoulder.
Step 7: Build the lower articulated segments
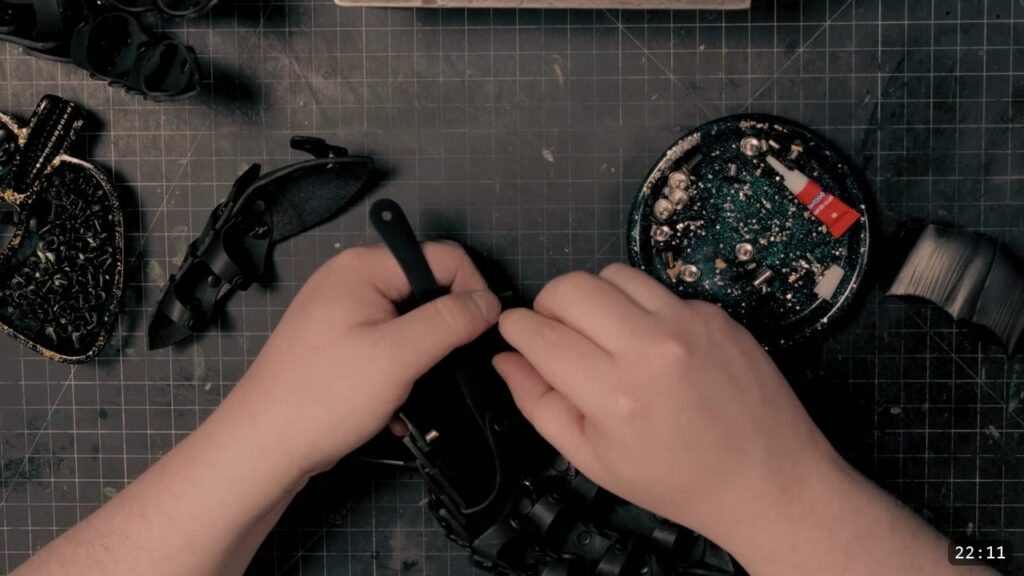
The lower segments are parts F through I. They float on retaining straps, which is what gives the pauldron its mobility. The pieces carry reference marks that tell you where each strap goes: the thinner straps with the star icons go on the inside, and the chevrons go on the outside. Start at the bottom, with part I, and work your way up. These small segments do not see much load, so small rivets are fine here. The lower segments are symmetrical side to side, but each piece is a slightly different shape and size even when they look alike, so read the lettering on the reference marks as you build up.
Step 8: Connect the limbs with Chicago screws
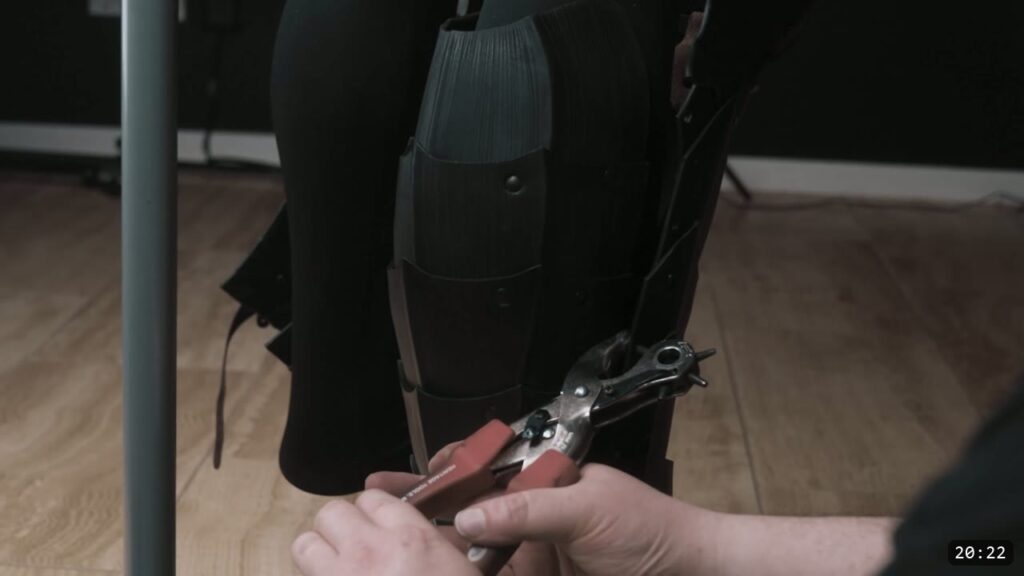
To attach the bottom limbs to the pauldron base, use two Chicago screws per joint. Do not use a normal double-cap rivet here. The Chicago screws let the pieces hinge, and they stand up to higher forces; this connection point takes more stress than the rest.
Step 9: Add the arm strap, and a note on part A
The last piece here is a strap that holds the bottom of the pauldron close to your upper arm, so it sits where it should when you wear it. If you are wondering where part A goes, it does not go on the pauldron; it attaches directly to the breastplate. It is a transition piece and not technically part of the pauldron’s function.
FAQ
What leather do I use for the Berserk pauldrons?
Weaver Select 9 to 10 oz vegetable-tan. Veg-tan is required, because the build relies on the leather holding a wet-formed shape.
Do I need a laser cutter?
No. The pattern prints as PDFs you can cut by hand. The video uses a laser with the academy’s SVG files to speed things up, but hand cutting gets the same pieces. If you do laser, run a test cut first and use low power and slow speed to avoid scorching.
When do I dye and seal?
Last. Do all of your wet forming and tooling first, because the finish locks the leather and it will not reshape once sealed. The video assembles the plates while they are still damp from the finish so they harden together in their final shape.
Why Chicago screws instead of rivets at the limb joints?
The joint where the limbs meet the base hinges and takes more stress than the other connections. Chicago screws allow that movement and hold up to the load; a plain double-cap rivet is not the right call there.
Are the pauldrons left and right specific?
In the 1.1 pattern, no. The main parts and the lower segments are symmetrical, so you do not have to plan for a left and a right. Each lower segment is still a slightly different shape, so follow the lettered reference marks as you stack them.
Is this a beginner build?
It is one of the more approachable pieces in the Berserker set, and the video calls it an easy process, but the full Berserker suit is an advanced build. If you are just getting started, work through the free getting-started guides and a beginner piece first.
Where to go next
- Get the pattern: Berserker Pauldrons Pattern.
- Building the whole suit? The Berserker Armor Bundle covers the full set, and the pauldrons attach to the Berserker Breastplate Pattern.
- Struggling with the shaping? Hand-shaping Leather for Armor Making goes deep on wet forming.
- New to leather armor? Start with 5 tips for getting started with leather armor, then build a beginner set like the Warrior Armor Bundle before the Berserker suit.
- Built one? Share it and tag Prince Armory Academy and Weaver Leather; we feature student work.



Responses