



Leather Fantasy Helmet Build Guide: Flat Pattern to Finished Helm

You build this leather fantasy helmet from a flat printed pattern, not a kit. You trace the pieces onto natural veg-tan leather about 9 oz thick, cut them out, tool and bevel the edges, punch the holes, wet-mold a little shape into each plate, then color and seal. Once the leather is finished you assemble the whole helmet with double-cap rivets and hang a hinged faceplate on a screw pivot and snaps. This is an intermediate to advanced build that uses a swivel knife, an edge beveler, a hole punch, and a hammer, not just one tool. This guide walks the whole thing alongside the video, so you can watch each step and read the details the video moves past quickly.
What you are building, and what it takes
This is the pattern build, so you cut and shape every piece yourself. The reward is a full fantasy helm with a barbed, layered silhouette and a faceplate that raises and lowers. The tradeoff is that it asks for real leatherwork. If you are brand new, build a kit or a simpler molded helmet first, then come back to this one. The pattern comes in two variants: the primary one with shaping and tooling, and a simpler variant with little to no shaping if you prefer a smoother look.
What you need
The pattern. The Fantasy Helmet pattern prints on standard 8.5 by 11 paper. Reinforce the pages with heavier printer paper, tag board, or poster board and a glue stick so they hold up to repeated tracing. One of the pieces is traced seven times, so print spares of that page if thin paper starts to wear.
Leather. Natural vegetable-tan, about 9 oz. Veg-tan matters here, because the build relies on the leather taking and holding a molded shape and taking dye. Lay the pieces out on the firmer part of the hide toward the back, and feel the leather as you go. Avoid gouges, blemishes, and spongy areas. Every hide is different.
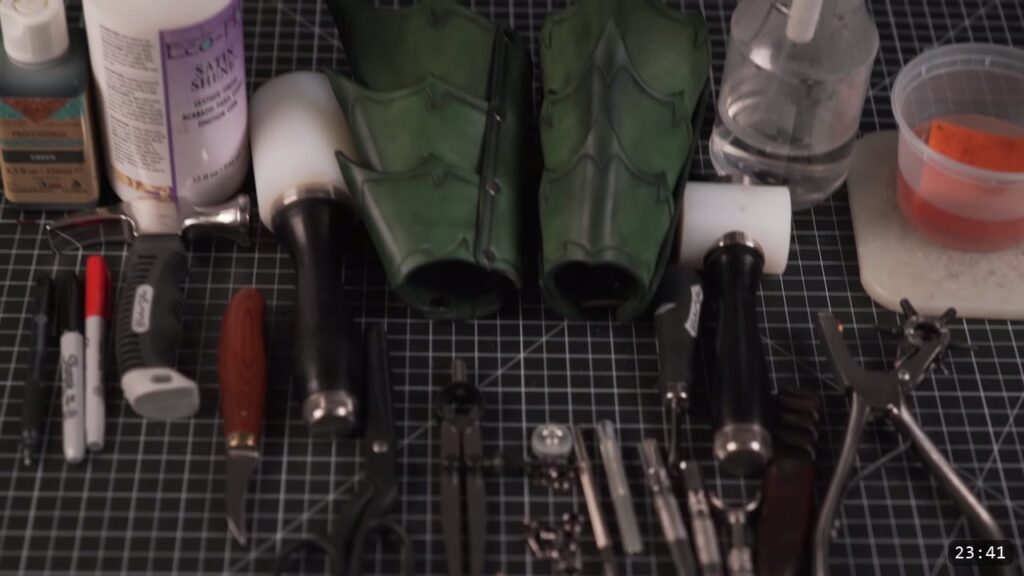
Tools.
- Cutting: leather shears for the leather (a Craftool pair from Tandy is what I use), lightweight scissors for the paper, and a box cutter or utility knife for the long straight runs. Strop the knife blade even if it is new so it glides.
- Marking: a red fine-point marker for the outlines, a fine ballpoint pen run dry (no ink) for the design lines, and a wing divider for a consistent border band.
- Carving and tooling: a swivel knife with a sharp stropped blade, and a crosshatch beveling stamp for the border (a Craftool B205 is one option). Both are optional if you want to keep clean lines.
- Edging: a number 2 edge beveler.
- Holes: a rotary hole punch (a CS Osborne is my go-to) where it can reach, a hand punch with scrap leather, a poly board, or a rubber mat under the work, and a drill for the holes a punch cannot reach.
- Shaping: a hammer with a convex, polished face so it does not leave marks.
- Color and seal: red EcoFlow water stain, black Fiebing’s Pro Dye for the trim, a large wool dauber, a small wood dauber, an angled brush, a napkin, a cotton rag, and Tandy Satin Sheen finish with a high-density sponge.
- Hardware: gunmetal double-cap rivets in medium and long, Chicago screws, and line 20 snaps with a mini-anvil and a line 20 setter. Pliers or diagonal cutters to pull any rivet that sets crooked.
Step 1: Print and cut the pattern
Print the pattern and cut carefully along the lines. If you mess up a page, reprint it. Cut the paper with lightweight scissors, not your leather shears.
Step 2: Transfer the pattern to the leather
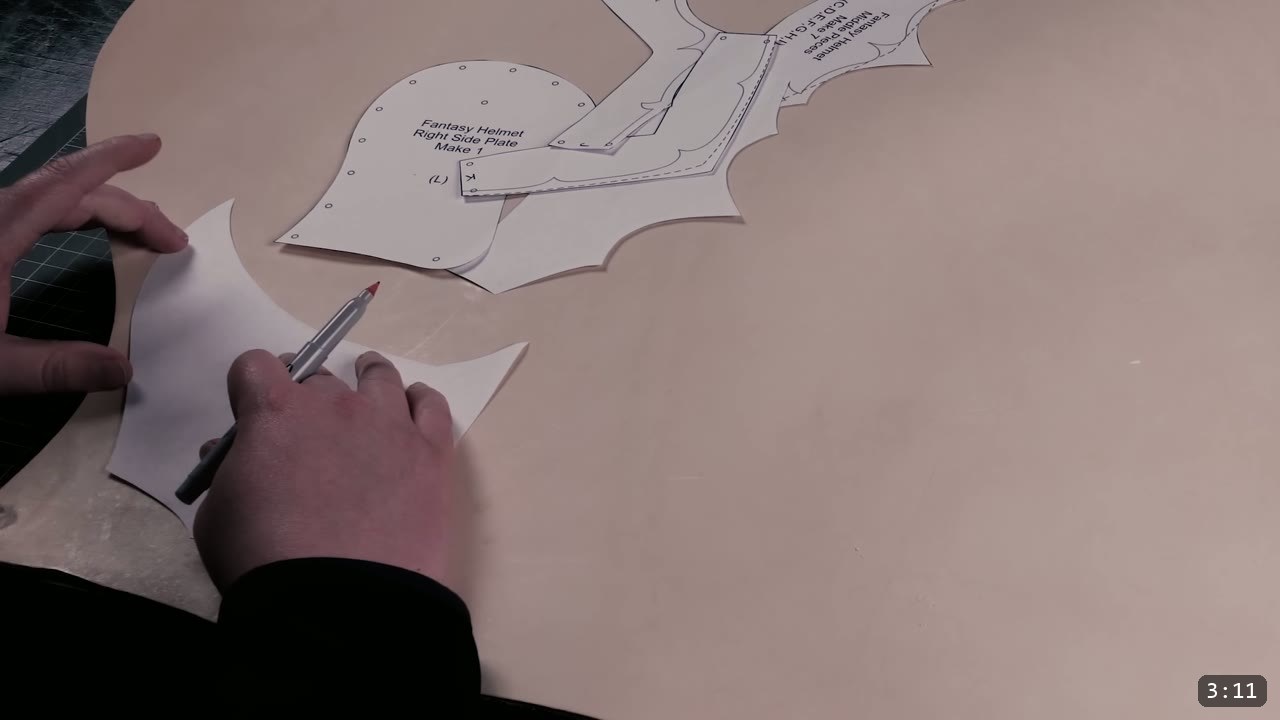
Position the pieces on the firmer part of the hide and trace the outlines with the red marker. A fine point forces you to follow tight lines with your cuts. Trace on the front. Do not worry about the marker lines left near the edges, because you bevel those edges later. Take your time and get clean lines to follow.
Step 3: Cut the leather
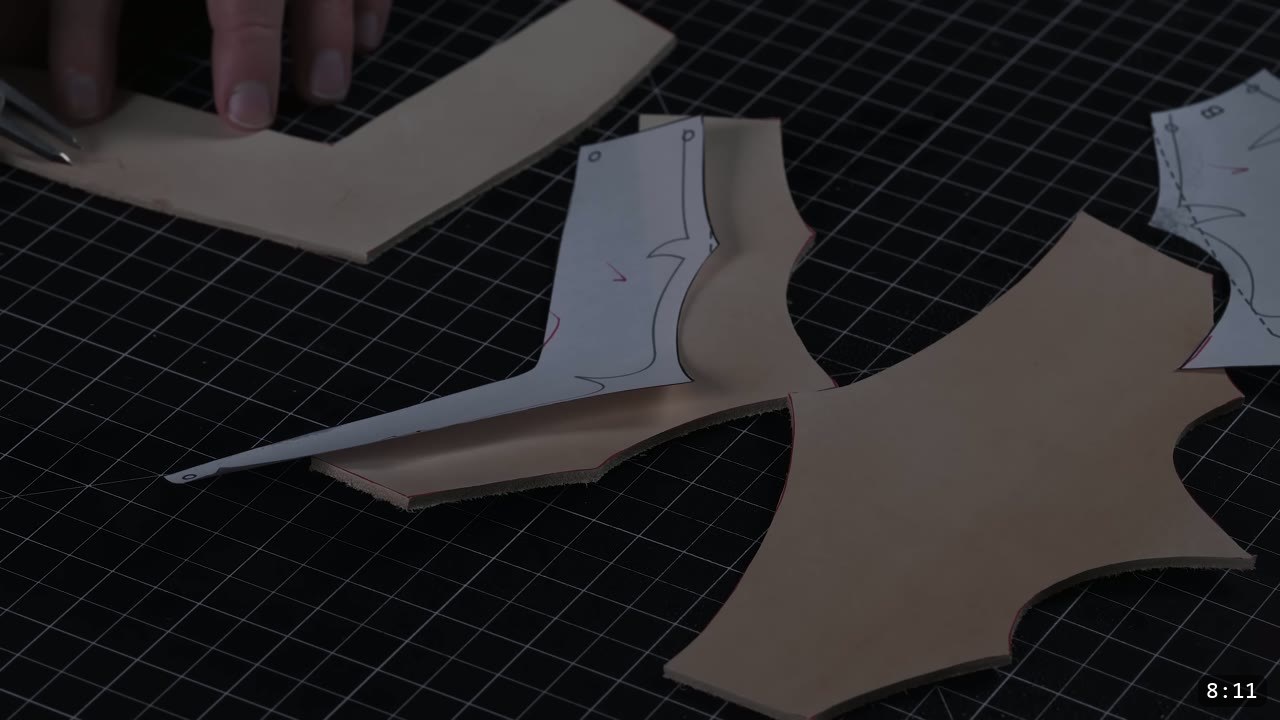
Separate the traced leather into manageable chunks first, then cut each piece. Leather shears are the workhorse for mid to heavy leather, and they take some hand strength and practice. If a cut feels difficult, you can wet the leather slightly to make it easier. Clean cuts here save you work at every later step.
Step 4: Transfer the design lines, then wet and carve
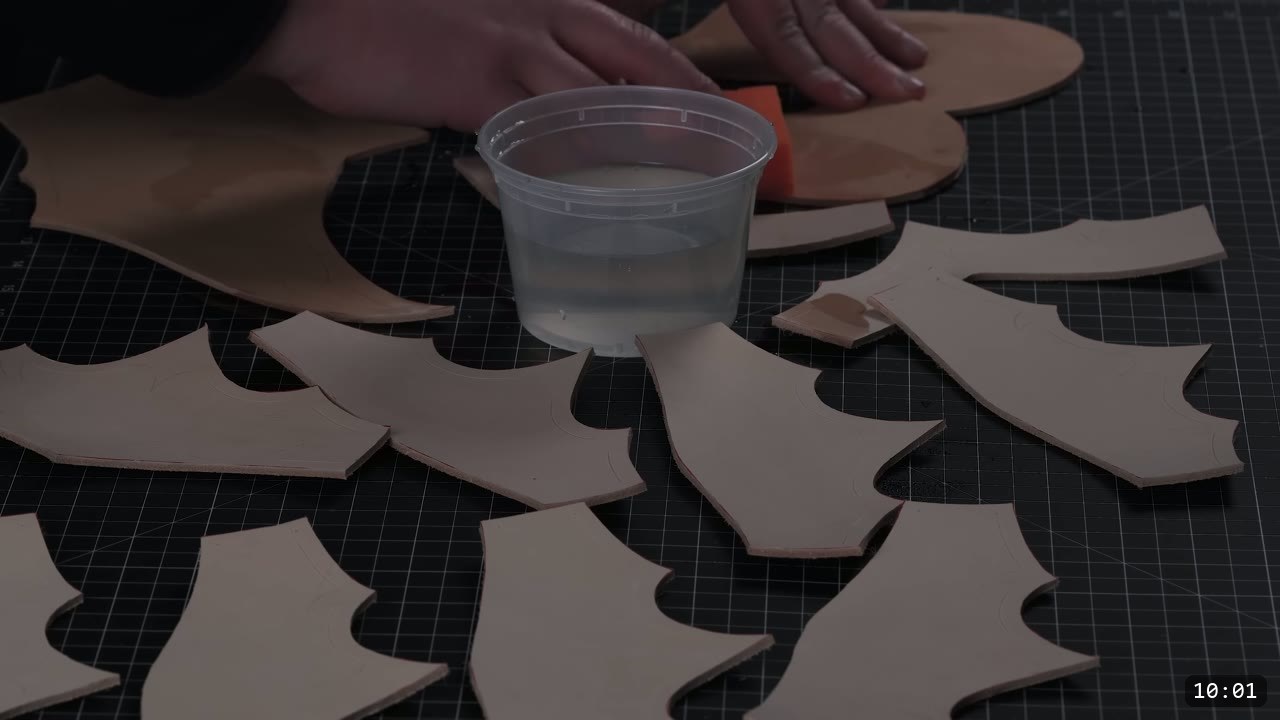
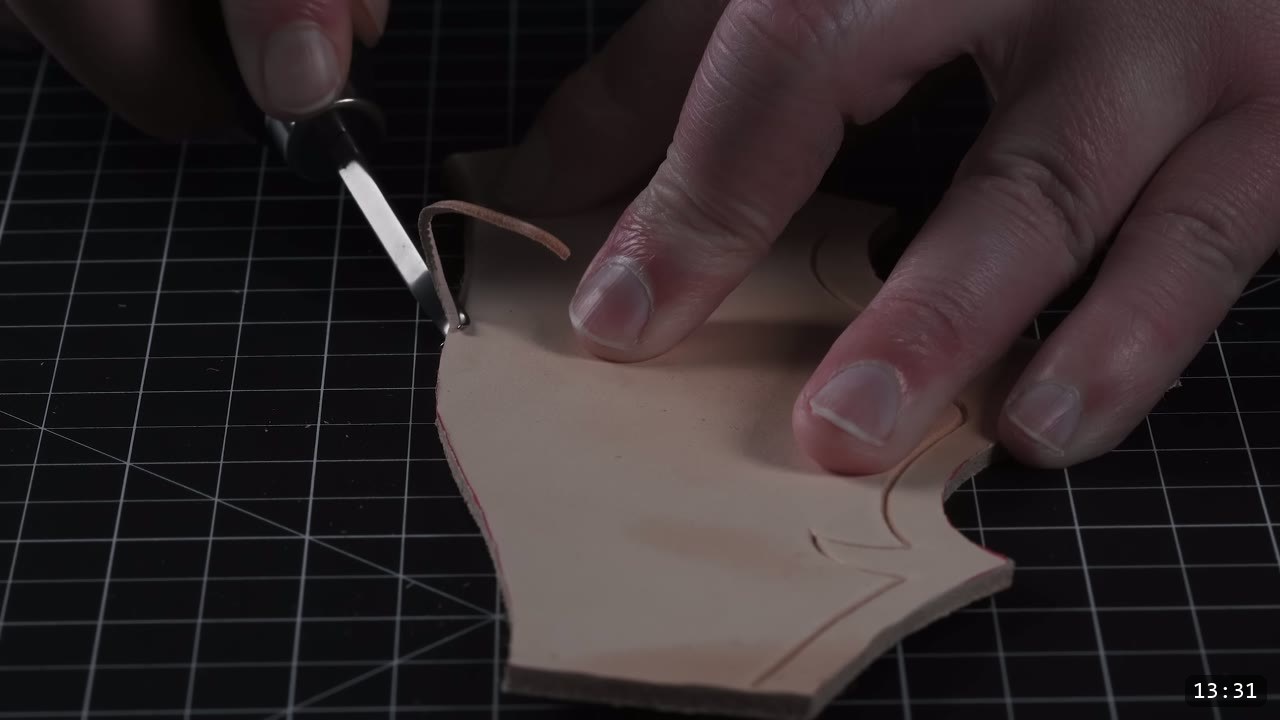
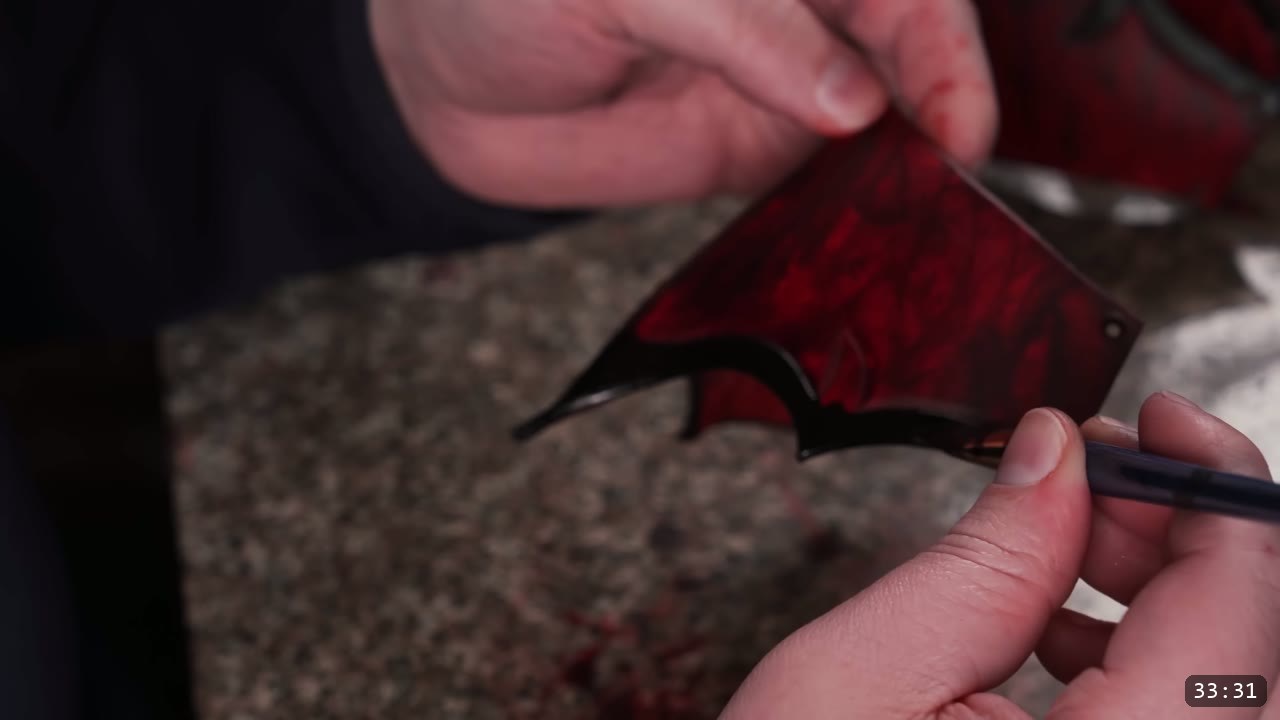
Dampen each piece lightly along the edge before you transfer the design lines, just enough that the pattern does not saturate. Trace the lines with the dry ballpoint pen, use the wing divider for the consistent border band, and mark the hole centers, or better, trace the whole hole so it is easy to find later. If you want to decorate, wet the leather to make the fibers workable. A controlled way to do this is to score the surface lightly with the swivel knife until water pools, let it soak a few minutes, then even the moisture with a sponge. Carve your design lines with a sharp, stropped swivel knife, and refresh the moisture whenever a piece starts to dry. Practice on scrap first. This is the step that opens up the design, and it is a good project for it because of all the repeated lines. If you would rather keep it simple, skip the carving and go with a plain border.
Step 5: Bevel every edge
Beveling is optional but I do it on nearly every edge, front and back. It makes the result look cleaner, it is what lets you burnish a smooth edge later, and it makes the helmet more comfortable to wear. Bevel when the leather is just a little damp. That firms up the edge fibers and makes them easier to burnish. Do not bevel when the leather is too wet, or the tool digs in and causes problems.
Step 6: Punch the holes
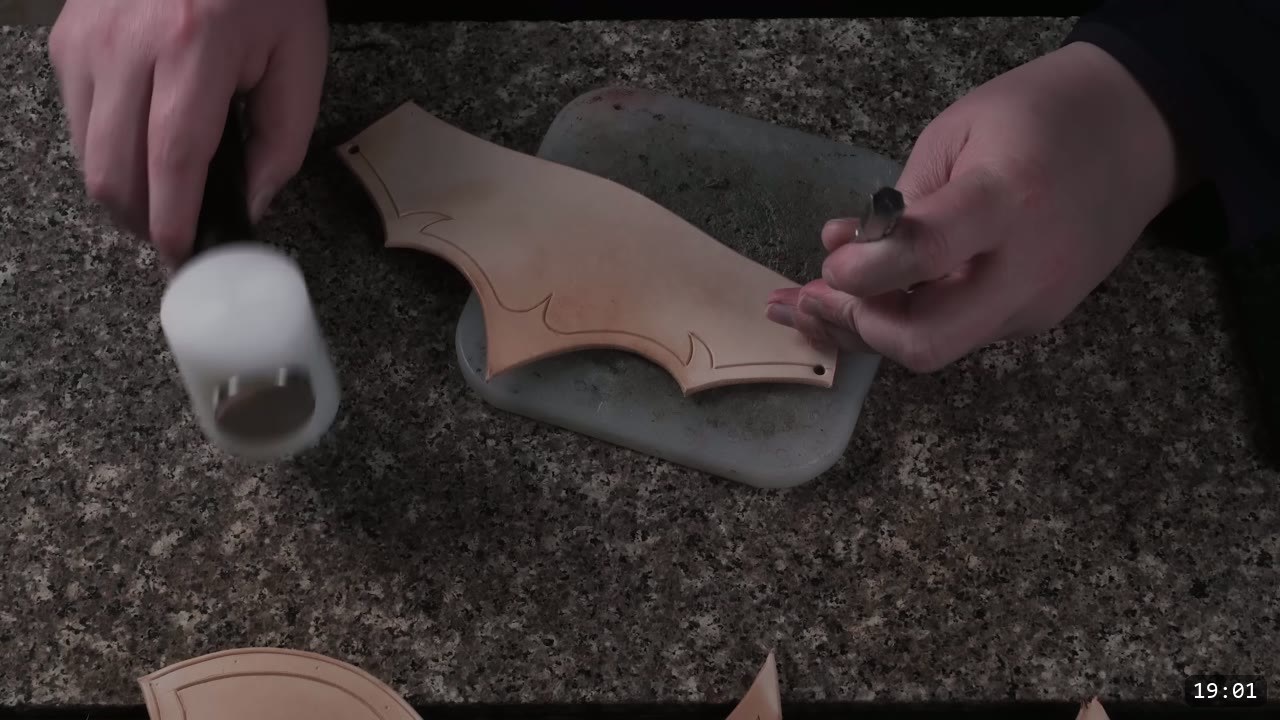
Punch the holes where the rivets and hardware will go. Protect your punch tip so you do not drive it into the work surface. Put scrap leather, a poly board, or a rubber mat under the piece. Use the rotary punch wherever it can reach, and a hand punch or a drill for the spots it cannot. Wait on the holes for the side plates that attach the faceplate. Leaving those unpunched lets you test-fit the faceplate and set the holes exactly where you want them.
Step 7: Wet-mold a little shape into the pieces
This is basic wet molding, and it is not as tricky as it sounds. Get the piece moderately damp, especially along the fold. Fold it in half and hammer with medium firmness on both sides of the ridge to compress the leather along the fold. Use a hammer with a convex, polished face so it does not mark the leather. When you unfold the piece, a subtle ridge stays behind. From there, bend and form by hand to bring each plate closer to its final shape. One thing to plan for: this compression shrinks the helmet dimensions slightly, so it makes the finished helmet fit a little tighter. Do all of this wet-forming now. Once you dye and seal the leather, the finish resists water and the leather will not fully re-wet or reshape, so shaping has to happen before color. The second pattern variant skips most of this if you want a smoother look.
Step 8: Color the leather
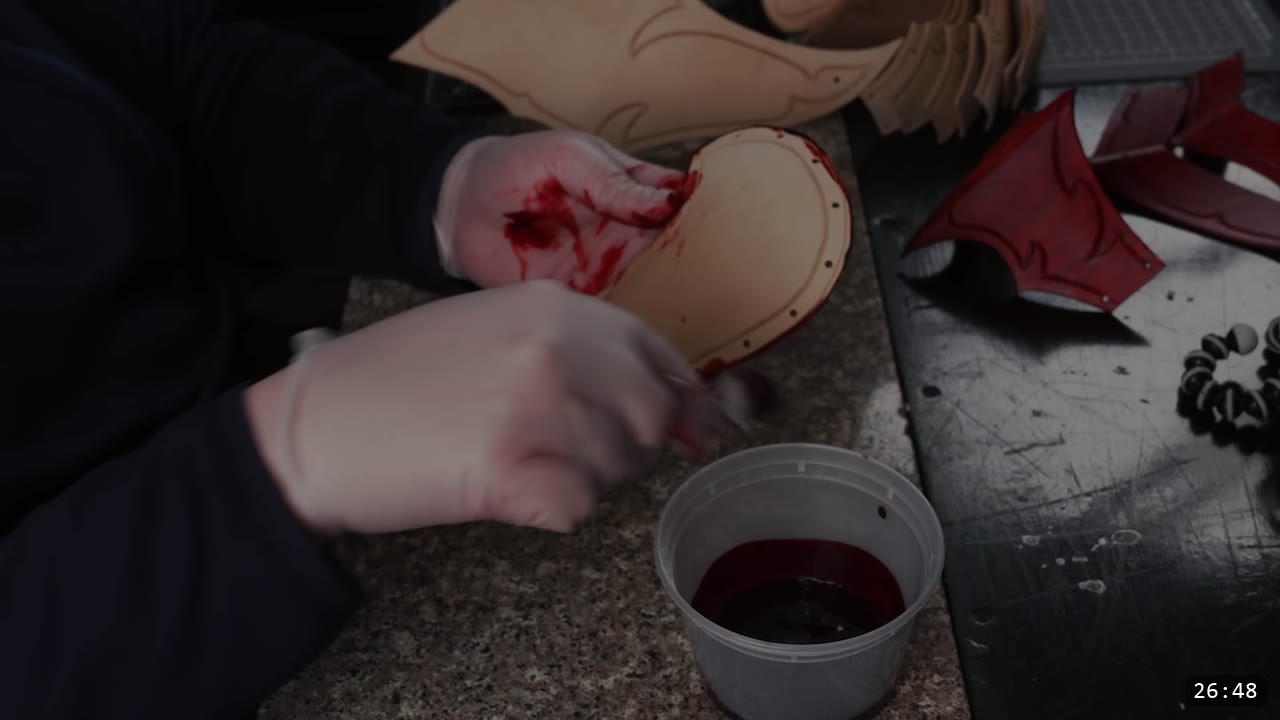
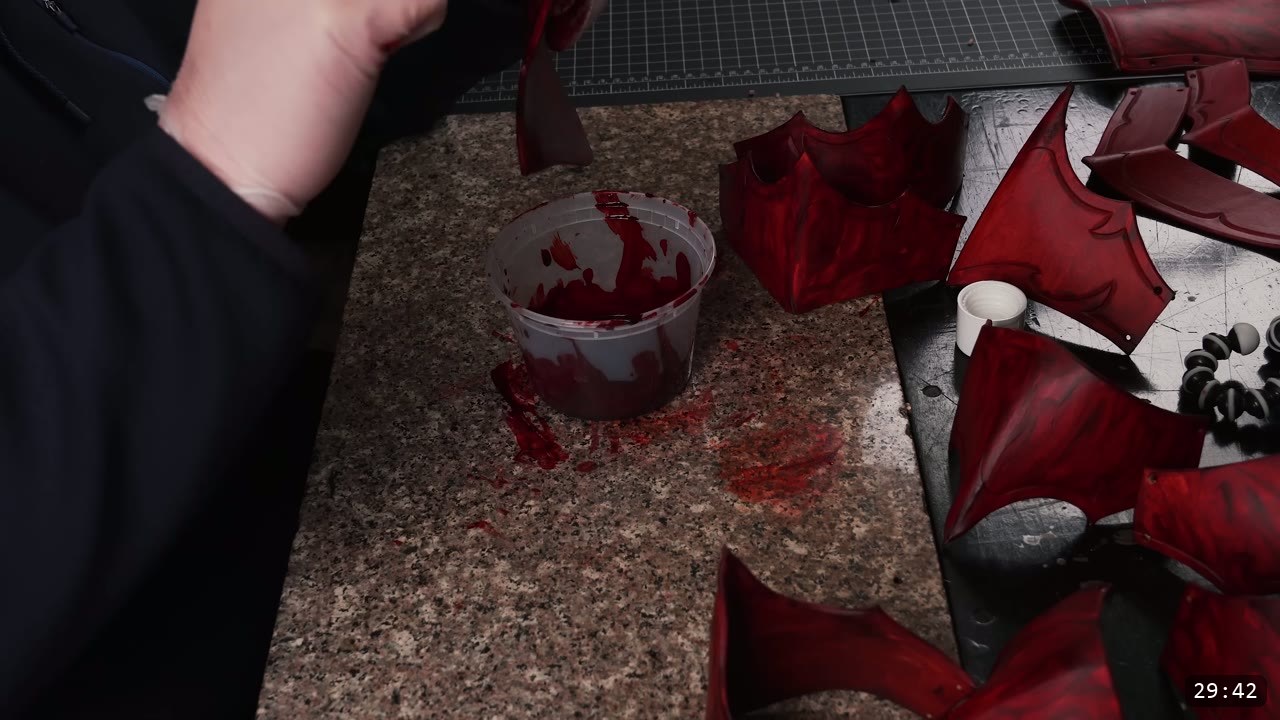
I used red EcoFlow water stain for a textured base, then black Fiebing’s Pro Dye for the trim. To get the texture, first lay down a generous coat of red in medium circles with a large wool dauber and leave a lot of excess behind. That is the opposite of a normal even coat, and it is on purpose, to build a broad base texture. Let it dry completely. Then wad up a napkin and use it to stipple a finer, randomized texture over the top, and let that dry too. Last, run the black trim along the side and back edges with a small wood dauber for a clean border, and fill the rest with an angled brush. Black dominates whatever color is under it, so the trim reads crisp. When everything is dry, buff each piece with a cotton rag to lift any excess pigment. Test your color on scrap first, or on the underside if this is your first piece and you have no scrap.
Step 9: Seal with a finish
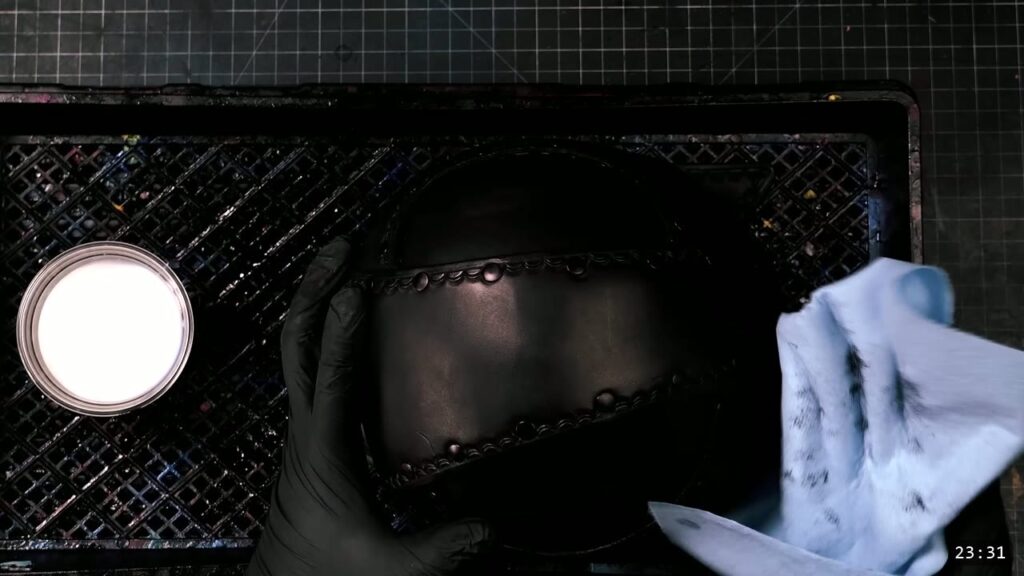
Seal the color once your dye work is dry. I used Tandy Satin Sheen on both sides, front and back, with a high-density sponge. Lay a generous wet coat on all the pieces, then take the sponge, work most of the finish out of it, and use that near-dry sponge to even out the coat. The second pass gives a cleaner look. If you want a more rugged finish, stop after the first pass and scuff it with a scotch-brite pad once it is dry. This is the last leatherworking step before assembly, and along with the dye it locks the shape you formed earlier.
Step 10: Assemble the core with rivets
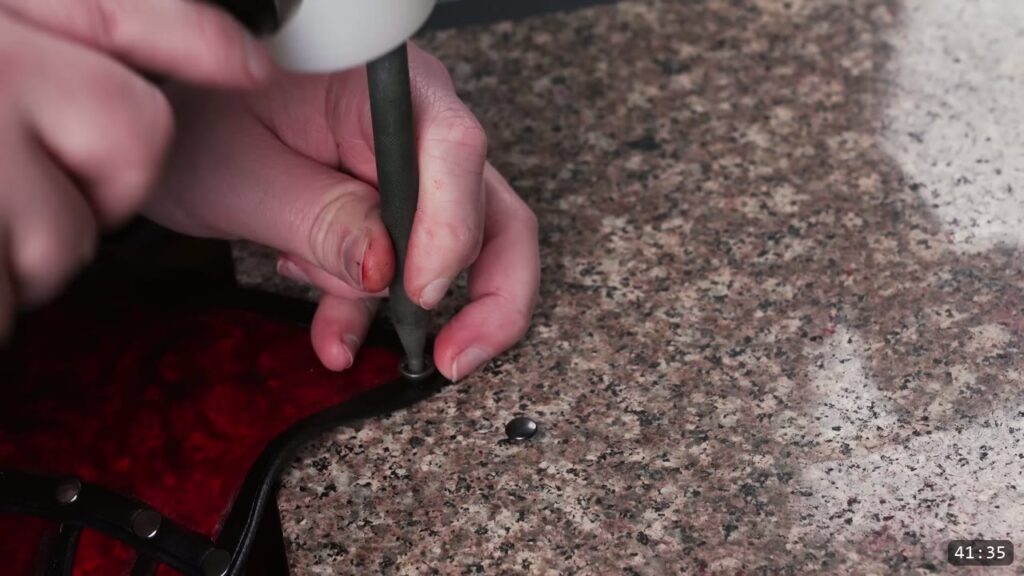
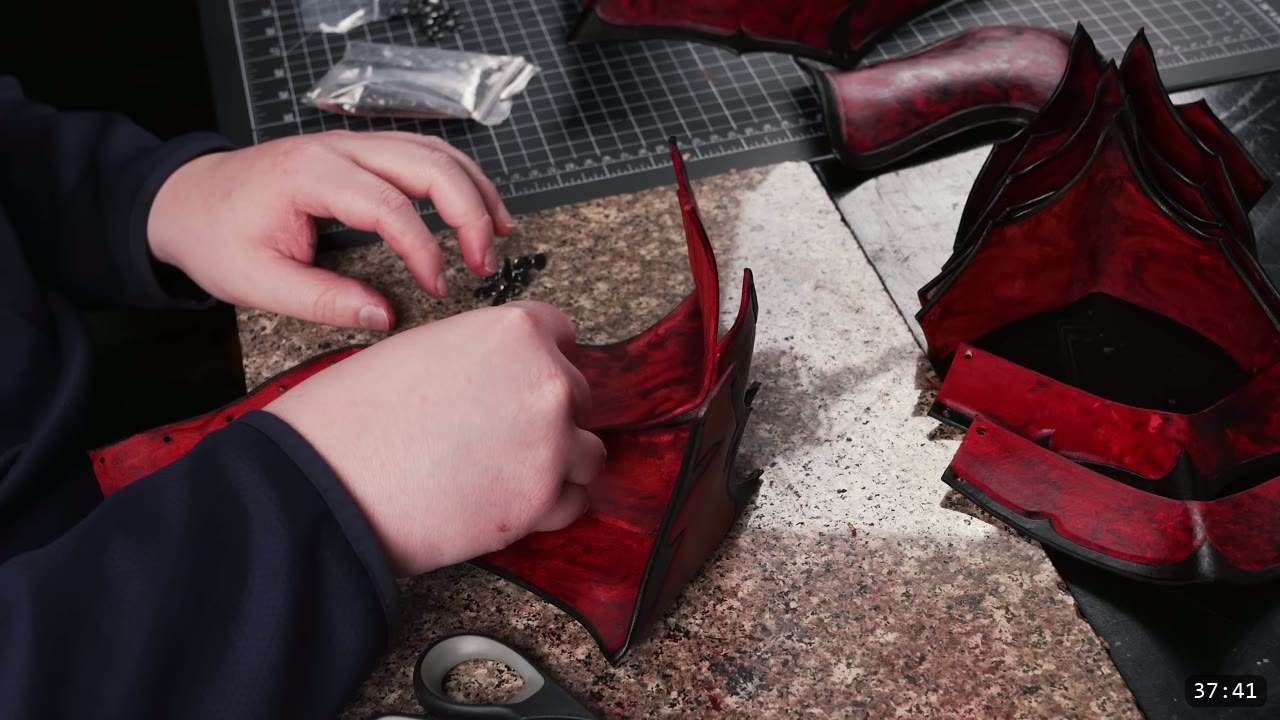
Now the pieces come together. I used basic gunmetal double-cap rivets in medium and long lengths. Start with the front panel. The first and last rivets on each side go through only two layers of leather, so use a medium rivet there and a long rivet everywhere else. If you do not have a rivet setter, a ball-head anvil, or a foot press, you can hammer the rivets flat. Line each one up and strike straight down with a solid blow. Most setting problems come from hitting at an angle, so keep it square. If a rivet skews or sets crooked, pull it with pliers or diagonal cutters and start over, which is usually easy. Work through the layers in order, and notice that the last two bottom layers differ slightly from each other. Finish one side, then do the other. The second side is a little harder because there is less room to swing the hammer, so go layer by layer and you will have just enough room.
Step 11: Attach the faceplate with a pivot and snaps
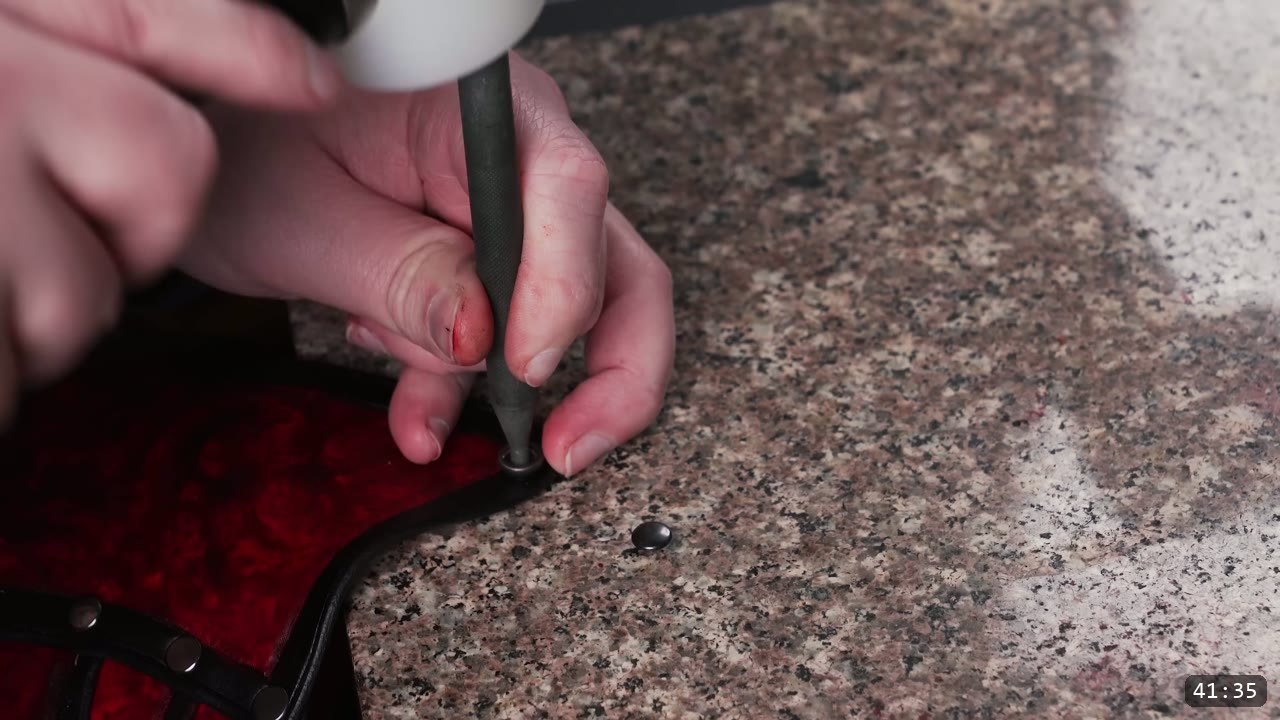
Come back to those side-plate holes you left unpunched. Test-fit the faceplate, settle on the position you like, and mark the spots. Mine landed almost exactly on the pattern marks, but it is always worth checking. Punch the lower hole with the rotary punch and drill the top hole if the punch cannot reach. Put a Chicago screw at each top point to make a pivot the faceplate swings on. Rivets work here too, but I prefer Chicago screws for any moving or load-bearing part. For the bottom holes, use line 20 snaps so you can pop the faceplate up and snap it down when it is lowered. Flatten and thin the leather a little at each snap spot so the snap seats well. Set the snaps with a mini-anvil and a line 20 setter. Leave enough post length on the inside, but not too much: too long and the post bends over, too short and it will not grab the mating piece. Give it gentle taps to start, then drive it down until it is firmly set. That is the helmet.
FAQ
Is this a beginner project?
Not quite. It uses a swivel knife, an edge beveler, a hole punch, wet molding, and rivet setting. If you are new to leather armor, start with a kit or a simpler molded helmet, then come back to this one. Prince covers a lot of the basics as he goes, so it is doable with patience.
What leather should I use?
Natural vegetable-tan, about 9 oz. Veg-tan is what lets the leather hold the molded shape and take the dye. Pick the firmer part of the hide and avoid gouges, blemishes, and spongy spots.
Do I need to carve and tool it?
No. The carving and border tooling are optional. You can skip them and keep clean beveled edges, or run a simple border. The pattern also comes in a second variant with little to no shaping if you want a smoother look.
Can I still assemble it without a rivet setter?
Yes. Hammer the double-cap rivets flat against a hard surface. Strike straight down with a solid blow. If one sets crooked, pull it with pliers or diagonal cutters and redo it.
Why does my helmet feel tighter after shaping?
The fold-and-hammer wet molding compresses the leather along each ridge, which shrinks the helmet’s dimensions slightly. Plan for a slightly tighter fit, or scale the pattern up a touch if you are between sizes.
When do I dye and seal?
Last, after all the cutting, tooling, beveling, punching, and wet molding. Once the leather is dyed and sealed the finish resists water, so it will not fully re-wet or reshape. Do every shaping step first, then color and seal.
Where to go next
- Get the pattern: Fantasy Helmet pattern.
- Ready for the full set? The Fantasy Armor bundle takes you through the whole fantasy suit.
- New to leather armor? Start with 5 tips for getting started with leather armor.
- Want a simpler fantasy helmet first? Watch DIY Fantasy Helmet Pattern, a good starting point for beginners.
- Struggling with the shaping? The Hand-shaping Leather for Armor Making walkthrough goes deep on wet forming.
- Built one? Share it and tag Prince Armory Academy; we feature student work.



Responses