



Leather Scale Armor Build Guide: An Elven Skirt Panel, Scale by Scale

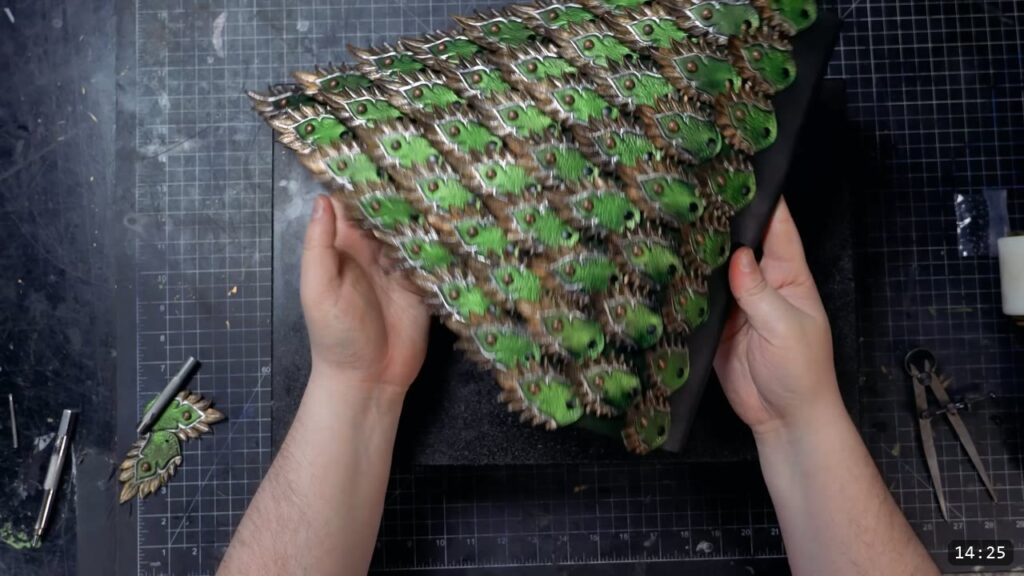
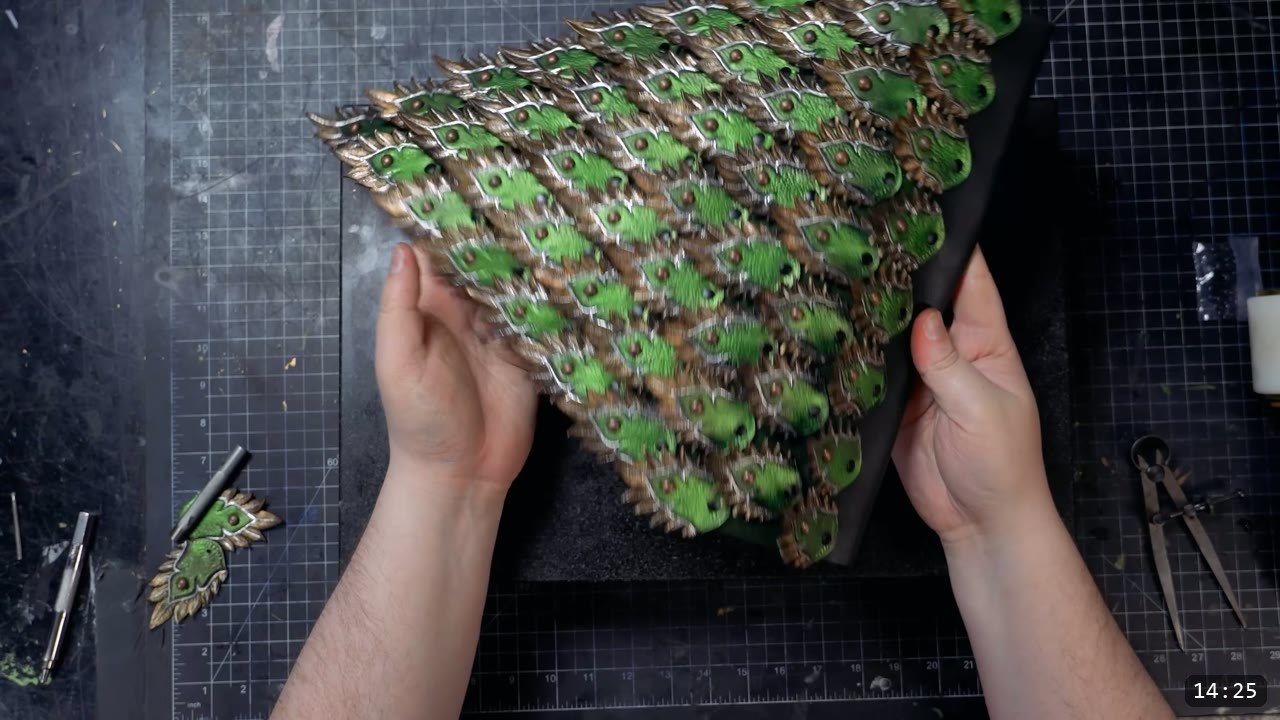
You build a leather scale armor panel by cutting a stack of identical scales, dyeing and sealing them, painting them in layers, giving each one a slight dome, then riveting them in overlapping rows onto a back panel. This elven piece fills the gap between a breastplate and leg armor, and the same method scales up or down for any size. It is an advanced, repetitive build, and most of the work is finishing each scale well before assembly, which goes fast by comparison.
What you are building, and what it takes
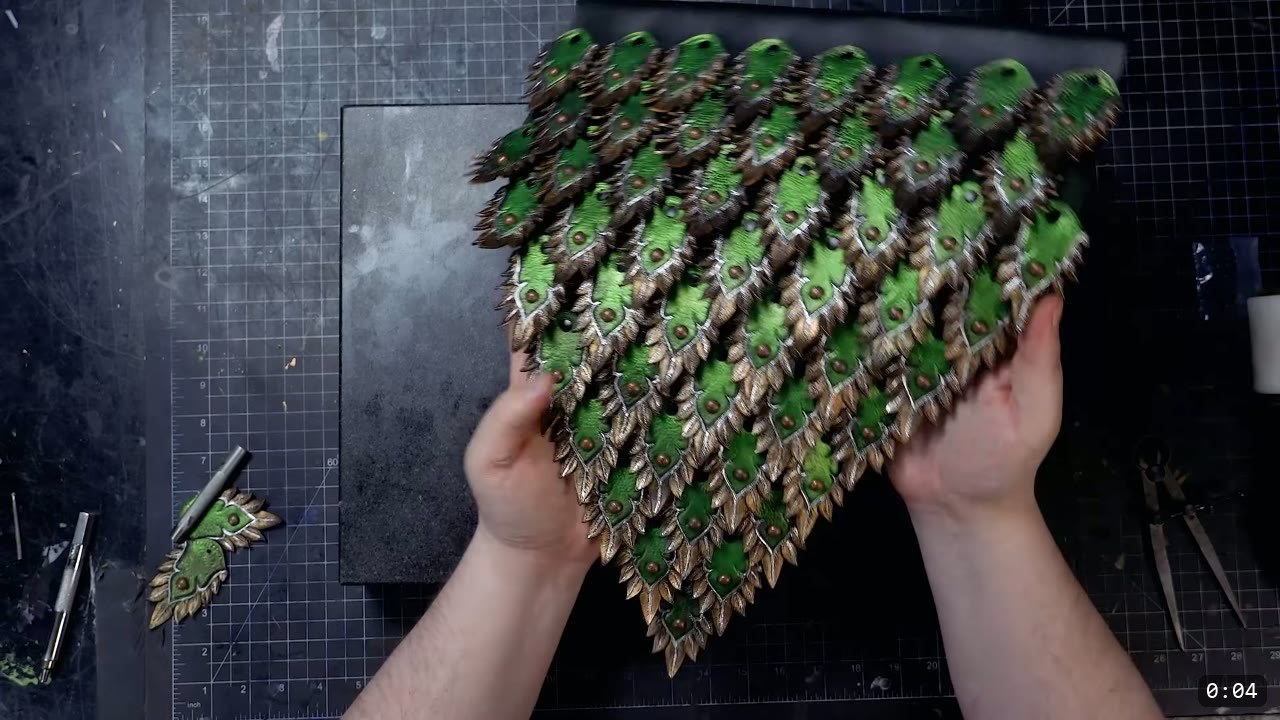
This is the scale skirting panel from the Elven Lord set. The full panel takes 51 scales, plus a back panel that carries them. One pattern arrangement lays out 54 scales, so you get a few spares to test techniques on or to replace one you lose. The reward is a dense field of overlapping leaf-shaped scales with a metallic finish. The tradeoff is that it is real leatherwork and a lot of repetition. If you are new to leather armor, build a simpler piece first, then come back to this one.
What you need
The pattern. The Elven Lord Scale Skirting Pattern, or the whole Elven Lord Bundle if you want the full suit.
Leather. For the scales, 5 to 6 oz vegetable-tan strap leather (the video uses Weaver Select). For the back panel, a lighter vegetable-tan, or a soft chrome-tan if you want the skirt more flexible. Chrome-tan is what the maker normally uses for the backing.
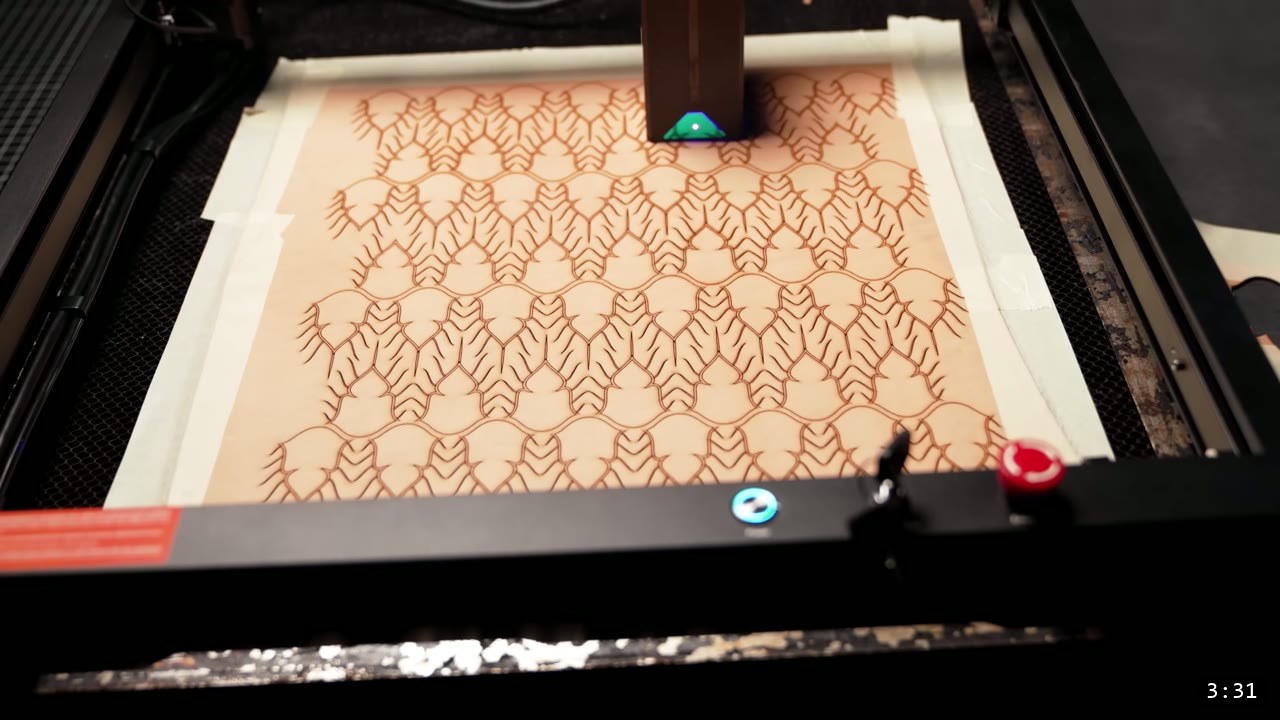
Cutting. You can cut every scale by hand, which the maker notes is fully doable and improves precision. The video uses a laser cutter to save time (the Algo Laser Alpha 22W, run through Lightburn). If you go the laser route, cut a test grid first to find your settings; on the 5 to 6 oz veg-tan, 60 percent power at 10 mm per second read clean, and the maker bumps power a touch above that because leather varies across the hide. Cutting leather makes heavy smoke and a sharp burnt smell, so a respirator, good ventilation, and eye protection are not optional.
Color and seal. Green leather dye (the video uses Angelus green), Weaver’s Tough Coat acrylic finish, nitrile gloves, and Neatsfoot oil for the back panel.
Paint. Jacquard Lumiere Metallic Olive Green, Lumiere Pearl Emerald Green, and Lumiere Metallic Bronze, plus black and a little brown acrylic for the antiquing wash. Sponges and a small brush.
Shaping and hardware. A forming dome (the maker uses a 3D printed dome he designed for small pieces; a rounded object works too), optional metal studs, an adjustable prong tool to punch the stud slots, a Molotow metallic silver paint pen, small double-cap rivets, and a matching rivet setter.
Step 1: Cut the scales
Lay the scale arrangement out on the 5 to 6 oz veg-tan and cut. By hand or by laser, the goal is the same: a full set of clean, identical scales. Clean edges here pay off at every later step, because you will handle each scale many times.
Step 2: Cut the back panel
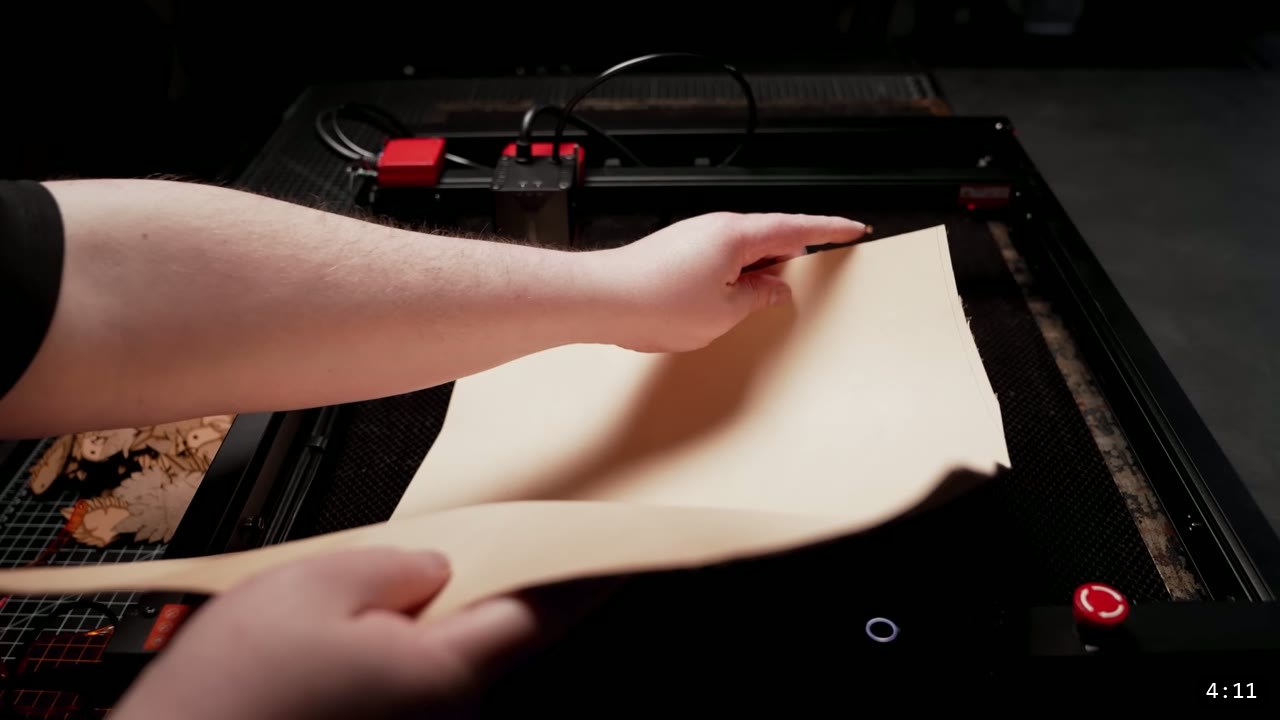
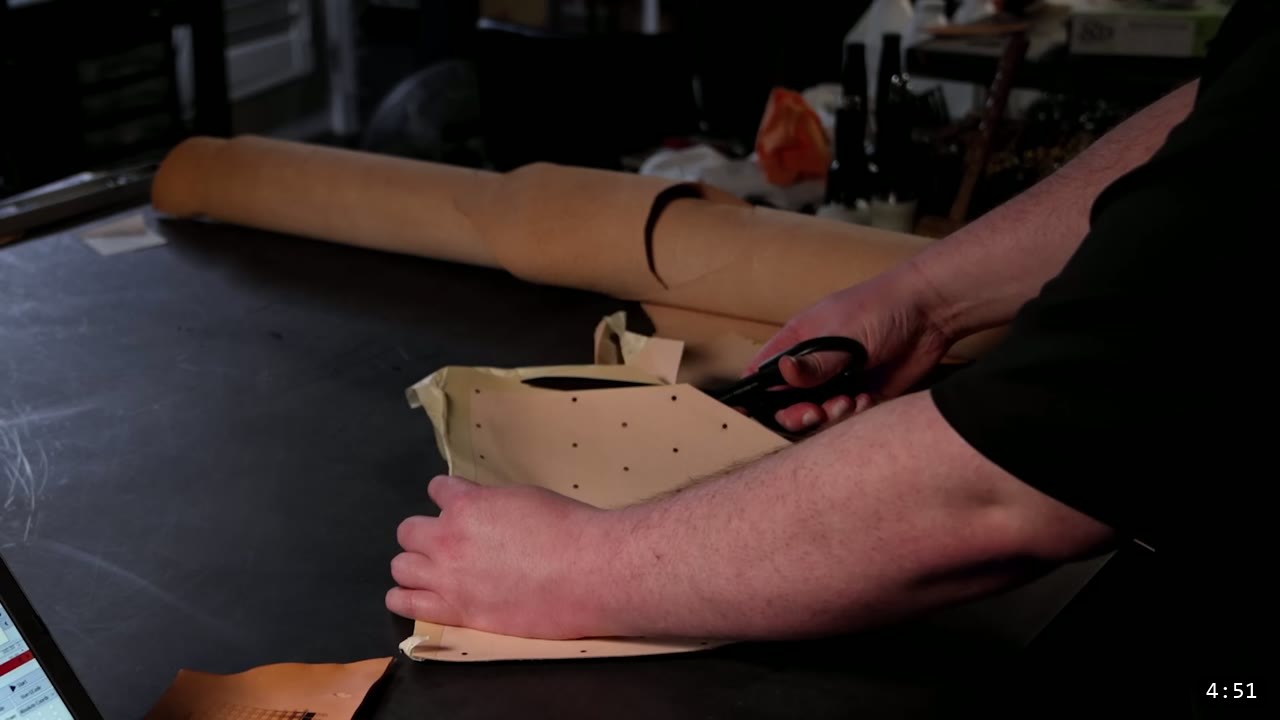
Cut the back panel that the scales rivet onto. If you laser it, the plate runs slightly larger than the bed, so it cuts nearly all the rivet holes but not the full perimeter. That is fine; the holes are the time-saver. Punch the last hole at the bottom by hand and trim the perimeter with scissors or a knife. Use the lighter veg-tan or a soft chrome-tan here for a skirt that drapes.
Step 3: Make an embossing plate and emboss the scales
To get the raised leaf texture without tooling each scale by hand, cut one extra scale from a firmer alternative material and use it as an embossing plate. The video presses each scale against it with an 8-ton Mighty Wonder clicker press from Weaver Leather. You can also emboss by hand or with a cheaper press. The video mentions an Academy video lesson on making embossing plates, which is also included in the Elven Lord Bundle.
Step 4: Dye and seal the scales, oil the back panel
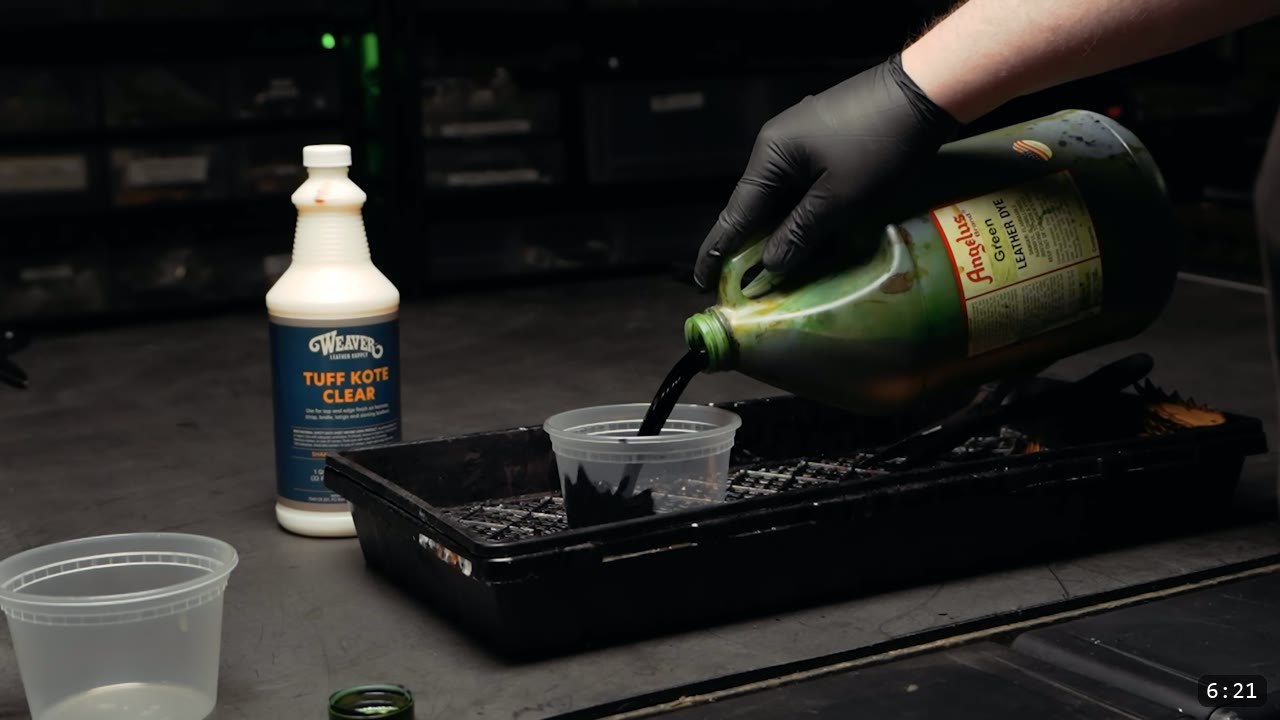
To keep the pace up, dunk each scale in the green dye and set it to dry, rather than brushing every one. Then dip each scale in Weaver’s Tough Coat to seal and firm it, dab off the excess so it does not stick to the tray, and move it to a clean surface to finish drying. Dye the back panel the same green, but instead of the acrylic finish, saturate it with Neatsfoot oil to keep it soft and flexible so the skirt moves.
Step 5: Paint the scales in layers
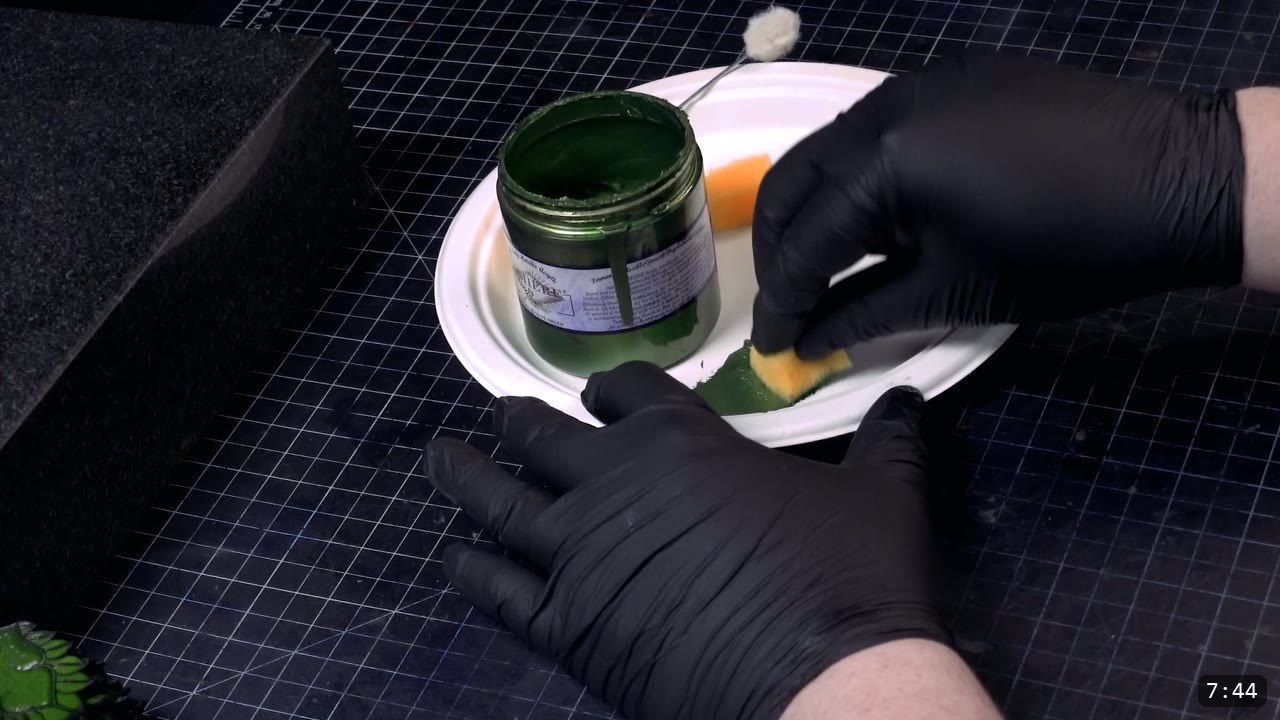
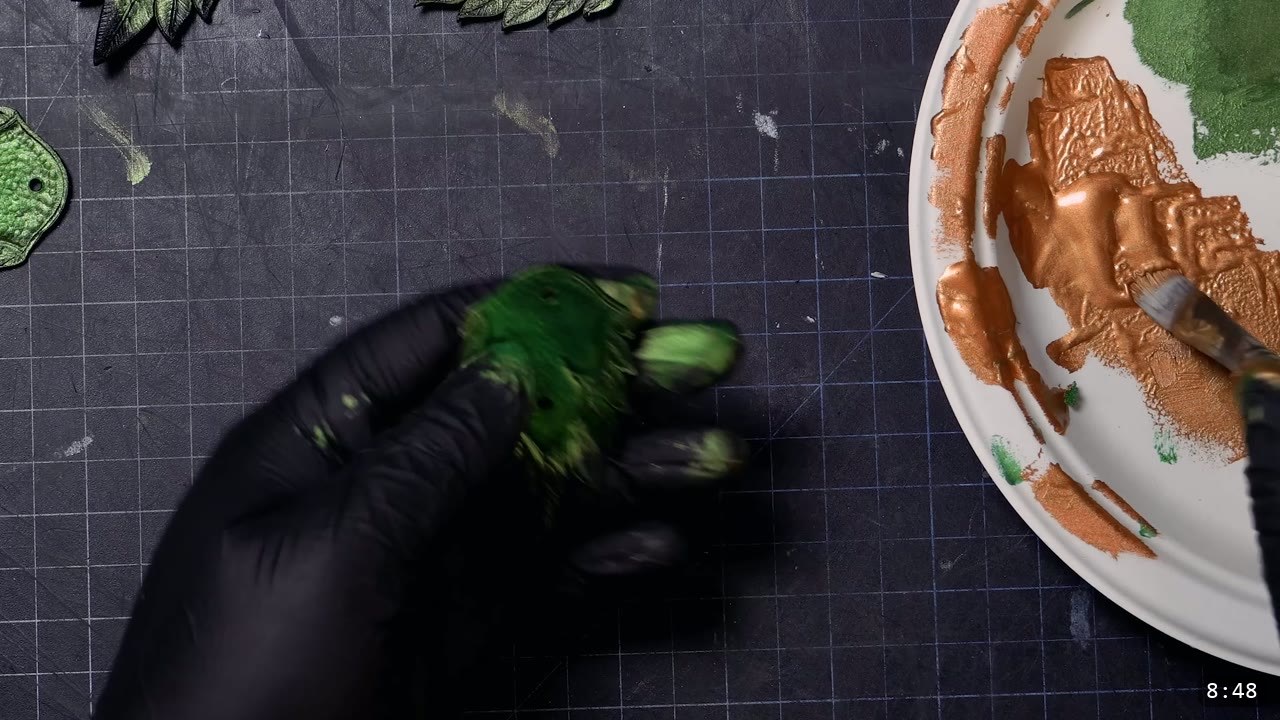
The paint is what sells the look, and it is the slowest part, so plan for it. Work in thin layers with sponges. Lay down a light base of Lumiere Metallic Olive Green, then a coat of Lumiere Pearl Emerald Green over it. Tear the straight edges off the sponge so the texture reads organic, and dab off excess to control it. Focus the color a little heavier toward the center of each scale for a soft gradient, but do not bury the layer underneath. For the outer feathered tips, switch to a brush and lay a light coat of Lumiere Metallic Bronze for control.
Step 6: Antique with a wash
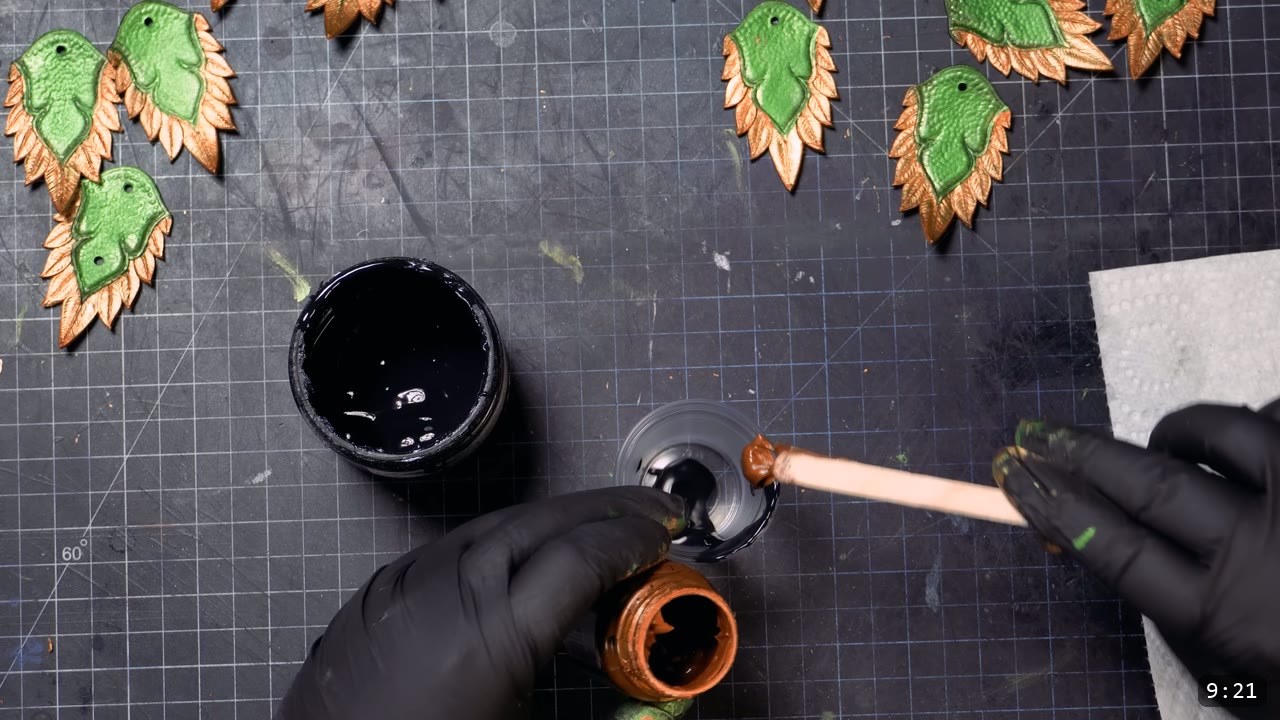
Make a wash by watering down black paint with a little brown for a rustic tint. Spread it into the recessed areas, then dab most of it back off with a rag so you keep texture in the low spots and leave the raised areas clean. Keep the wash off the center of each scale so the middle stays bright and the gradient holds.
Step 7: Shape the scales
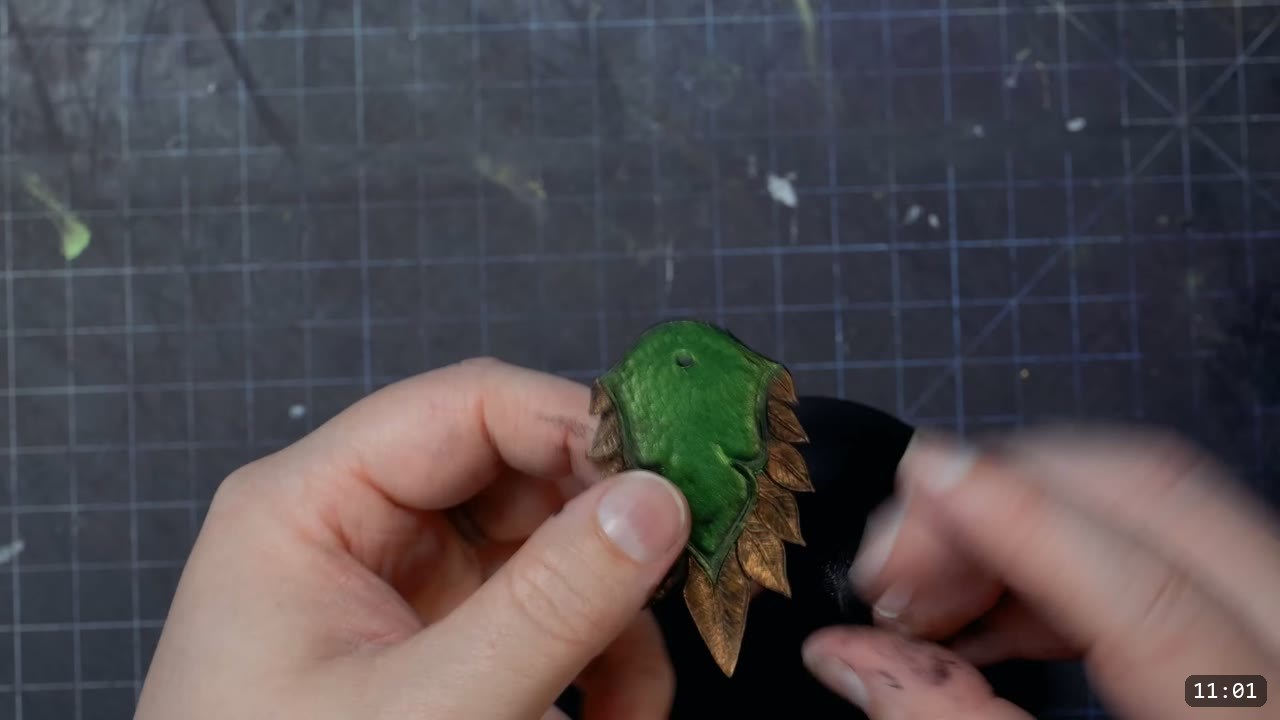
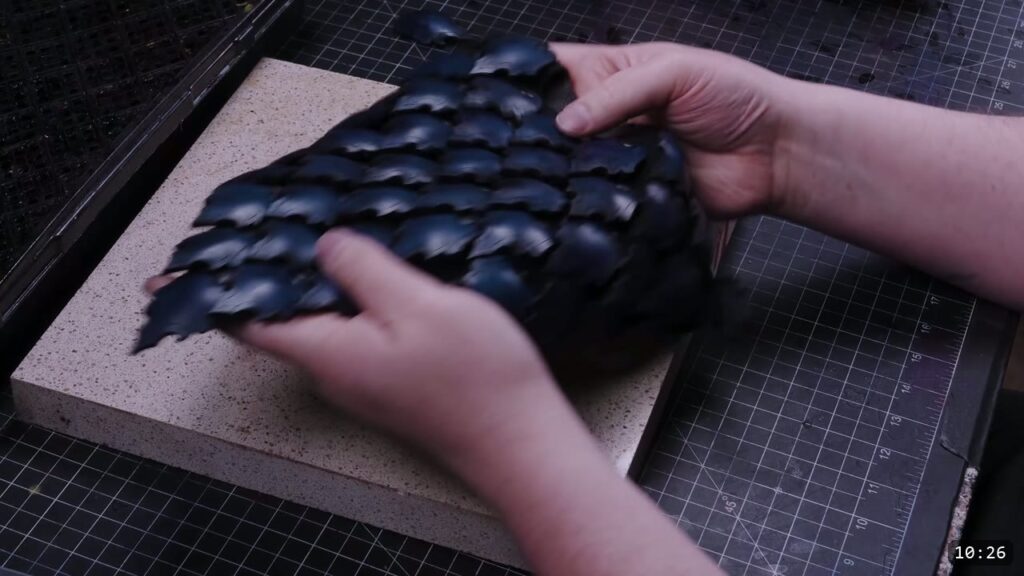
Give each scale a shallow dome and twist the outer tips up and out a little, so light catches the surface instead of hitting a flat piece. It does not need to be much.
A note on timing, because it matters. The clean time to wet-form these is before you dye and seal, while the leather still shapes freely. The maker points this out early and offers it as an option. He chooses to keep the scales flat through dyeing, sealing, and painting because flat pieces are far easier to process, then domes them at the end. He can get away with that here only because each scale needs so little shape, and he says plainly that it is harder once the dye and finish are fully dry. So: if you want any real form in a piece, do it before you seal. Save the after-seal approach for the small, light doming you see here, and expect to force it.
Step 8: Add studs and the silver inner trim
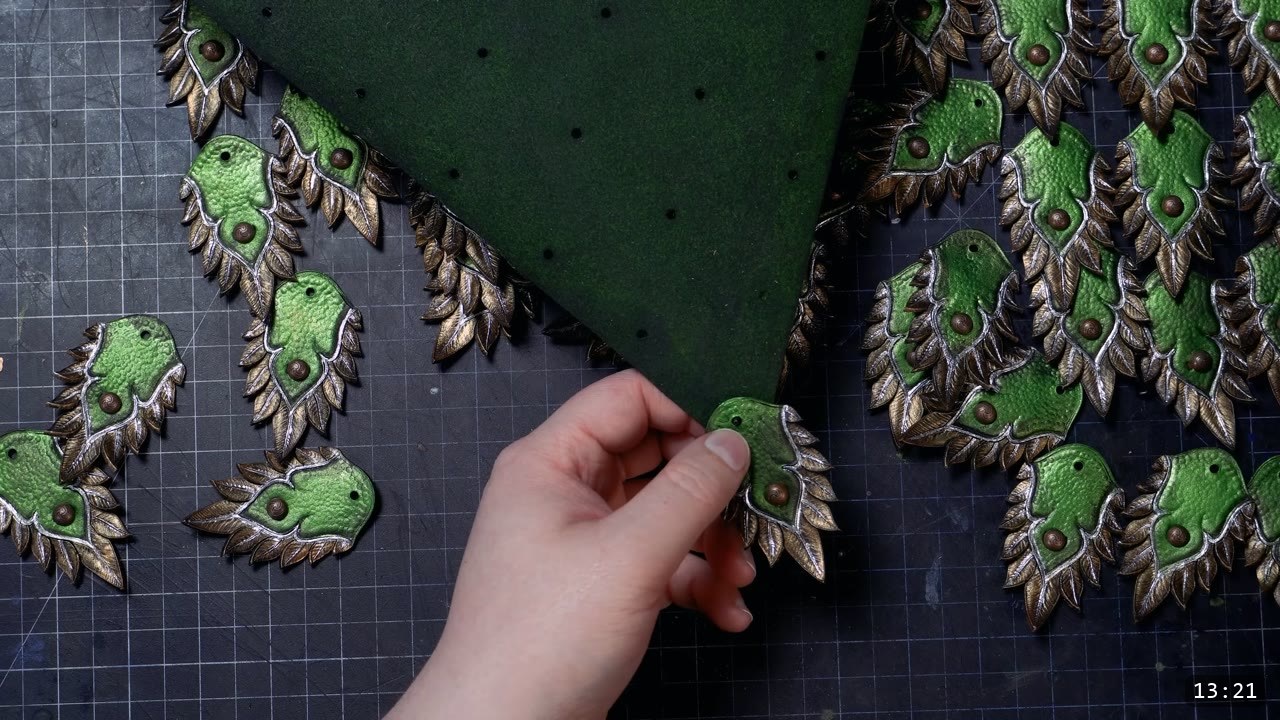
For extra detail, add small metal studs. Punch a pair of slots for each stud’s tabs with an adjustable prong tool; smoothing and polishing the prongs first lets them slide in and out of the leather cleanly. Then run a Molotow metallic silver paint pen along the raised inner lines. The pen makes quick work of the fine lines and gives one of the brightest metallic effects around.
Step 9: Rivet the scales to the back panel
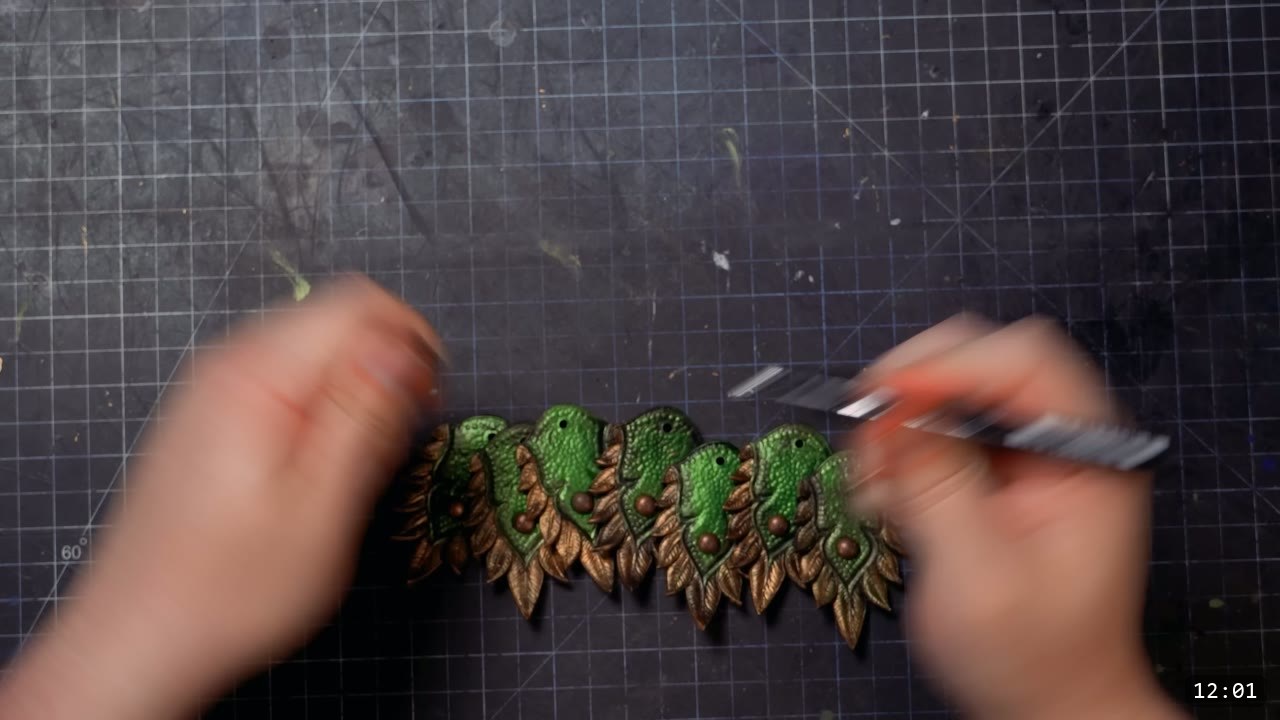
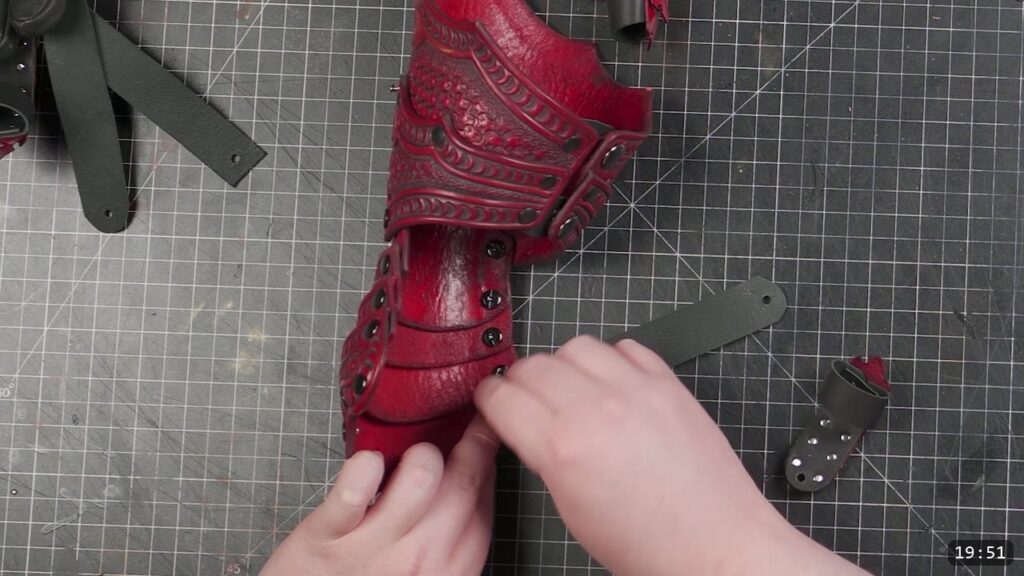
Assembly is quick next to the finishing work. Use small double-cap rivets and a matching setter. Set each scale grain side facing out. Start at the bottom row and work your way up, so each row overlaps the one below like real scales.
Step 10: Finish the top and add a belt
At the top row, the back panel loops back on itself. That fold makes a channel you can run a narrow belt through to hang the skirt. The video keeps the belt itself separate and points to a buckle strap guide and a couple of basic scale skirt tutorials for that part. Then the panel is done.
FAQ
Do I need a laser cutter for this?
No. The maker cuts with a laser to save time on 51 scales, but he says outright that you can cut each scale by hand, and hand-cutting can improve precision. The laser is a convenience, not a requirement.
What leather should I use?
For the scales, 5 to 6 oz vegetable-tan strap leather. For the back panel, a lighter vegetable-tan or a soft chrome-tan. Chrome-tan gives the skirt more flex, which is what the maker normally uses for the backing.
When should I shape the scales, before or after dyeing?
Shape before you dye and seal if you want any real form. Once the leather is dyed and sealed, the finish resists water and the piece will not fully re-wet or reshape. The video defers a light doming until the end and notes it is harder once the finish is dry, which works only because the scales need so little shape.
How do I get the metallic look?
Dye the scales green, seal them, then build up thin sponge layers of metallic olive and pearl emerald, add bronze on the outer tips with a brush, and antique the recesses with a watered-down black wash. A silver paint pen picks out the raised inner lines.
Can I make this bigger or smaller?
Yes. The piece is designed to fill the gap between a breastplate and leg armor, and you can expand the layout for larger armor or scale it up or down as you like.
How many scales does the full panel take?
51 scales for the panel. One pattern arrangement lays out 54, giving you a few spares.
Where to go next
- Get the pattern: Elven Lord Scale Skirting Pattern.
- Building the whole set? The Elven Lord Bundle is the full advanced suit.
- New to leather armor? Start with 5 tips for getting started with leather armor.
- Want the belt and a simpler take on a scale skirt? Watch DIY Scale Skirting, Imperial Armor.
- Struggling with wet-forming? The Hand-shaping Leather for Armor Making walkthrough goes deep on shaping.
- Built one? Share it and tag Prince Armory Academy and Weaver Leather; we feature student work.


Responses