



Fantasy Spaulders, Full Suit Version: Leather Shoulders That Mount to the Breastplate

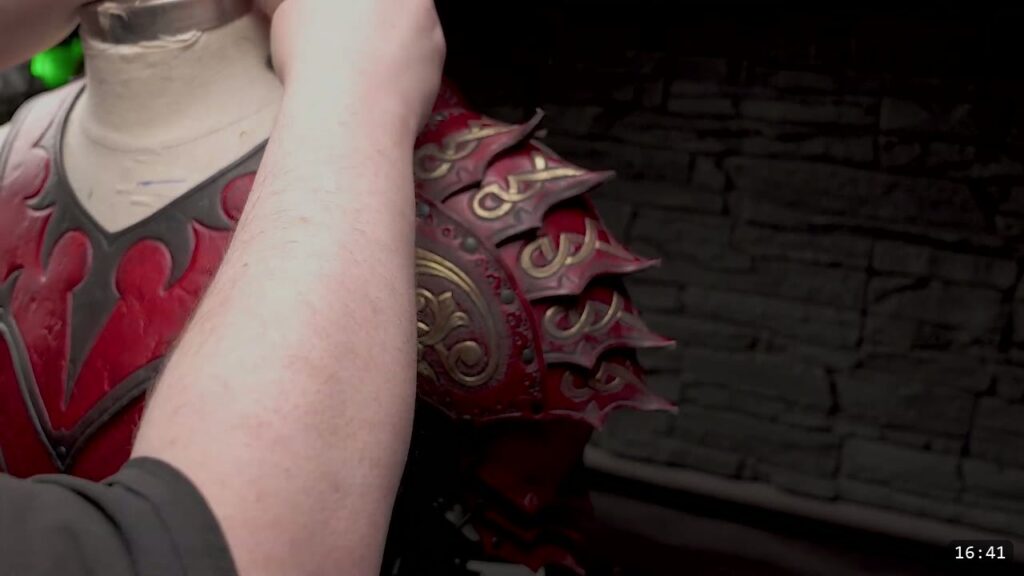
This is the full-suit version of the fantasy spaulders, a variant of the original pattern that integrates with the fantasy breastplate instead of standing on its own. You build it much the same way as the original spaulder: trace the pieces onto tooling leather, cut them, carve and tool the design, wet-form a little shape, then dye, seal, and rivet the plates together. The differences are in the pattern and the mount. The chest strapping is removed, a pronounce tab is trimmed off to accept a new trim piece, that trim carries a flared ridge along the top edge that you wet-form into a compound shape, and the finished shoulder buckles to the top of the breastplate with a single small strap. This guide walks the whole variant alongside the video, and points you to the original spaulders guide for the shared build steps.
What you are building, and how it differs
The original fantasy spaulder is a standalone shoulder. It carries a buckle strap that spans your chest so you can wear it by itself with no other armor. This full-suit version drops that chest strap. In its place, a small buckle sits centrally across the top of the breastplate and the shoulder hangs from it. The tradeoff is honest: the standalone version needs nothing to attach to, but you give up mobility, and if you have the breastplate or plan to make it, you do not need the chest strap at all.
If you have not built the standalone spaulder yet, start with the original build and its video, DIY Fantasy Spaulders. It covers the cutting, carving, tooling, dyeing, and riveting in full. This guide assumes that base and focuses on what changes for the full suit.
What you need
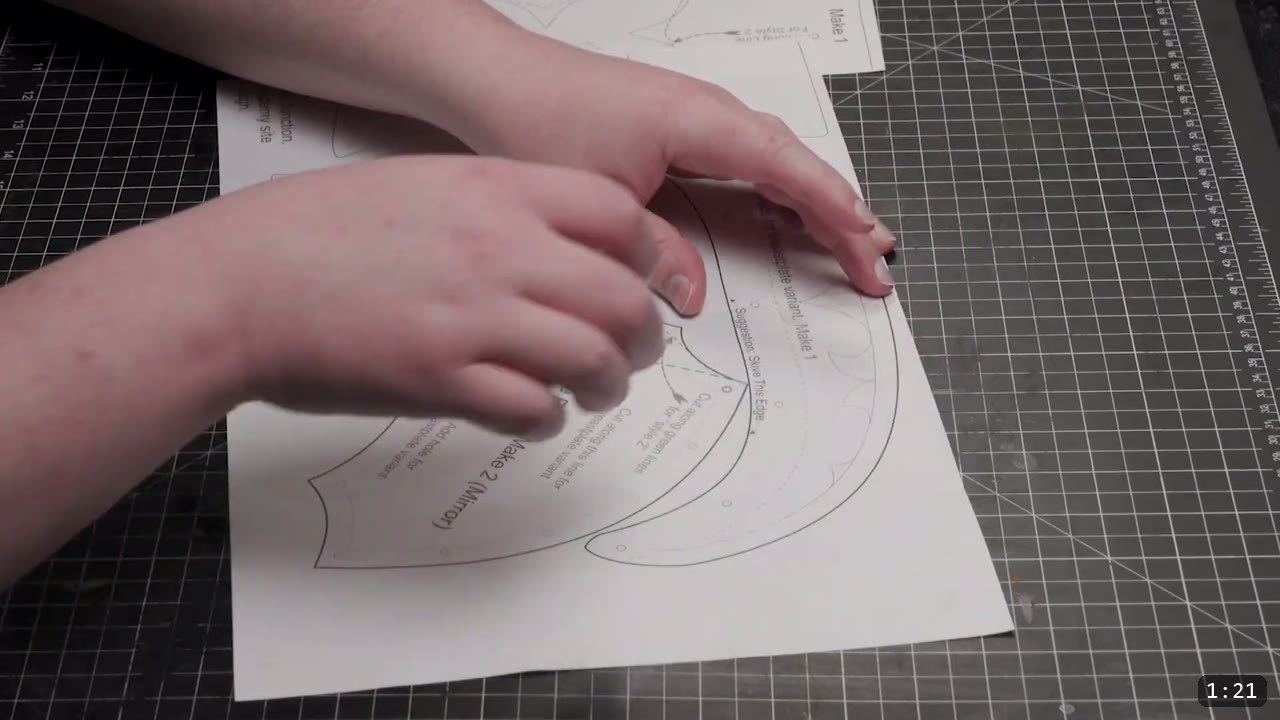
The pattern. This variant is added to the Fantasy Spaulders pattern as a bonus for past and future students, so if you own the pattern you already have it. Print it with a PDF reader that handles tiled pages, like Foxit Reader. Select the tiled large pages option, and use the print preview to set orientation and scale. One hundred percent is the default. In the video the pattern is scaled up ten percent to fit a breastplate that was already made, so match your own breastplate rather than a fixed number.
The breastplate. This shoulder is built to mount to the Fantasy Breastplate pattern. You do not have to have it finished to build the spaulder, but you do want to know its size, because you scale the spaulder pattern to fit it.
Leather and tools. Same as the original spaulder build: vegetable-tan tooling leather that carves, stamps, wet-forms, and takes dye, plus a cutter, a swivel knife, tooling and beveling stamps, an edge slicker, hole punches, dye, an acrylic top coat, and rivets. The video does not restate a leather weight, so use a tooling weight that still carves and hand-shapes easily. The video defers the full material list to the original spaulder build, so pull your exact dye and finish from that guide.
Step 1: Print the variant pattern and note the changes
Print and assemble the variant pages the same way as the original. As you lay the pieces out, look for the two changes that make this the full-suit version. First, the chest strapping is gone. Second, the pronounce tab is trimmed off so it can accept a new trim piece for the shoulder. Those two edits are what let the spaulder hand off its support to the breastplate.
Step 2: Trace, cut, and pick your level of detail
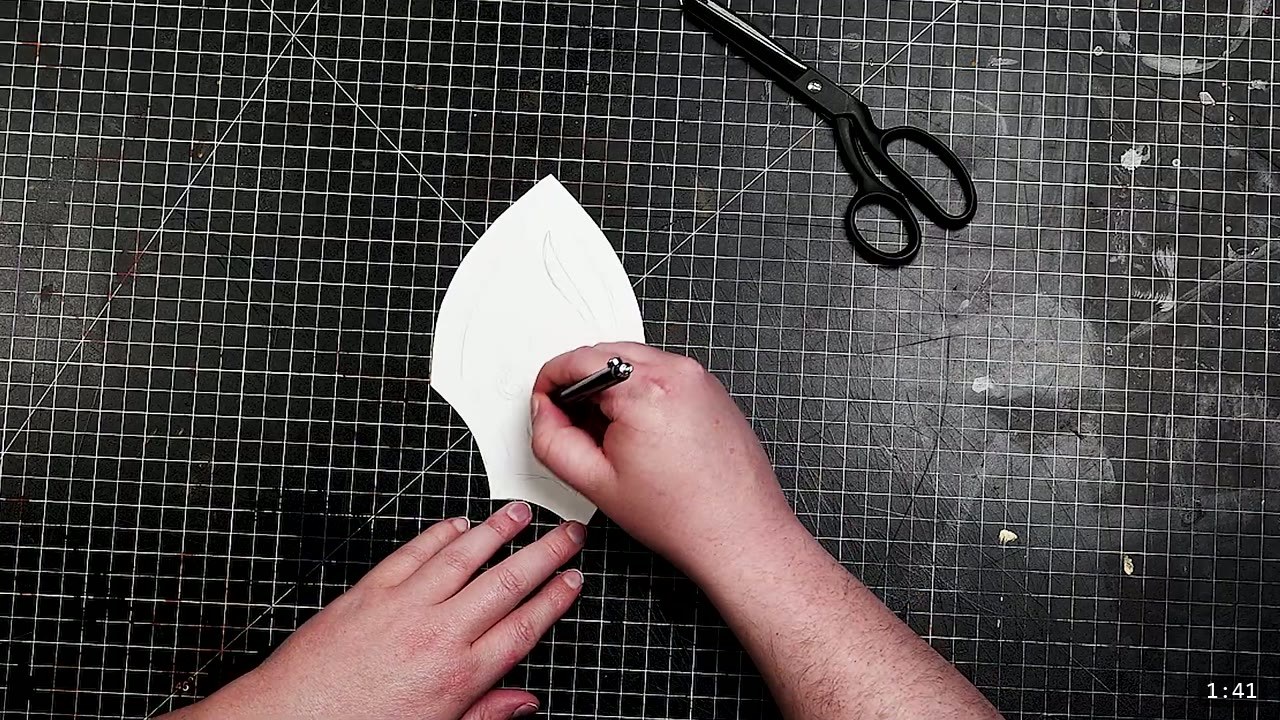
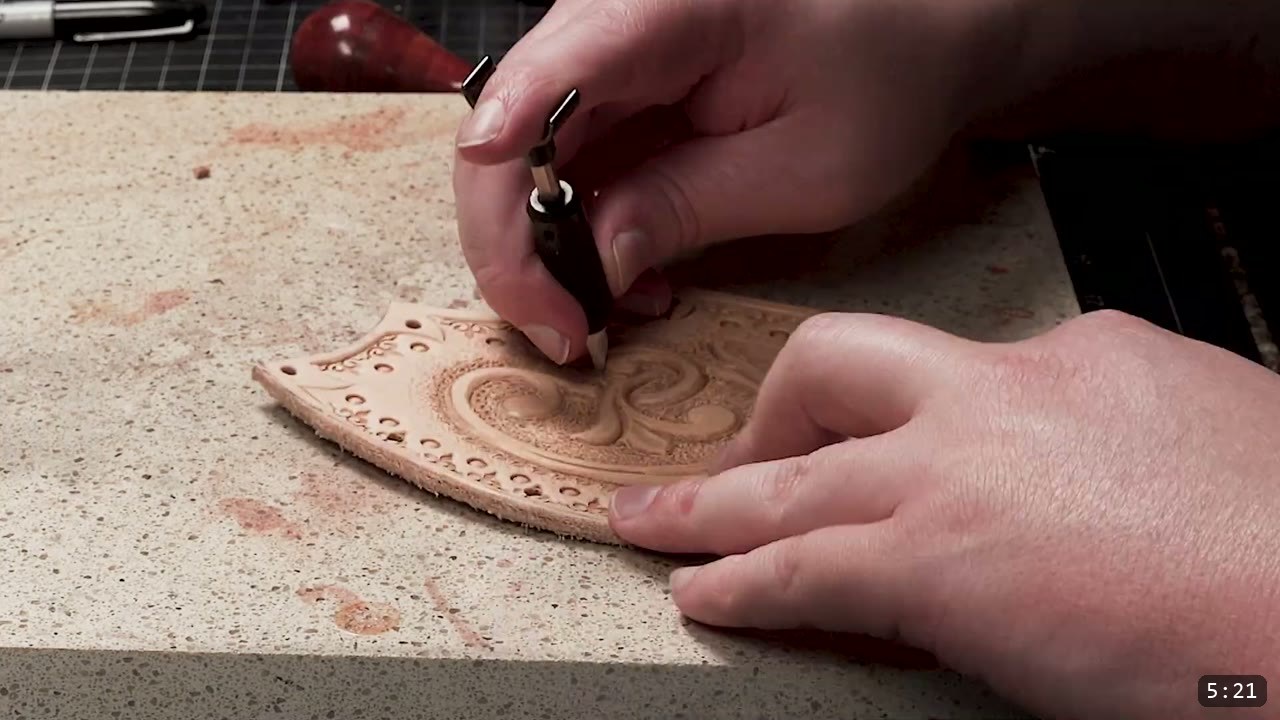
Trace and cut the pieces as usual. Before you tool anything, decide how much detail you want, because the video shows several levels on this one piece and says there is no wrong answer. The simplest is a border tweak with a beveling tool. The next step up is a quick carved and beveled element on the center panels, which adds interest without much extra work. The most involved is the side plates, where the video slows down and tools the design a little nicer. You can cover the whole suit in intricate work, run the base design as drawn, or add no extra detail at all.
Step 3: Carve and tool the design
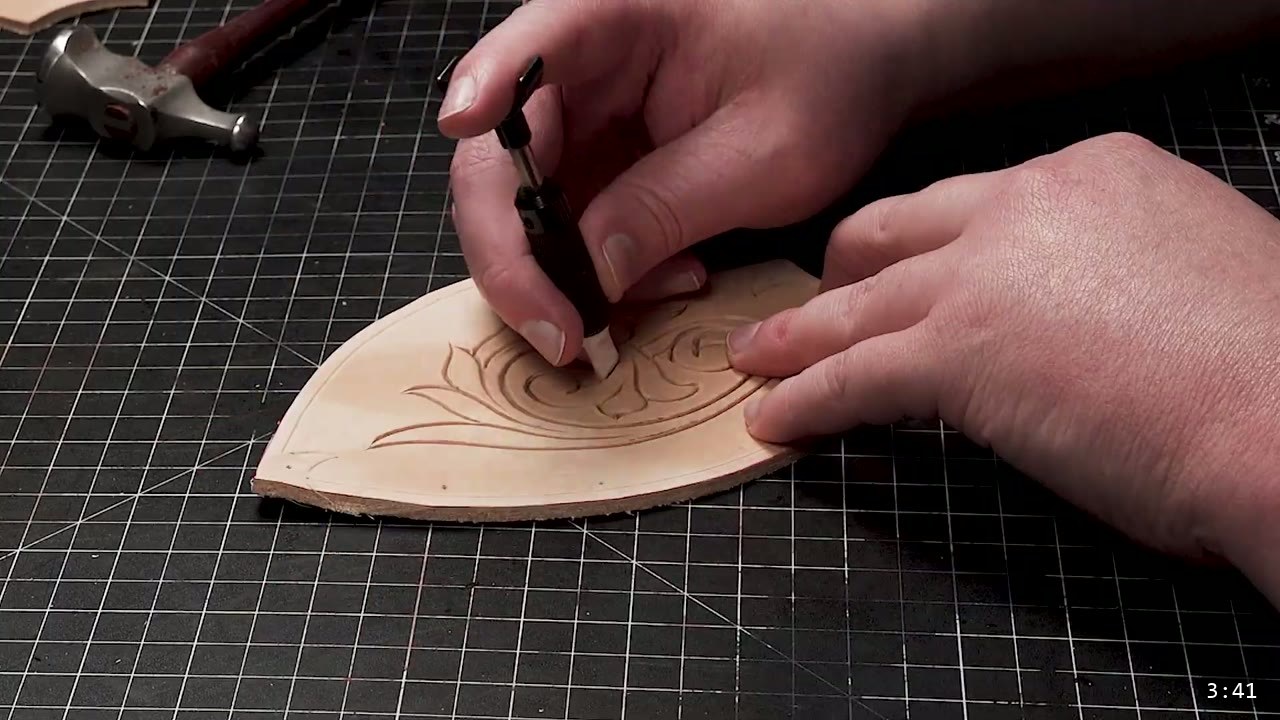
Carve the design lines with the swivel knife, then tool them. The base method here is the same as the original spaulder, so lean on that guide for the swivel-knife and stamp work. The design and embellishment choices in this video, the way the borders, center panels, and side plates are developed, are covered in greater depth in a premium tutorial on the website and the Academy tier of the Patreon. Treat the on-screen designs as a starting point you can adapt.
Step 4: Skive the joining edges
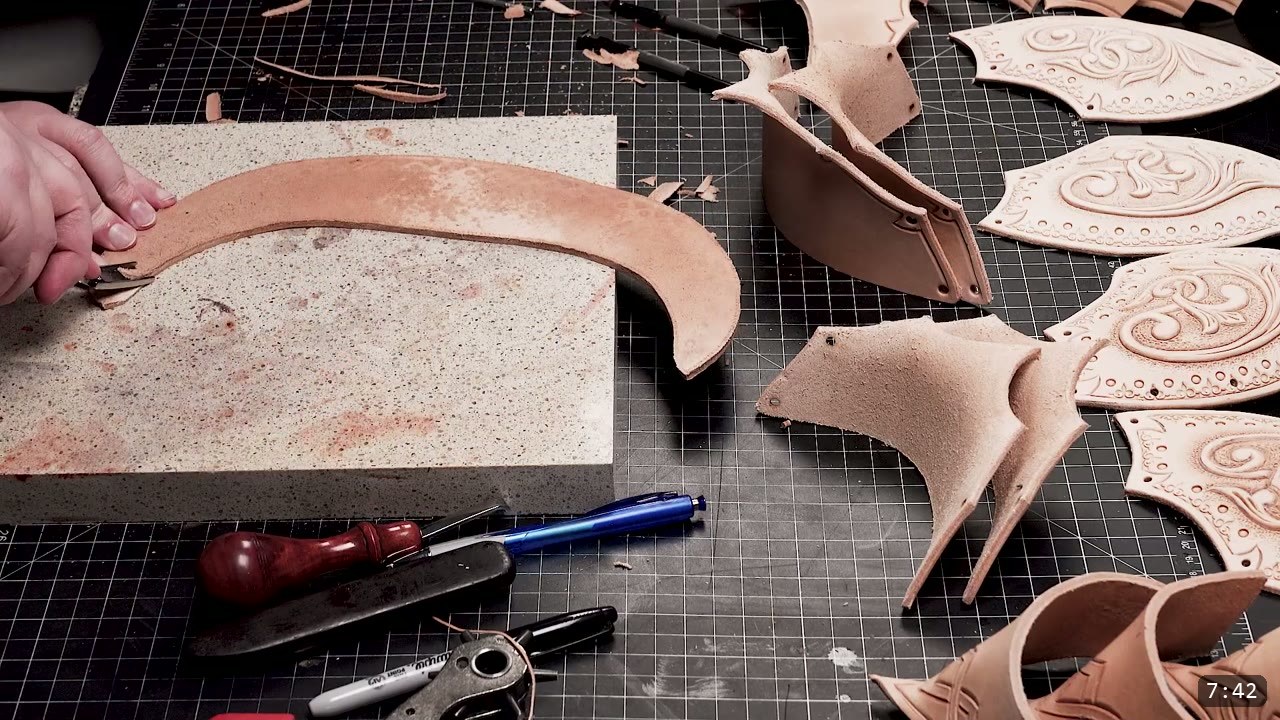
Skive the underside edges of any piece that will join with another component. This thins the overlaps so the pieces sit flush when you assemble them. It is the same habit you use on the rest of the suit, and it matters more here because the shoulder has a new trim piece stacking on top.
Step 5: Wet-form the flared ridge on the trim piece
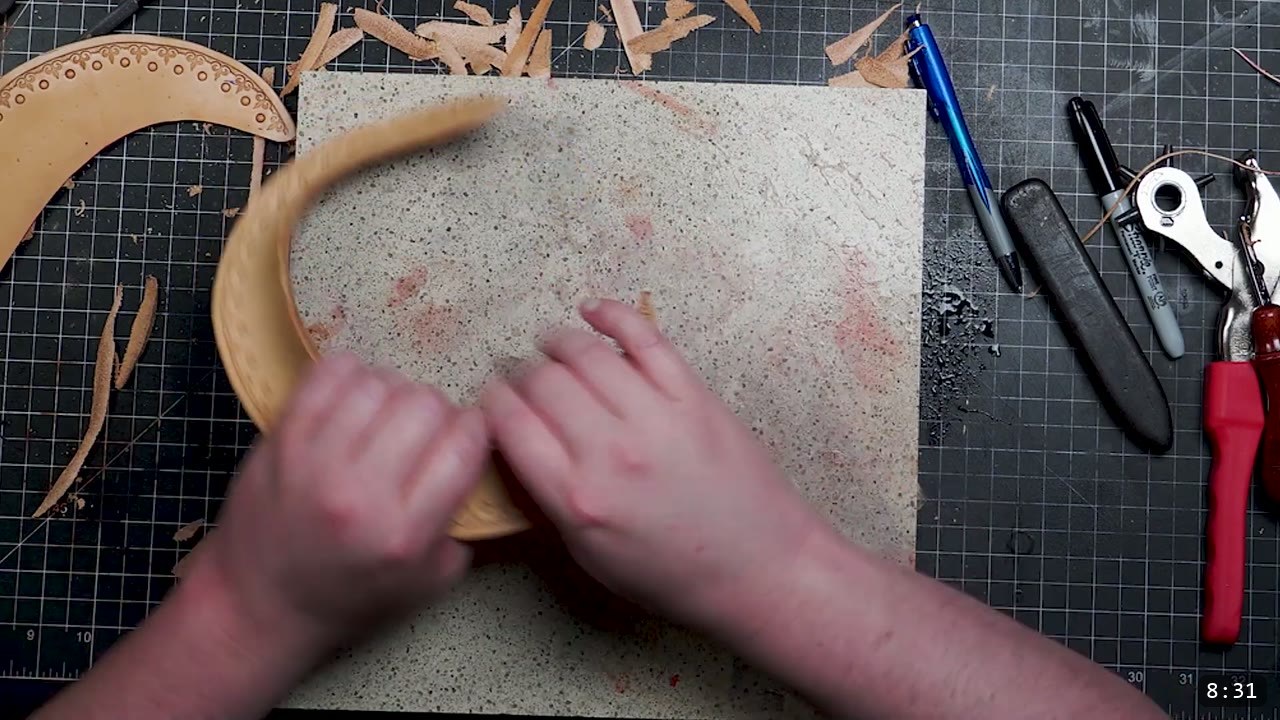
This is the big difference in the design. The new trim piece carries a flared ridge along its top edge. To get the shape right, wet the trim piece and stretch it in a compound way while it is damp, altering the shape rather than just curling it. Work the ridge until it flares the way you want. Do this shaping now, while the leather is workable. Once the leather is dyed and sealed the finish firms it up and it will not fully re-wet or reshape, so all the forming comes before color. The video notes an in-depth hand-forming series is coming, and the Hand-shaping Leather for Armor Making walkthrough already covers wet-forming in detail.
Step 6: Dye and seal
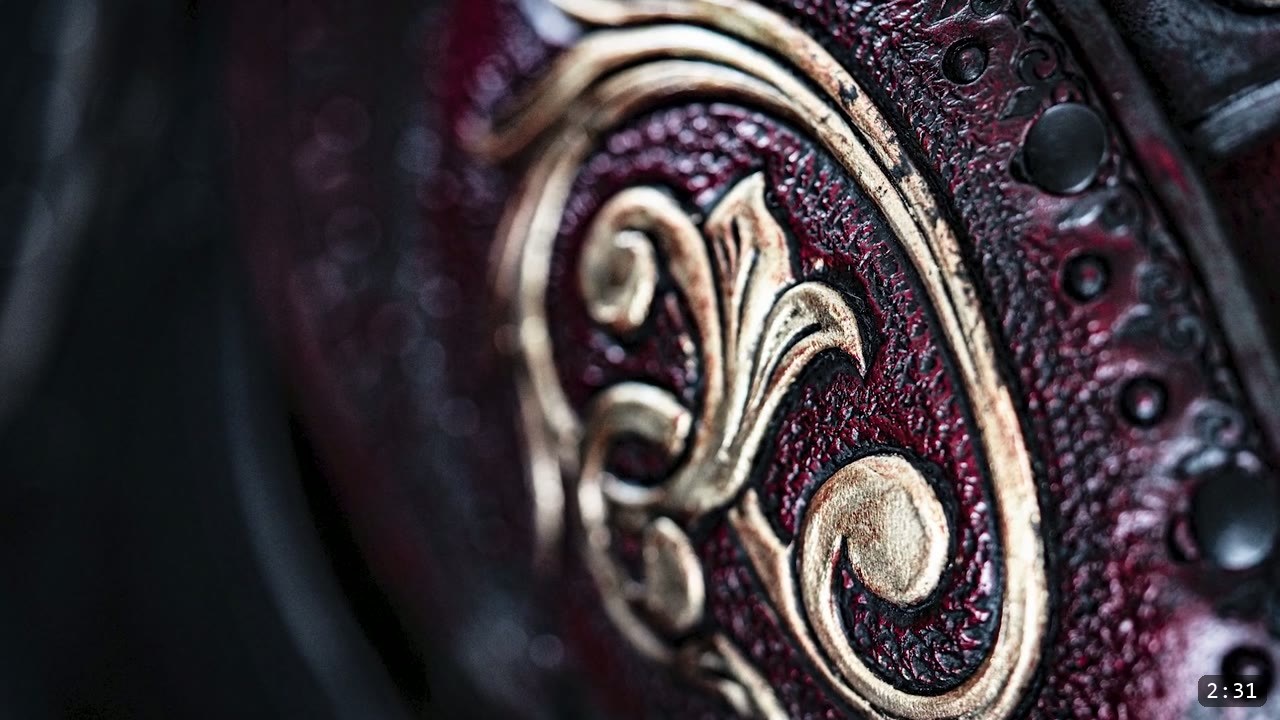
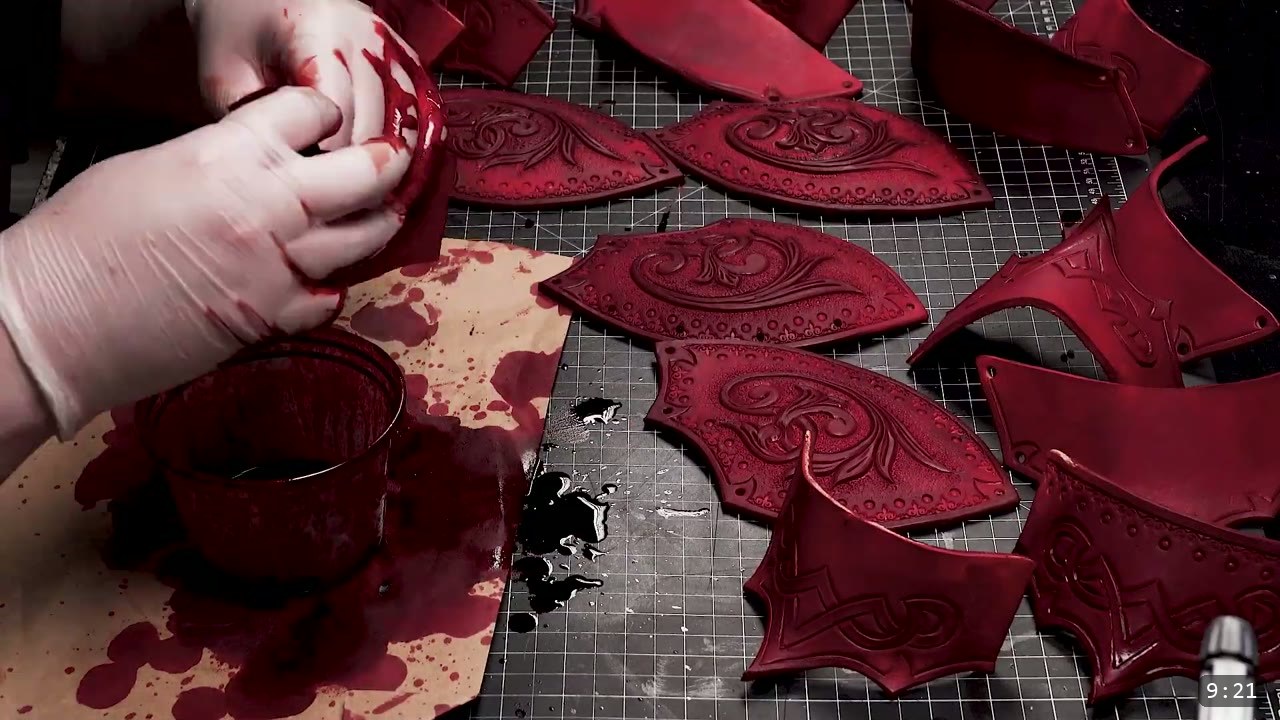
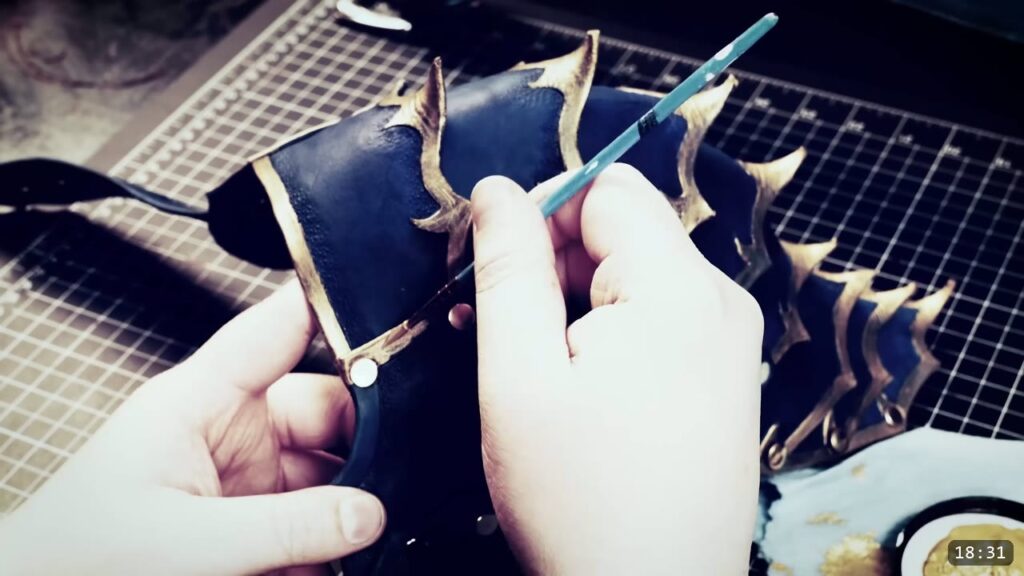
Dye and seal the same way as the original build. The video keeps this brief because the process is much the same. Test your color on scrap first, dye the pieces evenly, then seal with an acrylic top coat, which firms the leather as it protects it. The suit in the video reads as a deep oxblood with gold-highlighted accents. The video does not name a dye or finish here and defers to the original build, which uses an acrylic satin top coat, so match the color to your own suit. Seal is the last leatherworking step, so make sure every piece is shaped and formed before you get here.
Step 7: Assemble, and punch the fit holes last
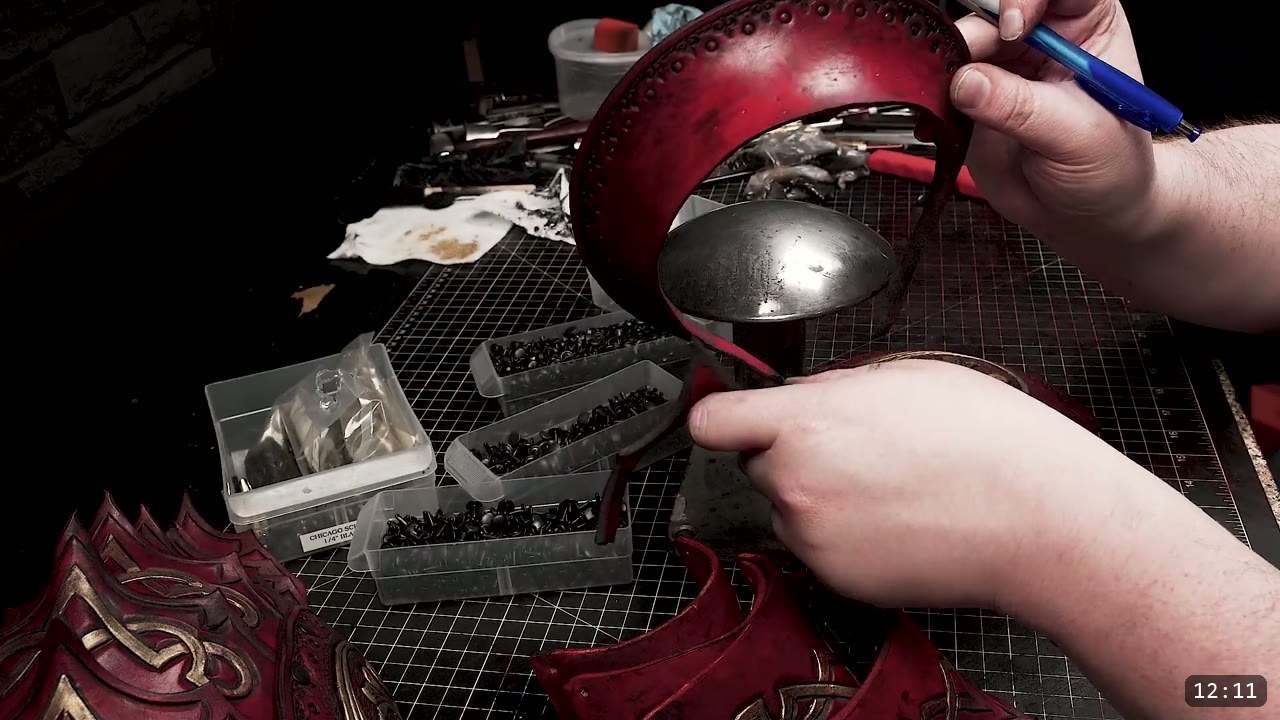
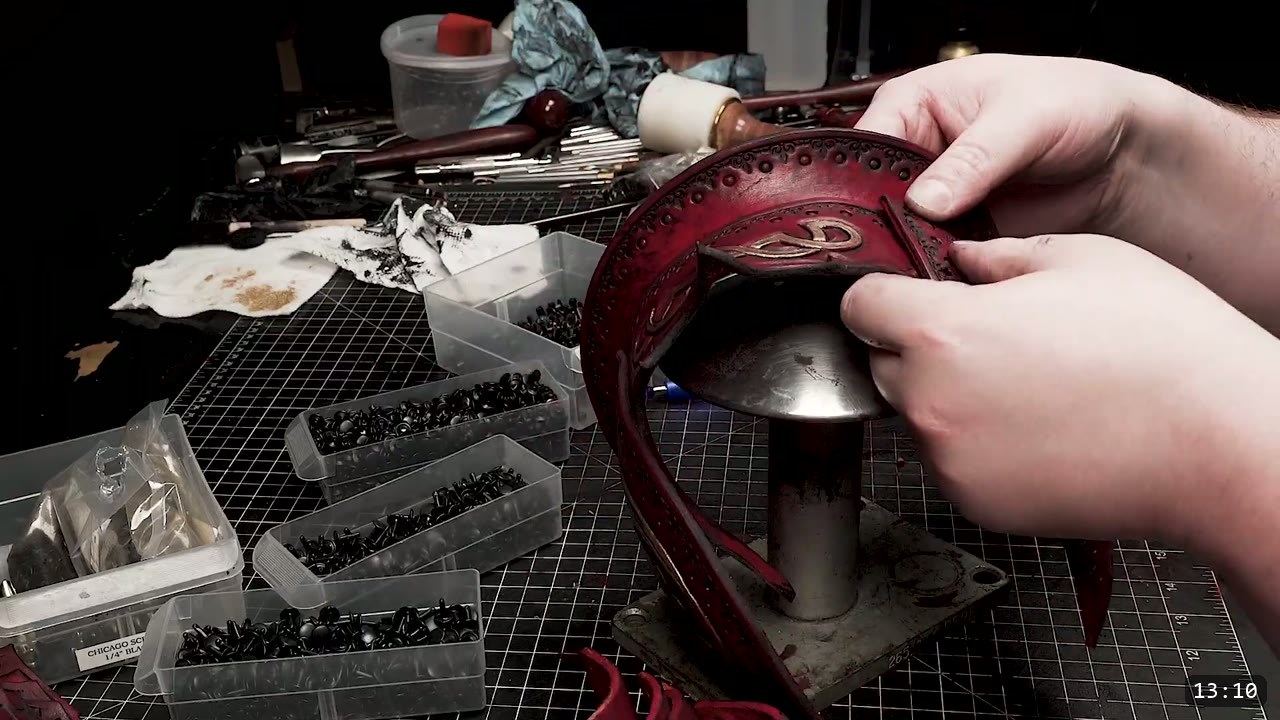
Assemble the plates the same way as the original spaulder, with rivets, and Chicago screws where you want a piece to hinge. One change matters here because of the wet-forming. When leather is hand-formed, the finished pieces do not always line up with where the pattern drew the holes. In the video, one shoulder lined up perfectly and the other had migrated slightly. So hold off on punching the attachment holes until the end, when you can fit the shoulder against the breastplate and double-check the real position.
Step 8: Mount the shoulder to the breastplate
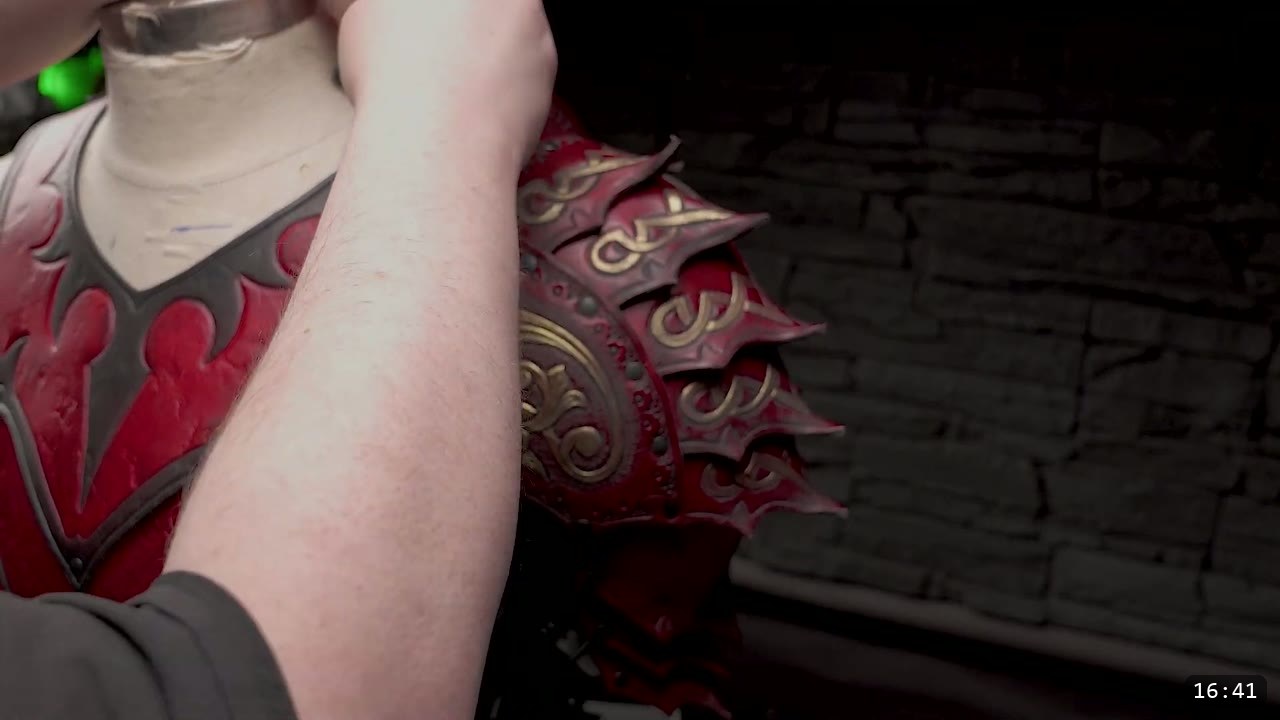
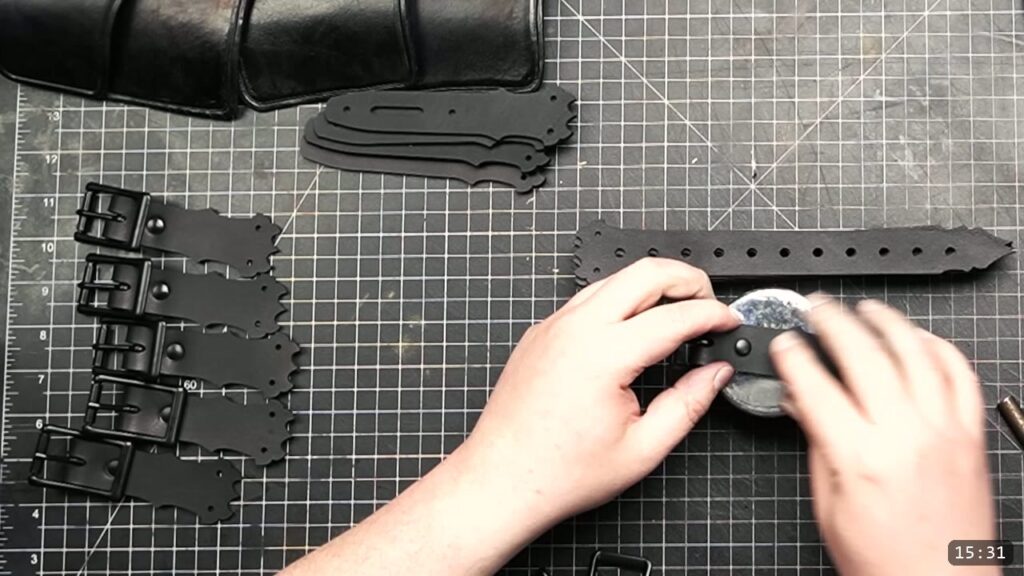
To attach the shoulder to the breastplate you have options, but the default in the video is a simple strap across the top, held with a small buckle placed centrally across the top of the breastplate. For cosplay and light combat, a single small buckle is enough. If you want something more rugged, step up to a heavier buckle, or double the buckles on each shoulder. Set the fit holes you held off on, buckle the shoulder to the breastplate, and adjust until it sits right.

Step 9: Wear it as a suit
That is the full-suit spaulder. Mounted to the breastplate, the shoulder reads as part of one set instead of a piece worn on its own. This was the first completed suit in the base fantasy theme, with more on the way.
FAQ
How is this different from the standalone fantasy spaulders?
The standalone version has a buckle strap that spans your chest so you can wear the shoulder by itself. This full-suit version removes that chest strap, trims the pronounce tab to take a new trim piece, adds a flared ridge along the top edge, and mounts the shoulder to the breastplate with a small buckle across the top. Same core build, different pattern and mount.
Do I need the breastplate to make these?
You do not need it finished, but you build this variant to integrate with the fantasy breastplate, so know its size. You scale the spaulder pattern to fit the breastplate rather than to a fixed number. The video scales up ten percent to match a breastplate that was already made.
Do I have to buy a new pattern?
No. This variant is added to the existing Fantasy Spaulders pattern as a bonus for past and future students, so if you own the pattern you already have the full-suit version.
How do I get the flared ridge on the trim?
Wet the trim piece and stretch it in a compound way while it is damp to alter the shape, then work the ridge until it flares the way you want. Do all of this before you dye and seal, because the finish firms the leather and it will not fully re-wet or reshape afterward.
Why punch the attachment holes last?
Wet-forming shifts the leather, so the finished pieces do not always match where the pattern drew the holes. In the video one shoulder lined up and the other had migrated. Waiting until the end lets you fit the shoulder to the breastplate and mark the real hole positions.
What buckle should I use to attach it?
A single small buckle across the top of the breastplate is fine for cosplay and light combat. For something more rugged, use a heavier buckle, or double the buckles on each shoulder.
Where to go next
- Get the pattern: Fantasy Spaulders pattern. The full-suit variant is a bonus on this pattern.
- Building the whole set? Pair it with the Fantasy Breastplate pattern, or get everything in the Fantasy Armor Bundle.
- Want the standalone shoulder first? Watch DIY Fantasy Spaulders for the full standalone build.
- New to leather armor? Start with 5 tips for getting started with leather armor.
- Struggling with the flared ridge? The Hand-shaping Leather for Armor Making walkthrough covers wet-forming in detail.
- Built one? Share it and tag Prince Armory Academy; we feature student work.





Responses