



Leather War Belt and Skirting Build Guide: A Fantasy Armor Waist from a Pattern

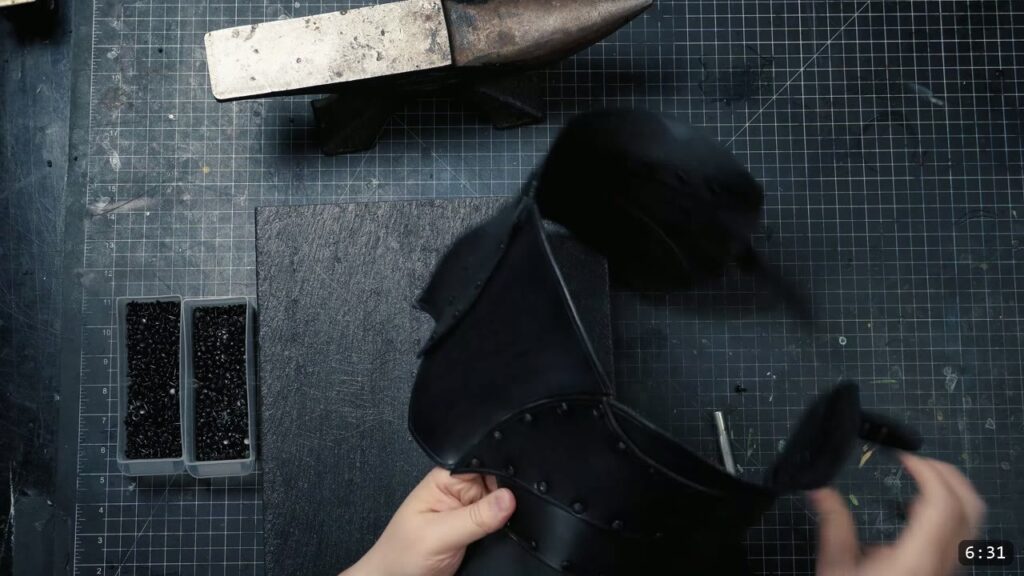
You build a leather war belt and skirting from a flat pattern, not a kit. You cut the panels from 9 to 10 oz vegetable-tan leather, give the edges a decorative groove and bevel, and rivet the panels together. Two layers take a medium rivet, three layers take a long rivet. Then you dye the belt black, seal it, add a buckle strap on each side, and rivet on a flowing skirt cut from chrome-tan leather. This is a straightforward build that anyone in the Warrior Armor series can do. This guide walks the whole thing alongside the video, so you can watch each step and read the details the video moves past quickly.

What you are building, and what it takes
This is part of the Warrior Armor series, so the belt uses the same simple, geometric approach as the rest of the set. The panels are mostly flat, the shaping is minimal, and the whole thing goes together with rivets. The reward is a war belt and a hanging skirt that finish off the waist of the armor. If you are brand new, this is a good early build. The basics of cutting, grooving, and riveting carry over from every other piece in the series.

What you need
The pattern. The Warrior War Skirt Pattern carries the belt and skirt templates and marks where to punch the holes and which piece goes where. It is a digital template and build lesson that covers both the war belt and the skirt. You can also get the whole set in the Warrior Armor Bundle.
Leather.
- Belt: 9 to 10 oz vegetable-tan. That weight lets you shape and decorate the belt to whatever degree you want, and it firms up into real armor once sealed.
- Skirt: any chrome-tan leather. Chrome-tan is more supple and flowing than veg-tan, which is what you want for a skirt that hangs and moves.
Hardware.
- Medium double-cap rivets anywhere you go through two layers.
- Long rivets anywhere you go through three layers.
- One buckle and buckle strap for each side. Double them up per side if you want it extra sturdy.
Tools.
- A rivet setter, plus something dense to set against.
- A hole punch, for the skirt holes you add yourself.
- An edge groover and an edge beveler for the decorative edge.
- A cutter of your choice and a straight edge for the skirt.
- Black pro oil dye and a clear leather top-coat finish for color and seal.
Step 1: Cut and prep the panels from the pattern
Lay the pattern pieces on the veg-tan and cut the panels. Keep the pattern handy the whole way, because it tells you where the holes go and which piece is which. To keep this build simple, run a decorative groove and bevel the edges, and stop there. The design leaves room for tooling if you want to push further. You are not doing a lot of shaping on this piece, but it still helps to moisten the leather before cutting and assembling, and you must moisten it if you plan to tool.
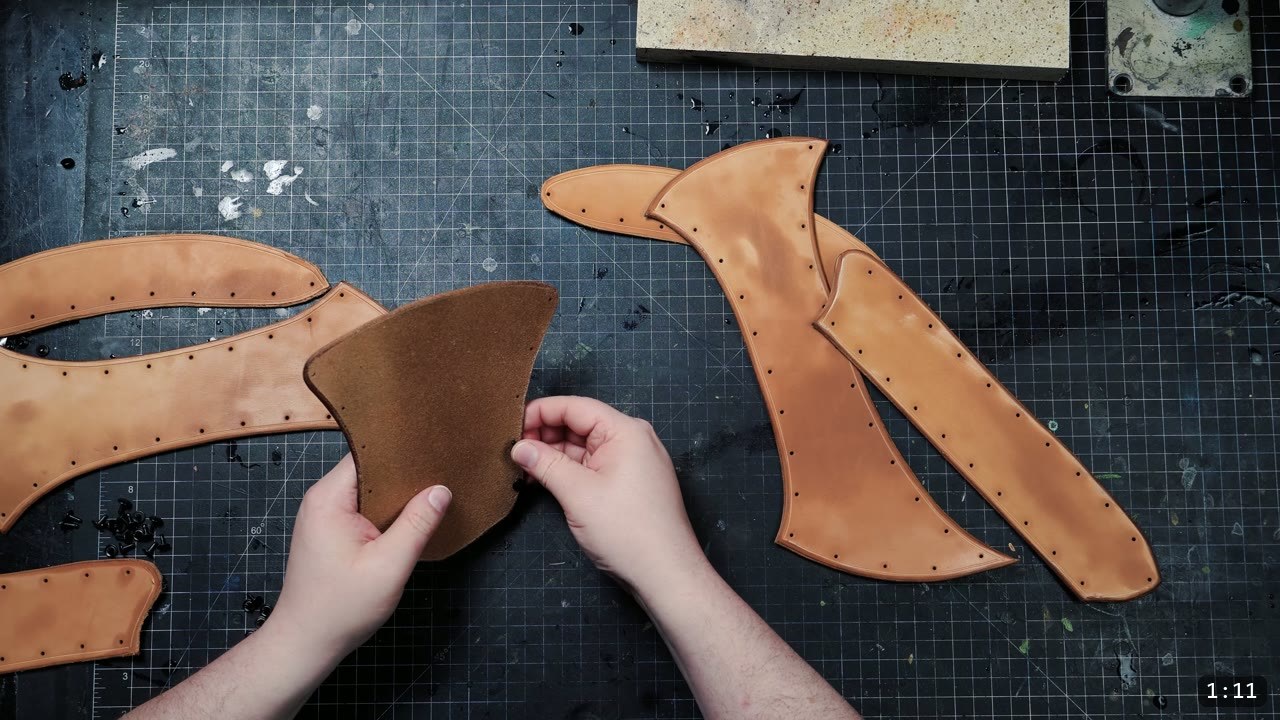
Step 2: Line the panels up damp
Work the leather while it is damp. Line up the panels the way the pattern shows and press them together so the holes match before you commit a rivet. A firm, flat surface like a granite slab makes this easier and gives you something solid to rivet against later.
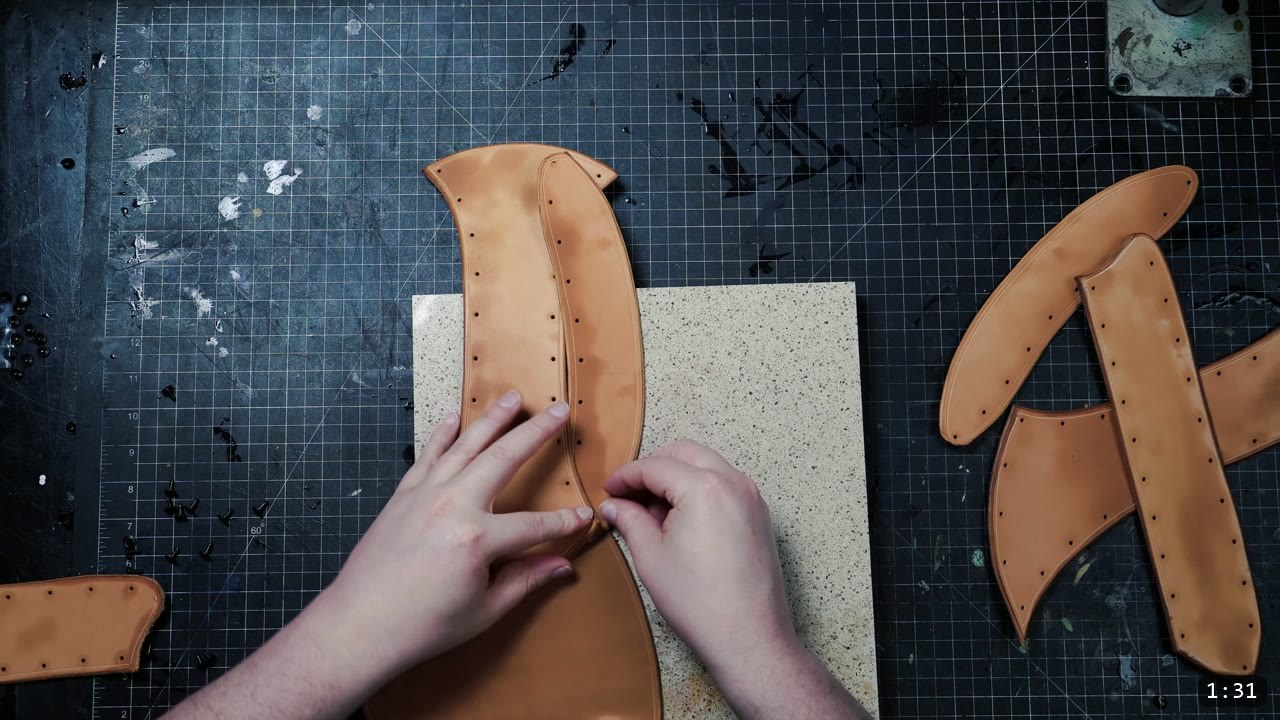
Step 3: Rivet the front and center, then the sides
Start the assembly with the front and center piece. Anywhere you pass through two layers, use a medium double-cap rivet. The lower rivet holes connect the side pieces. Where you pass through three layers, use a long rivet. The topmost hole is the example: it connects the side and the top pieces at once, so one long rivet goes through all three holes there. The rivets should have just enough friction to snap into place and hold the parts together temporarily.

Step 4: Set the rivets permanent and add the lower sides
Once the pieces are snapped together and you are happy with the fit, run each rivet through the rivet setter to make it permanent. Then attach the lower side pieces and repeat the same riveting process. The extra holes along the bottom of the side pieces and the back piece are there for the skirting later, so leave them open for now.

Step 5: Dye the belt
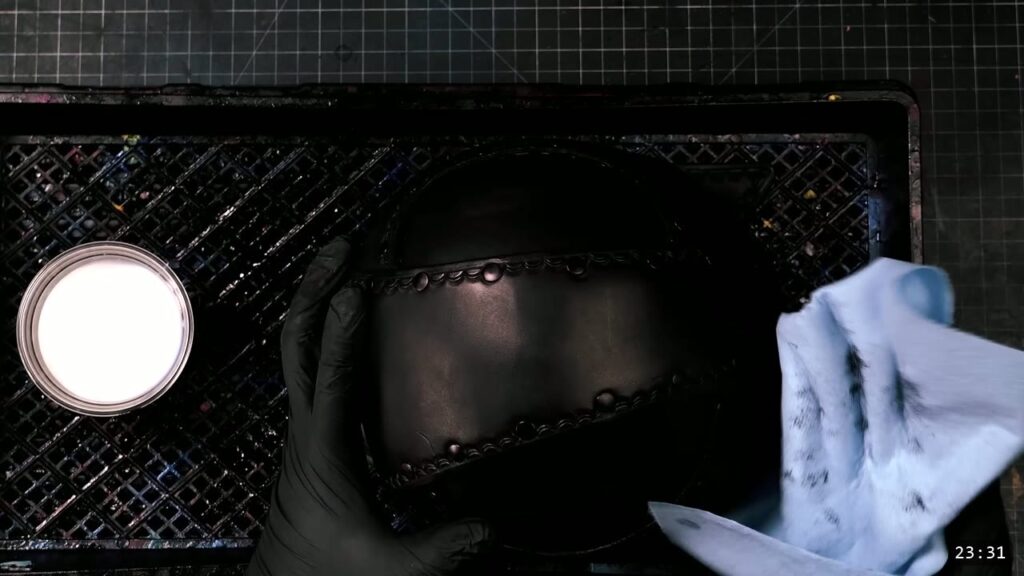
Dye the pieces with black pro oil dye. Test your color on scrap first, or on the underside if this is your first piece and you have no scrap. Work the dye into the whole surface for even coverage.
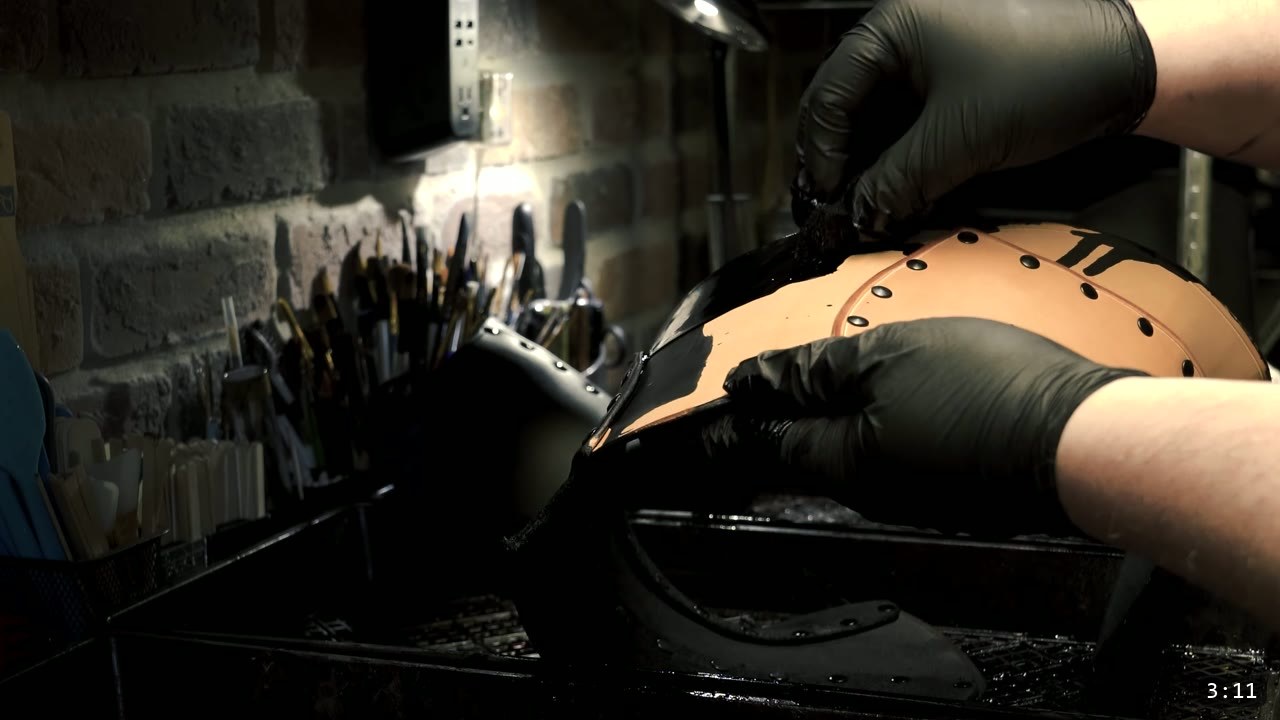
Step 6: Seal the belt
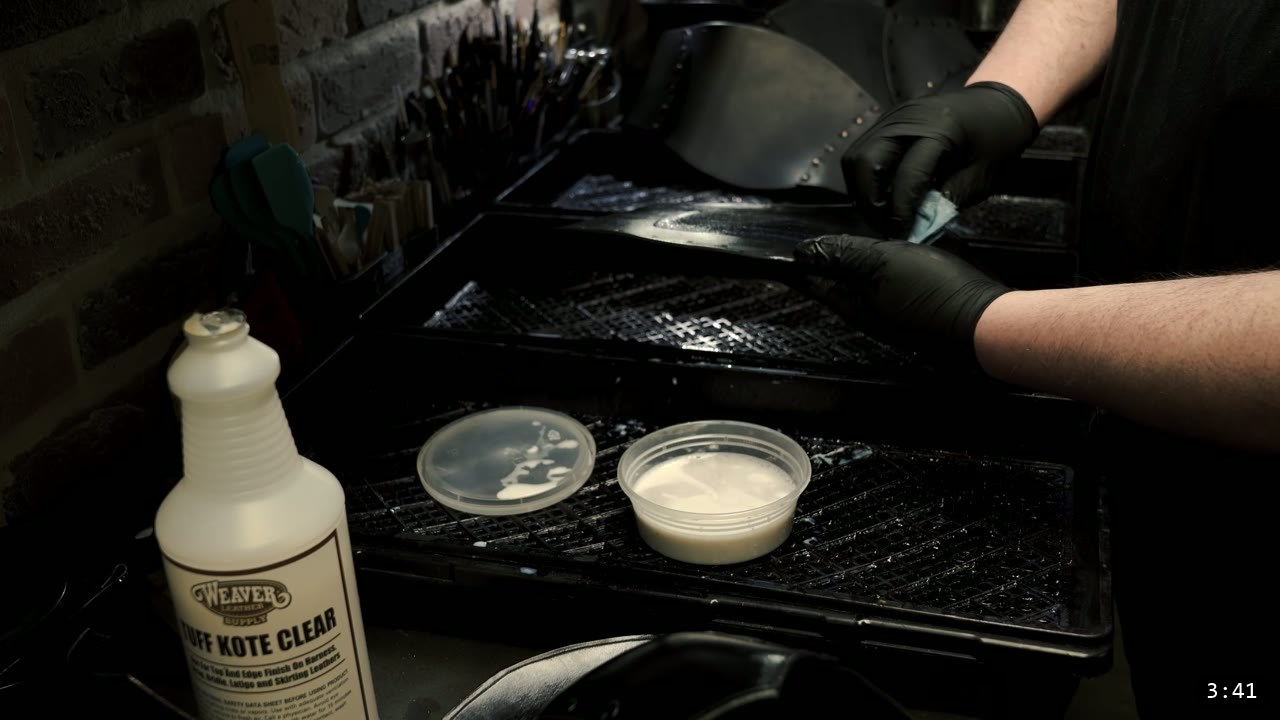
Seal the belt with an ample coat of Weaver Tuff Kote clear finish, which also firms the piece up and makes it feel more like armor. Do the little shaping this build needs before you get here. Once the leather is dyed and sealed, the finish resists water and the belt will not fully re-wet or reshape, so color and seal are the last leatherworking steps on the veg-tan.
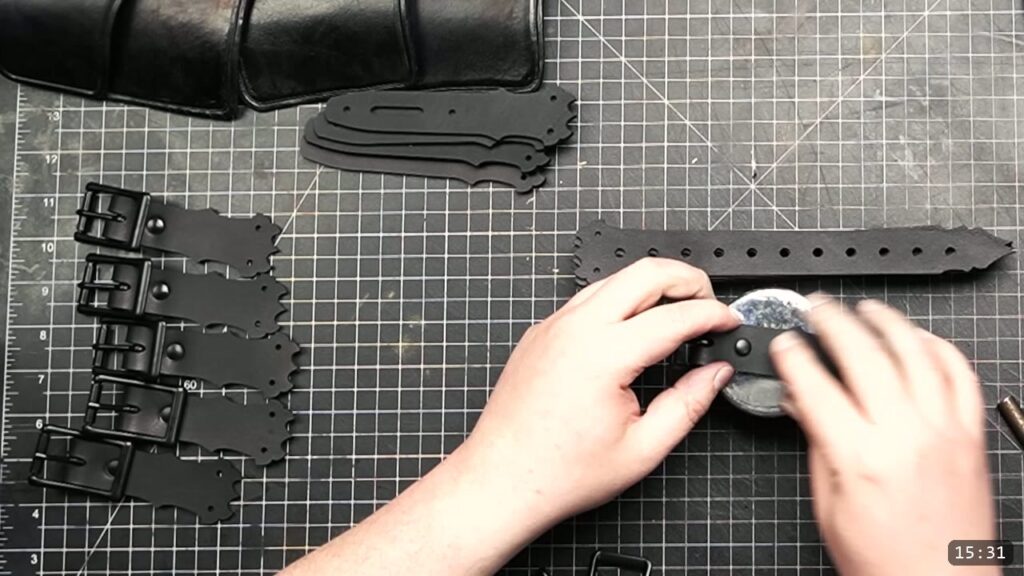
Step 7: Add the buckle straps
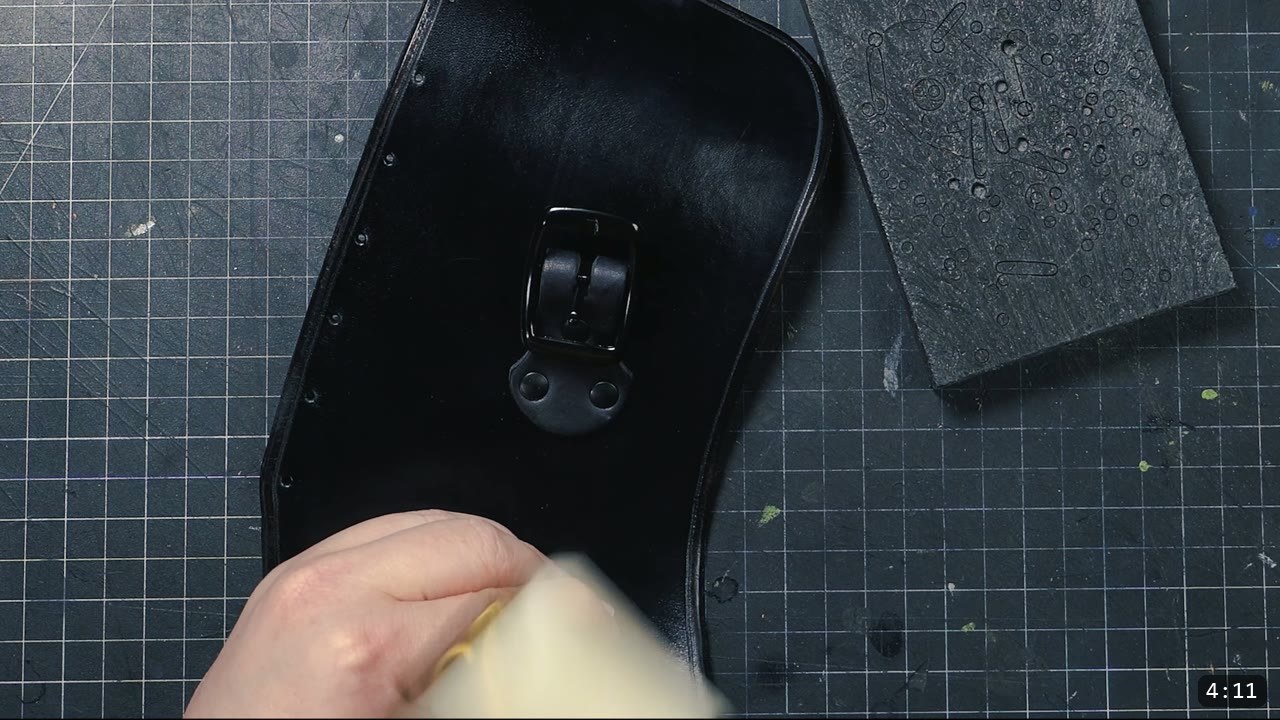
Hold the front and back pieces together with buckles. It helps to have a friend mark the buckle placement while you wear the piece, or use a mannequin with similar dimensions. One decent buckle strap on each side is plenty to hold it together and give you a good range of adjustment. You can double up the buckles per side if you want it extra sturdy. If you are not sure how to make buckle straps, there is a free pattern pack and a dedicated video: How to Make Leather Buckle Straps for Armor.
Step 8: Cut the skirting from chrome-tan
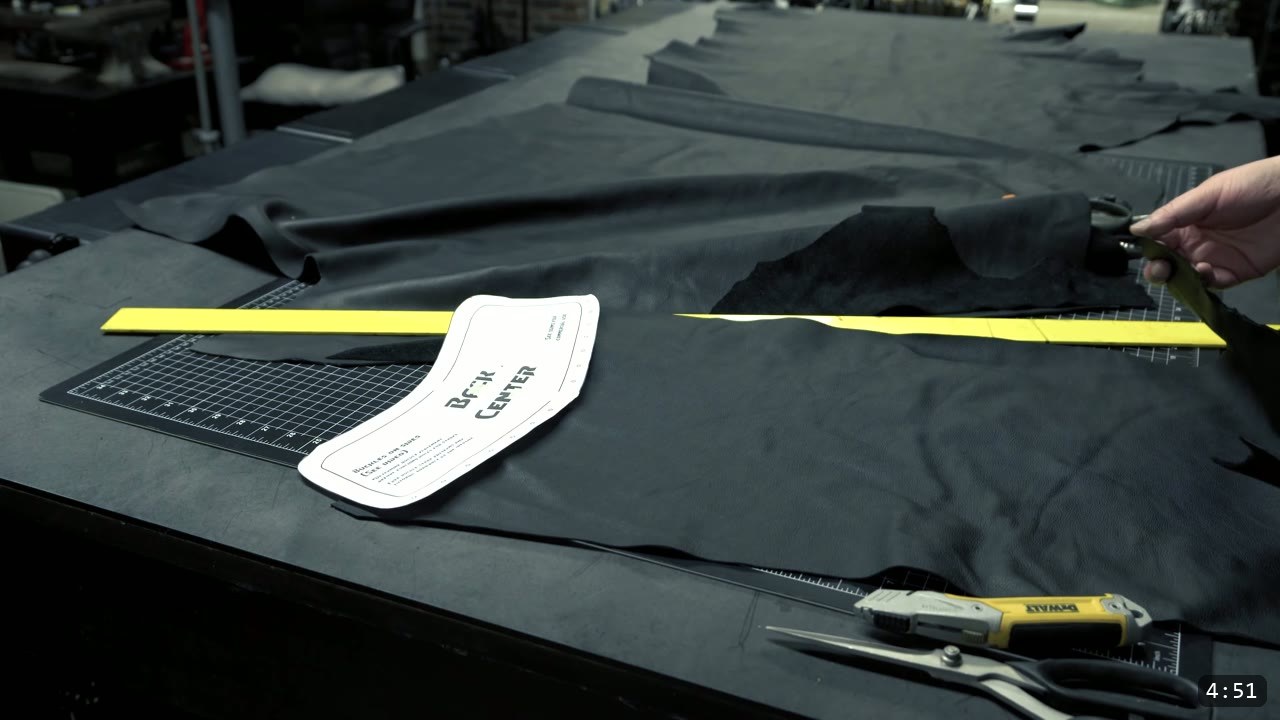
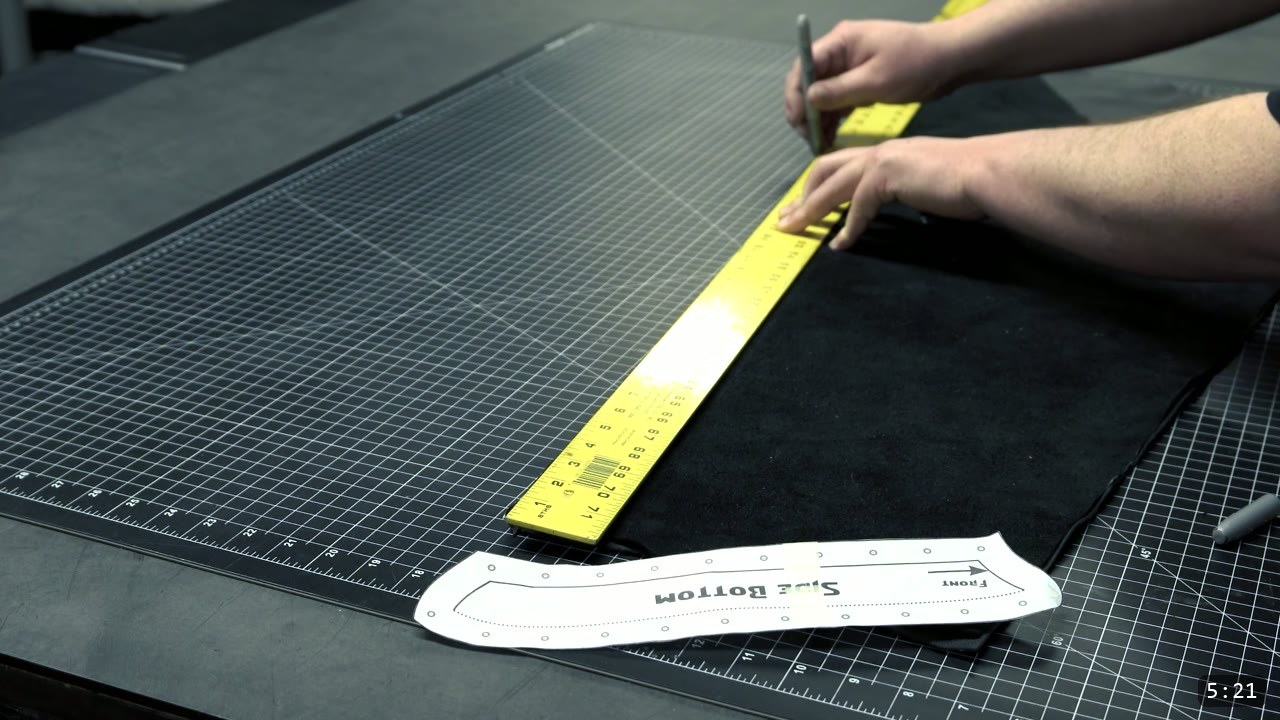
The skirt uses chrome-tan leather, which is more supple and flowing than the veg-tan belt. You do not have to follow the default shape and size. The pattern gives you a template, but you can freehand the design and switch it up however you like. Lay it out, mark it, and cut it. Then punch the holes that will line up with the open holes you left along the bottom of the belt.
Step 9: Rivet the skirting to the belt
With the skirt pieces cut and the holes punched, rivet them to the back and side pieces of the belt through those open holes you left. Work along and set the rivets the same way you did on the belt.

Step 10: Buff for a matte finish, and you are done
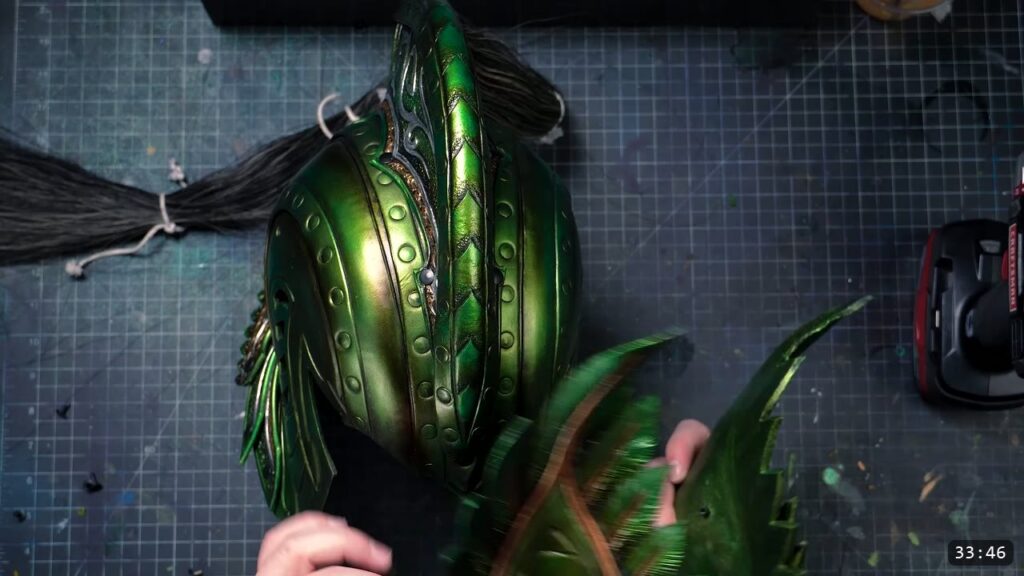
That is the build. If you want the more matte look instead of a shine, buff the finish back a bit with a scouring pad. The Warrior Helmet build shows this step in more detail: Warrior Helmet build. The next piece in the series is the greaves.
FAQ
Is this a beginner project?
Yes. It is a very straightforward assembly build. It is part of the Warrior Armor series, and many of the basics are covered in the earlier videos in that series. If you need a refresher, start with the series or the quick start guide at the academy.
What leather should I use?
The belt is 9 to 10 oz vegetable-tan, which holds an edge groove and firms up into armor when sealed. The skirt is any chrome-tan leather, because chrome-tan is more supple and flowing and hangs better for a skirt.
When do I use a medium rivet versus a long rivet?
Use a medium double-cap rivet anywhere you go through two layers. Use a long rivet anywhere you go through three layers, such as the top hole where the side and top pieces meet.
How do I attach the belt to my body?
With buckle straps, one on each side, riveted on after the belt is dyed and sealed. Mark the placement while wearing the piece with a friend’s help, or on a mannequin. Double up the straps per side if you want it sturdier.
Can I change the shape of the skirt?
Yes. The pattern gives you a default template, but you can freehand the skirt and switch up the shape and size to your taste. Cut it, punch the holes, and rivet it to the belt.
How do I get the matte look instead of a shine?
After the finish is on, buff it back a little with a scouring pad. The Warrior Helmet build demonstrates the same step.
Where to go next
- Get the pattern: Warrior War Skirt Pattern.
- Building the whole set? The Warrior Armor Bundle is the beginner path through the full suit.
- Need buckle straps? How to Make Leather Buckle Straps for Armor comes with a free pattern pack.
- New to leather armor? Start with 5 tips for getting started with leather armor.
- Next piece in the series: the Warrior Greaves Pattern.
- Built one? Share it and tag Prince Armory Academy and Weaver Leather; we feature student work.




Responses