



Leather Greaves Build Guide: Imperial Leg Armor from a Flat Pattern

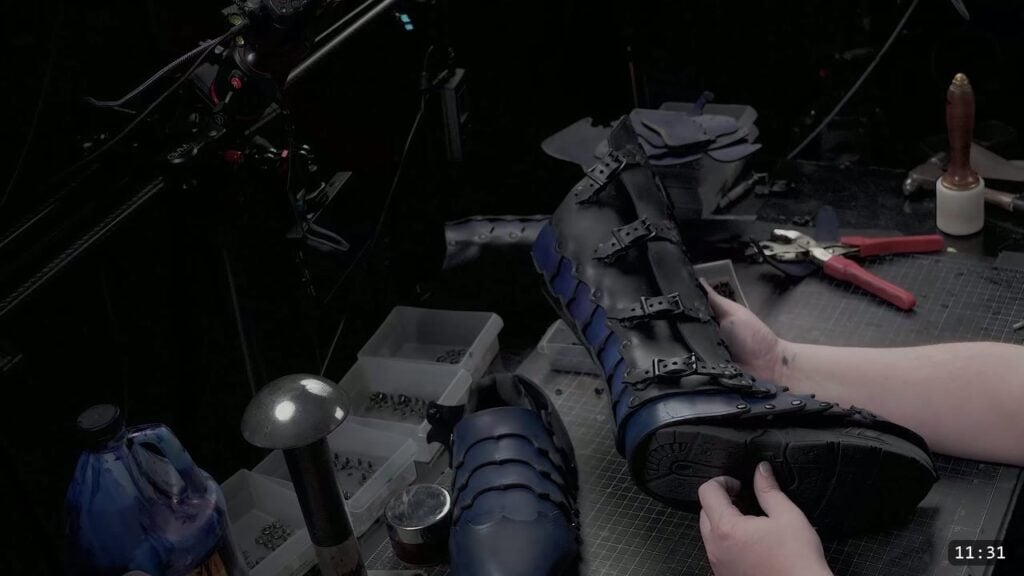
Greaves are the armor for your lower legs. You build these Imperial Knight greaves from a flat pattern, not a kit. You cut the panels, dye and finish them, then rivet the lamellar scallops and side plates together, form the shape over a dome, and fit each greave with rivets on one side and buckles on the other. This is an intermediate build. It uses rivets, buckles, a smooth-faced hammer, and a bit of wet forming. This guide walks the whole assembly alongside the video, so you can watch each step and read the details the video moves past quickly.
What you are building, and what you need
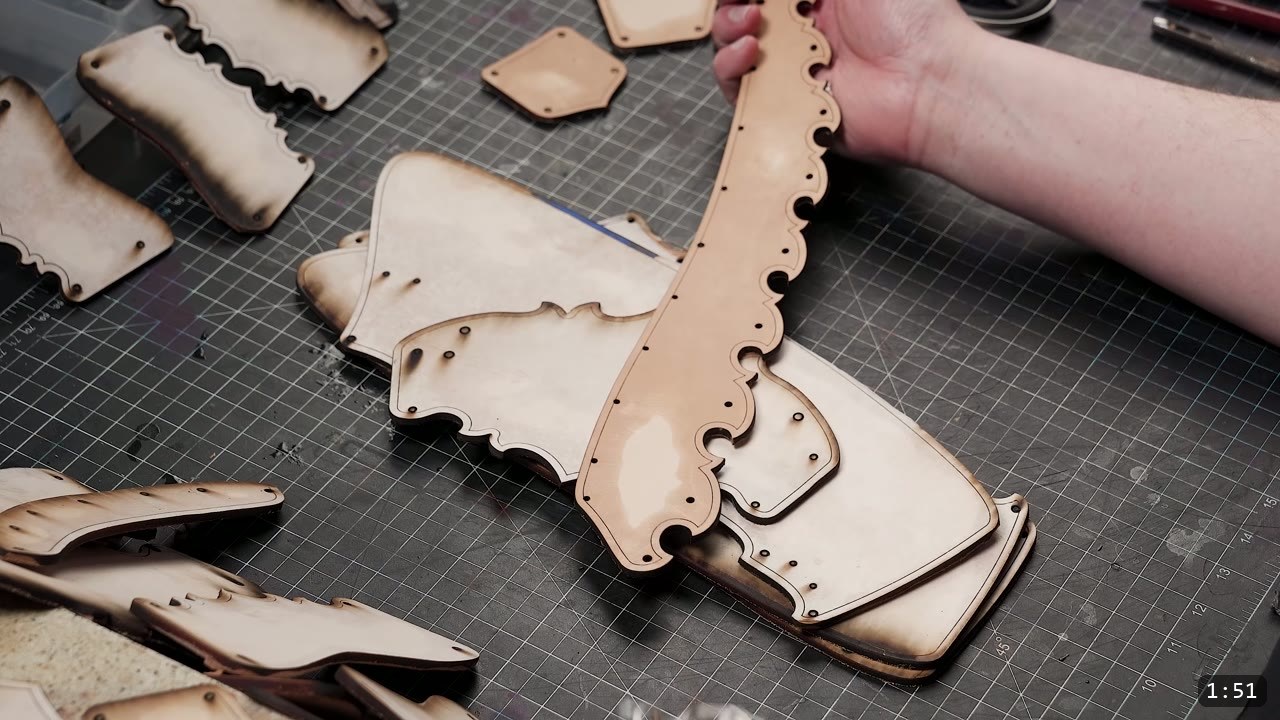
The Imperial Knight greaves are a matched pair of leg pieces. Each one is a central column of scalloped lamellar strips riveted to a curved back panel, with side plates that close with rivets on one side and buckles on the other. The look is clean and geometric, and the whole thing scales to any size.
The pattern. The Imperial Knight Greaves Pattern has the cut lines, hole positions, and strap points already drawn. If you want the whole theme, the Imperial Knight Bundle builds the matching helmet, breastplate, bracers, and more.
Leather. The video uses 11 oz leather for this batch. Vegetable-tan is the right choice here, because the build relies on the leather taking and holding a formed shape. Thinner works if you want a lighter piece; just plan your rivet sizes around the thickness you pick.
Hardware. Black rivets, size medium for going through two layers and size large for three layers, plus the buckles for the closing side. The video uses Weaver Leather black rivets.
Tools. A smooth-faced hammer, a rivet setter, and something domed to set rivets against and to blend the shape (a metal dome or stake). Dye and a finish for color. Optional: a laser cutter (the video uses a Glowforge) if you would rather not hand-cut. Paper for a fit mock-up.
Step 1: Get the pattern and cut the parts
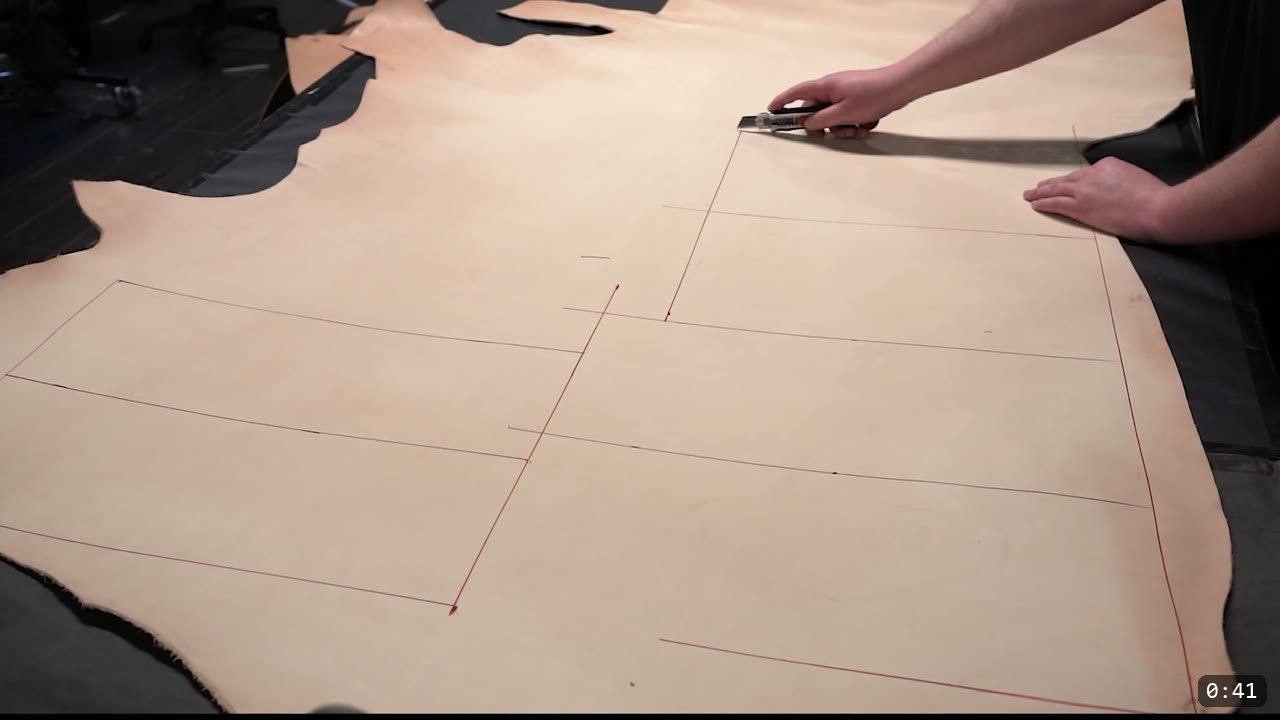
The pattern is laser friendly, so you can cut the parts on a laser cutter if you have one. If you are cutting by hand, print the PDF to your desired scale, trace the pieces onto the leather, and cut them out. For tracing and hand-cutting tips, the early fantasy armor tutorials cover it in more depth. Take your time on the cuts; clean edges here save work later.
Step 2: Dye and finish the panels, and mind the order
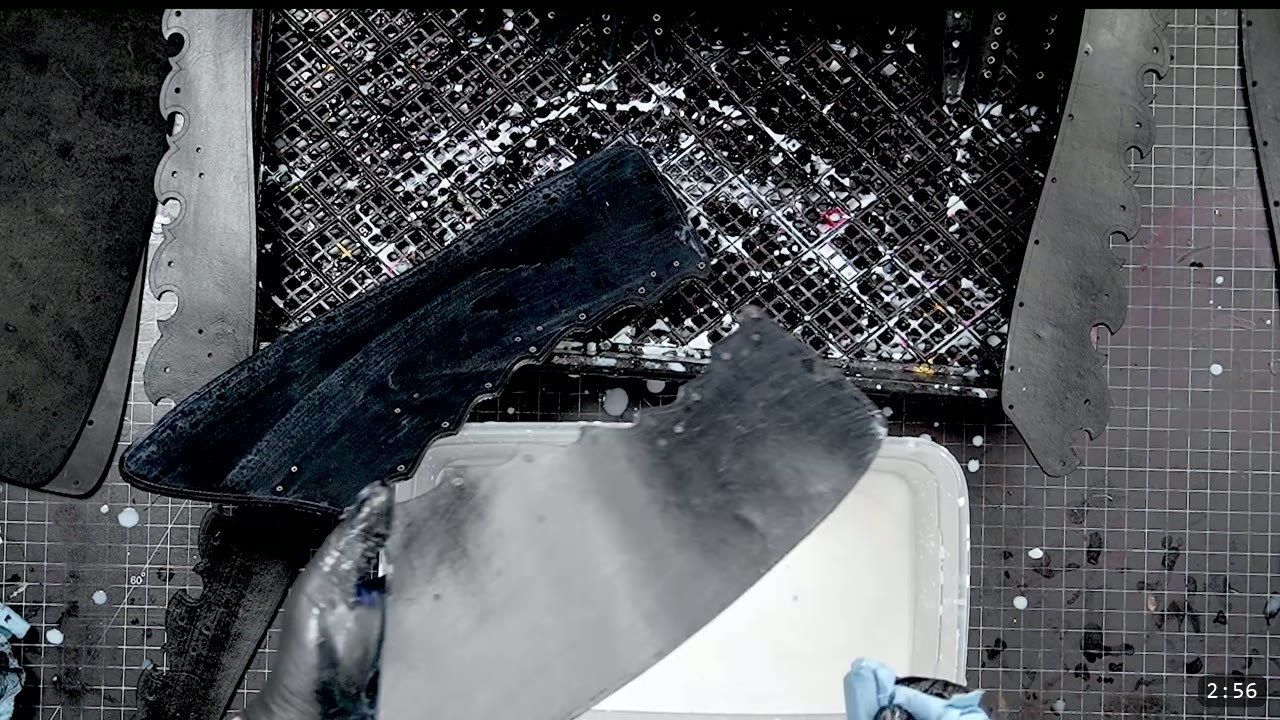
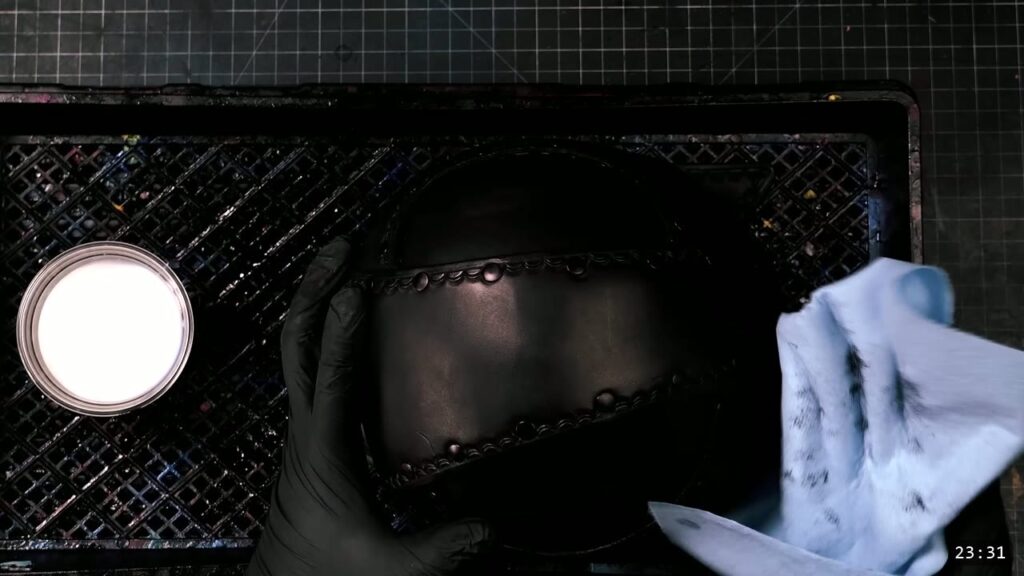
The video does the tooling, dyeing, and finishing off-narration, since Prince has covered those processes many times. The finished panels in this build read as black with the scallops dyed a deep blue. Handle color the way you always should: test on scrap first, or on the underside if this is your first piece.
Order matters. Do all your shaping and forming while the leather is still damp, and make dye and seal the last steps. Once the finish is on, the leather resists water and will not fully re-wet or reshape, so a piece you want to curve or dish has to be shaped before it gets colored and sealed. If you would rather form the shape first, wet-mold the pieces before you dye and finish them to get them close to final shape. For a deeper look at forming, watch Hand-shaping Leather for Armor Making.
Step 3: Group, mirror, and size your rivets
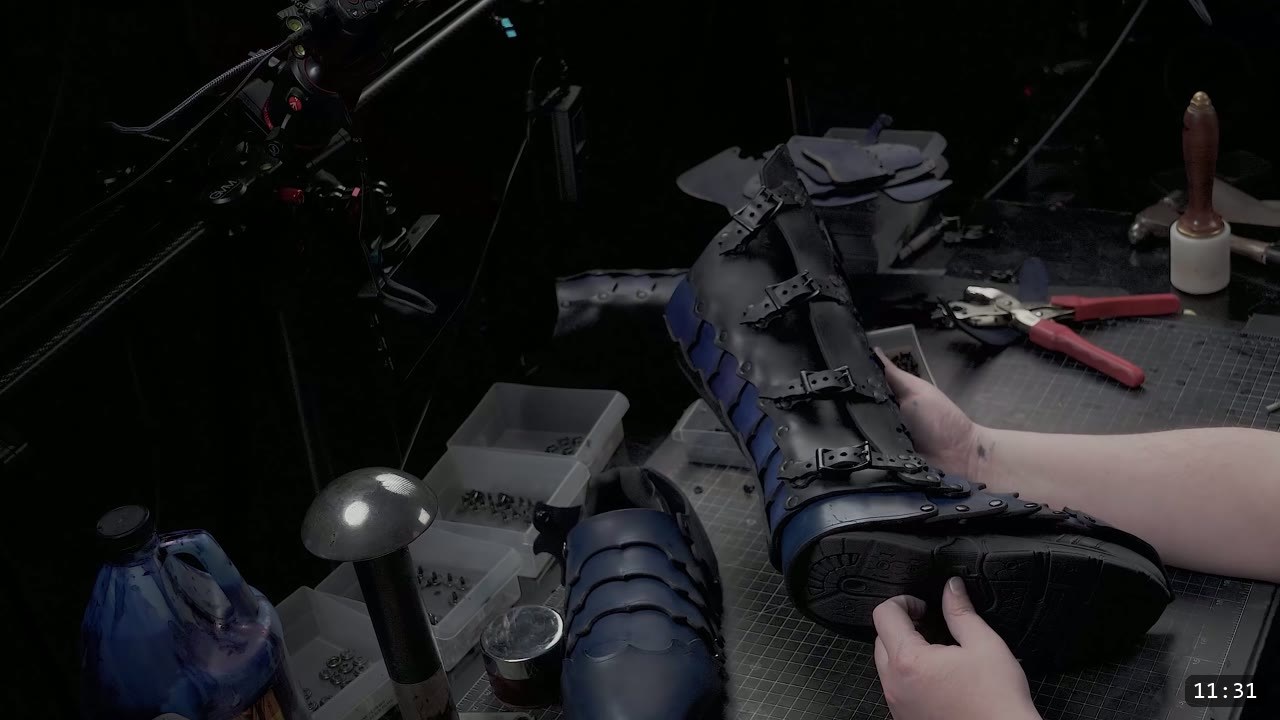
Before you set anything, lay the parts out, group them, and mirror them, because you are building a left and a right. Take note of the side panels: they are slightly different, since one side of each greave is permanently riveted and the other side closes with buckles. Match your rivet size to the stack you are going through. Medium rivets handle two layers, large rivets handle three. With thick leather like 11 oz, squish the stack down a little with a smooth-faced hammer first so the rivet can close cleanly.
Step 4: Assemble the back
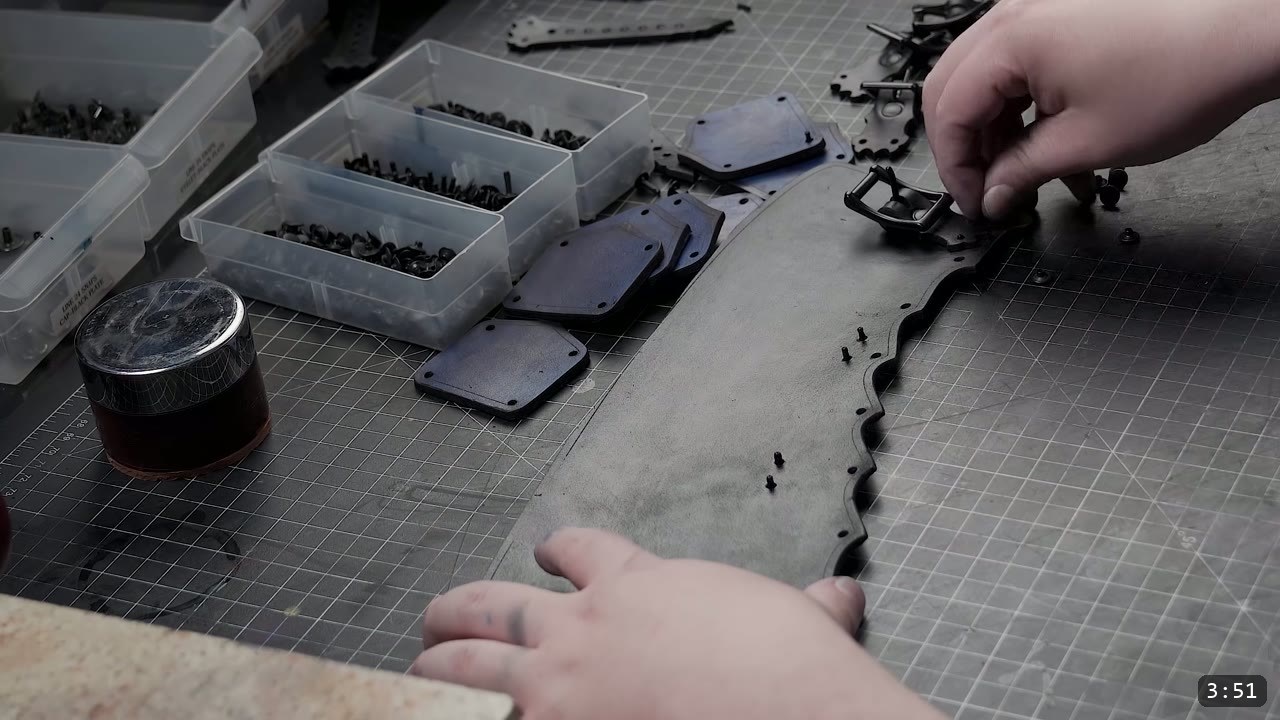
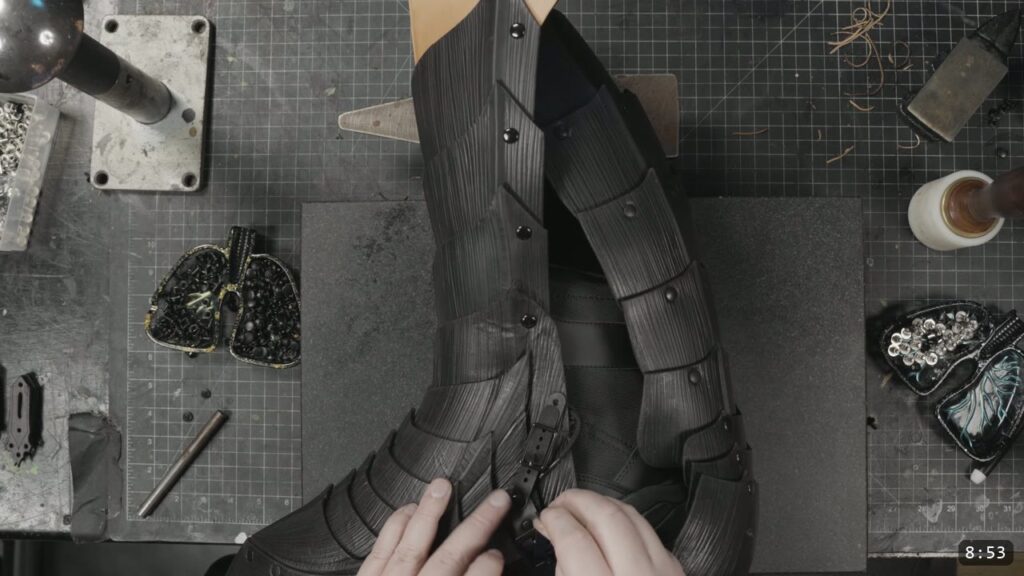
Start with the back of the greave. Attach all the center panels to one side of the back side pieces first, then switch and do the other side. The direction of overlap is your call. The video uses a downward overlap and reverses the bottom section so it has a squared edge. Work along the piece and set your rivets as you go.
Step 5: Set the buckles on the right side
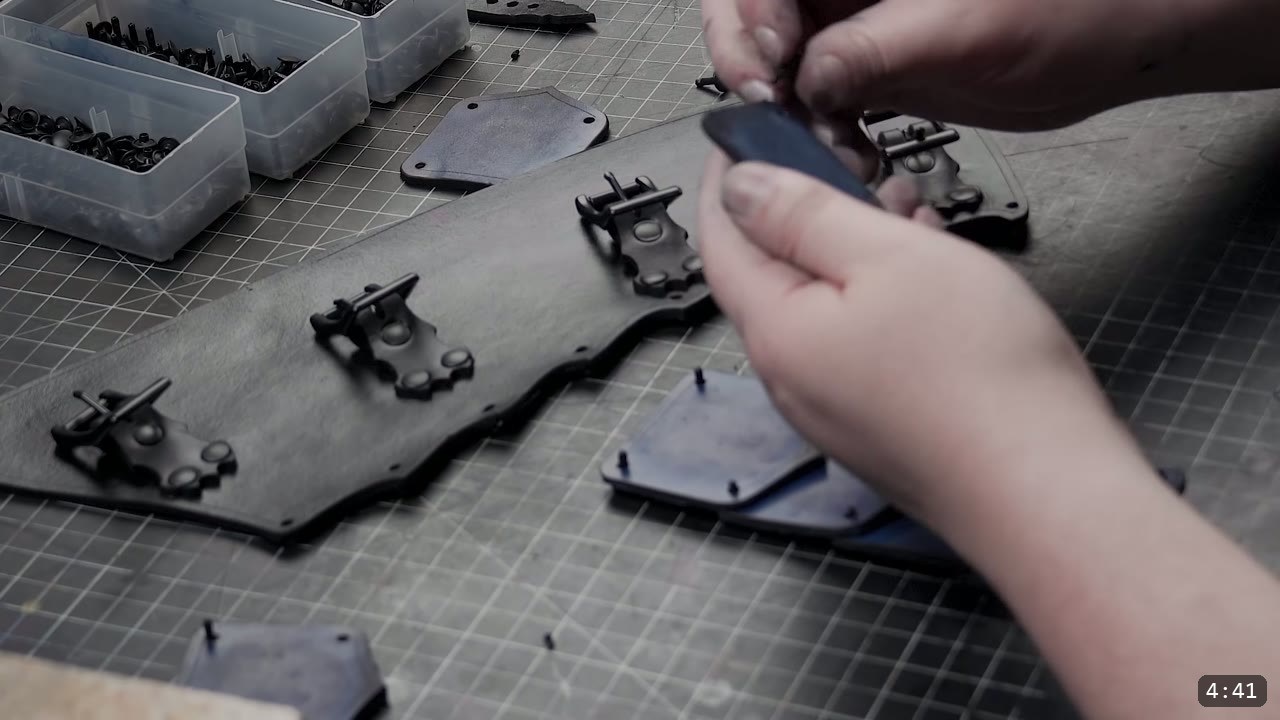
The buckles go on the closing side of each greave. Keep in mind which side is which as you set them: the buckles are meant to sit on the inside of the legs. The holes at the top of the greave are there to attach the knee parts later, which the series covers in the next tutorial.
Step 6: Blend the shape over a dome
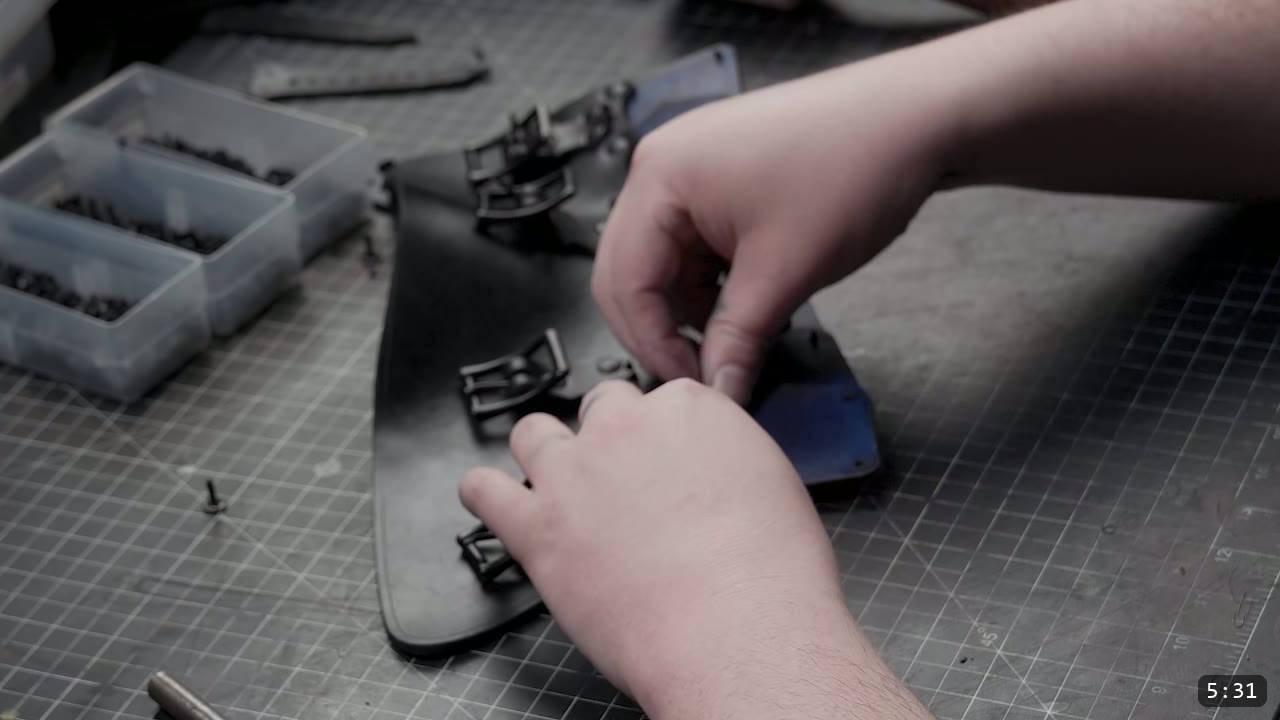
When the rivets are set, the flat assembly will look warped and wonky. That is correct. The shape is built into the design, so it looks wrong laid flat and comes right once it is bent into its final form. To start finessing it, blend the shape by tapping it with your hammer over a dome or stake. This step is optional, but it is how the piece starts to look finished.
Step 7: Form the greave
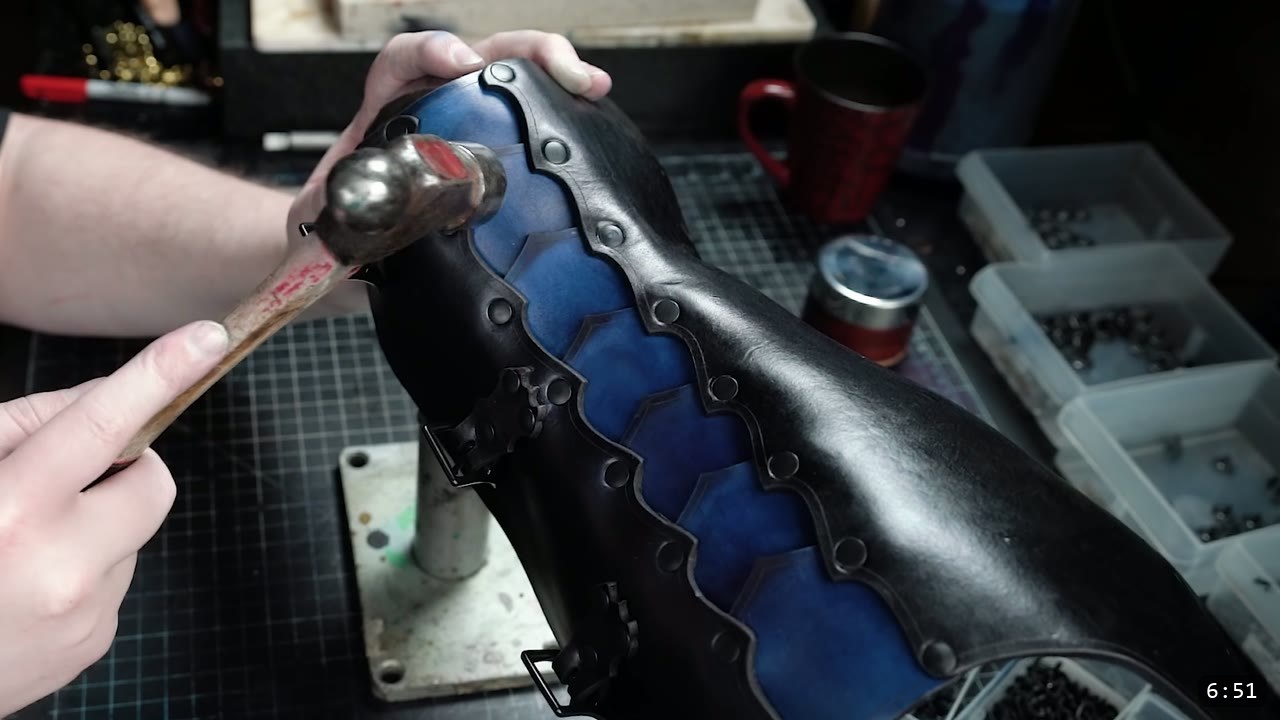
Form the greave a bit more at this stage. This is optional too, but a little effort makes the end result look more finished. It is easier to start at the top with the biggest piece and work your way down to the arch at the ankle. The ankle-arch piece is one you may want to form to shape before you assemble it.
Step 8: Set the rivets clean
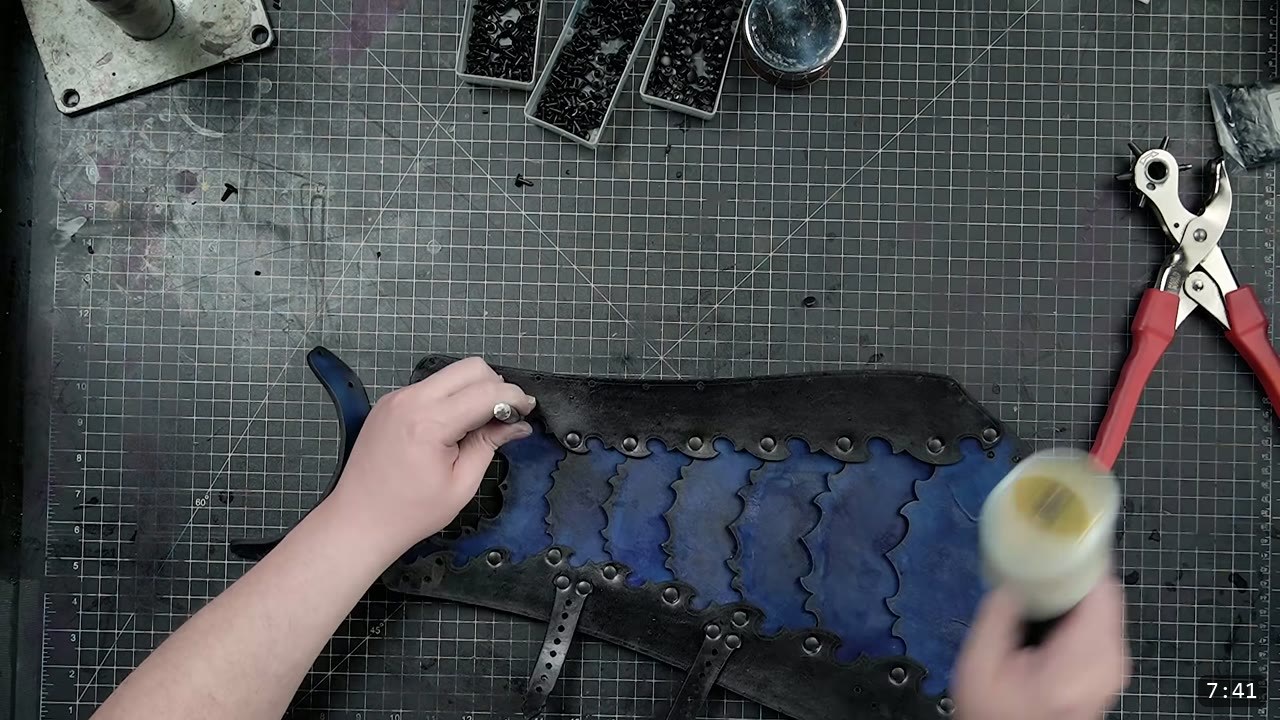
Keep the leather damp while you assemble, and set your rivets firmly. Snap the caps together first to hold the parts, then set them permanently. A mallet over a solid, slightly domed surface gives clean sets and lets you blend the surrounding leather at the same time.
Step 9: Mock up the fit before you commit
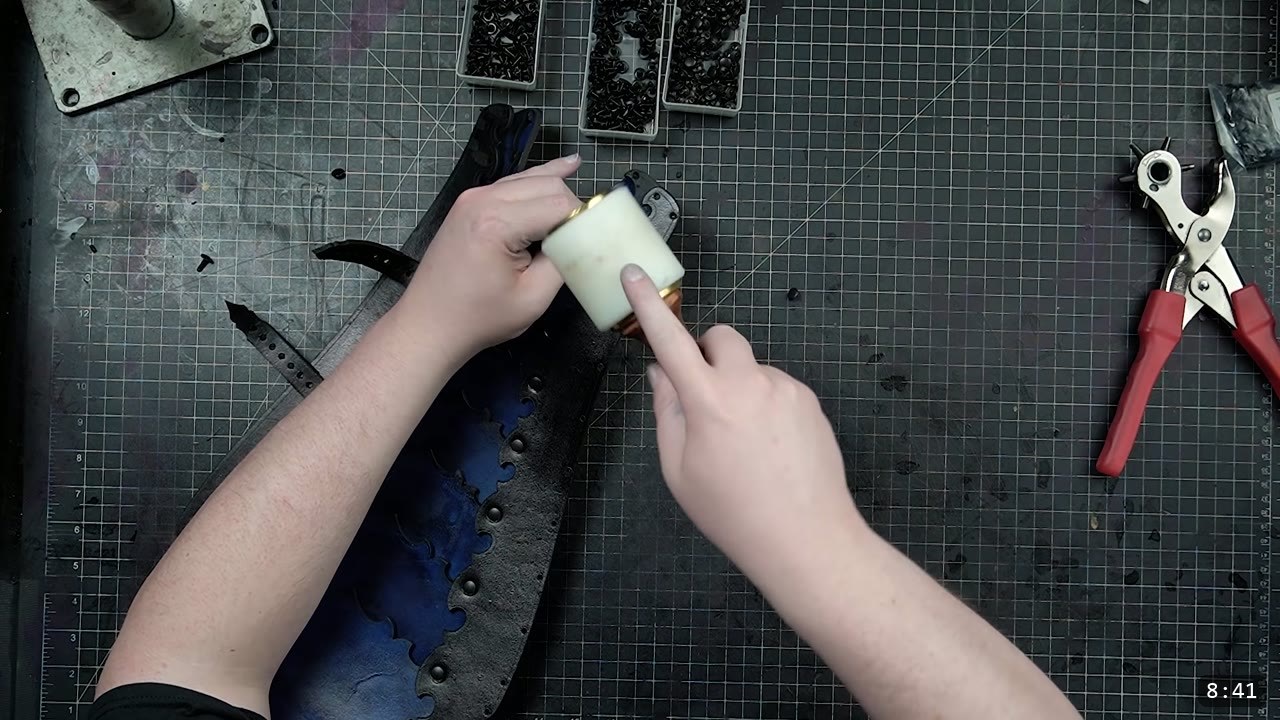
These patterns are scalable to any size, so make a rough paper mock-up first to check fit. You can adjust the rivet placements on the side plates and the buckle placements to dial the fit in. Tune the fit while wearing the mock-up over the same garments and footwear you will wear with the finished armor, and allow for the thickness of leather you plan to use. Do not fit the paper skin-tight.
Step 10: Join the front and the back
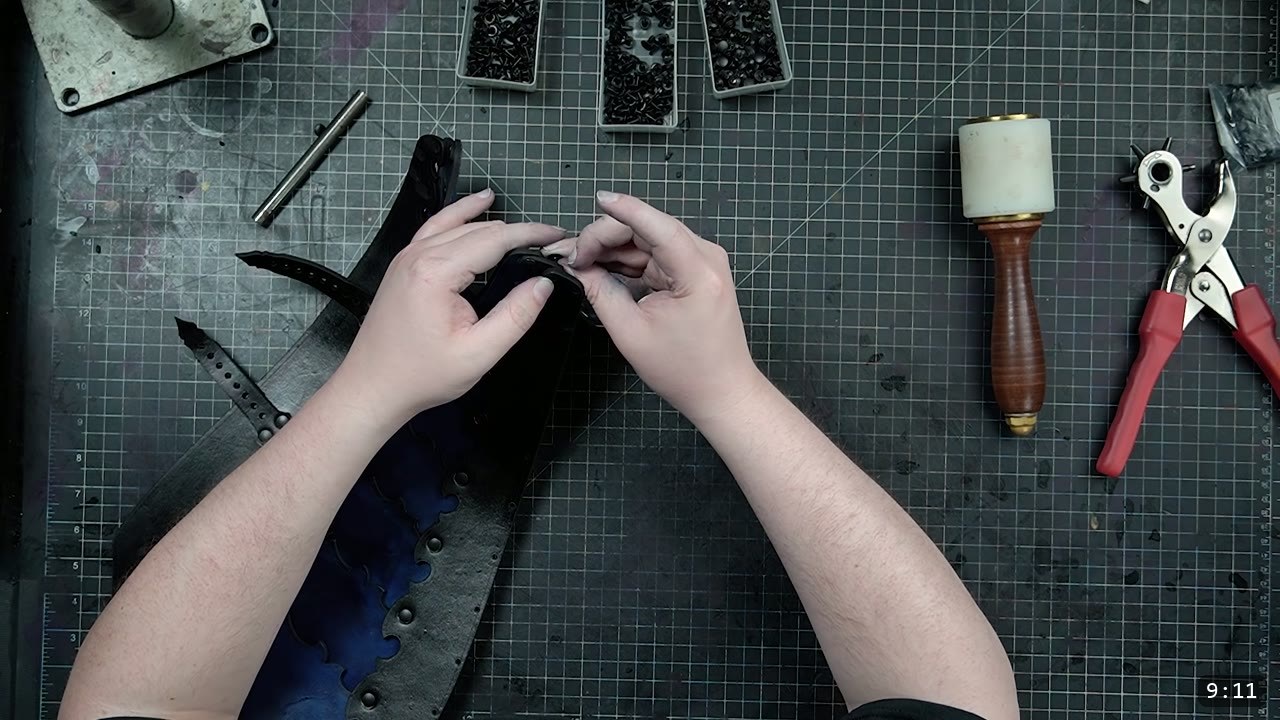
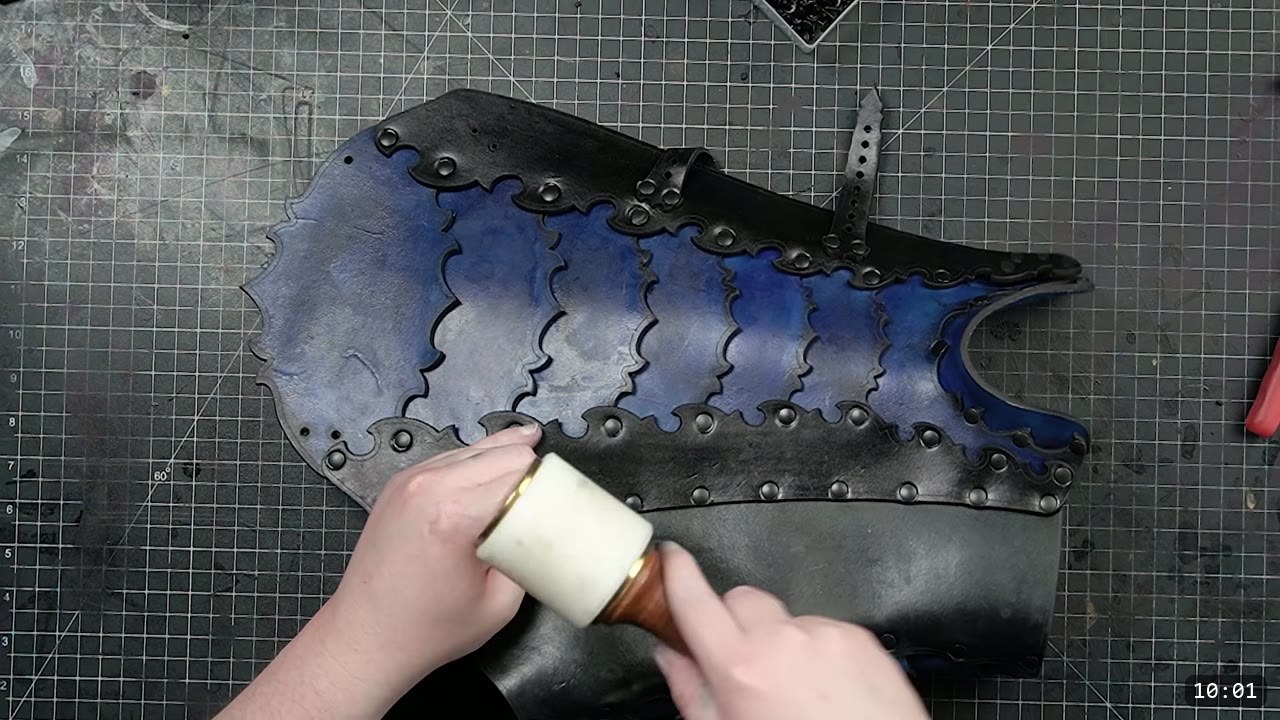
The last step of assembly is joining the front and the back. The order does not matter; start from the top or the bottom. Because there is a slight shape built into the design, the holes will not line up perfectly flat. Set those rivets from the inside, or use a metal dome to set them, so you can close them while the piece holds its curve.
Step 11: Fit, trim, and finish
Fit the greave on your leg. If there is a big gap or too much overlap, the fit is wrong. If it fits well, you may want to trim some of the excess material on the inner seam to reduce bulk. Plan for your footwear while you fit: boots with tall tops can really change the dimensions you need. When both greaves are shaped and fitted, they are ready to wear, and the top holes are set up for the knee pieces that come next in the series.
FAQ
Is this a beginner project?
It is an intermediate build. The assembly is straightforward riveting and buckling, but it helps to have some leather experience. A beginner set like the Warrior Armor is good preparation, then come back to this one.
What leather should I use?
Vegetable-tan is the right choice, because the build relies on the leather holding a formed shape. The video uses 11 oz. Thinner leather works for a lighter piece; just match your rivet sizes to the thickness.
What size rivets do I need?
Medium rivets for going through two layers and large rivets for three. With thick leather, squish the stack down a little with a smooth-faced hammer first so the rivet closes cleanly.
Why does my greave look warped when it is flat?
That is by design. The shape is built into the pattern, so it looks wonky assembled flat and comes right once it is bent into its final form. Blend and form it over a dome to finish the shape.
Which side gets the buckles?
The buckles sit on the inside of the leg. One side of each greave is permanently riveted and the other side closes with buckles, so mirror your left and right correctly.
How do I get the fit right?
Make a paper mock-up and check it over the clothing and footwear you will actually wear. Adjust the rivet and buckle placements to dial it in, and allow for the thickness of your leather rather than fitting the paper skin-tight.
Where to go next
- Get the pattern: Imperial Knight Greaves Pattern.
- Building the whole set? The Imperial Knight Bundle is the discounted path through the full theme.
- Struggling with shaping? Hand-shaping Leather for Armor Making goes deep on wet forming.
- Want a different greave style? See the fantasy-series DIY leather greaves for a different look and build.
- New to leather armor? Start with 5 tips for getting started with leather armor, and the Warrior Armor Bundle is a solid beginner set before this one.
- Built one? Share it and tag Prince Armory Academy and Weaver Leather; we feature student work.





Responses