



Leather Greaves Build Guide: From Flat Pattern to Antiqued Leg Armor


You build a pair of leather greaves from a flat printed pattern. You trace the panels onto 10 to 11 ounce vegetable-tan leather, cut and edge them, wet mold a little shape into each piece, then rivet the front and back sections together into a greave. Color comes last: a solid red dye, an antique wash worked heavy along the edges, and an acrylic finish. Buckles and straps hold it to your leg. This guide walks the whole build alongside the video, so you can watch each step and read the details the video moves past quickly.
What you are building, and what it takes
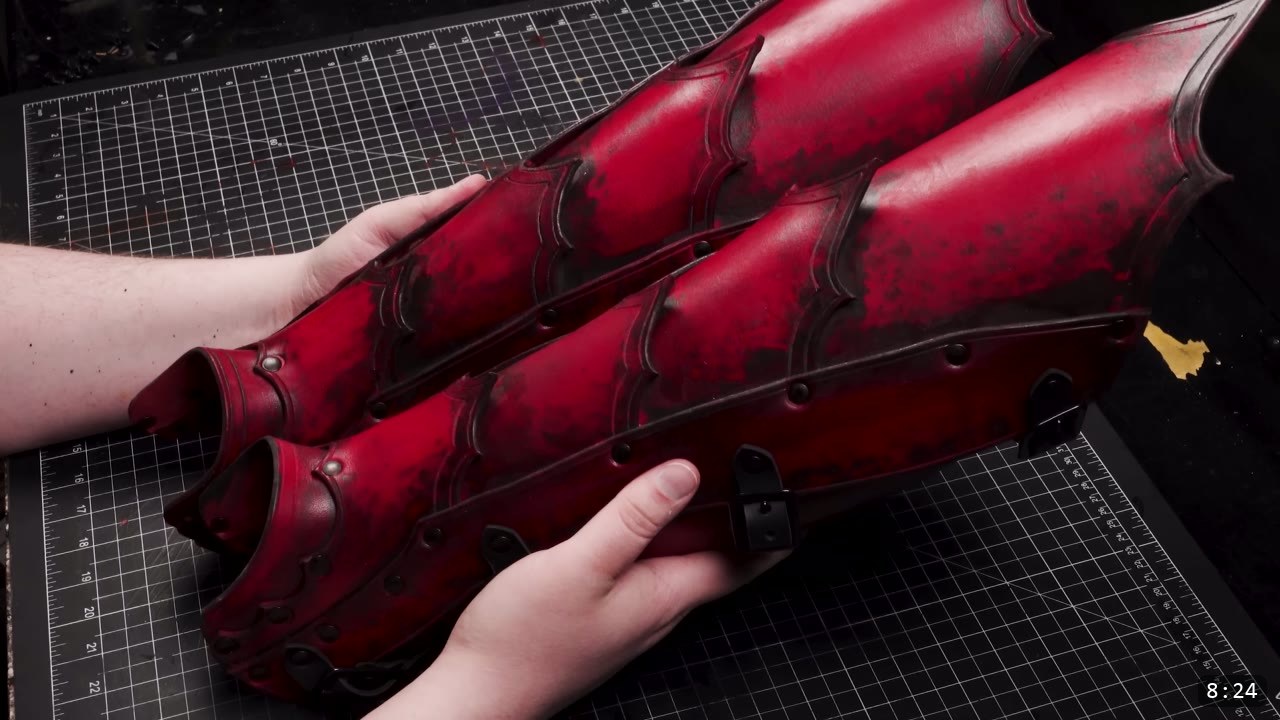
This is the leg armor from the fantasy suit. It is a pattern build, so you cut and shape the panels yourself, but the construction is approachable: cut, edge, a touch of wet molding, rivets, then dye and finish. If you can trace a line and swing a mallet, you can build these. The reward is a matched pair of greaves with a tooled border and a deep red antiqued finish.
What you need
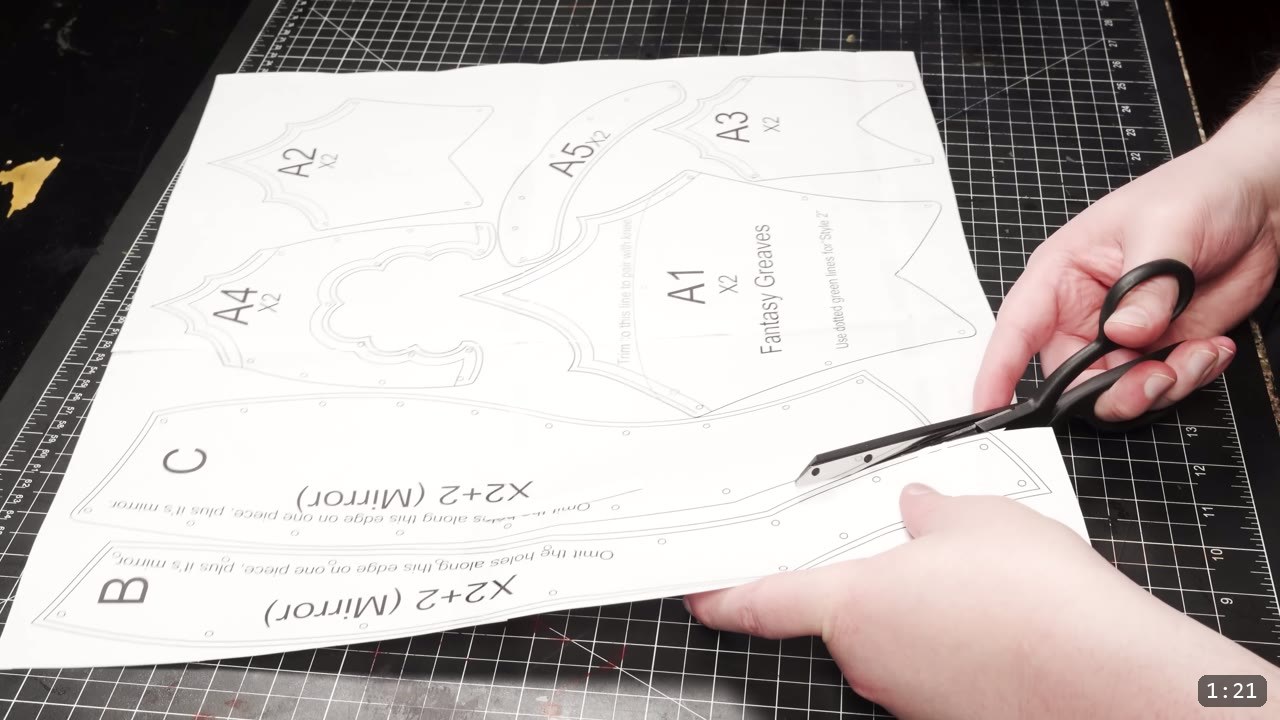
The pattern. The Fantasy Greaves pattern prints across tiled pages. Select the Tiled Pages option when you print. Print at 100 percent scale first and build a paper mockup before you cut leather.
Leather. Ten to eleven ounce vegetable-tan leather. The video uses veg-tan from Weaver. Veg-tan matters here because the build relies on the leather taking and holding a molded shape. The Fantasy Greaves pattern is a print-at-home download, so you source the leather and hardware separately.
Tools and hardware.
- Cutting: heavy-duty shears for most cuts, and a sharp box cutter for the long straight and sweeping lines.
- Edging: an edge groover for the double-channel border, an edge beveler, and a burnisher or slicker.
- Shaping: a rounded forming tool, or any spherical object, or just your hands.
- Assembly: black double-cap rivets from Weaver, medium length for two layers and long for three, plus a metal dome to set them against.
- Color: Fiebing’s Pro Oil Dye in red, brown and black acrylic paint for the antique wash, a cheap stiff-bristled brush, and Weaver Tough Coat acrylic finish.
- Straps: buckles and straps, at least three per greave, plus a drill for the holes.
Step 1: Print the pattern and mock it up
Print the pattern with Tiled Pages selected, trim the pages, and tape them into full panels. Then check the fit. These are drawn as a middle-of-the-road size, so print at 100 percent first and build a paper mockup. Remember the leather adds thickness the paper does not, and so do the garments you wear underneath, so do not mock it up skin tight. You can scale the whole pattern up or down for height, then bring the side panels in or out to adjust girth.
Step 2: Trace onto veg-tan and cut
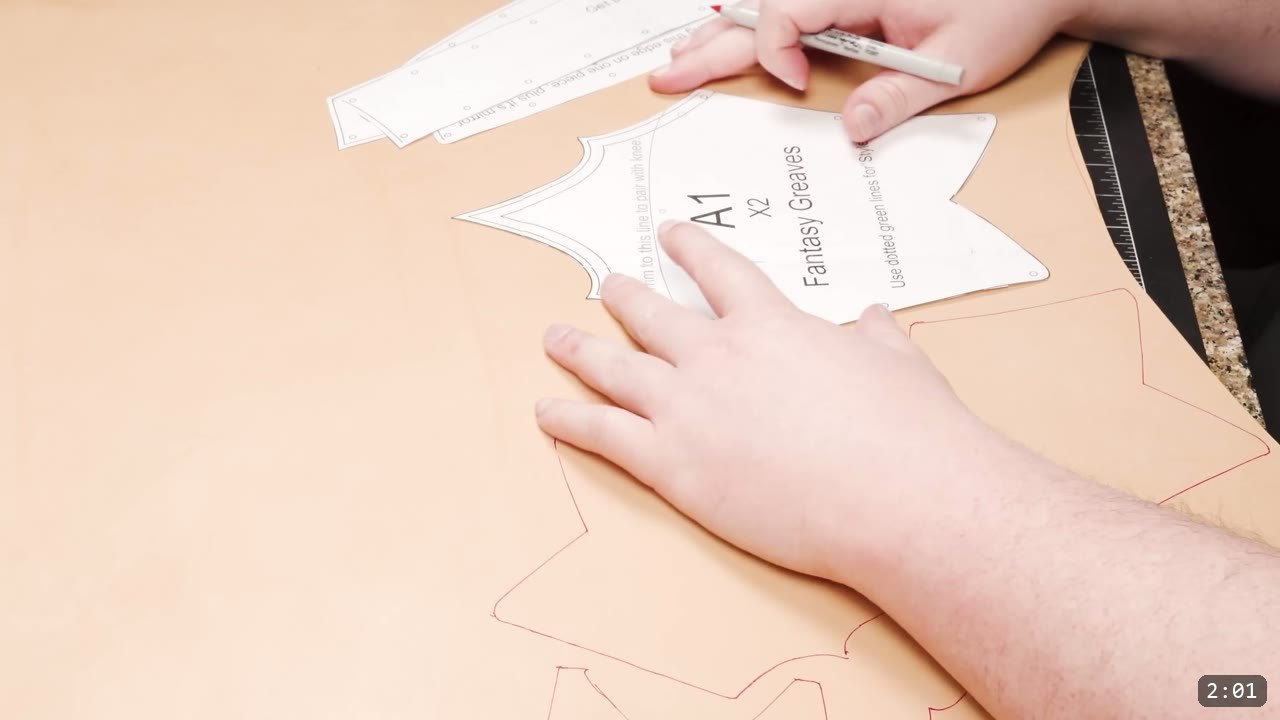
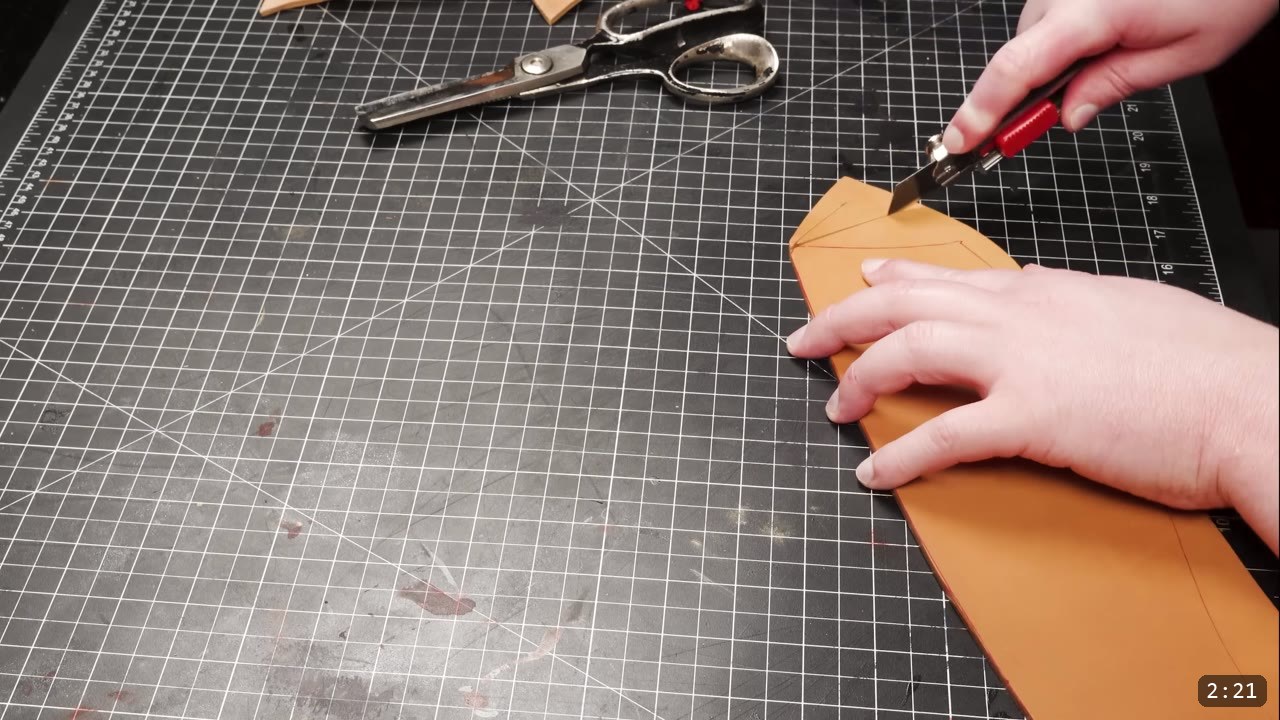
When the size is right, trace the panels onto the leather. Lay the pieces out efficiently and separate them into manageable cuts. Cut most edges with heavy-duty shears. For the long straight and sweeping cuts, a sharp box cutter is often faster.
Step 3: Border, bevel, and burnish the edges
For decoration, keep it simple: run a double-channel border with an edge groover on some of the panels. Then bevel all the edges and give them a quick pass of burnishing. The design leaves plenty of room for heavier tooling if you want to push further, but a clean grooved-and-burnished edge already looks finished.
Step 4: Wet mold the shape into each panel
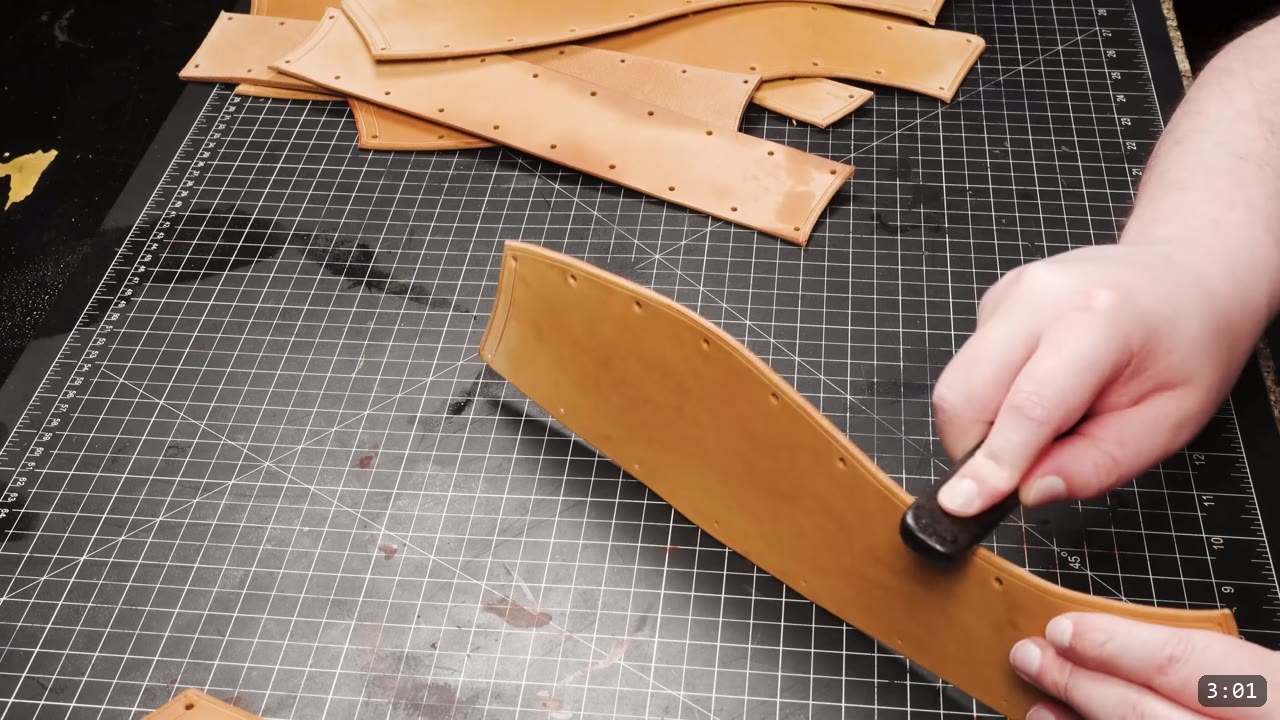
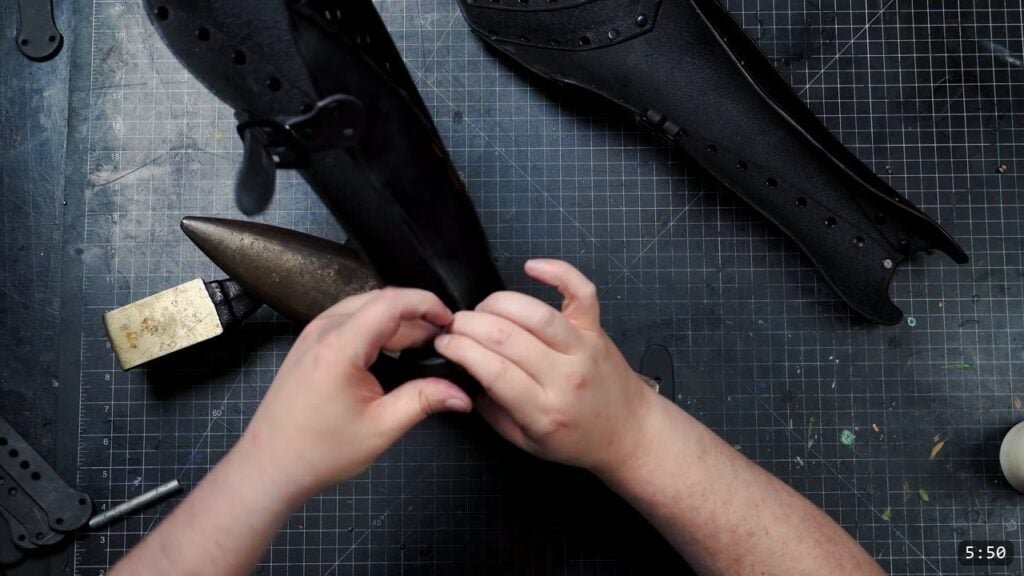
This design wants a touch of wet molding to sit right. Work while the leather is damp. The small trim piece that sits over the foot bends into a horseshoe shape with the back lip turned up so it seats into the bottom of the greave. The back panels get a bend through the whole piece and a bit more form along the upper section. It helps to preform the back center strip into a subtle S curve. A rounded forming tool makes this easier, but a spherical object or your hands will stretch and shape the leather just fine.
Do all of this shaping before you color. Once the leather is dyed and sealed the finish resists water and the piece will not fully re-wet or reshape, so wet molding has to happen first.
Step 5: Rivet the panels together
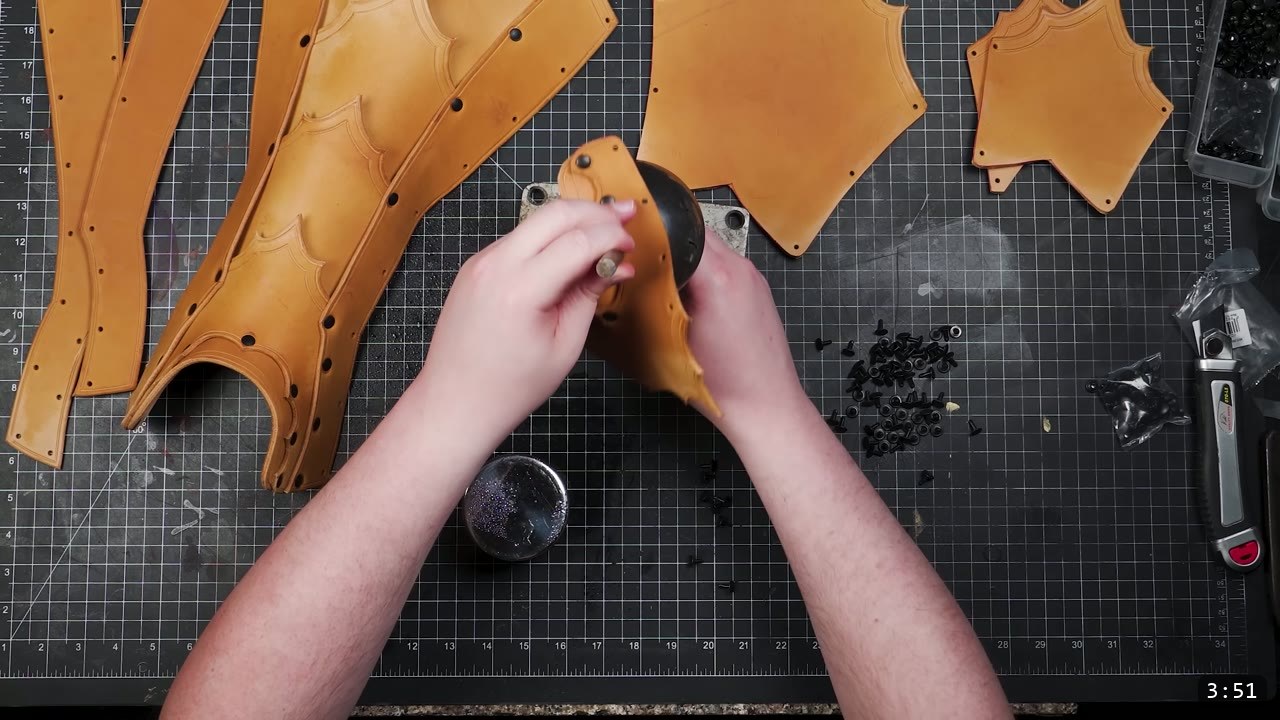
Here the build shows a slightly different order than usual. Prince normally dyes and finishes the panels before assembly, but this greave is assembled first so you can keep wet molding it after it is together, since finished leather is not nearly as pliable. Start with the center front piece and work your way up. The center back piece is symmetrical along both axes, so it can face either direction.
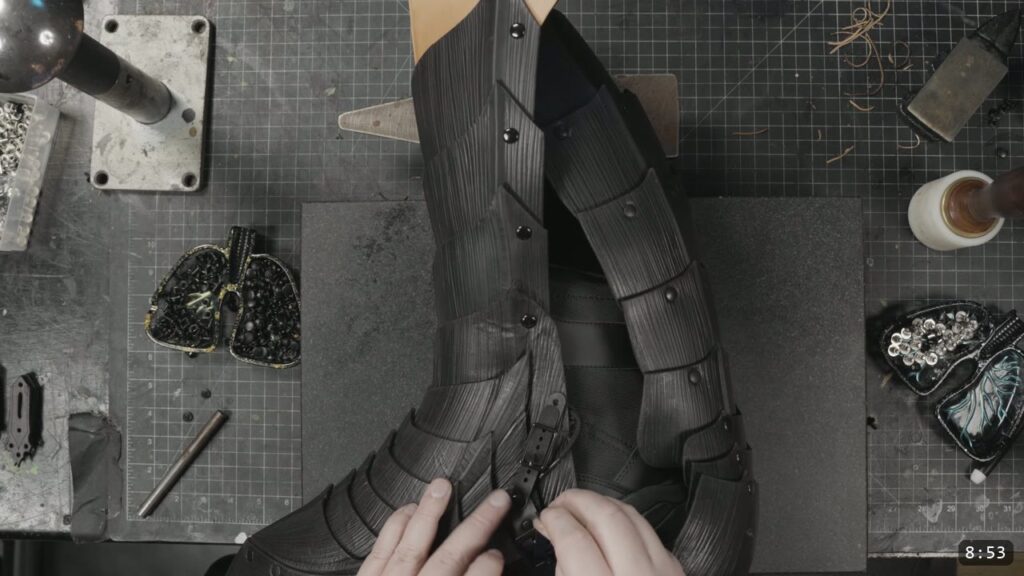
Use black medium double-cap rivets through two layers, and the long rivets where three layers stack up. Set them against a metal dome. If the angle is awkward, you can set a rivet flat from the inside instead. Keep the leather damp so you can still coax the shape as you go.
Step 6: Finesse the shape, then join the sides
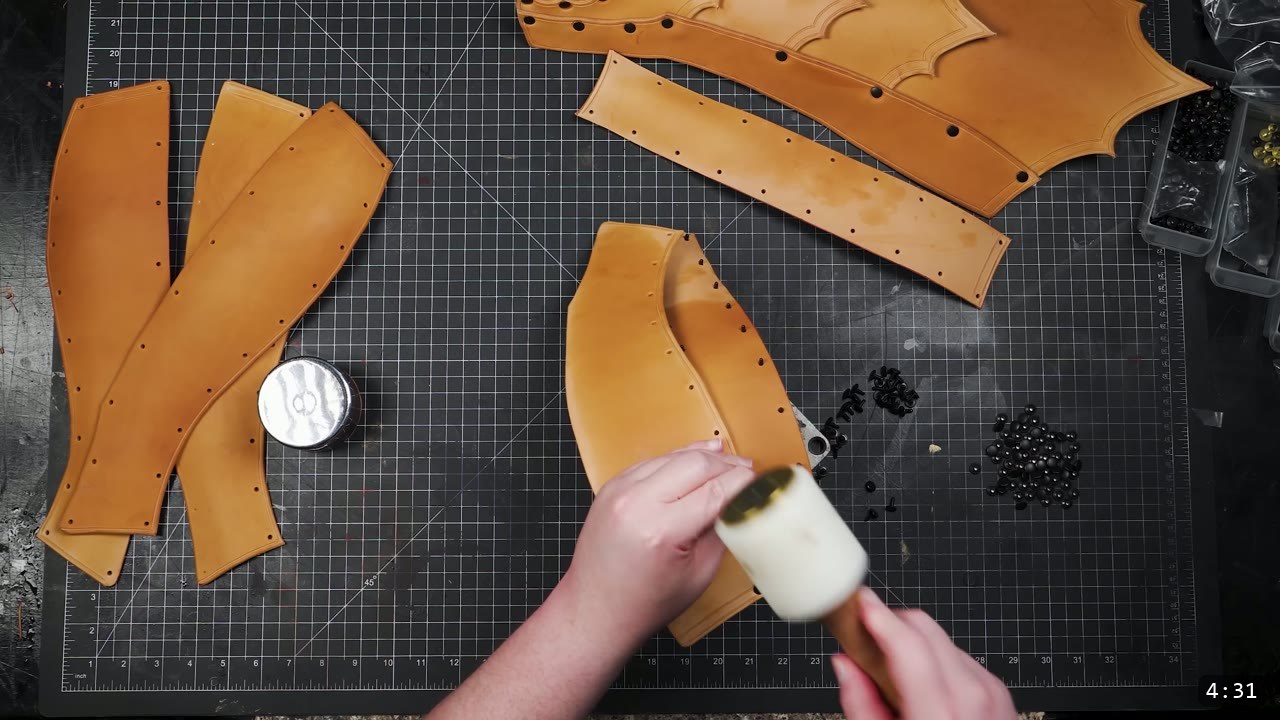
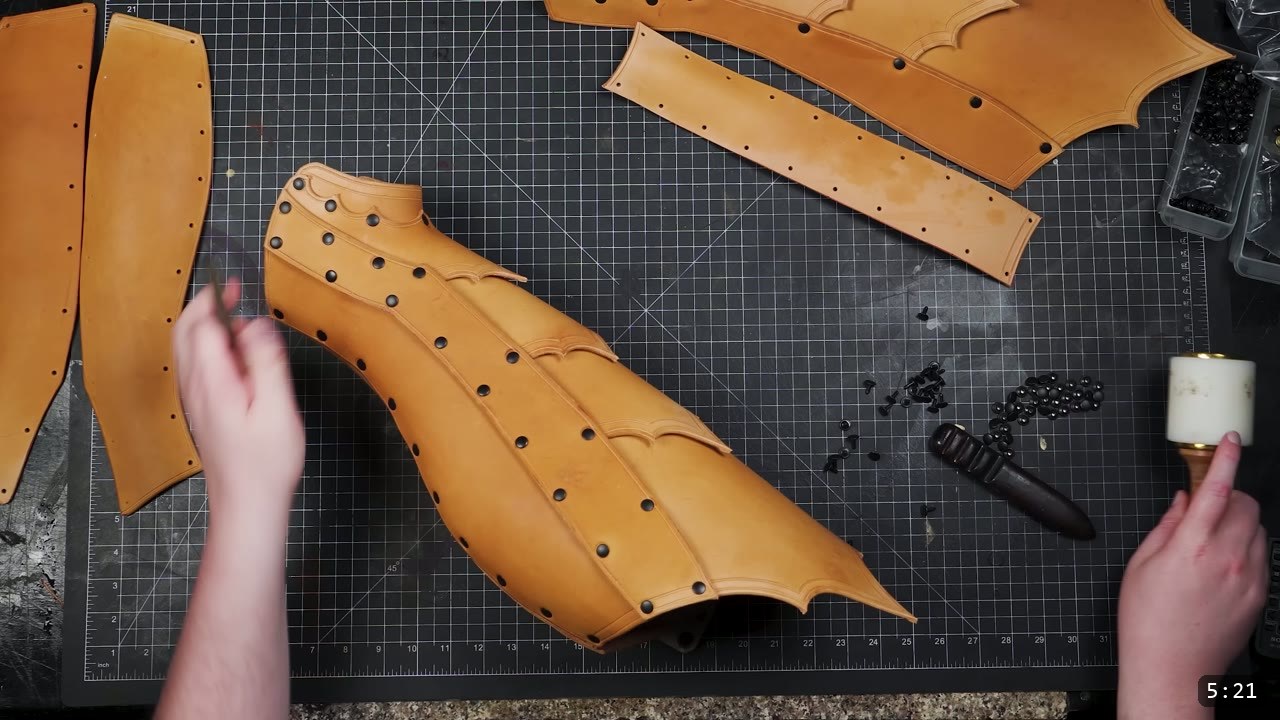
Once the panels are joined, finesse the shape a little more. Wet molding takes practice, so if it fights you at this stage, keep at it and it improves with reps. The final assembly step is to join the front and back sections along one side. Attach only one side, and make sure the side you attach is mirrored on the opposite greave so the pair wraps correctly. If fitting still needs work, leave extra width on the outside of the side panels and trim to fit here.
Step 7: Dye a solid red base
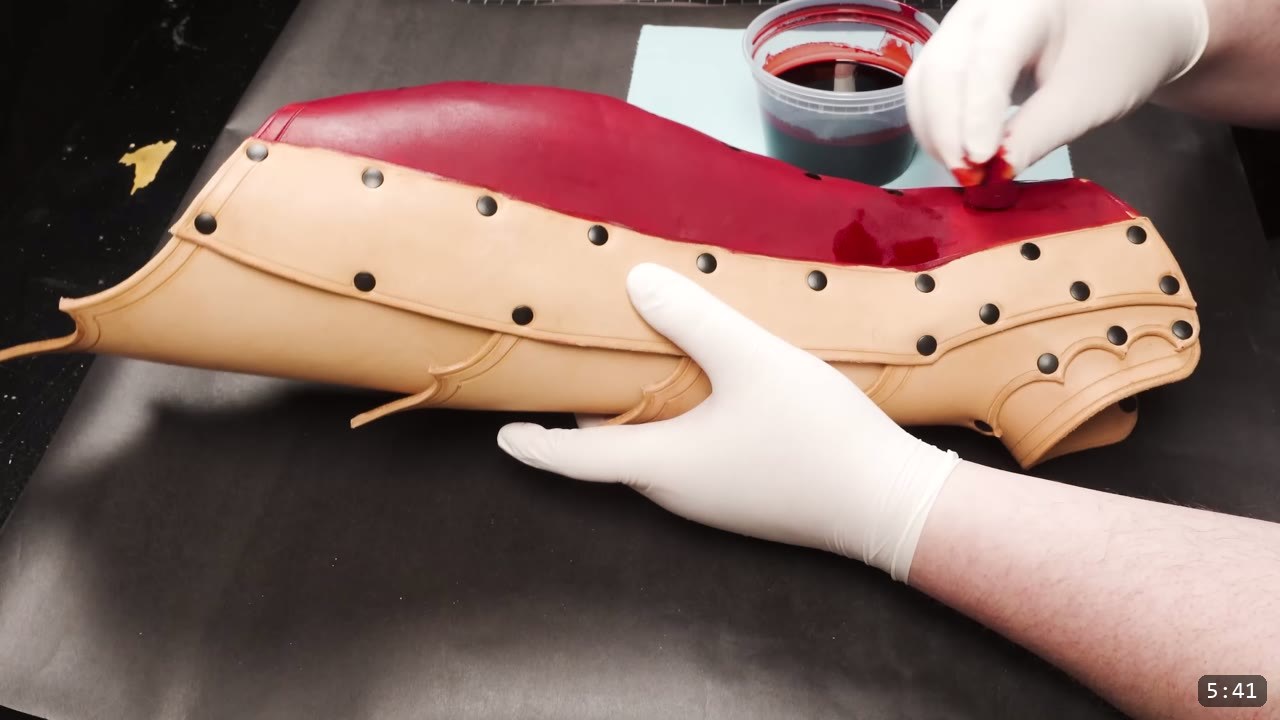
Now color. This build uses a solid red base. The dye is Fiebing’s Pro Oil Dye in red, and you can apply it with a dauber, sponge, or brush. Test your color on scrap first, or on the underside if this is your first piece and you have no scrap.
Step 8: Antique the edges, then seal
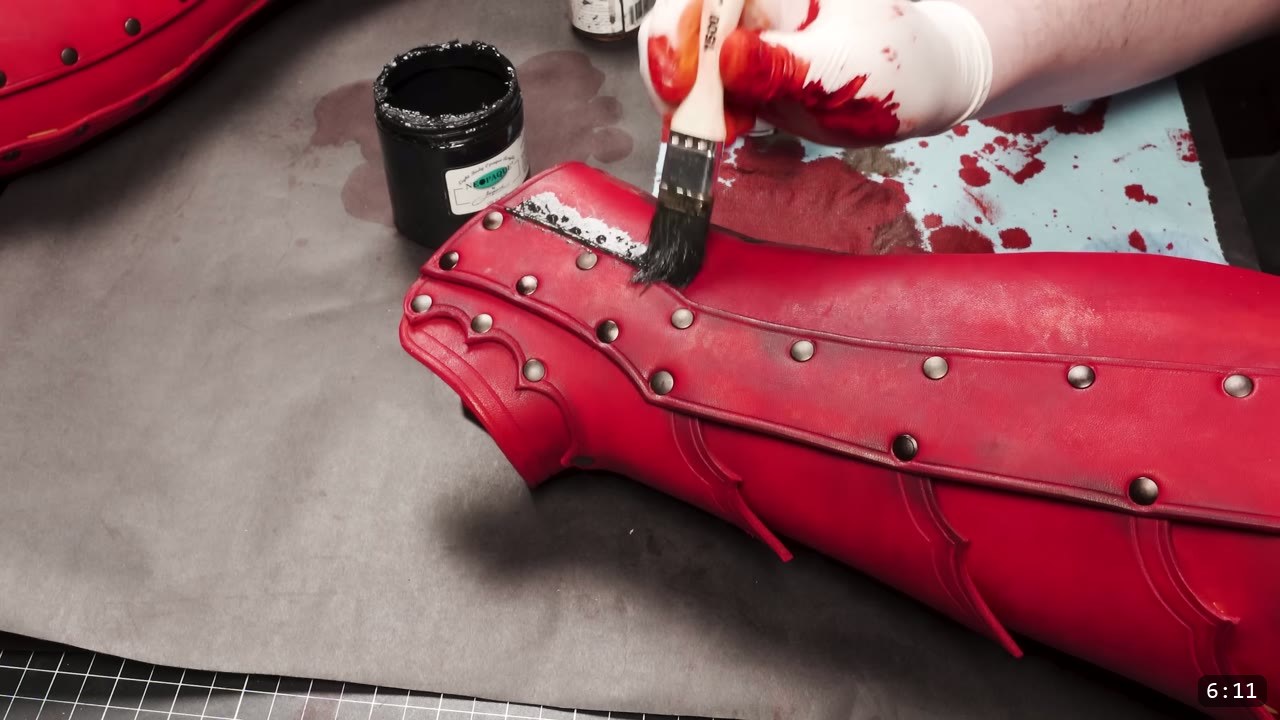
The antique effect is a wash: brown and black acrylic paint mixed into water. Keep it watered down enough that you have time to wipe it back before it dries. You can spritz the piece with water first to buy more working time. Dab some of the wash away and leave a bit of the brush texture behind. Lay it on thicker toward the edges and trail it off toward the inside, so the color reads as a gradient. When the color is where you want it, seal the greave with an acrylic finish. The video uses Weaver Tough Coat. The finish protects the piece and firms it up, and it is the last leatherworking step, so make sure all your shaping is done before this point.
Step 9: Mark and drill for the buckles
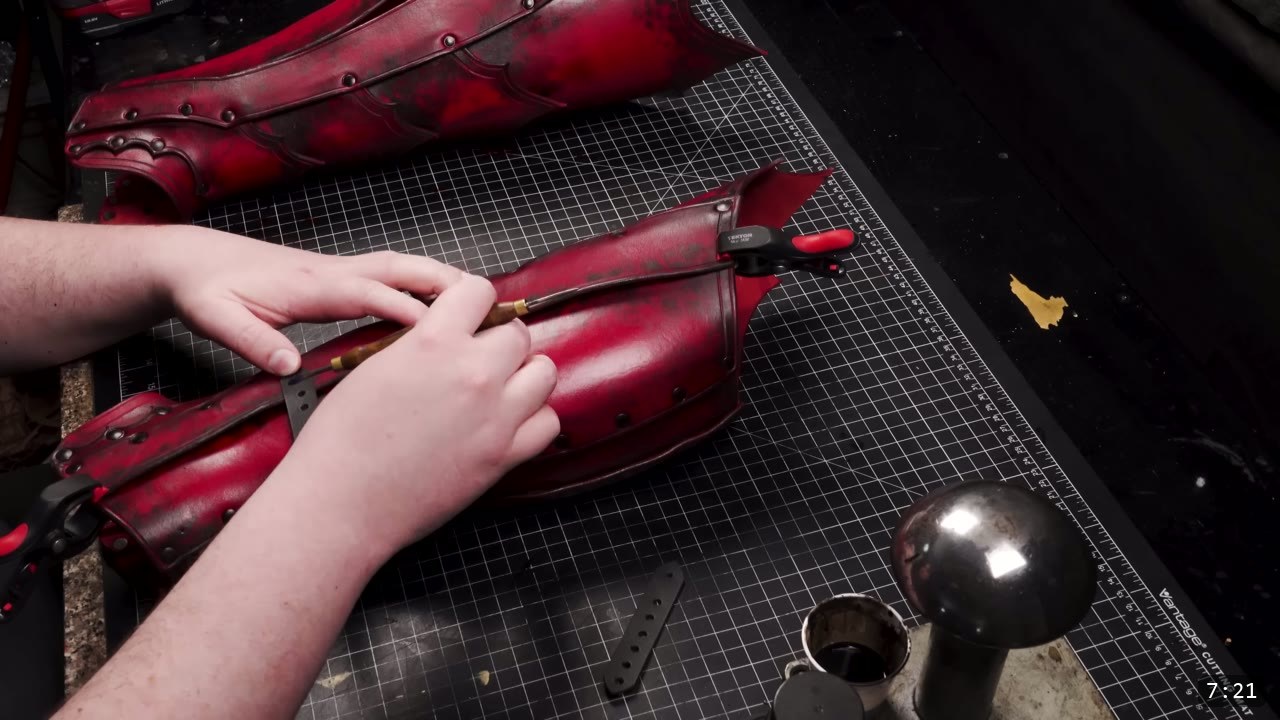
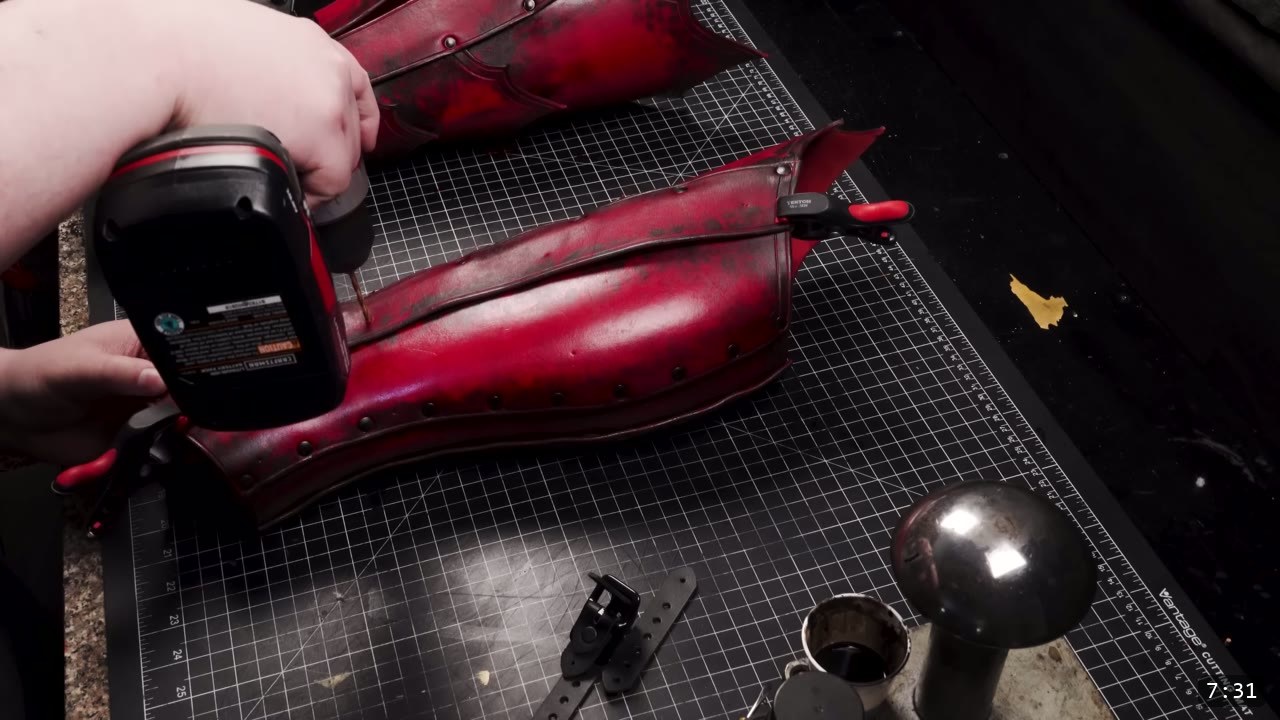
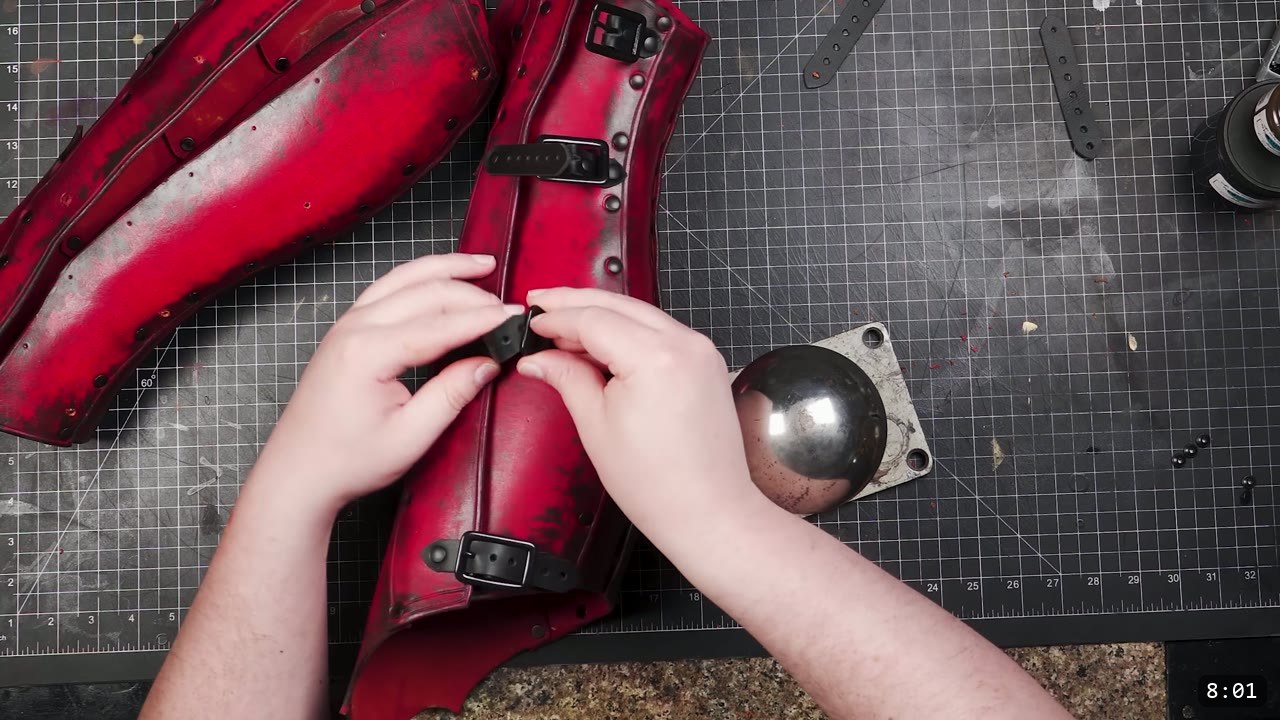
Buckles hold the greave to your leg. The video runs four buckles, but the count, size, and placement are yours to choose on looks and fit. For most builds, plan on at least three buckles per greave. Test fit the finished piece to decide where the buckles go, and mark the holes. Because the greave is already assembled and shaped, a drill is the easy way to make the holes.
Step 10: Attach the buckles and call it done
Rivet the buckles and straps to the marked holes, mirror the arrangement on the second greave, and the pair is done. Buckles are optional if you would rather use another closure, but for most people they give the best mix of fit and looks.
FAQ
Is this a beginner project?
It is approachable. The fantasy series is designed to be beginner friendly, though some pieces are easier than others. The greaves ask for basic cutting, edge work, a little wet molding, riveting, and dyeing. If you are brand new, build the mockup first to get a feel for the construction before you cut leather.
What leather should I use?
Ten to eleven ounce vegetable-tan. Veg-tan is what lets the leather take and hold the molded shape. The video sources it from Weaver Leather.
How do I get the red antiqued look?
Dye a solid red base with Fiebing’s Pro Oil Dye, then brush on an antique wash of brown and black acrylic paint mixed with water, laid on heavier at the edges and trailed off toward the inside. Seal it with an acrylic finish like Weaver Tough Coat.
Why does he assemble before dyeing here?
Because this greave has a lot of shape, and finished leather is not nearly as pliable. Assembling first lets you keep wet molding after the panels are riveted together. Prince normally dyes and finishes before assembly, so treat this as one valid method rather than the only way.
How many buckles do I need?
At least three per greave is the recommendation. The video uses four. Count, size, and placement are personal choices of fit and looks, and buckles are optional if you prefer another closure.
How do I adjust the fit?
Scale the whole pattern for height first. For more girth, expand the front piece from the sides. To snug it up, bring in the side panels on the back piece. If that feels complicated, leave extra width on the outside of the side panels and trim to fit during assembly.
Where to go next
- Get the pattern: Fantasy Greaves pattern.
- Building the whole suit? The Fantasy Armor Apprenticeship Bundle is the full head-to-toe path.
- New to leather armor? Start with 5 tips for getting started with leather armor.
- Want a simpler greave first? Watch Beginner Friendly DIY Leather Greaves.
- Struggling with the shaping? The Hand-shaping Leather for Armor Making walkthrough goes deep on wet molding.
- Built a pair? Share it and tag Prince Armory Academy and Weaver Leather; we feature student work.





Responses