



Leather Imperial Knight Helmet Build Guide: Laser-Cut Panels to Finished Armor

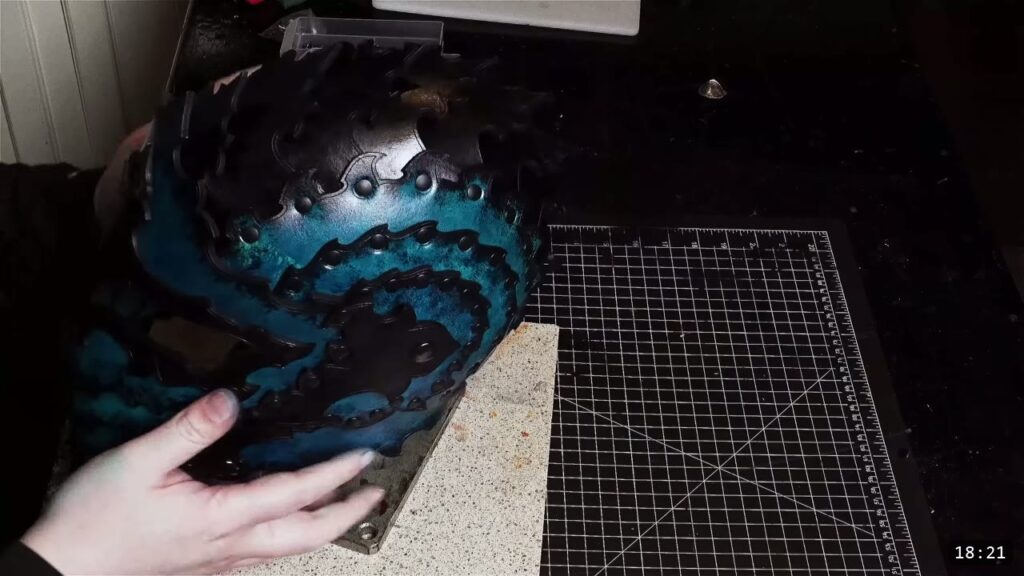
You build a leather Imperial Knight helmet from a printed pattern, and this one is drawn for a laser cutter. You cut five leather panels, clean the charred edges the laser leaves, shape the pieces while they are damp, then rivet the faceplate and the domed core together and close the whole thing with snaps. You do not need a laser. Every piece cuts by hand from the same pattern. This guide walks the whole build alongside the video, so you can watch each step and read the details the video moves past quickly.
What you are building, and what it takes
This is the first piece in the Imperial Knight series, a full head-to-toe suit built up one tutorial at a time. The helmet is an intermediate build. The clean geometric panels are designed to show off the fine cuts a laser can make, but the assembly is straightforward riveting once the pieces are ready. If you are brand new to leather armor, build a beginner kit first, then come back to this one. The Warrior Armor Bundle is built around beginner patterns, so it is a good place to start.
What you need
The pattern. The Imperial Knight Helmet Pattern downloads with a PDF variation for hand cutting and SVG files with the layout and sizing set up for a Glowforge. If your laser bed is a different size, rearrange the parts in your own software.
Leather. The video uses 9 oz leather. The subtle shaping in this build only holds if you use a leather that takes and keeps a damp form, so vegetable-tan is the safe choice. The video states the weight but does not name a tannage, and this is the craft reason vegetable-tan is the pick.
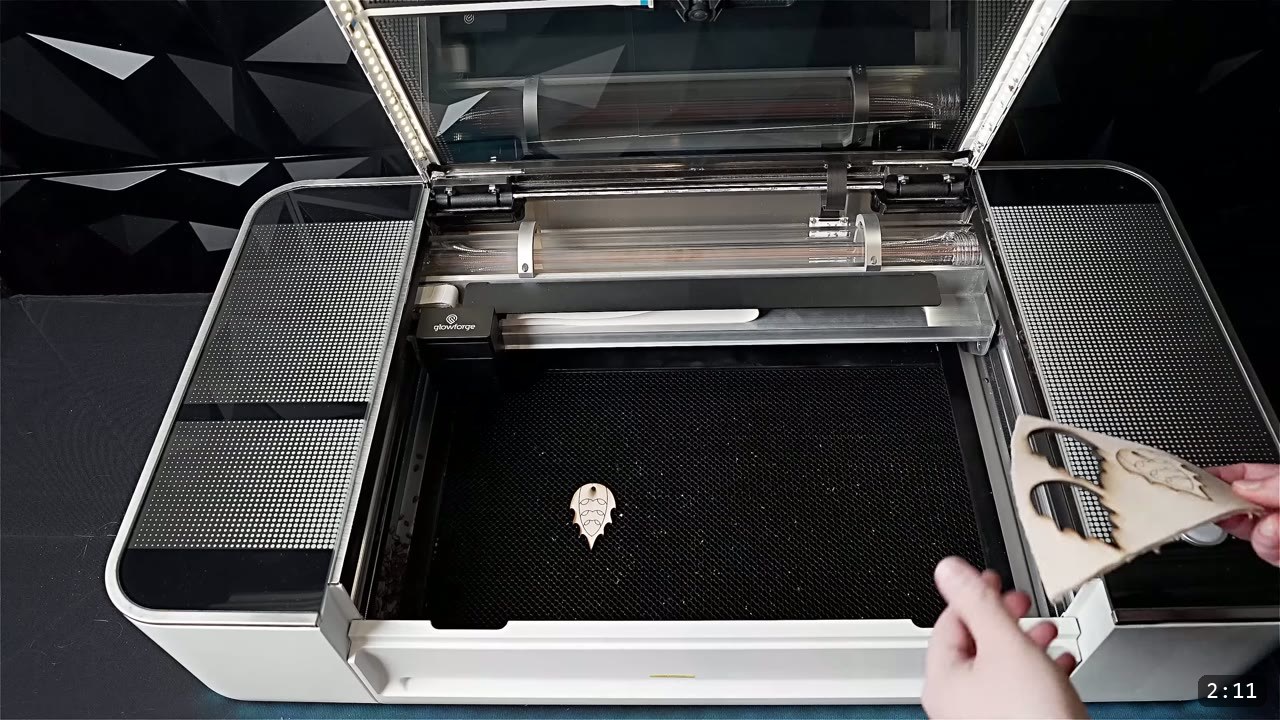
Cutting. A laser cutter if you have one. Prince uses a Glowforge and shares his starting point: with 9 oz leather he set the focus to 3.5 mm and settled on 121 speed by 100 power for the test cut. Those are his numbers on his machine, so always run a test cut on scrap first, one that is too strong and one that is too weak, then split the difference. Expect a little scorching along the edges. If you cut by hand instead, the pattern PDF covers it, and the Fantasy Armor series walks through printing and hand cutting in detail.
Cleanup and shaping. A fresh X-Acto blade, water, and a firm scrubbing pad such as green Scotch Brite. A metal forming stake if you have one, or a baseball, a bowling ball, or just your hands.
Assembly. Black double-cap rivets in medium and long lengths, from Weaver Leather in the video, plus a mallet. Something metal and domed to set rivets against, or a foot rivet press, makes this much easier. Snaps for the jaw closure and the visor pivot. Chicago screws are an option for the temple pivot if you want the snaps more secure.
Color and seal. Dye for the dark edge gradient and a sheen to finish. The video does not name a specific finish product, and Prince defers the full edge-gradient technique to the next upload in the series, so watch for it there.
Step 1: Cut the panels with the laser
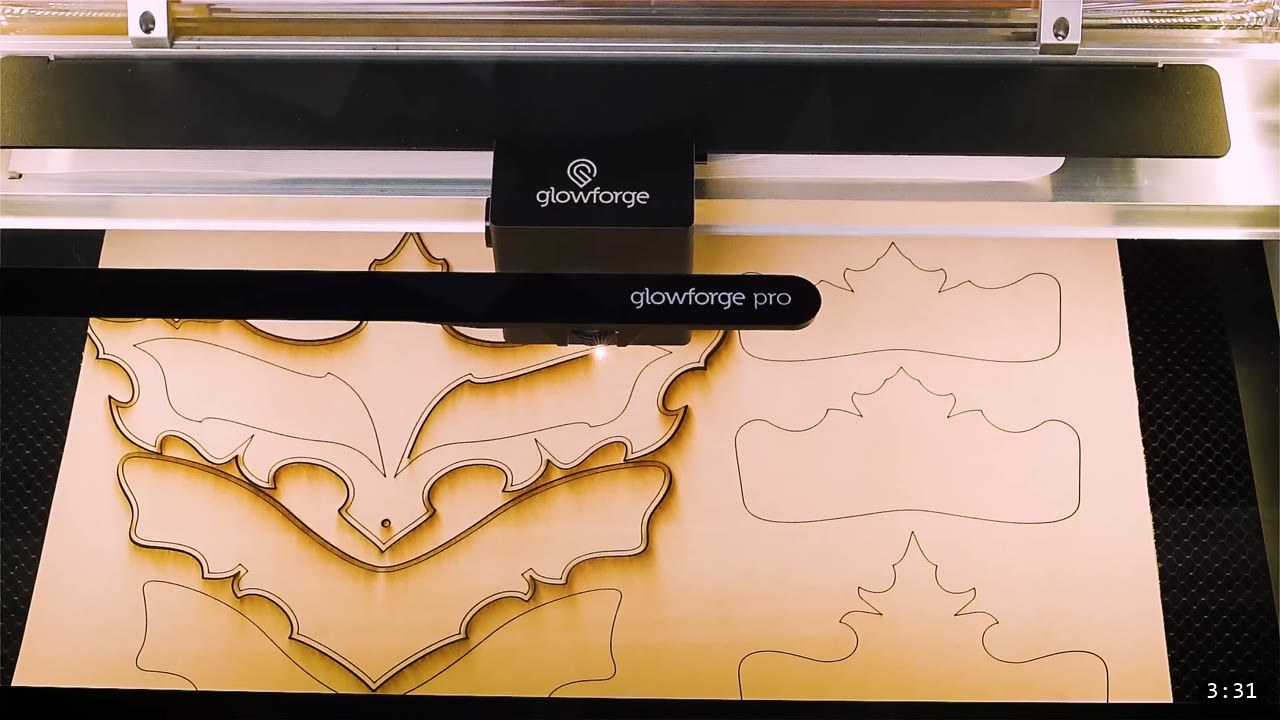
Prince pre-cut five panels of leather roughly 17 inches wide by 7.5 inches tall to leave himself room, though you can tighten those dimensions to waste less. He experimented with the settings on each panel to learn the machine, which is worth doing on your own gear. The laser makes cuts that would be slow and fiddly by hand, but it takes preparation and it is on you to know your machine.
Step 2: Free the pieces with a fresh blade
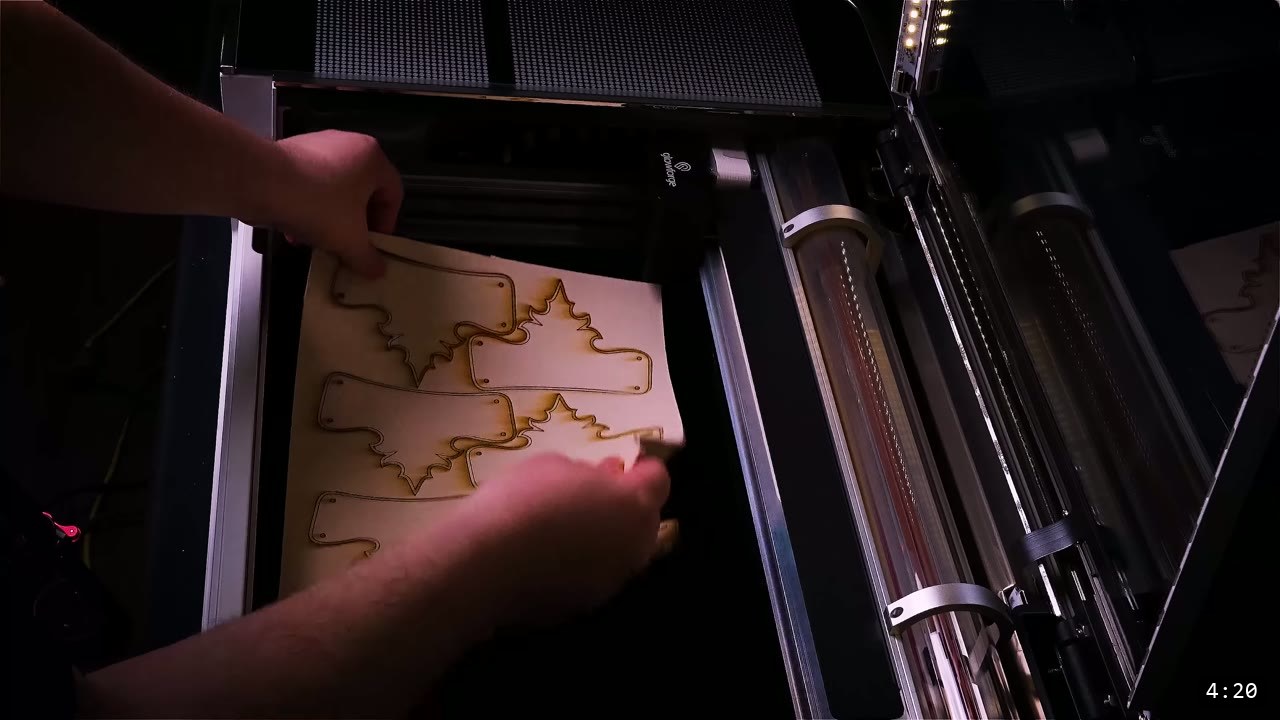
Some settings run too conservative and do not cut all the way through in places. You do not have to re-cut the panel. Grab a fresh X-Acto blade and finish separating the pieces by hand. Since the laser did most of the work, this goes quick. Do not yank out a piece that is barely still attached. Tearing it introduces stray fibers you then have to clean up.
Step 3: Rinse the charred edges, then shape while damp
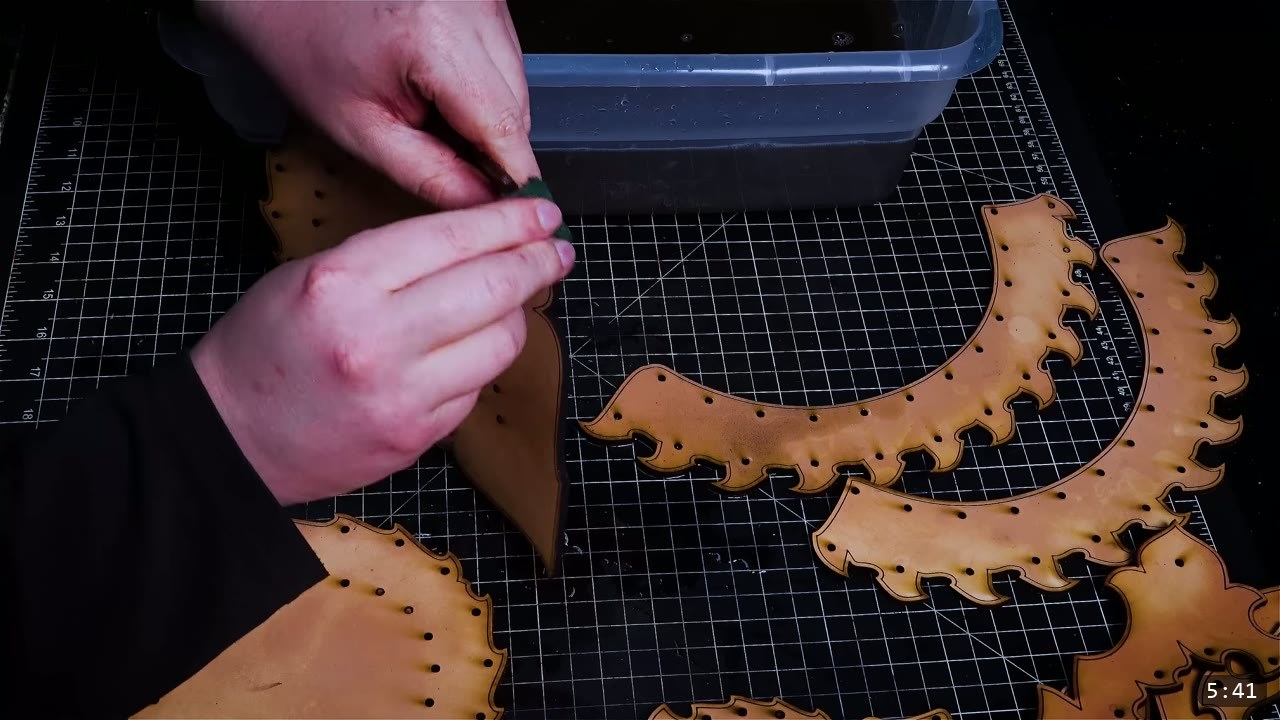
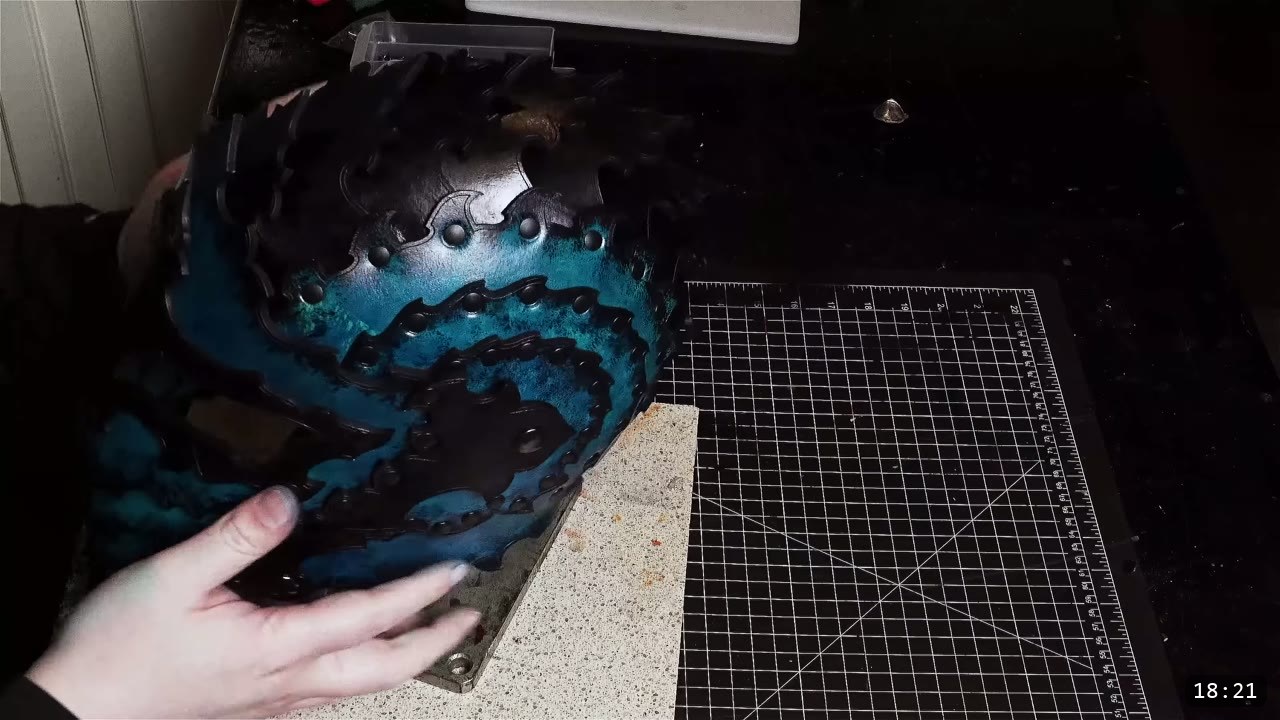
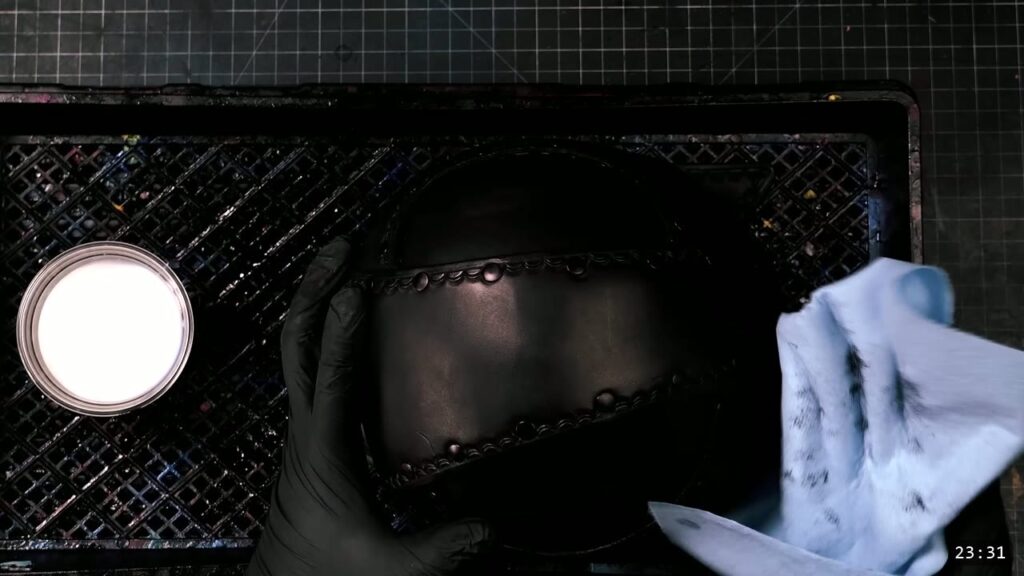
Laser cutting leaves a charred edge that carries a dark residue and an unpleasant smell. Rinse each piece in water and give the edges a quick scrub with a firm pad. Green Scotch Brite works, or any scrubbing pad you have. While the pieces are still damp from cleaning, work a little shape into them. This is optional, but it helps assembly and gives the finished helmet more polish. A metal forming stake is the go-to, but a baseball, a bowling ball, or your hands work fine for these subtle shapes. Do all your shaping now, while the leather is damp. Once you dye and seal it later, the finish locks the form and the leather will not re-wet or reshape.
Step 4: Decorate before you assemble
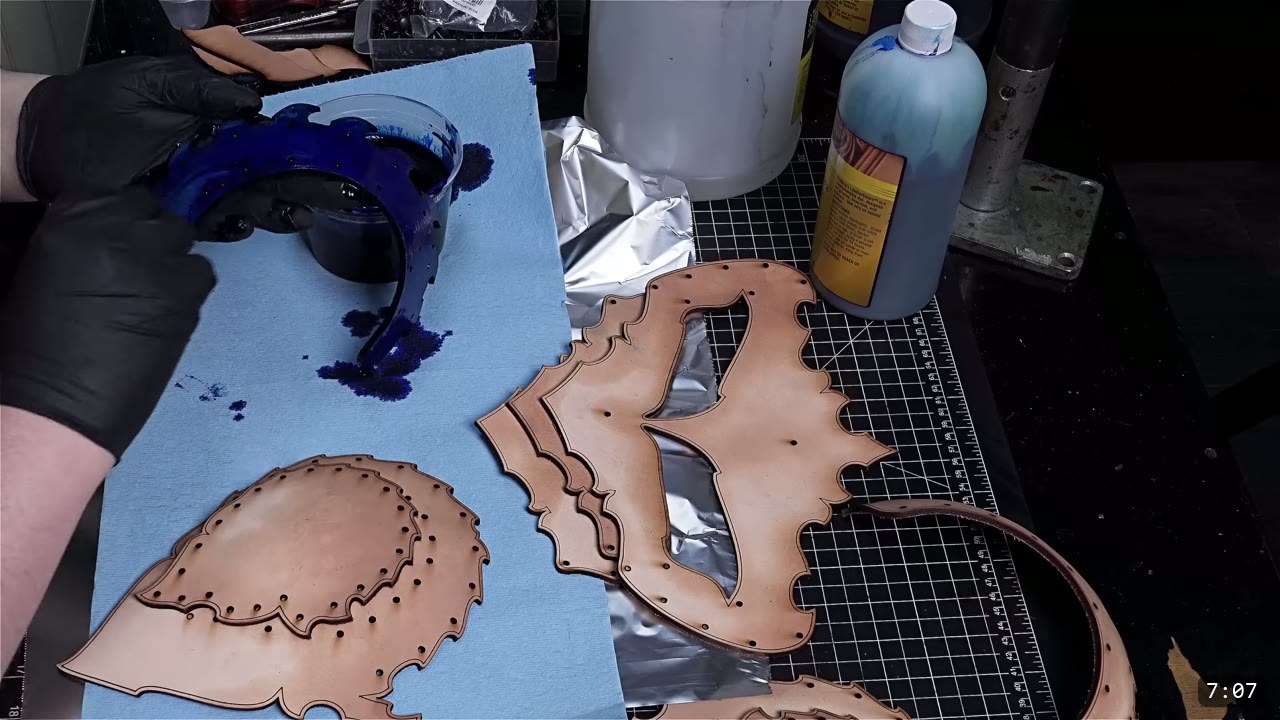
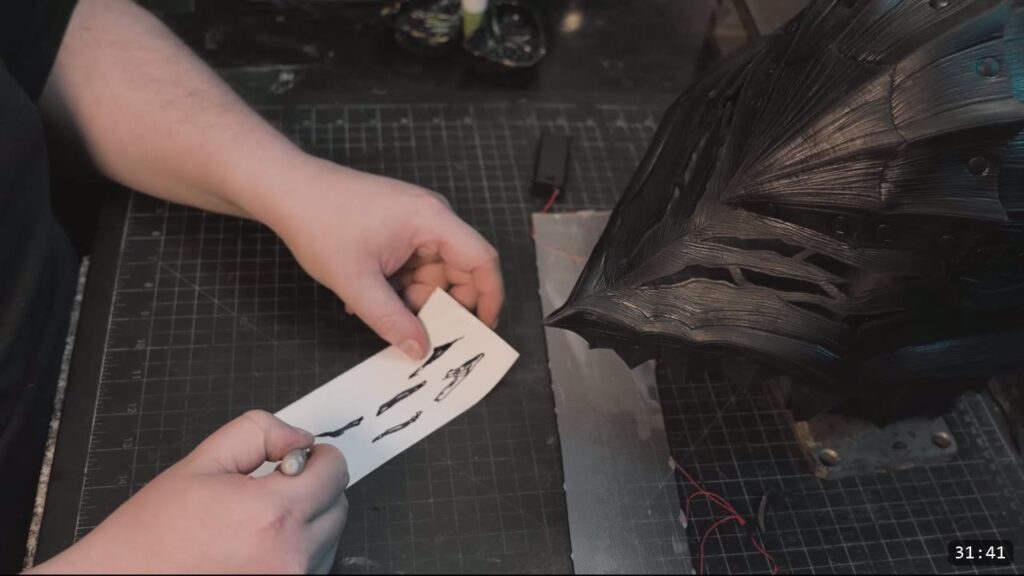
How you decorate is up to you, and it happens before assembly. In the video Prince gives the edges a dark gradient. The full technique is demonstrated in the next upload in the series. You have other options too. You can cut pre-dyed leather and assemble it straight away, with no tooling, no dye, and no finish. It still looks good and saves a lot of time, which is worth considering if you plan to make and sell a batch. Prince does allow commercial use of items made from his patterns, provided you follow the terms, so read those first.
Step 5: Assemble the faceplate
There are a lot of pieces, so lay them out first according to the diagram in the pattern. For this leather thickness, use the medium rivets where two layers meet and the long rivets where three layers stack. Start the faceplate by attaching the eye trim piece to the visor, then add the side trim pieces, then the chevron pieces on one side. Repeat from the top on the other side. When you get to the chevron pieces on the second side trim, they will not meet while the leather lies flat. Pull them in to meet the sides. That tension forces the visor’s shape and adds a layered dimension. Then bend the visor slightly by hand for a little extra shape.
Step 6: Build the central core
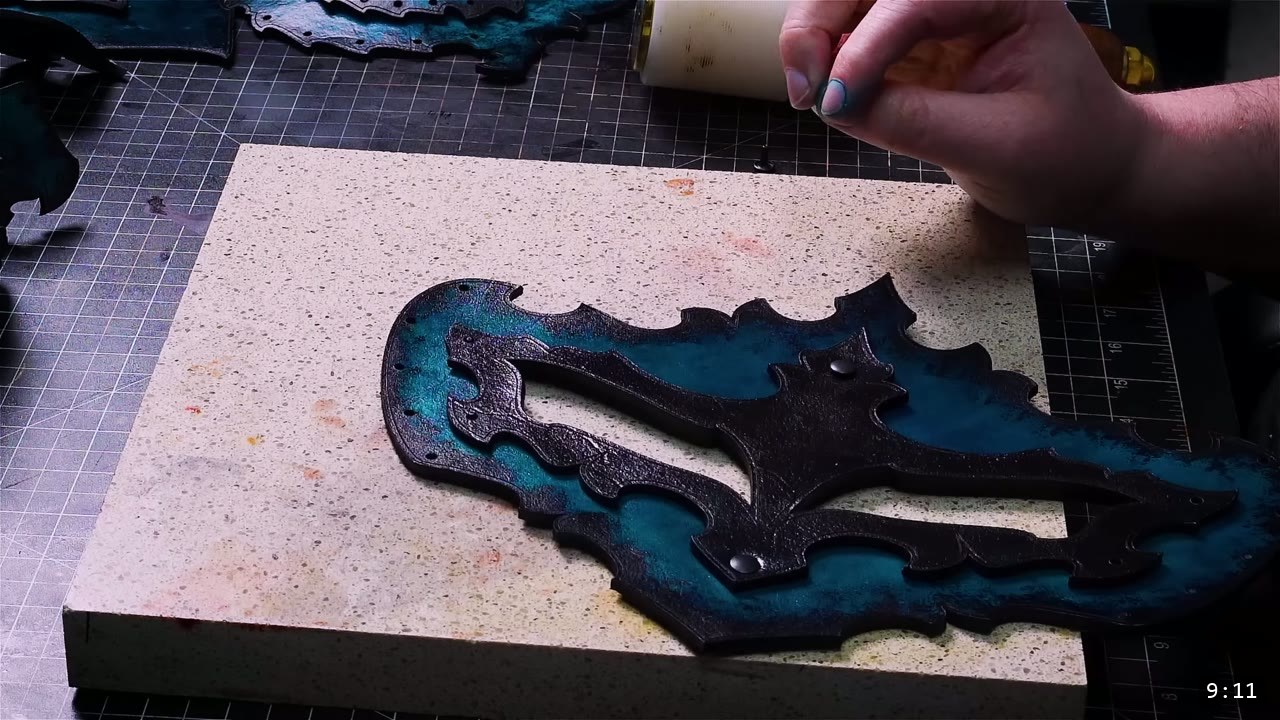
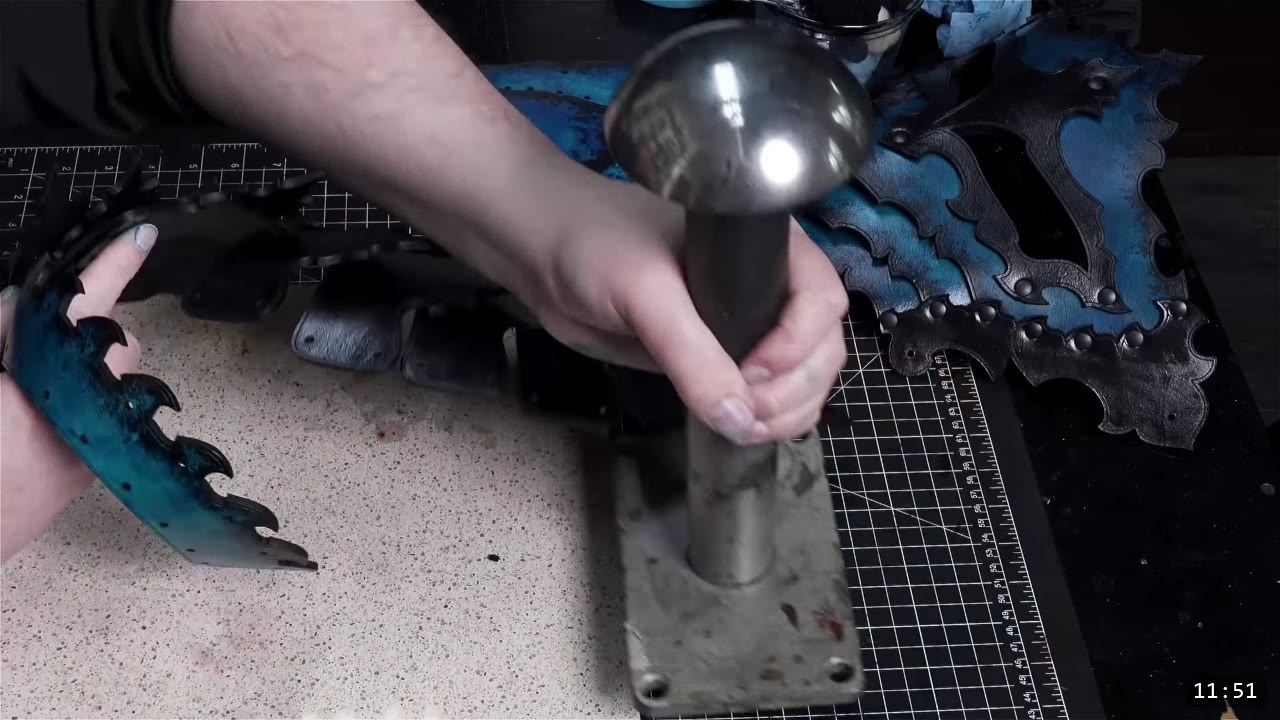
Watch the shapes of the center pieces. The piece that runs along the front is the only one with a secondary point along the center, and the two pieces at the very back are shorter. Start with one side piece and rivet flat in a fan pattern from the front. Hold off on the final rivet, because it goes through a side panel layer later. For the core piece on the other side, a foot rivet press or something sturdy and domed to set against helps a lot. If you cannot support it from the top, turn the piece over and set the rivets flat, hammering from the inside.
Step 7: Add the side panels
Finish the core with the side panels. Start at the back and work up toward the front. The subtle shaping you did earlier makes the pieces sit together more naturally. The other side goes on the same way, one rivet at a time.
Step 8: Join the faceplate to the core
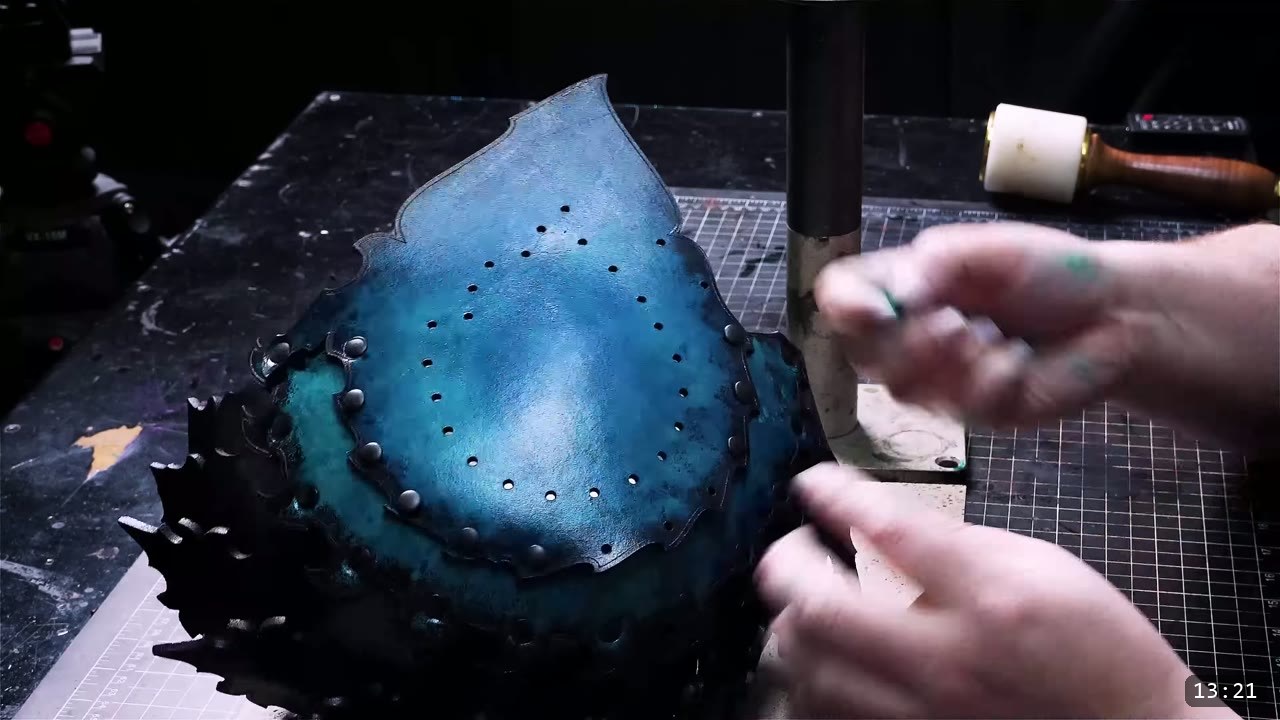
Temporarily affix the top trim layer on the side panel for now, and wait to commit those rivets until you have confirmed where the faceplate goes. When the faceplate and the core are both assembled, you join them. This is the only part of the build where you mark your own holes, because Prince leaves a little flexibility here. Align the faceplate as shown. Clamp the pieces, use temporary masking tape, or have someone hold them while you mark your preferred position. He clamped the lower visor along the jawline and left a small gap between the visor and the brow so the visor can raise.
Step 9: Set the snaps
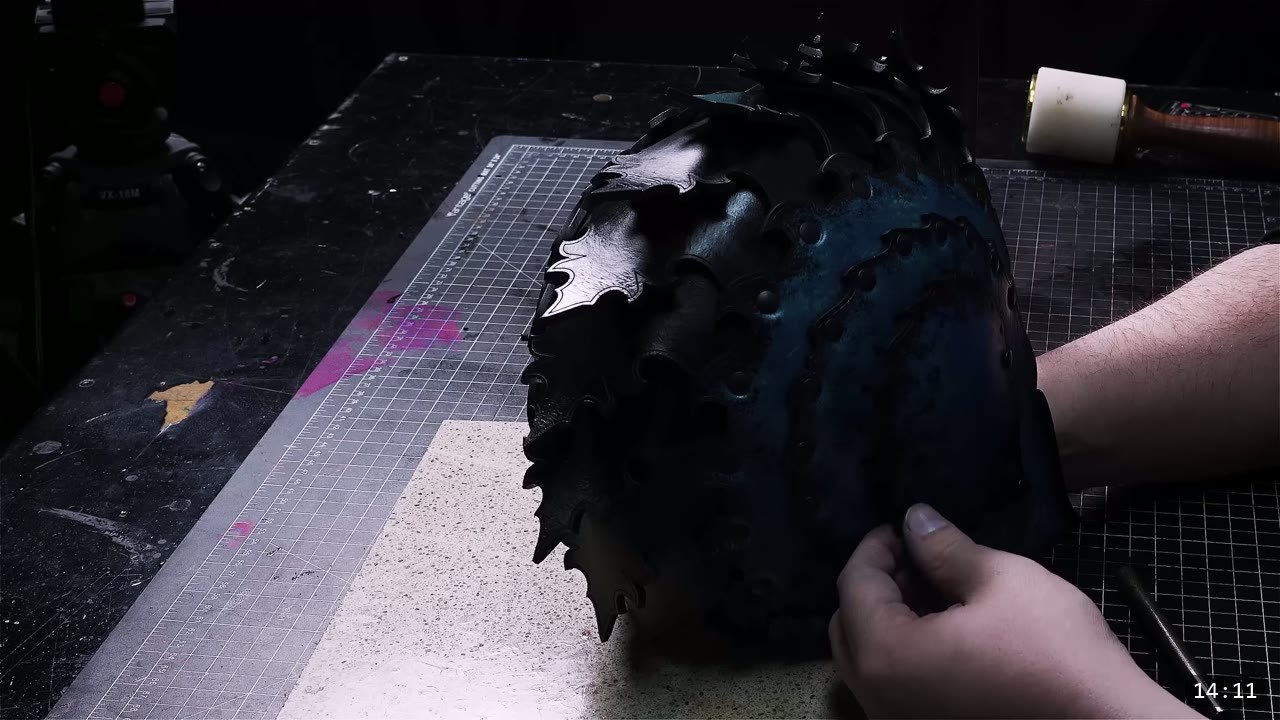
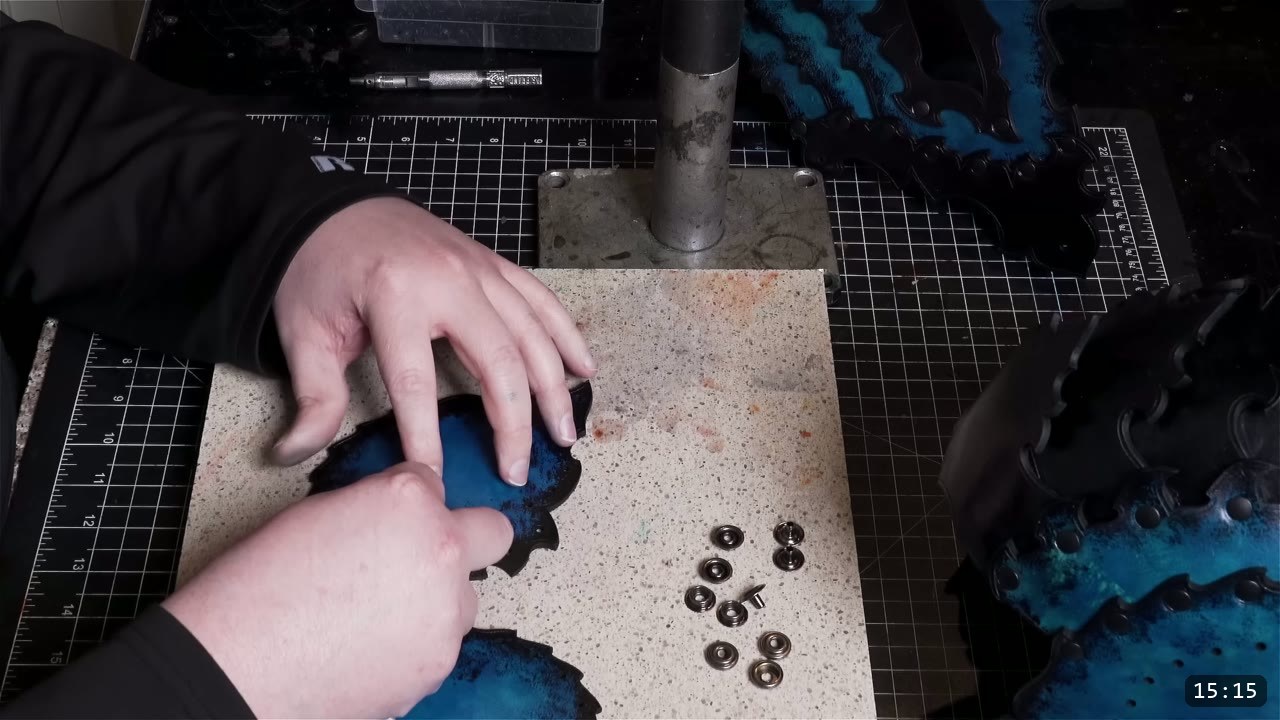
Prince uses snaps for both the closure along the jaw and the pivot. If you are worried about snaps popping apart, swap in Chicago screws for the temple pivot, or attach the faceplate permanently. Add the snaps to the side trim plate and the visor.
Step 10: Commit the rivets
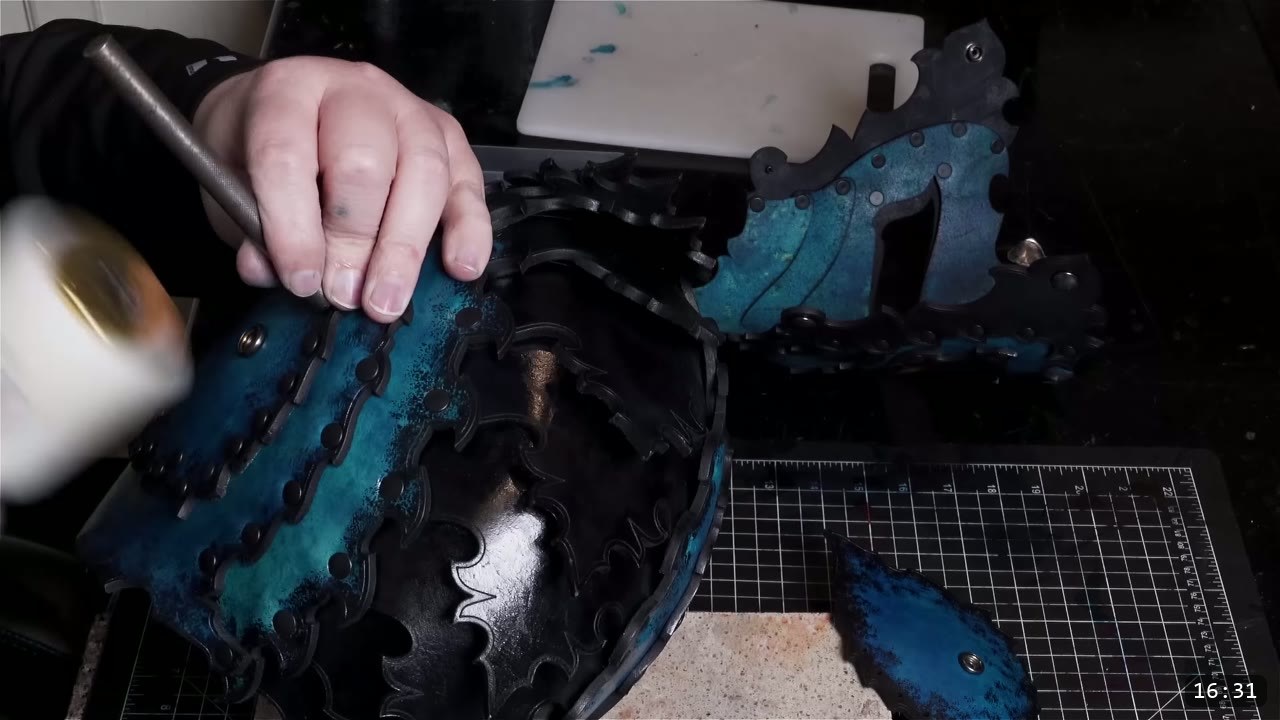
With the snaps in, go back and commit the rivets you left loose. Here again, something metal and domed to set against helps a great deal. If you are not there yet, hammer them all flat from the inside.
Step 11: Finesse the final shape
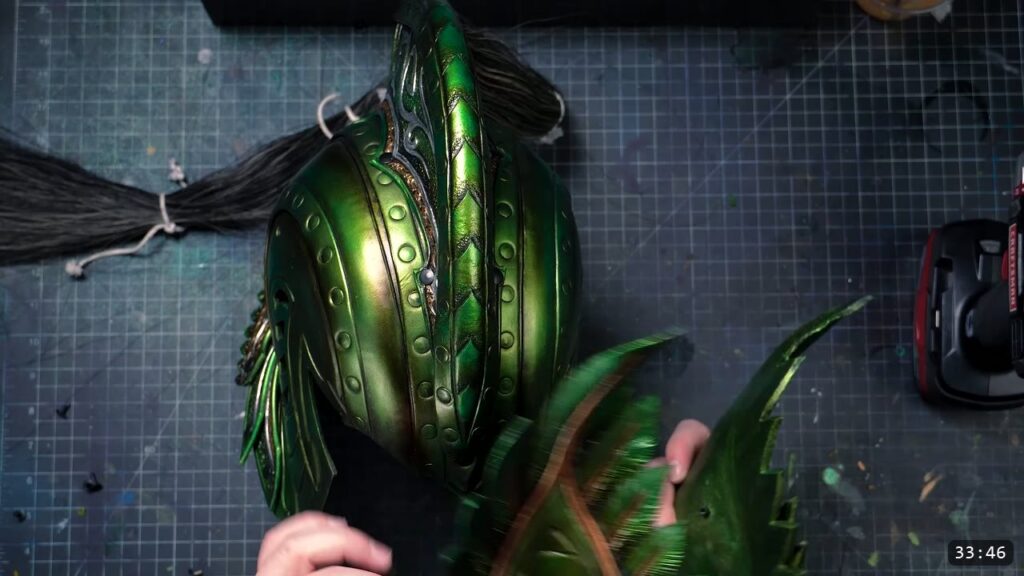
Assembly done, tweak the shape by hand to your taste. Prince likes to do the final assembly while the parts are still a little damp from the sheen stage, because they keep just enough give to finesse the fit. That damp window is small. Once the finish dries and seals, the leather firms up and will not re-wet or reshape, so save any real reshaping for before it sets. And that is the build.
FAQ
Do I need a laser cutter for this?
No. The pattern includes a PDF for hand cutting, and every piece cuts by hand. The laser saves time and makes fine cuts, but it is optional. If you cut by hand, the Fantasy Armor series covers printing and cutting in detail.
Is this a beginner build?
It is an intermediate one. The riveting is simple, but the shaping and the fit reward some experience. If you are new to leather armor, build a beginner kit first. The Warrior Armor Bundle is built around beginner patterns and is a good place to start.
What leather and laser settings should I use?
The video uses 9 oz leather. On his Glowforge, Prince set the focus to 3.5 mm and landed on 121 speed by 100 power for the test cut. Those are his numbers on his machine, so test on scrap first and expect a little edge scorching.
How do I get rid of the burnt edge and the smell?
Rinse the piece in water and scrub the edges with a firm pad such as green Scotch Brite. That lifts the charred residue and the odor the laser leaves behind.
Rivets or snaps, and where does each go?
Double-cap rivets hold the panels together, medium for two layers and long for three. Snaps handle the jaw closure and the visor pivot so the faceplate can move. If you want the pivot more secure, use Chicago screws there or rivet the faceplate permanently.
Can I reshape the helmet after finishing it?
No. Do all your shaping while the leather is damp. Prince times the final assembly for while the parts are still damp from the sheen stage, so there is a little give left to finesse the fit. Once the finish dries and seals, the leather resists water and will not re-wet or reshape.
Where to go next
- Get the pattern: Imperial Knight Helmet Pattern
- New to cutting leather with a laser? Watch Learn Laser Cutting for Leather Armor (Beginner Friendly).
- Want the whole suit? The Imperial Knight Bundle carries the full set, and the next tutorial is DIY Leather Greaves.
- New to leather armor? Start with the Warrior Armor Bundle and 5 tips for getting started with leather armor.
- Want to go deeper on shaping? The Hand-shaping Leather for Armor Making walkthrough covers wet forming.
- Built one? Share it and tag Prince Armory Academy and Weaver Leather; we feature student work.



Responses