



Leather Pauldrons Build Guide: Articulating Shoulder Armor, Imperial Knight Series

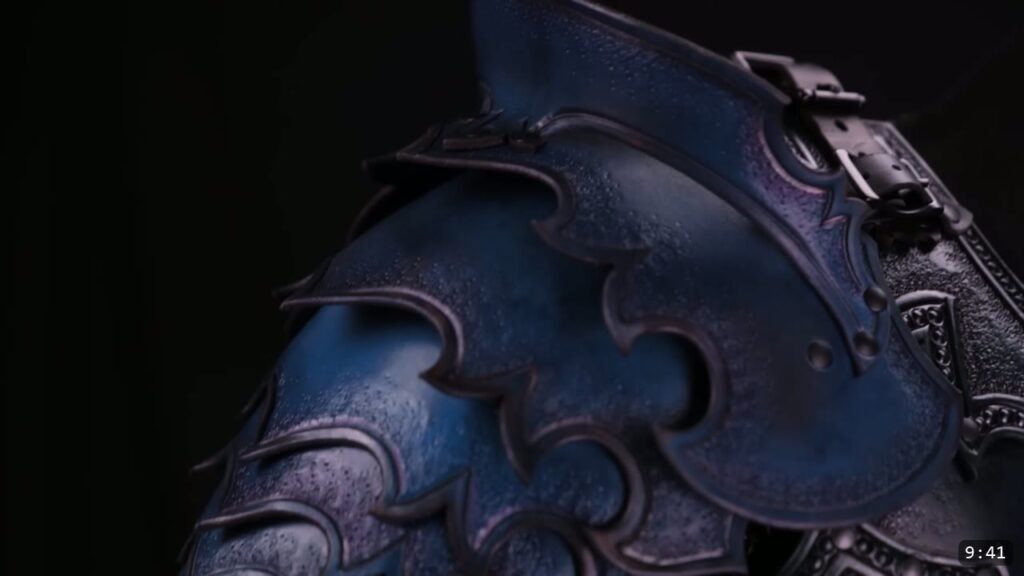
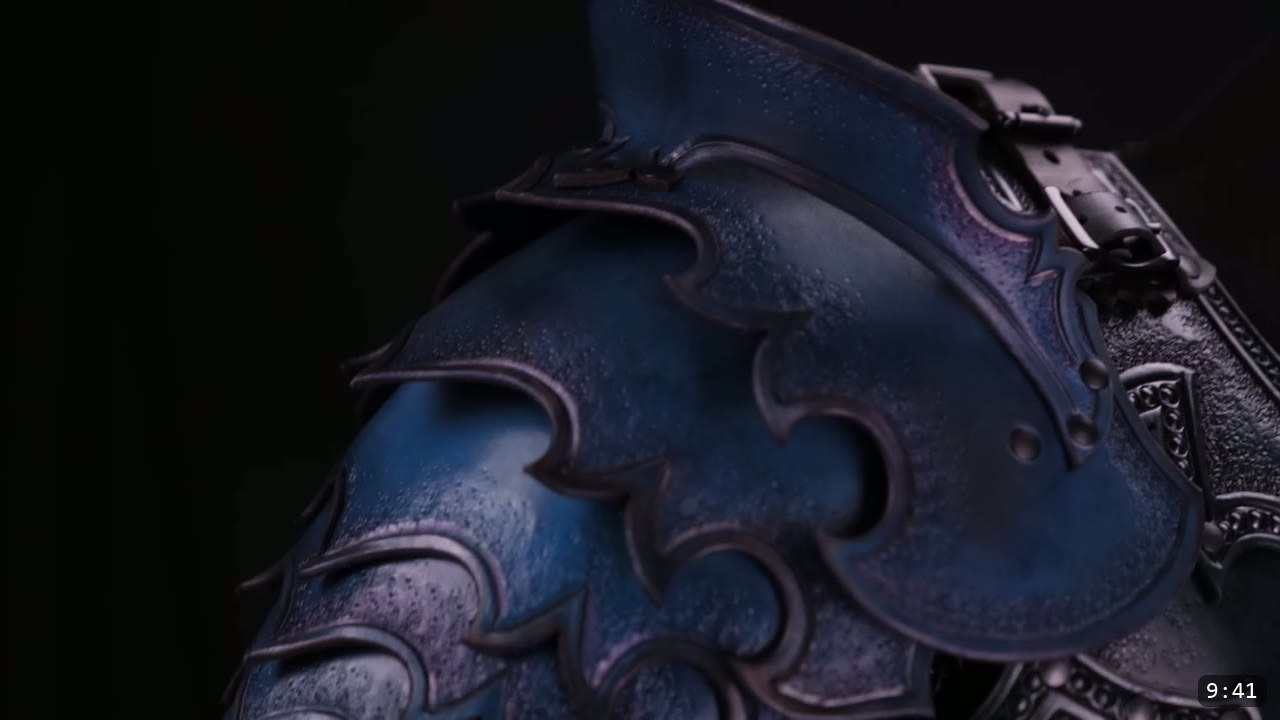
You build these leather pauldrons from a flat printed pattern, not a kit. You cut the plates from 9 to 10 oz veg-tan, bevel and tool the edges, shape a slight curve while the leather is damp, then dye and seal each piece. The plates, called lames, rivet together small to large so the shoulder articulates, and retaining straps hold them in line. This guide walks the whole build alongside the video, so you can watch each step and read the details the video moves past quickly.
What you are building, and what it takes
This is the second theme offered in the Academy, and the pieces are modular. You can build the full Imperial suit, or pick this pauldron on its own and pair it with another theme. The shoulder is made from stacked plates that pivot on their rivets, so it moves with you instead of sitting stiff.
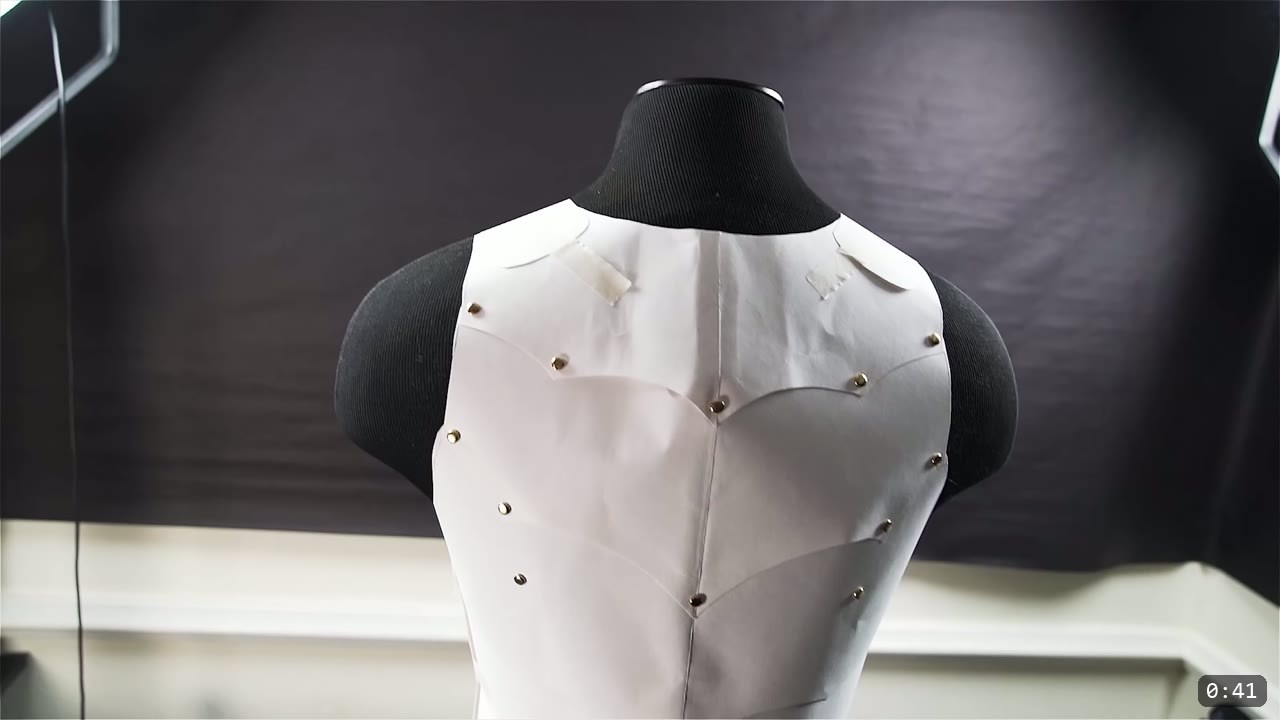
Before you commit materials, make a paper mock-up first and check the size and fit on yourself or a form. The Fantasy Armor tutorials cover that mock-up process in more detail. The default pattern prints at 100 percent scale, which suits most people, and you can scale the whole thing up or down to fit.
What you need
The pattern. The Imperial Knight Pauldrons Pattern includes the plates and the templates for the retaining straps, with options drawn for both hand cutting and laser cutting.
Leather. Nine to ten ounce veg-tan. The build uses Weaver veg-tan in the video.
Tools.
- Cutting: heavy-duty scissors and a craft or utility knife, or a laser cutter if you have one. The video uses a Glowforge.
- Edging and tooling: an edge beveler, a swivel knife, a wing divider, and a textured stamp for the border.
- Shaping: a curved form. A metal dome works, or something common like a baseball.
- Color and seal: leather dye set up for immersion dyeing, and an acrylic gloss finish.
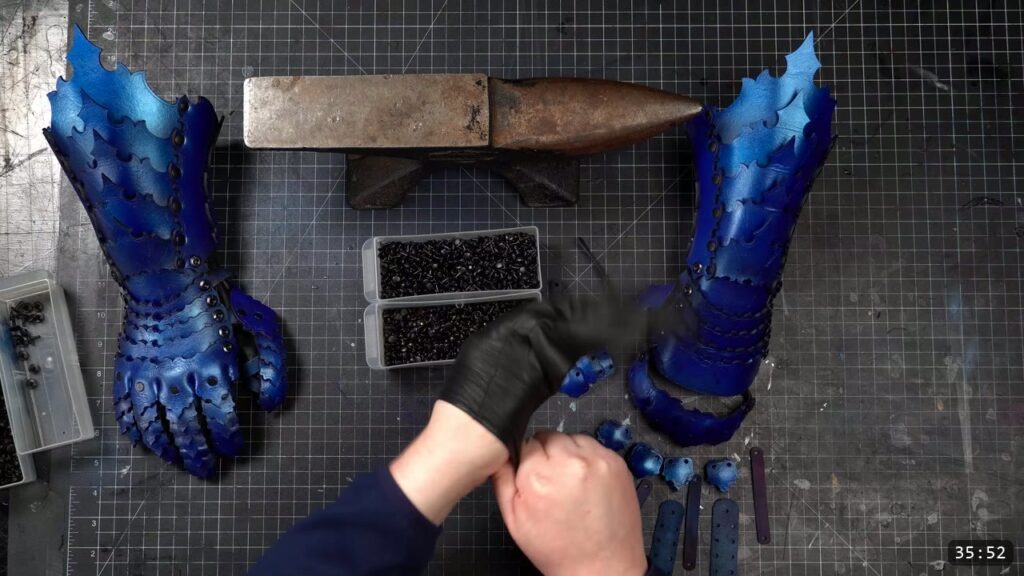
- Assembly: rivets and a setter, plus a small or medium anvil, or just a common hammer.
- Hardware: buckles and strap leather for the buckle straps and retaining straps.
Step 1: Mock up and size the pattern
Print the pattern and build a paper mock-up before you cut leather. Check the fit, then decide on scale. The default 100 percent works for most, and the whole pattern scales up or down if you need it larger or smaller.
Step 2: Cut the components
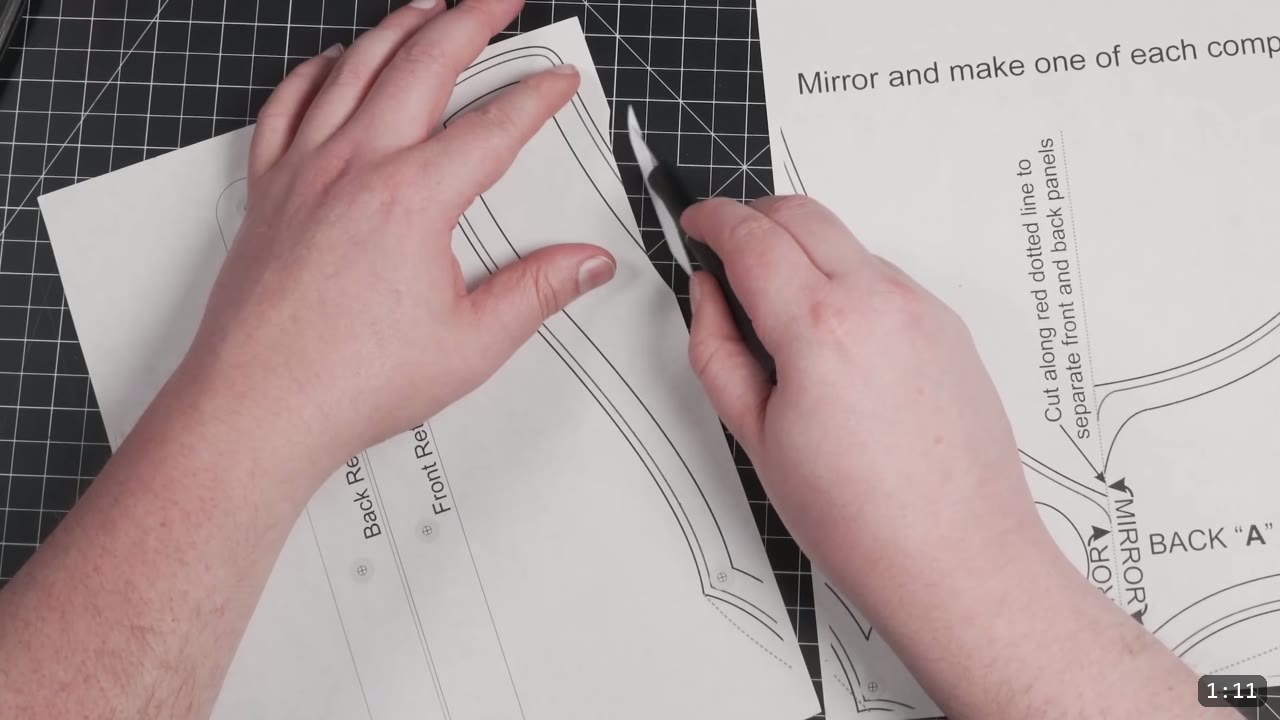
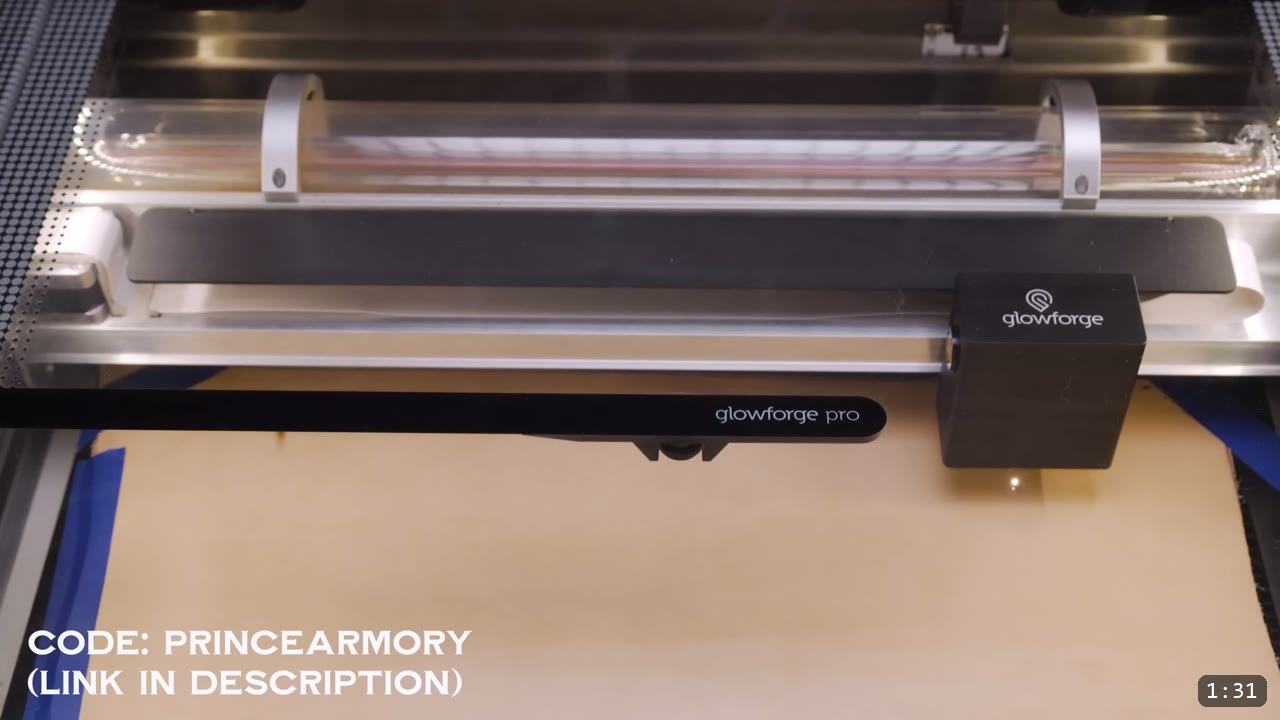
Cut every plate from your 9 to 10 oz veg-tan. Most people cut by hand with scissors and a knife, and the pattern is drawn for that. The video saves time on a laser cutter instead. If you laser cut, you can also etch design lines into the leather at this stage.
Step 3: Bevel the edges
You can skip straight to assembly, but at a minimum I bevel the edges. It is the simplest thing you can do to make a raw cut plate look finished, and it is a good habit on any project.

Step 4: Score and tool a simple border
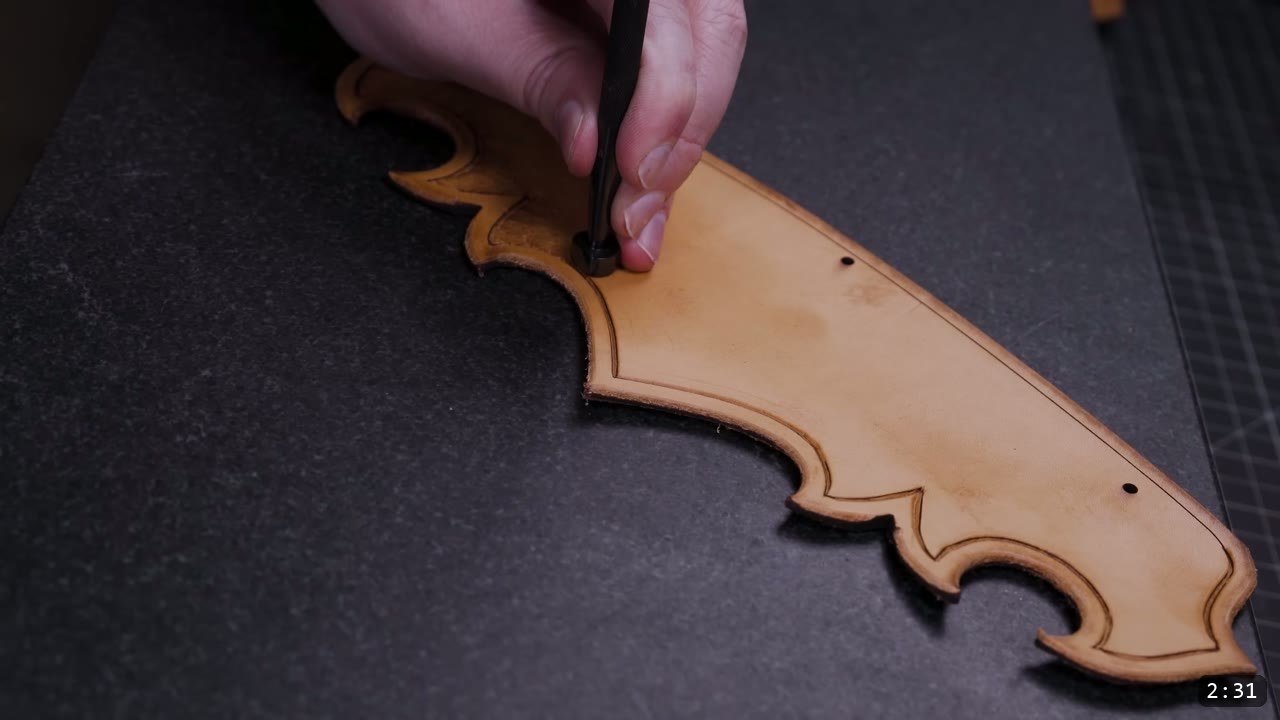
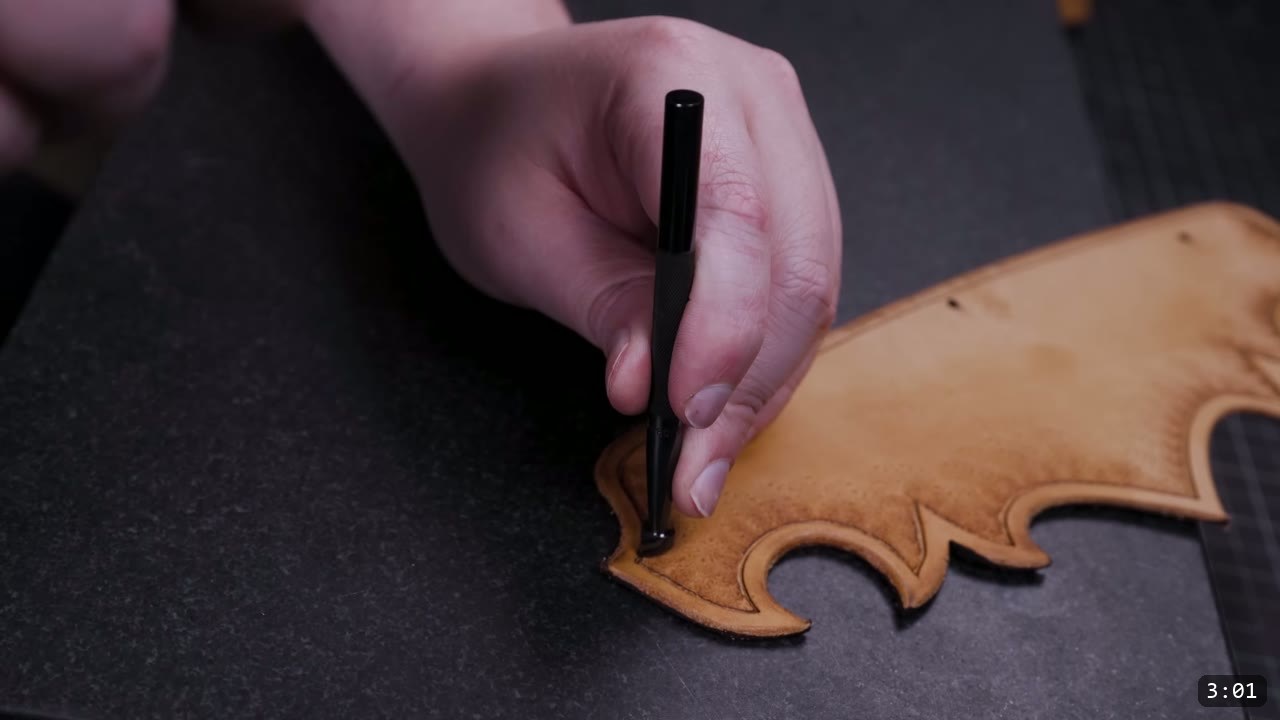
For decoration, this build keeps it simple with a border. Carve over the score line with a swivel knife. If you cut by hand rather than laser, run a wing divider around the perimeter to lay in that line first. Then pick a textured stamp and work it around the edge. Do a lighter pass a little further in to feather and fade the texture, and bevel against the border to make the edge pop. Start simple like this, and add harder tooling as your skills grow. The design leaves plenty of room for more decorative work later.
Step 5: Shape the lames while damp
This step is optional, but it adds a little strength and improves the look. While the leather is still damp, form a slight curve into each plate over a curved surface, a metal dome or a baseball. Do all your shaping now, before you dye and seal, because the finish locks the form.

Step 6: Dye the pieces
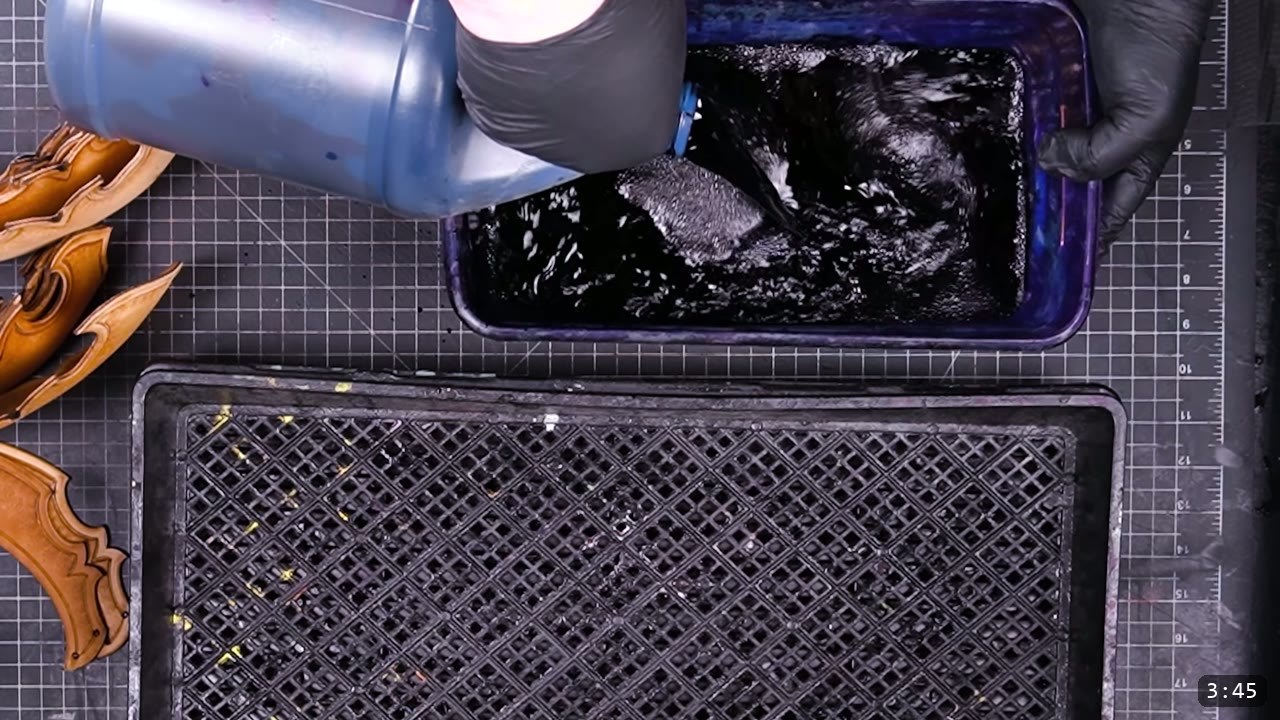
The video uses immersion dyeing, dunking each piece to color it evenly. One tip from the video: work over a dyeing tray with a sturdy bottom pan and a graded sub-tray, so excess dye drips through and the mess stays contained.
Step 7: Seal with acrylic finish
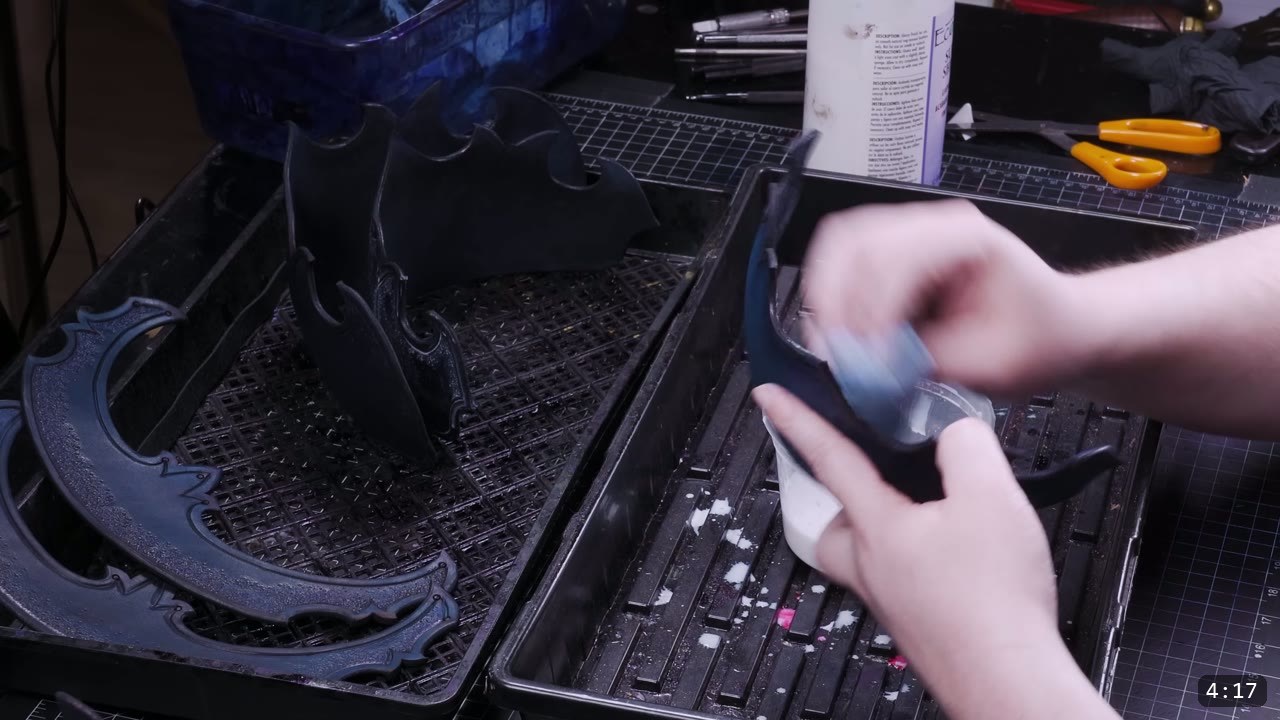
Finish each piece with a common acrylic gloss finish. Apply it liberally on the front and the back so it absorbs into the leather, which stiffens the parts and helps them hold their shape. This and the dye are the last leatherworking steps. Once the finish is on, the leather resists water and will not fully re-wet or reshape, so make sure all your forming is done first.
Step 8: Prepare the buckle and retaining straps
Now the assembly. Start by making up the buckle straps. If you have not set buckles before, the channel has a standalone tutorial on it. Prepare the retaining straps at the same time. The pattern includes templates for these straps.
Step 9: Attach the guard to the top plate
Rivet the guard to the top plate. It helps to have a raised surface for setting rivets, like a small or medium anvil, so you can strike the rivet cleanly. If you do not have one, turn the piece over and set the rivet flat from the back with a common hammer.
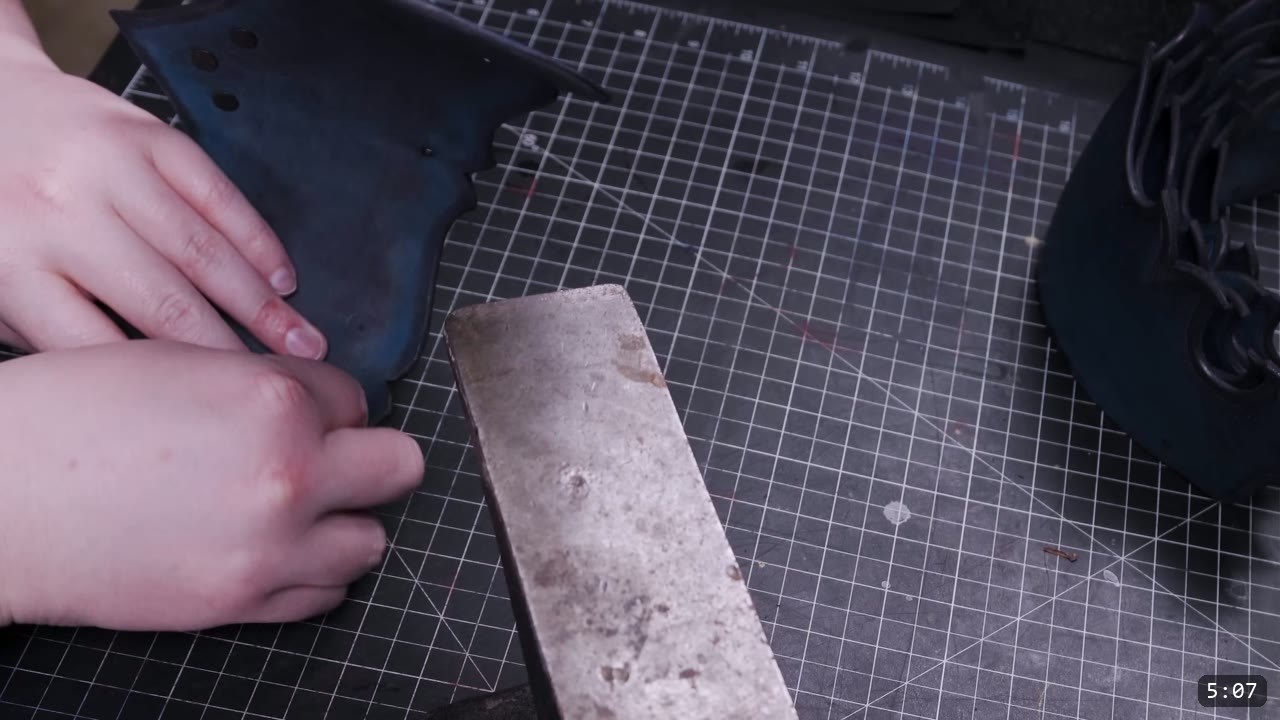
Step 10: Build up the lames, small to large
The individual plates are called lames. Start with the smaller bottom lame and work your way up, ascending to the larger lames. This is what gives the shoulder its articulation, since each lame pivots on its rivets over the one below.
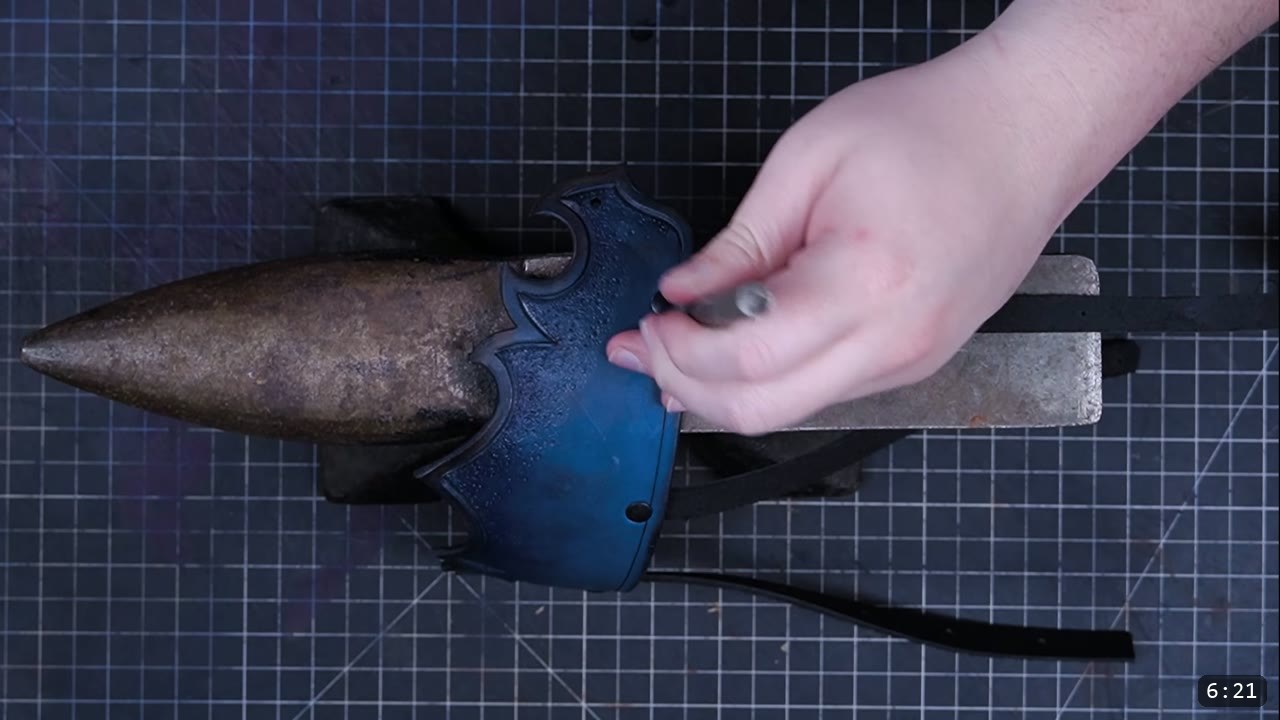
Step 11: Add the retaining straps
The retaining straps keep the lames aligned. The shorter straps, spaced evenly, go on the sides. The longer straps go down the center, starting with the closer spacing at the bottom. If you plan to be active in the armor, you may want an added strap to the upper arm for stability, though for costume wear it is not strictly necessary.
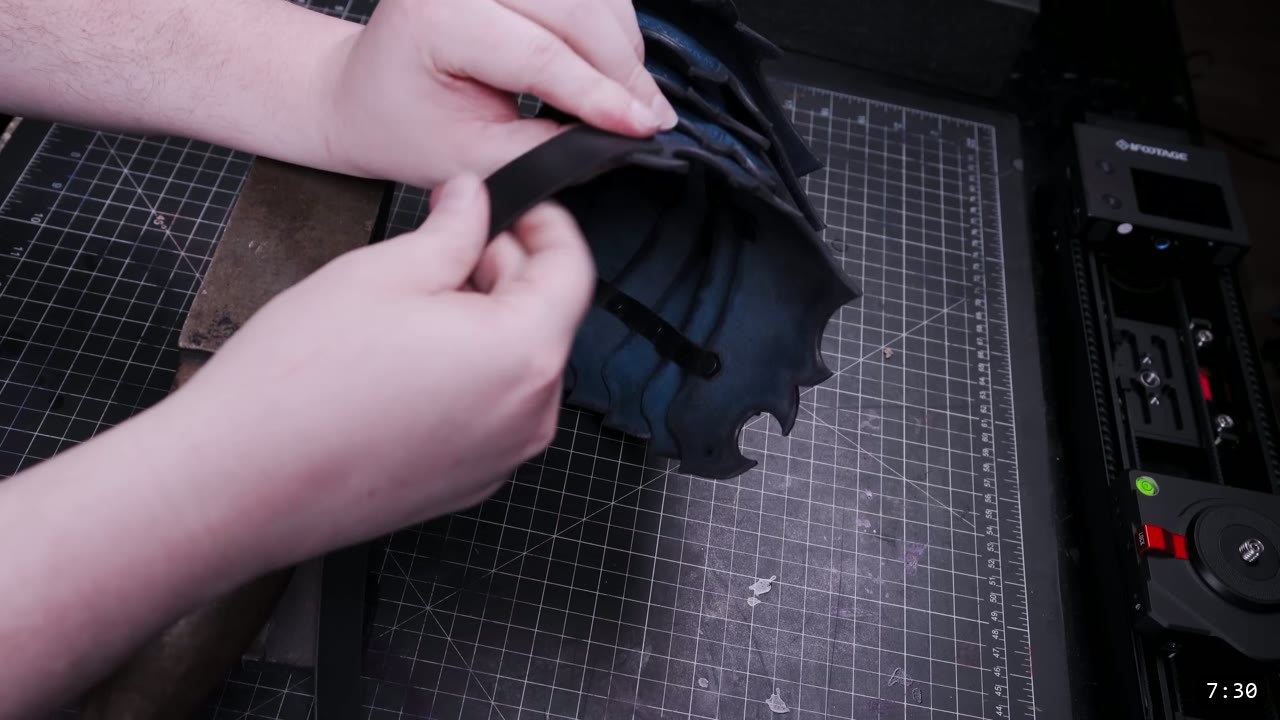
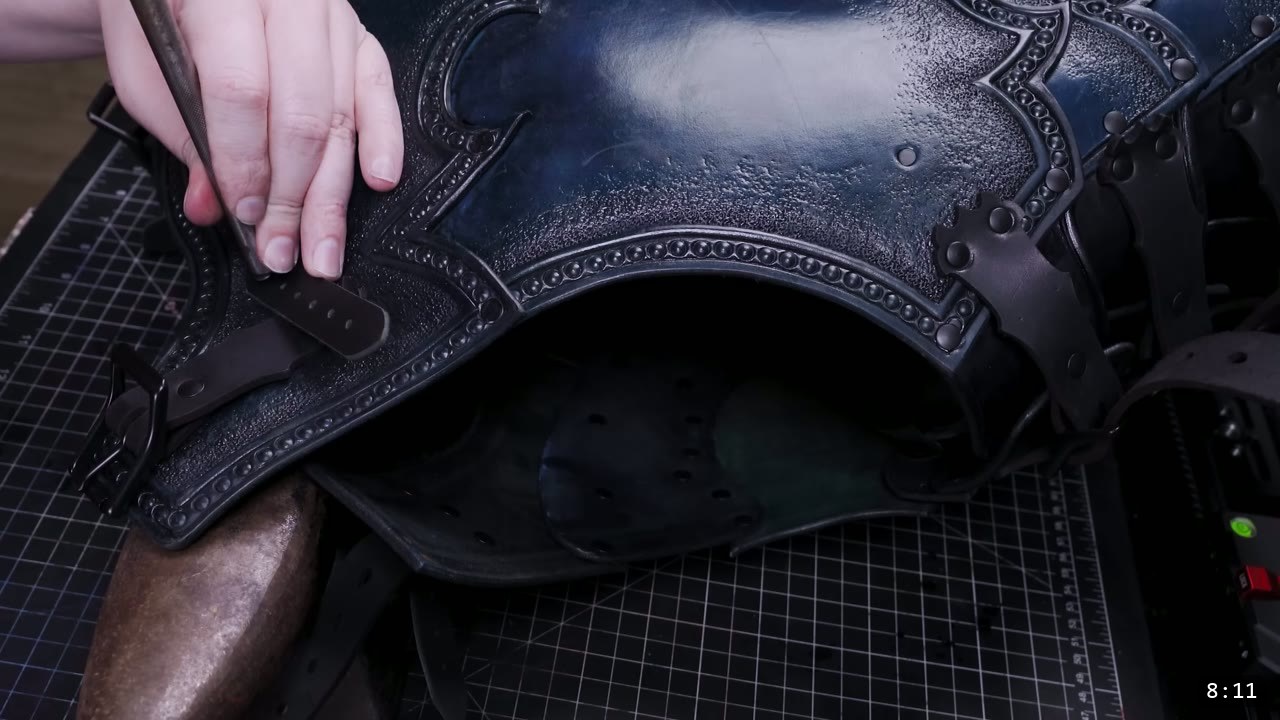
Step 12: Mount the pauldron to the breastplate
The last step is attaching the straps to the breastplate. There is some flexibility in where you place them, and you can get by with one strap instead of two if you prefer. In the video these attach directly to the breastplate. If you want the pauldron to stand alone instead, you can borrow the chest strap assembly shown in the Fantasy Spaulders tutorial. Because the series is modular, you can also swap this pauldron onto the Fantasy Armor theme, or merge techniques from the Fantasy Spaulders to change how it mounts.
FAQ
Is this a beginner project?
It is an intermediate build. It uses beveling, tooling, wet forming, dyeing, and riveted assembly. If you are new to leather armor, a beginner set like the Warrior Armor is good preparation, then come back to this one.
What leather should I use?
Nine to ten ounce veg-tan. The video uses veg-tan from Weaver. Veg-tan matters here because the plates are shaped while damp and then sealed to hold that shape.
Do I have to laser cut the pieces?
No. The pattern is drawn for hand cutting too, and most people cut by hand with scissors and a knife. The video uses a laser to save time, but it is not required.
How do the pauldrons move?
The plates, called lames, are riveted small to large so each one pivots over the one below. Retaining straps down the center and sides keep them aligned, so the shoulder articulates instead of sitting stiff.
When do I dye and seal?
Last. Do all your cutting, tooling, and shaping first. Once the leather is dyed and sealed with the acrylic finish, it resists water and will not fully re-wet or reshape.
Can I make them without a breastplate?
Yes. The straps can attach to a breastplate, or you can borrow the chest strap assembly from the Fantasy Spaulders tutorial to wear them on their own.
Where to go next
- Get the pattern: Imperial Knight Pauldrons Pattern.
- Building the full Imperial set? The Imperial Knight Bundle covers the whole suit.
- New to leather armor? Start with the beginner-friendly Warrior Armor Bundle, or read 5 tips for getting started with leather armor.
- Want to go deeper on shaping? The Hand-shaping Leather for Armor Making walkthrough covers wet forming in detail.
- Want a standalone shoulder instead? The Fantasy Spaulders Pattern shows the chest-strap mount you can borrow.
- Built one? Share it and tag Prince Armory Academy and Weaver Leather; we feature student work.





Responses