



Leather Sabatons Build Guide: Imperial Knight Foot Armor, Step by Step

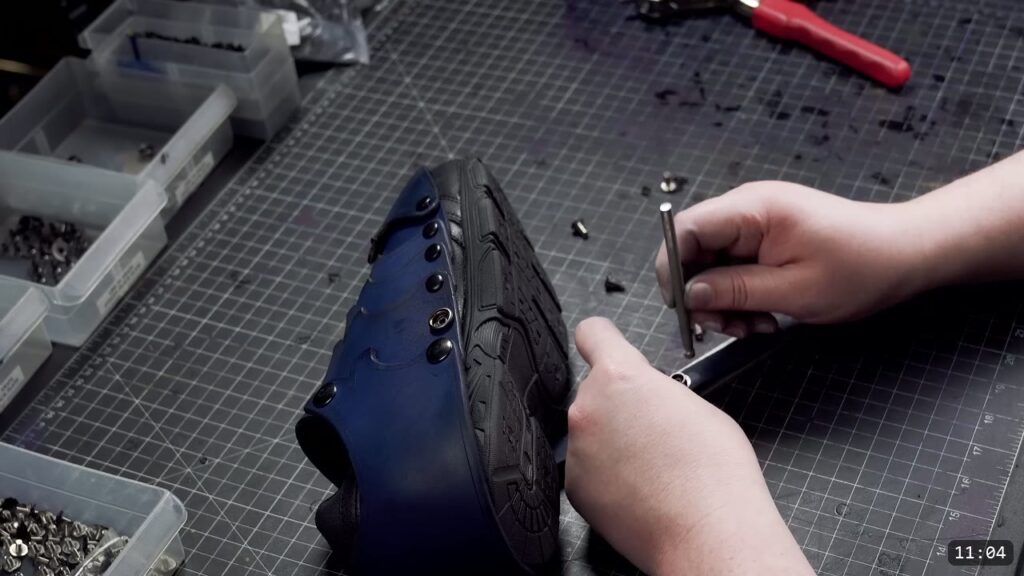
Sabatons are the foot armor of a suit, the articulated plates that sit over your shoe. You build these from a flat pattern, not a kit. You cut the pieces from vegetable-tan leather, bevel the edges, wet mold the toe cap and heel, immersion dye everything, then join the plates into a moving hinge with Chicago screws and snaps. The pattern comes with a hand-cut PDF and a laser-cut SVG, and it scales to any shoe size. This guide walks the whole build alongside the video, so you can watch each step and read the details the video moves past quickly.

What you are building, and what it takes
This is the Imperial Knight sabaton, foot armor that goes with the full Imperial Knight suit or stands on its own. The plates overlap and flex on a Chicago-screw hinge so the piece moves with your foot. It is a pattern build, so you cut and shape everything yourself, but the design keeps it approachable: no tooling decoration is required on this piece, and the pattern gives you a laser option if you want the cutting done for you.
The pattern. The Imperial Knight Sabatons Pattern is a digital download. It is a full-size template that provides options for both hand cutting (PDF) and laser cutting (SVG), and it sizes to any shoe or boot. Always make a mockup to check fit before you commit leather.
Leather. Vegetable-tan. Veg-tan is what holds a molded shape after wet forming; chrome-tan will not. The video does not call out a specific weight, so treat this as general shop guidance rather than a claim from the tutorial: foot pieces usually land around 5 to 7 oz, so use that as a starting point and check it against your own fit and the pattern notes.
Hardware and tools.
- Cutting: a utility or box cutter and heavy-duty shears, or a laser cutter if you have one.
- Edging: an edge beveler.
- Shaping: a forming dome (anything domed works) and a tub of water.
- Color: immersion dye and gloves.
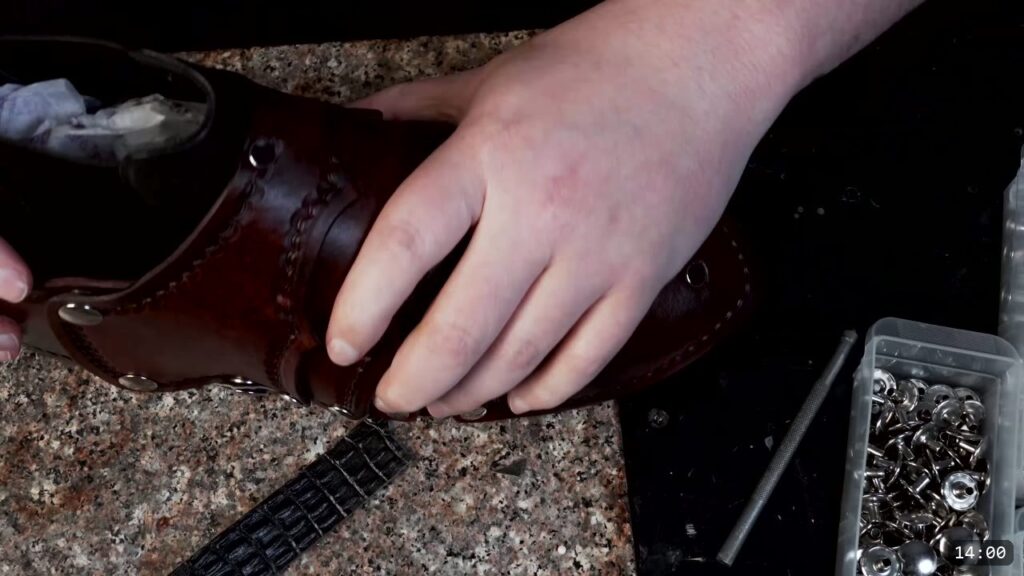
- Assembly: Chicago screws and line 24 snaps, a snap setter, and a solid setting surface.
- A common-size shoe to fit against. The video uses a tin shoe that runs about ten dollars from a big-box store. Keep a few sizes around if you ever do custom work.
Step 1: Get the pattern and make a paper mock-up
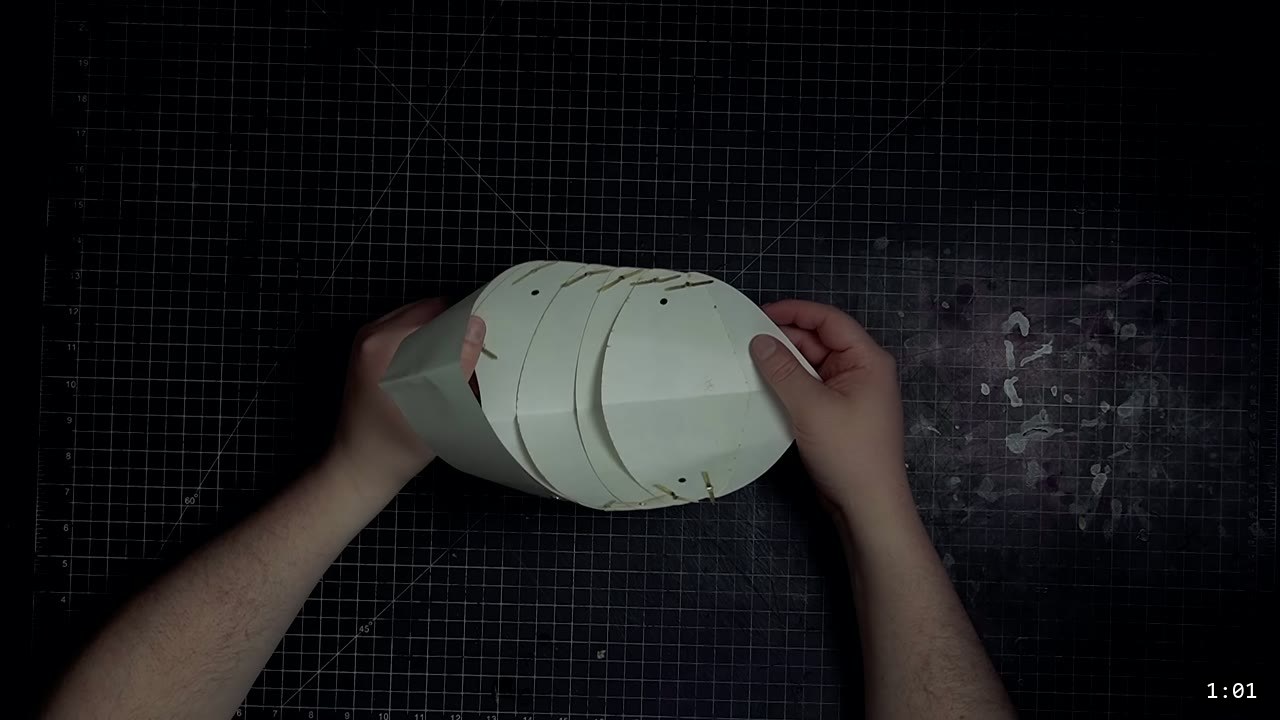
Print or cut a test pattern and assemble a quick paper mock-up. The video uses binder brads to loosely fit the paper pieces together, and if you have a laser cutter you can cut throwaway test patterns fast. The pattern scales to any size, so a mock-up is the honest way to check fit before you spend leather.
Step 2: Cut the leather
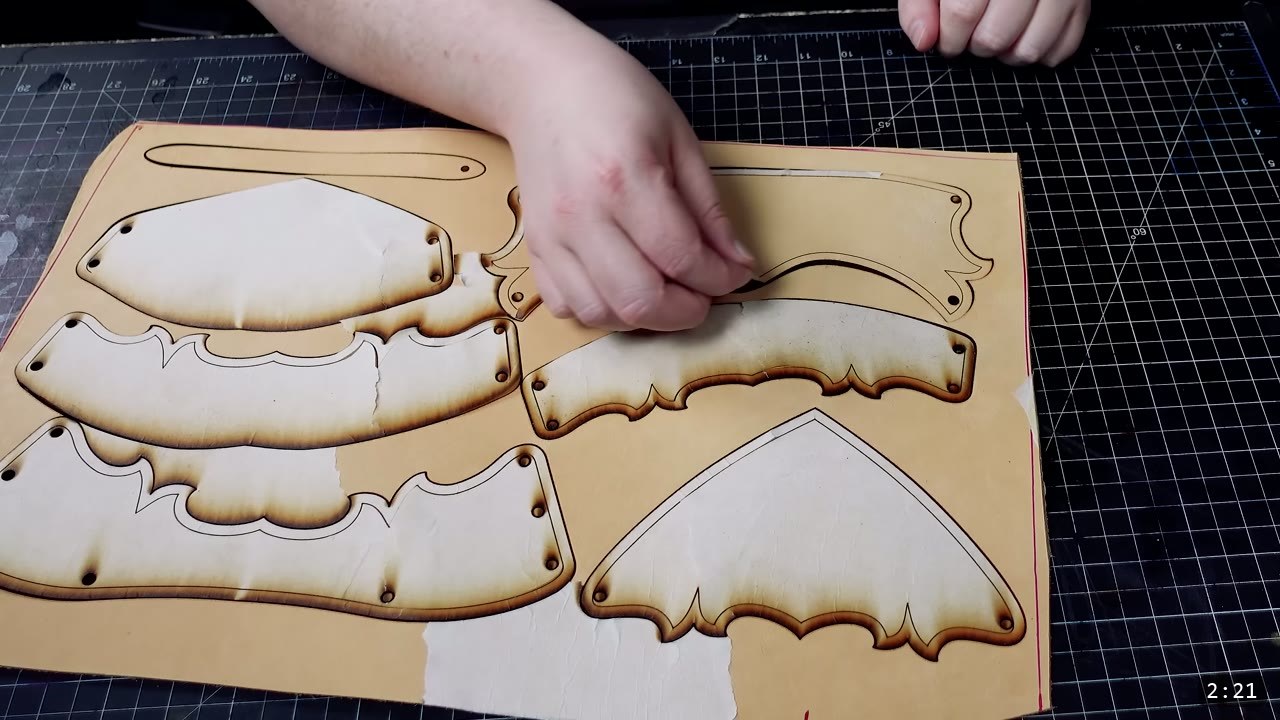
Cut the pieces from your veg-tan. By hand, follow the pattern lines with a utility knife and heavy shears, and take your time on the cuts; clean edges here save you work at every later step.

If you laser cut, two lessons from the video are worth repeating. Check your focus setting before the run, because a wrong focal distance ruins the cut. And trust a cut speed that is working; second-guessing it mid-run can leave the cut a few percent short, though finishing those by hand does not take long. Peel the masking tape, separate the pieces, and run a quick edge bevel. No additional tooling decoration is needed on this piece.
Step 3: Wet the leather and shape the toe cap and heel
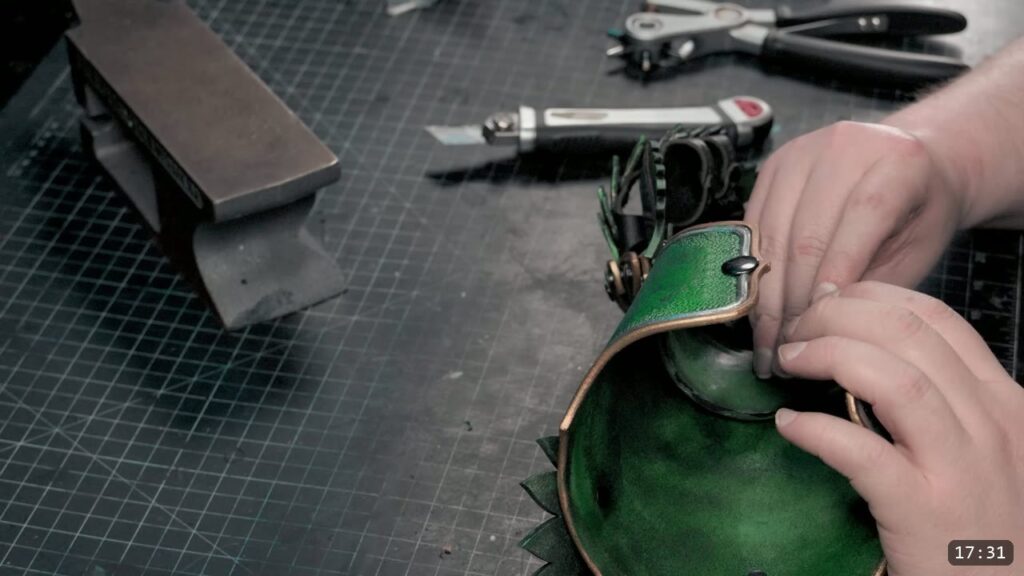
Wet the pieces, then add a little shape while the leather is damp, mainly to the toe cap and the heel, by wet molding over a forming dome. This is the shaping that the leather has to remember, so do it now. Once the leather is dyed and finished it resists water and will not fully re-wet or reshape, so all of your forming happens before color. If you want to go deeper on this one skill, watch Hand-shaping Leather for Armor Making.


Step 4: Immersion dye the pieces
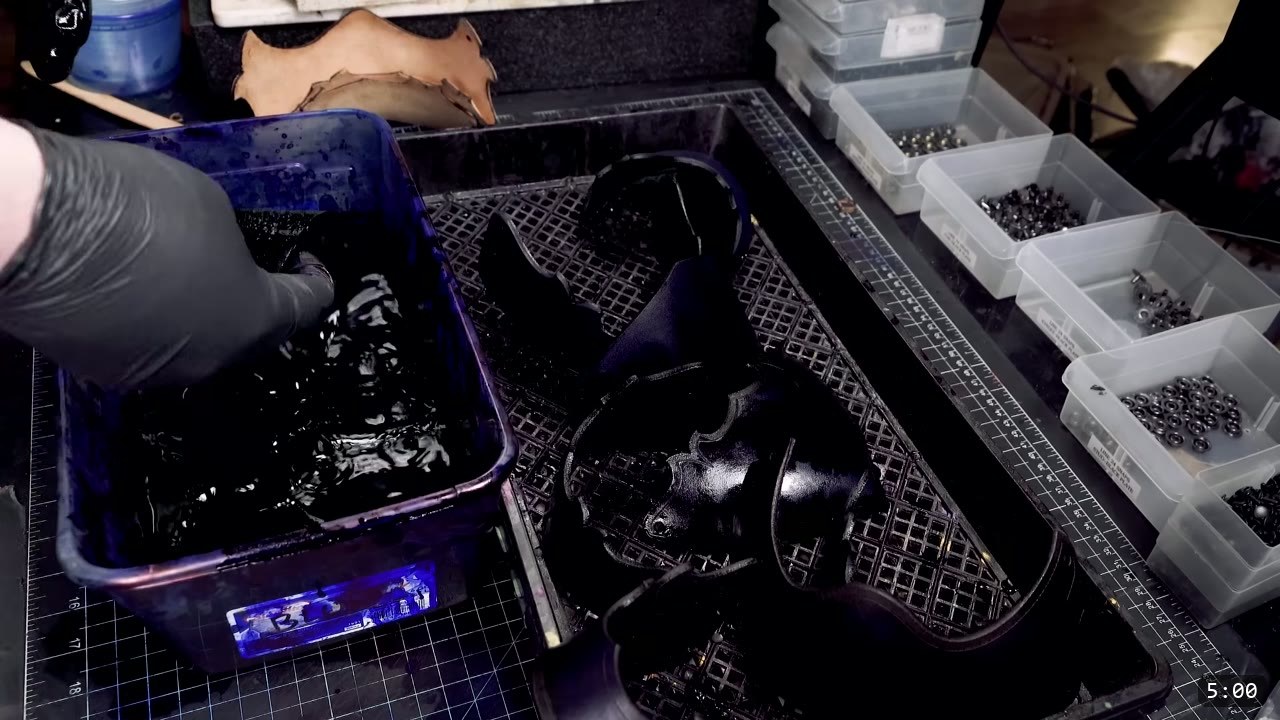
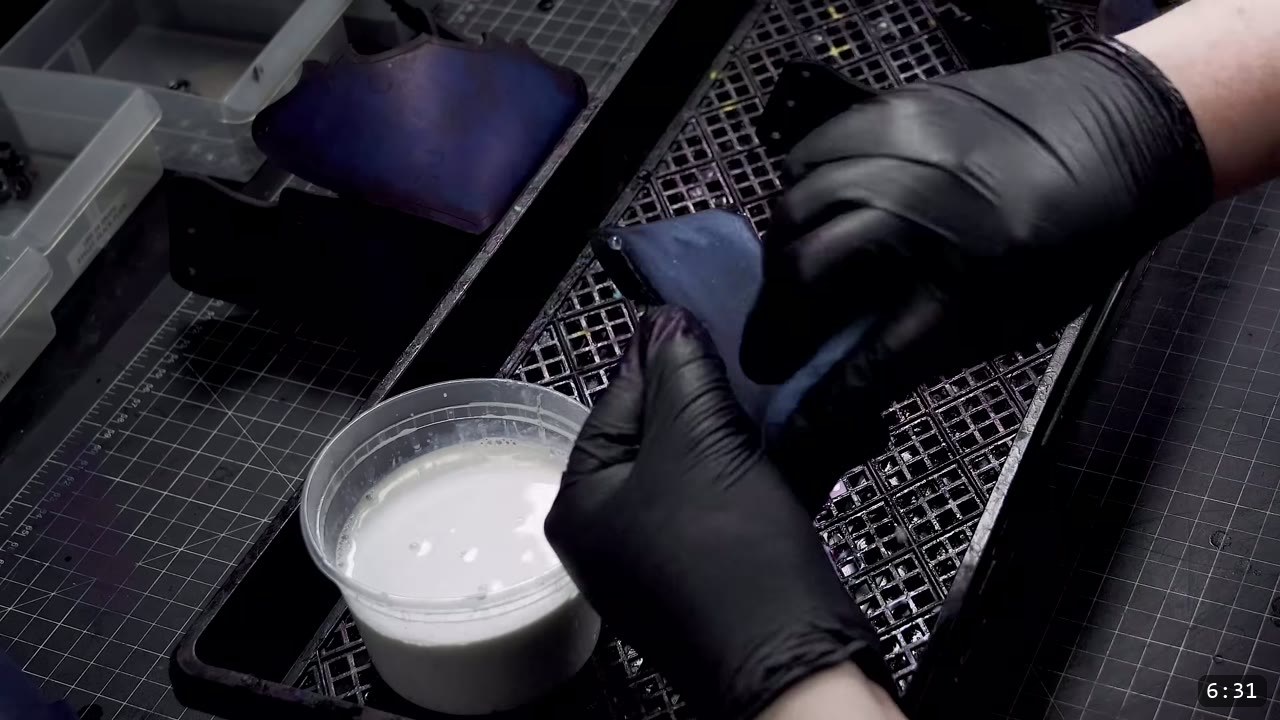
Immersion dye the pieces. Immersion dyeing means fully dipping each piece in the dye bath rather than brushing it on, which gives even color inside and out. The set in the video comes out a deep blue. Test your color on scrap first, or on the underside if this is your first piece and you have no scrap.
Step 5: Seal the leather
Finish the leather after dyeing. On screen the dyed pieces get a coat of a light-colored finish worked over the surface. The transcript names the dye step but not the sealer, so treat the topcoat as standard practice here rather than a spec from the video. Whatever you use, this is the last leatherworking step: color and seal lock the piece, so everything from here on is assembly and fitting.
Step 6: Assemble the articulation with Chicago screws
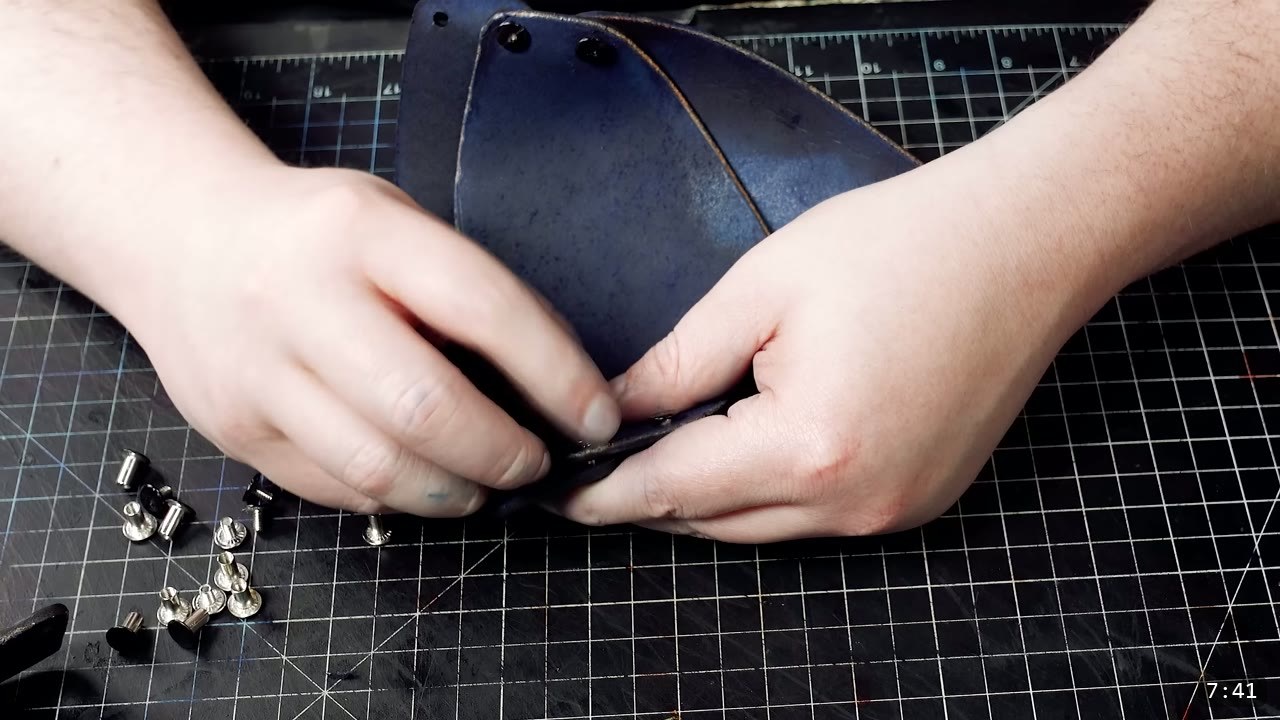
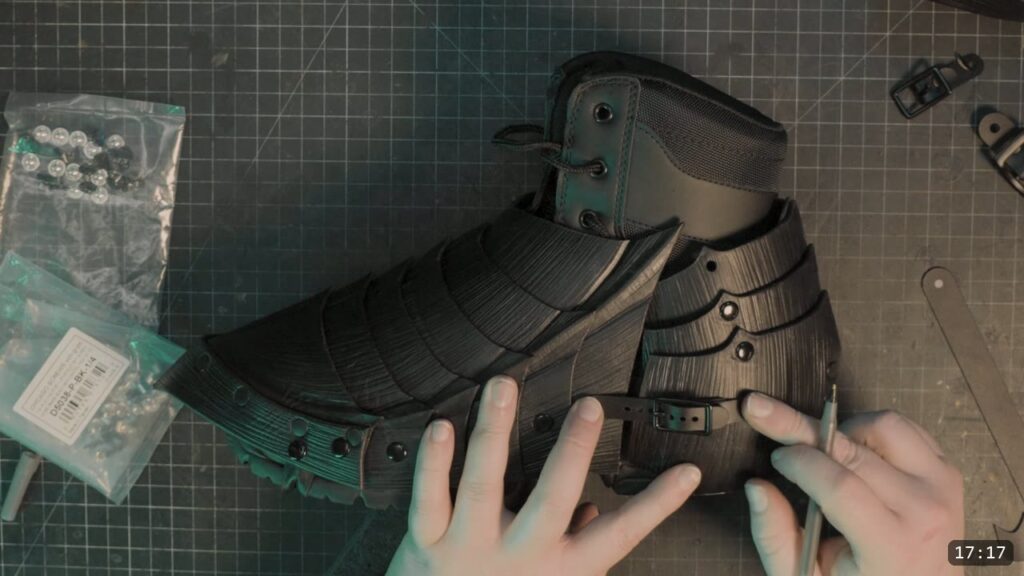
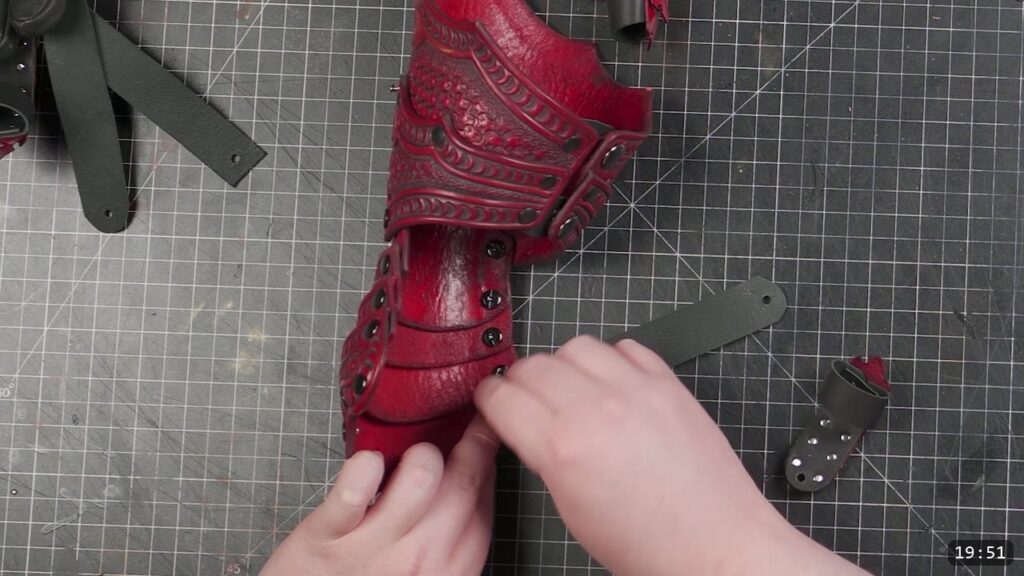
Join the plates with Chicago screws. They come in a few sizes and make a sturdy hinge joint, which is what lets the finished sabaton flex over your foot. Start at the toe cap and work your way back. As you go, you can keep tweaking the fit of the plates a little. When you are happy with the assembly, glue the threads so the screws do not back out.
Step 7: Add the line 24 snaps
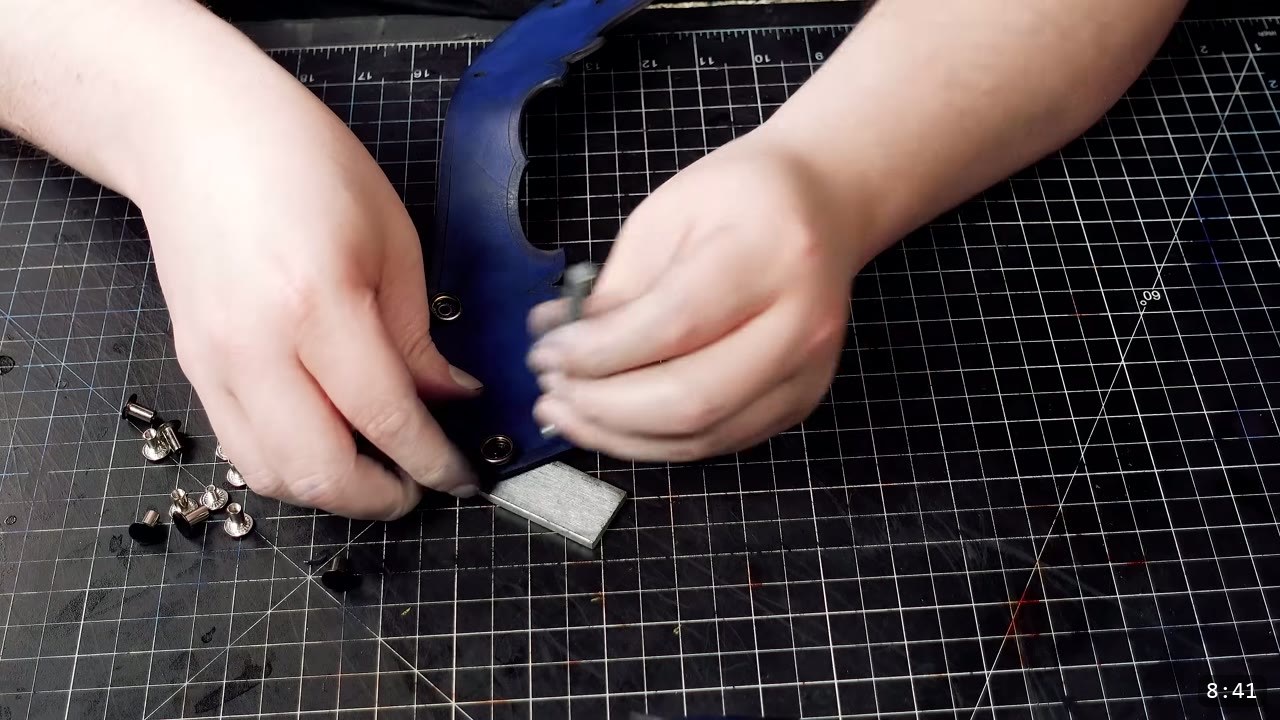
The sabaton also uses line 24 snaps. It is easier to set the snaps before you add the fourth panel, so do that in sequence rather than fighting the assembled piece. If you have never set snaps, the video points back to the Fantasy Helmet tutorial where the technique is covered.
Step 8: Fit it to your footwear
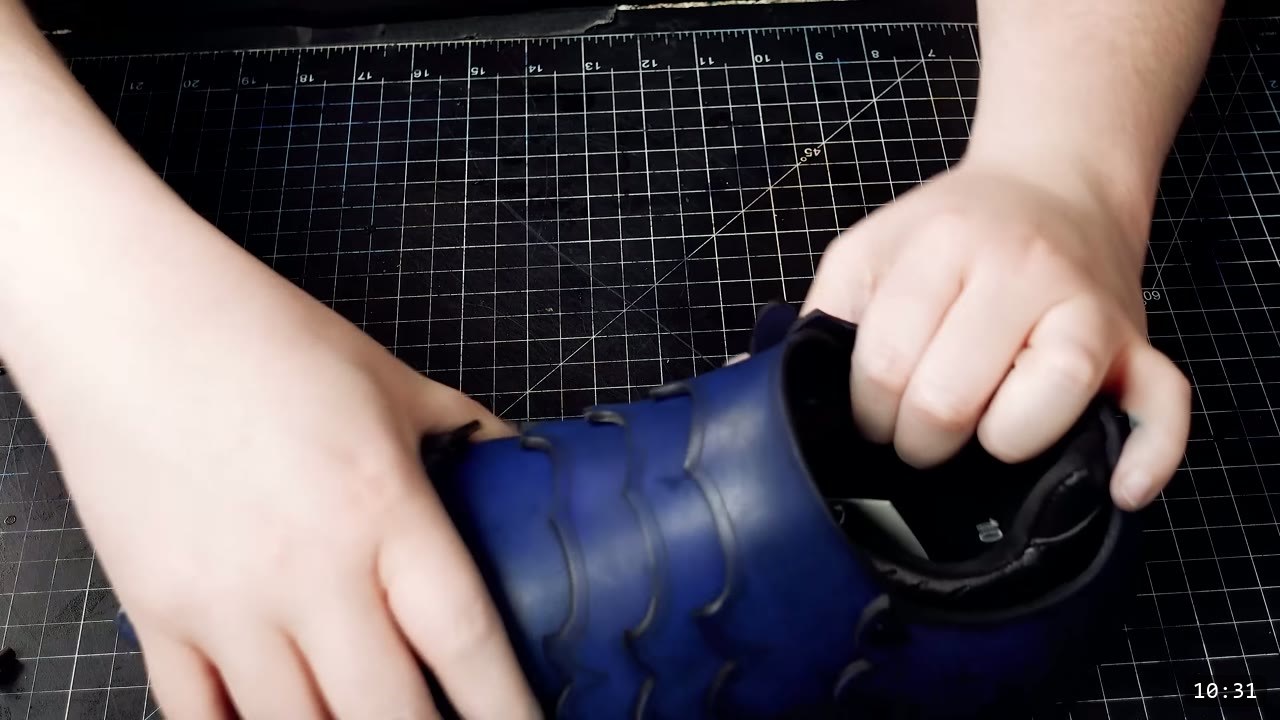
Fit the sabaton over a shoe as you go. The video fits to a common-size tin shoe, and the design is one size fits most, so you may have to adjust it to sit well on your own footwear. You can expand some of the segments, and you can scale the whole pattern up or down. If you do custom work, patterning to a client’s actual boot fits far better than a generic form.
Step 9: Add the arch strap
To keep the sabaton in place, add a strap around the arch of the foot. A snap holds it well enough for wear. If you plan to fight in it or do anything vigorous, use a small buckle there instead, because it is sturdier. Test fit the strap over your preferred footwear while you set it. You can also add straps under the toe cap or lace holes up top to hold the piece down better.

Step 10: Break it in
The sabaton breaks in naturally as you wear it. It does not hurt to force a little break-in first to start training the piece to the shape of your footwear. That is the build. From here you can carry the same steps into the rest of the Imperial Knight suit.
FAQ
Are these the same as the Fantasy Sabatons?
No. The design is similar, but this is the Imperial Knight version, with design improvements and the Imperial Knight theme. It is a separate pattern and a separate build.
Do I need a laser cutter?
No. The pattern includes a hand-cut PDF, so you can cut every piece with a utility knife and shears. The laser-cut SVG is there if you own a laser cutter and want the cutting done for you.
What leather should I use?
Vegetable-tan. Veg-tan holds the molded shape you wet form into the toe cap and heel; chrome-tan will not. The video does not state a weight; foot pieces commonly run around 5 to 7 oz, so use that as a starting point and check it against your own fit.
How do the plates move?
Chicago screws make a hinge joint between the overlapping plates, so the sabaton flexes with your foot. Glue the screw threads once the fit is right so they do not loosen.
How do I keep them on my feet?
A strap around the arch, closed with a snap, holds the sabaton in place. For combat or hard use, swap the snap for a small buckle. You can also add toe straps or lace holes to hold the piece down. Test fit over your actual footwear.
What size are these?
The pattern scales to any shoe or boot size, and the design is one size fits most. Make a paper mock-up to check fit before cutting leather, and expand segments or scale the whole pattern as needed.
Where to go next
- Get the pattern: Imperial Knight Sabatons Pattern.
- Building the whole suit? The Imperial Knight Bundle covers the full set.
- Next piece up: the leg armor. Continue with the Imperial Knight Greaves Pattern.
- New to leather armor? Start with 5 tips for getting started with leather armor.
- Want to go deeper on shaping? The Hand-shaping Leather for Armor Making walkthrough covers wet forming in detail.
- Built one? Share it and tag Prince Armory Academy and Weaver Leather; we feature student work.



Responses