



Leather Sabatons Build Guide: Foot Armor from a Flat Pattern

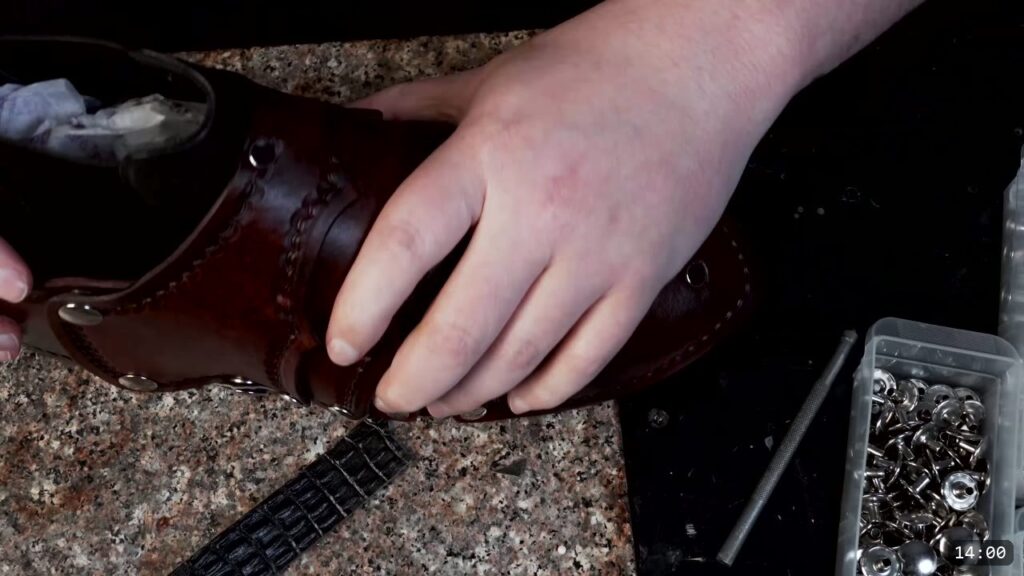
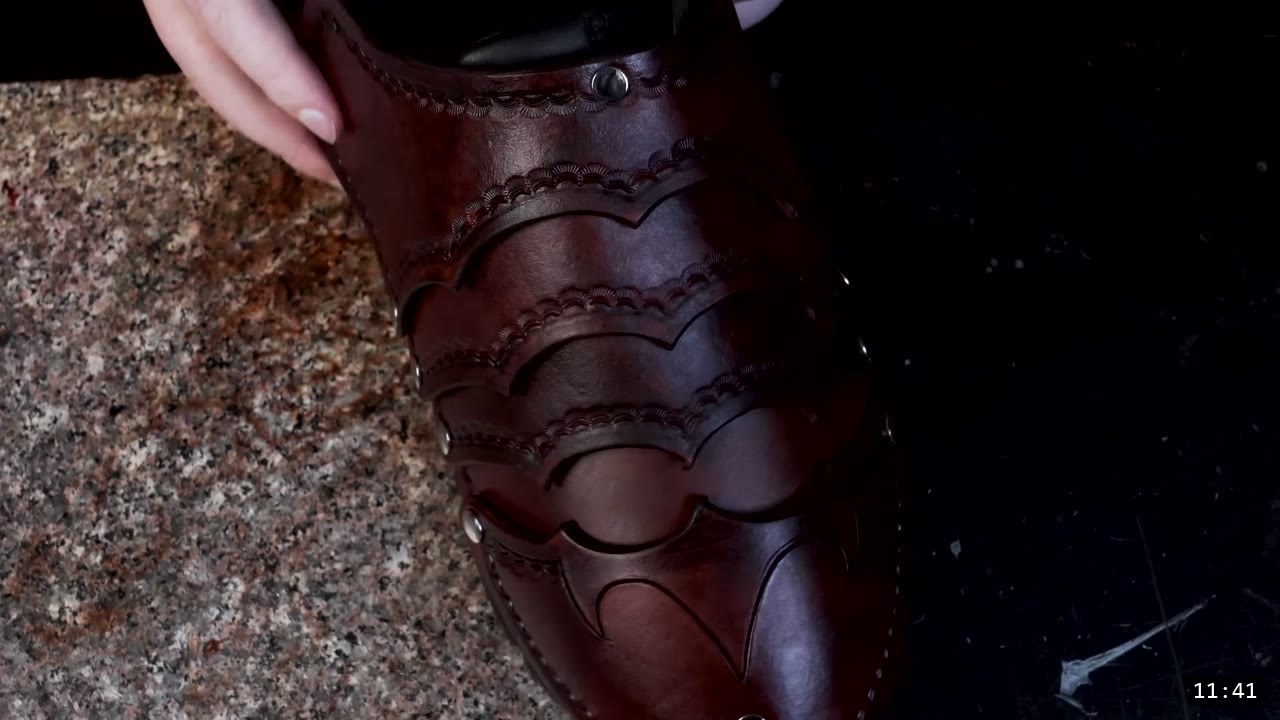
Sabatons are the armored plates that cover the top of the foot. You build them from a flat printed pattern, not a kit. You trace the pieces onto vegetable-tan leather, carve and bevel them, punch the holes, form a little shape into the toe cap, then stain, seal, and rivet the plates into a jointed set that flexes as you walk. The pattern is symmetrical, so it works on either foot. This guide walks the whole build alongside the video, so you can watch each step and read the details the video moves past quickly.
What you are building, and what it takes
This is a pattern build, so you cut and shape every piece yourself. The reward is a full set of articulated foot armor that works for LARP and combat and also drops over a normal shoe for cosplay. The design is forgiving on fit, and the pattern scales up or down, but it still asks for real leatherwork: carving, beveling, wet forming, and setting hardware. If you are brand new, build a simpler kit or a bracer first, then come back to this one.
What you need
The pattern. The Fantasy Sabatons Pattern prints across tiled pages that you trim and tape into full pieces. It is drawn symmetrically to fit either foot, with a second more rounded style you can cut instead. See the sizing document that ships with it for custom fit tips.
Leather. I used a Superior Oak veg-tan side from Tandy, around 9 oz, or 3.5 millimeters. You can go heavier or lighter to taste. Veg-tan matters here because the build relies on the leather taking tooling and holding a molded shape.
Tools.
- Marking and cutting: a fine point marker for outlines, an awl or any sharp point for the hole reference marks, a knife to rough the pieces apart, and leather shears to cut them out.
- Wetting: a fine mist sprayer or a sponge for dampening and casing.
- Decoration: a swivel knife for the carved toe design and an edge groover for the borders. Stamping tools if you want a tooled border.
- Edging: a number one edge beveler and a hand burnisher. A motorized burnisher is nice but not needed.
- Holes: a medium hole punch for the rivet holes and a larger punch for the Chicago screw holes.
- Forming: your hands, plus a rounded tool handle or anything dome shaped to stretch the toe over.
- Hardware: rivets, Chicago screws for the joints, and snaps or buckles for the closures.
- Color and seal: a medium brown water stain from Tandy, a sponge, paper towels, and an acrylic finish called Super Sheen.
- A solid surface to work on, like a marble or granite slab, helps with cutting and setting.
Step 1: Print the pattern and mock it up
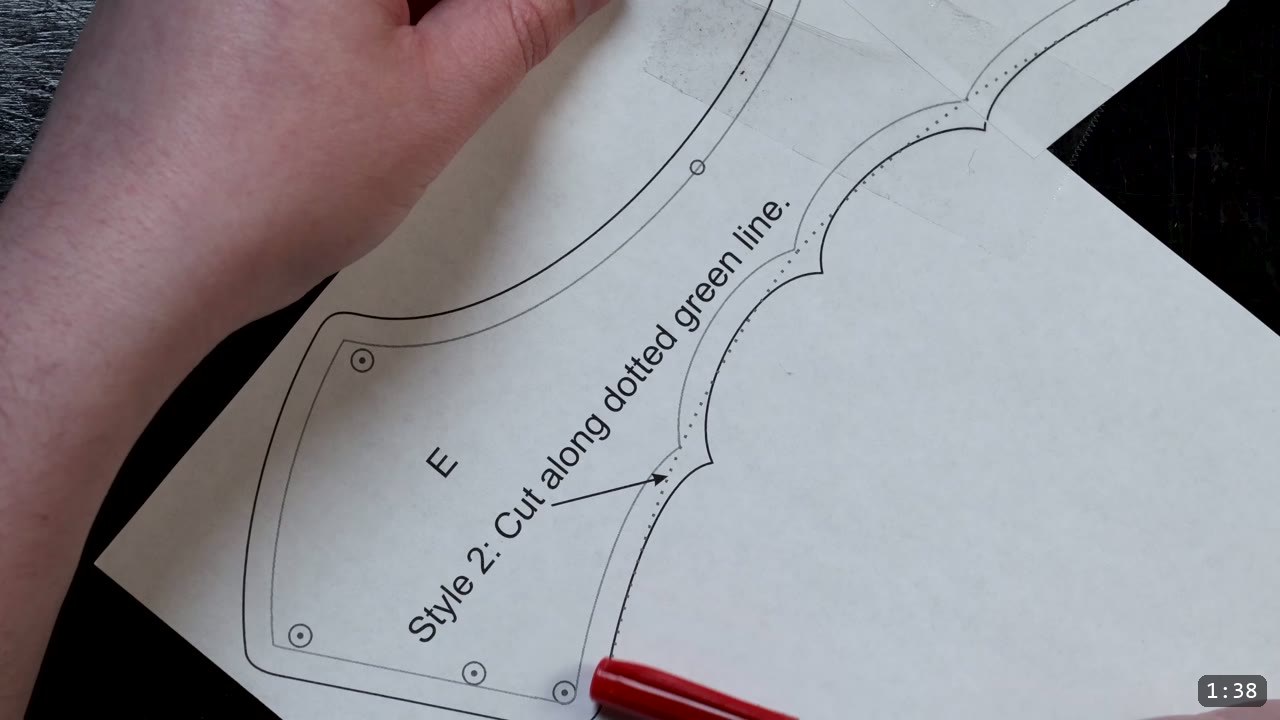
Print the pattern on tiled pages and cut along the perimeter lines, or along the dotted line if you want the more rounded second style. Some pieces pair together before you trace them, and most printers leave a margin that fights a clean join, so trim the margin off one piece first, then line the two up. Scale the whole pattern to your foot. Before you cut any leather, build a paper mock-up and test the fit. For pieces with articulated joints, pin them with push pins and hold each pin with a small strip of tape so the mock-up flexes like the real thing.
Step 2: Trace onto veg-tan and cut
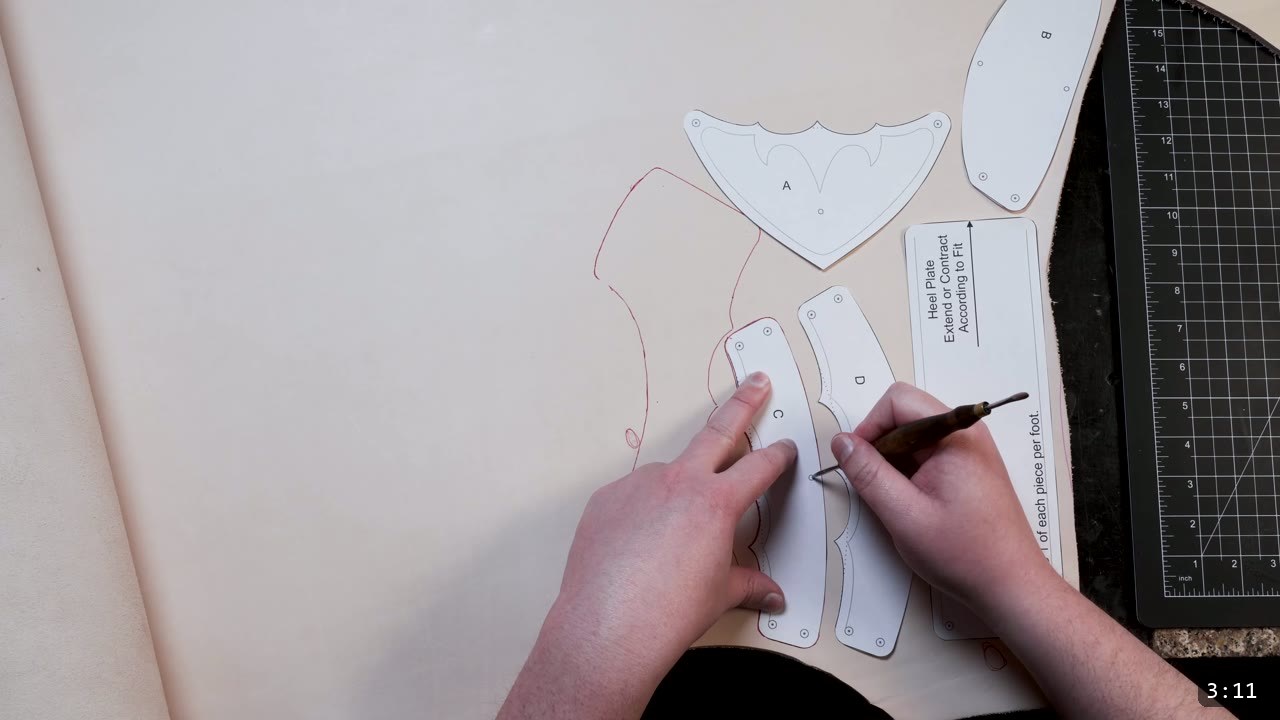
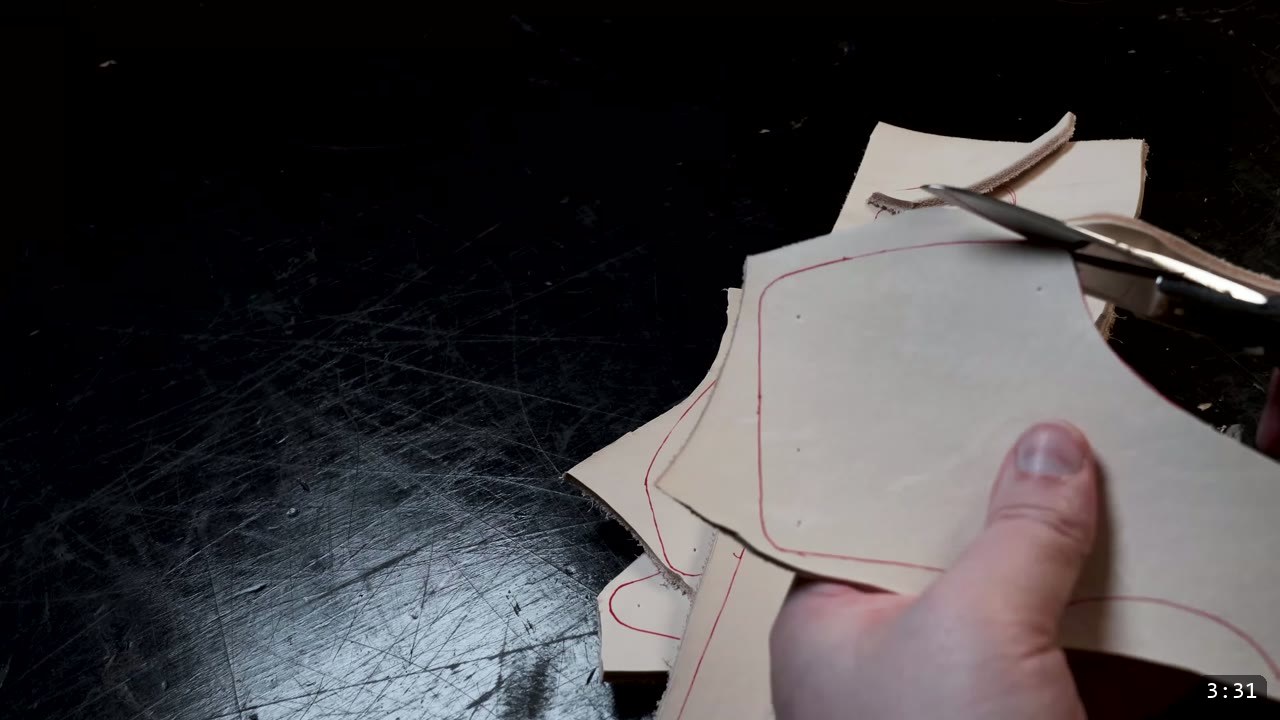
Lay the pattern pieces out on the leather and trace the outlines with a fine point marker. Stab a reference mark through each hole position with a sharp point so you know where to punch later. To make cutting easier, rough the pieces apart with a knife first into manageable chunks, then cut each one out with leather shears. Take your time on the cuts. Clean edges here save you work at every later step.
Step 3: Carve the toe design and groove the borders
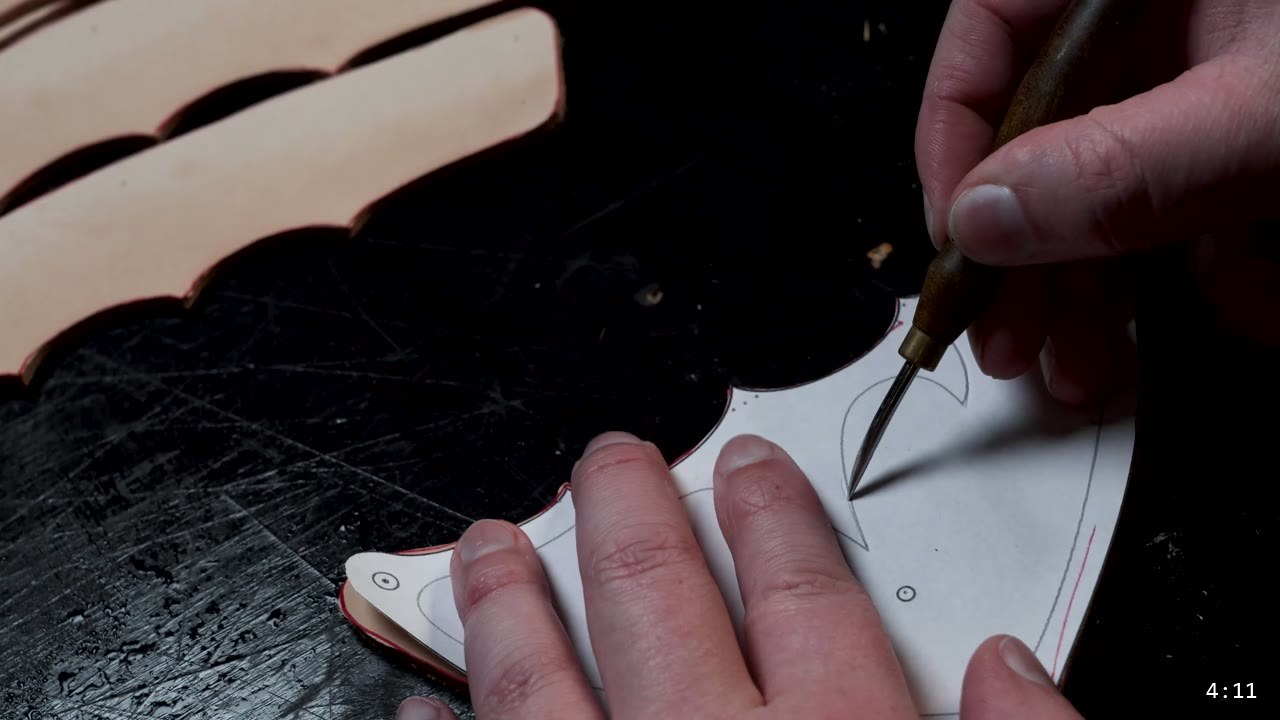
Dampen the toe cap slightly with a fine mist and let it absorb for a moment, then lay the pattern back on and inscribe the design so it transfers. Carve the barbed toe design permanent with a swivel knife, and run an edge groover along the borders for a clean decorative line. Both are cosmetic, so skip or change them if you want a plainer piece. If you are careful you can freehand some of the inner curves. Repeat the border along the visible edges of the other pieces.
Step 4: Bevel the edges
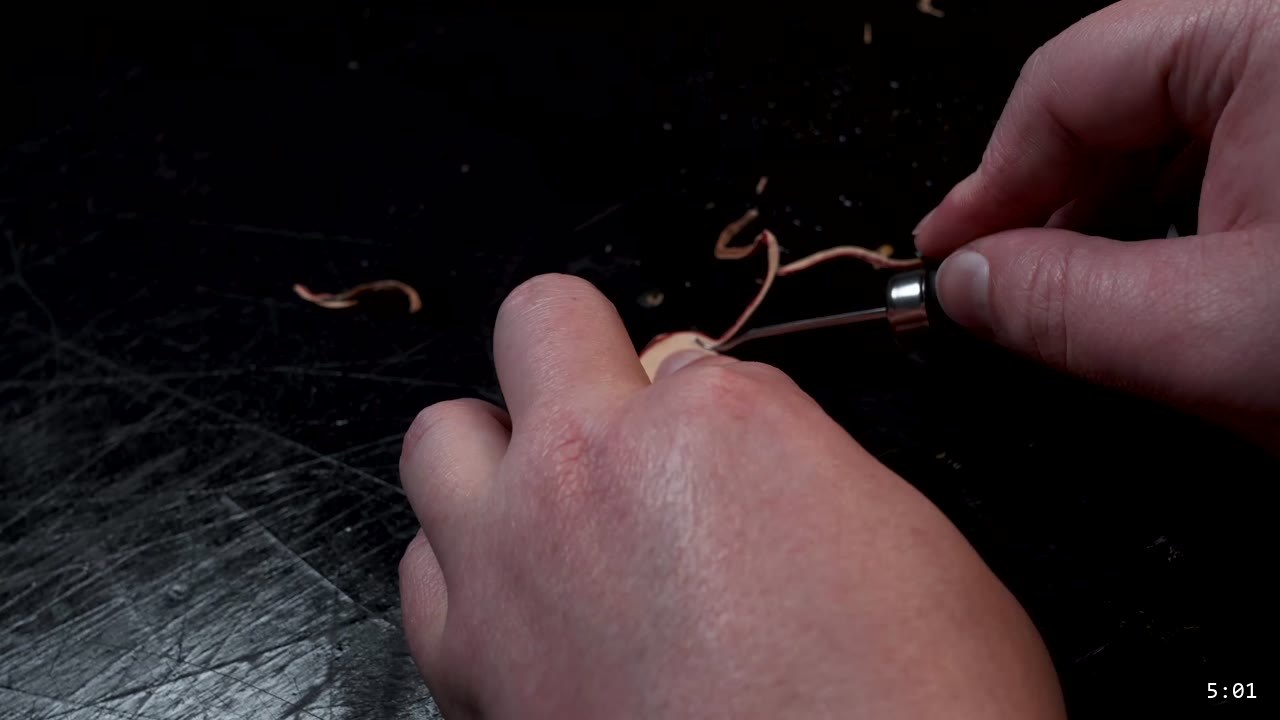
Run a number one beveler along the top and bottom edge of every piece. This rounds the profile for a cleaner look and preps the edges for burnishing. Dampen the edges a little first, but not soaking, or you will not get a clean bevel. You can bevel dry, but a touch of moisture compresses the fibers and gives you more control.
Step 5: Case the leather and tool the border
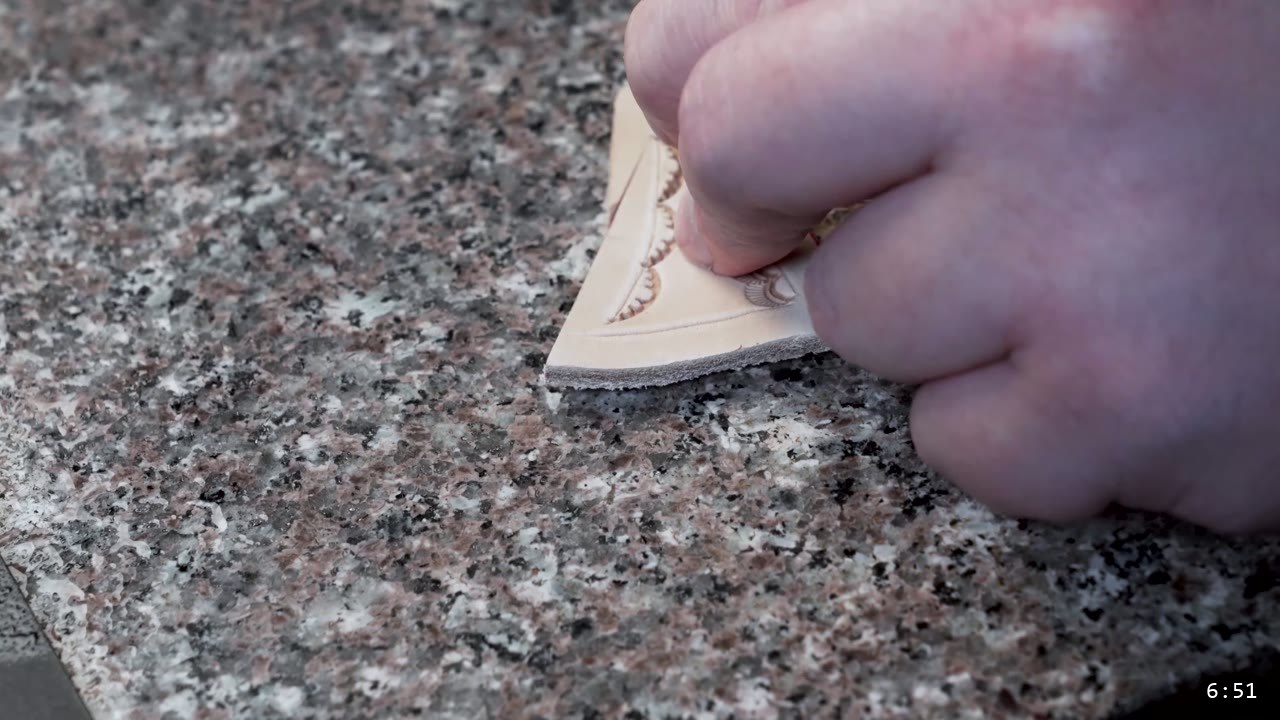
If you want stamped decoration, case the leather first. Casing means wetting it just enough that the surface starts to dry and firm up again within a few minutes, so your impressions come out crisp. Too wet and the tool marks go deep and mushy. Too dry and they sit shallow and will not hold. Practice on scrap to find that zone. Test your stamps on a scrap with a couple of scribed guidelines before you commit to a piece. While the edges are still damp, burnish them with a hand burnisher for comfort, which matters on armor that sits against the body.
Step 6: Punch the holes
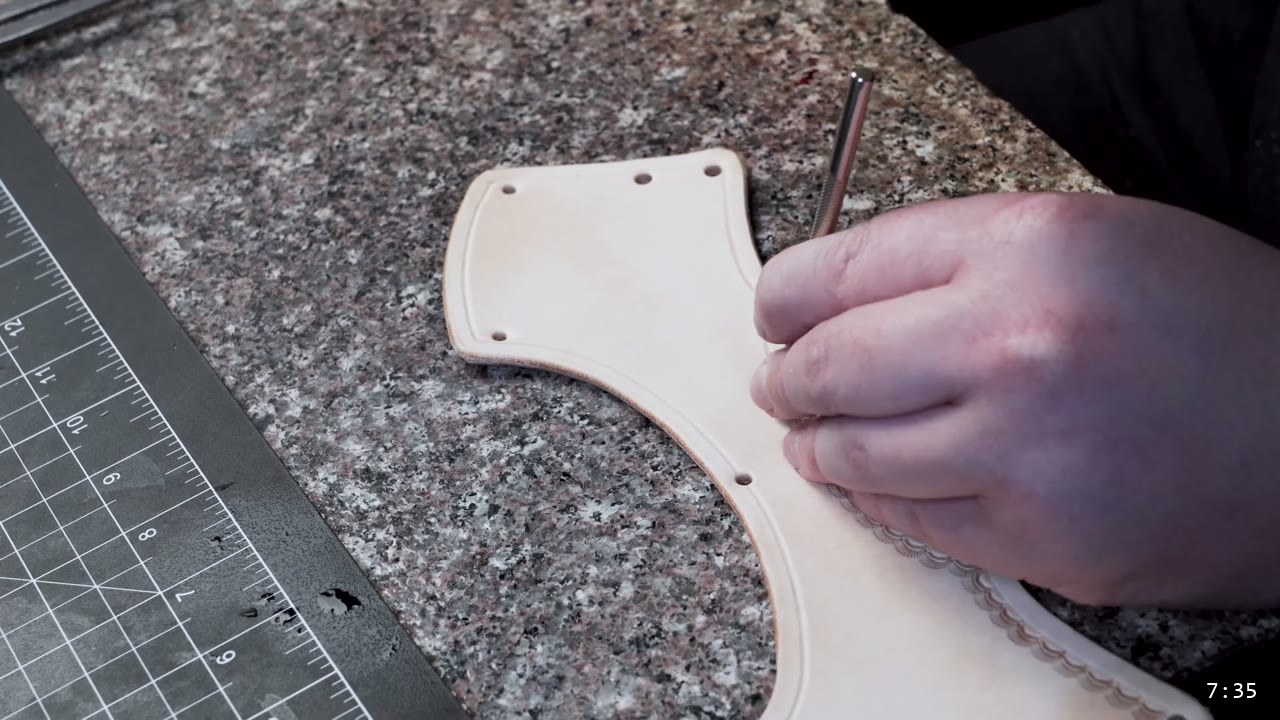
Punch the hole positions you marked earlier. Use a medium punch for the rivet holes and a larger punch for the Chicago screw holes. Keep the two straight, because the Chicago screws are what let the plates pivot later.
Step 7: Shape the toe cap
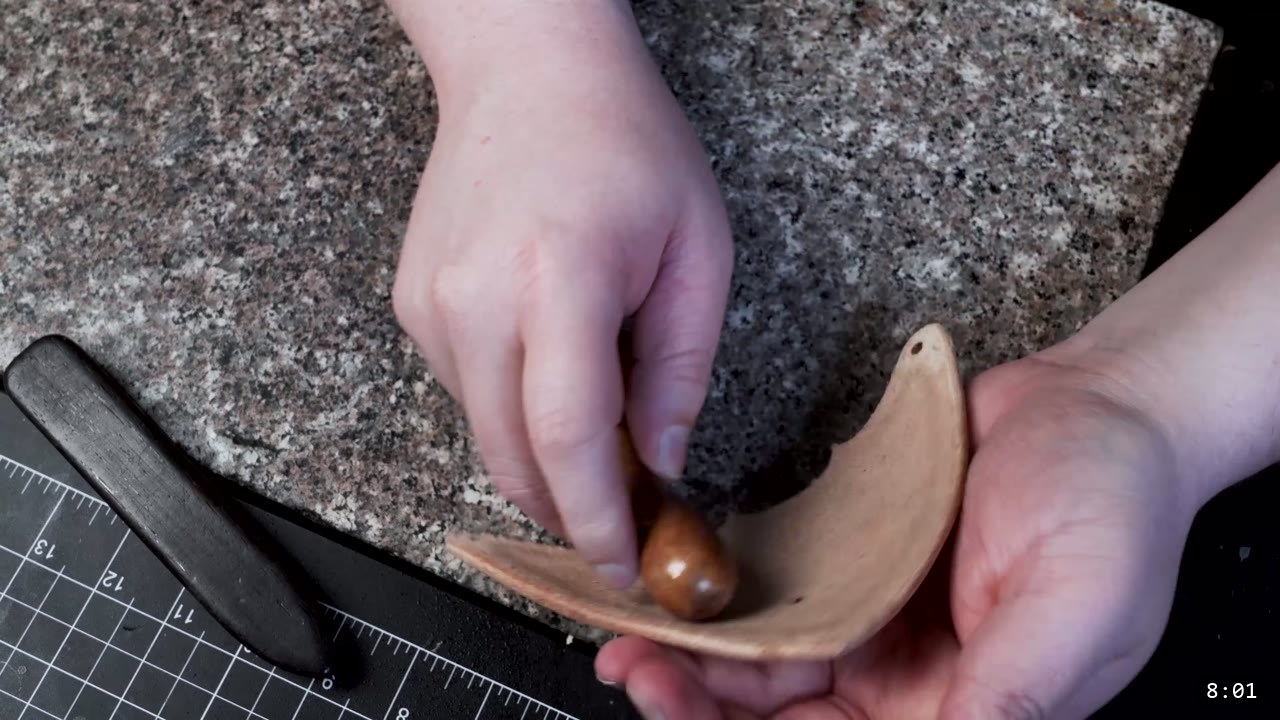
This step is optional, but a little shape in the toe cap reads better. Get the moisture right and the leather starts to feel like two-dimensional clay. Work it with your hands and a forming tool, using the handle of a tool or anything dome shaped to stretch a shallow curve into it. Do this now, while the leather is bare, because forming stops working once the piece is sealed.
Step 8: Stain brown and seal
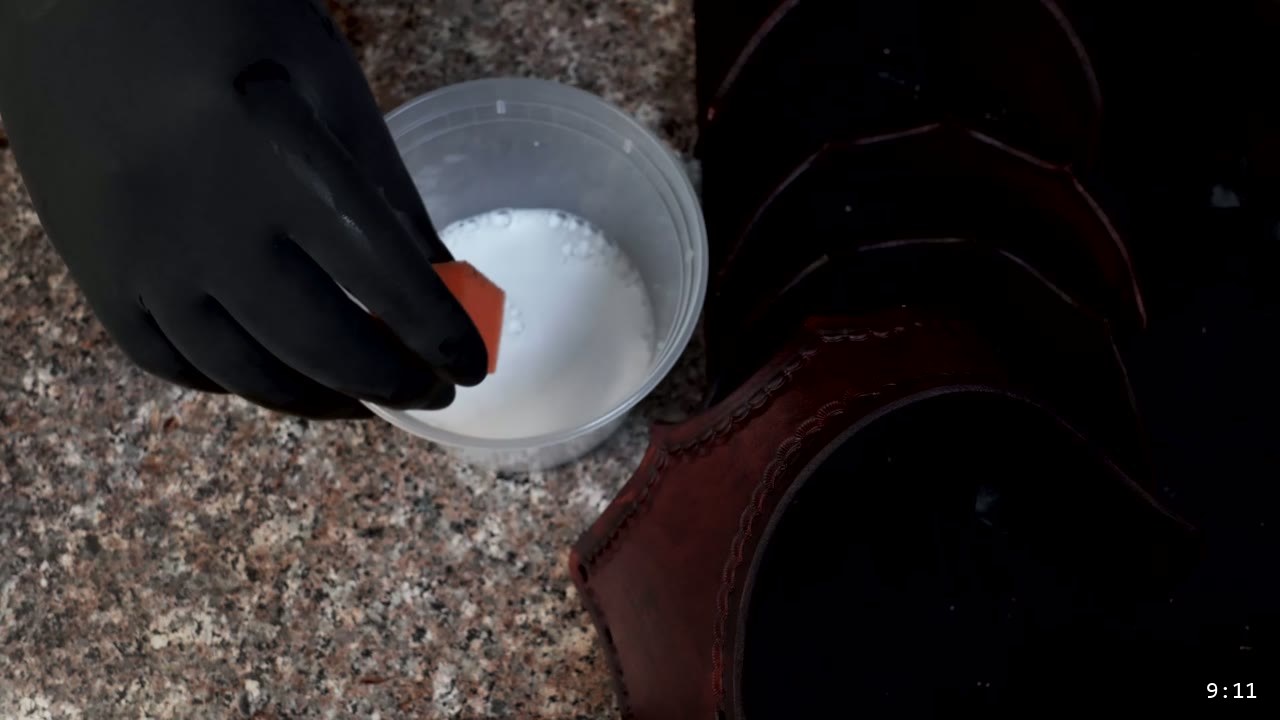
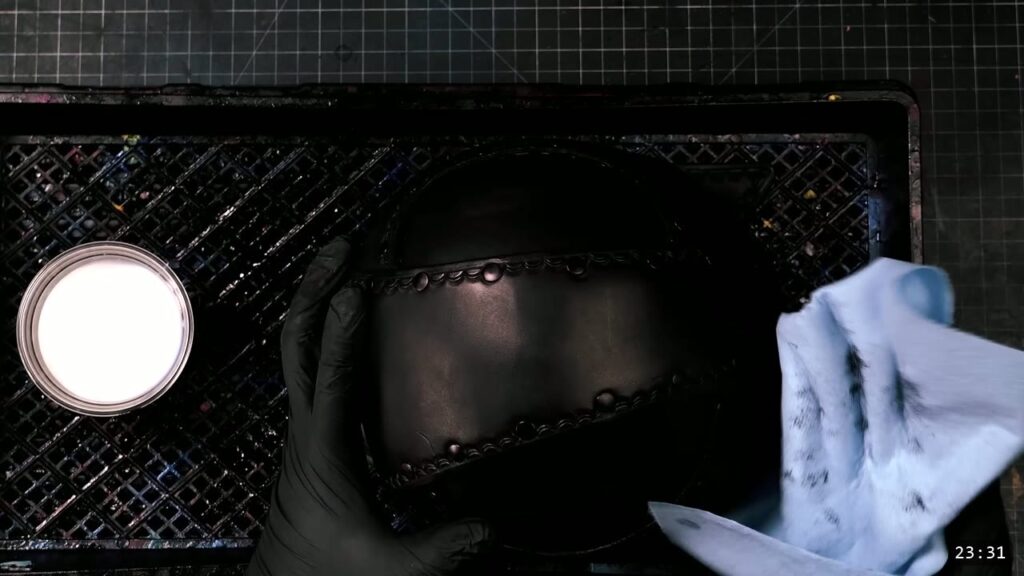
Do all your shaping and tooling before this point. Pour a medium brown water stain into a container, apply a couple of layers with a piece of sponge, give it a minute or two to absorb, then buff the excess off with a paper towel. Bounce between staining and buffing across the pieces to manage the drying time. When the color is right, coat all sides of each piece with an acrylic finish such as Super Sheen. It protects the leather and keeps the stain from bleeding. Start with a heavy coat, then squeeze the sponge out and go over the top to even it and knock out any bubbles. Add more coats if you want. Once the stain and seal are on, the leather resists water and will not fully re-wet or reshape, so this is the last leatherworking step.
Step 9: Make the retainer strap
The retainer strap keeps the joints from flexing too far. Use a thin, supple leather that does not have much give, so it will not stretch out over time. I had some embossed cowhide on hand and it worked fine for this. Any leather that holds its length will do.
Step 10: Assemble the plates
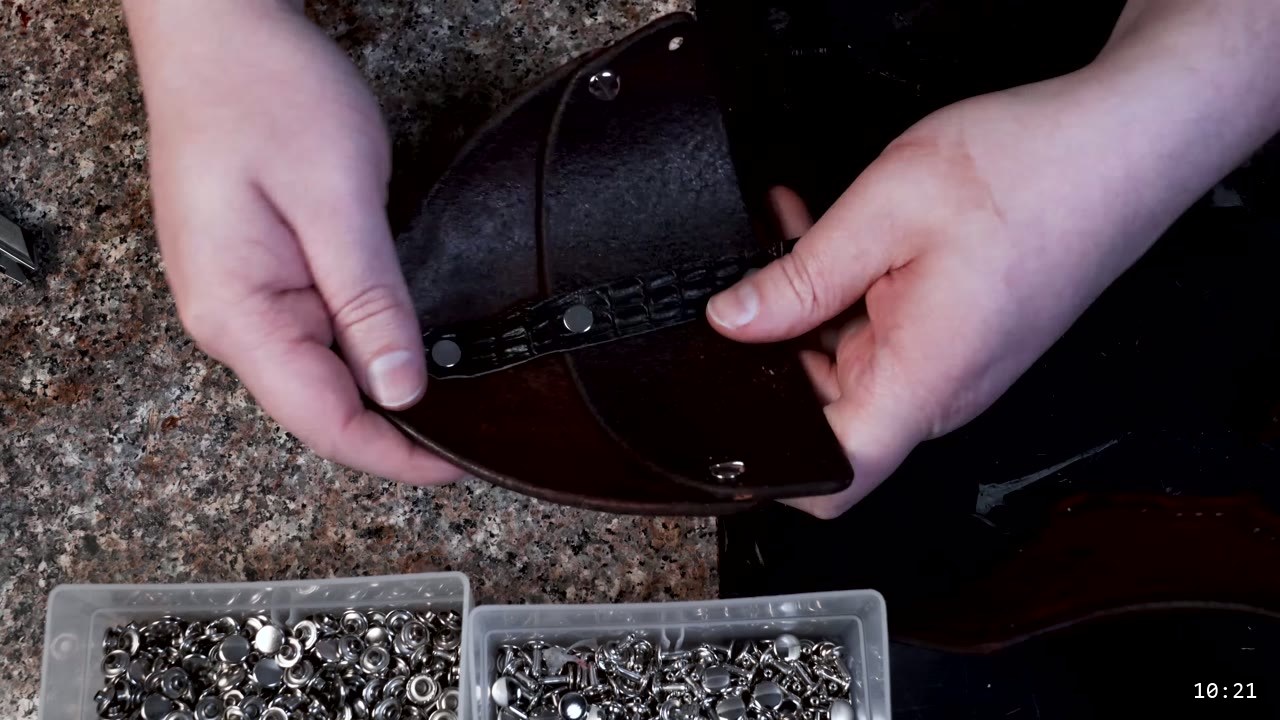
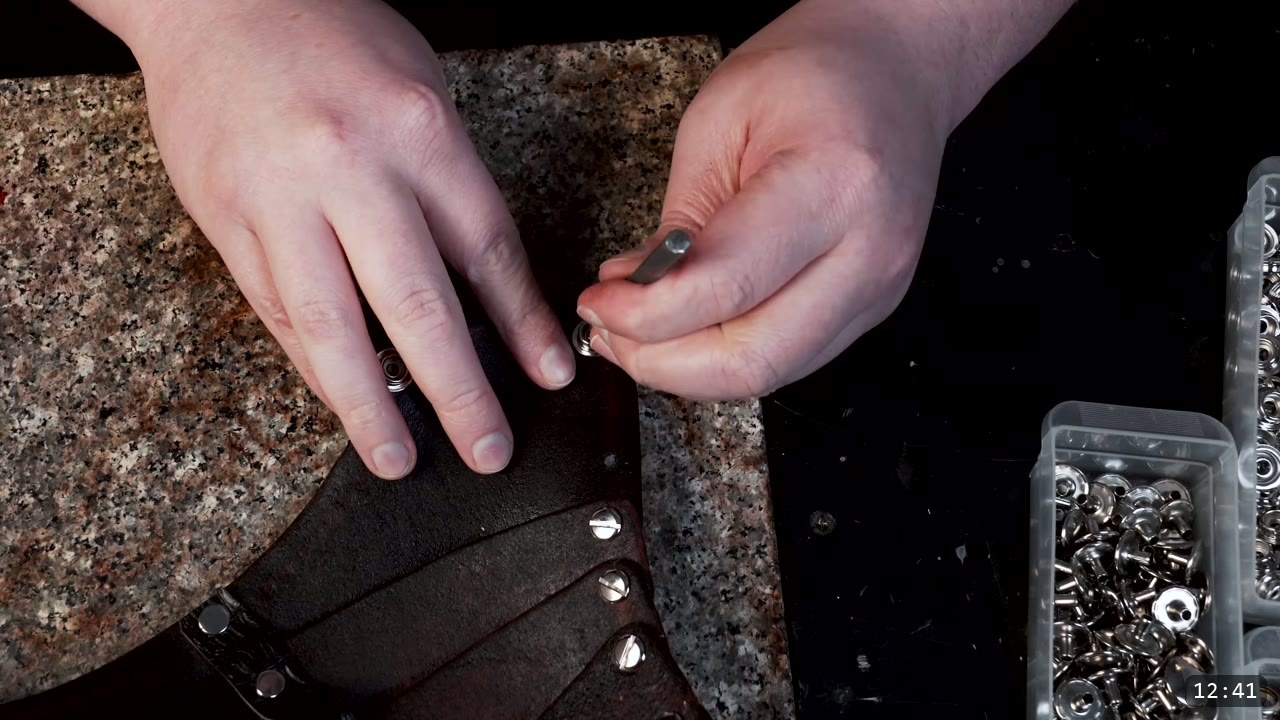
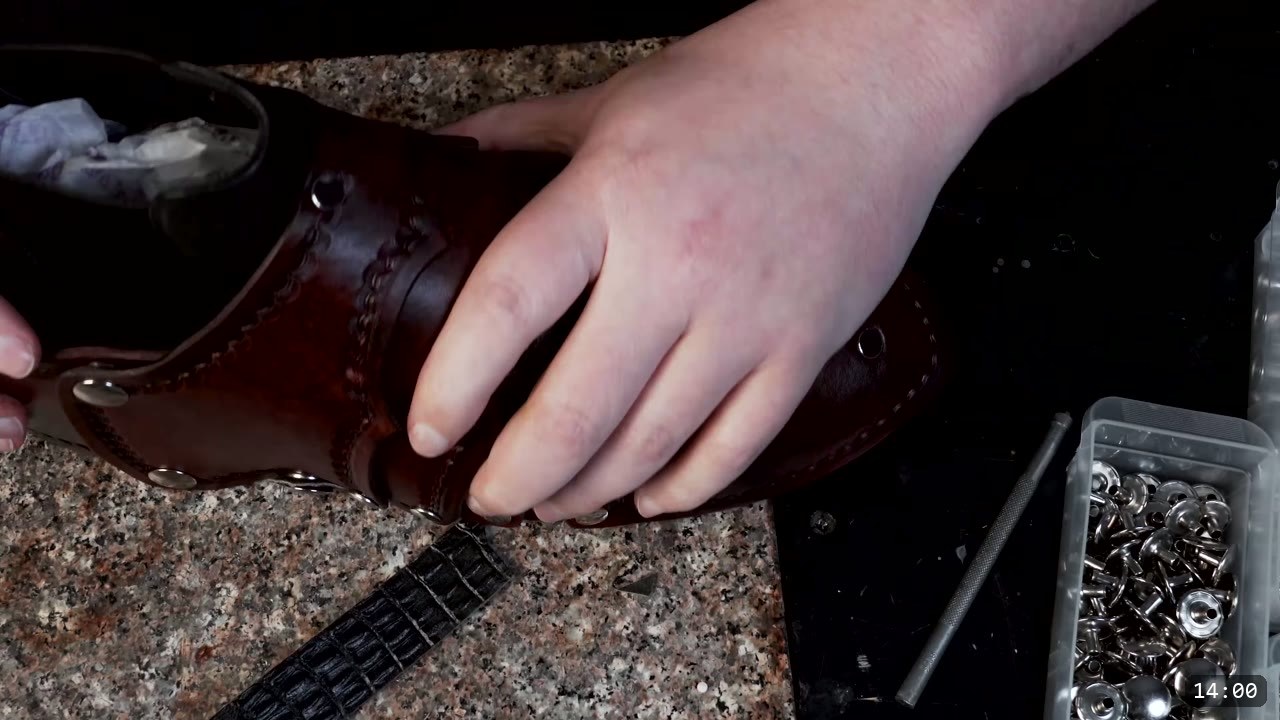
Start with the retainer strap and rivet each piece in order. Do a test fit before you commit any rivets, because tooling and forming can shift how the holes line up. Once the rivets are set, add the Chicago screws to all the lames. The screws are the pivots, so the finished set opens and closes with the foot instead of sitting stiff.
Step 11: Add the heel piece and check the fit
Add the heel piece last. It is meant to be trimmed and expanded to your own fit, which is why the paper mock-up earlier was worth the time. At the default scale the pattern runs a touch large on a sleek size 8 boot and a touch small on a size 13 extra wide, but the design is forgiving and the leather flexes, so there is real room on either side. If you want a taller shoe cover on a big foot, expand the heel plate to suit.
Step 12: Add the closures
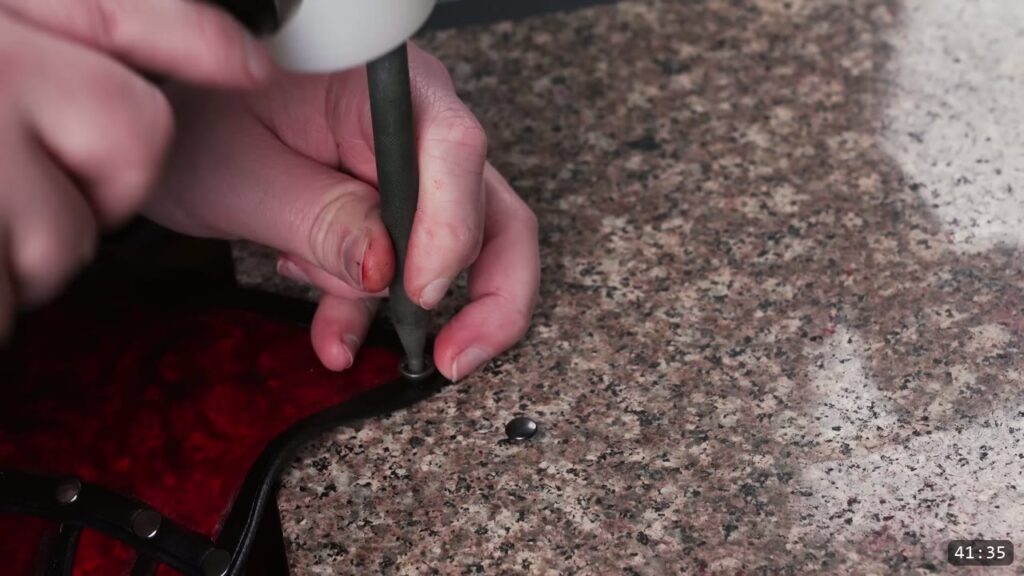
Add the closure on the heel and a strap under the foot to hold everything secure. You can use snaps for all of it or switch to buckles. I set snaps here. If you need a refresher on setting snaps, the helmet tutorial covers it in more detail.
FAQ
What are sabatons?
Sabatons are the plates of armor that cover the top of the foot, the foot piece in a suit of armor. This build makes them from leather as jointed plates that flex with the foot.
Do I need leatherworking experience?
Some. This is a pattern build that uses carving, beveling, wet forming, and hardware setting. It is not the hardest project in the series, but it is not a first project either. If you are new, start with a simpler kit or a bracer and come back.
What leather should I use?
Vegetable-tan is the right call because it takes tooling and holds a molded shape. I used a Superior Oak veg-tan around 9 oz. You can go a little heavier or lighter. Chrome-tan will not hold the shape.
Will these fit over my shoes?
Usually, yes. The pattern is symmetrical and scales up or down, and the design is forgiving. Build a paper mock-up first to check, and expand the heel plate if you want more coverage on a larger foot.
How do I attach them so they still move?
Rivets hold the fixed joins, and Chicago screws act as pivots through the lames so the plates articulate. A retainer strap keeps the joints from flexing too far, and snaps or buckles close the piece around the foot.
Can I make these in foam instead of leather?
Yes. Leather is the medium in the video, but the same pattern works in foam and other materials with minor tweaks.
Where to go next
- Get the pattern: Fantasy Sabatons Pattern.
- Build the legs that go above them: the Fantasy Greaves pattern, walked through in DIY Leather Greaves.
- Going for the whole set? The Fantasy Armor Digital Apprenticeship Bundle is the guided path through the full suit.
- Want to sharpen the toe-cap forming? The Hand-shaping Leather for Armor Making walkthrough goes deep on wet forming.
- New to leather armor? Start with 5 tips for getting started with leather armor.
- Built a pair? Share it and tag Prince Armory Academy; we feature student work.





Responses