



Imperial Knight Tassets Build Guide: Leather Hip Armor from a Flat Pattern

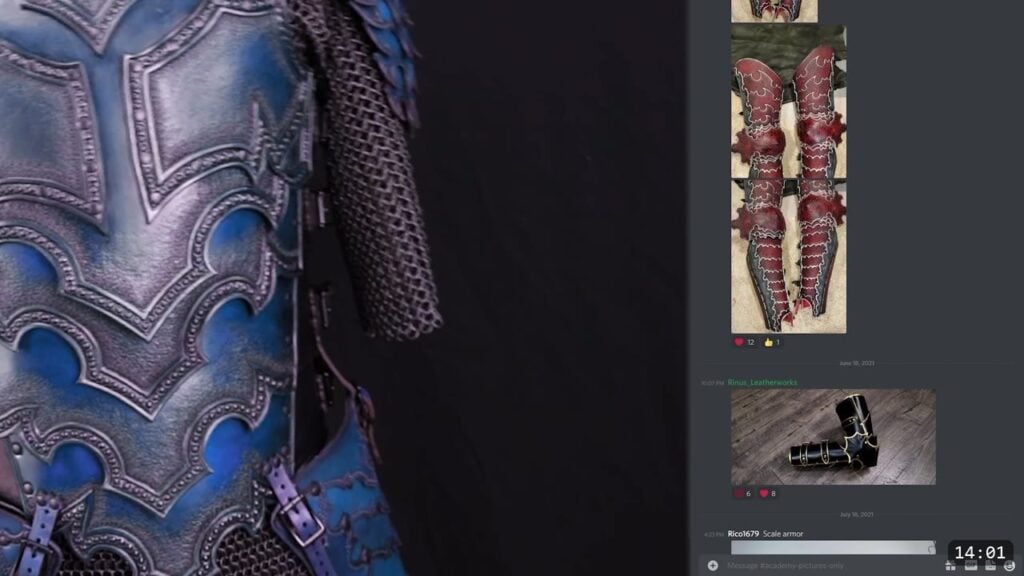
Tassets are the hip plates that hang from the bottom of a breastplate. You build the Imperial Knight tassets from a flat printed pattern, not a kit. You trace the pieces onto 9 to 10 ounce vegetable tanned leather, cut them by hand or by laser, punch the holes, tool a simple cedar border, dye and seal the plates, then rivet the layered plates together and buckle them onto the breastplate. This guide walks the whole build alongside the video, so you can watch each step and read the details the video moves past quickly.

What you are building, and what it takes
This is a pattern build, so you cut and shape everything yourself. It is part of the Imperial Knight series, a clean and wearable set. A pattern build like this is a good step up once you have a beginner kit or two behind you. The tassets themselves are two hanging hip pieces, each built from overlapping leather plates with a tooled border, dyed dark, and buckled to the breastplate. If this is your first ever leather project, build a kit first, then come back to this one.
What you need
The pattern. The Imperial Knight Tassets pattern prints to a template you trace onto leather. The series ships patterns for both hand cutting and laser cutting. The patterns scale to any size.
Leather. Natural vegetable tanned leather, 9 to 10 ounce, is what the video uses (from Weaver). Veg-tan takes tooling and dye, which this build needs.
Tools.
- Cutting: heavy shears and a box cutter or a craft knife, or a laser cutter if you have one.
- Marking and holes: a stylus or fine pen, a straight edge, and a rotary punch for the rivet and hardware holes.
- Edges: an edge beveler and a slicker or bone folder if you want to clean and burnish the edges.
- Decoration: a small cedar stamp and a mallet for the domed border.
- Assembly: rivets and a rivet setter with a solid bench block. Leather cement is optional to tack the overlapping plates before you rivet.
- Color: dark leather dye, nitrile gloves, and a leather finish to seal the plates.
- Hardware: buckle straps to attach the tassets to the breastplate.
Step 1: Print, size, and mock up the pattern
Print the pattern and assemble the template. Before you cut leather, print the pattern and rough-build a paper mockup so you can check the size and fit against your body or your breastplate. The pattern scales to any size, so adjust it now, on paper, not after you have cut good leather.
Step 2: Trace and cut the leather
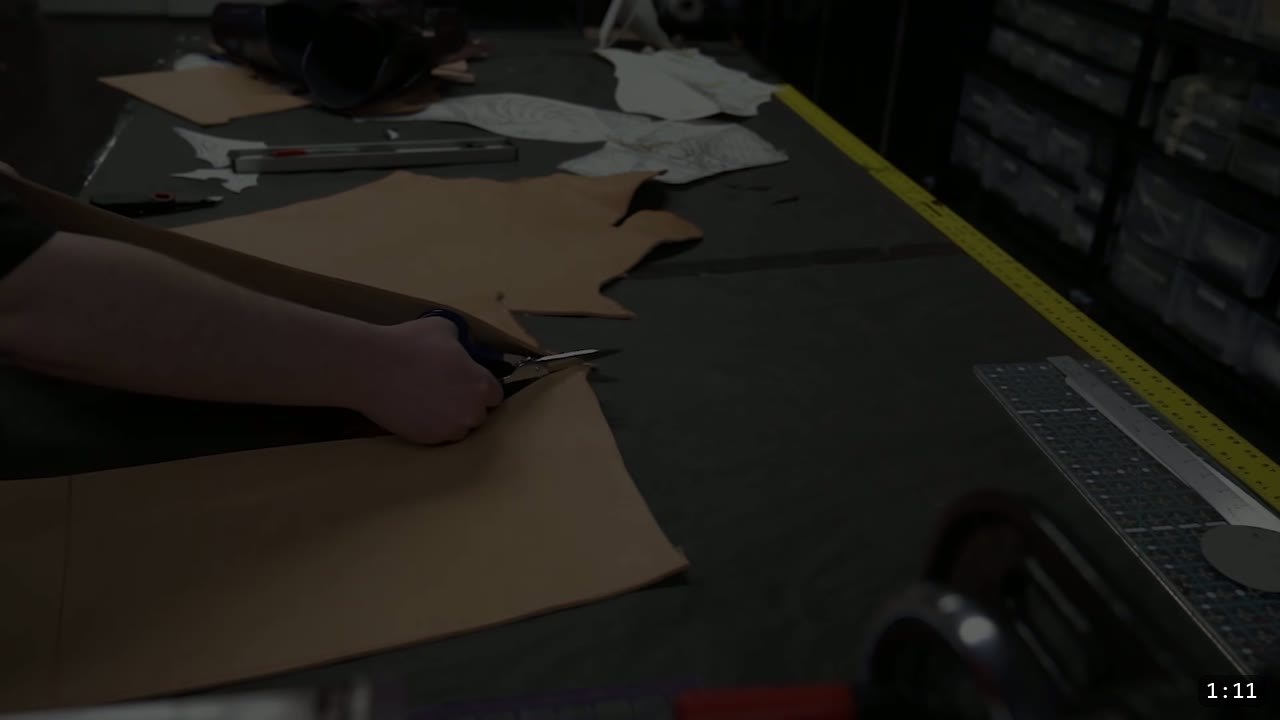
Lay the pattern on your 9 to 10 ounce veg-tan and trace the pieces. The series teaches cutting by hand, and that is what the video demonstrates, using shears for the shapes and a straight edge with a knife for the long straight runs. Take your time on the cuts. Clean edges here save you work at every later step.
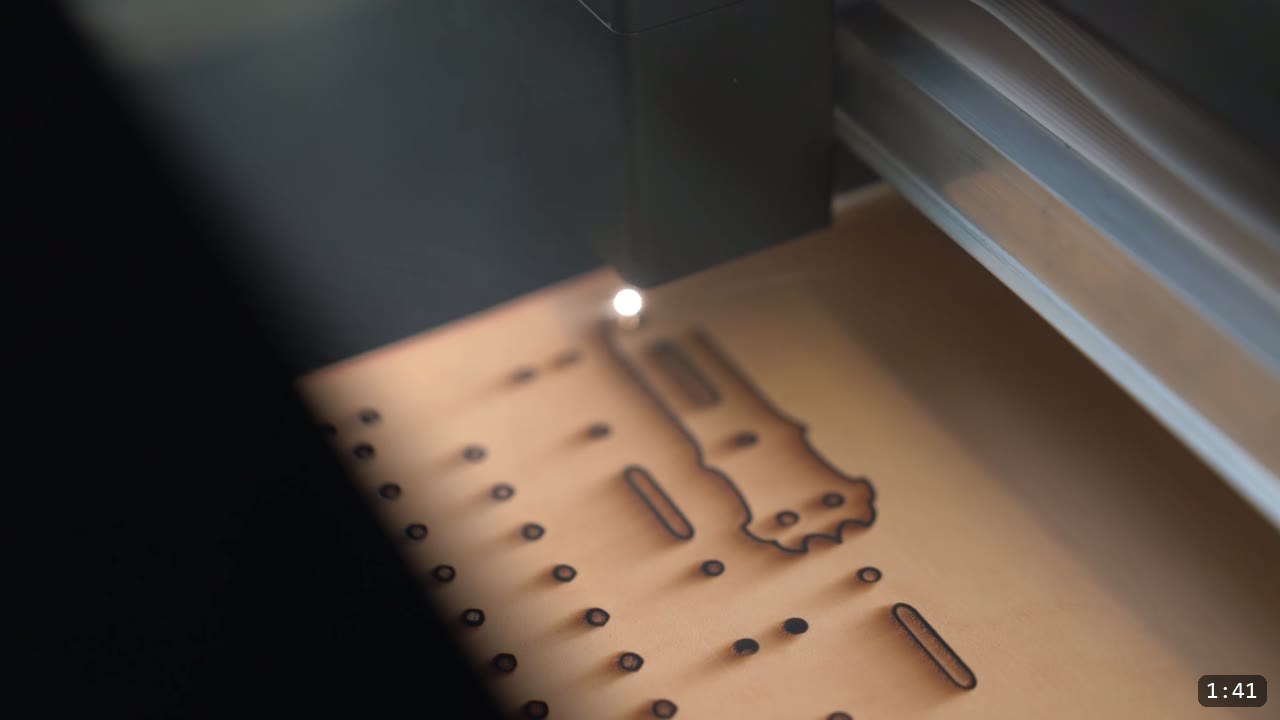
If you have a laser cutter, the Imperial Knight patterns include laser files that cut the outline and all the holes in one pass. The video shows the laser cutting the tasset outline along with the punched holes. There is an affiliate link in the video description for the machine, listed as up to $500 off.
Step 3: Mark the edges and punch the holes
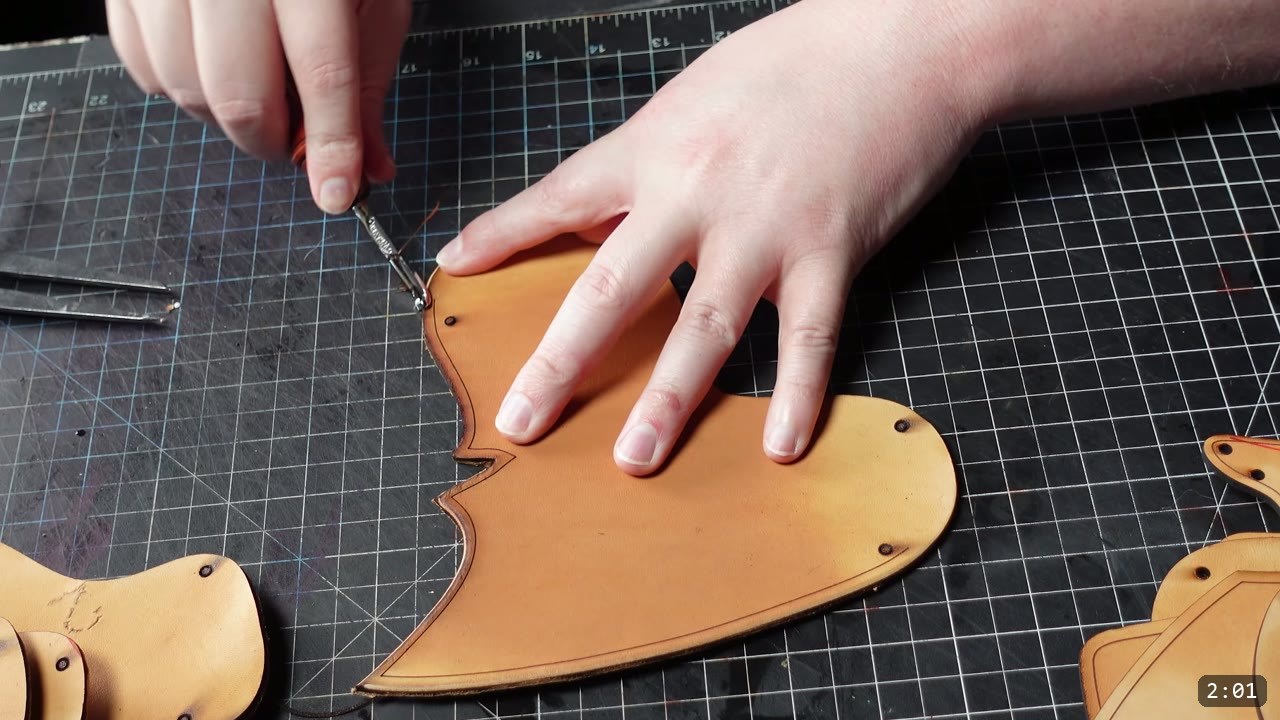
If you cut by hand, mark and punch the rivet and hardware holes from the pattern, and run your border and reference lines. Use a straight edge on the straight sections. Bevel the edges you want cleaned up. Only the outline and hole positions have to be exact; the decoration is up to you.
Step 4: Tool the cedar border
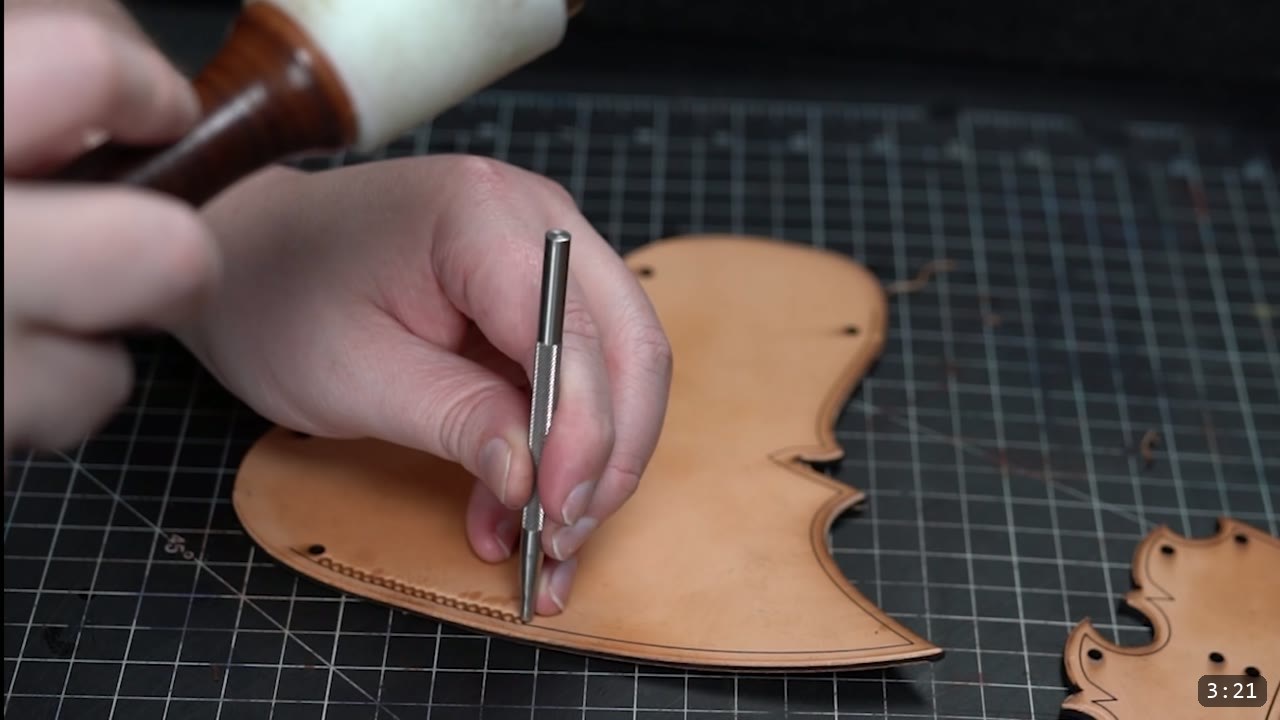
For decoration the video keeps it simple and elegant. A small cedar tool makes little domed impressions, and struck in a row along the border it gives a clean beaded edge. Cedar tools can be used many ways, so this is one option among many. Do your tooling now, while the leather is bare, because dye and finish come later and lock the surface.
Step 5: Dye the plates
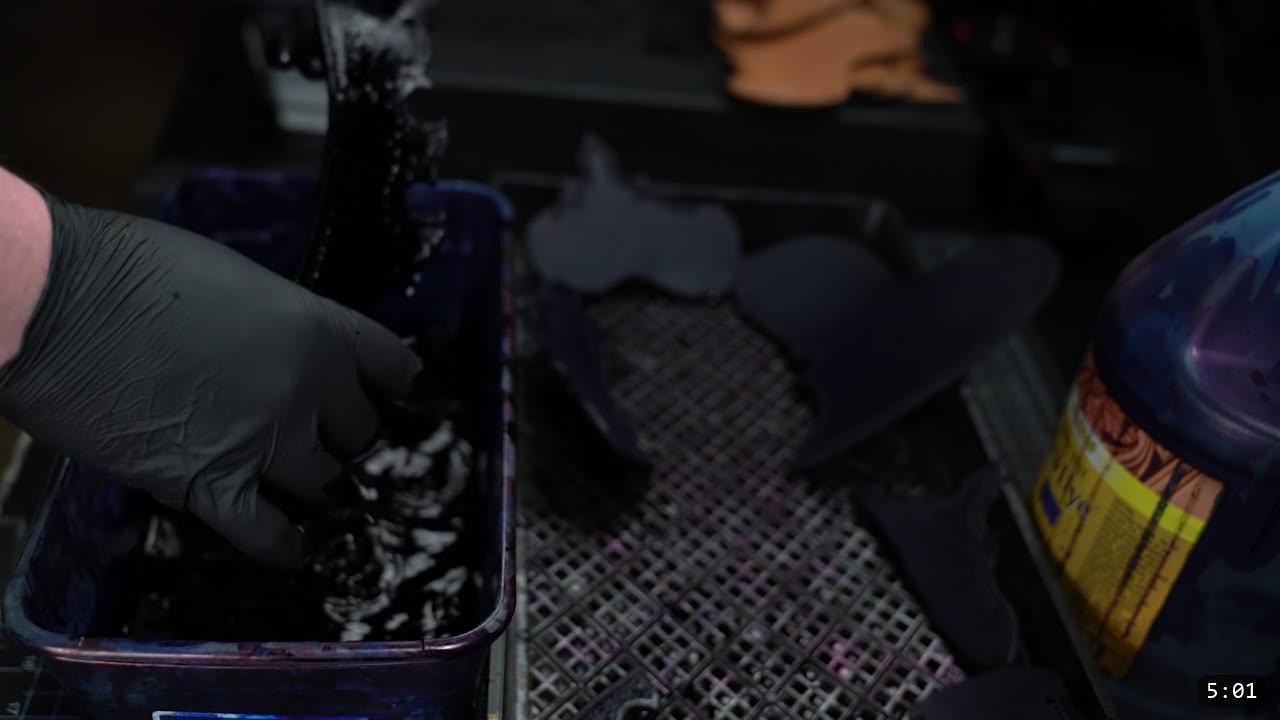
Dye the cut and tooled plates before assembly. The video mixes the dye and works it into the pieces in a tray, and the finished tassets read as a deep blue. Test your color on scrap first, or on the underside if this is your first piece and you have no scrap. Wear gloves.

Step 6: Seal the pieces
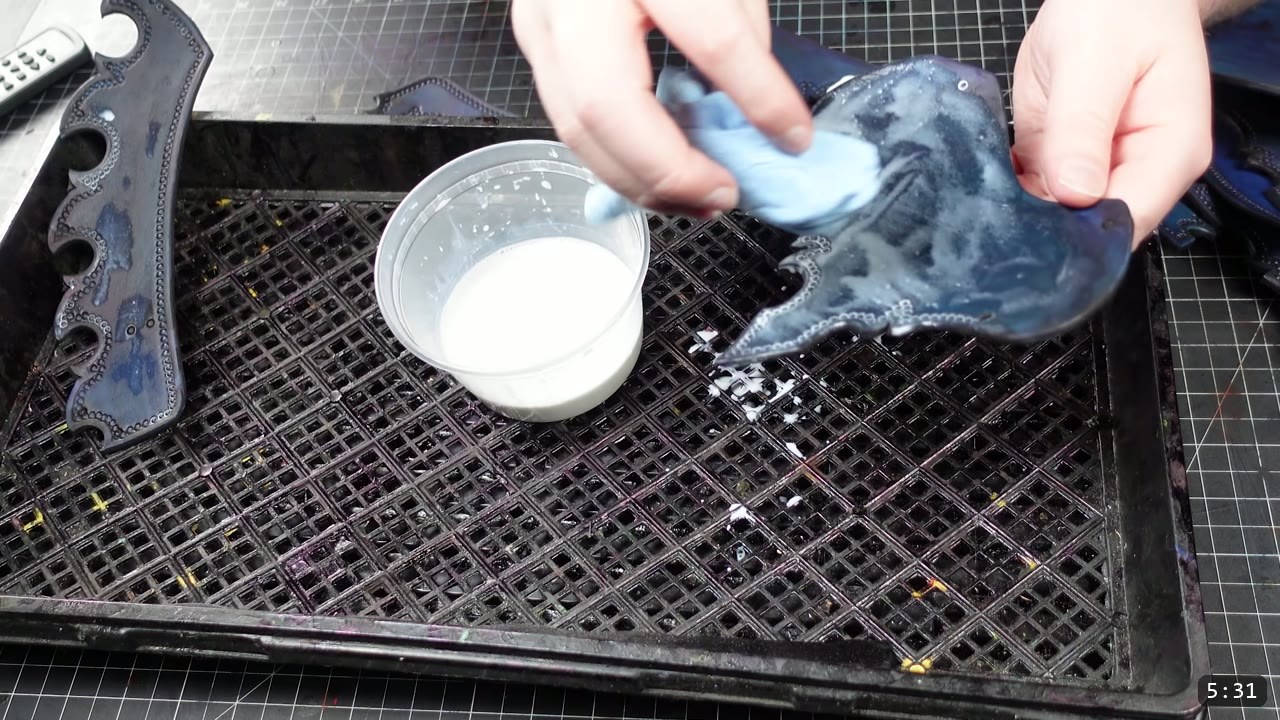
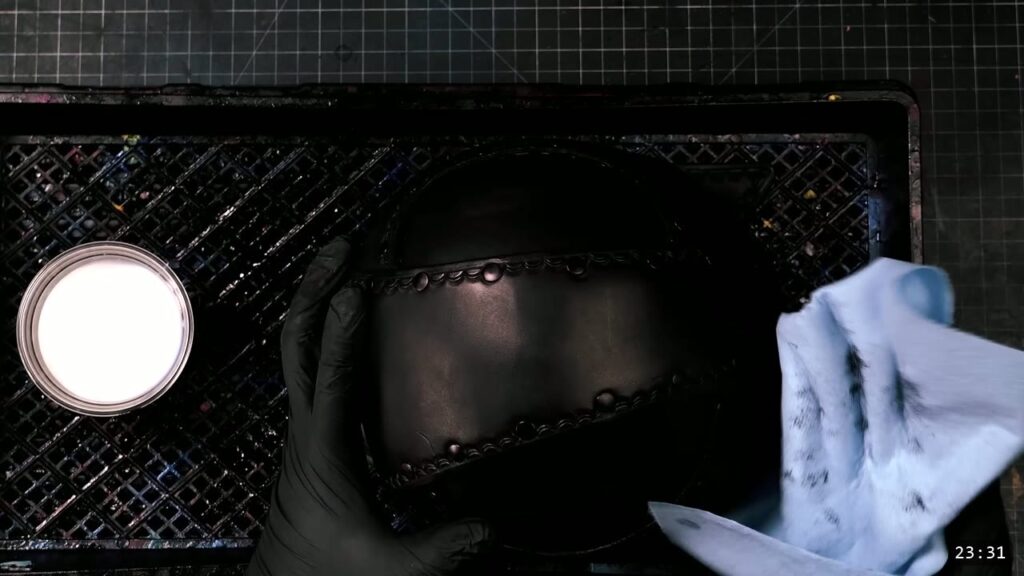
Once the dye is down, seal the plates so the color is protected and the leather firms up. Do all your tooling, beveling, and any shaping before this point. Once the leather is dyed and sealed it resists water and will not fully re-wet or reshape, so color and seal are the last surface steps. Riveting the flat plates together after this is fine, because that is a mechanical join and not a reshaping step.
Step 7: Lay out and align the plates
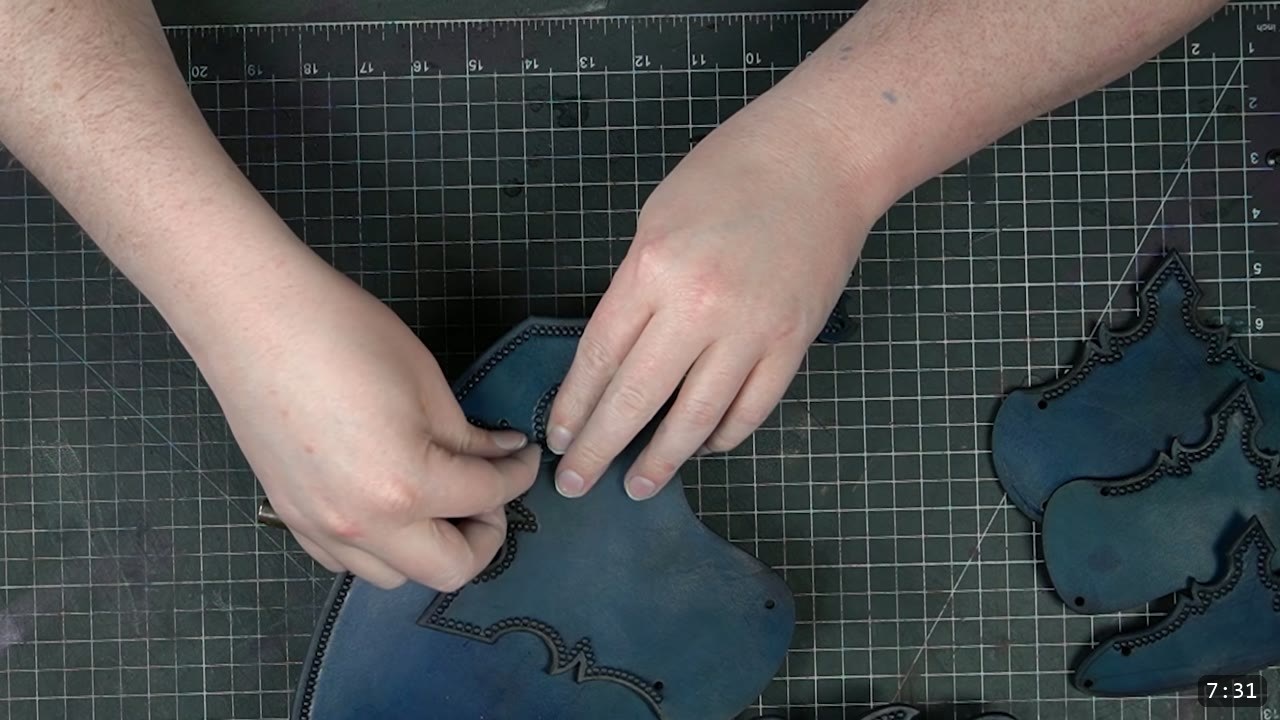
Each tasset is built from overlapping plates. Lay them out in order and confirm the alignment against your reference lines before you commit anything. Dry-fit first. If you want the overlaps to hold their alignment while you set the rivets, tack them with a little leather cement on their lines, and keep glue off the show surface.
Step 8: Rivet the tassets together
Assemble the plates with rivets. Set them against something solid with a rivet setter, or turn the piece over and set them flat from the back with a hammer. Work through the plate stack in order so the layers sit the way the pattern intends. This is the step that turns loose plates into a hanging tasset.

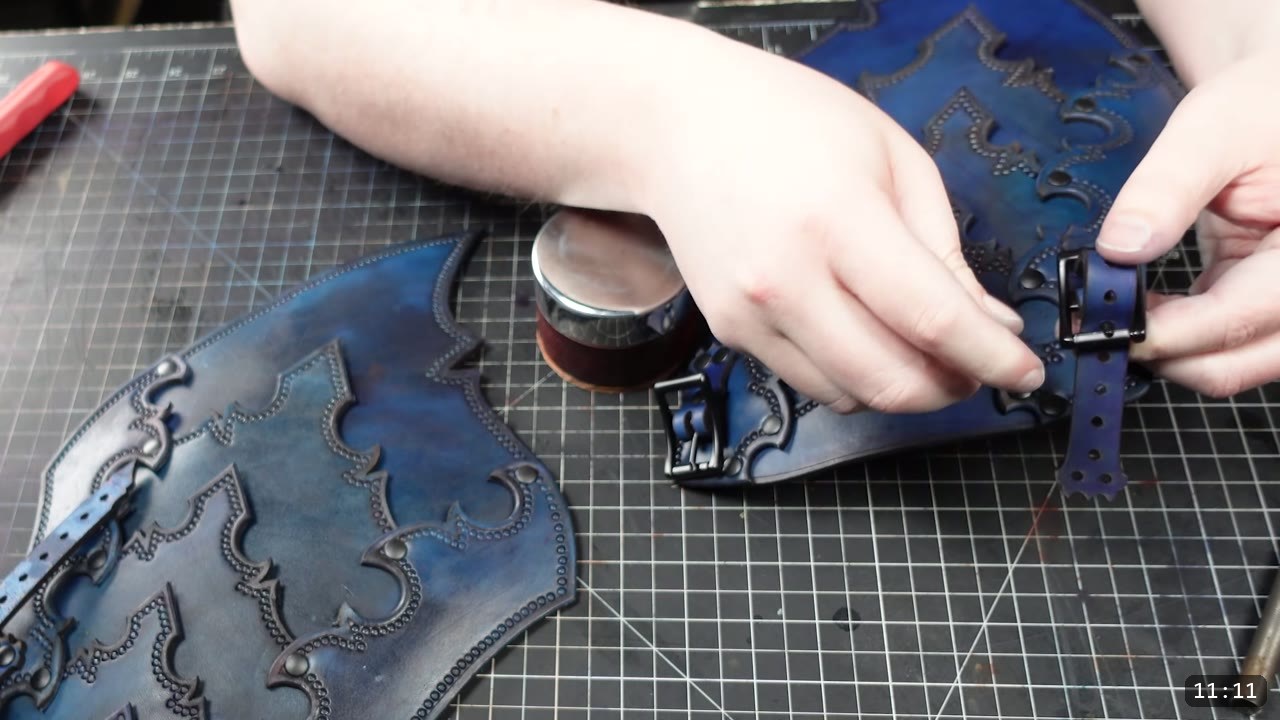
Step 9: Buckle the tassets to the breastplate
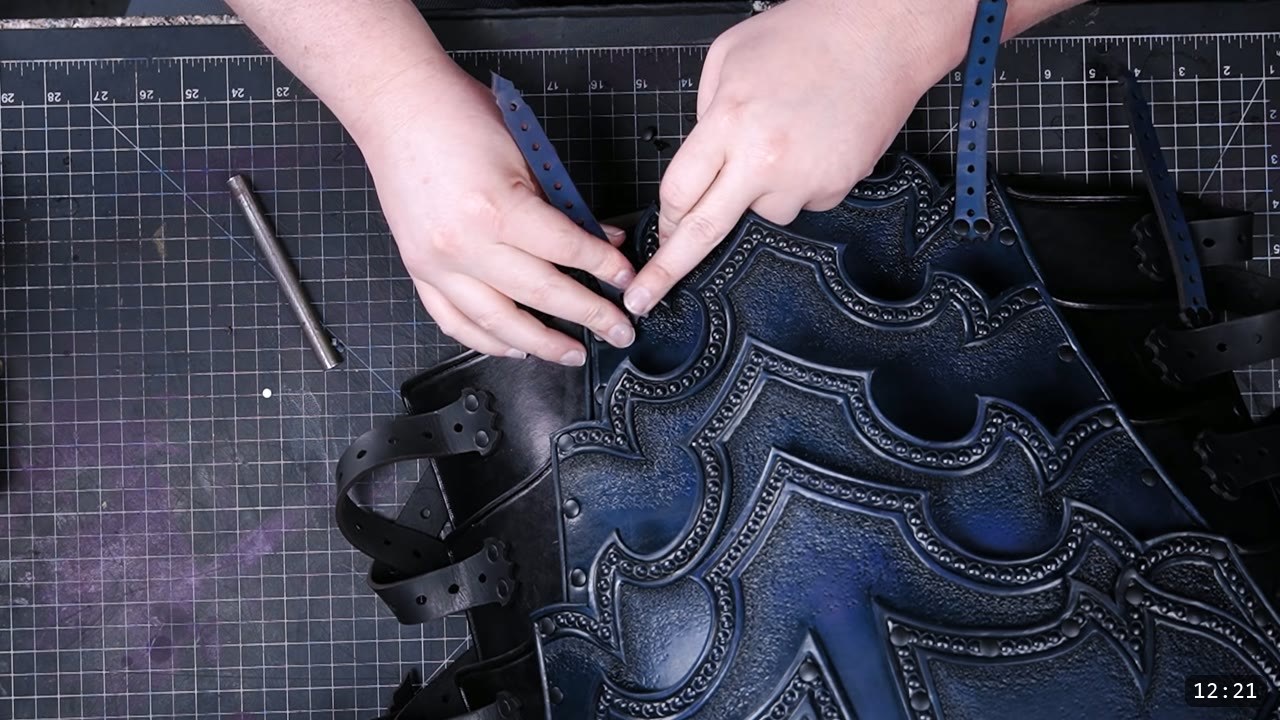
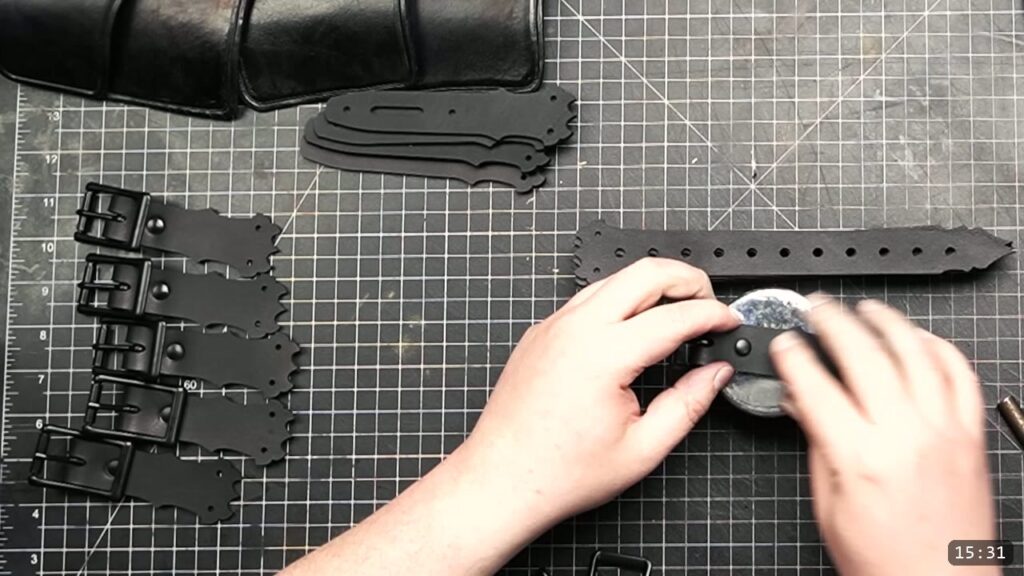
All that is left is to attach the straps to the breastplate. Rivet the buckle straps in place so the tassets hang from the bottom edge of the breastplate. The video sets them at a slight angle, but you position them to your own preference and body.
Step 10: Wear it, or build the rest of the suit
That completes the tassets. They pick and choose into your own kit, or slot into the full Imperial Knight suit alongside the breastplate, pauldrons, and the rest.

FAQ
What are tassets?
Tassets are the hip plates that hang from the bottom of a breastplate to protect the upper thighs. In this build each tasset is several overlapping leather plates riveted together and buckled onto the breastplate.
Is this a beginner project?
It is a pattern build in the Imperial Knight series, which is a good step up after a beginner kit. It uses cutting, hole punching, tooling, dyeing, and riveting. If you have never worked leather, start with a kit first, then come back.
What leather should I use?
Natural vegetable tanned leather, 9 to 10 ounce, is what the video uses. Veg-tan takes tooling and dye, which this build needs.
Do I need a laser cutter?
No. The series teaches cutting by hand, and the video demonstrates it. The patterns also come in laser-ready files if you own a machine, but hand cutting is the default.
How are the tassets attached?
With buckle straps riveted to the breastplate. You can set the angle to your own preference. If you want to learn straps on their own, there is a separate buckle-strap tutorial with free patterns.
Can I decorate them differently?
Yes. The cedar tool border is one simple option. The plates leave room for as much or as little tooling as you want.
Where to go next
- Get the pattern: Imperial Knight Tassets pattern.
- Build the piece they hang from: Imperial Knight Breastplate build guide and the breastplate pattern.
- Making the whole suit? The Imperial Knight bundle collects the full set.
- Need the straps? The free buckle strap patterns and the buckle strap tutorial cover the hardware.
- Curious about laser cutting leather? Watch Learn Laser Cutting for Leather Armor.
- New to leather armor? Start with 5 tips for getting started with leather armor.
- Built one? Share it and tag Prince Armory Academy and Weaver Leather; we feature student work.





Responses