



Leather Scale Skirting Build Guide: Laser-Cut Scales into a Modular Armor Skirt

You make a leather scale skirt by cutting a field of identical scales, dyeing and finishing them, giving each one a slight dome, then riveting them in overlapping rows onto a supple backing panel. This is the Imperial Knight version, and it uses a laser cutter to turn out the scales fast, though the same pattern can be hand-cut. The top row loops over the backing so the whole skirt hangs from a belt, which keeps the piece modular instead of riveted to the armor. This guide walks the build alongside the video, so you can watch each step and read the details the video moves past quickly.
What you are building, and what it takes
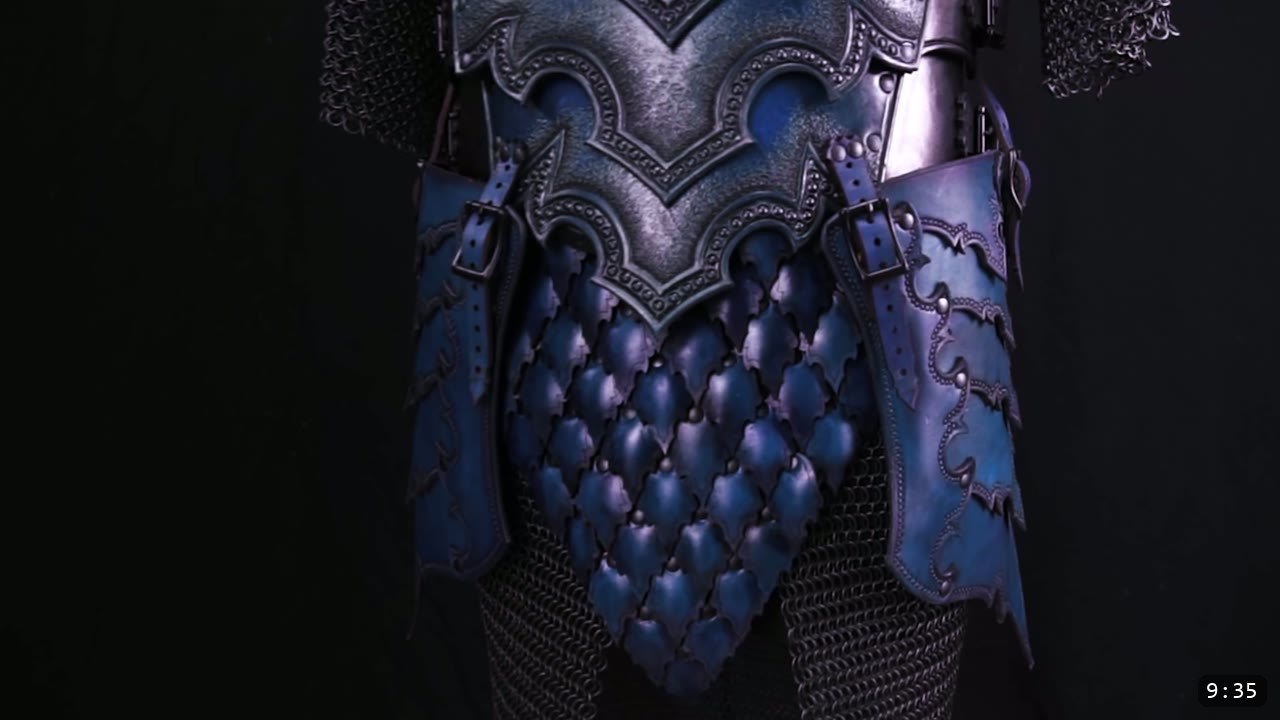
This is the scaled skirting that finishes the torso in the Imperial Knight series, the panel that hangs below the breastplate. The reward is a dense field of overlapping royal-blue scales that reads as armor from across a room. The tradeoff is repetition: every scale gets cut, dyed, finished, and shaped before any of it assembles. The video demonstrates the laser-cutting workflow because the earlier Fantasy series already covered hand cutting, but the pattern carries both options, so you can cut these by hand if you do not have a laser. If you are new to leather armor, build a simpler piece first, then come back to this one.
What you need
The pattern. The Imperial Knight Breastplate Pattern covers the torso this skirting completes, or the whole Imperial Knight Bundle if you want the full suit. The Imperial Knight patterns include both hand-cutting and laser-cutting files.
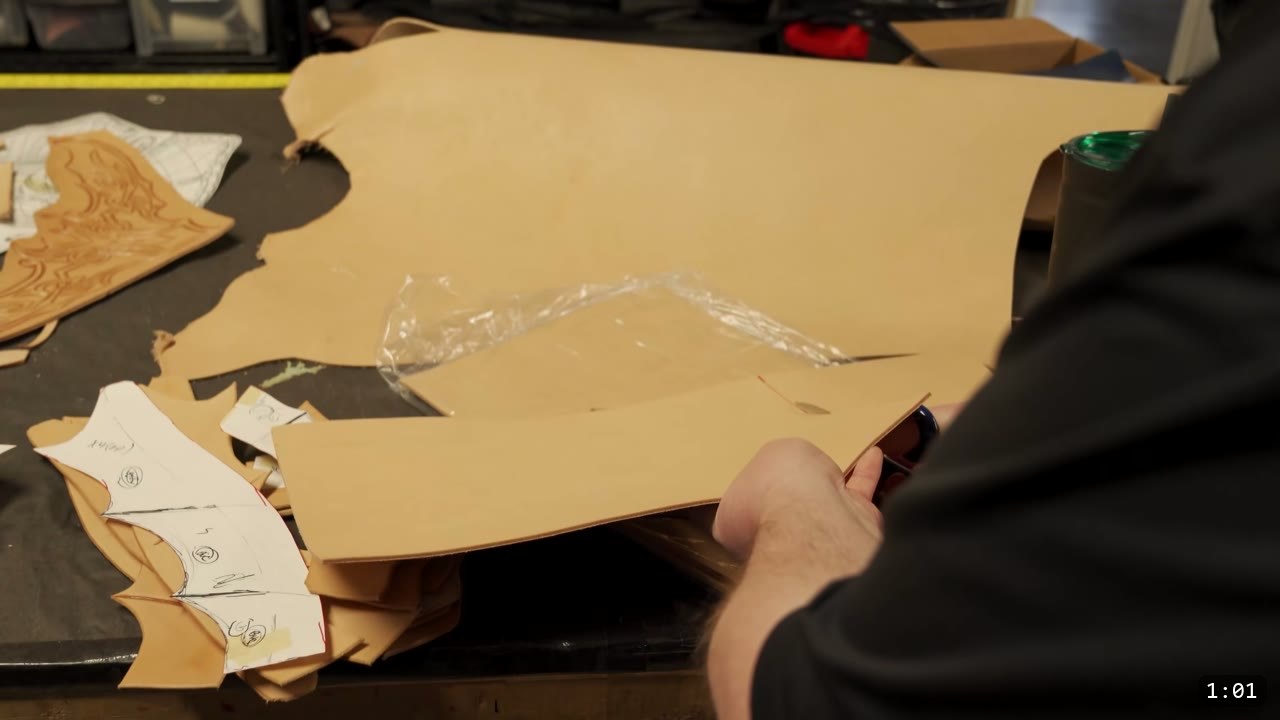
Scale leather. Pre-cut 7 to 8 ounce vegetable-tan. The video uses a pre-cut piece sent by Weaver Leather, which is a good way to buy just enough for a small project without a whole hide, and the sheets are sized well for a Glowforge bed. Veg-tan is what lets each scale take and hold a molded shape.
Backing leather. A 4 ounce chrome-tan. Pick something soft and supple but still strong and not too stretchy. The video uses 4 ounce black chrome-tan. You can use thin vegetable-tan instead, but you lose some flexibility, and this panel needs to move with the wearer.
Cutting. A laser cutter (the video uses a Glowforge) with its app, plus painter’s tape to hold the leather flat. Cutting leather makes smoke and a sharp smell, so run your ventilation. If you are hand-cutting, work from the pattern’s hand-cutting file instead.
Color and finish. Fiebing’s Royal Blue leather dye, an acrylic leather finish, and gloves. A tub for dip-dyeing and a tub for dip-finishing move a big batch fast.
Shaping. Optional forming aids: a forming dish, a ball, a large spoon, or anything with a domed surface you can press a scale over. Hand-forming works too.
Hardware. Black rivets and a rivet setter, plus a slim belt to hang the skirt. The video uses a synthetic strap that comes on a roll, a buckle, and black rivets, all from Weaver Leather.
Step 1: Prep the leather blank in the app
Set your pre-cut veg-tan on the laser bed and tape around the edges so it lays flat, which keeps the cut consistent across the sheet. In the Glowforge app, press Ctrl A to select everything, click the ruler icon to read the dimensions, then trim the leather to the size you need. A flat, correctly sized blank is what makes the rest of the cutting predictable.
Step 2: Lay out and cut the scales
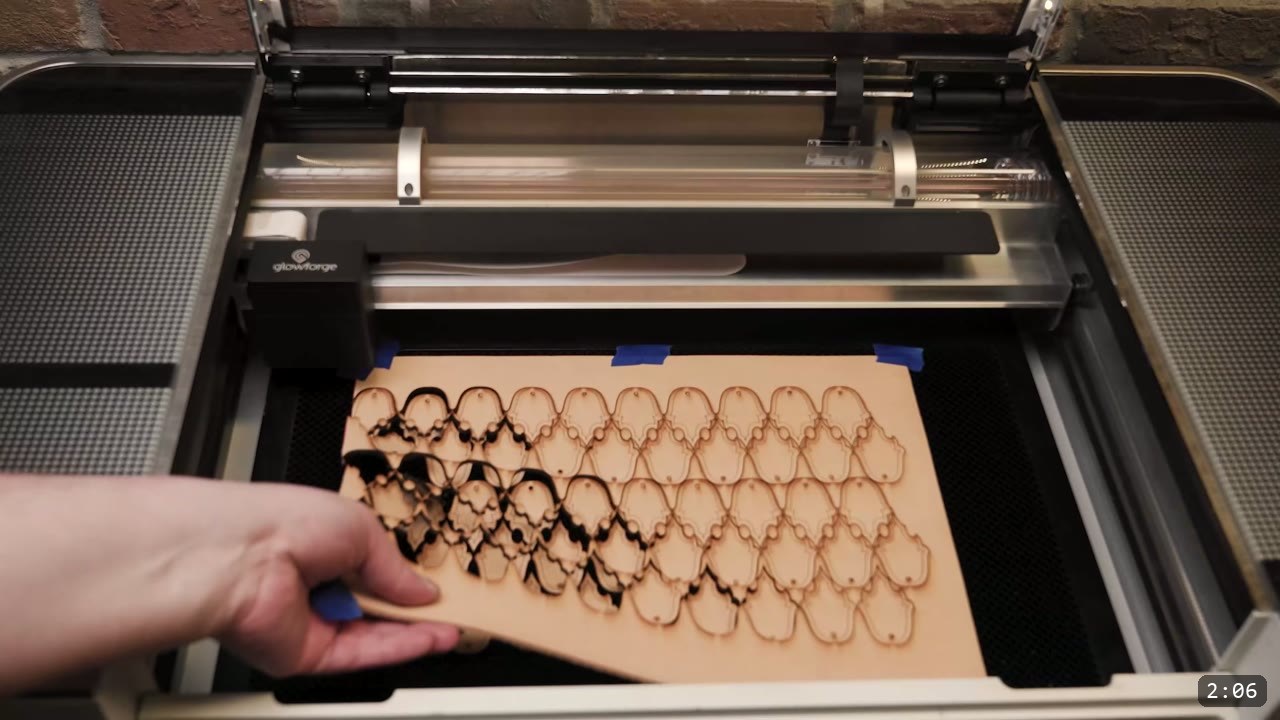
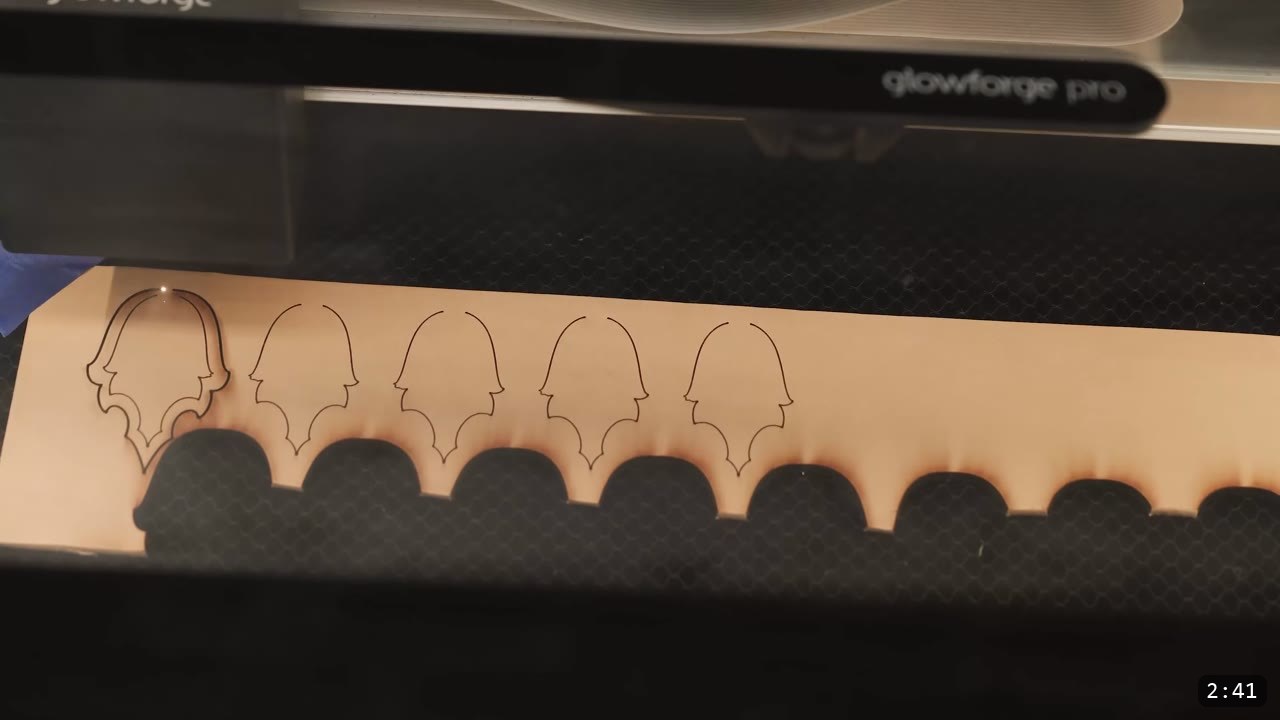
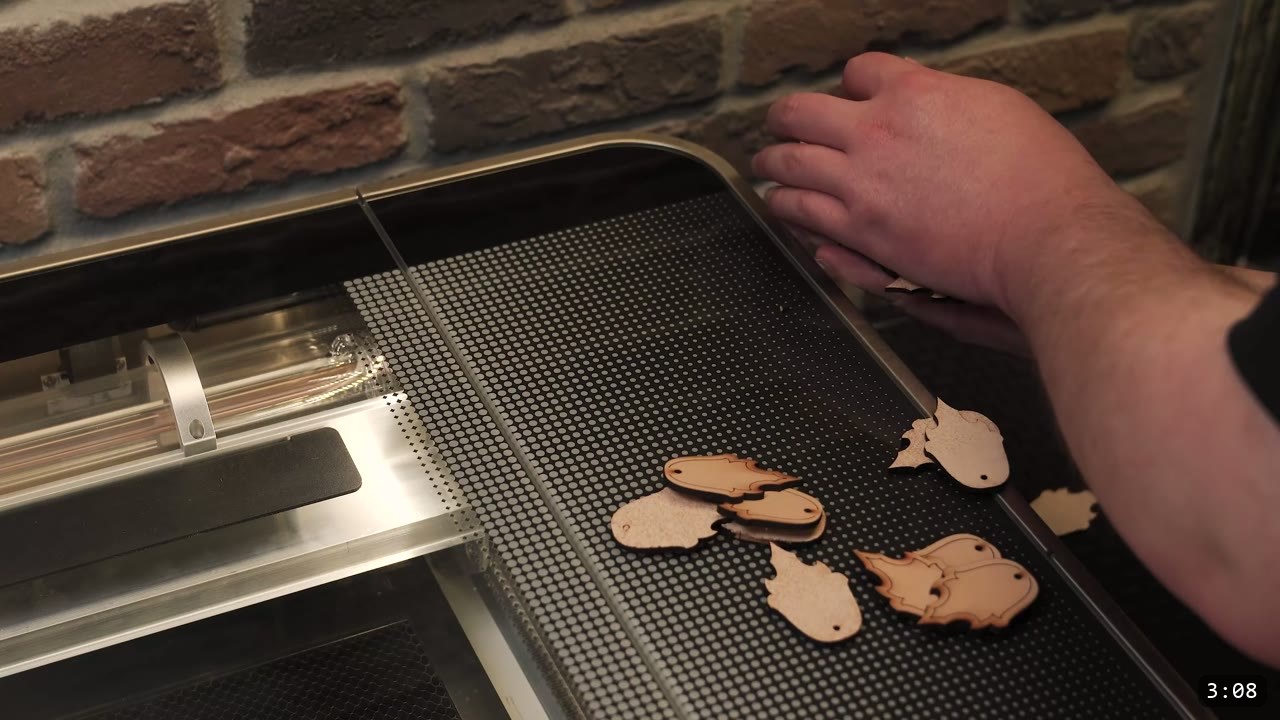
Small, repetitive parts are exactly where a laser earns its keep, because it turns out a full field of identical scales in one run. Use the app’s preview screen to see what is on the cutting bed and line the cuts up where you want them. If you start a run hasty and a few scales fall off the edge of the material, that is not a problem: keep some scrap, delete most of the scales in the app, line the remaining cuts up over the scrap, and cut a few extras. It never hurts to have spares.
Step 3: Dial in the cut with test scales
Any time you are new to laser cutting, using a new machine, or trying a new material, cut a few test scales on scrap at different speeds to find what is optimal. The video works the dial in: a speed of 140 cut through easily, 200 did not quite make it, 160 cut fine, 180 was almost there but not quite, and it settled around 165 for this material at 100 power. Your leather and machine will differ, so run your own test grid before you commit the full field.
Step 4: Dip-dye the scales royal blue
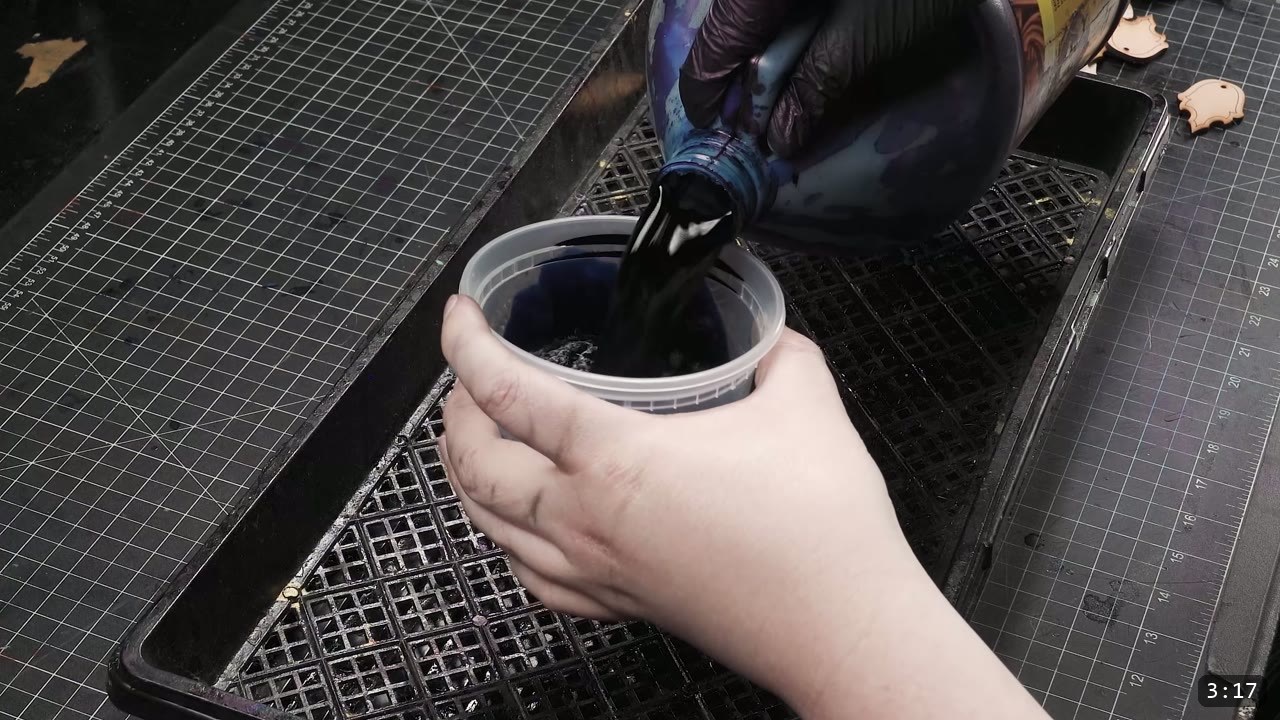
With all the pieces cut, dip-dye them. The video uses Fiebing’s Royal Blue leather dye, poured into a tub so you can dunk each scale rather than brush every one. Dip dyeing is the fastest way through a batch this size. Test your color on scrap first if you are unsure.
Step 5: Finish and wet-mold in one pass
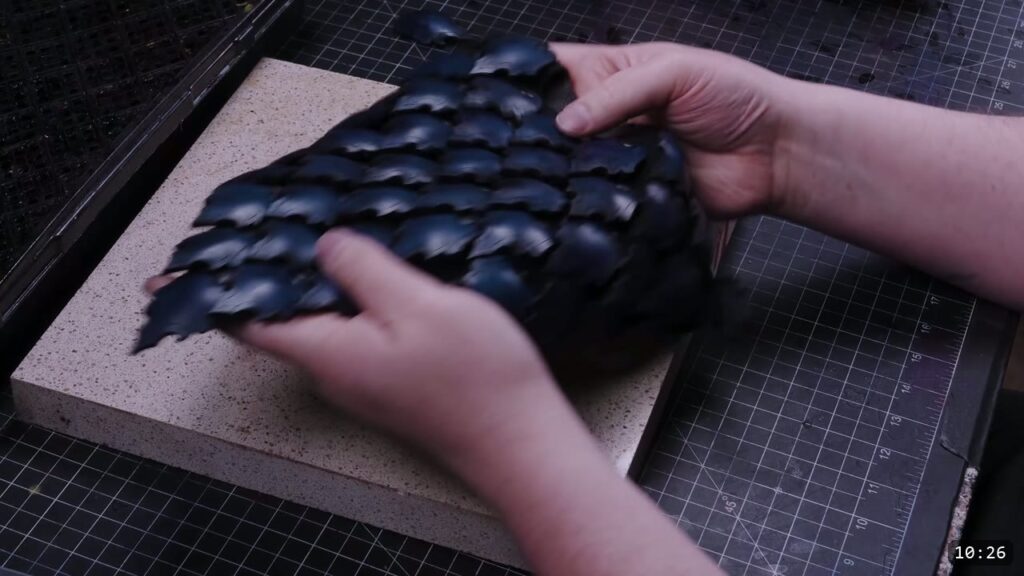
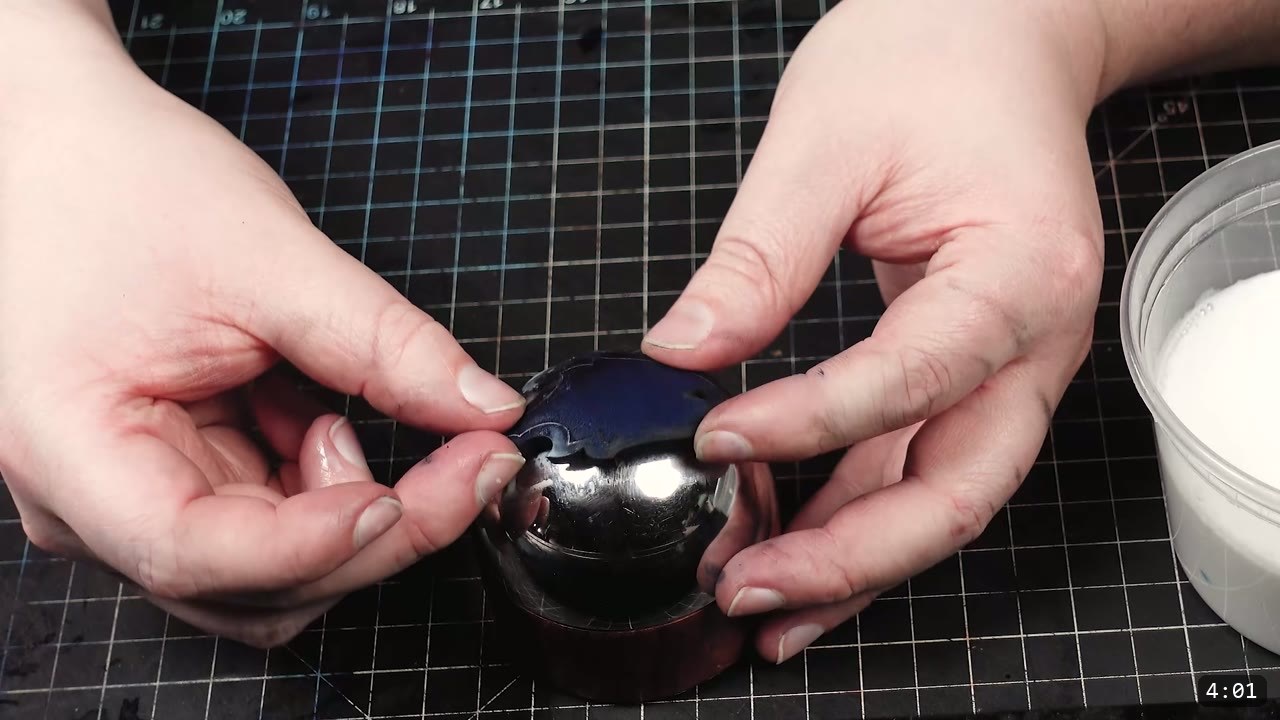
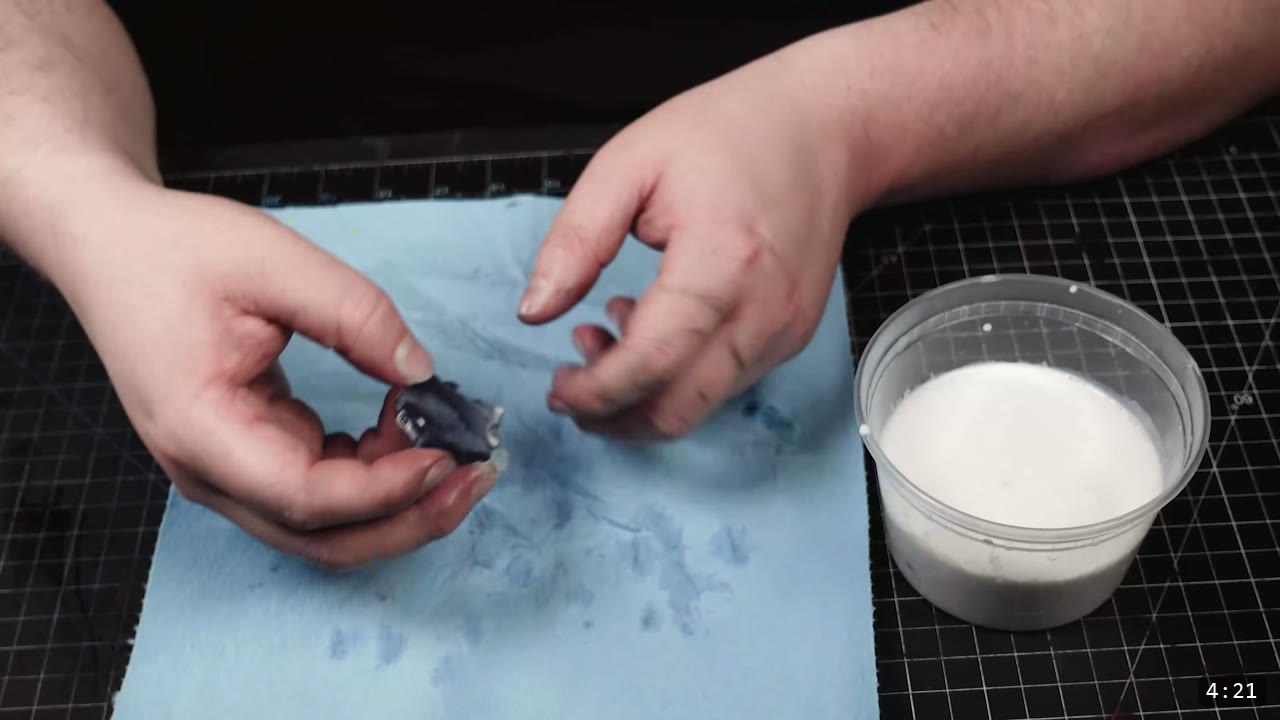
Here is the time-saver. Instead of running finishing and shaping as separate steps, the video dips each scale in an acrylic finish and then wet-molds it slightly while it is still damp. The leather comes off the dye and finish dip at a good consistency to hold a shape, so combining the steps saves a pass. You can form each scale by hand, or press it over a forming dish, a ball, a big spoon, or anything with a domed surface. It only needs a slight dome; you can even leave the scales flat if you prefer. Try a few and you will get a feel for it, and each scale is a chance to improve the technique.
A note on timing, because it matters. The clean rule is that any real shaping happens before you seal, while the leather still forms freely. This build gets away with shaping during the finish pass because it molds each scale while the finish is still damp, before it cures. Once the finish is dry the scale resists water and locks, and it will not reshape after that. So keep the shaping inside that damp window, and if you ever want more than a slight dome, do it before the finish goes on.
Step 6: Make the backing piece
While the scales dry, make the backing. Choose a soft, supple leather that is still strong and not too stretchy; the video uses 4 ounce black chrome-tan for the flex it gives the finished skirt. Thin vegetable-tan works too, but the panel loses some flexibility. Cut the backing to shape and set the rivet holes so the scales have somewhere to hang.

Step 7: Rivet the scales, bottom row up
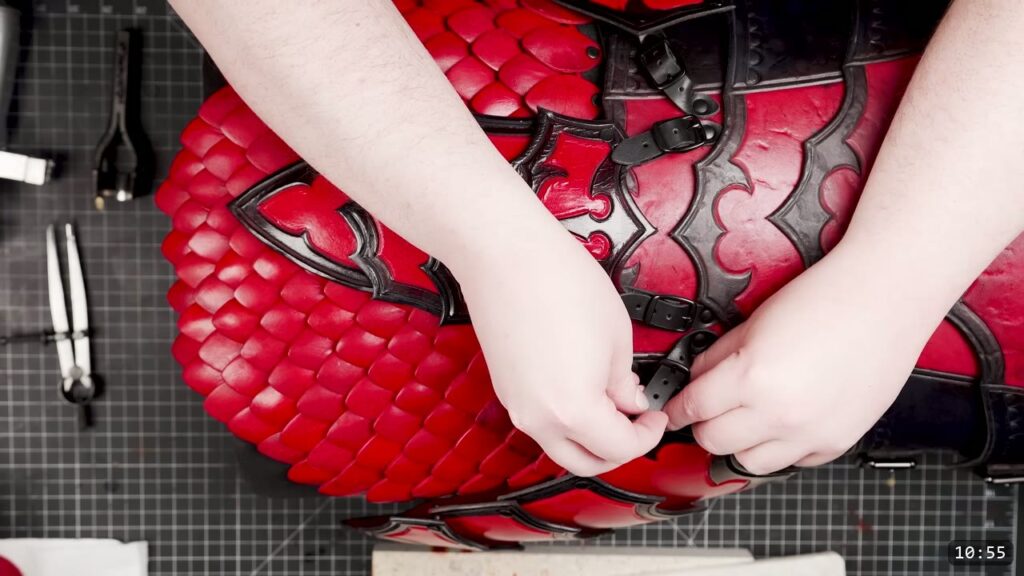
Assembly is mostly straightforward, with one twist saved for the top. Start at the bottom and work up, one row at a time, so each row overlaps the one below it like real scales. Set the scales with black rivets and a setter. This is the fast part next to all the finishing.


Step 8: The top-row twist
Rivet all the scales up to the last three rows, then change the order. Skip the third row from the top for now and assemble the second row at this stage. Then loop the top row of the backing over on itself and rivet through both layers of the backing leather plus that top row of scales at once. That fold is what suspends the skirt: it makes a channel the belt runs through, so you can hang the piece over a belt instead of riveting it permanently to the armor. Riveting it straight to the armor is an option, but keeping it modular lets you take the skirt on and off.
Step 9: Make a belt and hang it
Make a slim belt to carry the skirt. For a quick belt that will live under a suit, the video uses a synthetic strap that comes on a roll, which is easy to make up and very durable. The strap roll, the buckle, and the black rivets are all available at Weaver Leather. Run the strap through the looped top channel and buckle it where you want the skirt to sit.


Step 10: The finished skirt
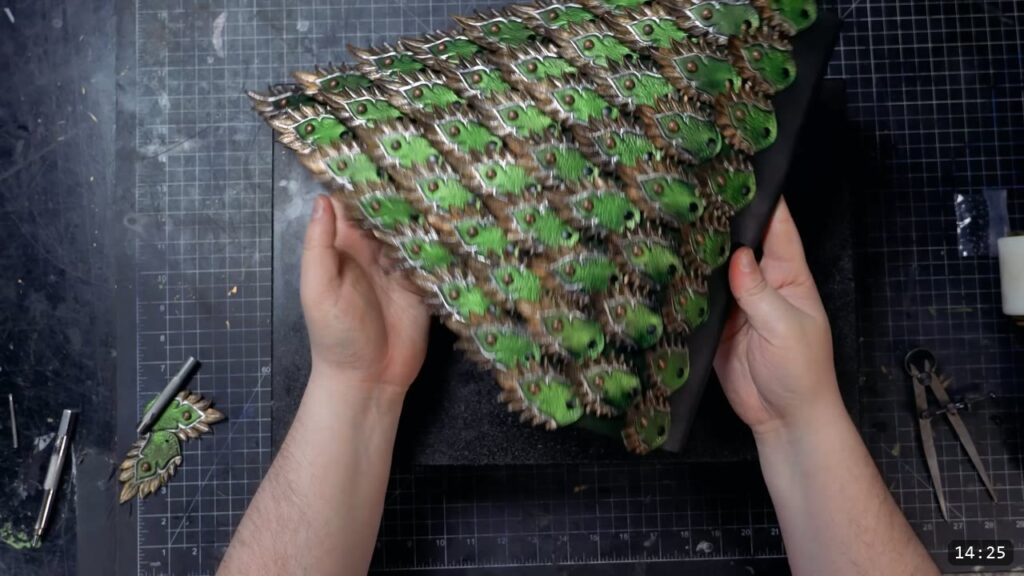
That is the piece. The finished panel is a dense triangle of overlapping royal-blue scales, each with a slight dome so the light catches it, hung on a belt so it drops cleanly below the breastplate. It is another torso component of the Imperial Knight series done.

FAQ
Do I need a laser cutter for this?
No. The video demonstrates laser cutting because the earlier Fantasy series already covered hand cutting, and the Imperial Knight pattern includes both hand-cutting and laser-cutting files. The laser saves time on a field of identical scales, but you can cut them by hand.
What leather should I use?
Use 7 to 8 ounce vegetable-tan for the scales, because veg-tan takes and holds a molded shape. For the backing, use a soft, supple 4 ounce chrome-tan for flexibility. Thin vegetable-tan works for the backing too, but the skirt will move less.
What laser settings should I use?
Cut test scales first. In the video, 140 speed cut through easily, 160 cut fine, and it settled around 165 at 100 power for that material, with 180 and 200 not quite cutting through. Your leather and machine will differ, so dial in your own settings on scrap.
When do I shape the scales, before or after dyeing?
Do any real shaping before you seal, while the leather still forms freely. The video combines the dye dip, the finish dip, and the molding into one pass, shaping each scale while it is still damp from the finish and before it cures. Once the finish dries the scale locks and will not reshape, so keep the shaping inside that damp window.
How do I wear it?
On a belt. The top row of the backing loops over on itself to make a channel, and a slim strap runs through that channel so the skirt hangs from a belt. That keeps it modular, so you can take it off instead of riveting it to the armor.
Where to go next
- Get the pattern: Imperial Knight Breastplate Pattern, the torso this skirting finishes.
- Building the whole suit? The Imperial Knight Bundle collects the full set.
- Need a belt and buckle strap? The free buckle strap patterns cover the strap that hangs the skirt.
- Want a hand-cut take on a scale skirt? Watch the Fantasy version: Easy Guide to Leather Scale Armor.
- Want a painted, studded scale panel? Watch the Elven Scale Armor build.
- Struggling with shaping? The Hand-shaping Leather for Armor Making walkthrough goes deep on wet forming.
- New to leather armor? Start with 5 tips for getting started with leather armor.
- Built one? Share it and tag Prince Armory Academy and Weaver Leather; we feature student work.



Responses