



Leather Scale Armor Build Guide: A Flexible Scale Skirt from Scrap Leather

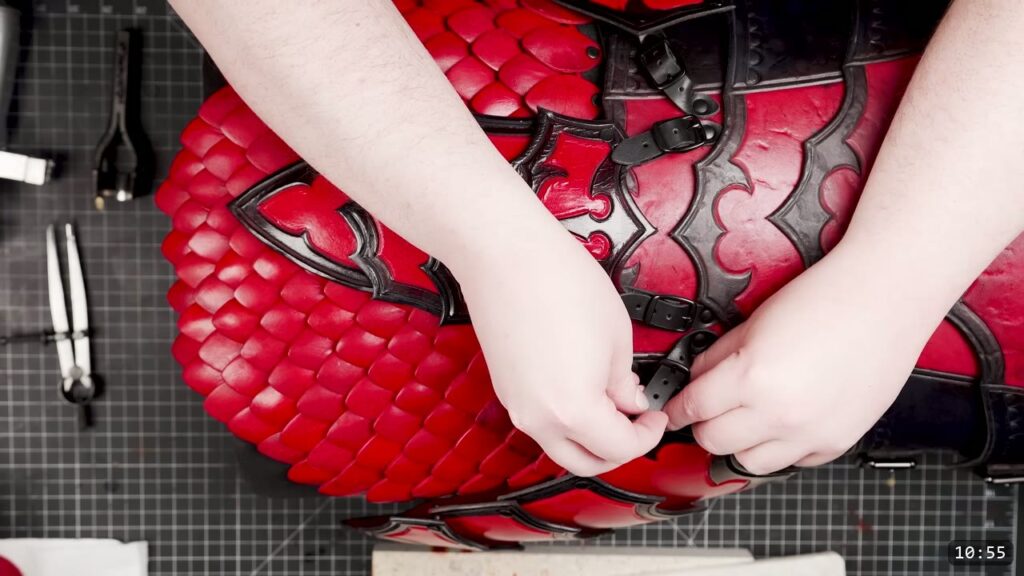
You make flexible leather scale armor by punching a pile of small veg-tan scales with a strap-end punch, then riveting them in overlapping rows onto a supple backing panel. Dye and finish the scales, add a waist strap and buckle, and you have a scale skirt you can wear over the front, the back, or both. It is one of the easiest pieces in a fantasy armor set, and it is a good way to use up scrap veg-tan. This guide walks the whole build alongside the video, so you can watch each step and read the details the video moves past quickly.
What you are building, and what it takes
This is the Fantasy Scale Skirting piece. The Fantasy Scale Skirting pattern gives you two pre-made options, a front panel and a back panel, and you can trim or expand them from there. The scales are veg-tan. The backing is any supple leather. You cut every scale yourself with a punch, so the work is repetitive but simple, and there is a lot of room to make it fancier if you want.
What you need
The pattern. The Fantasy Scale Skirting pattern. It prints on tiled pages and, as drawn, spaces the scales at a one inch width, which I think is the right size for most people. It also marks how many scales each panel needs, plus a few grayed-out extra positions higher up if you want more.
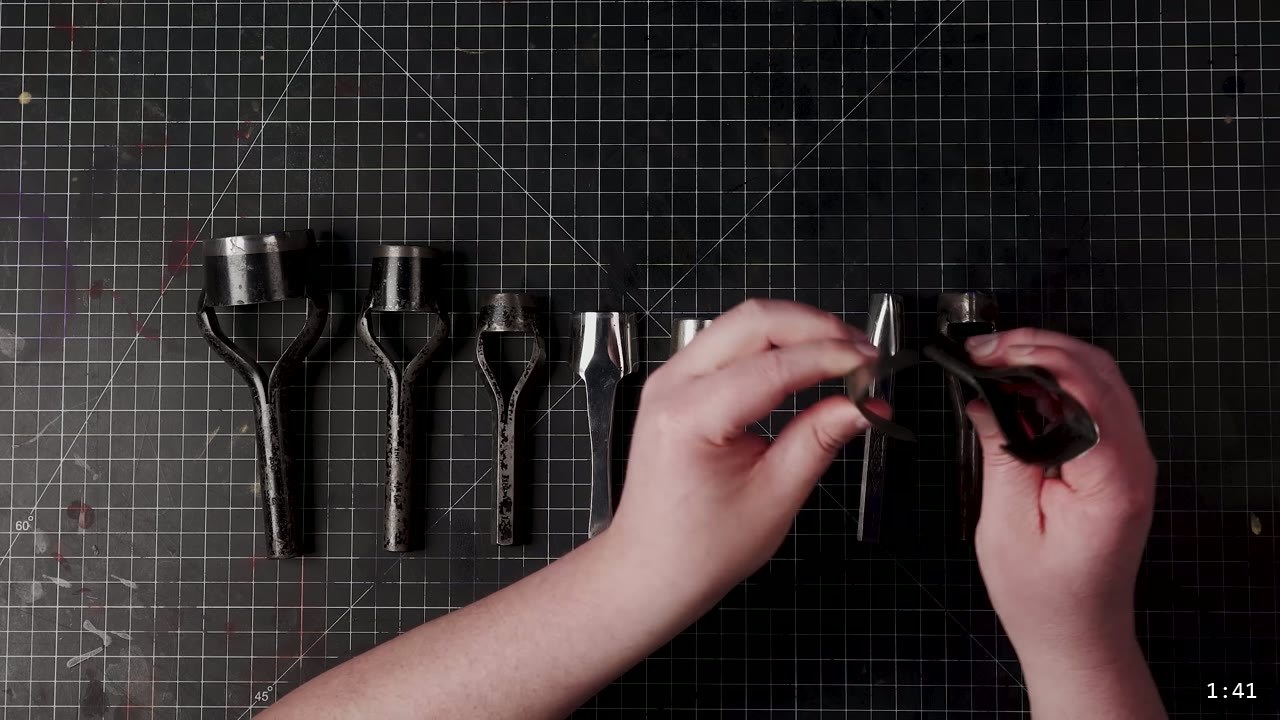
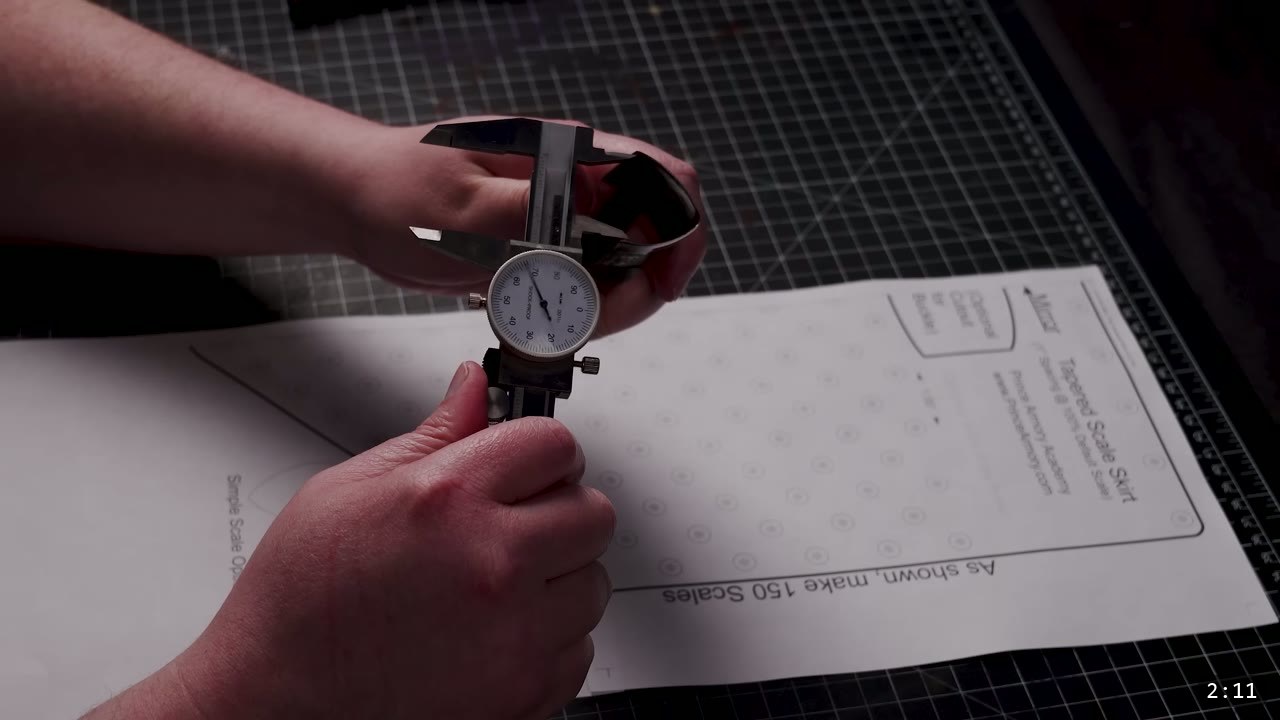
A strap-end punch. This is the trick that makes the build fast. An English point punch cuts a pointed scale in one strike. I use an inch and a quarter CS Osborne English point strap-end punch that measures about 1.35 inches at its widest. Punches run oversized and vary by maker, so measure yours before you print, then scale the print to match it. A round-end punch works too if you want a softer fish-scale look.
Scale leather. Veg-tan scrap. This is the piece where odd offcuts get used up. Veg-tan holds a molded shape, which is what lets you dish the scales.
Backing leather. Any supple leather. I call it the grid. I used a chrome-tan bull hide I had on the shelf, heavy but supple. Something light works fine, because the grid only carries the weight of a handful of scales.
Hardware and tools. A hammer or a maul, black double-cap rivets in medium (small if your leather is thin, plus the next size up for the top row), a rotary or drive punch for the scale holes, a straight edge, a craft or utility knife, dye, finish, and a one inch buckle with a strap.
Step 1: Choose your punch, then print to match
Pick your strap-end punch first and measure its true width, because punches often run larger than their label. Print the pattern with the tile option on (I use Foxit PDF Reader, which is free, and turn on Tile Large Pages). Enter a scale percentage that matches your punch. In the video I entered 135 percent to match my end punch. Trim the printer margin away and tape the pages into one template.
Step 2: Punch the scales
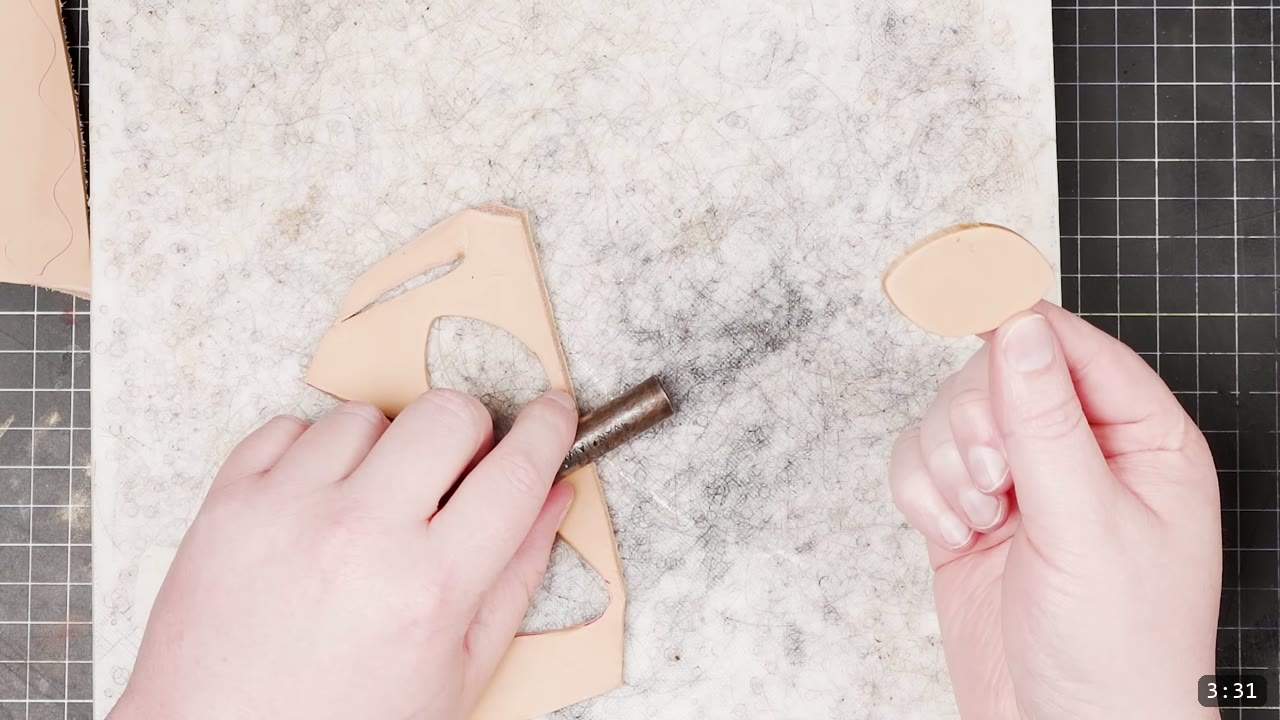
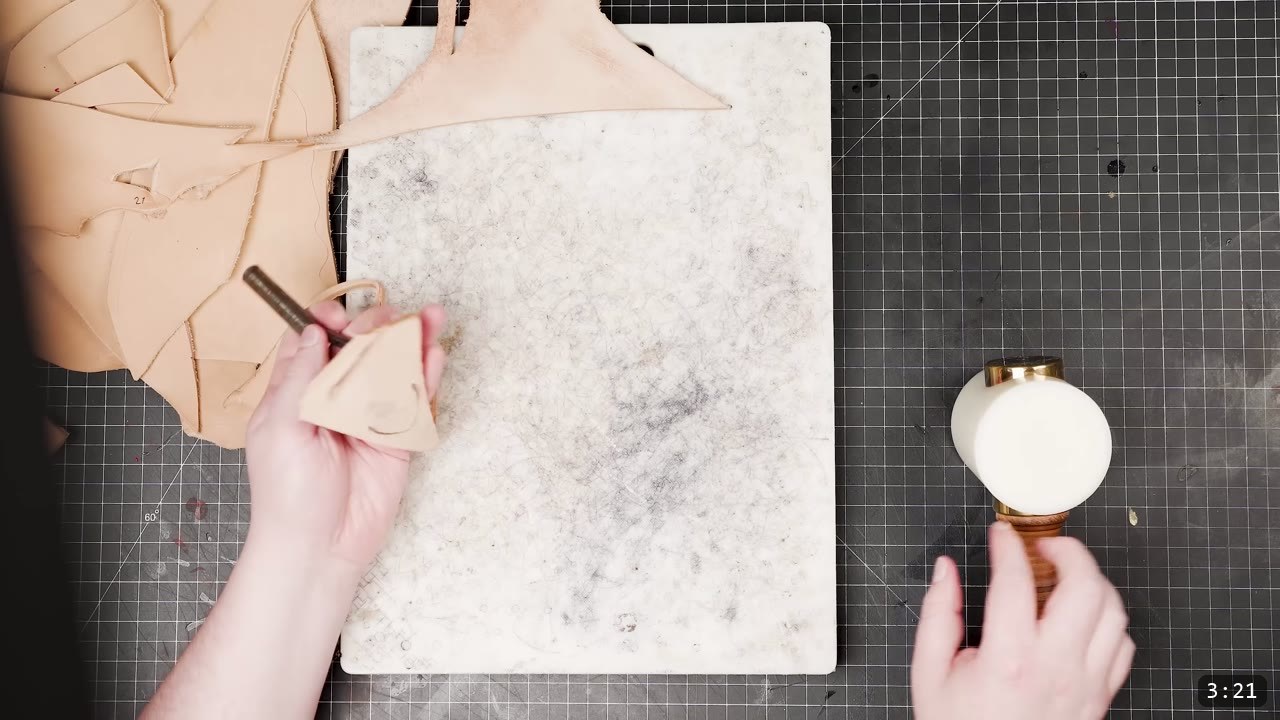
Set your veg-tan scrap on a firm surface and make the first cut with the punch. Flip the punch, butt its edges against the cut you just made, and strike again. Repeat down the row and across the piece until you have the count the pattern calls for. You do not need a heavy hammer for this. I started with a big one and switched to a medium maul halfway through. If your bench bounces, punch over a leg or the corner of the bench so the strike lands solid.
Step 3: Punch one hole in each scale
Each scale needs a single hole at the top. That hole is what the rivet passes through to hang the scale on the grid.
Step 4: Shape, dye, and finish the scales
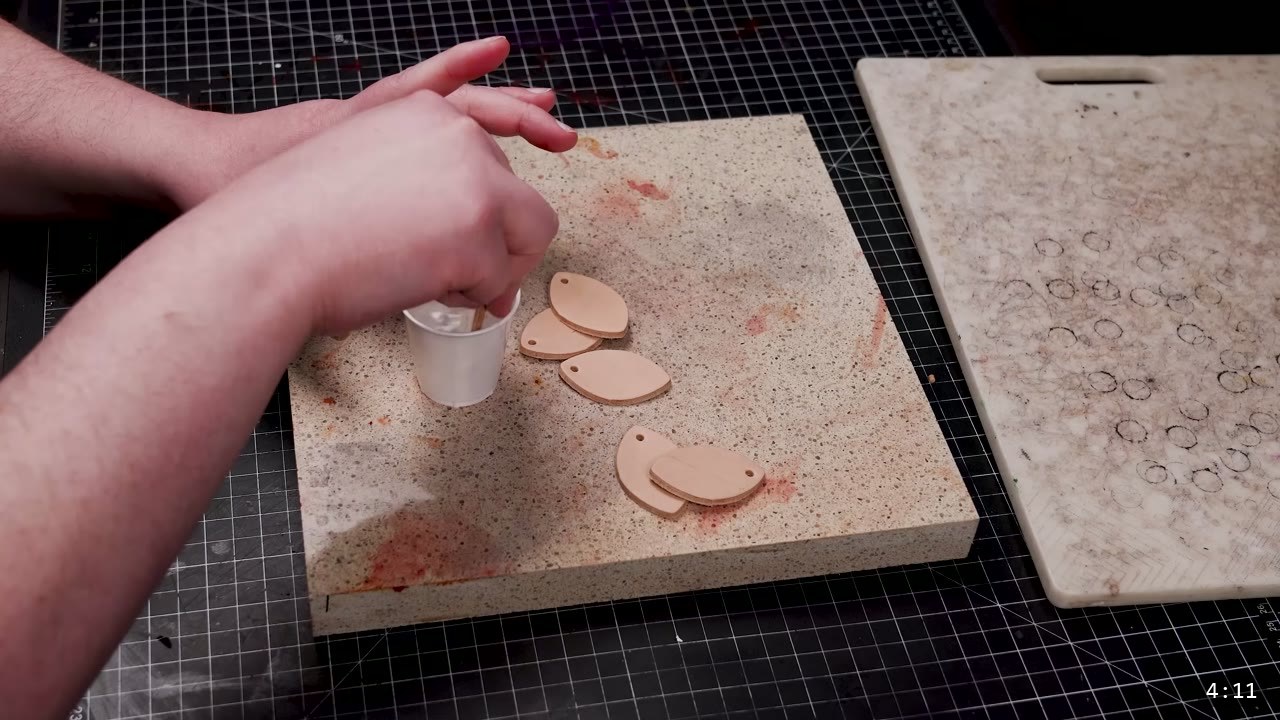
Now you decide the look. If you want a little dish like mine, press each damp scale into shape with your fingers or over a small dome. You can also skip a separate step and shape the scales while they set to dry during the dye or finish pass. Any shaping has to happen before the finish cures, though. Once the finish is dry the scale resists water and holds its shape, so it will not reshape after that. You can also leave the scales flat. For color I use Fiebing’s Red Pro Oil Dye, and for the finish I use Weaver’s Clear Tough Coat. Dip dyeing and dip finishing are the fastest way through a big batch. Test your color on scrap first.
Step 5: Punch the grid backing
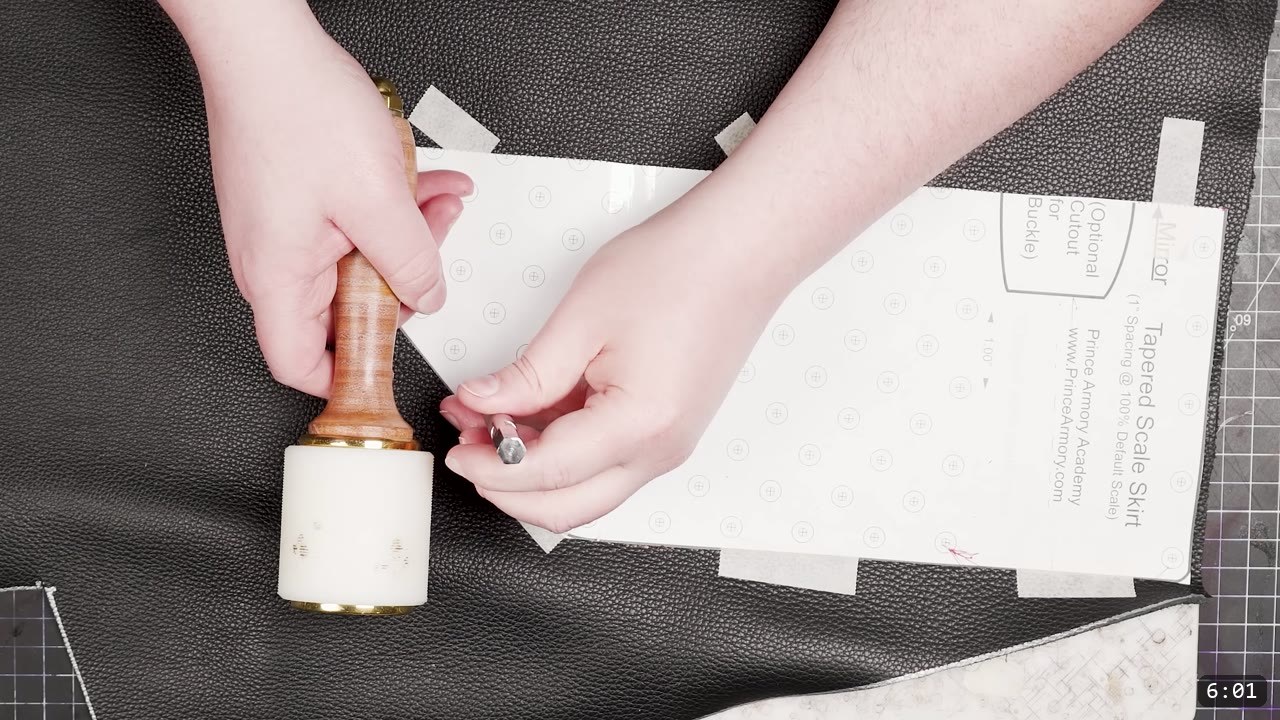
Cut your backing panel a touch oversized for now. You can trim the pattern evenly from the sides, edges, or bottom to fit your body, or make the panel larger, as long as you keep the grid lined up. I tape the pattern down onto the backing and drive the rivet holes straight through it. Then I line up and flip the pattern to punch the matching holes for the other half.
Step 6: Cut out the grid and the buckle slot
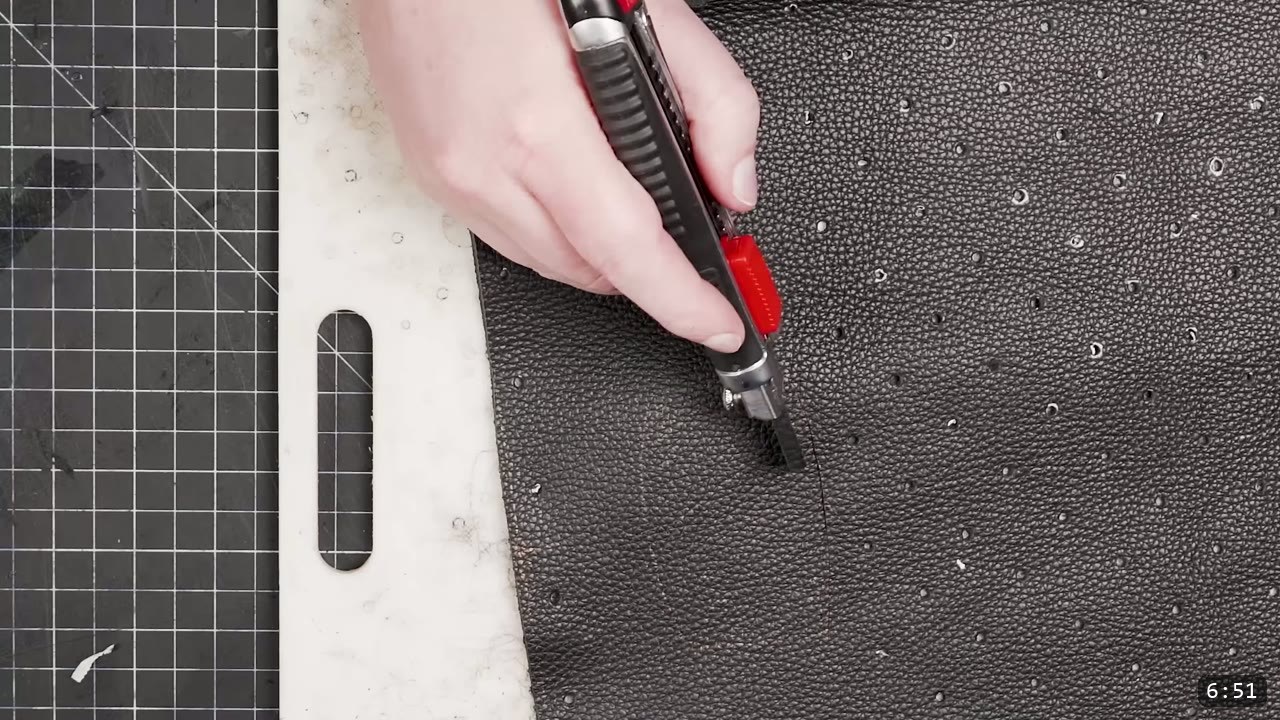
Once the holes are driven, cut the grid to its outline. A straight edge helps on the long runs. If you are making the front panel, trim out the slot for the buckle.
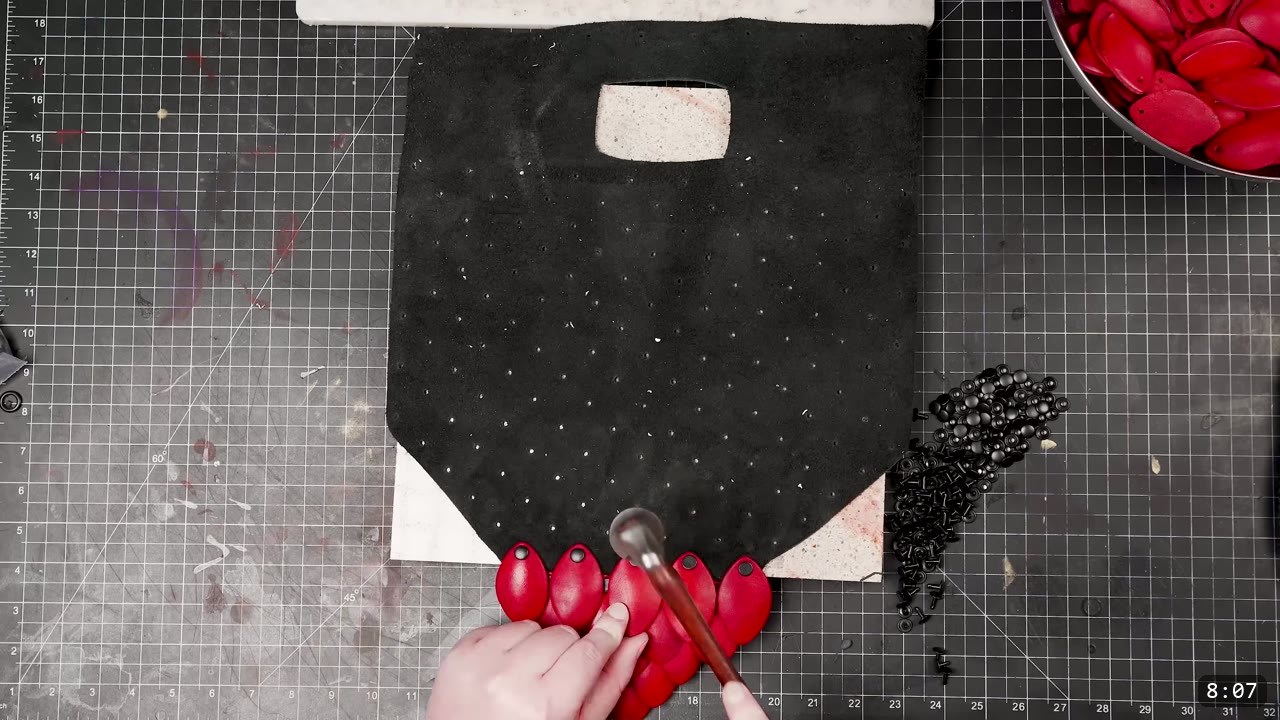
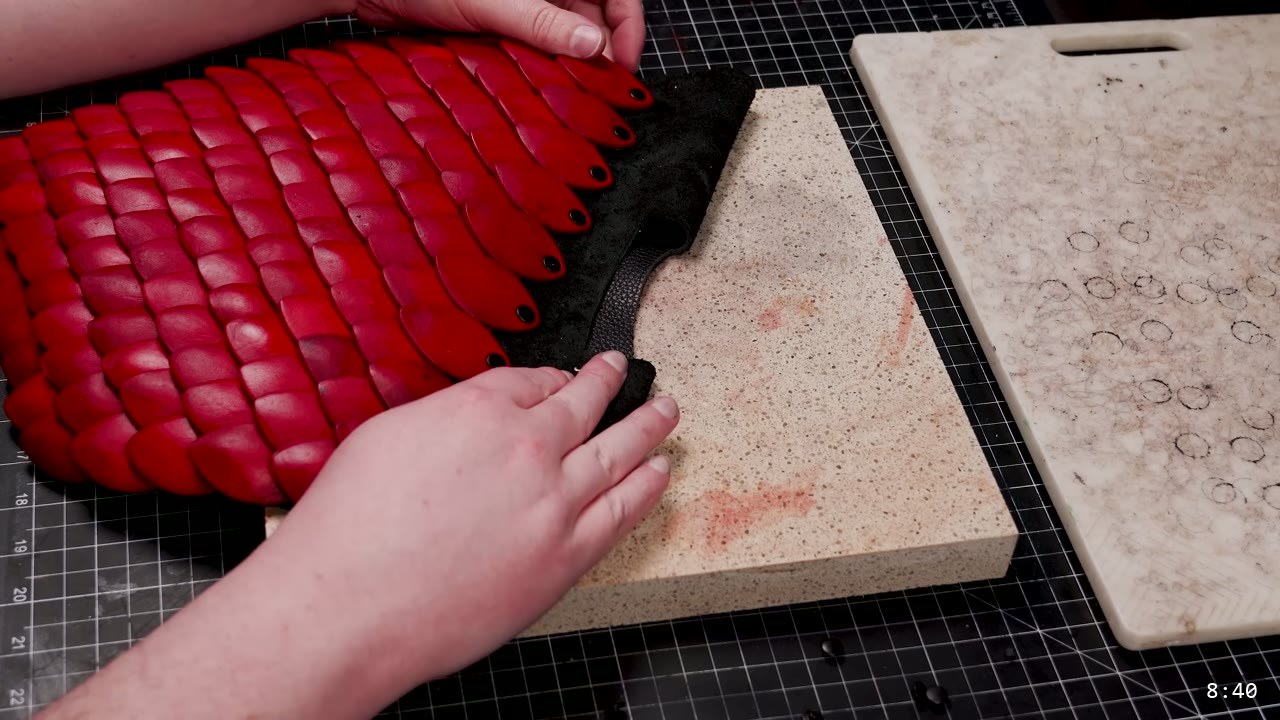
Step 7: Rivet the scales, row by row
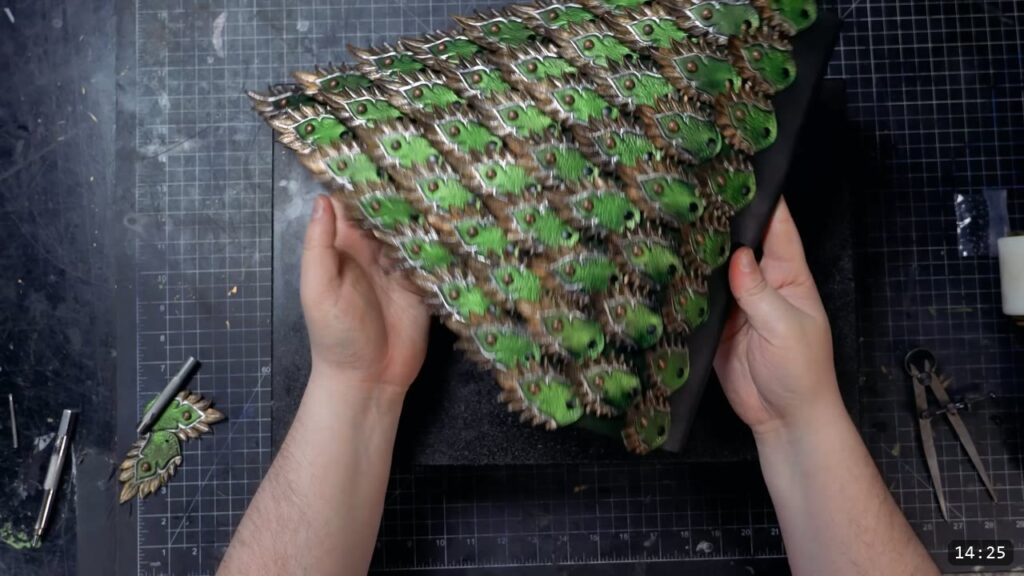
Decide which face of the scales you want showing. I like the finished side facing in, but it is your call. Start at the bottom and work up, one row at a time, so each row overlaps the one below it. I use black double-cap rivets in medium for most of the panel. If your leather is thin, drop to small rivets. You can set them with a rivet setter, but I just set them flat with a hammer.
Step 8: Fold the top and set the top row
At the top row, switch up to the next size rivet and fold the top edge of the backing over on itself as you attach the top scales. That fold makes a loop along the top of the panel, and the loop is what your waist strap runs through.

Step 9: Make the waist strap
Cut a one inch strip of supple, pre-dyed leather for the strap and add a one inch buckle. The buckle in the video has a double center bar, which speeds up assembly. Measure your waist where you want the skirt to sit, and leave yourself enough length to adjust. The panels are built to take up to a one inch strap.

Step 10: Wear it
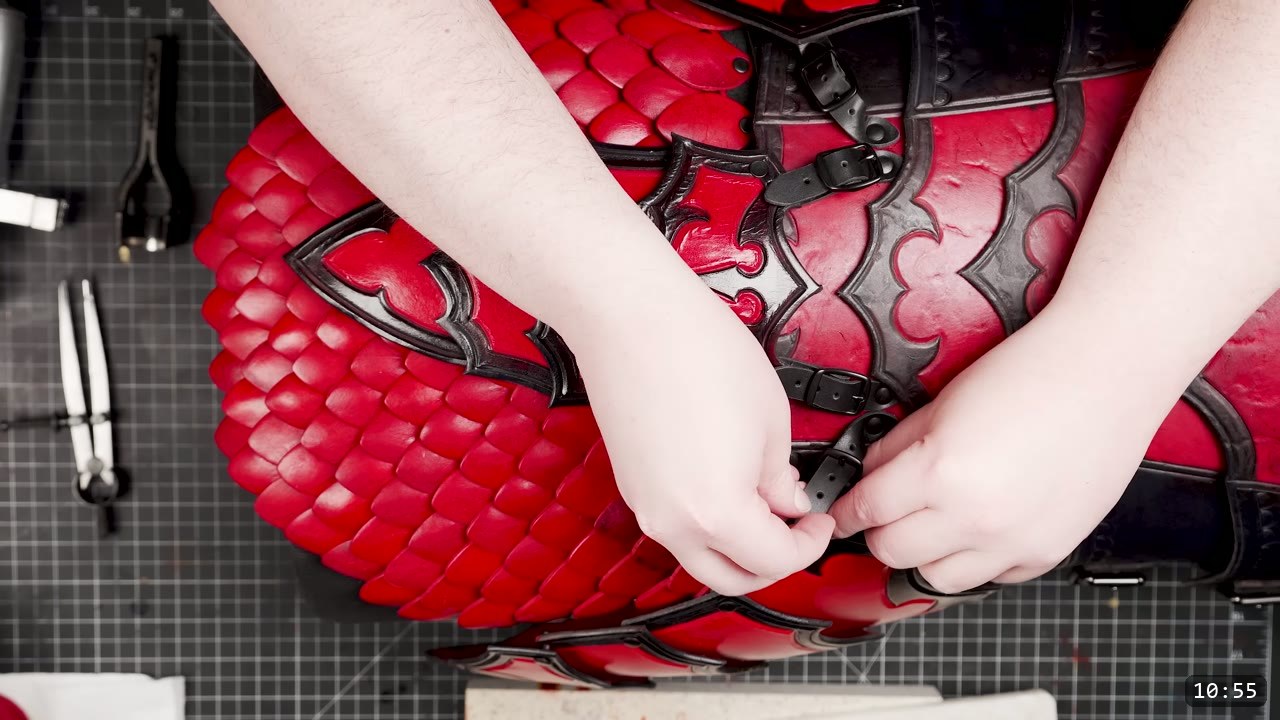
Run the strap through the top loops and buckle it around your waist. You can wear the front panel, the back panel, or both. I keep it modular on a strap rather than riveting the skirt permanently to the rest of the armor, because it is easier to wear and swap that way.
FAQ
Is scale armor hard to make?
No. It is one of the easier fantasy pieces. The work is repetitive rather than difficult: punch a lot of scales, then rivet them in rows onto a backing. The pattern does the layout and counts for you.
What leather should I use?
Veg-tan for the scales, because it takes and holds a dished shape and dyes well, and it is a good way to use up scrap. Use any supple leather for the backing grid. The backing only carries the weight of the scales, so something light is fine. I used a chrome-tan bull hide.
What is the fastest way to cut the scales?
A strap-end punch. It cuts a full scale in one strike. Measure the punch first, since they often run oversized, then print the pattern at a percentage that matches it. A round-end punch gives a softer fish-scale look.
How do I color the scales?
Dye them, then seal with a finish. I use Fiebing’s Red Pro Oil Dye and Weaver’s Clear Tough Coat. Dip dyeing and dip finishing are the quickest way through a big batch. Do any shaping before the finish cures, because the finish locks the scale and it will not reshape after it dries. Test your color on scrap first.
How do I wear it?
On a waist strap. Fold the top edge of the backing into a loop as you set the top row of scales, then run a one inch strap and buckle through the loops. You can wear the front, the back, or both.
Where to go next
- Get the pattern: Fantasy Scale Skirting.
- The skirt sits under the breastplate: the top of the panel is meant to be covered by the Fantasy breastplate and tassets, so build those to finish the torso.
- Ready for the full set? The Fantasy Armor Digital Apprenticeship Bundle collects the whole suit.
- Want a shaping refresher for dishing the scales? Watch Hand-shaping Leather for Armor Making.
- New to leather armor? Start with 5 tips for getting started with leather armor.
- Built one? Share it and tag Prince Armory Academy and Weaver Leather; we feature student work.




Responses