



Leather Bracers Build Guide: Make a Fantasy Armor Pair from a Flat Pattern

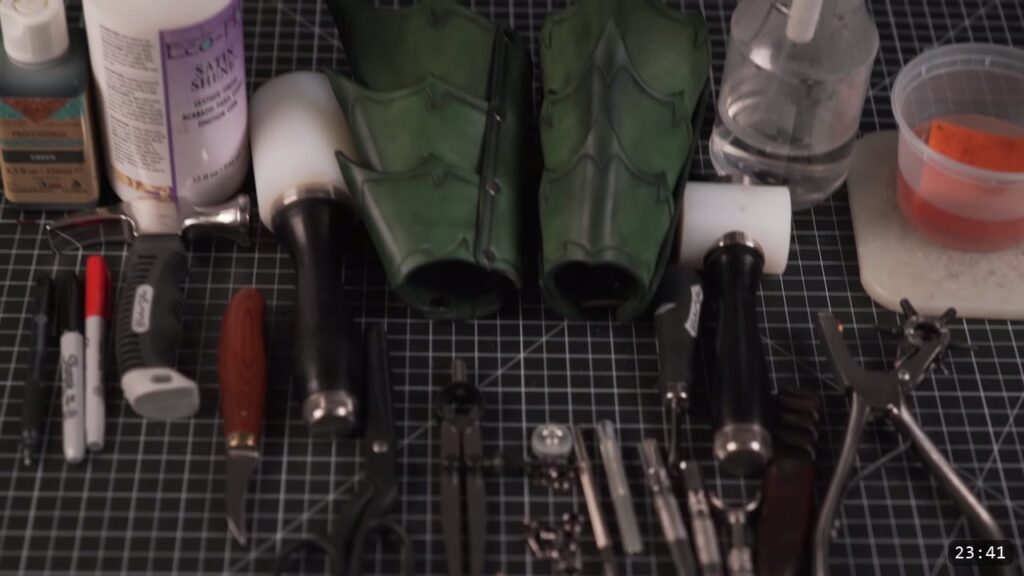
You make a pair of fantasy leather bracers from a flat printed pattern. You trace the pieces onto firm vegetable-tan leather, cut them out, carve and tool a barbed border, punch the holes, dye and seal the leather, then rivet the plates together and set eyelets so you can lace them onto your arm. Bracers are worn on the forearm and they are a good first armor project, since the pieces are flat and the design forgives small mistakes. This guide walks the whole build alongside the video, so you can watch each step and read the details the video moves past quickly.
What you are building, and what it takes
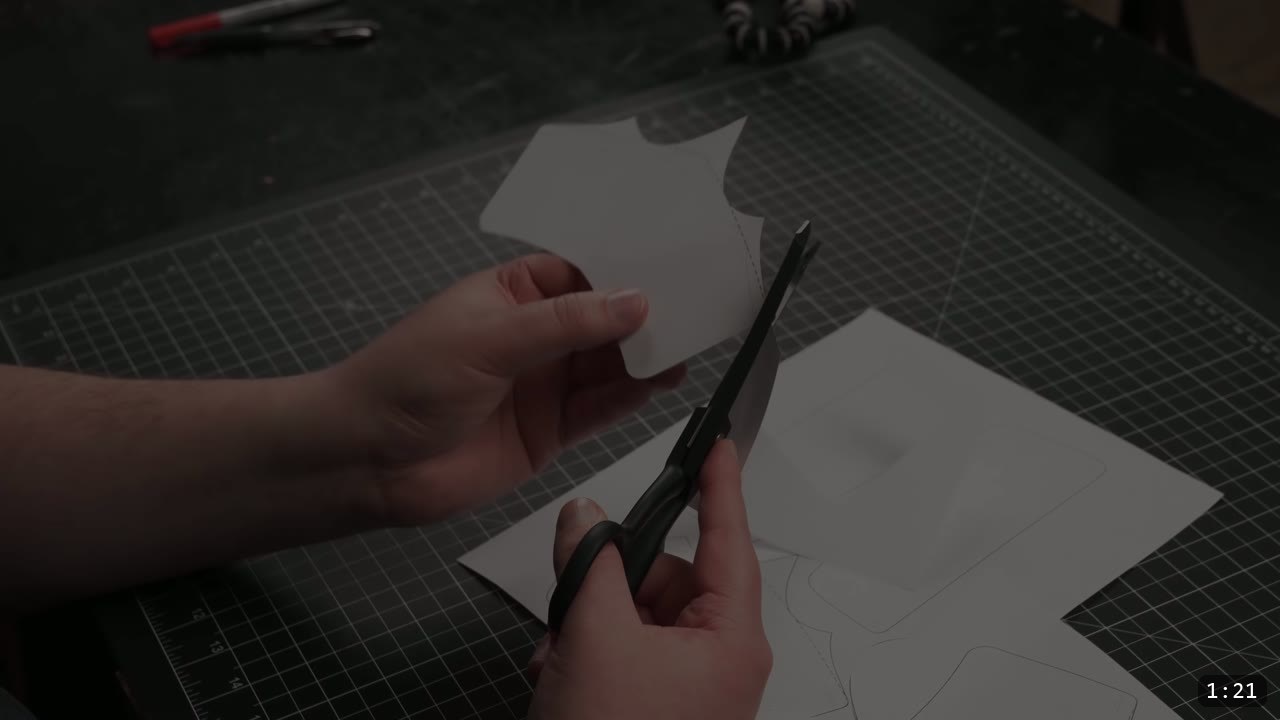
This is a pattern build, so you cut and shape everything yourself. The pattern is one size fits most, and it draws two looks from the same base shape. A solid line gives you a sharp, angular edge, and a dashed line marks the more rounded style. Which one you pick is personal preference. The reward is a matched pair of armor bracers with a carved border and a subtle center ridge. The tradeoff is that the carving and border tooling take some practice, so slow down on those parts if you are new.
What you need
The pattern. The Fantasy Bracers Pattern prints on normal printer paper. Consult the included documents for fit and sizing before you cut leather.
Leather. Firm vegetable-tan. The video uses a thick cut, around 12 oz, which takes more effort to cut and later needs thinning around the rivets. You can choose a lighter weight depending on what you want. Firm leather holds the tooling and the center crease better.
Tools.
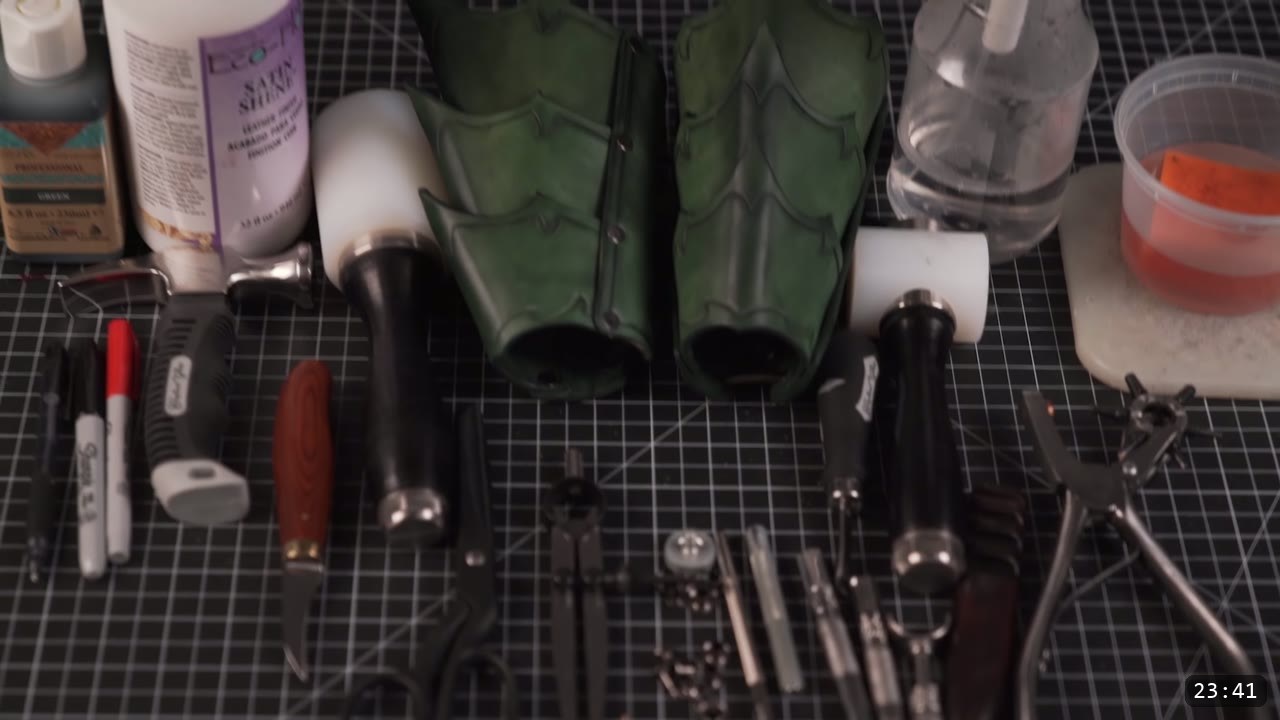
- Cutting: leather shears, or your cutter of choice.
- Marking: a fine point marker, a ballpoint pen for the hole centers, and a wing divider for the border line.
- Carving: a swivel knife. The video uses a straight ceramic blade, which keeps its edge but needs regular stropping.
- Edging: an edge beveler (the video uses a number 2 Craft Tool Pro Classic from Tandy) and a wood slicker with a mist bottle.
- Holes: an interchangeable head hole punch, a poly board to back the cut, and a heavier maul to speed it up. A 5mm punch for the eyelets.
- Tooling: a bevel stamp (the video uses a Kraft Tool B206) and a high density sponge for casing.
- Shaping: a hammer with a smooth convex face.
- Color and seal: green Eco-Flo Water Stain and Eco-Flo Satin Sheen finish, applied with a high density sponge, plus a shop towel to wipe the excess.
- Assembly: long double cap rivets and a rivet setter, eyelets and an eyelet setter, and about 45 inches of lace per bracer (leather lace or paracord).
Step 1: Cut out the pattern and trace it
Print the pattern and cut the paper pieces out. Trace around each piece onto the leather with a fine point marker. A pen works too, but watch for ink smudges. As you trace, mark the centers of the holes with a ballpoint pen so you know where to punch later.
Step 2: Cut the leather
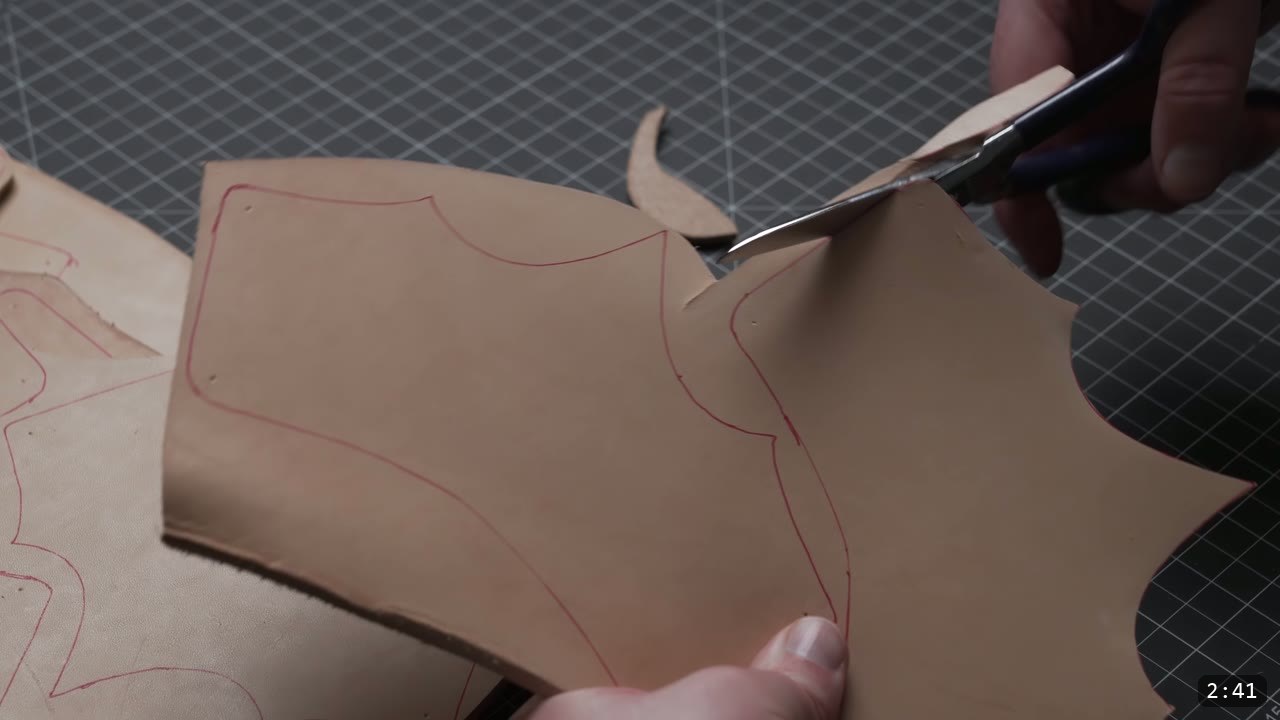
Rough cut the hide into manageable pieces first, then cut each part to the line. Keep the shears perpendicular and the cut consistent. Keep the cut seated into the blades as you reset your stroke, so the edge reads as one smooth cut instead of a choppy, jagged one. Cut along the inside of the traced line. Tracing rides slightly outside the pattern, so cutting inside trues the design line back up. If your cut starts to drift, correct it gently rather than abruptly, since a sharp correction is easy for the eye to catch. If you are new, expect sore fingers until your hand strength builds.
Step 3: Transfer the design
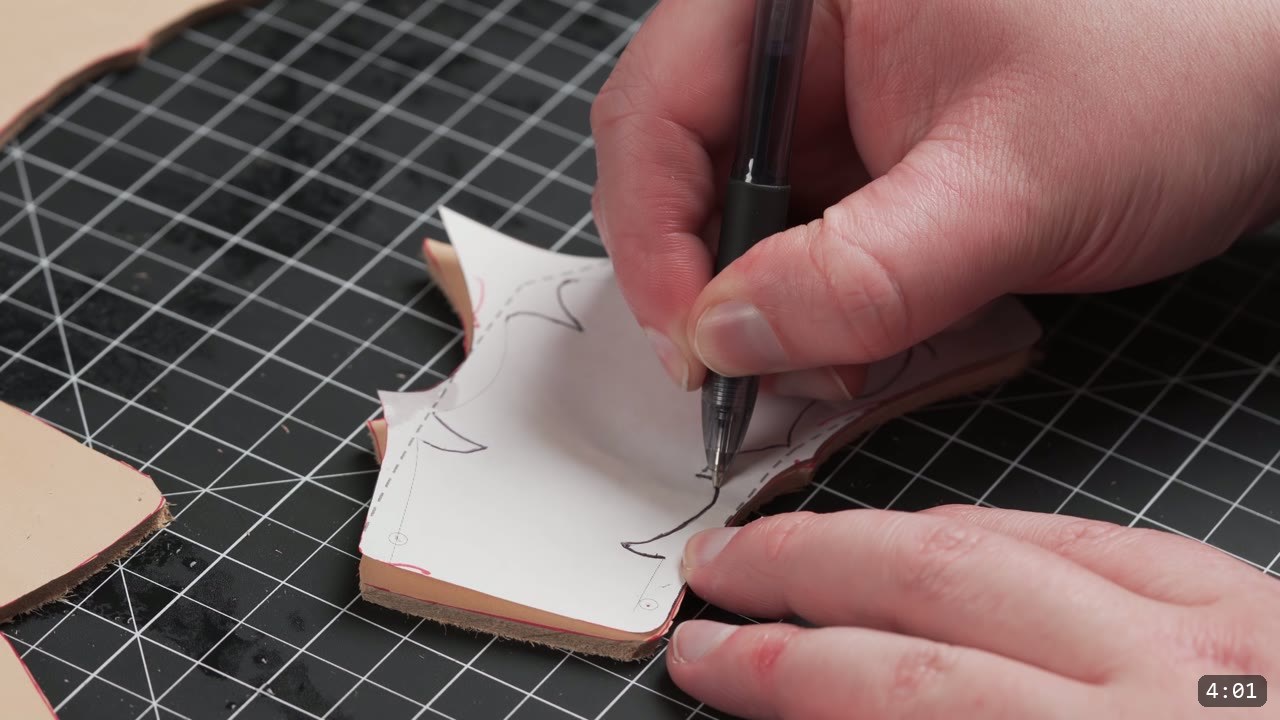
Spray the surface with a fine mist of water. The moisture relaxes the fibers so the leather takes the trace cleanly. Do not soak it. Give it a minute to absorb, then overlay the pattern and trace the design lines with a ballpoint pen. The video traces only the barbed design and runs a wing divider around the perimeter for a clean, consistent border line. You are free to change the design or leave it off entirely.
Step 4: Case and carve
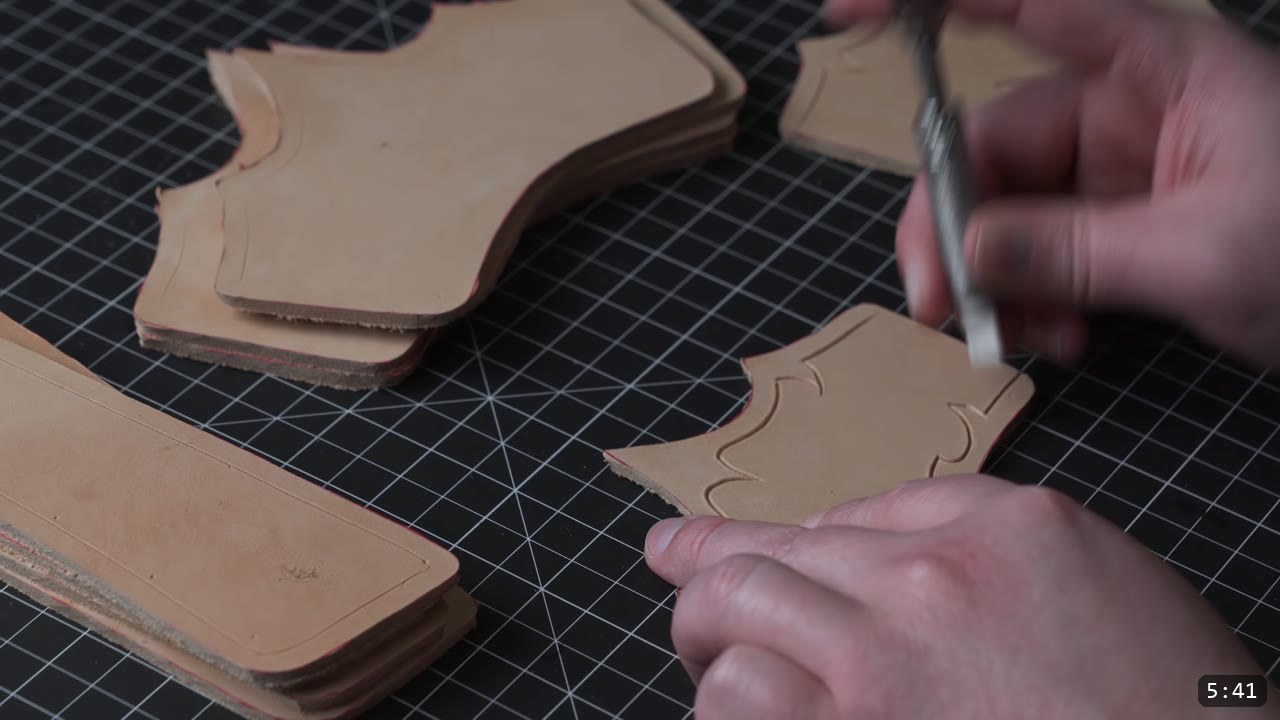
Casing just means spraying the pieces with a fine mist and letting them sit a few minutes so the moisture works deeper into the fibers. Then carve the traced lines with a swivel knife at heavy to medium pressure. With leather this thick you could cut deeper for a more pronounced border. The swivel knife takes practice and cramps your hand at first. For the long straight borders, lock the blade direction in your grip and use your ring finger as a guide, pulling straight down. Straight cut parts give you fast, consistent straight lines.
Step 5: Bevel the edges
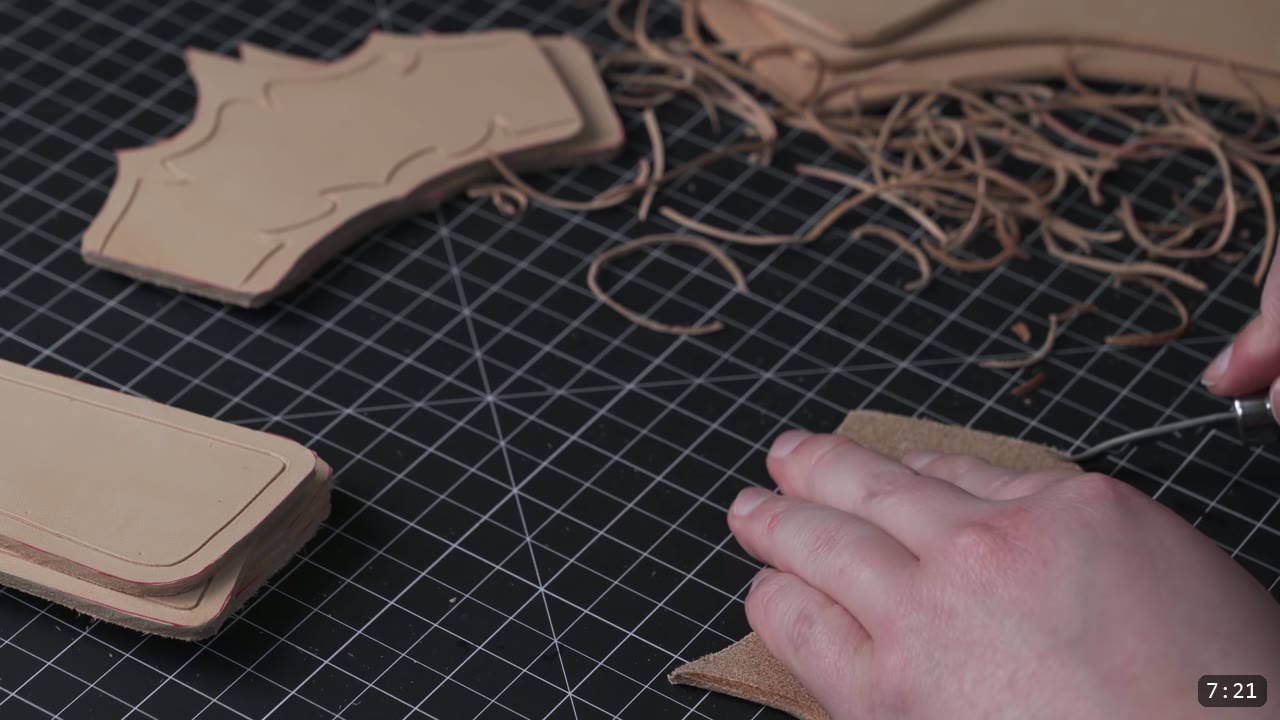
Run an edge beveler along the top and bottom perimeter of each piece. This rounds the edge profile so it slicks easier later, and it cleans up any tracing marks along the edge. Bevel while the leather is slightly damp from casing. Too wet and the blade cannot bite and you get wrinkled gouges. You can bevel dry, but beveling damp starts the burnishing by compressing the fibers as you cut. Spongy or wrinkly parts of the hide do not bevel as cleanly, so take those slow.
Step 6: Burnish the edges slick
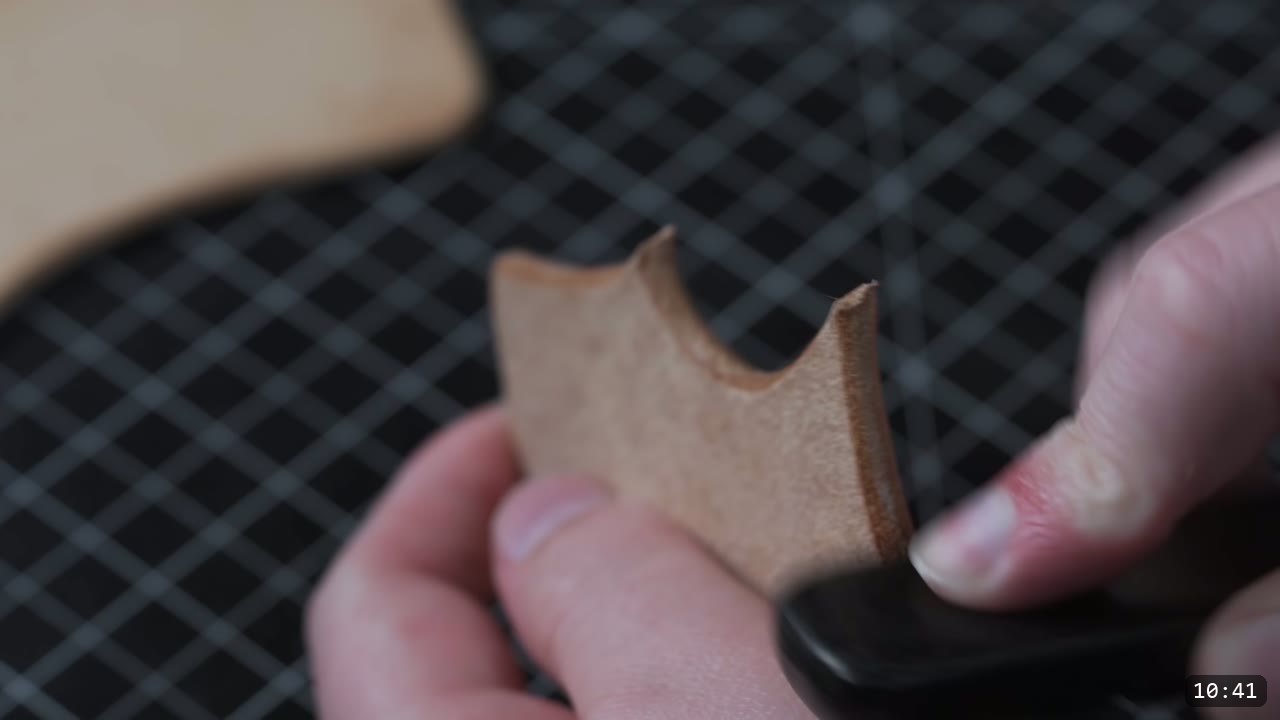
Mist the edge, set it into the best fitting groove of a wood slicker, and rub back and forth with firm pressure. You are compacting the fibers along the edge. Moisture consistency is the whole trick. Too dry and the fibers will not compress, too wet and they will not hold the shape. Water alone gets you there, but to make it last you seal it. On most armor you seal anyway, so it costs you nothing. A final slicking pass as the sealant dries locks the edge in.
Step 7: Punch the holes
Punch the assembly holes with an interchangeable head hole punch, backed by a poly board to protect the tip. A heavier maul makes it quicker. If the punch head starts sticking in the leather, polish and strop the tube head now and then, and it will pop back out clean instead of grabbing.
Step 8: Border tooling
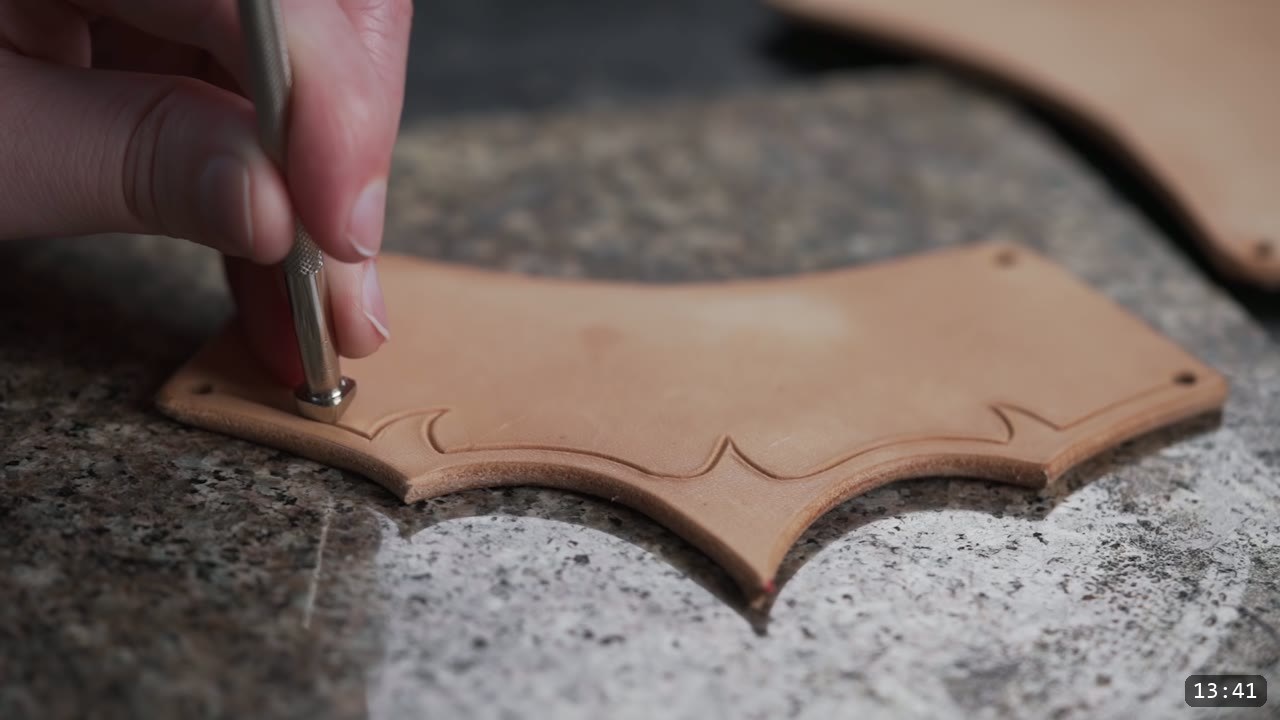
Case the leather again, this time heavier, using a container of water and a high density sponge. Let it sit until the lighter surface color starts to return. That means the surface is firm while the inside is still damp and ready to hold an impression. Tool the border with a bevel stamp at light to medium depth. Keep the tool seated in the cut line and drag it to the next position, or hold it at the surface and let it rebound after each strike. Overlap each strike slightly over the last and keep your force consistent. If the piece dries out while you tool, spray it lightly.
If you lose your rhythm and strike off the line, you can hide it. Wet mold and over-stretch the mistake from the back side to flatten the detail in that area, then burnish it back down from the top and smooth it out. Once the mark is mostly gone, retool the correct path.
Step 9: Shape the center crease
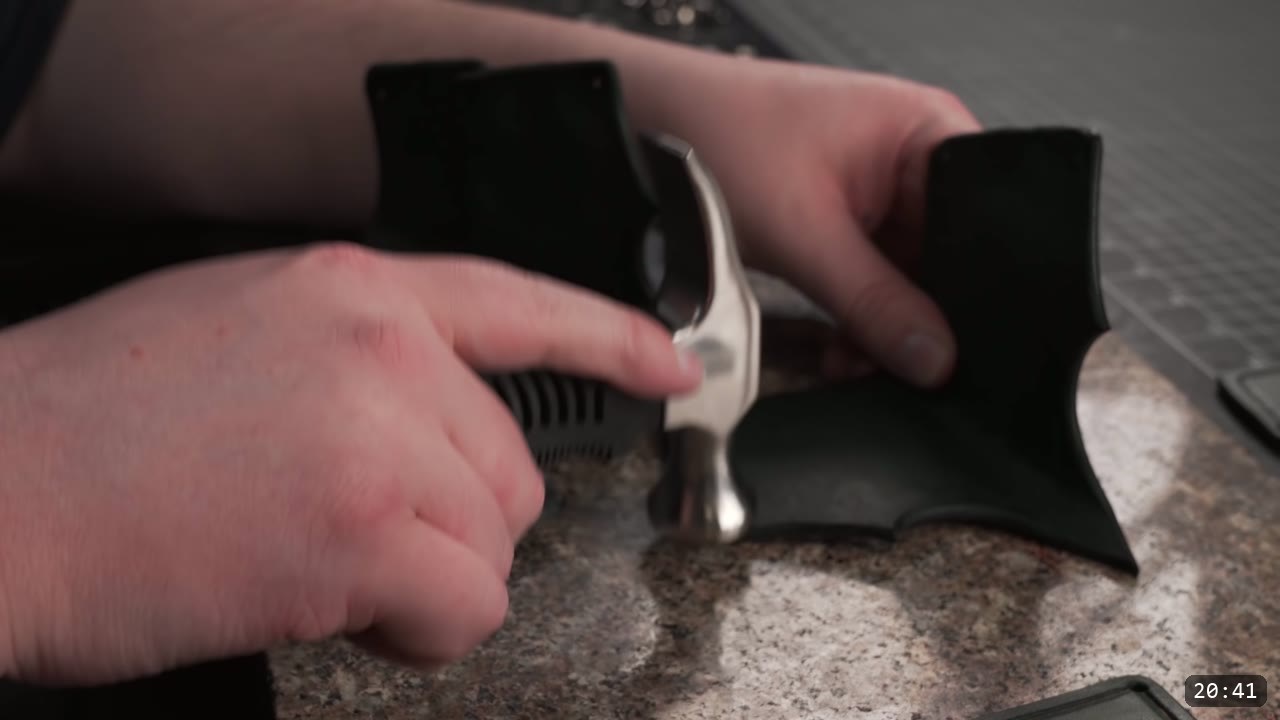
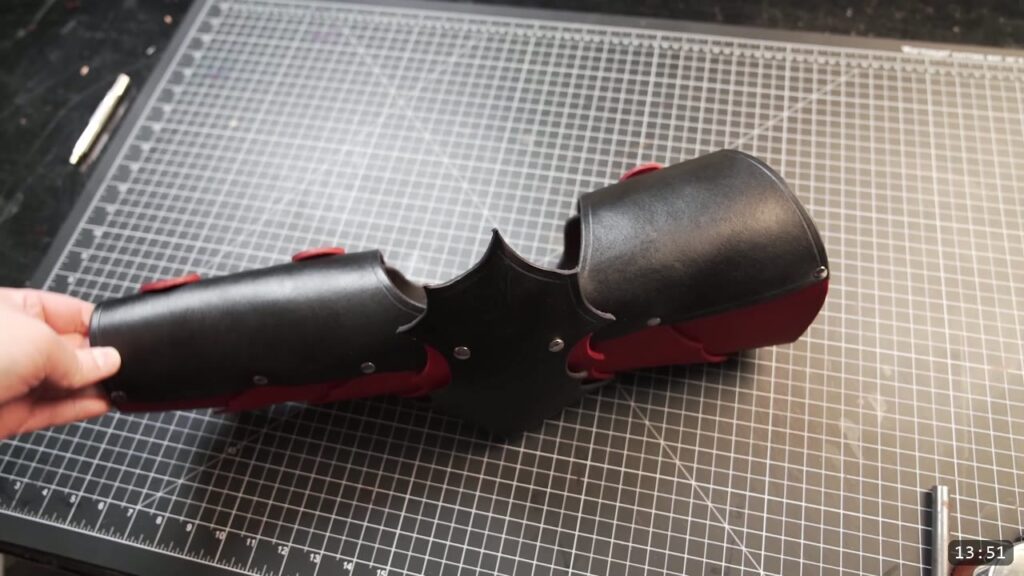
Give each center plate a subtle crease. Saturate the center of the piece to make it pliable, fold the plate in half, and strike along both sides to pronounce the center ridge. Use a hammer with a smooth convex face. Do this shaping now, before you color and seal. Once the leather is dyed and sealed the finish resists water, and the piece will not fully re-wet or reshape after that, so all the forming has to happen first.
Step 10: Color the leather
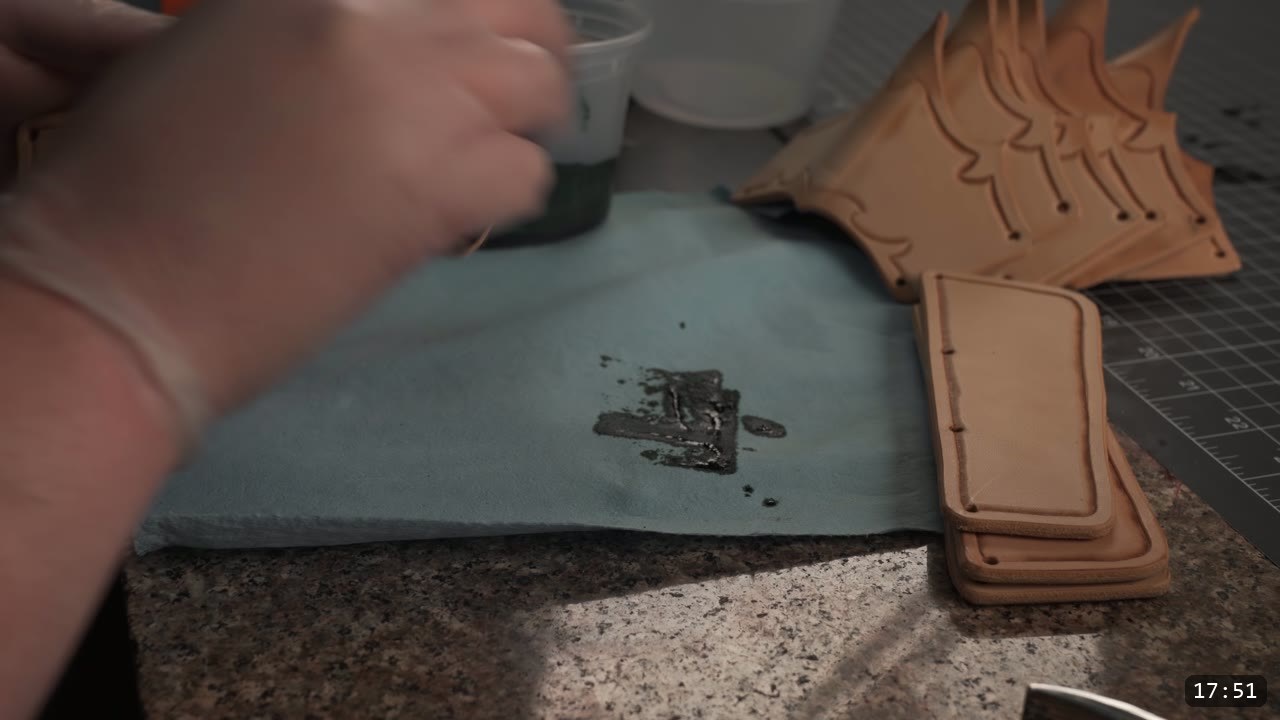
Shake the stain first, since these products settle. Pour some into a small container you can dip an applicator into. The video uses a green Eco-Flo Water Stain and goes for a solid, consistent color rather than a textured look. Apply a generous coat to both sides with a high density sponge, then wipe the excess with a shop towel. Test your color on scrap first, or on the underside if this is your first piece and you have no scrap.
Step 11: Seal the leather
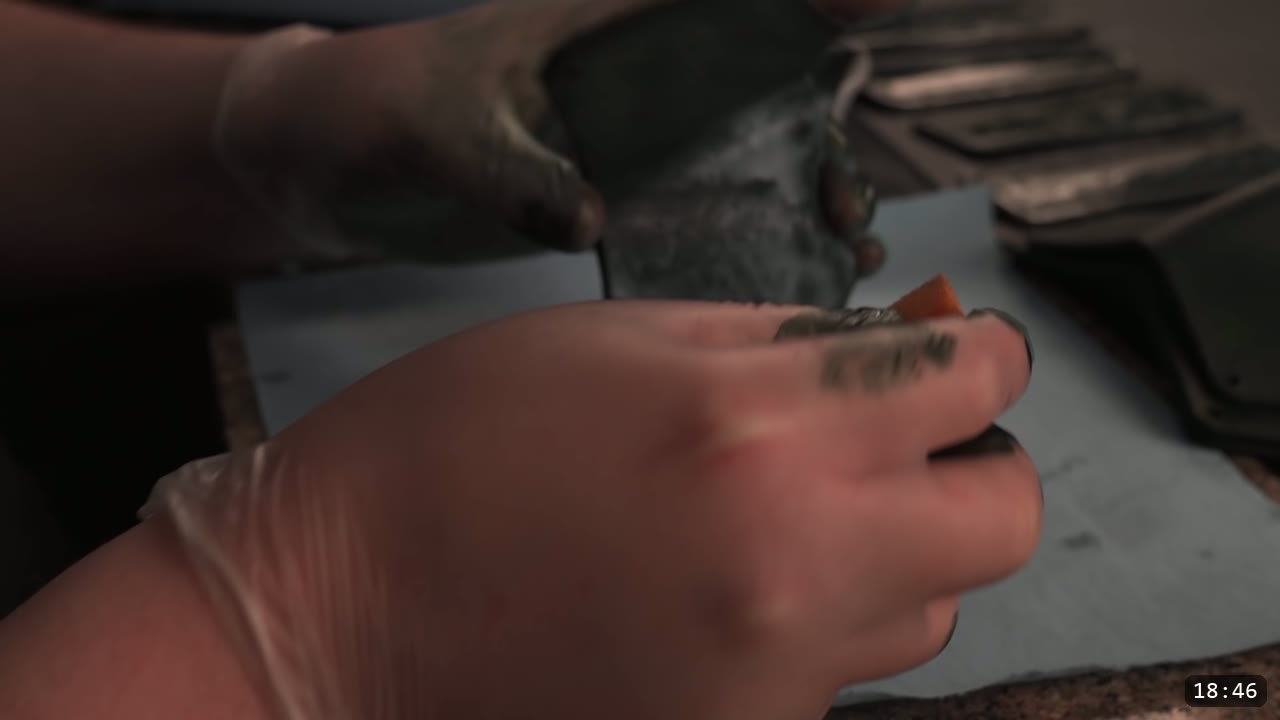
Seal the pieces with Eco-Flo Satin Sheen using a high density sponge on both sides, then set them aside to dry. Satin Sheen leaves a low gloss. Before the pieces are fully dry, go back with the sponge when it is mostly dry and finesse the surface. This is also a good moment for one last edge burnish, while the edges are tacky and damp from the finish.
Step 12: Assemble with rivets
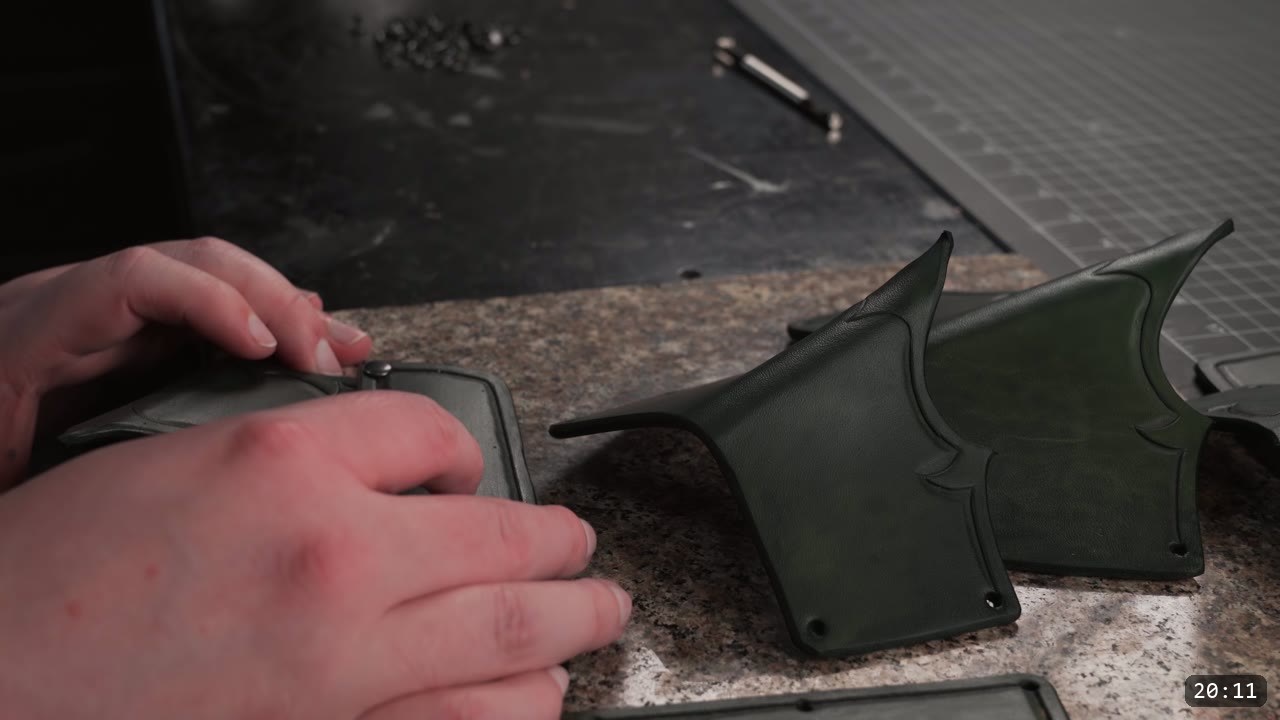
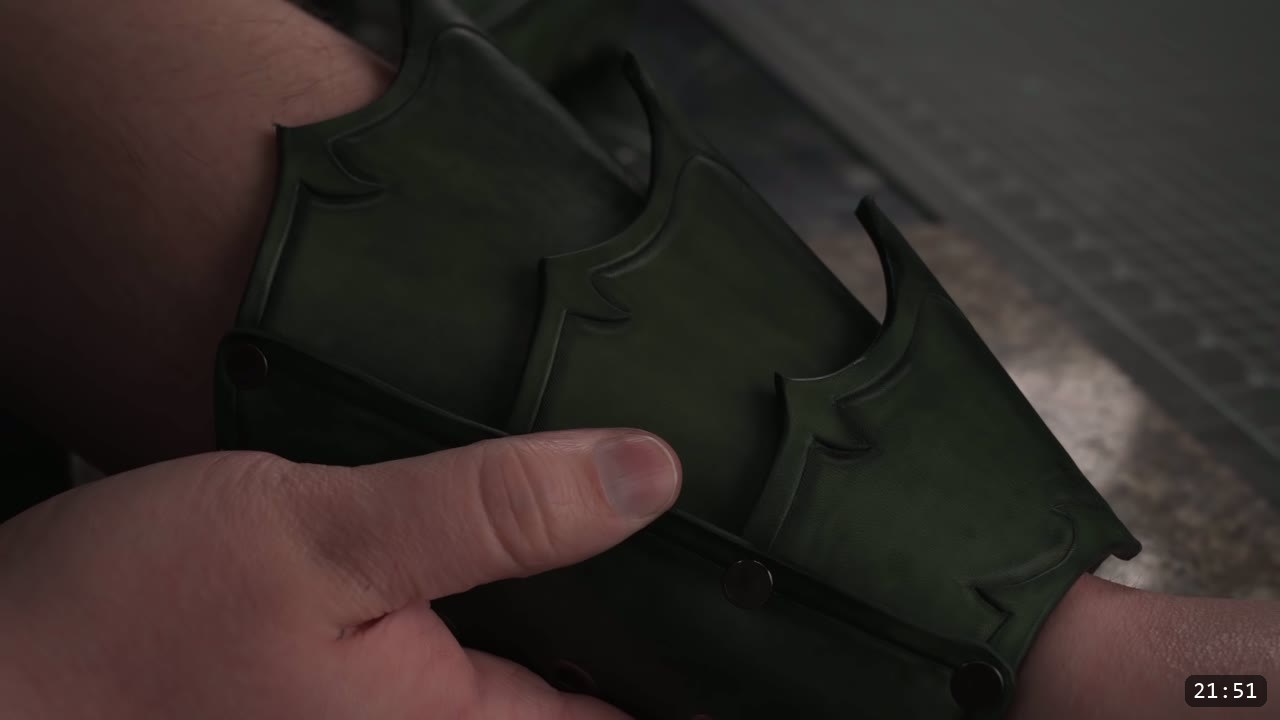
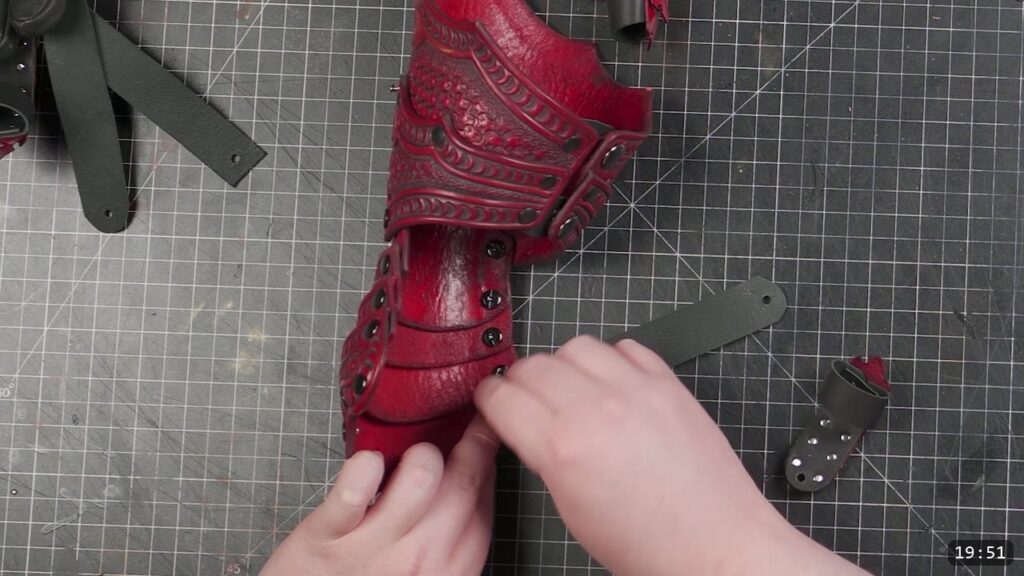
Each center plate is different, so check which is which before you assemble. Pick a side panel and start from the bottom with the first center plate. The video sets these rivets flat, which is not its favorite method but it does the job. Once the first rivet is set, add the second plate and run a long double cap rivet through all three layers, then continue with the third plate. Because the leather is thick, thin it a little where the rivets land. You can skive the undersides of the holes, but compressing the leather around the rivet with a few hammer strikes works too, especially while the leather is still slightly damp and pliable from the finishing stage. When one side panel is done, repeat the whole process on the opposite panel, starting from the bottom again.
Step 13: Set the eyelets
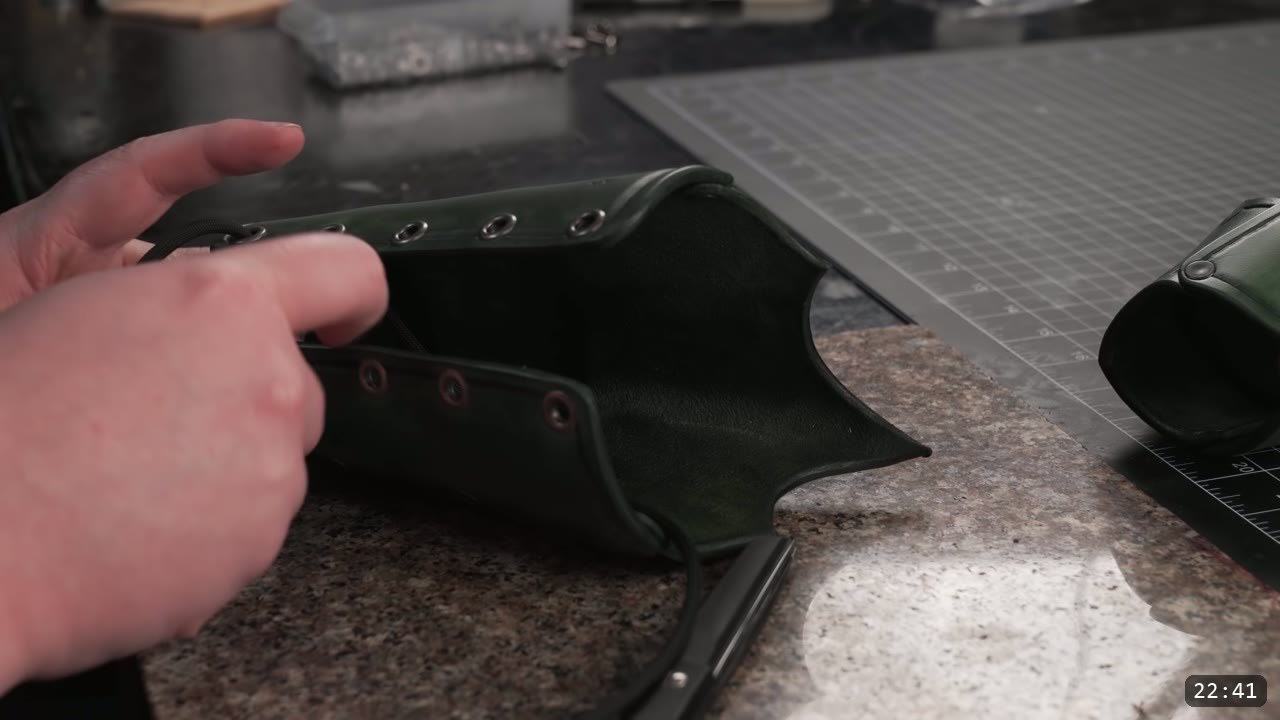
Decide how you want to hold the bracers on. The video goes with eyelets, which are quick. Punch the holes with a 5mm hole punch, the largest tube in the set, and set each eyelet with an eyelet setter. Support the top of the eyelet so it does not smoosh flat, and curl the bottom of the post over itself for a tight friction fit in the hole. Foot press attachments and other setters exist, so your process may vary.
Step 14: Lace them up
Lace each bracer however you like, criss cross or over under, top to bottom. Plan on about 45 inches of lace per bracer. Leather lace, such as a strip cut from Latigo, holds its adjustment better once set. Paracord or another synthetic is easier to lace and tighten. Use anything sturdy. While wearing them, tuck the excess in.
FAQ
Are leather bracers a good beginner project?
Yes. Bracers are a flat, forearm-worn piece and a good first armor build, and the video teaches each step. The carving and border tooling are the involved parts, so if you are new, go slow on those and let the design carry small mistakes.
What leather weight should I use?
Firm vegetable-tan. The video uses a thick cut around 12 oz, which holds the tooling and the center crease well. You can go lighter if you prefer, but firm leather retains shape better.
Do the bracers have to be green?
No. Green is the color the video uses. Any leather dye works. Test your color on scrap, or on the underside of a piece if this is your first build and you have no scrap.
How do I fix a tooling mistake?
Wet mold and over-stretch the area from the back to flatten the detail, including the mistake, then burnish it back down from the top and retool the correct line. Leather is forgiving if you work it gently.
How do the bracers stay on my arm?
Eyelets and lacing. Set eyelets along both edges, then run about 45 inches of lace per bracer. Leather lace holds an adjustment, while paracord is easier to tighten.
What is the difference between the sharp and rounded style?
Both come from the same base pattern. The solid line gives the sharp, angular edge and the dashed line marks the rounded style. Pick whichever look you want.
Where to go next
- Get the pattern: Fantasy Bracers Pattern.
- Ready for the full suit? The Fantasy Armor set carries the same theme across the rest of the body.
- New to leather armor? Start with 5 tips for getting started with leather armor.
- Want a simpler first build? The Warrior Armor Bundle is an easier path before the fantasy series.
- Struggling with the crease or any forming? The Hand-shaping Leather for Armor Making walkthrough goes deep on wet forming.
- Built a pair? Share it and tag Prince Armory Academy; we feature student work.




Responses