



Leather Buckle Straps for Armor: A Reusable How-To with Free Patterns

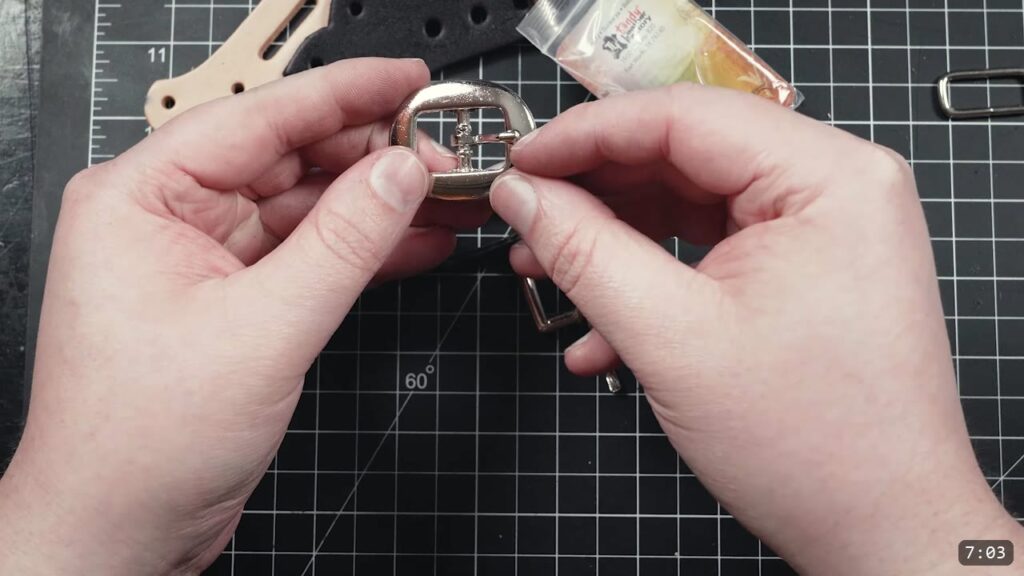
Buckle straps are how you close and adjust almost every piece of leather armor. You cut a strap from 5 to 10 oz leather, punch two rivet holes and a prong slot at the buckle end, trim and mark adjustment holes at the tongue end, then rivet the buckle on. You can do the whole thing with a cutting tool, a straight edge, and something to punch holes. This guide walks each step alongside the video and links the free pattern pack, so you can reuse it on every build.
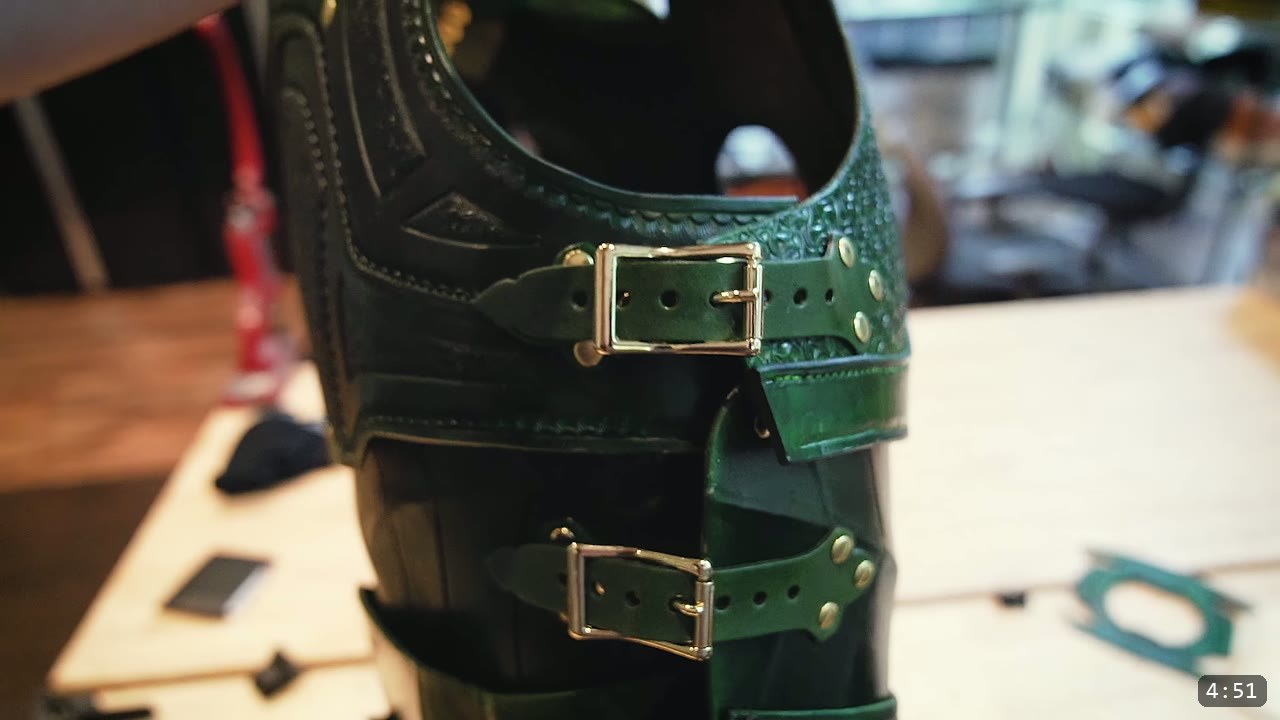
What a buckle strap does, and what it takes
A buckle strap is a small part that shows up on nearly every armor build. It holds two pieces together and lets you adjust the fit. Learn it once and you reuse it on breastplates, bracers, tassets, pouches, and more. This is a technique, not a kit, so I keep it simple and build up from there.
The minimum kit is small: a cutting tool, a straight edge, and something to make holes. If you make straps often, a strap cutter and a proper punch pay for themselves. Neither is required to start.
Grab the free buckle strap pattern pack before you cut. It gives you assorted strap shapes and sizes to trace, so you skip the layout guesswork.
Step 1: Pick your leather
For strap thickness, stay in the 5 to 10 oz range. Less than that is too flimsy. More than that is hard and clunky to work with. My favorite for straps is medium, in the 6 to 7 oz range.
For the simplest possible strap, grab pre-dyed or latigo leather. The color is already in it, so you cut and rivet and you are done. If you want to tool the strap or control the color yourself, use vegetable tan leather instead. Veg-tan takes stamping and dye; it is the choice when you plan to decorate.

Step 2: Cut the strap to width
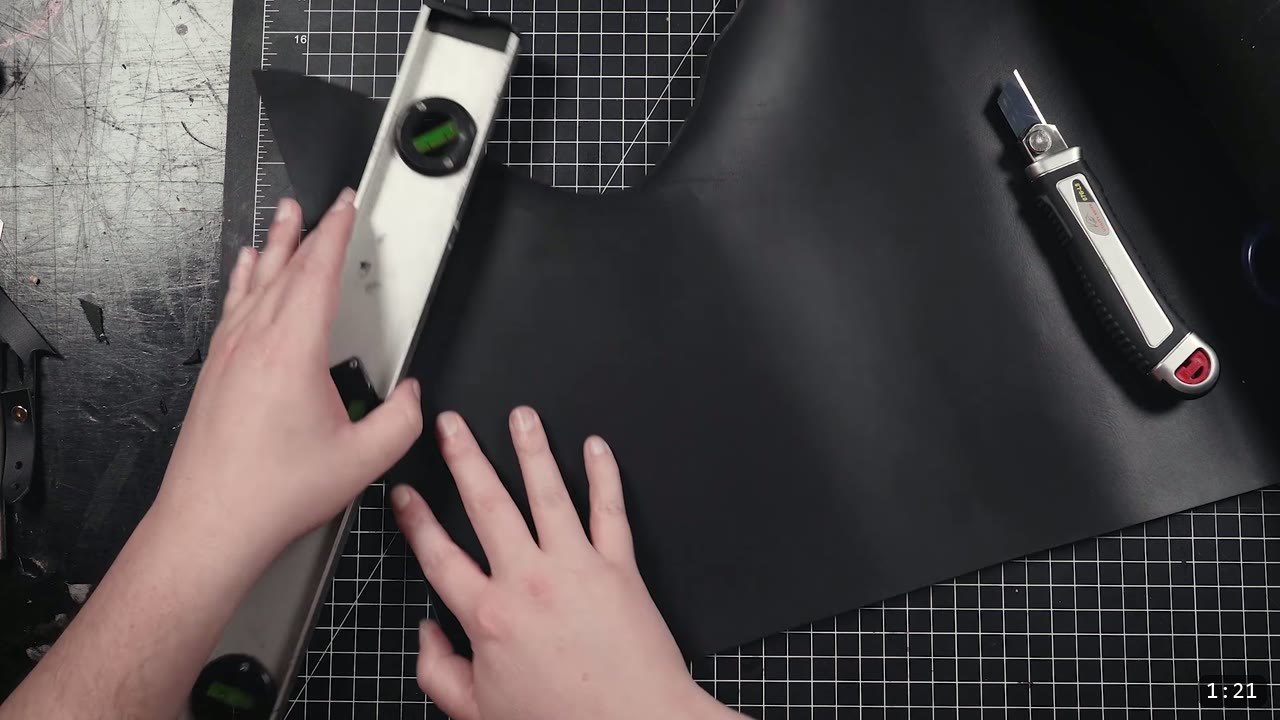
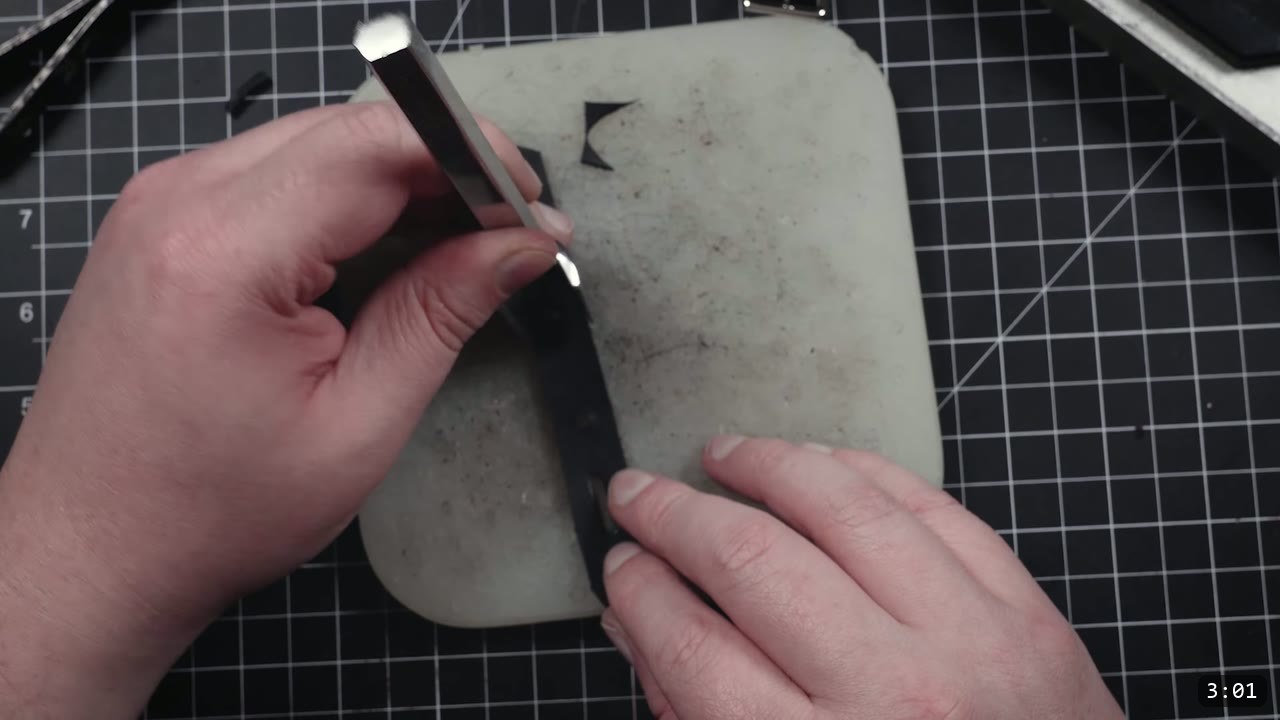
Start with one clean straight edge. In the video I use an aluminum level and a box cutter on some scrap. Then measure over the width you want and cut again parallel to the first edge. That gives you an even strap.
If you find yourself cutting straps regularly, a strap cutter is a no-brainer investment. It sets a width and pulls a consistent strap every time.
How wide? It depends on the part:
- Breastplates, upper legs, and large accessories: one inch is more than enough. Wider than that is a cosmetic call.
- Arms: three-quarter inch is plenty.
- Bracers, gauntlets, tassets, and small odds and ends: half inch is fine.
Step 3: Punch the two holes at the buckle end
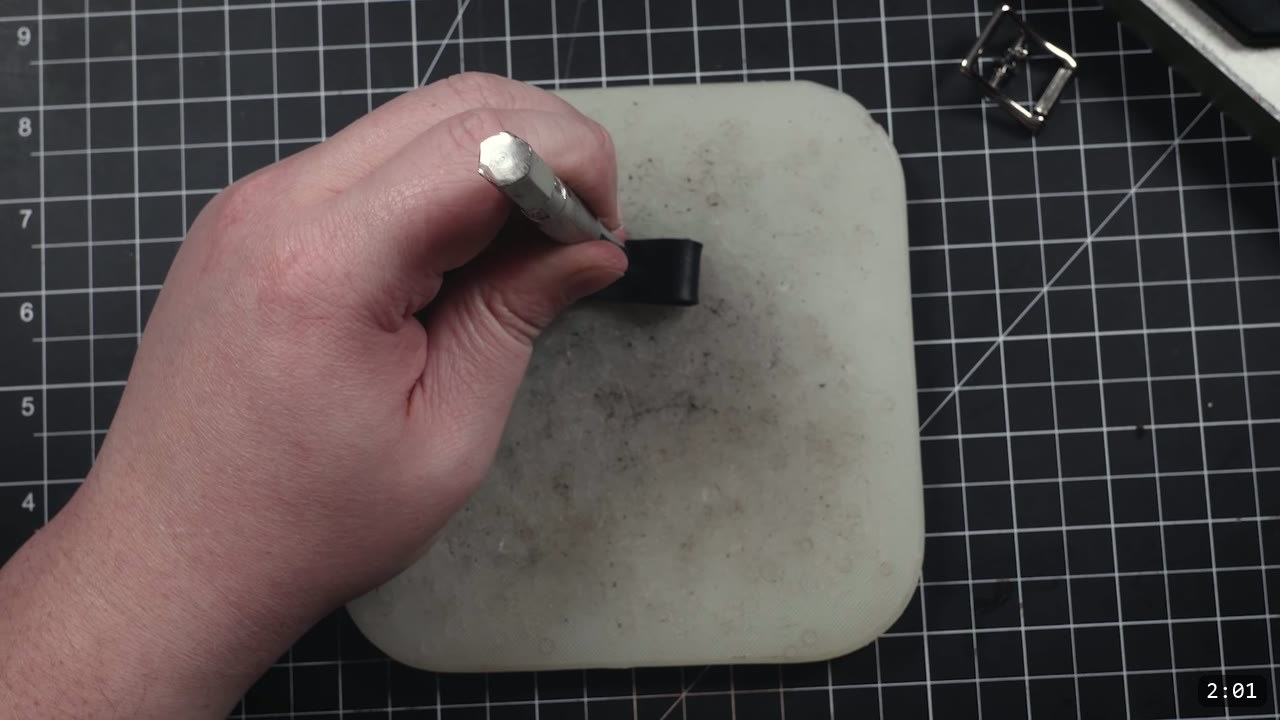
The buckle end needs two rivet holes. The exact position is not critical. Just leave enough room for the buckle itself and for the rivet you will set later. I approximate the spacing, fold the strap over on itself, and punch through both layers at once so the holes line up.
Step 4: Cut the prong slot
Between those two holes you need a slot so the buckle prong can move freely. The right tool is a bag punch, also called an oblong punch, which cuts the slot in one shot.
If you do not own one, here is the workaround: fold the piece over, punch a hole through both layers close to the end, then slice out the small section between the holes to open it into a slot. It is not always the prettiest, but it works. Do not read that as a license to cut corners on everything. Just work with what you have until it makes sense to buy the proper tool.
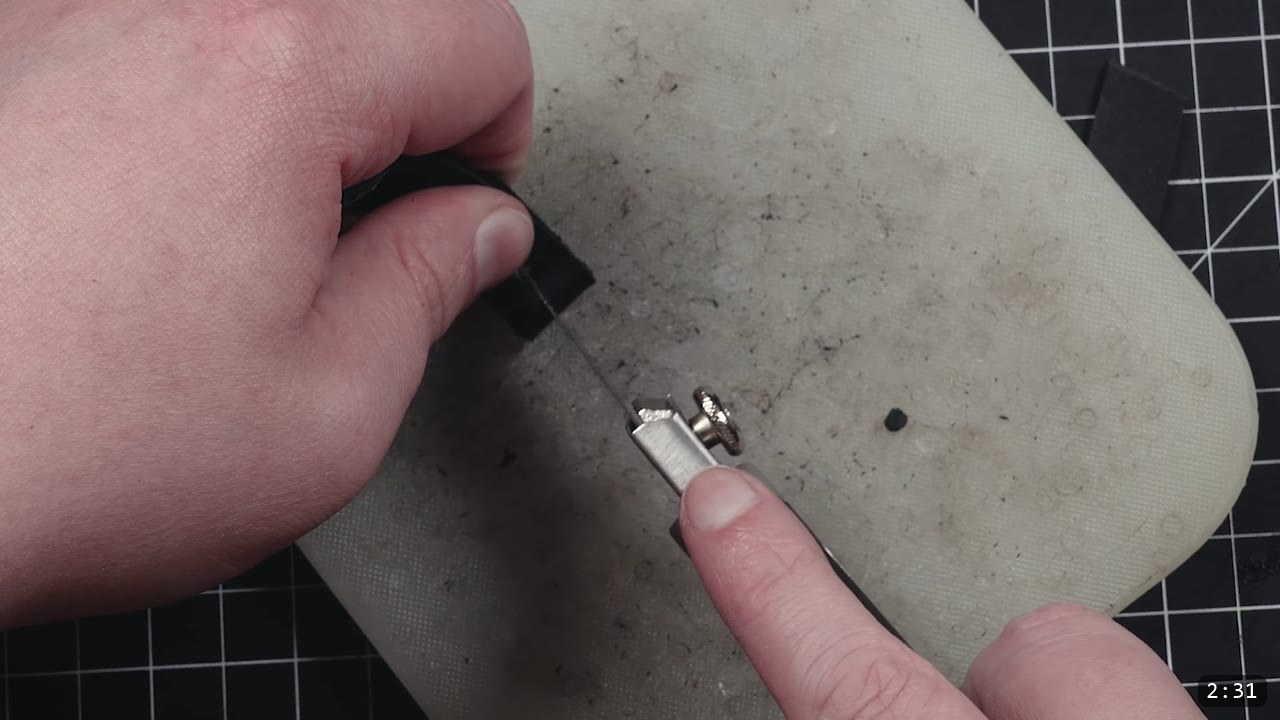
Step 5: Trim and finish the ends
Trim the strap ends to shape. A strap end punch is the clean way, and they come in many shapes and sizes. If you do not have one, cut the end with shears or a blade. A template helps you keep both ends symmetrical and consistent from strap to strap.
To dress up a plain strap, bevel the edges and run a decorative edge groove. This is also the moment for any tooling. On veg-tan you tool while the leather is damp, then dye and seal last, because the finish locks the leather and it will not fully re-wet or reshape after that. Pre-dyed and latigo straps skip this; the color is already in the leather.
Step 6: Set the buckle
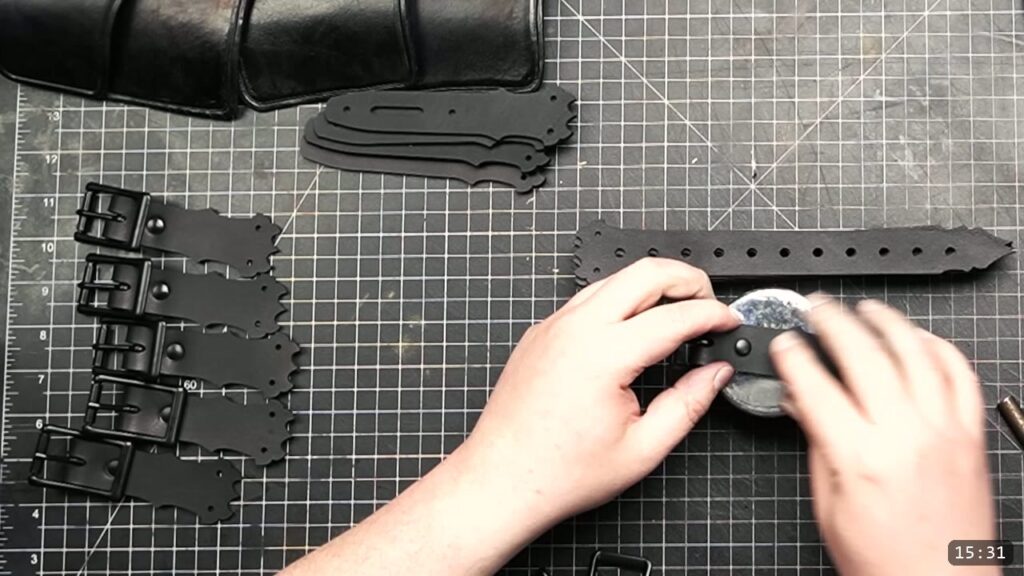
Fold the buckle end around the buckle, line up the holes, and set the prong through the slot. I attach with double cap rivets. For a strap that carries no real load, one rivet is fine. For larger pieces or anything load-bearing, use at least two rivets.

Step 7: Mark the adjustment holes on the tongue end
Lay the tongue end alongside the buckle end and pick roughly where your ideal midpoint of adjustment sits. Mark a few holes in either direction from there. There is nothing set in stone about spacing. Smaller straps get narrower spacing. Larger straps get wider spacing. Match it to how much adjustment the piece actually needs.
Not every part needs a lot of adjustment. A buckle on a breastplate wants a bigger strap with plenty of holes. A pouch, a set of bracers, or tassets on a breastplate may only need a couple.
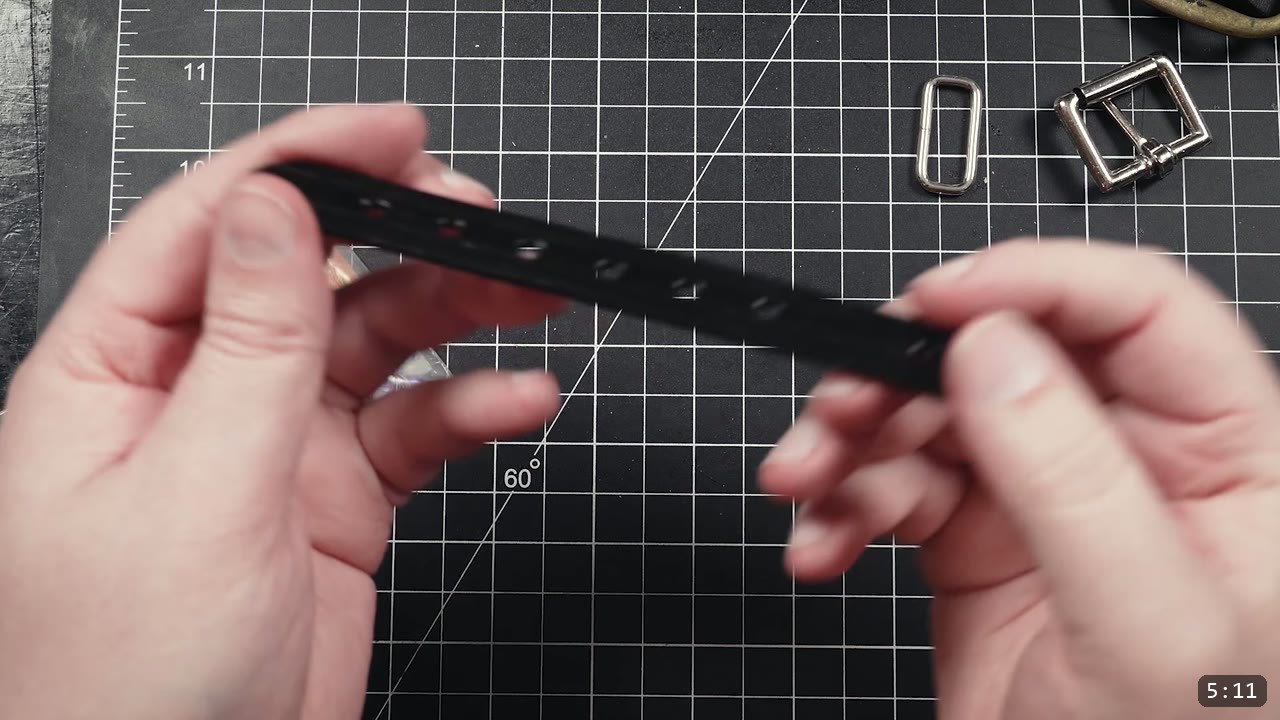
Step 8: Rivet the strap to your project
You still need to attach the finished buckle strap to the armor, and that is usually rivets again. Double cap rivets are what I use. One rivet for light straps, two or more for anything under load. The finished basic strap looks like this, buckle set and adjustment holes punched.
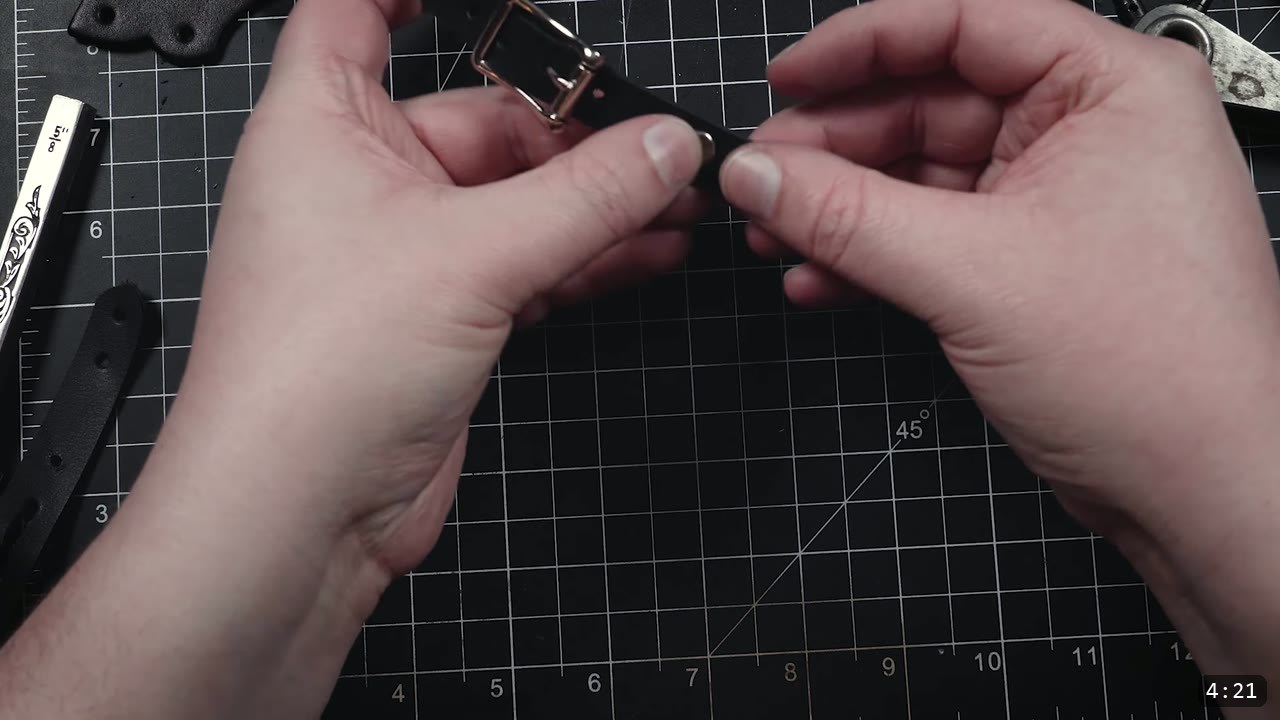
Making them more interesting
You did not come here just for the basics. A few ways to push further:
- Tooling and stamping. Add stamped patterns or carved design lines to a veg-tan strap.
- Shaped straps. Instead of straight edges, cut a more interesting outline. It takes longer by hand.
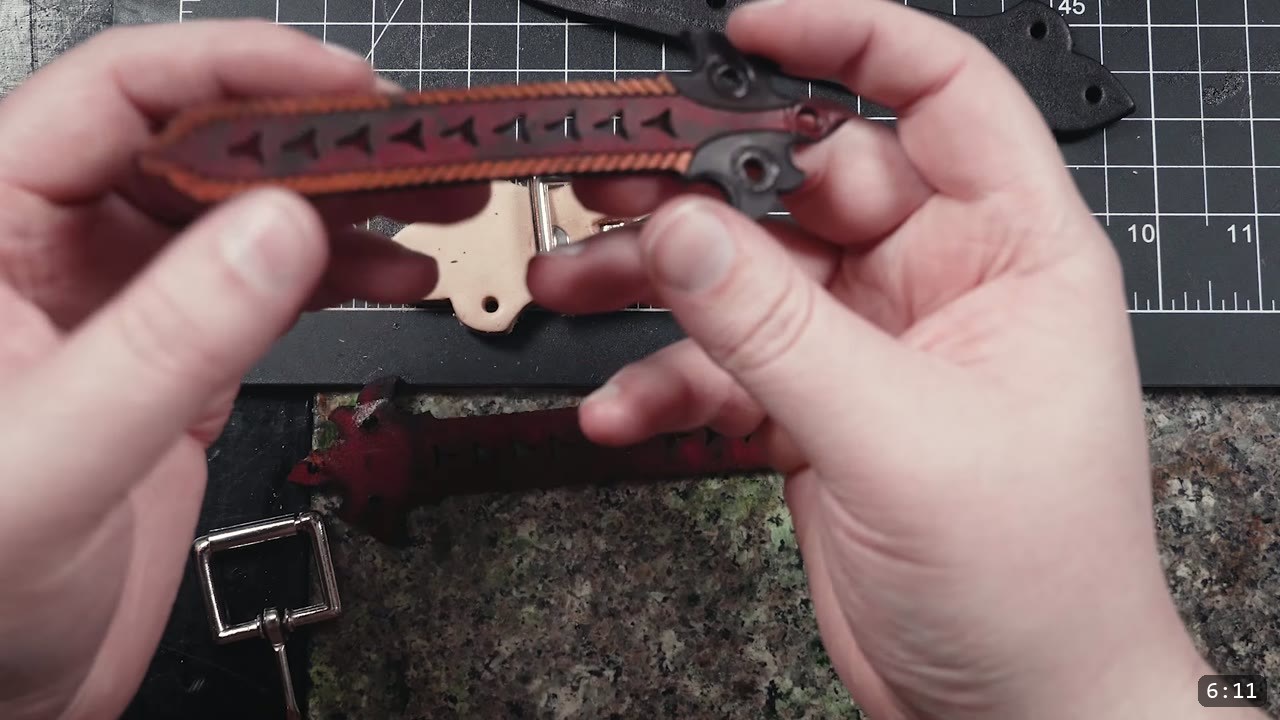
- Two-color and metallic finishes. The wild example in the video uses design-line geometry, two color dyes, and copper metallic trim. Find your own balance for the project.
When you make a lot of straps
Two production shortcuts, both for when volume justifies them:
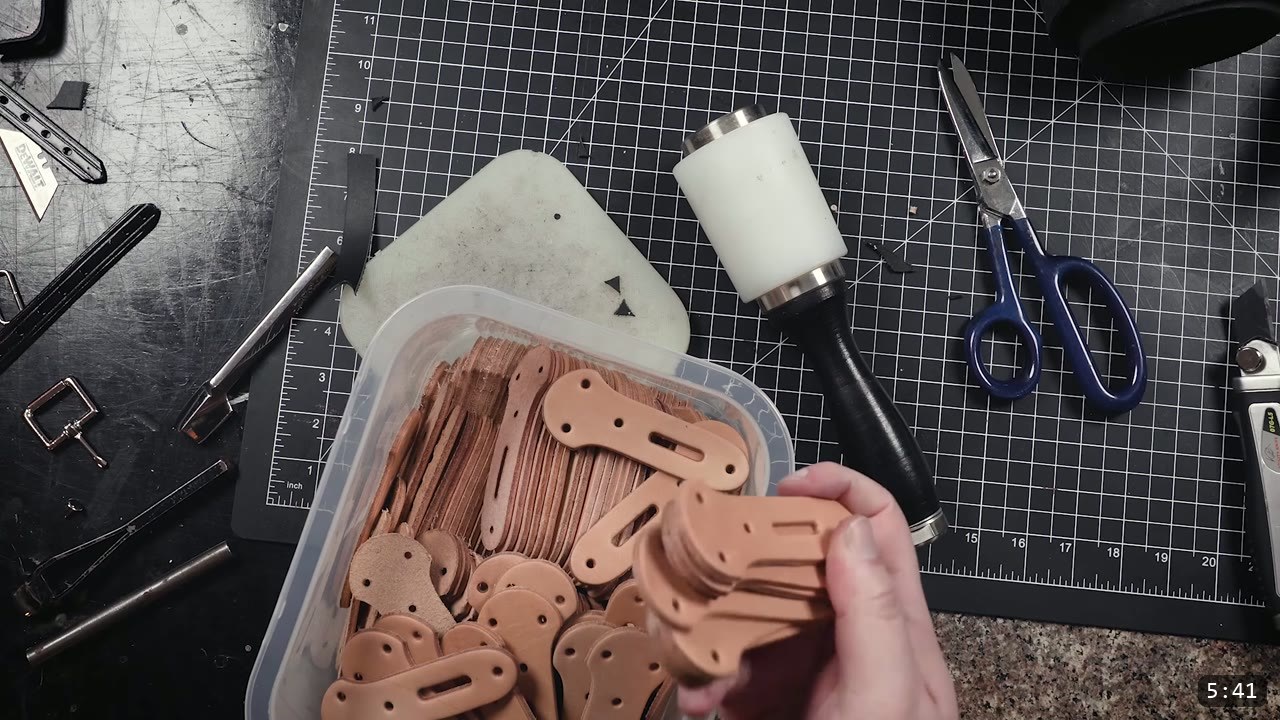
- Clicker dies. A clicker die is a sturdy, sharp cookie cutter you use in a press. It stamps out a strap or a buckle shape in one press. It is a big time saver for production runs.
- Laser cutting. Lasers are more accessible now. In the video the designs were drawn in CorelDRAW. Bench-top lasers can be slow, so treat this as an advanced or optional path, not a starting point.
Choosing the buckle hardware
The hardware world is large, but two types cover most of it:
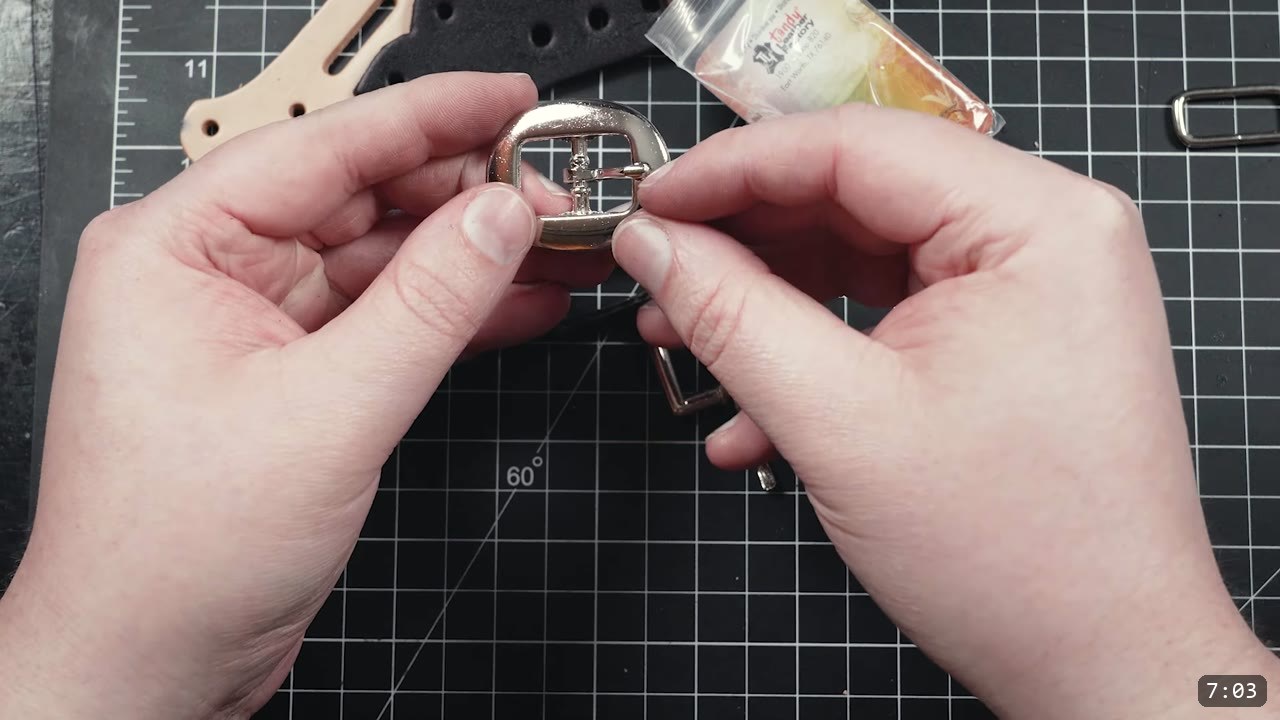
- Center bar buckles. The bar sits in the middle. I prefer these for most applications because they are the most convenient to use.
- Heel bar buckles. The bar sits at the back edge. These need a keeper ring or keeper strap to hold the tongue in place.
The choice is partly functional and often just aesthetic. Go with what suits the project.
FAQ
What leather should I use for armor straps?
Something in the 5 to 10 oz range. Under 5 oz is too flimsy and over 10 oz is clunky. Medium 6 to 7 oz is my favorite for straps. Use pre-dyed or latigo for the simplest strap, or veg-tan if you want to tool or dye it yourself.
How wide should buckle straps be?
For breastplates, upper legs, and large accessories, one inch is more than enough. For arms, three-quarter inch. For bracers, gauntlets, tassets, and small parts, half inch is fine.
Do I need special tools?
No. A cutting tool, a straight edge, and something to punch holes will make a working strap. A strap cutter, a bag or oblong punch, and a strap end punch make the job cleaner and faster once you are making straps regularly.
How do I cut the prong slot without a bag punch?
Fold the strap over, punch a hole through both layers close to the end, then slice out the section between the holes to open it into a slot. It is a workaround, not the prettiest, but it does the job.
One rivet or two?
One double cap rivet is fine for straps with little load. Use at least two for larger pieces or anything that carries a load.
Center bar or heel bar buckle?
Center bar is the most convenient for most uses, which is why I reach for it. Heel bar buckles work too, but they need a keeper ring or strap to hold the tongue.
Where to go next
- Get the free buckle strap pattern pack, assorted shapes and sizes to trace.
- See straps in a full build: How to Make a Leather Breastplate, where the front and back plates buckle together on the sides.
- New to leather armor? Start with 5 tips for getting started with leather armor.
- Ready for a full kit build? The Warrior Armor Bundle is the beginner path through breastplate, bracers, and the rest, all of which use these straps.
- Made some? Share them and tag Prince Armory Academy; we feature student work.






Responses