



Leather Gorget Build Guide: A Fantasy Armor Neck Guard, Step by Step

A gorget is the piece of armor that guards your neck and collarbones. You build this one from a printed pattern, not a kit. You trace the pieces onto tooling leather, cut them out, carve and bevel the decorative border, punch the holes, then dye it in a two-tone red and black, seal it, and rivet the sections together. Snaps over the shoulders join the front and back. This is the eighth piece in the Fantasy Armor series, so it assumes you know the basics from the earlier builds. This guide walks the whole thing alongside the video, so you can watch each step and read the details the video moves past quickly.
What you are building, and what it takes
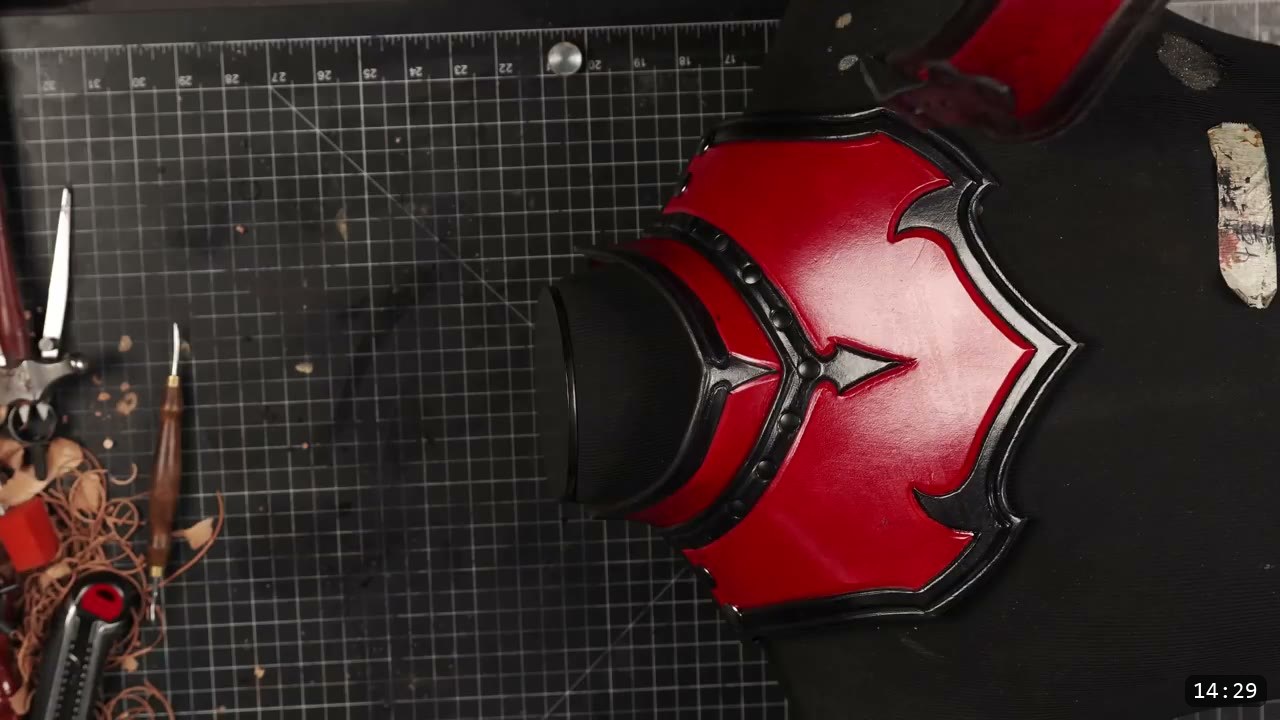
This is a pattern build, so you cut and shape everything yourself. The gorget is worn under the breastplate in the full suit, but it also stands on its own. Because it is part 8 of a series, the maker skips commentary on the basic stages he covered in earlier tutorials. If a step feels fast, that is why. The neck opening, the decorative arrow motif, and the two-tone finish are the details that make this piece read as fantasy armor rather than a plain collar.
What you need
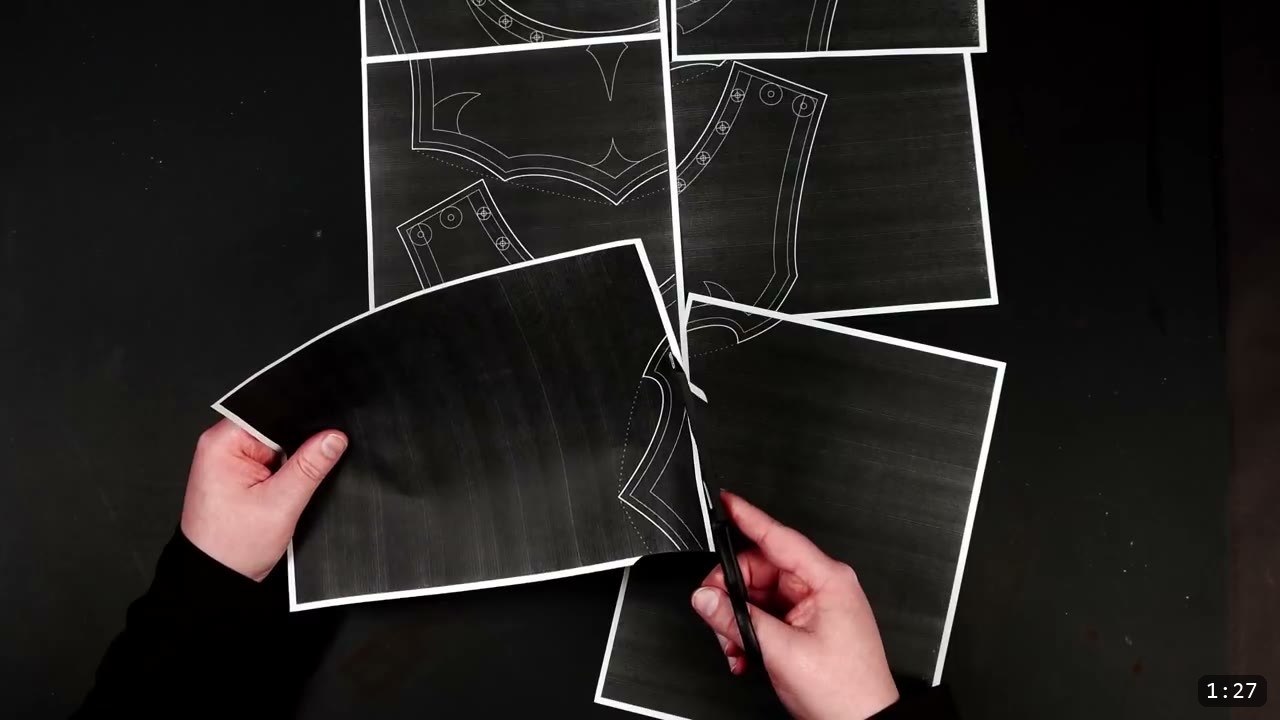
The pattern. The Fantasy Gorget Pattern prints across tiled pages that you trim and tape into a full template. Make a quick paper mock-up first and hold it to your neck and shoulders before you cut leather, so you can scale it up or down to fit.
Leather. The video does not call out a weight or a specific hide. What the build tells you is that the leather has to tool: it gets carved with a swivel knife, beveled, dampened, burnished, and dyed with oil dye. That points to vegetable-tan tooling leather, since chrome-tan will not hold a carved line or take dye the same way. Neither the video nor the pattern page states a weight, so use a tooling-weight hide you can carve, bevel, and dye.
Tools.
- Cutting: heavy-duty shears and a knife of your choice for the long lines.
- Marking: a ballpoint pen or a stylus, a straight edge, a compass, and an edge groover.
- Carving and edging: a swivel knife for deep lines, an edger to knock off the sharp corners, a beveler or a border tool, and a slicker or burnisher.
- Skiving: a skiver to thin the collar edges.
- Holes and hardware: a hand hole punch, black double-cap rivets, and snaps.
- Color and seal: Fiebing’s Pro Oil Dye in red and black, a wool dauber and a brush, rubber gloves, and Weaver’s Tough Coat with a sponge.
Step 1: Print and mock up the pattern
Print the pattern with the tiled page option so it does not shrink onto one sheet. Trim and assemble the pages into a full template. Make a paper mock-up and check the fit against your neck and shoulders before you commit any leather, and scale the whole thing up or down if you need to. If the printing gives you trouble, the site has a help section for it.
Step 2: Lay out, trace, and cut
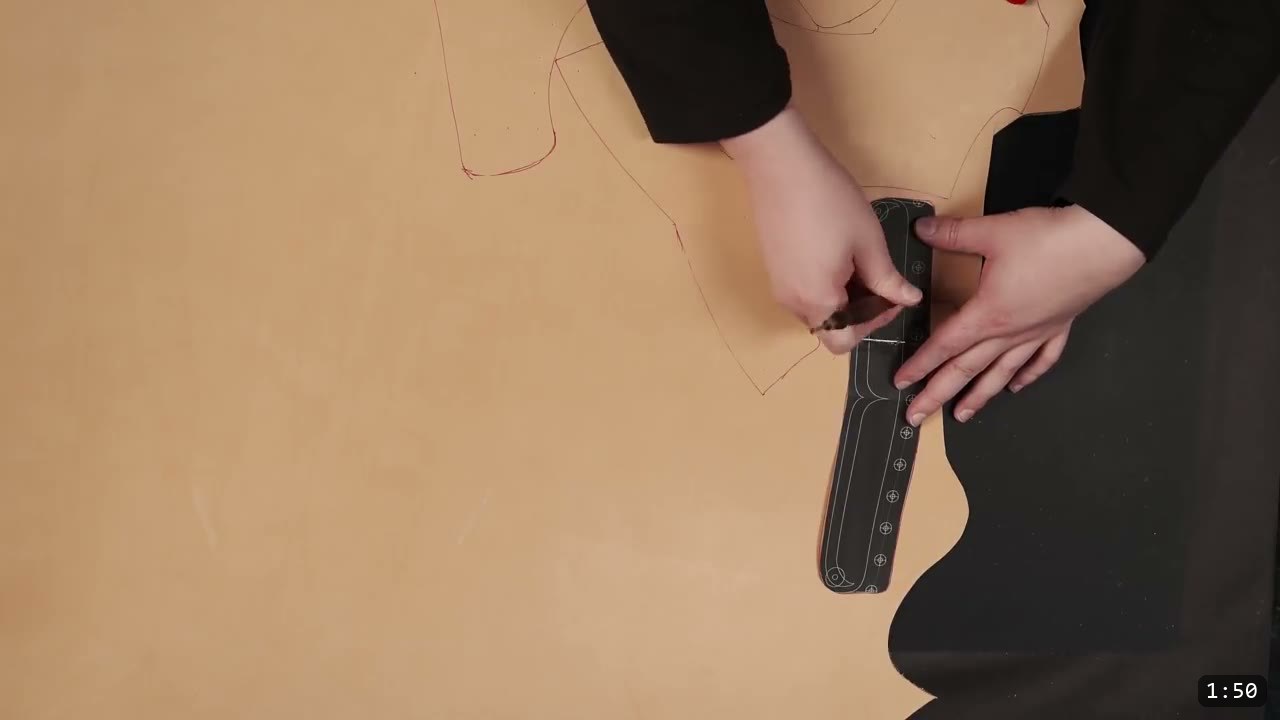
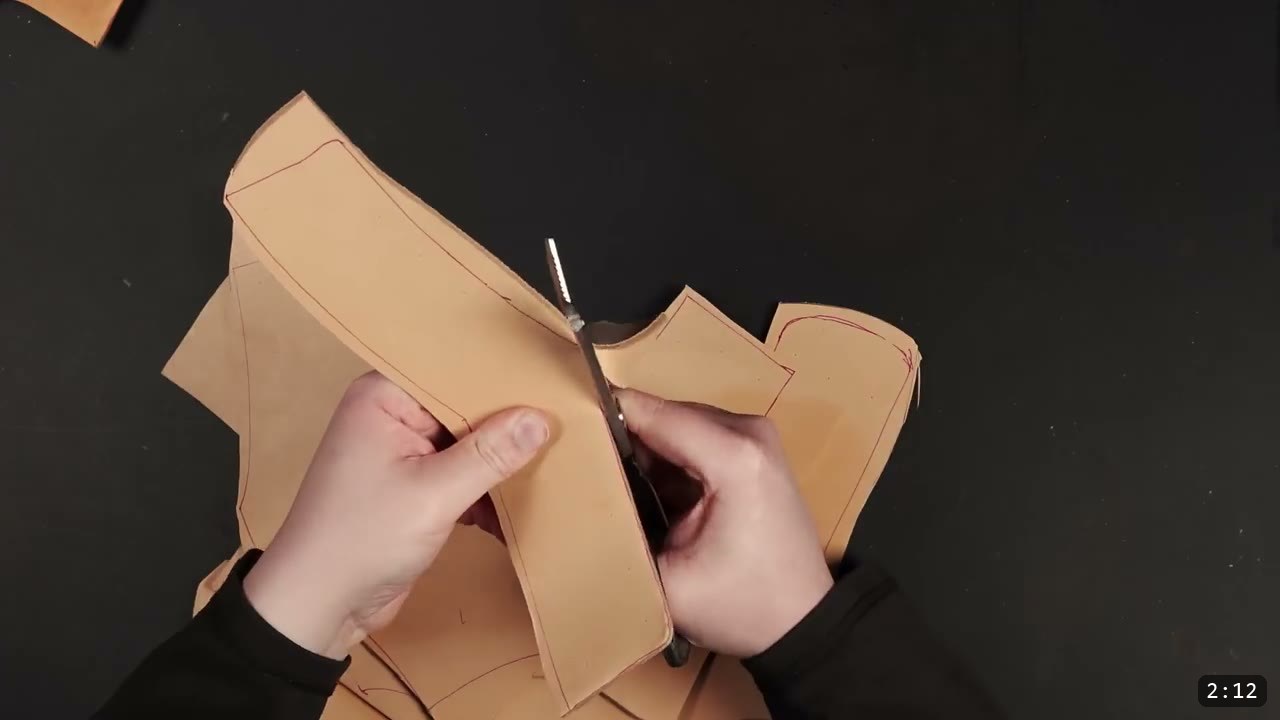
Lay the pattern pieces out on the leather as efficiently as you can and trace around them. Start by separating the larger sections into smaller, more manageable pieces, then finish the cuts with your cutting instrument of choice. Clean cuts here save you cleanup at every later step.
Step 3: Transfer the decorative lines
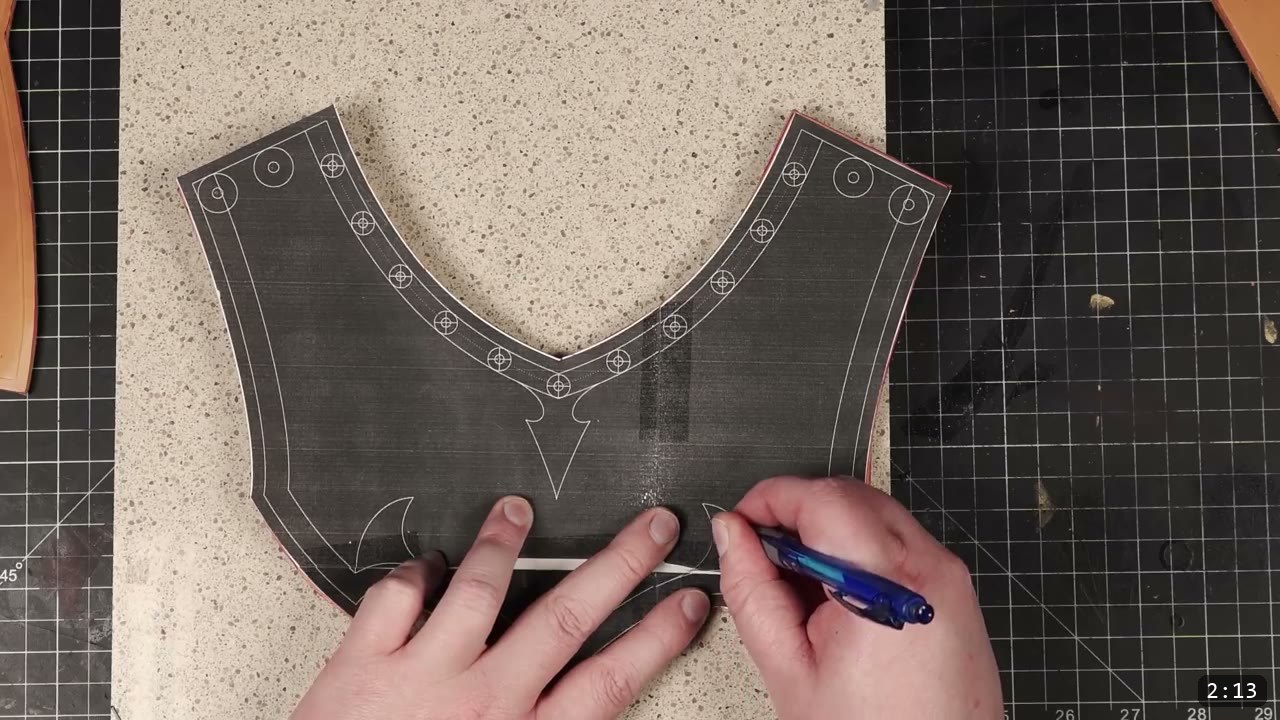
Transfer the decorative lines from the pattern onto the leather with a ballpoint pen or a stylus. For the border, a compass and an edge groover give you a consistent, even line to follow. Take your time placing these, because they set up the carving and the border work that follow.
Step 4: Carve the deep lines
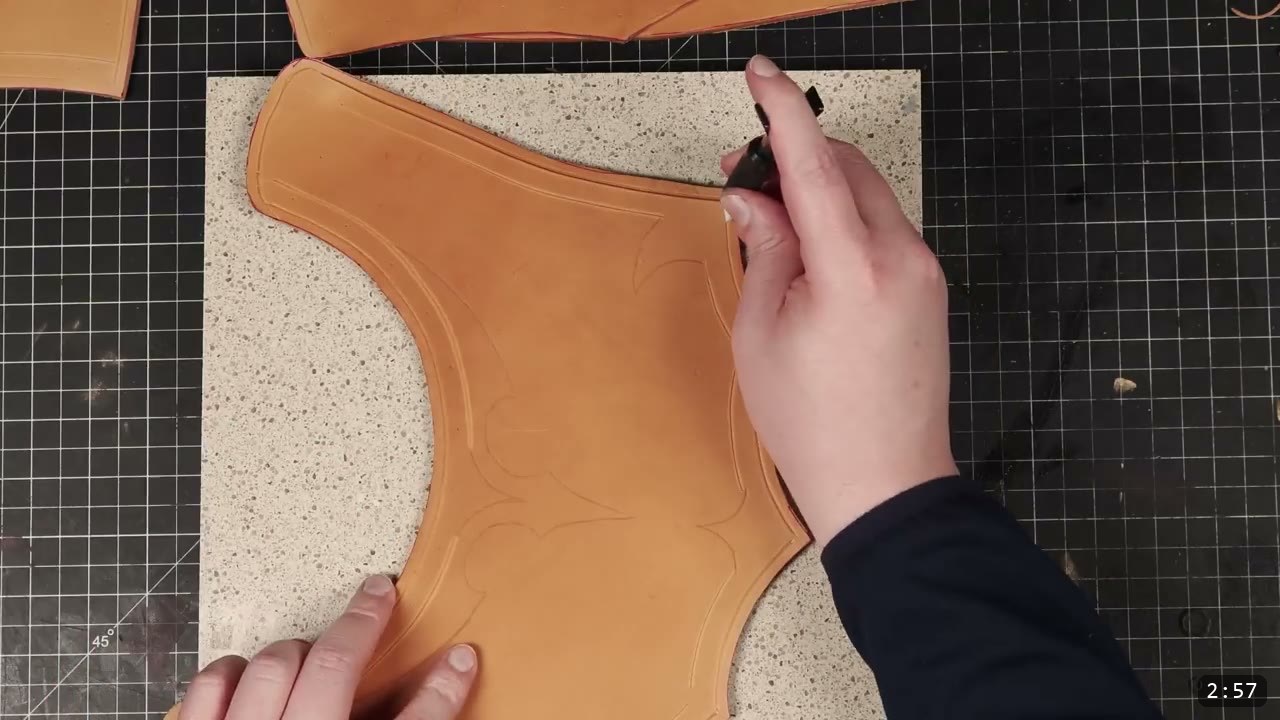
If you want the design lines to read deep, dampen the leather and carve them in with a swivel knife. This is a damp step, and it is one of the reasons the piece wants tooling leather. Do this carving now, while the leather is still bare, because the finish you add later will lock the surface and you will not be able to work it the same way.
Step 5: Edge, burnish, and slick the backs
Knock the sharp corners off the edges with an edger. While the leather is still damp, burnish those edges to smooth them. If your leather has rough fibers on the back, slick them down too, at least on the collar pieces that will sit against your neck. All of this is damp work, so keep it before the dye and seal.
Step 6: Bevel and tool the borders
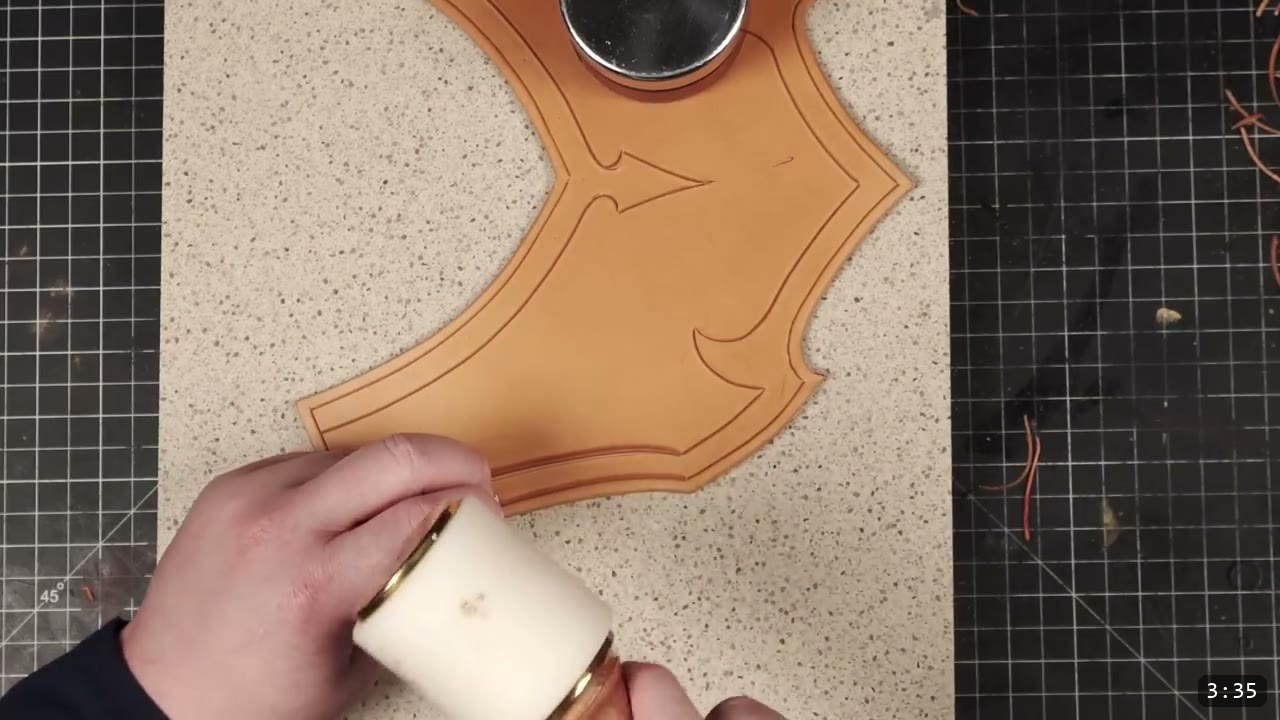
Tool a bevel into the borders to give the edge of the design some depth. If you would rather add more, a texture stamp or a border tool works here just as it did in the earlier tutorials in the series. Keep it as simple or as detailed as you want.
Step 7: Skive the collar edges
Skive the edges of the collar pieces down thinner. This does two things: it makes the later assembly easier where pieces overlap, and it makes the gorget more comfortable where the collar meets your neck.
Step 8: Punch and mark the holes
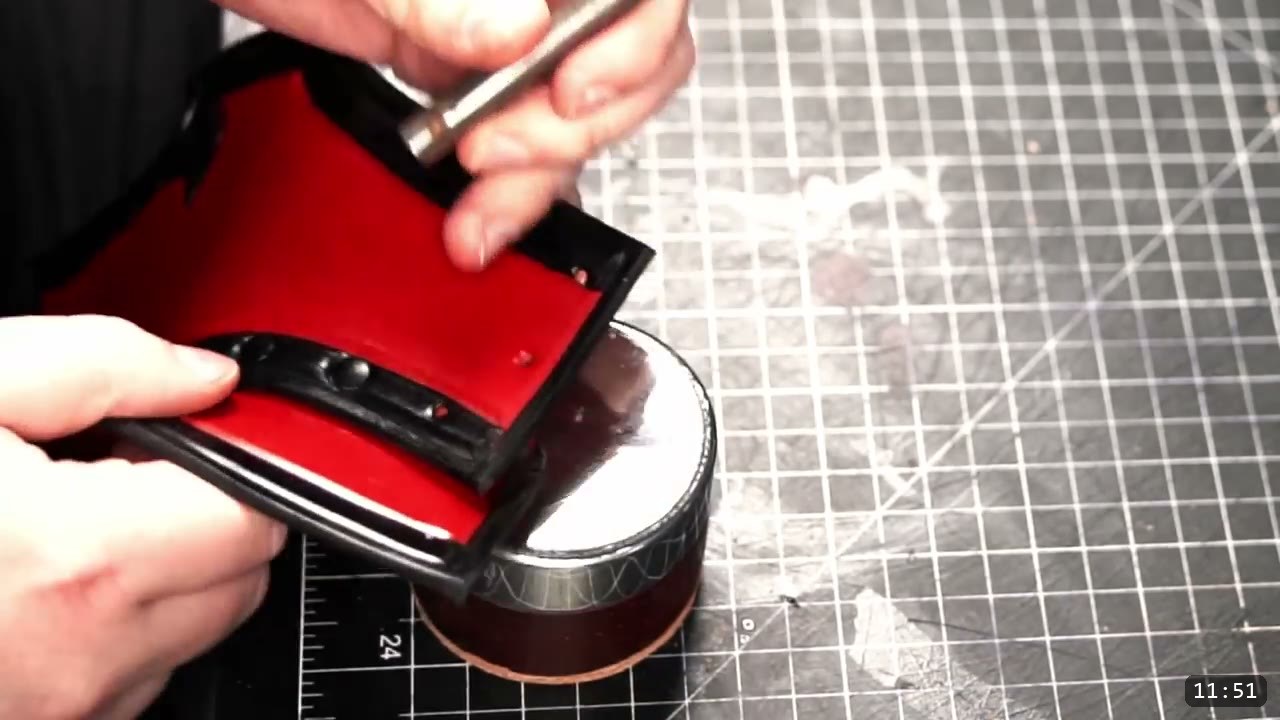
Punch the holes on the top piece first with a hand hole punch. For the pieces that attach underneath, mark those holes by hand rather than trusting the pattern, because leather shifts as you work it and your leather may be a different thickness than the maker’s. To get the holes to line up, set one rivet in the center to hold the pieces together temporarily, then stretch the underside tab into position and mark each hole one at a time.
Step 9: Dye the two-tone effect
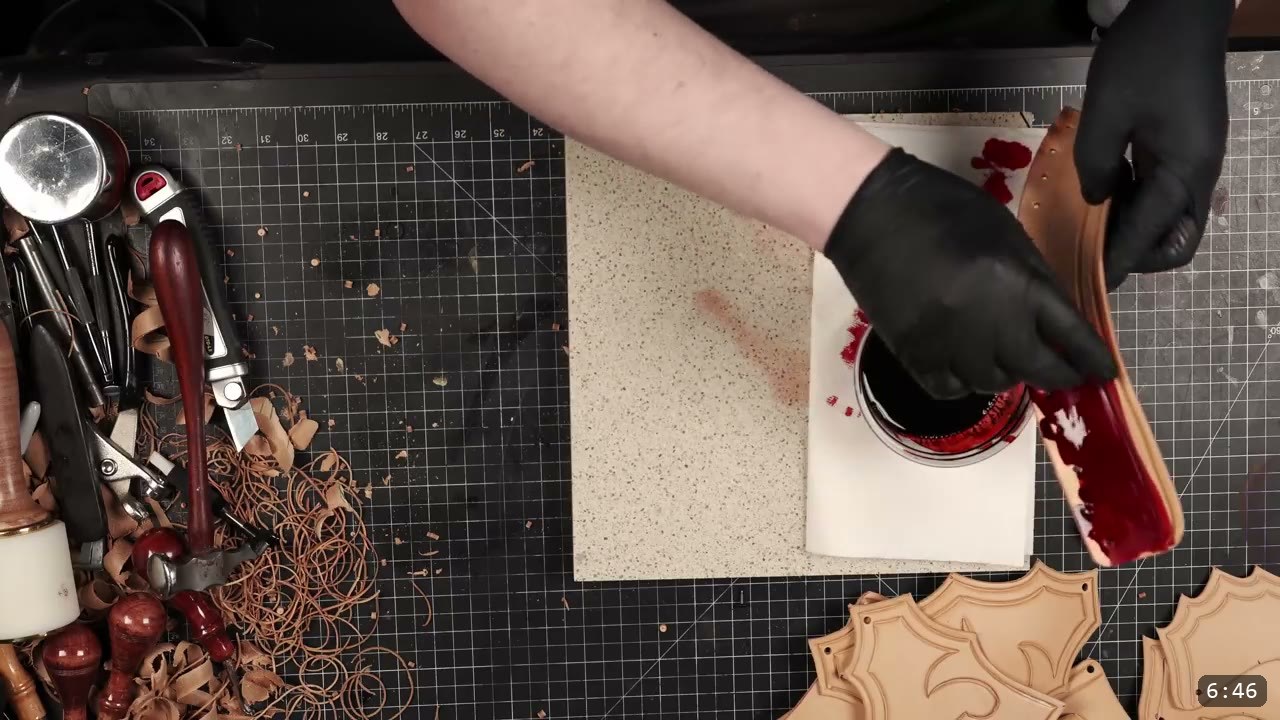
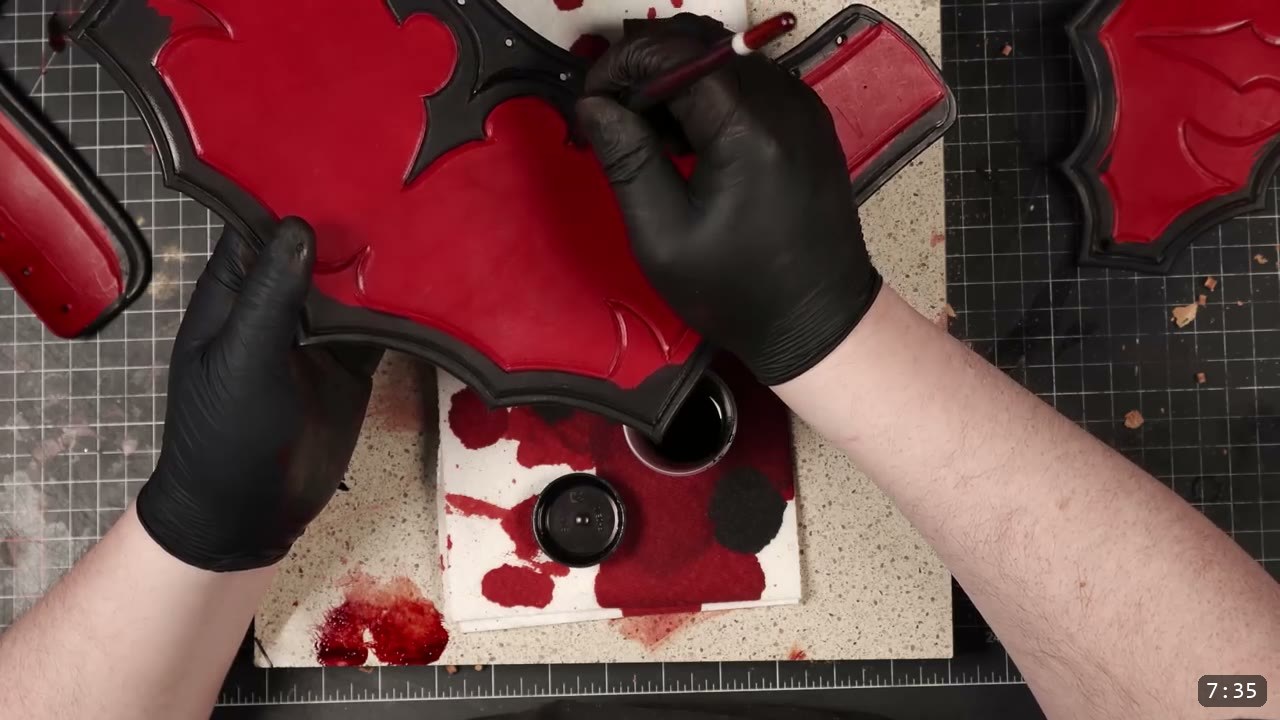
This piece uses a two-tone finish with a hard contrast between the field and the border. Start with the lighter color first. The video uses Fiebing’s Pro Oil Dye, red for the field and black for the border. Because the black border is the dominating color and covers the edges of the red, you do not have to be perfectly careful staying in the lines with the red. Once the red is down, make a quick pass around the very edges with a wool dauber, then switch to a brush and bring the black up to the border lines.
Step 10: Seal with Tough Coat
Seal the leather with Weaver’s Tough Coat. Apply it liberally to the front and the back with a sponge, then go back over the surface with another pass to even it out. This is the last finishing step, and it locks the piece. After this the leather resists water and will not fully re-wet or reshape, so make sure all your carving, edging, and shaping is done before you get here.
Step 11: Rivet the sections and force the shape
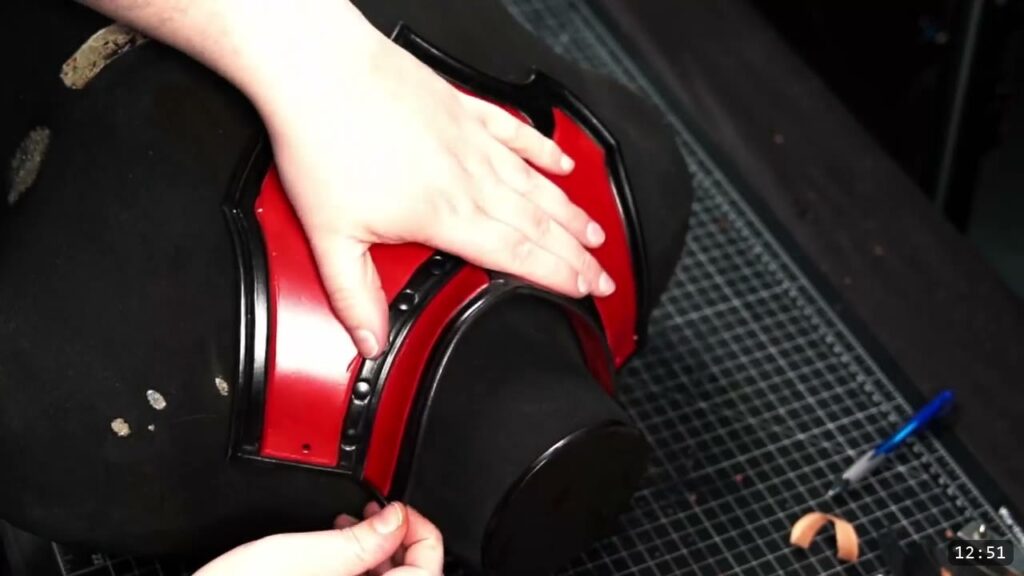
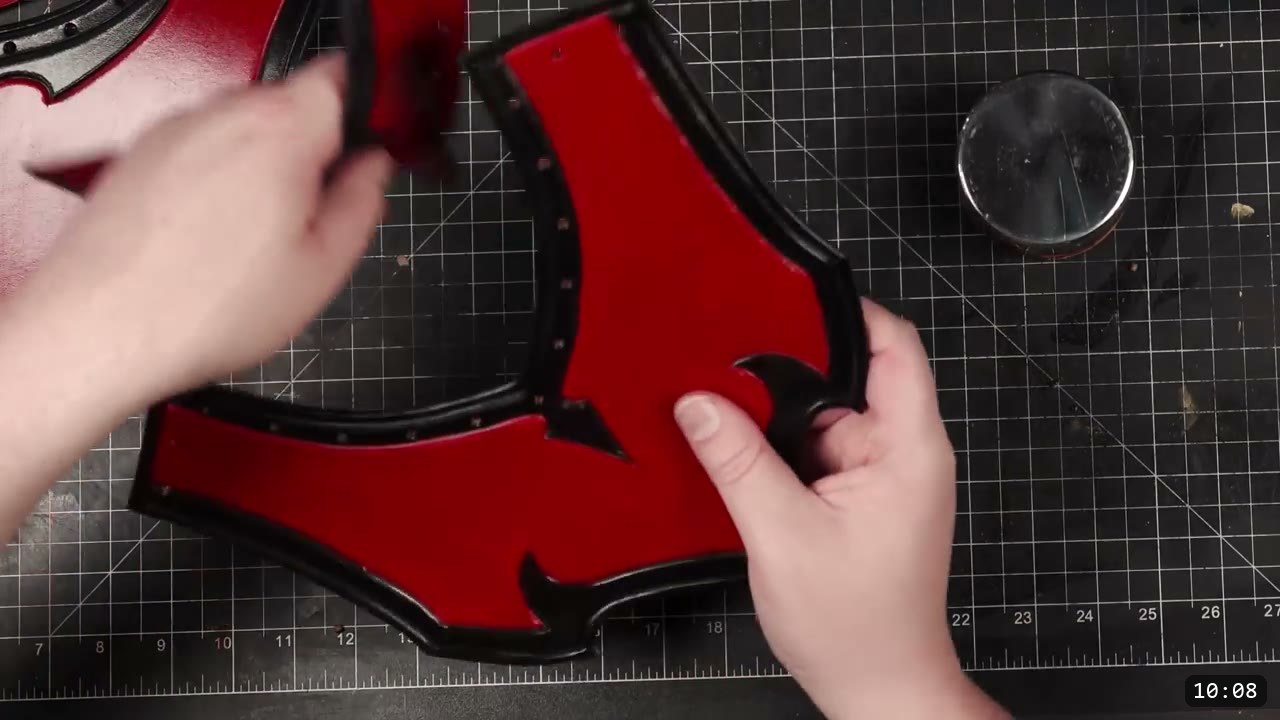
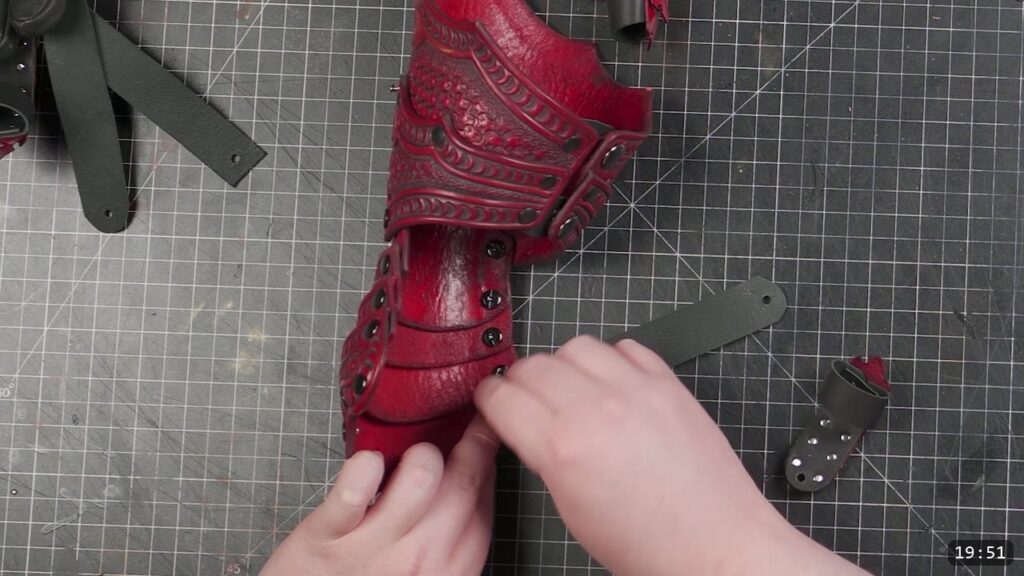
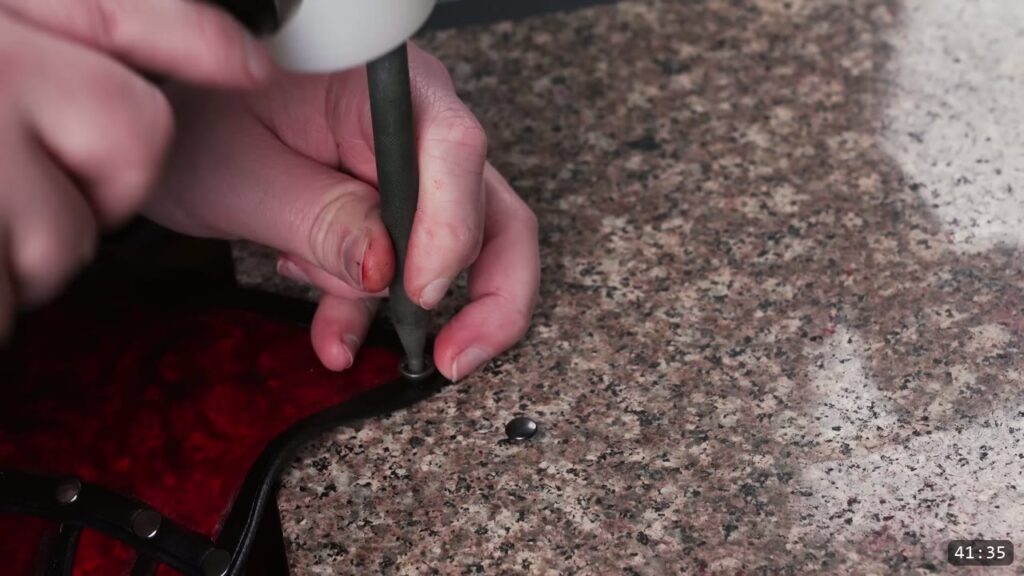
Assemble the gorget with black double-cap rivets. Set the first rivet in the center and work your way out from there. Expect resistance. The flat panels do not naturally want to follow the line of rivet holes, and that resistance is the point: the rivets are what force the flat leather into the curved shape of the gorget. Because the leather is already dyed and sealed, you are forming it mechanically with the rivets, not by wetting and reshaping it.
Step 12: Join the sides with snaps and fit it
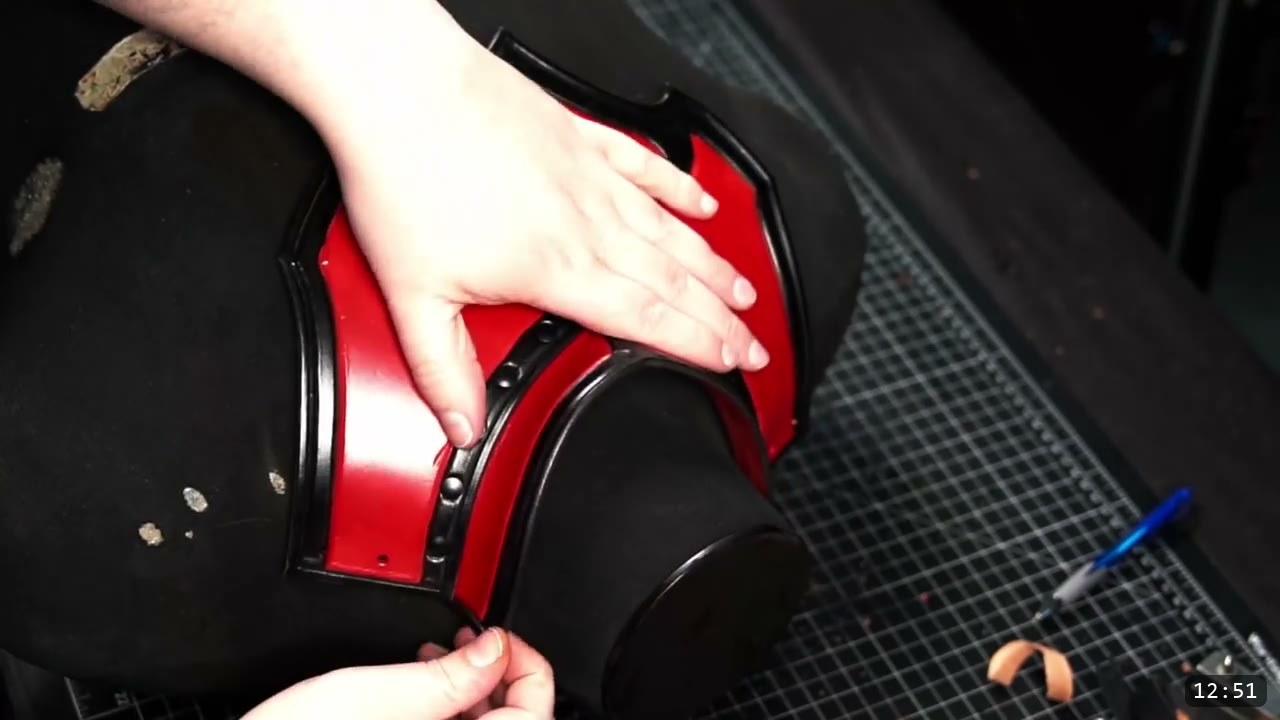
Join each side over the shoulder with a pair of snaps. Snaps make the fit permanent and not adjustable, so put on whatever garb you plan to wear under the armor and fit the gorget to that before you commit. Commit to the holes on the front piece first, since it rests on top of the back piece, then mark the back piece holes once you are happy with the alignment and the fit. A second pair of hands, or a dress form in your size, makes this much easier. The maker used two snaps per side over the shoulders. You can add a snap to each side of the collar as well if you want extra support.
Step 13: Wear it under the breastplate, or make it standalone
The gorget is designed to be worn under the breastplate in the full Fantasy Armor suit. It also works on its own. If you want to wear it standalone, add small adjustment straps to keep the piece snug against your body. That is the build. From here the series moves on to the tassets and the rest of the head-to-toe suit.
FAQ
What is a gorget?
A gorget is a piece of armor that protects the neck and collarbones. It sits above the breastplate and covers the gap between the helmet and the chest. This one is built from leather and finished as fantasy armor.
Is this a beginner project?
Not really. It is the eighth piece in the Fantasy Armor series, and the video skips the basic steps on purpose because earlier tutorials already covered them. It uses tracing, cutting, swivel-knife carving, edge work, skiving, dyeing, riveting, and snaps. If you are new, start with a simpler piece or an earlier build in the series first.
How do I get the two-tone red and black look?
Dye the lighter color first. The video uses Fiebing’s Pro Oil Dye, red across the field, then black brought up to the tooled border lines with a wool dauber and a brush. The black border is the dominating color, so it hides any red that strayed past the lines.
Why rivets instead of stitching, and why does the leather fight me?
The rivets hold the sections together and force the flat panels into the curved shape of the gorget. The leather resists following the rivet line, and that resistance is what shapes the piece. Set the center rivet first and work outward.
Should I use rivets or snaps to join the sides?
The video uses snaps over the shoulders to join the front and back. Snaps make the fit permanent, so fit the gorget over your actual garb before you set them. Two snaps per side is the minimum; add one on each side of the collar for more support.
Can I wear the gorget on its own?
Yes. It is built to sit under the breastplate, but it works as a standalone piece if you add small adjustment straps to hold it snug against your body.
Where to go next
- Get the pattern: Fantasy Gorget Pattern.
- The next piece in the suit: Fantasy Tassets Pattern, and the build video, DIY Leather Tassets.
- Earlier in the series: the Fantasy Helmet Pattern and the Fantasy Spaulders Pattern for the shoulders.
- Struggling with the shoulder pieces referenced in the intro? Watch DIY Leather Spaulders.
- New to leather armor? Start with 5 tips for getting started with leather armor.
- Built one? Share it and tag Prince Armory Academy and Weaver Leather; we feature student work.





Responses