



Beginner Leather Greaves Build Guide: The Easy Leg Armor to Start With

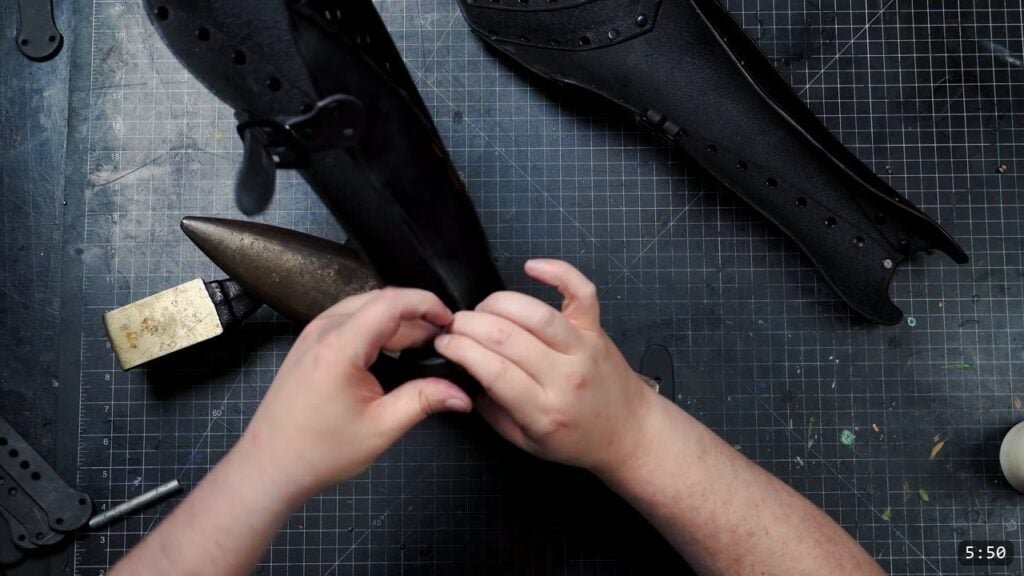
These are the beginner greaves, the simplest leg armor in the Warrior set. You rivet a handful of pre-marked pattern pieces together, do a little shaping at the knee, then dye, seal, and buckle them on. There is no complex articulation, no shaping on the back, and no thigh bags to fight with. If you can set a rivet, you can build these. This guide walks the whole assembly alongside the video, so you can watch each step and read the details the video moves past quickly.

Why this is the greave to start with
The greaves cover the front and the sides of your lower legs. They are symmetrical left to right, so the two legs build the same way, just mirrored. You do not need any advanced shaping on the backs, and there are no articulated plates to line up. That is what makes this the beginner version. If you want the fuller look later, the Fantasy greaves and the Imperial greaves are the step up from here. Start with these to learn the moves.
What you need
- The pattern. Cut your pieces from the Warrior Greaves Pattern. It has reference marks printed on it, so keep those handy while you assemble. This is molded armor, so use a leather that will hold the shape you work into it.
- Medium double-cap rivets and a basic rivet setter. That is what joins everything together. You strike the setter with a hammer or mallet.
- Something to hammer against that is dense and solid, so the rivets set clean.
- Optional color: leather dye and a finish, if you want the pieces sealed and firmed up.
- Buckles and buckle straps for wearing them. One inch buckles are what the video uses, but smaller widths hold fine.
Step 1: Lay out the parts and read the marks
Set out all the cut pieces first. The pattern gives you the centerpiece (part A), the two side parts (B1 and B2), part C, and the top piece. The reference marks tell you how the pieces line up, so keep the pattern next to you and match the marks as you go. Getting oriented now saves you from riveting a piece on backward later.

Step 2: Rivet the centerpiece to the sides
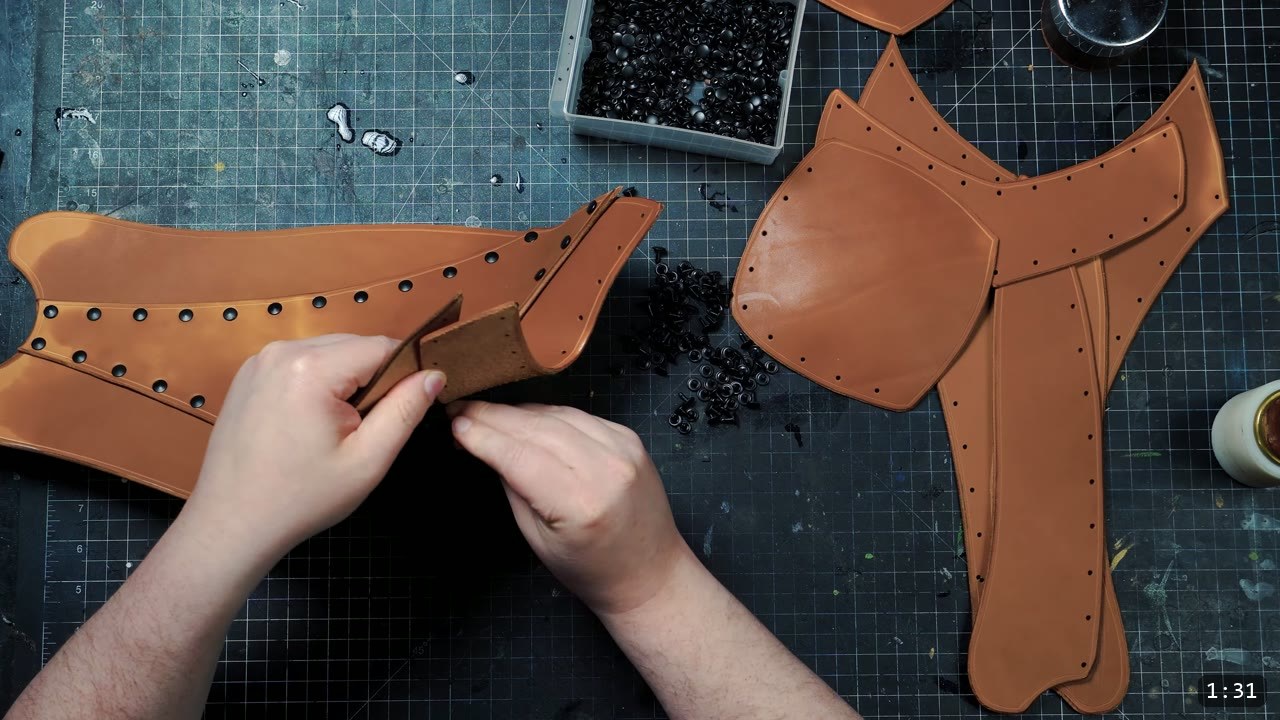
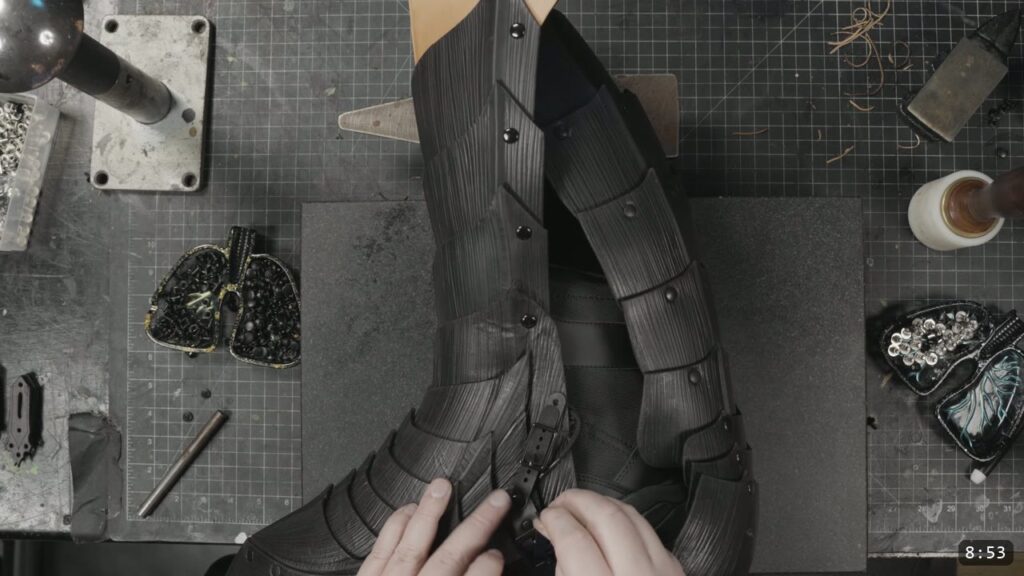
Start by joining the centerpiece, part A, to the side parts, B1 and B2. Use the medium double-cap rivets and the setter. Work your way up and down either side, setting the rivets one at a time. Snap each rivet together by hand to hold the parts, then strike the setter to lock it. Take your time and keep the holes lined up as you move along the seam.
Step 3: Add part C
Next, attach part C. As you rivet it on, the flat panels start to curve and the greave shape begins to form. It may start to look a little awkward while it is half assembled. That is normal at this stage. Stay the course and keep working the seam. The shape resolves once all the rivets are in.

Step 4: Attach the top piece and shape the knee
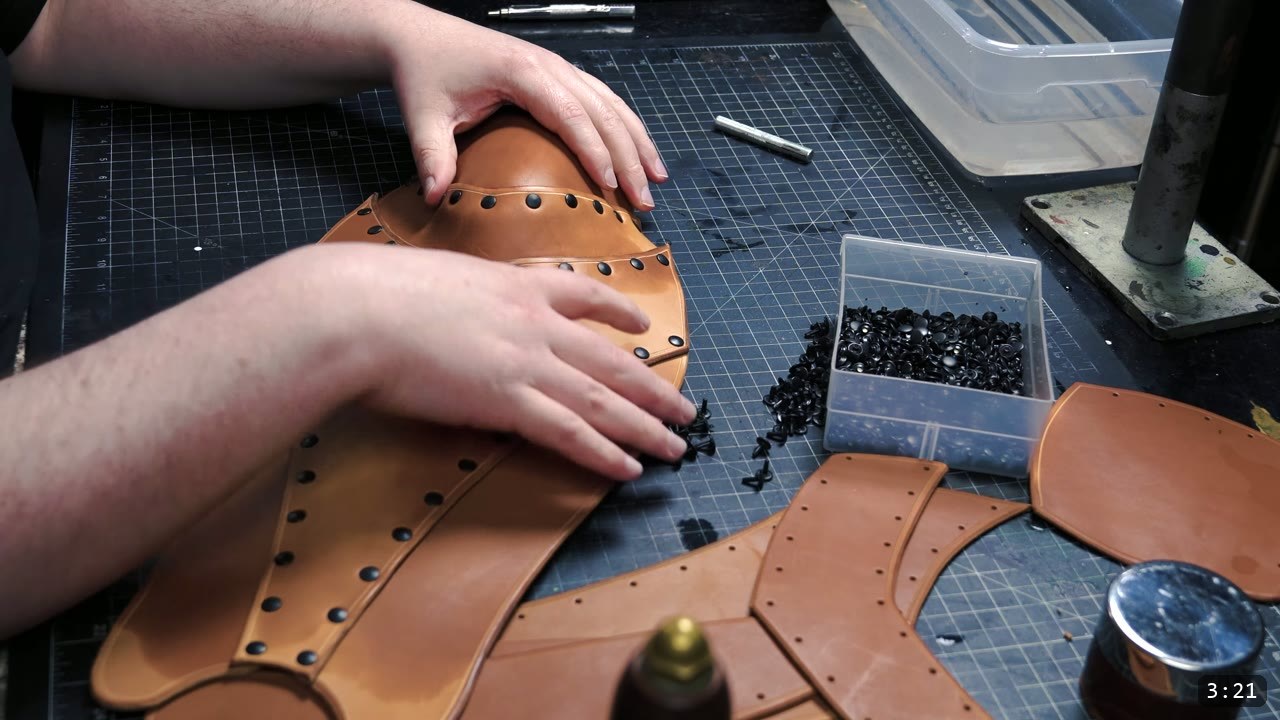
Now attach the topmost piece, which covers the bottom of the back and sits at the knee. This is the one spot that needs a little shaping. Stretch the damp leather over any domed object you have, or just work the dome out by hand. It does not have to be perfect here. The rivets and the overall design pull the shape together as you finish assembling.

Step 5: Bend it to final shape and pop the knee
Things will probably look lumpy while you assemble, which is fine. Once you finish setting the rivets, bend the greave into its final shape and pop out the knee section so it stands proud. Spend a little time refining the knee to your preference. Any shaping you do here also helps firm up the armor overall, so it is worth the few extra minutes.
Step 6: Flare the base for comfort
At the bottom of the greave you can flare the base out a little. This is optional, but it helps the greave sit more comfortably against your leg and around the ankle. Work it while the leather is still damp and workable. Remember that all of this shaping has to happen before you color and seal. Once the finish is on, the leather will not re-wet or reshape.
Step 7: Dye it
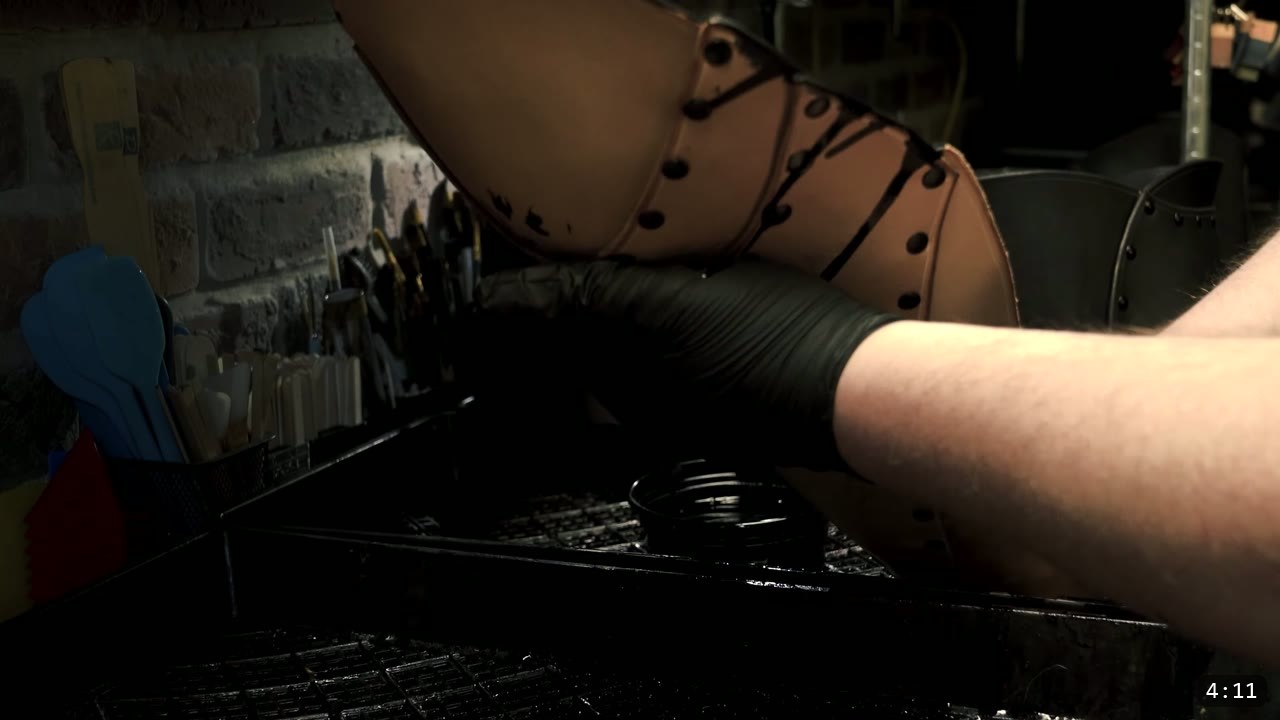
With the shaping done, finish the piece in whatever color you want. The video uses black pro oil dye to stay consistent with the rest of the Warrior suit. Test your color on scrap first, or on the underside if this is your first piece and you have no scrap. Gloves keep the dye off your hands.
Step 8: Seal it
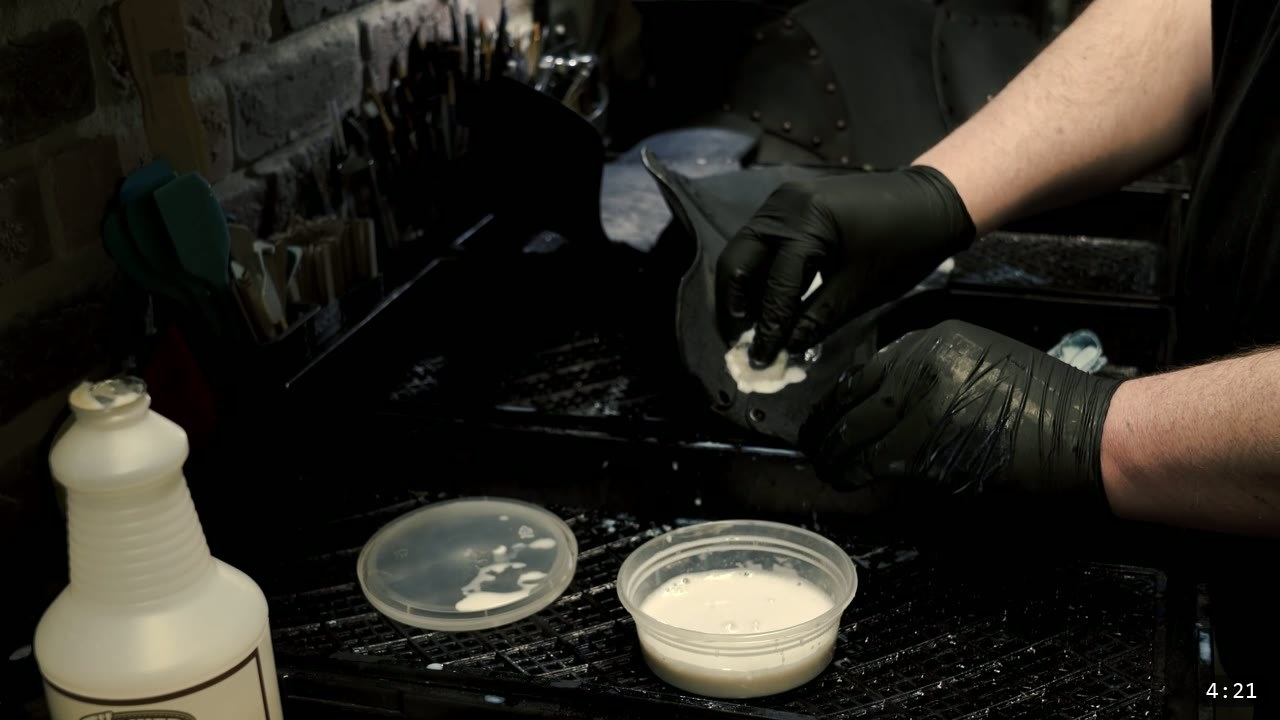
Seal the dyed greave with a finish. The video uses Weaver Tough Coat, a clear acrylic finish, which protects the leather and firms the piece up a bit more as it dries. Do the sealing last, after every bit of shaping is done.
Step 9: Add the buckle straps
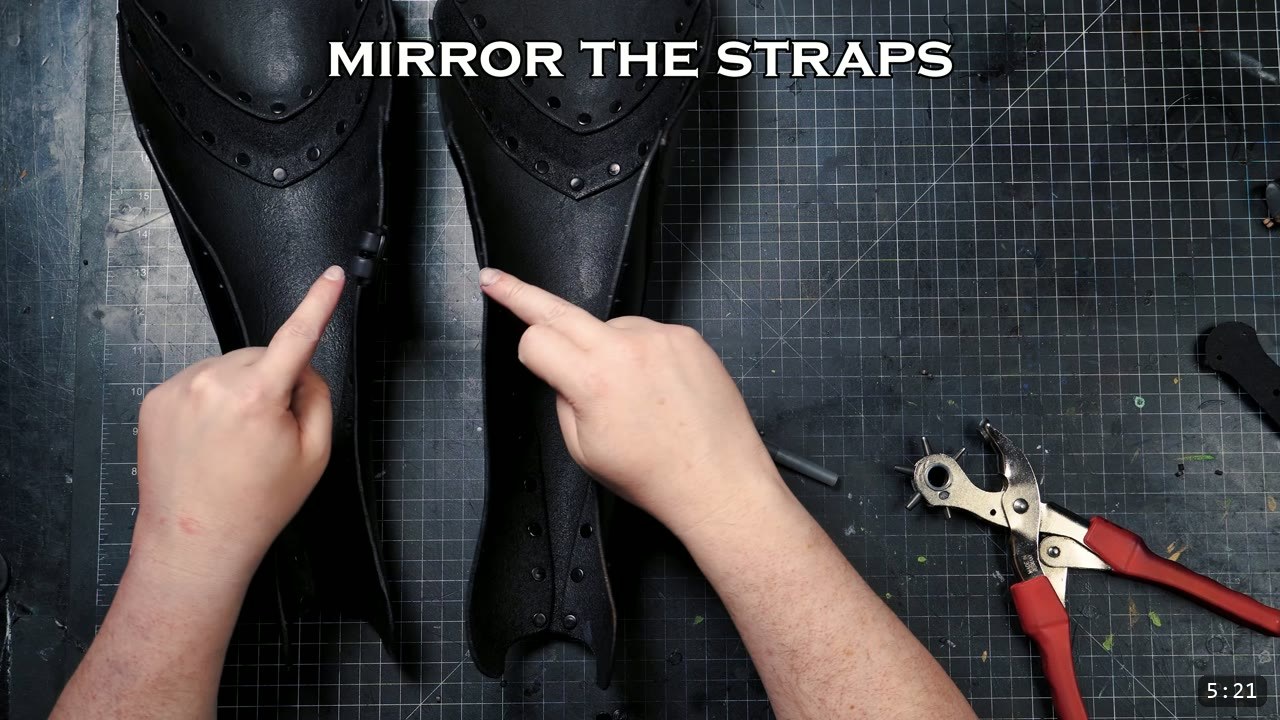
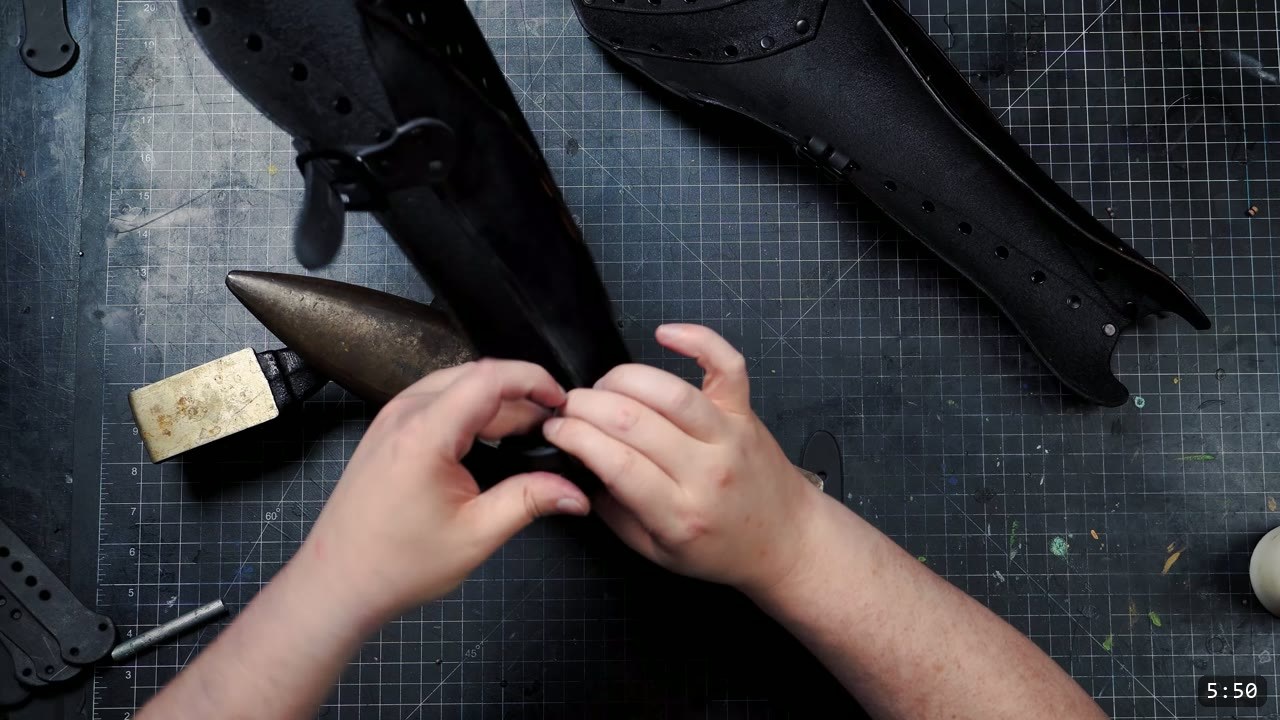
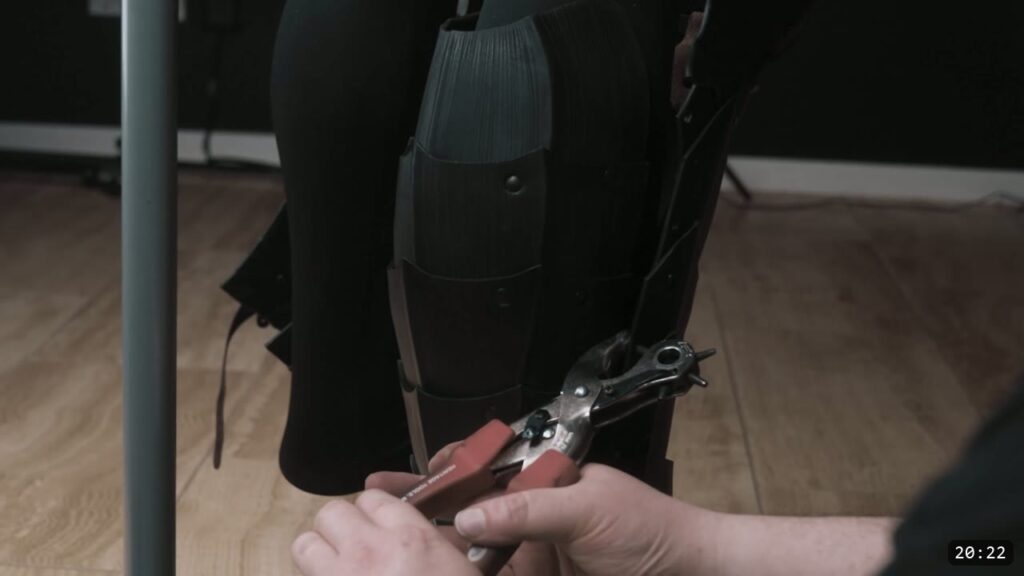
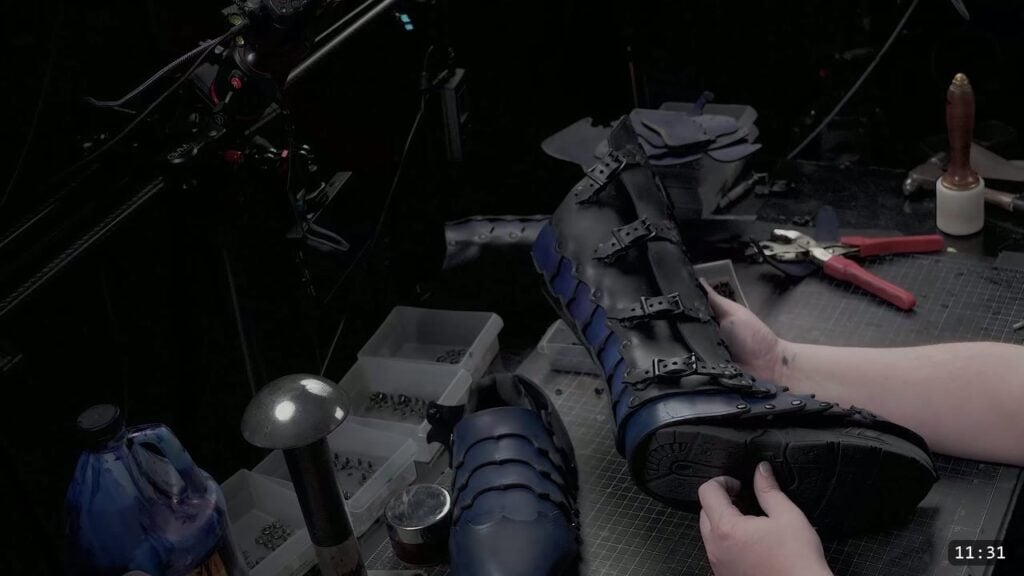
The last step is the buckle straps that hold the greave on. The best way to place them is to put the greave on your leg and mark the buckle locations from there. Use anywhere from two to four buckles per greave. The video uses one inch buckles, but smaller widths hold fine. If you want help making the straps themselves, there is a free buckle and strap pattern pack at the Academy. Once your holes are marked, rivet the buckles and straps into place, and mirror the layout on the second greave.


Step 10: Finish the pair
Repeat the whole thing for the second leg, mirrored, and you are done. You now have a matched pair of greaves that covers the front and sides of your lower legs and buckles on over your boots.
FAQ
Do I need leatherworking experience to make these?
No. These are the beginner greaves. The pattern pieces come with reference marks, the design is symmetrical left to right, and there is no complex articulation or back shaping. If you can set a rivet, you can build these.
What tools do I need?
Medium double-cap rivets, a basic rivet setter, a hammer or mallet to strike the setter, and something dense and solid to hammer against. Dye and a finish are optional, and buckles hold the greaves on.
How much shaping is involved?
Just a little, at the knee. Stretch the damp leather over a domed object or work it by hand, then bend the greave to its final shape and pop the knee out. You can also flare the base at the bottom for comfort.
How many buckles should each greave have?
Two to four buckles per greave. Put the greave on your leg and mark the buckle positions from there. One inch buckles work well, and smaller widths still hold fine.
Can I re-wet and reshape after I dye it?
No. Do all your shaping before you dye and seal. Once the finish is on, the leather resists water and will not fully re-wet or reshape, so color and seal are the last steps.
Where to go next
- Cut your own: Warrior Greaves Pattern, the pattern for this beginner build.
- Ready for the full set? The Warrior Armor Bundle is the beginner path through the whole suit.
- New to leather armor? Start with 5 tips for getting started with leather armor.
- Want to start with a helmet instead? The Warrior Helmet Pattern is another beginner-friendly Warrior piece.
- Want the fuller version next? Watch the Fantasy greaves build for a more detailed leg armor.
- Built a pair? Share it and tag Prince Armory Academy and Weaver Leather; we feature student work.



Responses